
From this to this....


Registered User
Joined: Mar 2007
Posts: 110
Likes: 0
From: new york
on the switch assy there is a number next to eack wire. 1-7 i didnt try to hook up the illumination. i figured i would do it some other time. keep us updated on how to hook up the illumination. if anyone has already done this pleas tell us how you did it. thanks!!!!


Ok, I see the numbers now. They are on the plug that actually goes INTO the switch. I was looking on the white connector.
I played around a little last night and figured out the illumination. The two that control it, are like the schematic shows, 2 and 3. On the white connector if you look inside they are the two by themselves. The wire colors are Yellow and Black with a white line. If you ground the black one with a white line, when you put power to the yellow one, the buttons light up. So I am going to ground the black one and run the yellow one to whichever one lights up the CD player when the headlights are turned on and this should work. I will let you know which wire on the cd player I use when I install it today.
I played around a little last night and figured out the illumination. The two that control it, are like the schematic shows, 2 and 3. On the white connector if you look inside they are the two by themselves. The wire colors are Yellow and Black with a white line. If you ground the black one with a white line, when you put power to the yellow one, the buttons light up. So I am going to ground the black one and run the yellow one to whichever one lights up the CD player when the headlights are turned on and this should work. I will let you know which wire on the cd player I use when I install it today.
The wire to use on the stock CD player wire harness is the Red w/ Blue Striped wire. I got it all hooked up and it works great.
Also, I got the finisher today, that was FAST! They shipped it out Friday from West End Nissan which is on the West side of Canada and it got here the next day. I was shocked. But it IS the right part. So if anyone is curious the part number in this thread is correct.
Here is the Part Number:
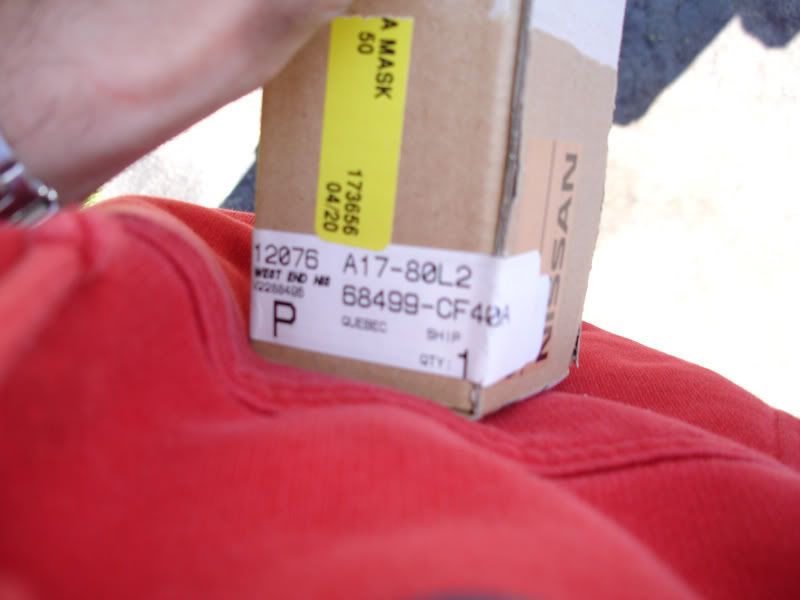
Here is what the finisher looks like incase you want to send it to someone to verify it is the right part.
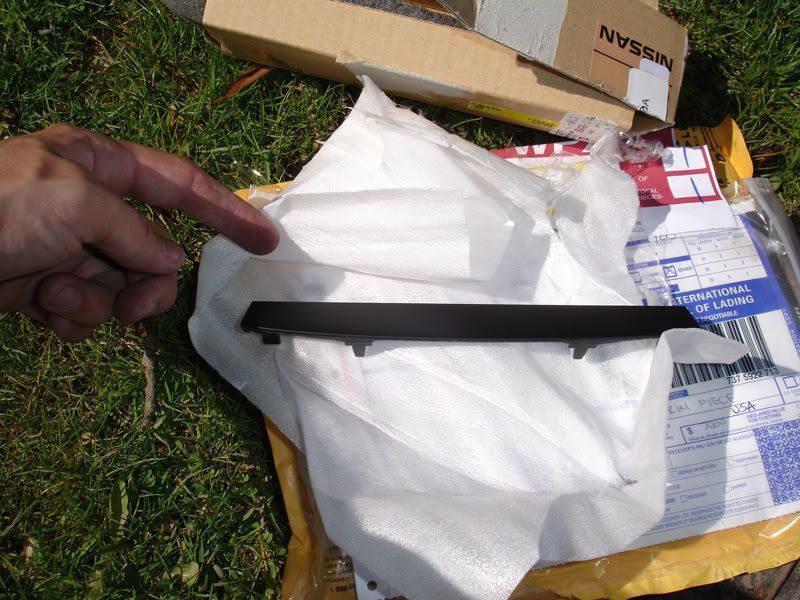
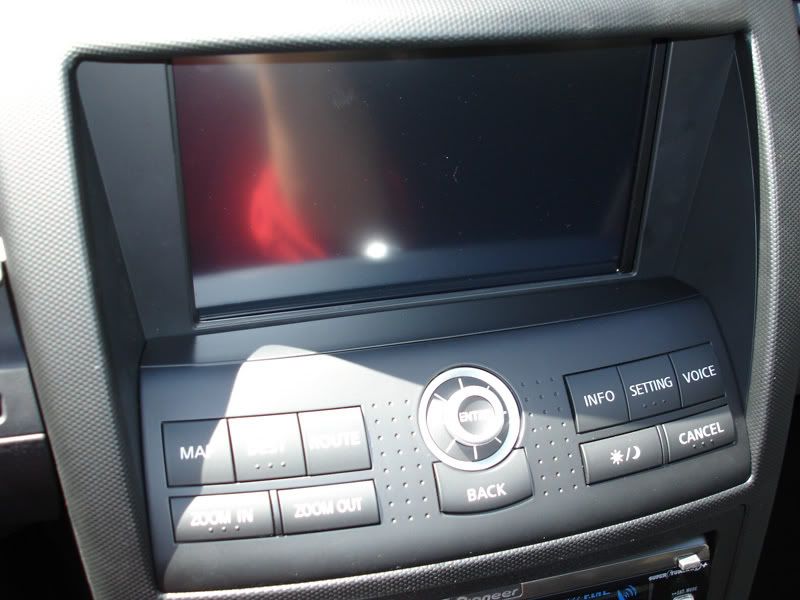
And here it is installed, last one in Canada:
Also, I got the finisher today, that was FAST! They shipped it out Friday from West End Nissan which is on the West side of Canada and it got here the next day. I was shocked. But it IS the right part. So if anyone is curious the part number in this thread is correct.
Here is the Part Number:
Here is what the finisher looks like incase you want to send it to someone to verify it is the right part.
And here it is installed, last one in Canada:


Nope, just a shadow or something. Everything is flawless. The parts from Perfromance fit perfect and the finisher was the right part(canadian part number was the same as American) and Dave over at West End checked the part to make sure it was the right one first. Great parts guys over there.


Thread
Thread Starter
Forum
Replies
Last Post
Vigman
Maintenance & Repair
17
Nov 17, 2015 04:34 AM
28395cf405, 350z, 44nissan, 68260cf42a, 68499cf40a, 68499n, canada, cf405, cluster, lid, loaded, nissan, part, pic, spring