When you click on links to various merchants on this site and make a purchase, this can result in this site earning a commission. Affiliate programs and affiliations include, but are not limited to, the eBay Partner Network.
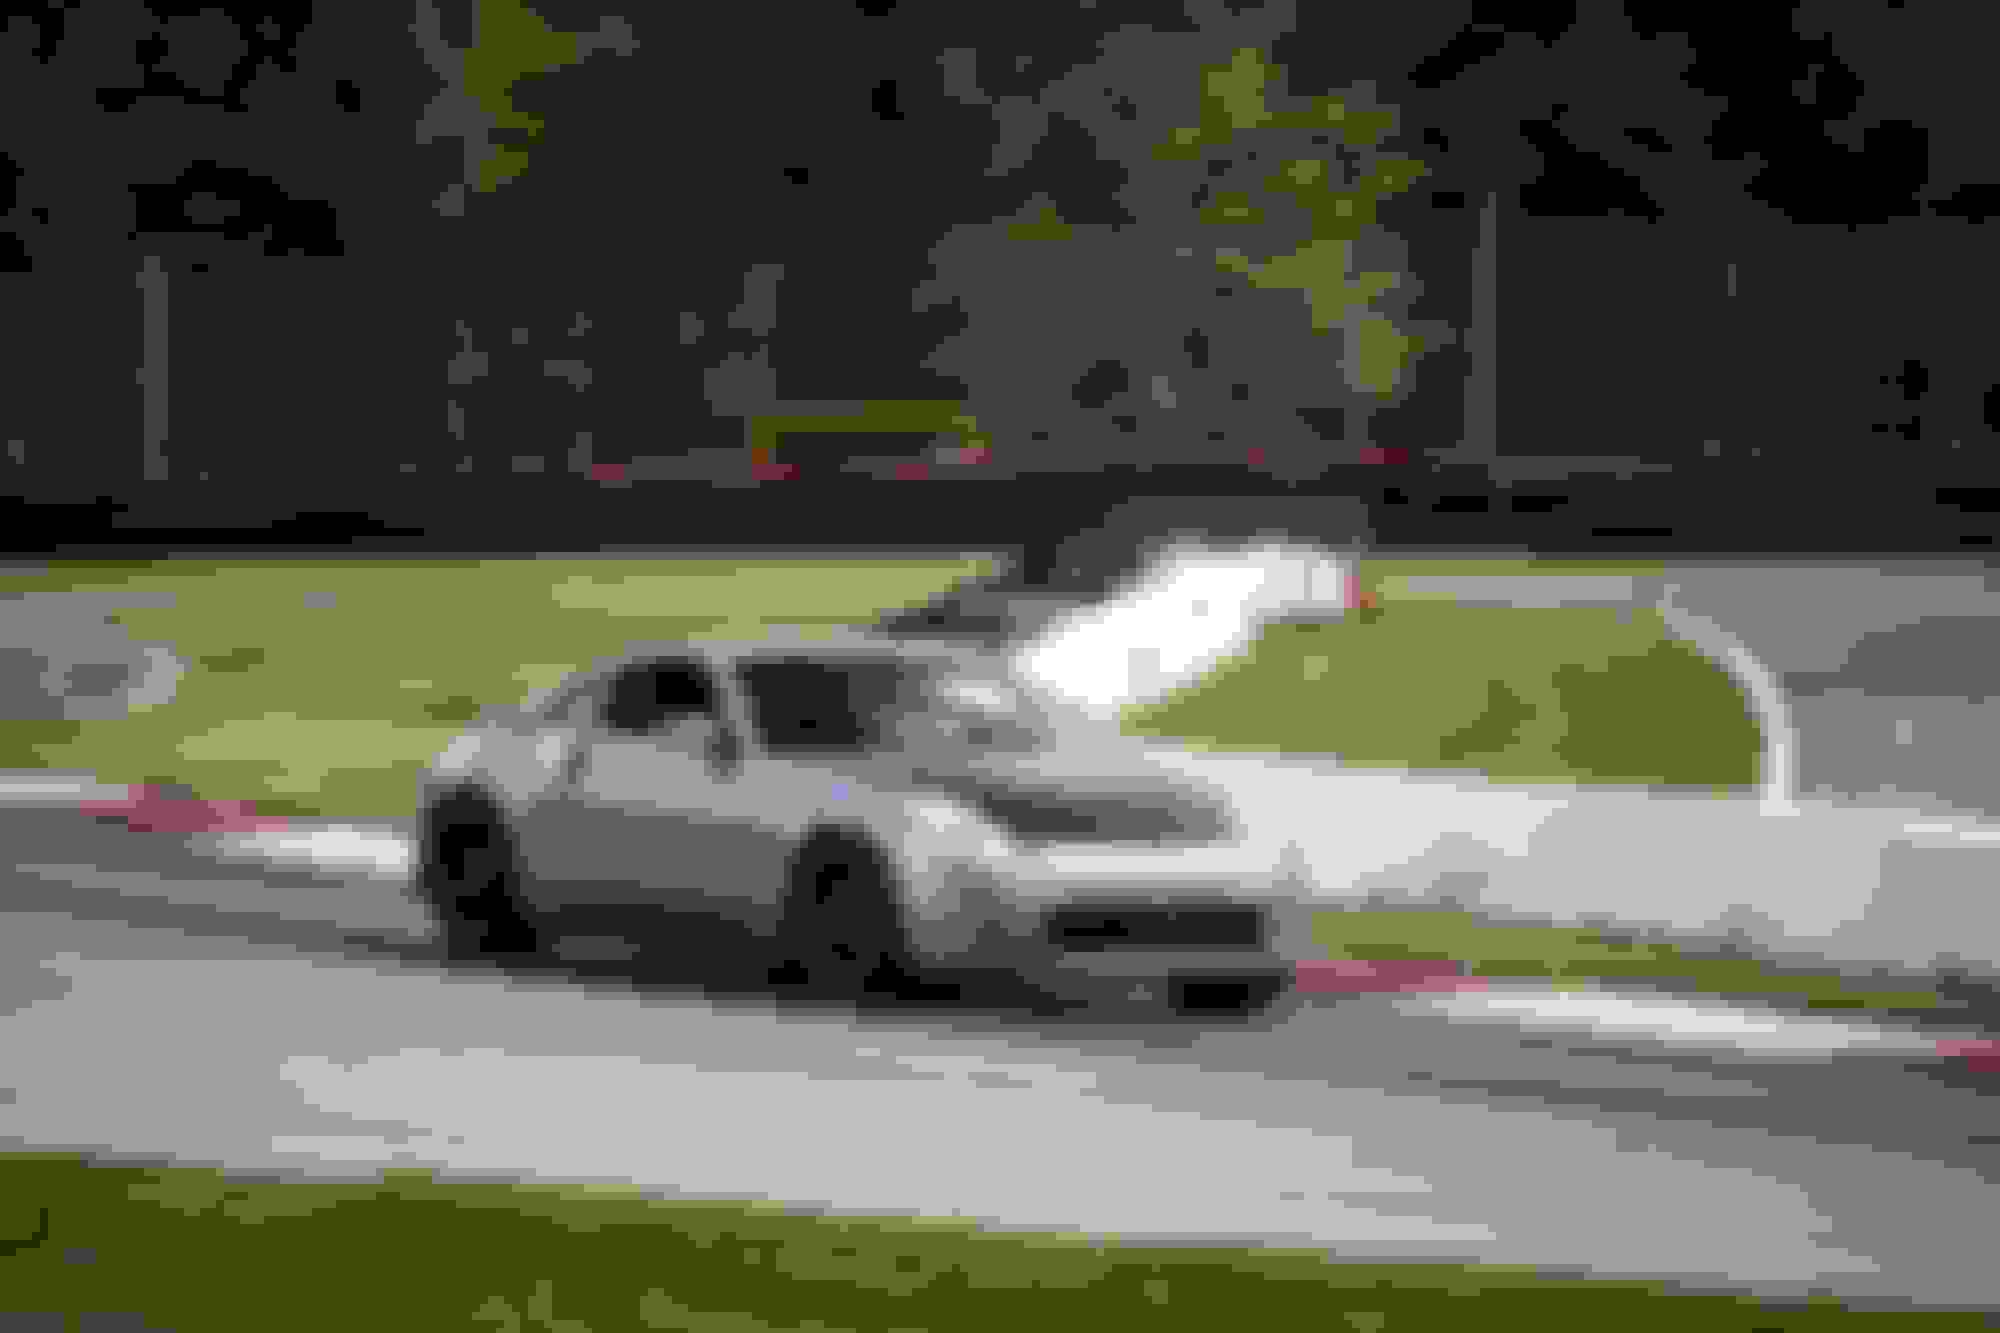
With Gridlife Midwest Fest 2021 in the books, I figure its probably time for me to finally get around to doing a build thread. Yes, I know, forums are dead. Consider this one for the OGs out there.
Some back story: I bought the car back in 2010 when I was living in Canada. It's a 2005 35th Anniversary and had 155,000kms on it when I picked it up. I daily drove the car as my only vehicle through all four seasons (read: salt, salt, salt) for 7 and a half years while living in Toronto, Montreal, and eventually Chicago. In late 2018 the engine let go and the car sat for a few years while I enjoyed my replacement daily R53 Mini and generally didn't think much about the car. In early 2020 I was thinking of something to do with the car, and BAM, the whole world got turned on its head. What a better time to get started on a build? I grabbed a G35 short block with "80,000mi" on it and got to work on the old girl.
The car is conservatively built to Gridlife Street Class rules. The plan was to run HPDE in 2021 and to migrate to Time Attack in 2022. I used to race some small-time F2000 and SoloSprint stuff back in the day, but it's been a long time since I turned a wheel on a hot track, and I've never developed my own build to a ruleset before.
As of the end of the 2021 the car sits with:
Z1 Intake Z1 Plenum Spacer JWT C8 Rev-Up Cams JWT Valve Springs and Shims
Fluidampr
Z1 Poly Engine Mounts
Z1 Poly Trans Mount DW 440cc Injectors DW 201 Fuel Pump CJ Motorsport Fuel Rails CJ Motorsport Fuel Feed Line Tomei Expreme Ti Headers Z1 High-Flow Cats Tomei Expreme Ti Y-Pipe Tomei Expreme Ti Exhaust Z1 Oil Pan Spacer UpRev and Tune (JRTuned) OEM Oil Cooler Delete Mocal Thermostatic Sandwich Plate Setrab Oil Cooler Pathfinder Cooling Mod CSF Radiator NRG Radiator Block-Off Plate Setrab Power Steering Cooler Mishimoto Catch Can (Modified) Custom Crankcase Ventilation Setup Z1 Lightweight Flywheel Z1 Street Clutch Custom TCS Defeat Z1 Stainless Brake Lines CL Brakes RC6E Pads Centric High-Carbon Blank Rotors Custom Front Brake Ducts ProSpeed 683 Brake Fluid Fortune Auto 500 Coilovers Whiteline/Energy Suspension Poly Bushings GKTech Front Upper Control Arms GKTech Compression Rod Bearing Whiteline Sway Bar Links Whiteline Poly Rear Subframe Bushings Whiteline Differential Bushings Z1 Traction, Camber, and Toe Arms with Lockouts 370Z Rear Hubs and Axles Konig Dekagram 18x9.5 +25 Falken RT-660 275/35/18 Seibon Vented Carbon Hood Seibon Carbon Hatch Carbon A-Pillars Rear Bumper Tuck Custom Powdercoat Basically Everything Kirk Racing Roll Bar PCI Seat Mounts with Sliders Sparco QRT-R Seats Schroth 6-Point Harnesses H3R Fire Extinguisher Tek208 Extinguisher Mount
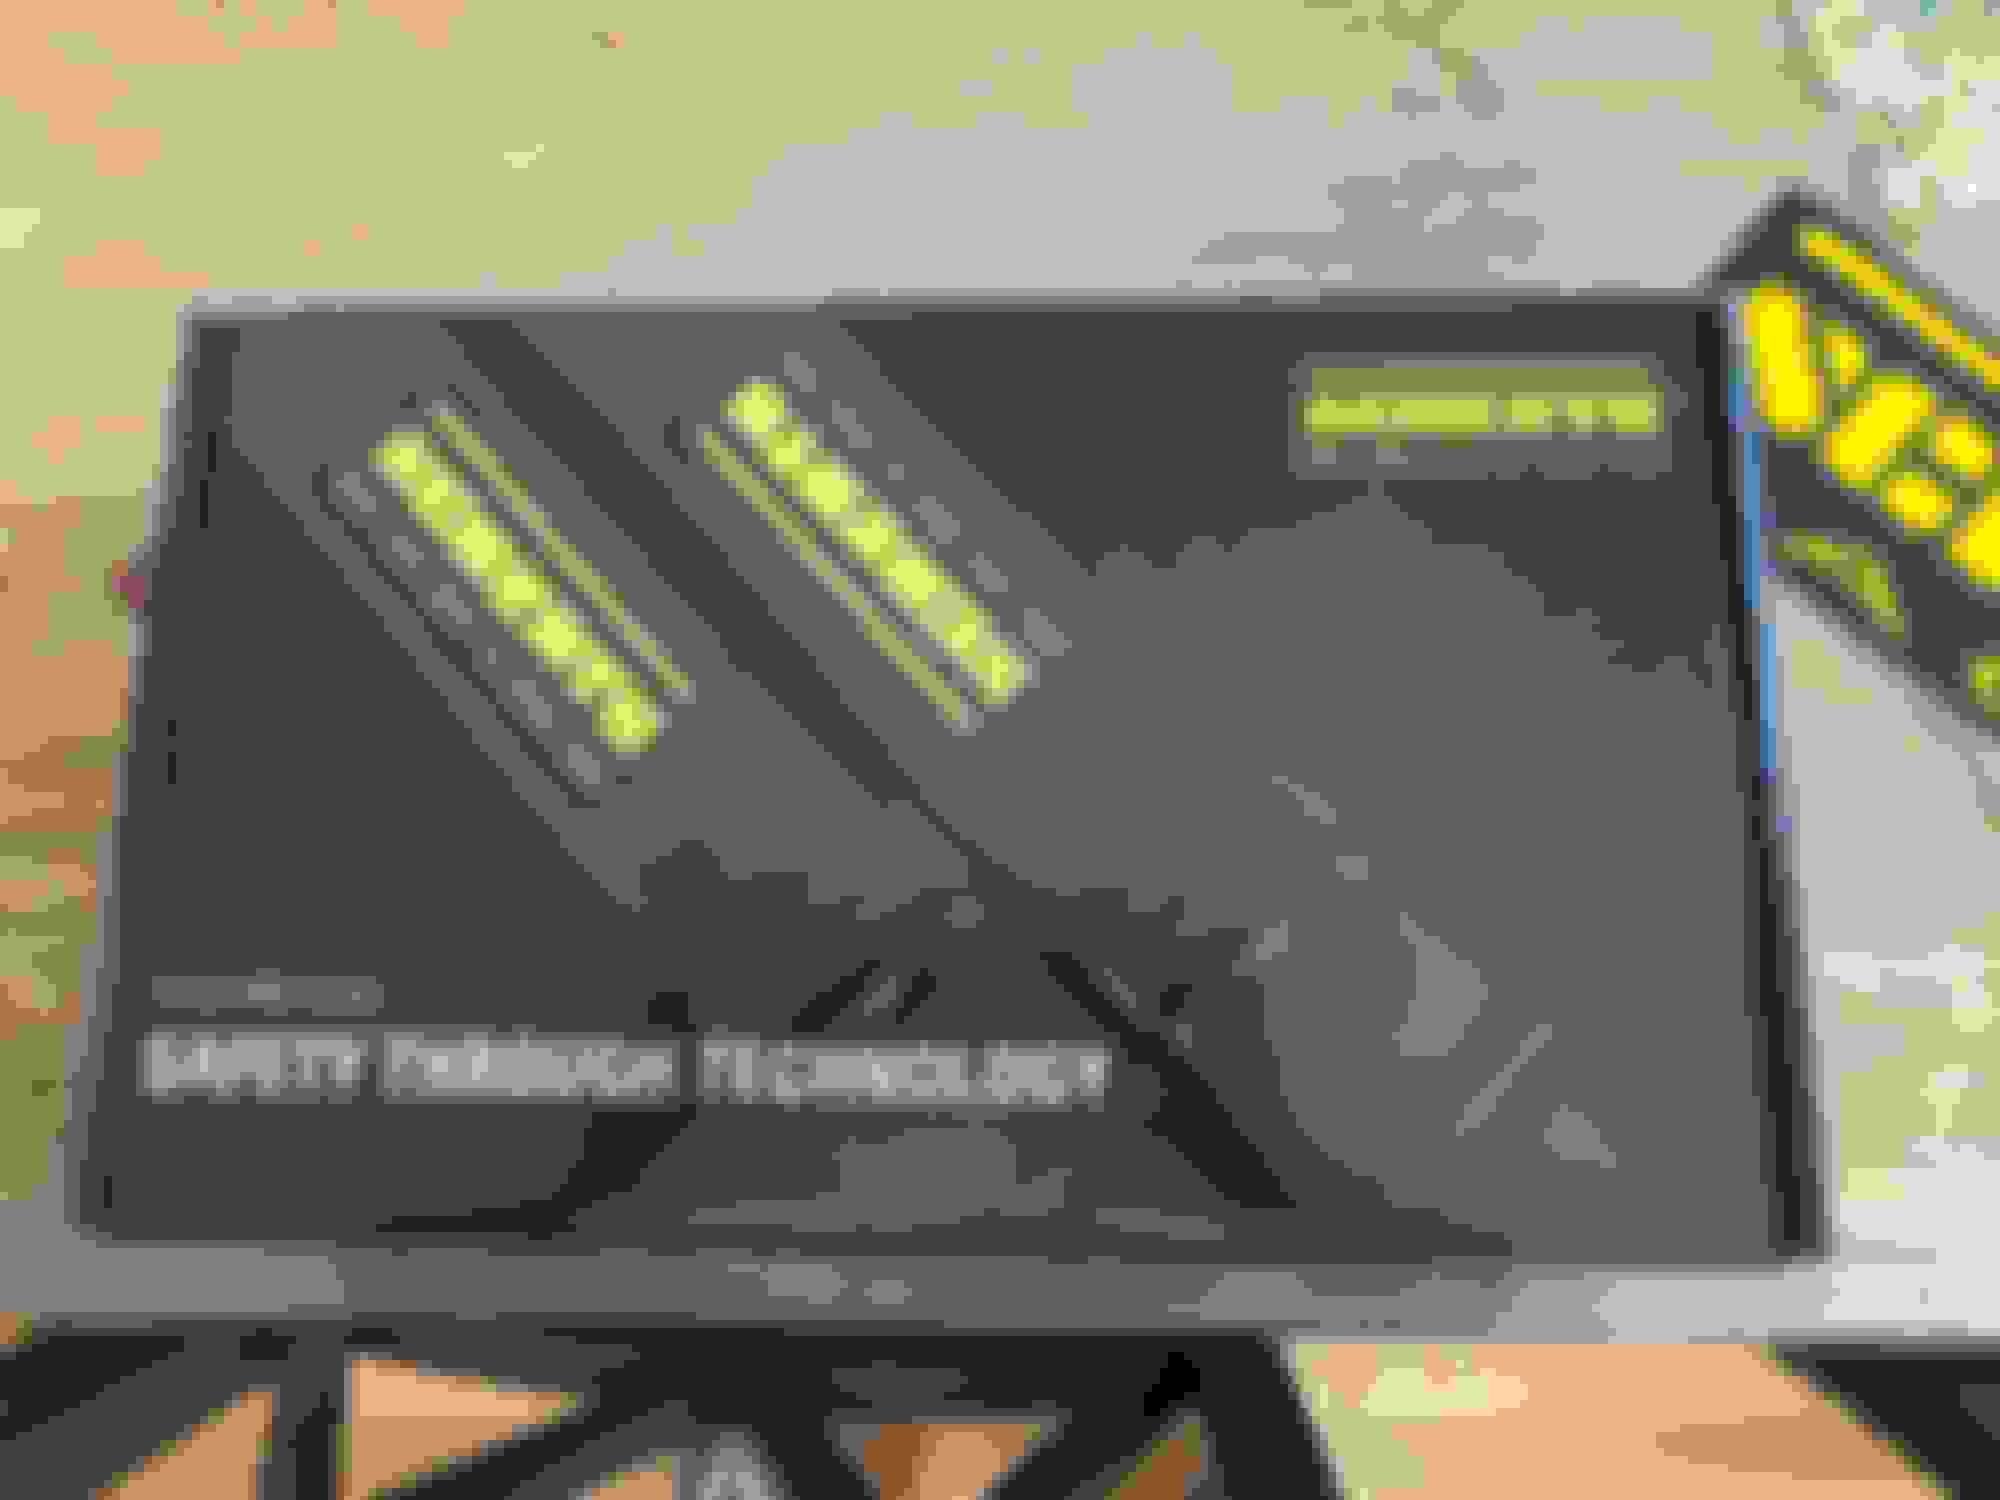
Z-Speed Belly Pan Pioneer AVH-291BT Hella SuperTones
Last edited by Sundown72; Sep 14, 2021 at 12:59 PM.
The car had a few things done to it by the time it blew up. Namely the Tomei titanium bits, the Z1 clutch and flywheel, and the stainless brake and clutch lines. Beyond that it was stock. First step was grabbing a shortblock from a local dismantler and setting to work tearing down the car.
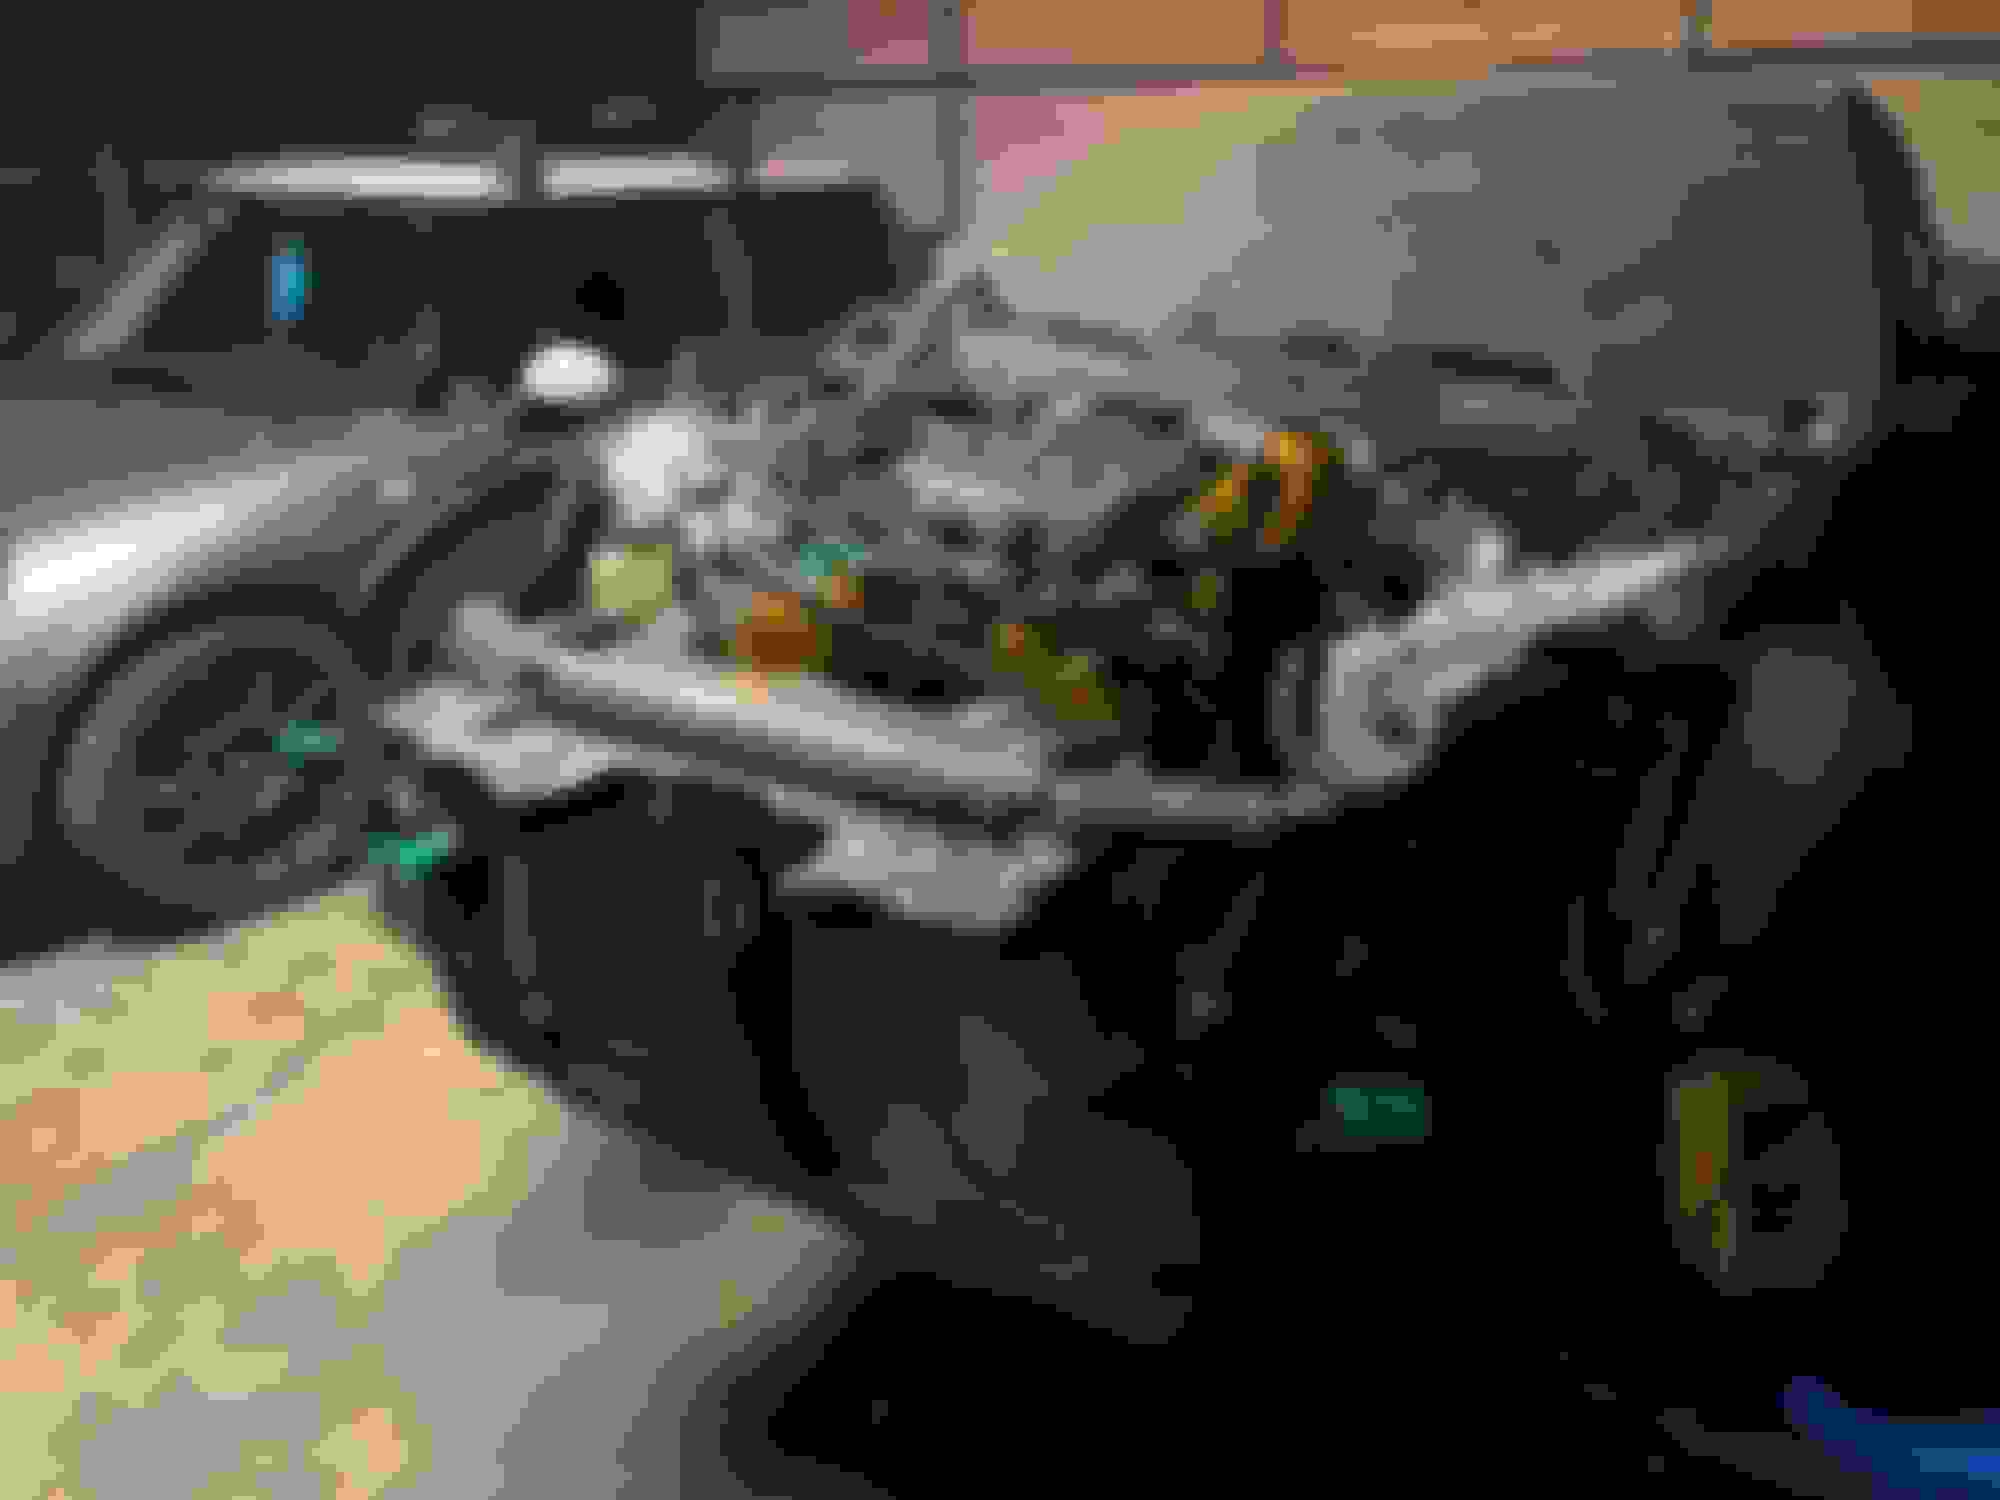
I elected to pull the front clip and to lower the engine out the bottom because I didn't have a hoist at the time.
Shortblock on its way home in the Mini.
Remnants of the original engine's bearings.
Engine and subframe ready to go out the bottom.
Engine and subframe out!
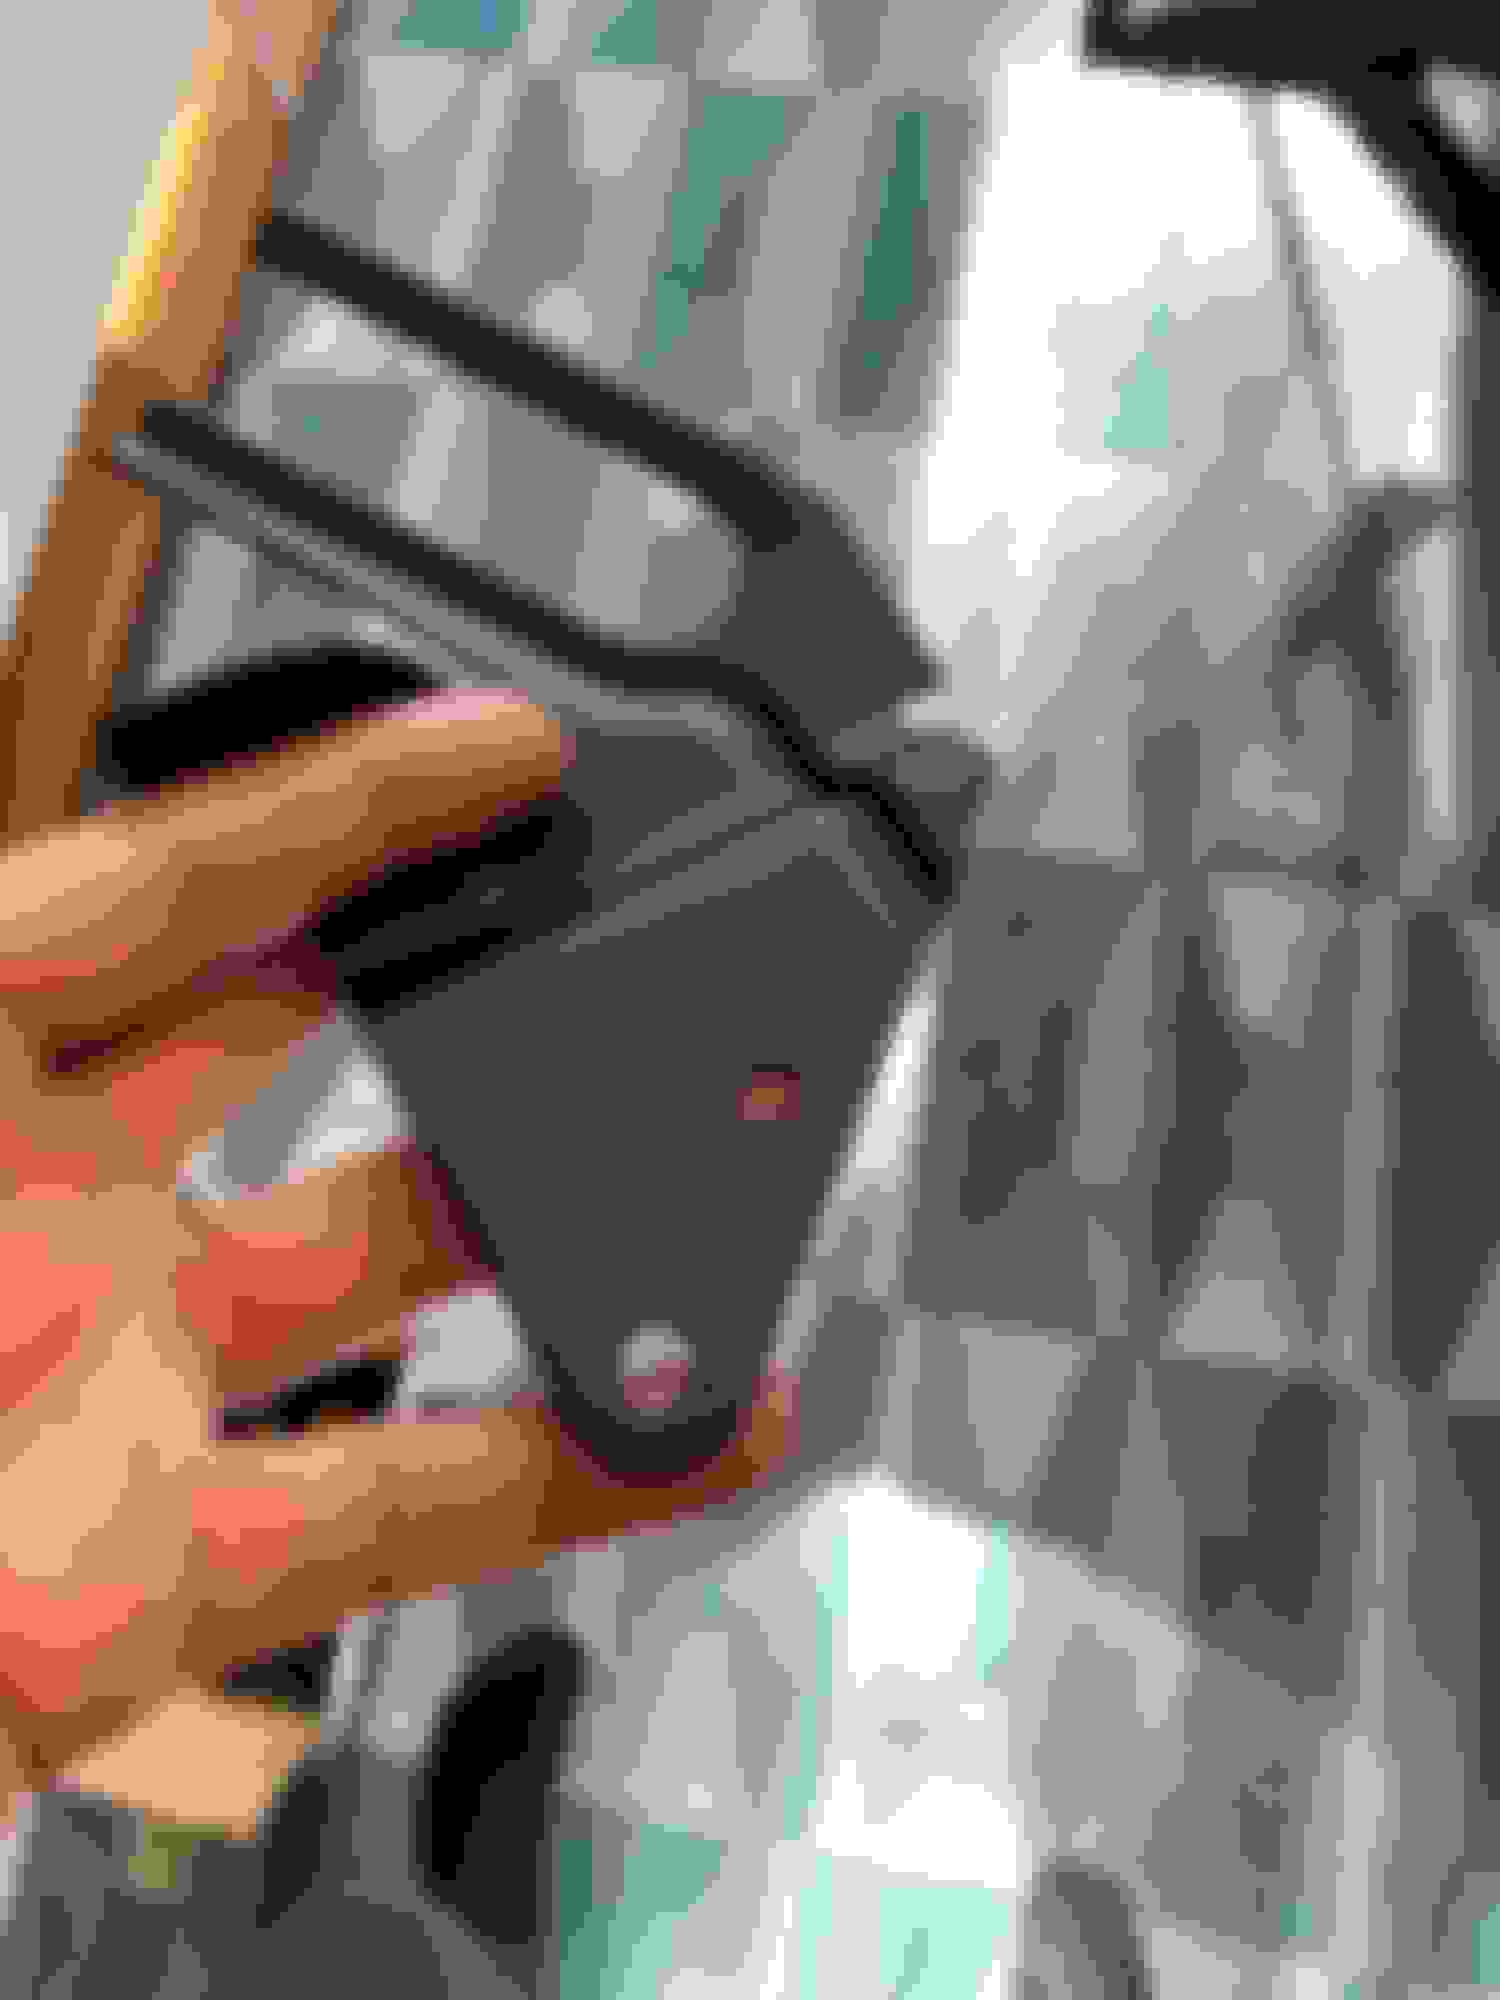
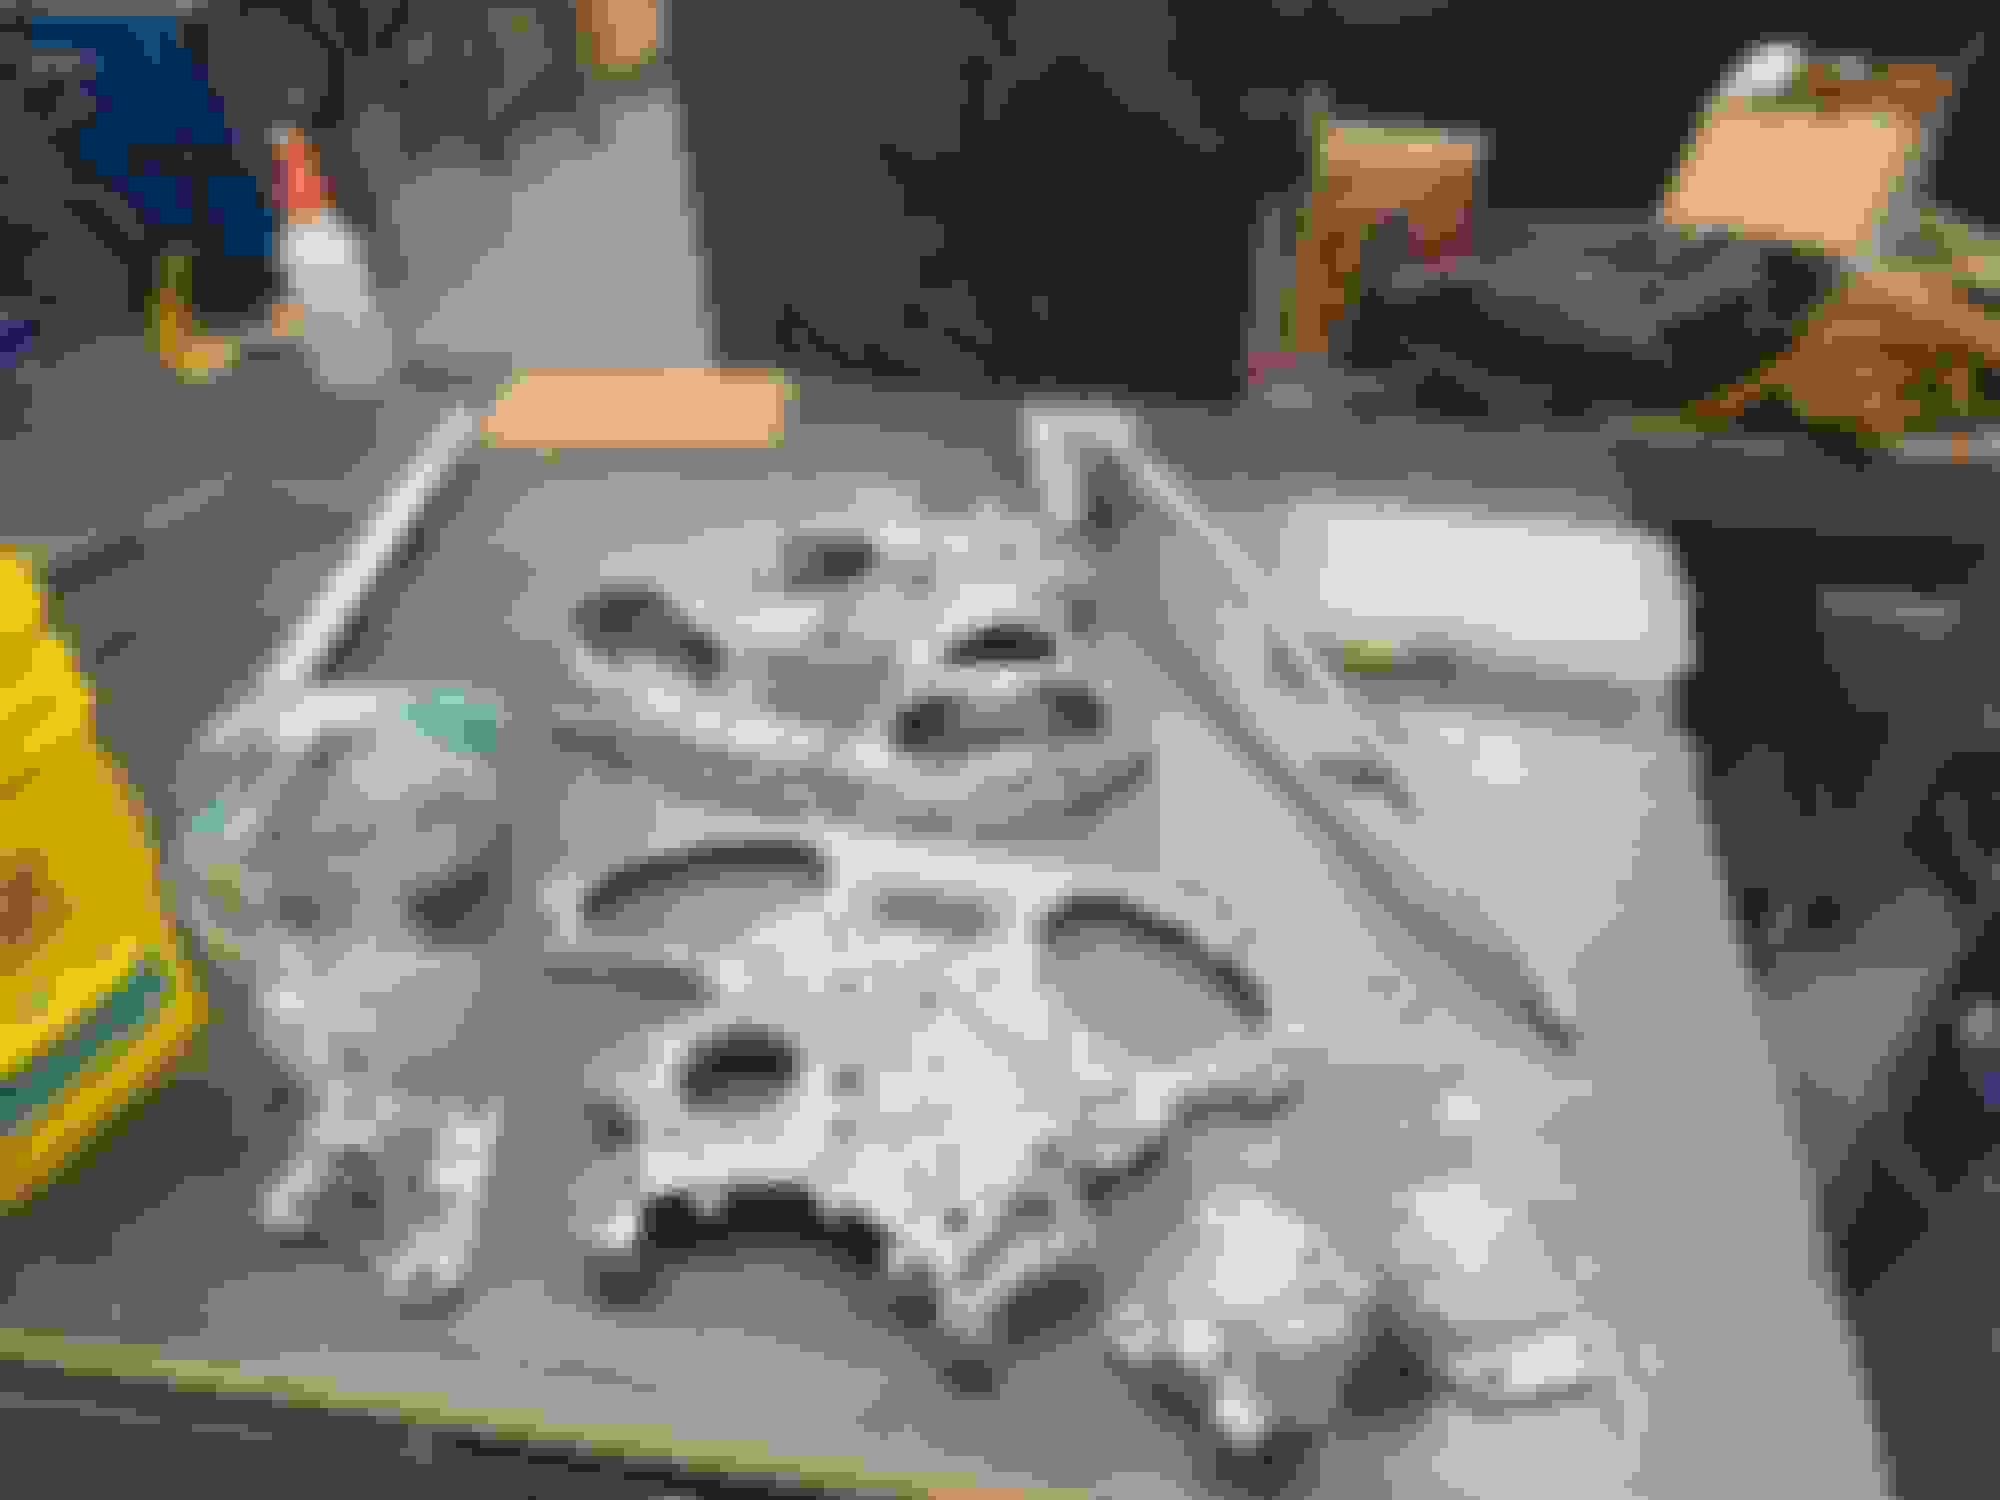
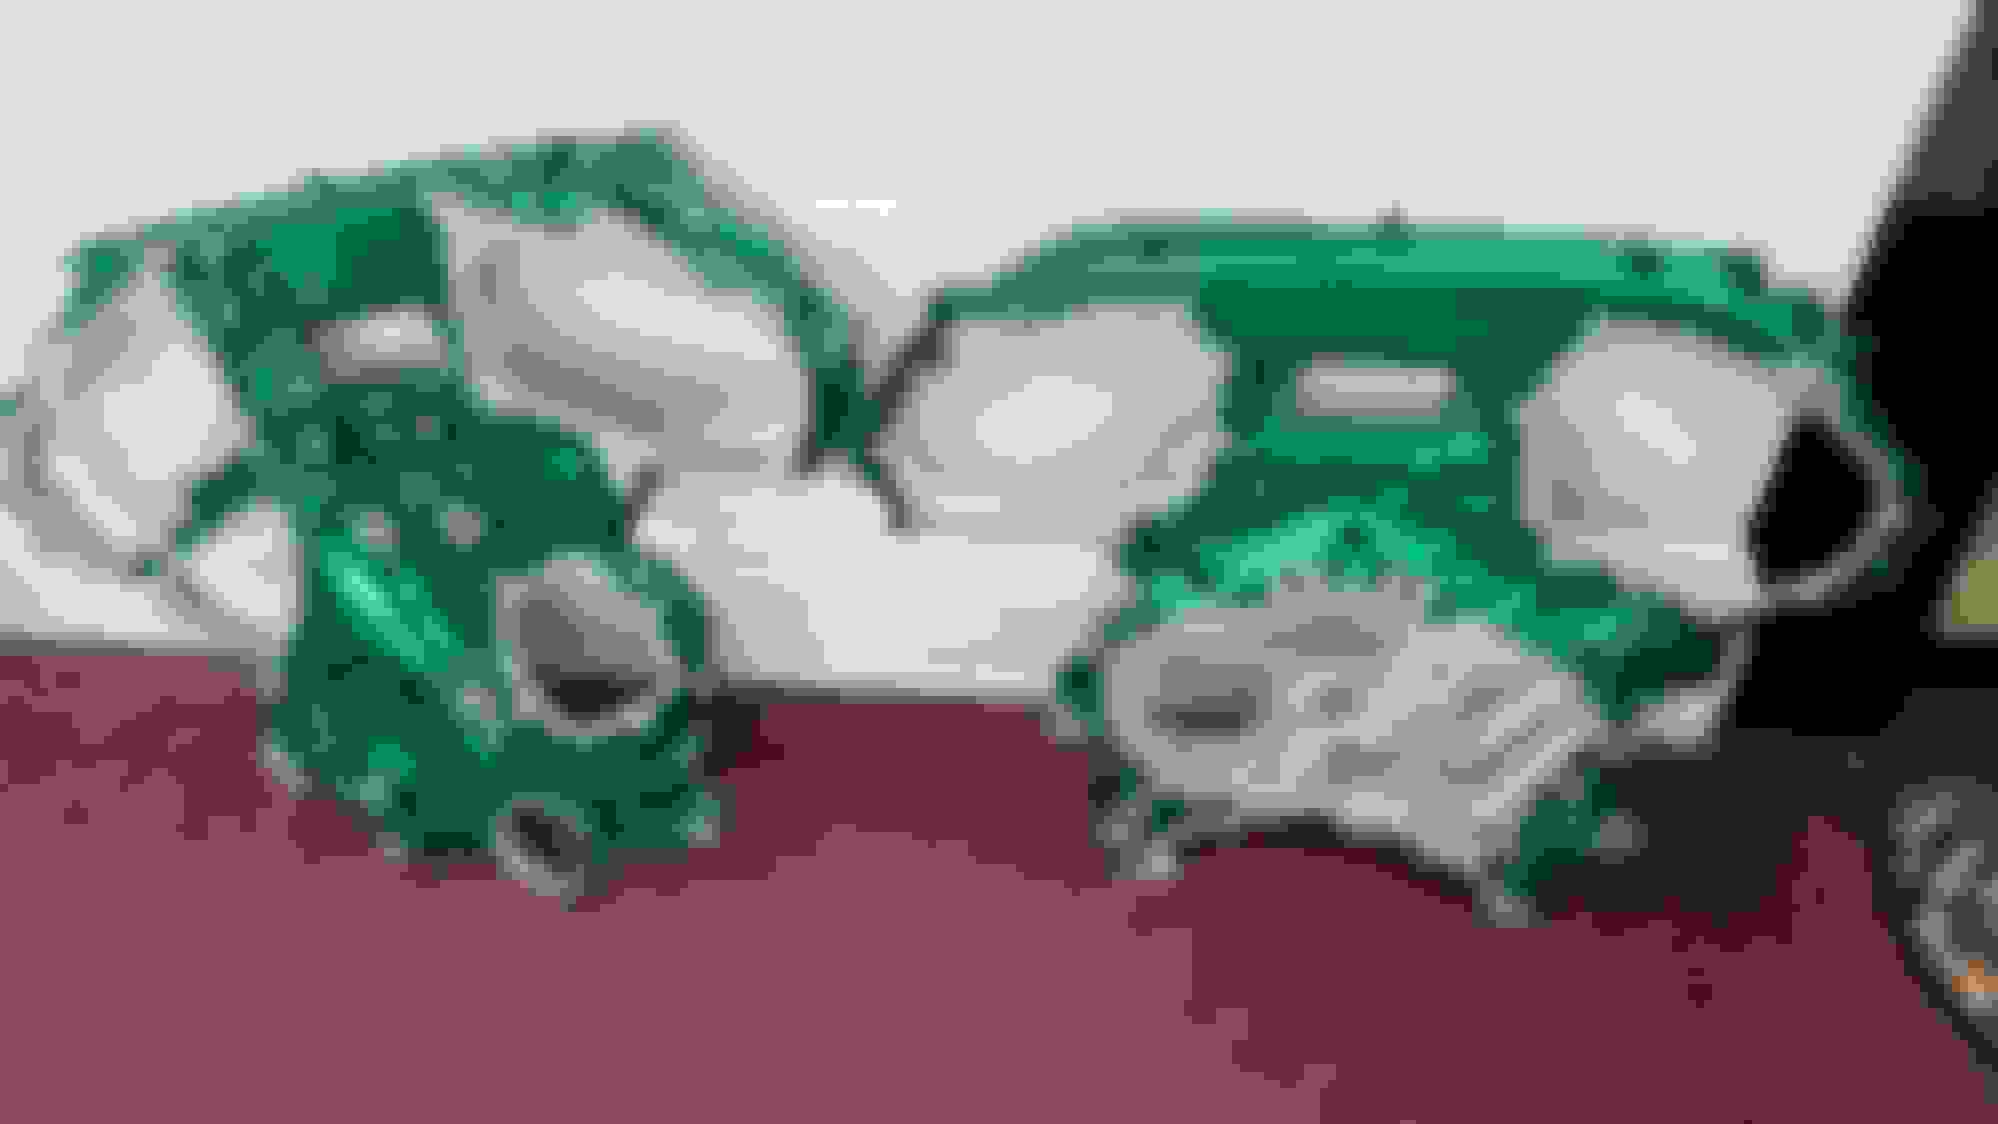
So, did I mention I the car did no fewer than 8 hard Canadian and Midwestern winters full of salt before it cried enough? Did I mention that I ran it without a belly pan for a bunch of that time because...who knows. As a result the timing cover, accessory brackets, and cam control covers were all VERY crusty. I'm a member of a local makerspace and so I set out to do some powdercoating to give all these crunchy bits a refresh and some lifetime corrosion resistance. I build custom bicycles and bicycle wheels in my spare time, so I have a taste for candies and flakes. I decided to go with a green candy flake as the primary color with a gold candy flake as the accent color. Brackets received a mixture of satin and gloss black.
Cam control covers before.
And after.
Bumper bracket.
Overflow tank bracket.
AC bracket.
Blasted and ready for masking.
Timing cover masked.
After base-coat and partial cure.
After clear top-coat and full cure.
So in keeping with the corrosion elimination/prevention theme old hardware would be replaced with new yellow zinc hardware wherever possible. Where that wasn't possible or practical, I zinc plated the hardware at home. I filled a small ultrasonic cleaner with evap-o-rust corrosion converter to strip the old rust and coating before glass blasting the hardware and doing a two- to three-coat zinc plating treatment. The plating setup is some vinegar, distilled water, and a bit of granulated sugar with a couple of zinc plates, copper wire, and a DC power supply. Pro-tip, be sure to put a fuse inline with the positive (zing plate) side of the circuit. This will prevent you from burning down your garage if the negative (part) comes into contact with the plate(s) at all during the plating while the power supply is on. I just punked a 5A spare fuse from the Mini for this purpose.
The chassis rails were also looking a bit grim, so I hit them with 400 grit to remove the rust down to bare metal if needed, then applied etching primer, black rattle can, and 2-part matte clear.
Now onto actually adding some performance...after some remediation...
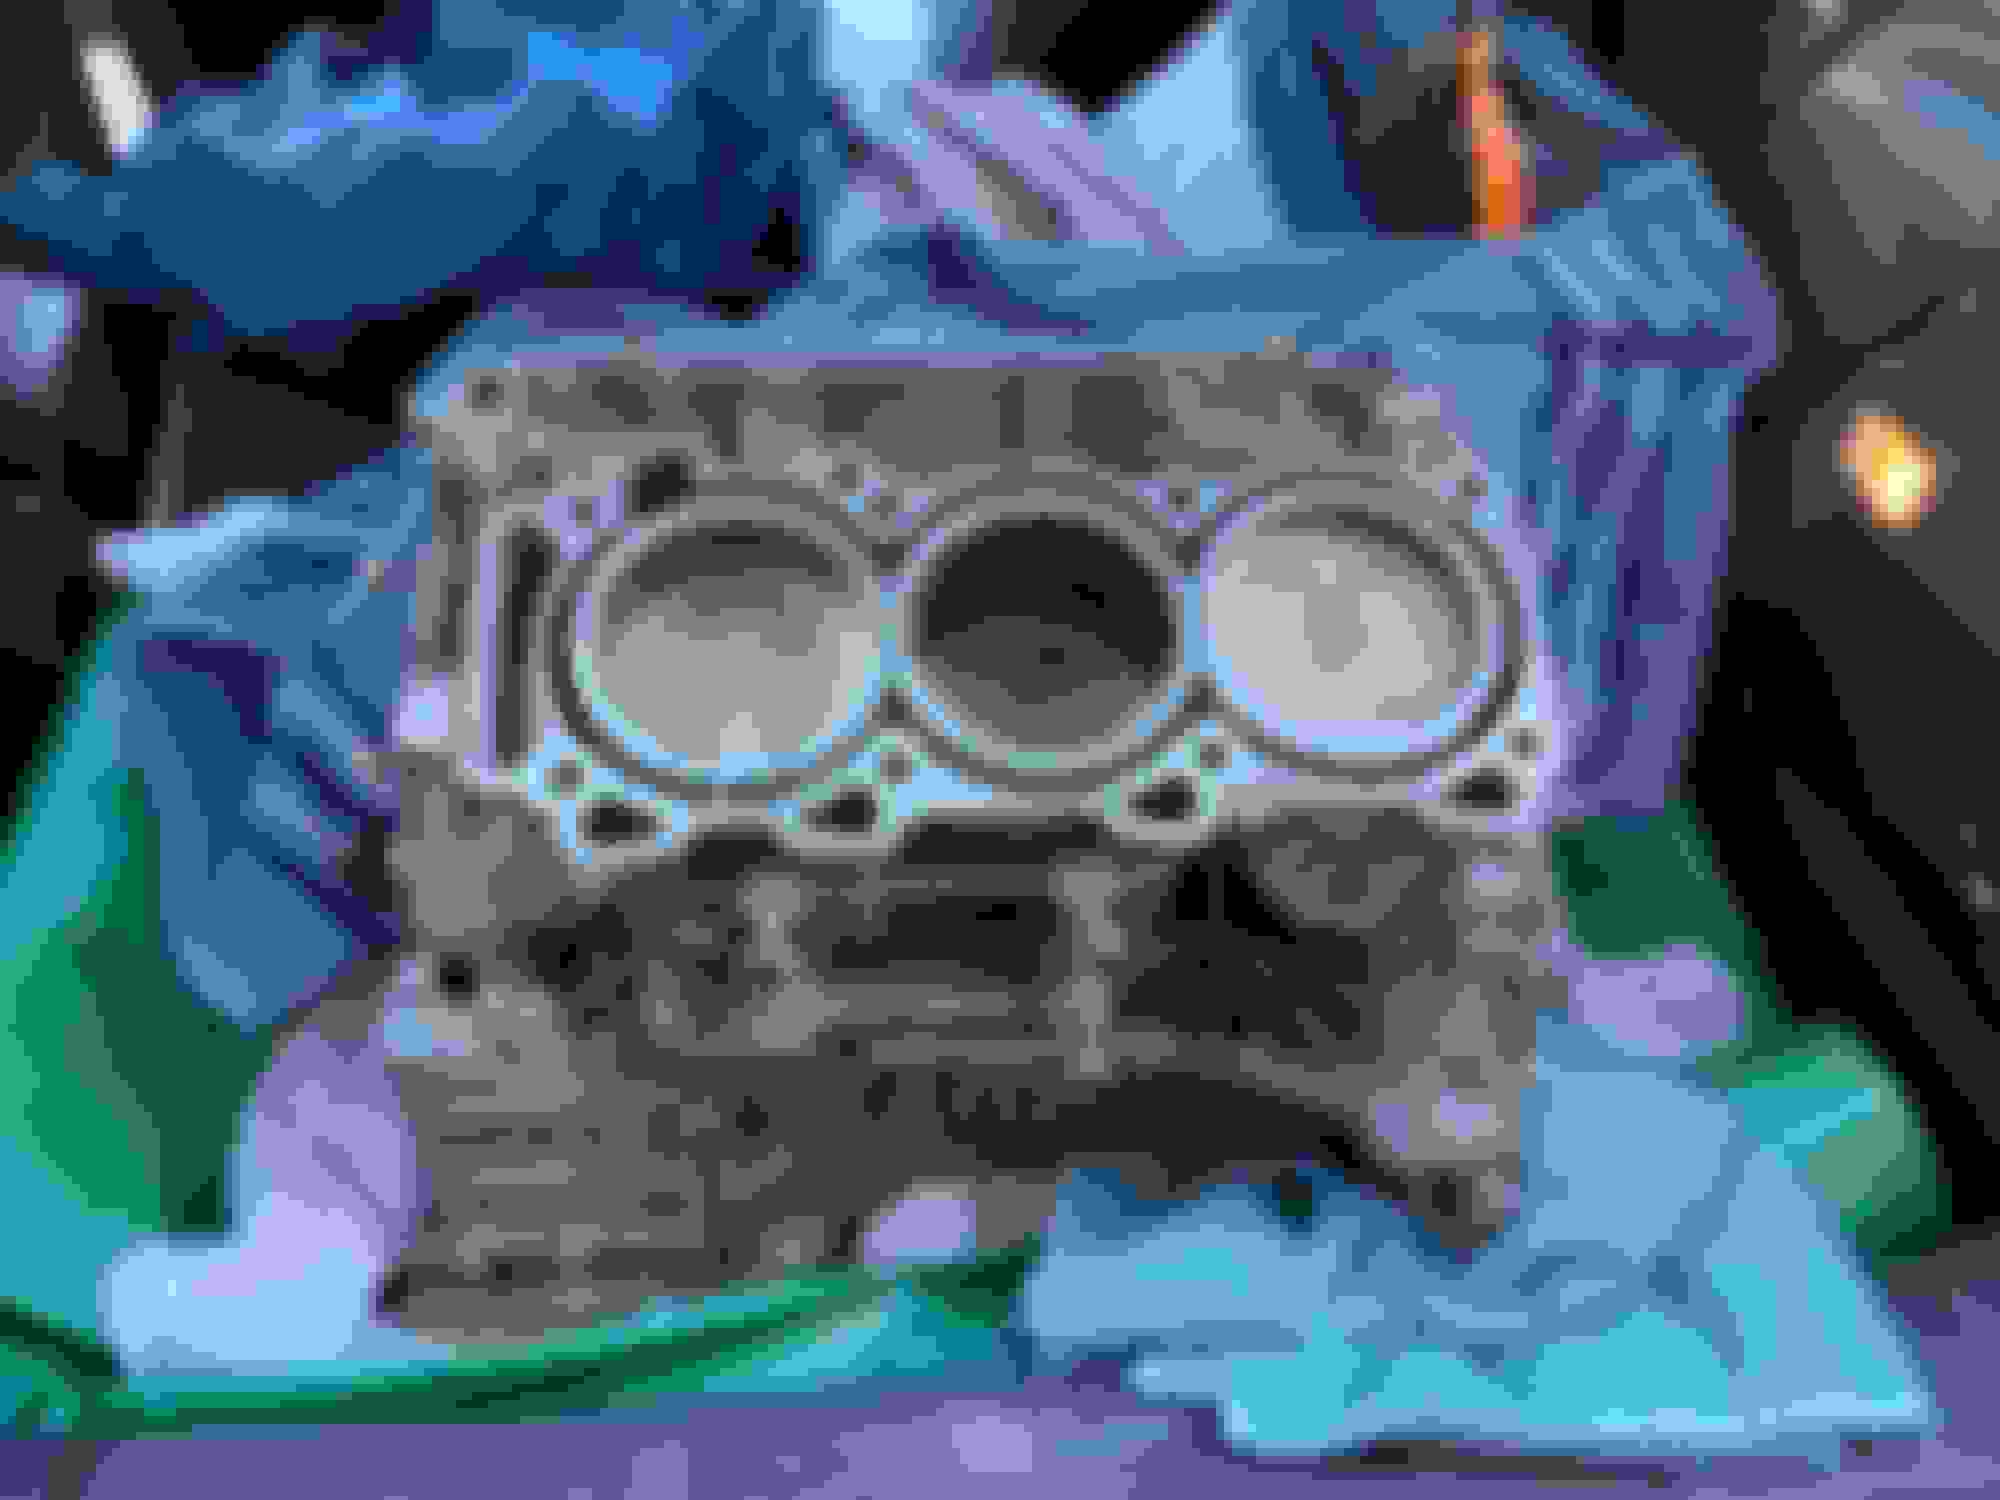
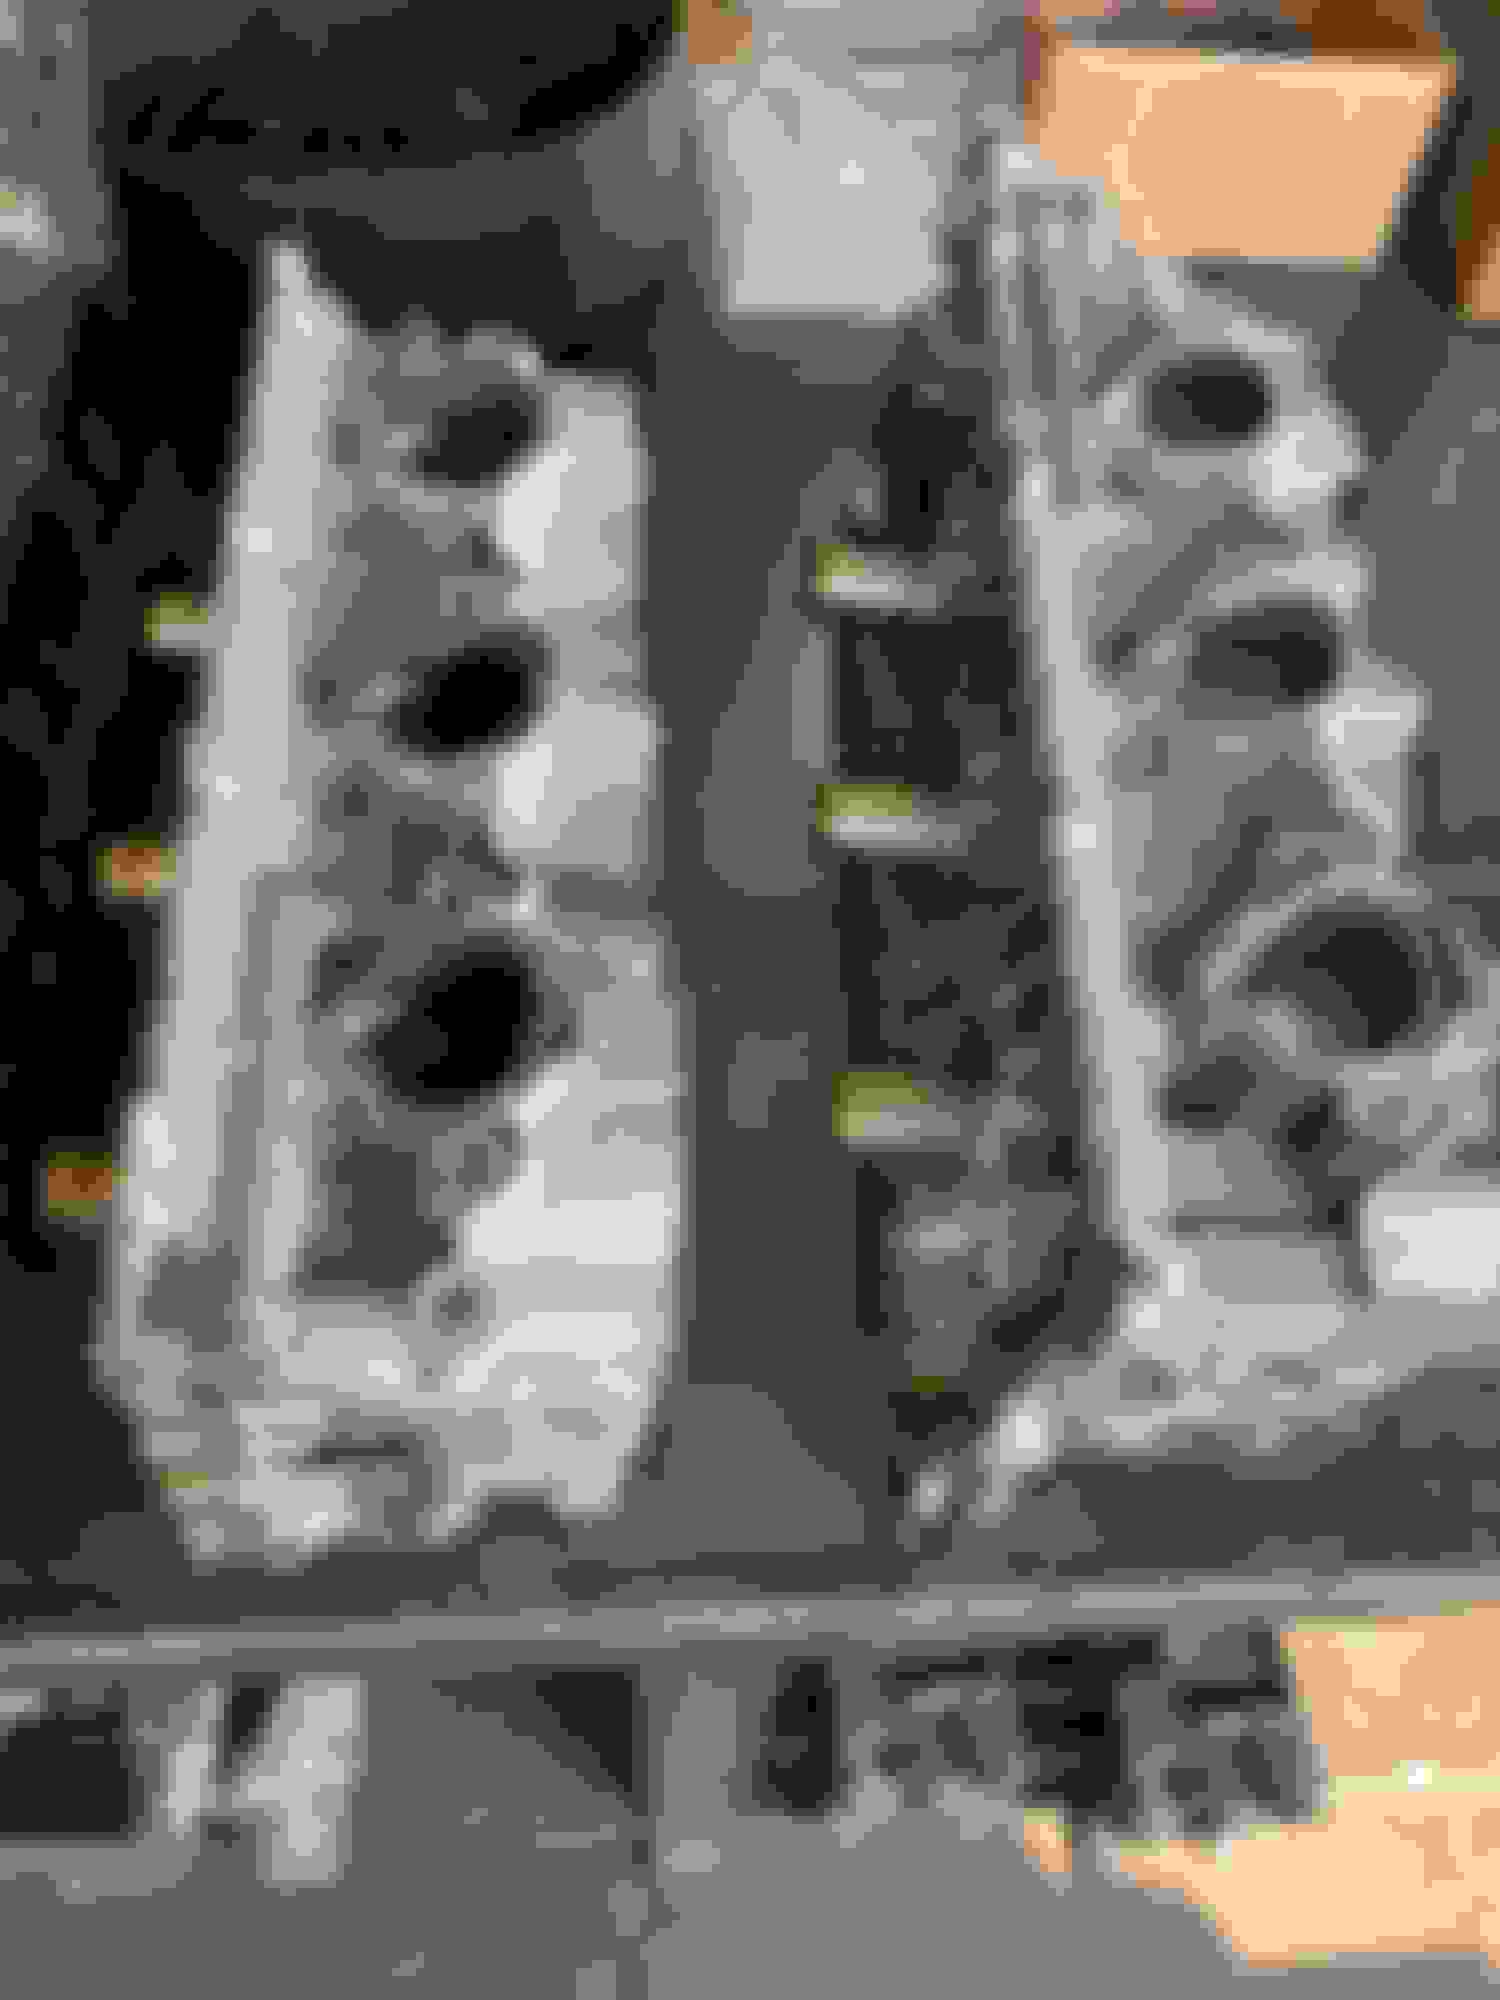
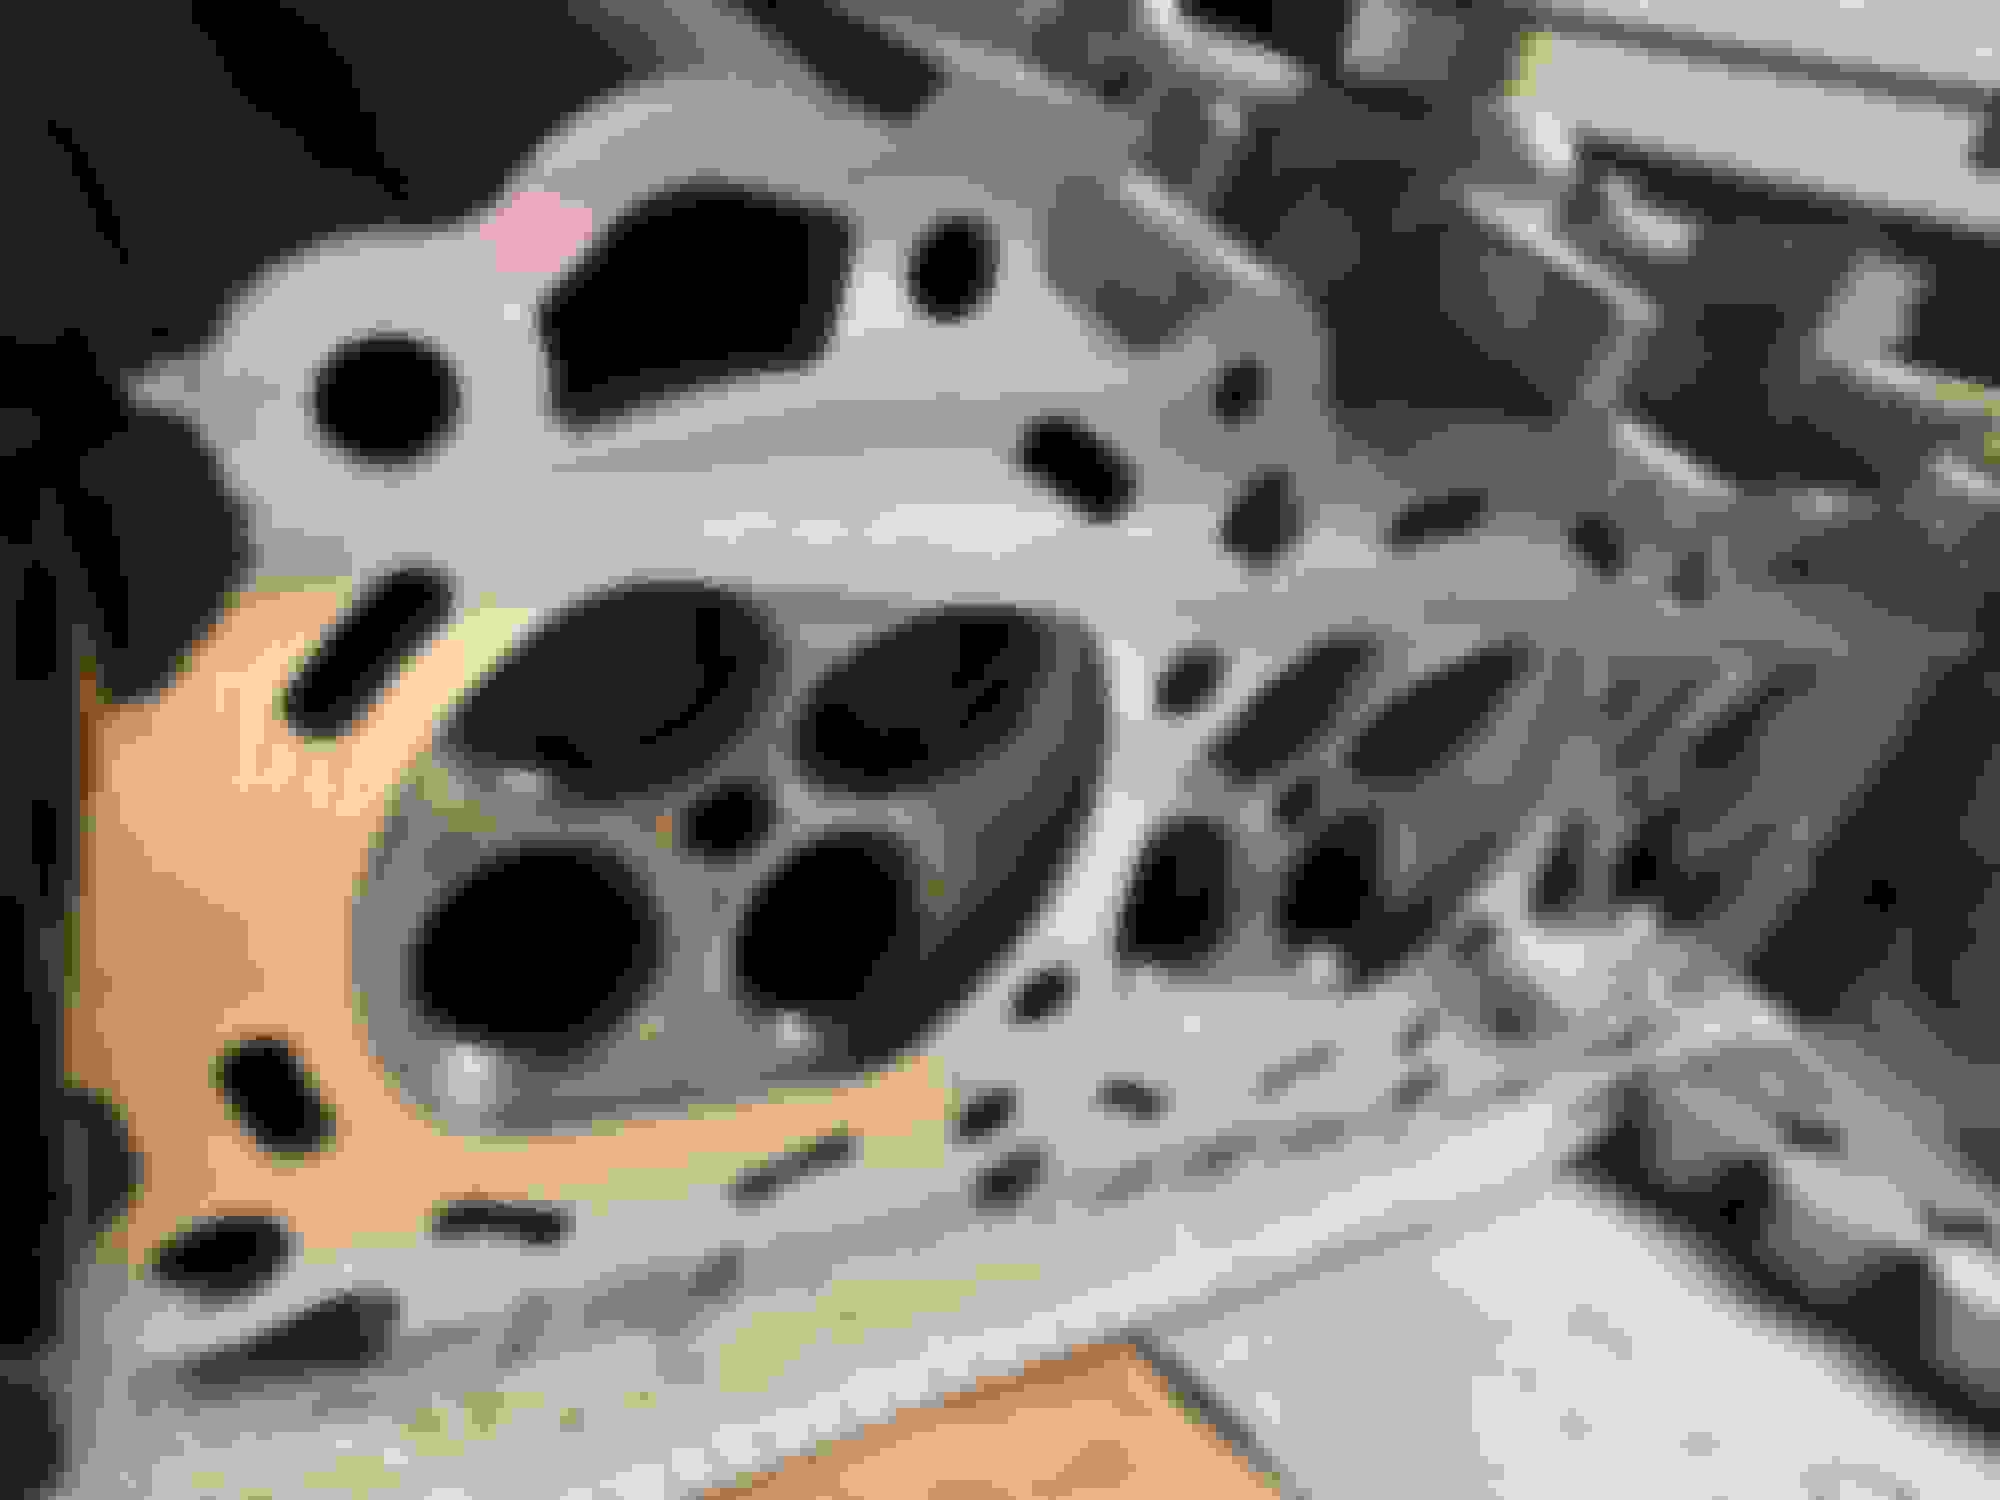
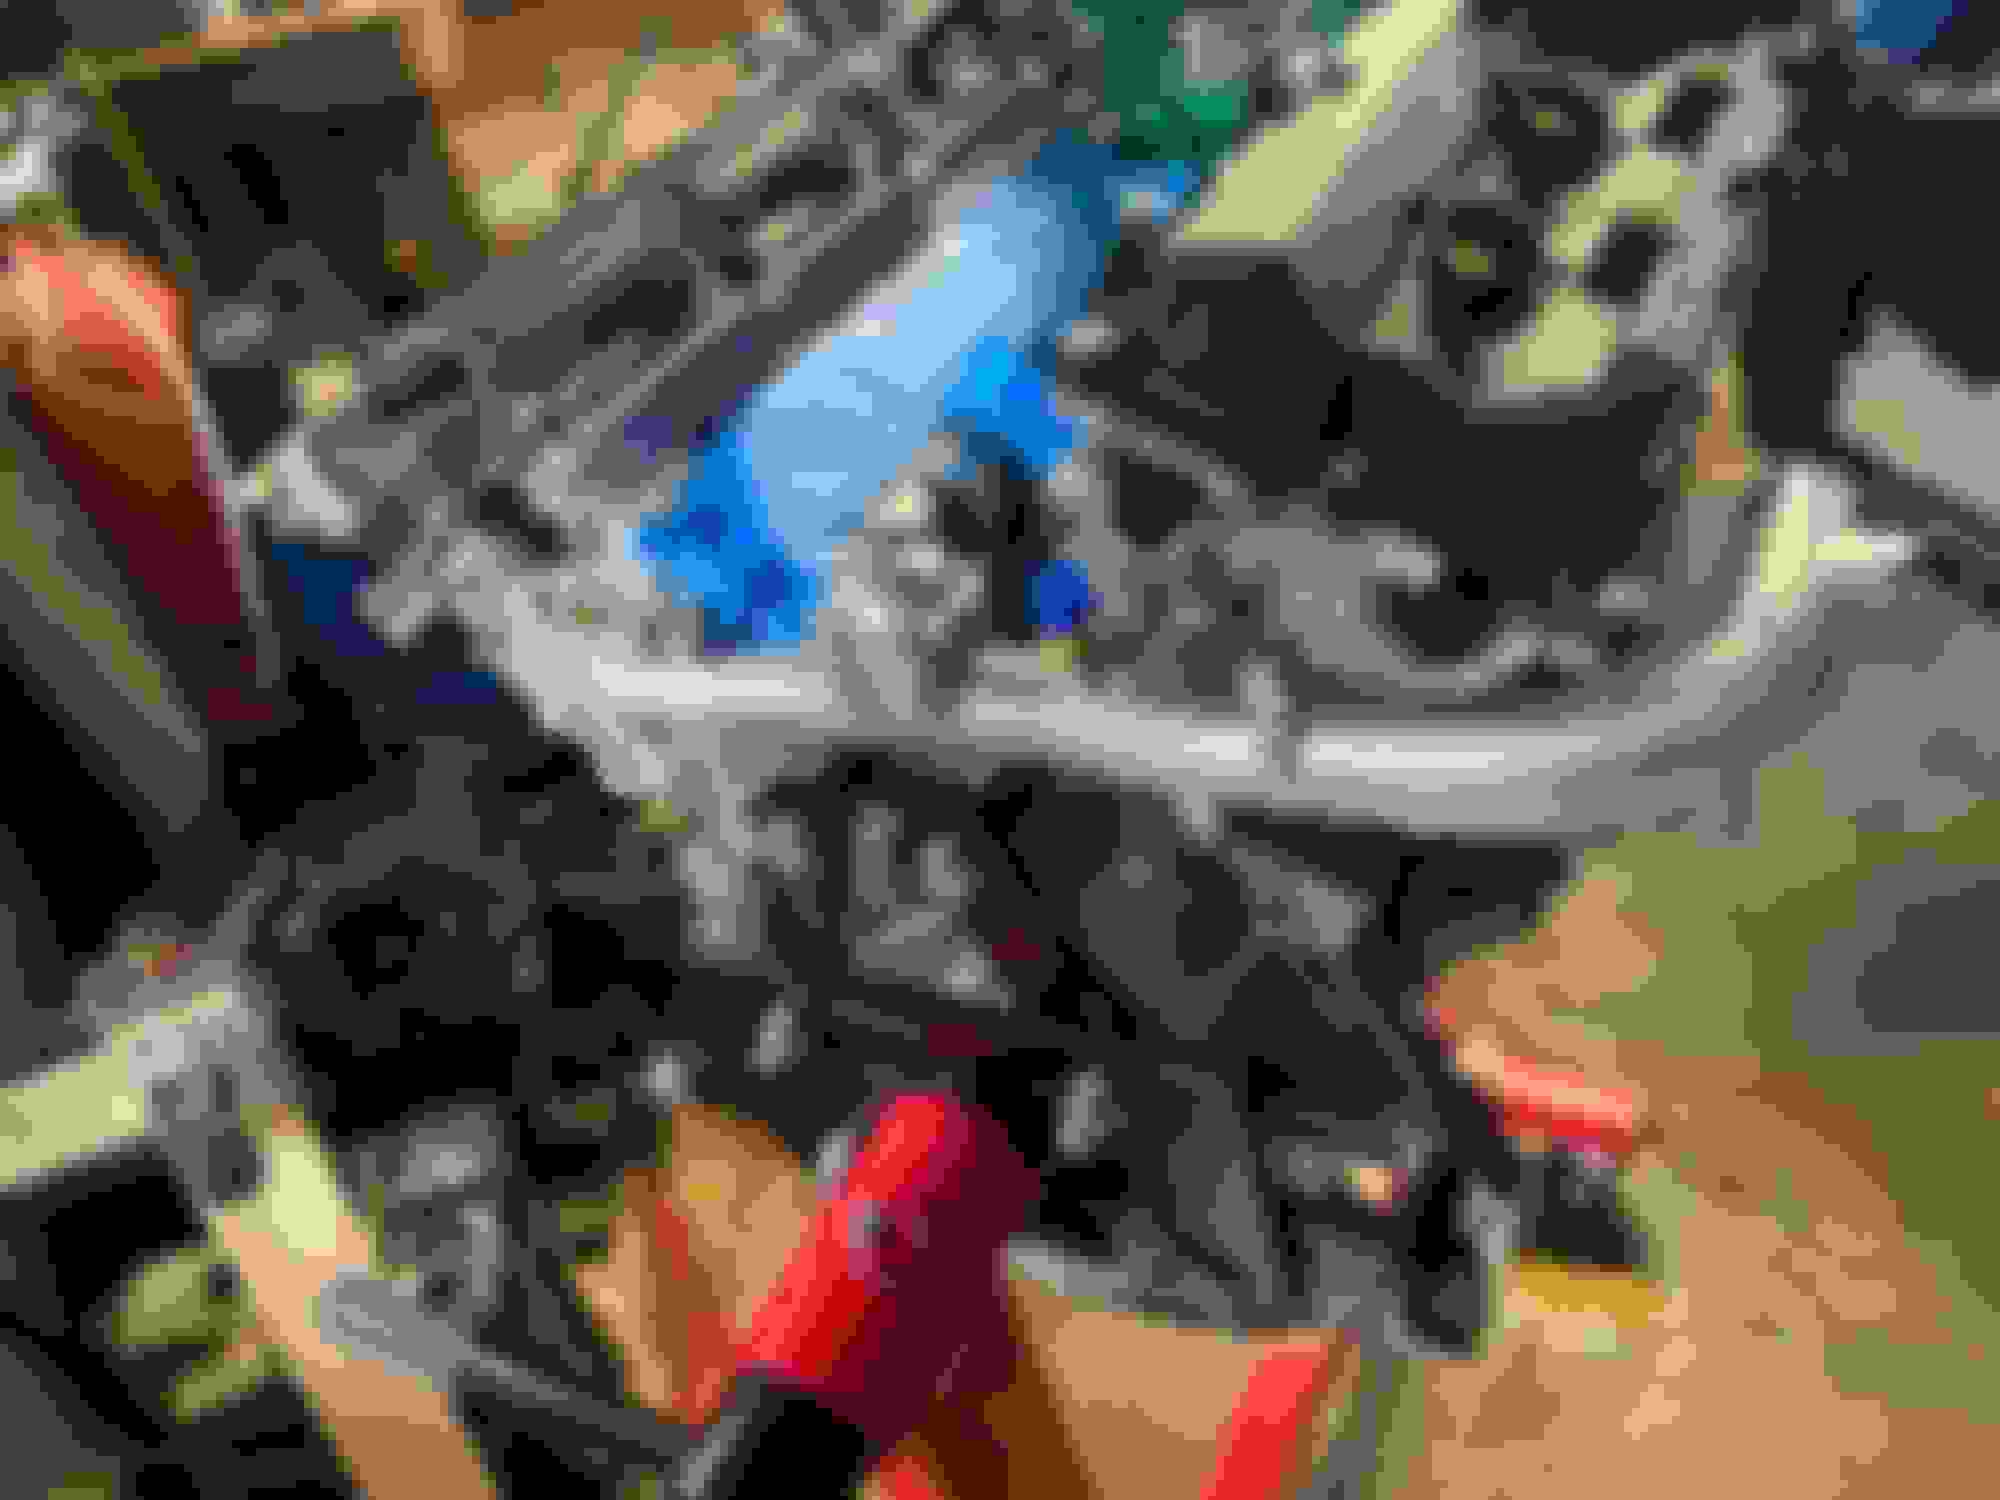
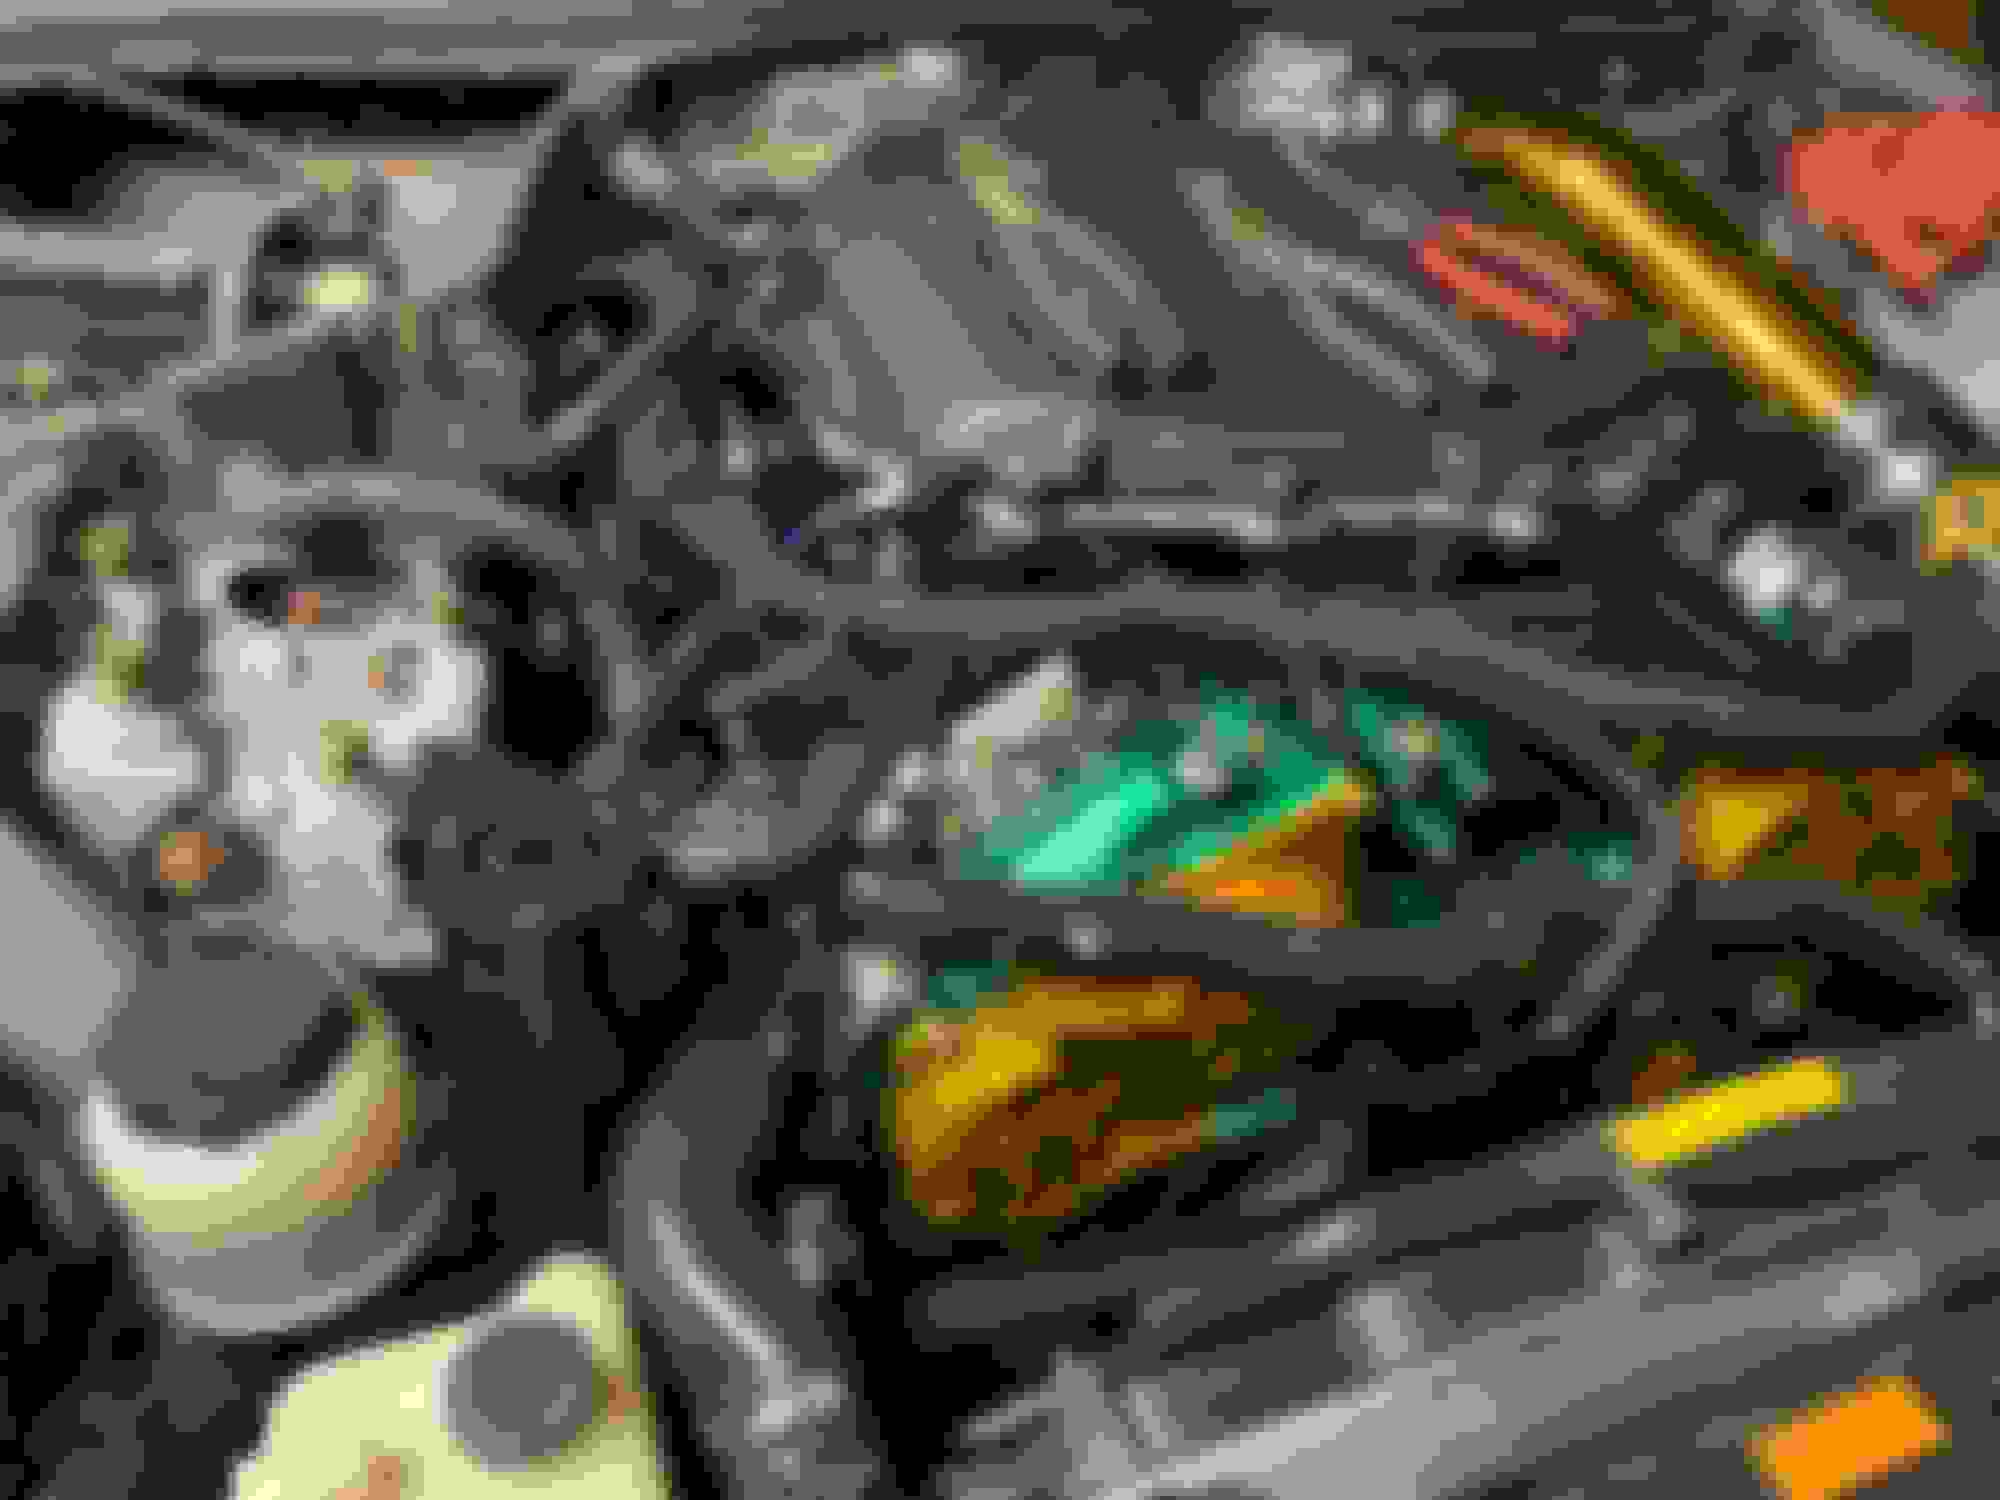
I stripped my RevUp heads and dropped them off at the local cylinder head shop for a clean and light decking. While they were gone I set to cleaning all of the old combustion deposits off of the old valves. Yes, that's what 305,000kms of oil-burning, four-season, VQ life does to your valves. The car was burning about a quart of oil every 1000km by the end, so this was expected. An hour with the brass wire wheel and everything was good as new.
Once the heads were back, I lapped in all the valves before I set to installing the new Viton valve seals, JWT C8 cams and JWT springs and shims. The heads went on the engine, the engine was timed, and lash was checked. I swapped buckets around and ordered the appropriate buckets I needed from Nissan before bolting the cams in for good.
High-tech valve organization.
Heads at the shop ready to be cleaned up.
What the inside of your oil-burning VQ looks like.
Ahhh, that's better.
Heads back from the shop, looking flat.
New springs, shims, and seals.
New bump sticks.
Heads on and waiting for shim buckets.
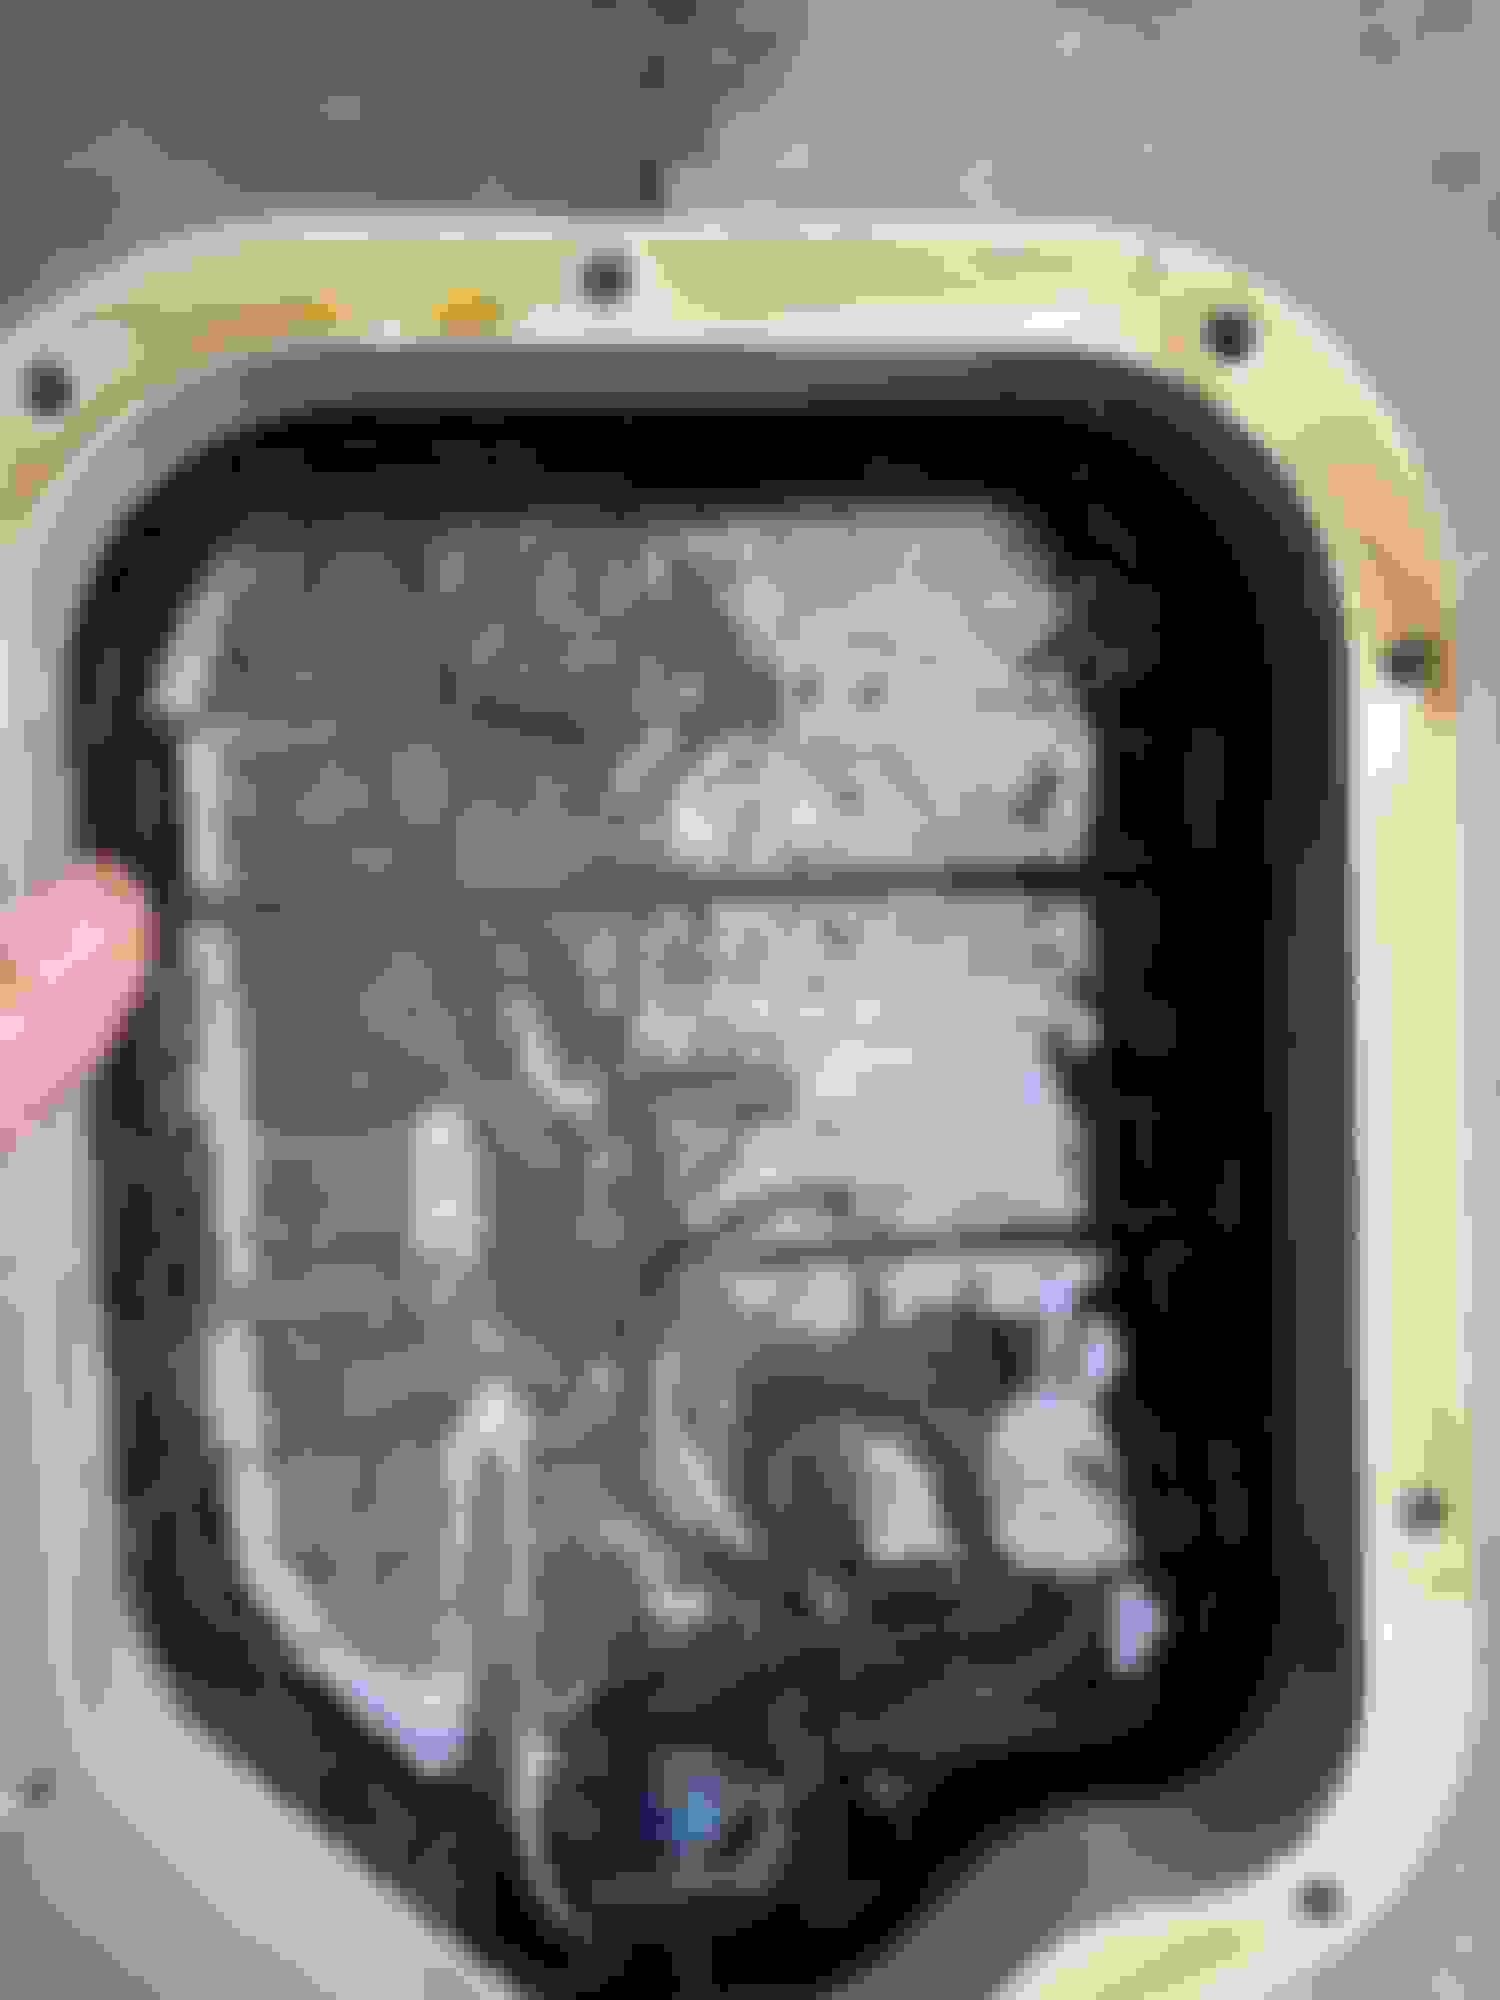
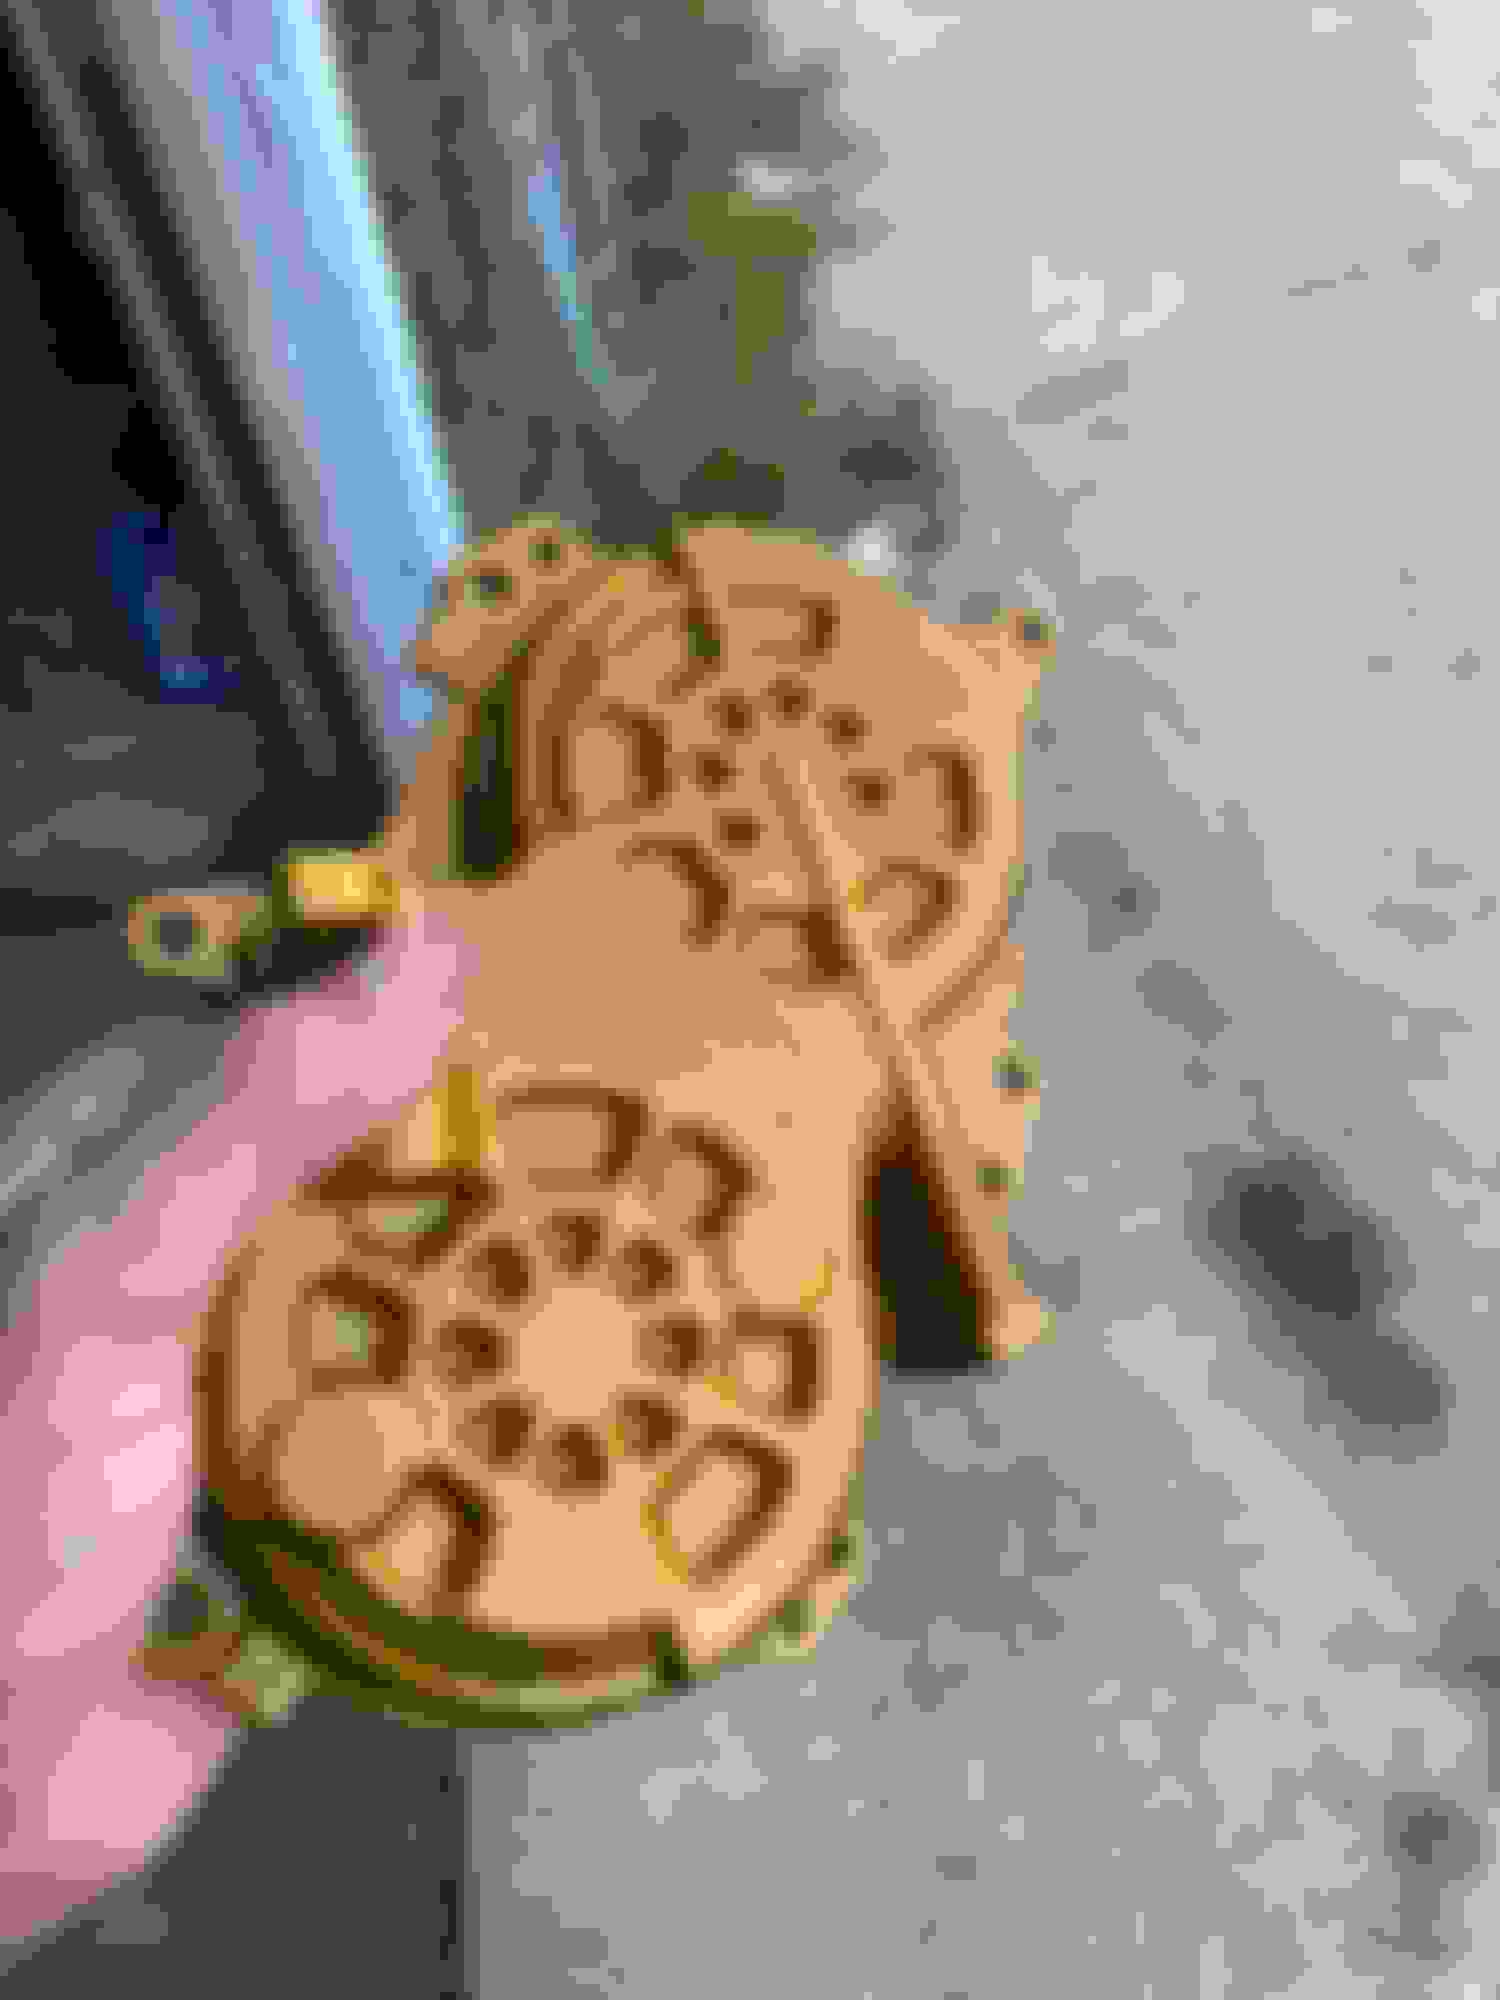
After a month or so of dismantling, cleaning, powdercoating, plating, waiting on parts, etc. I was super eager to get the long-block together. So eager in fact, that I didn't take many photos of it coming together. All that to say, the engine was timed, the upper oil pan was pulled, cleaned and re-sealed, the timing covers were installed along with:
- New timing chains and tensioners
- New OEM crank gear
- New water pump.
- New RevUp oil pump.
- New timing cover galley gaskets.
- Pathfinder cooling mod.
- New Fluidampr
- New water temp sender.
- New oil temp sender.
- New oil pressure sender.
- New lower oil pan.
- My cleaned oil pan spacer that was previously on the car.
- New VVT solenoids.
- New valve covers and gaskets.
- New knock sensor.
- New cam position sensors.
- New power steering pump.
- My old alternator (new a few months before the car let go)
- New Z1 poly engine mounts.
- New OEM water hardlines.
- HPS silicone caps for unused ports.
- New hardware and constant tension clamps.
- New OEM header studs and nuts.
- My Tomei Expreme Ti headers, because I'll never install headers on a Z33 with the engine in the car again.
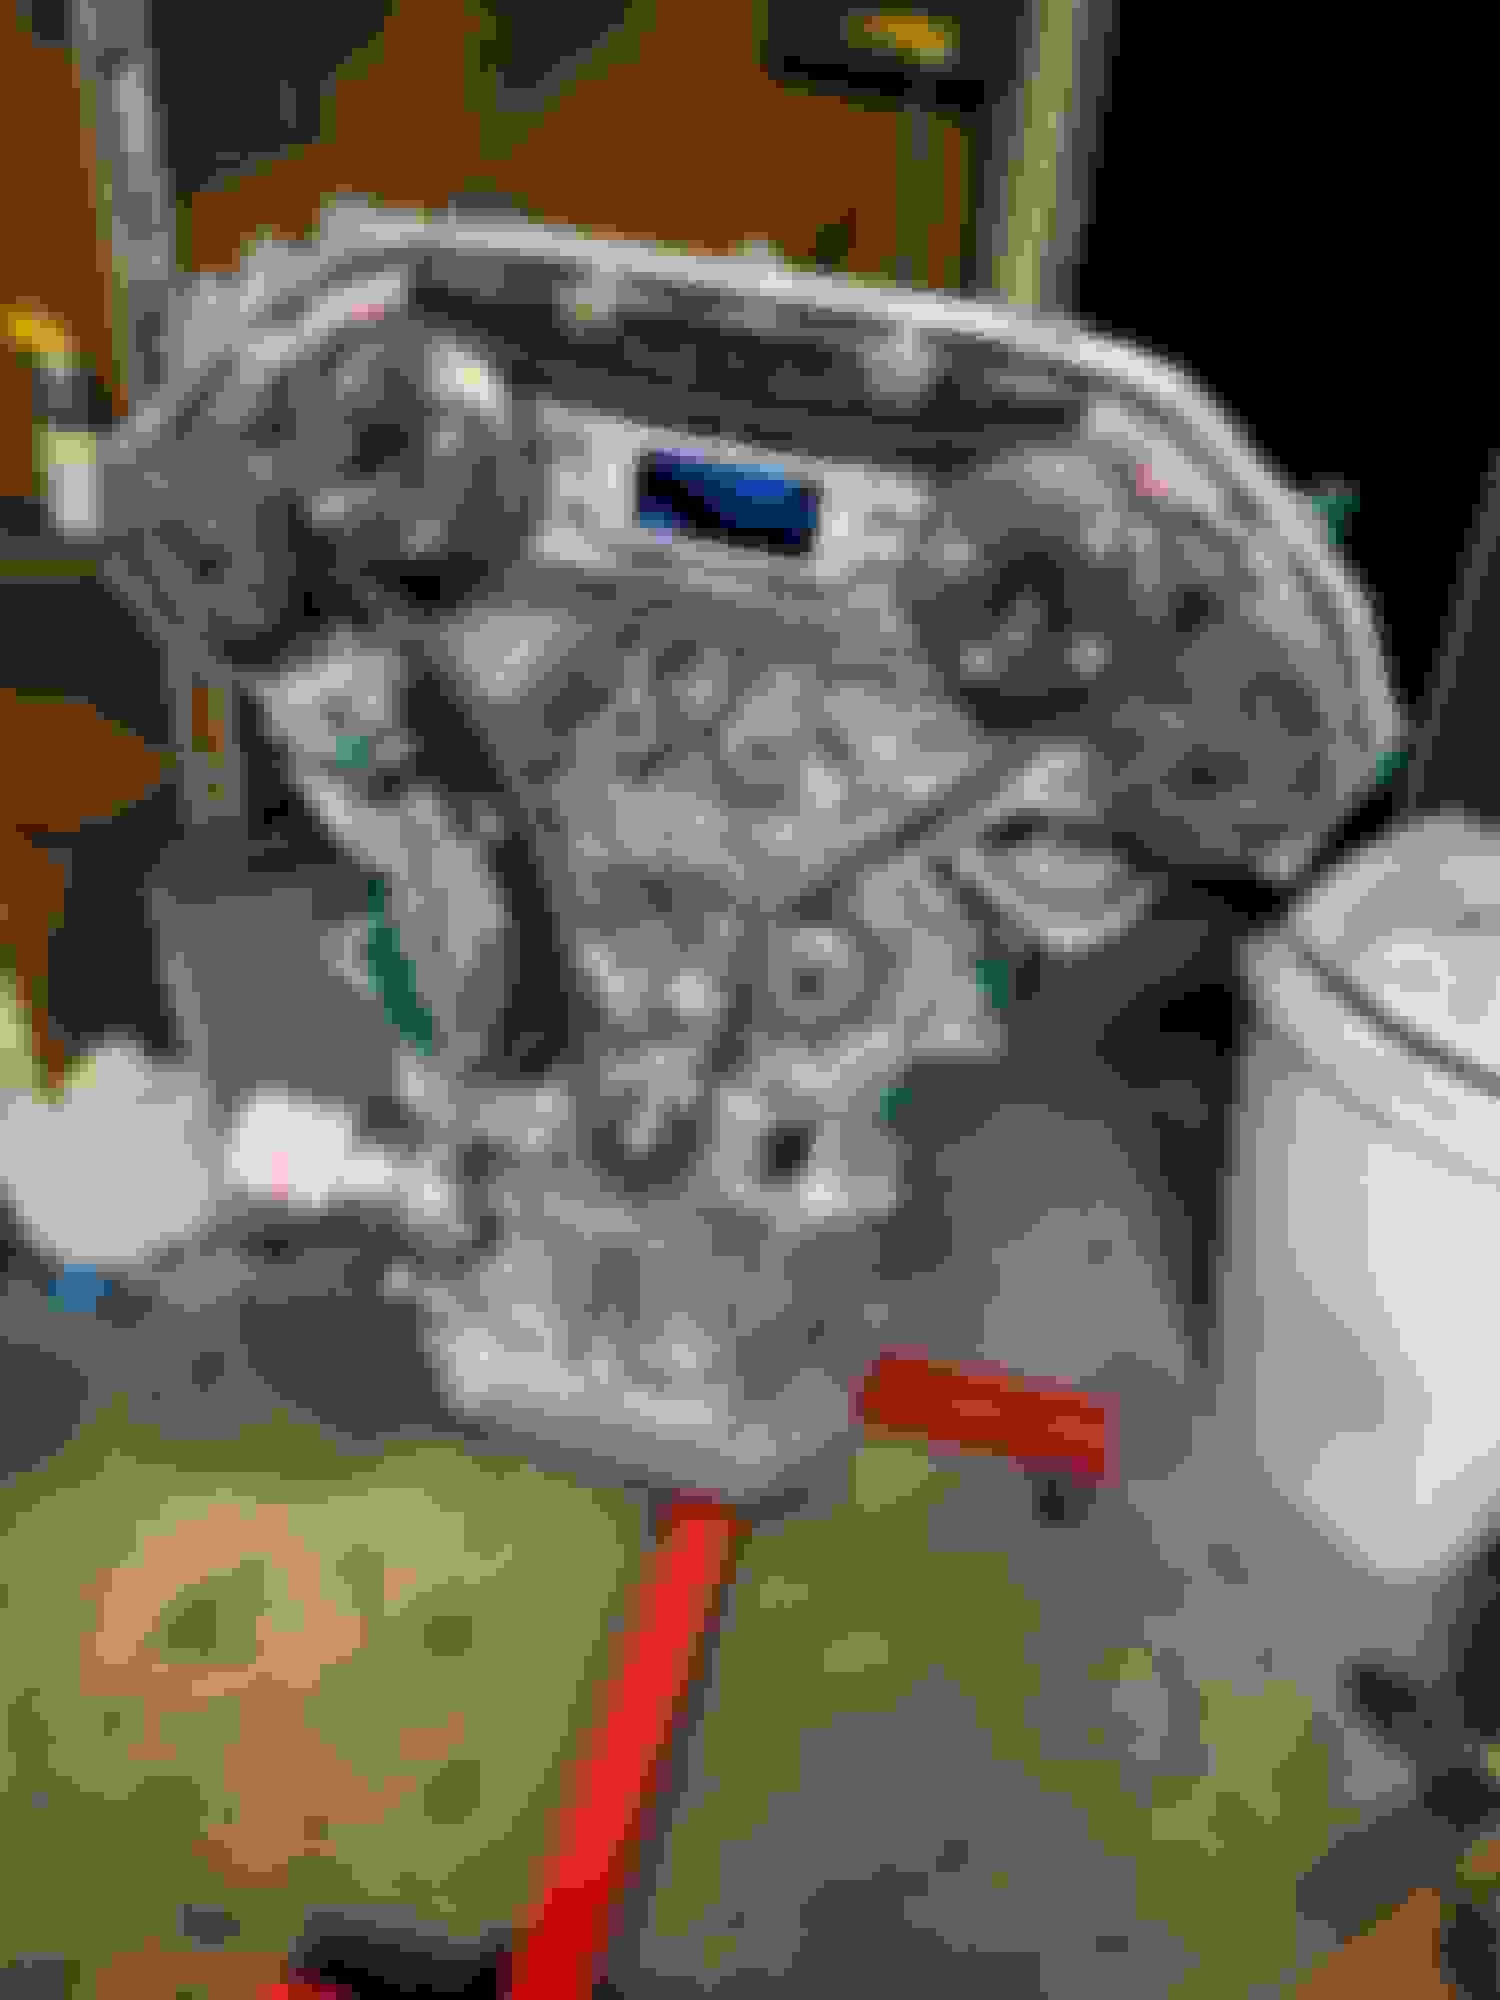
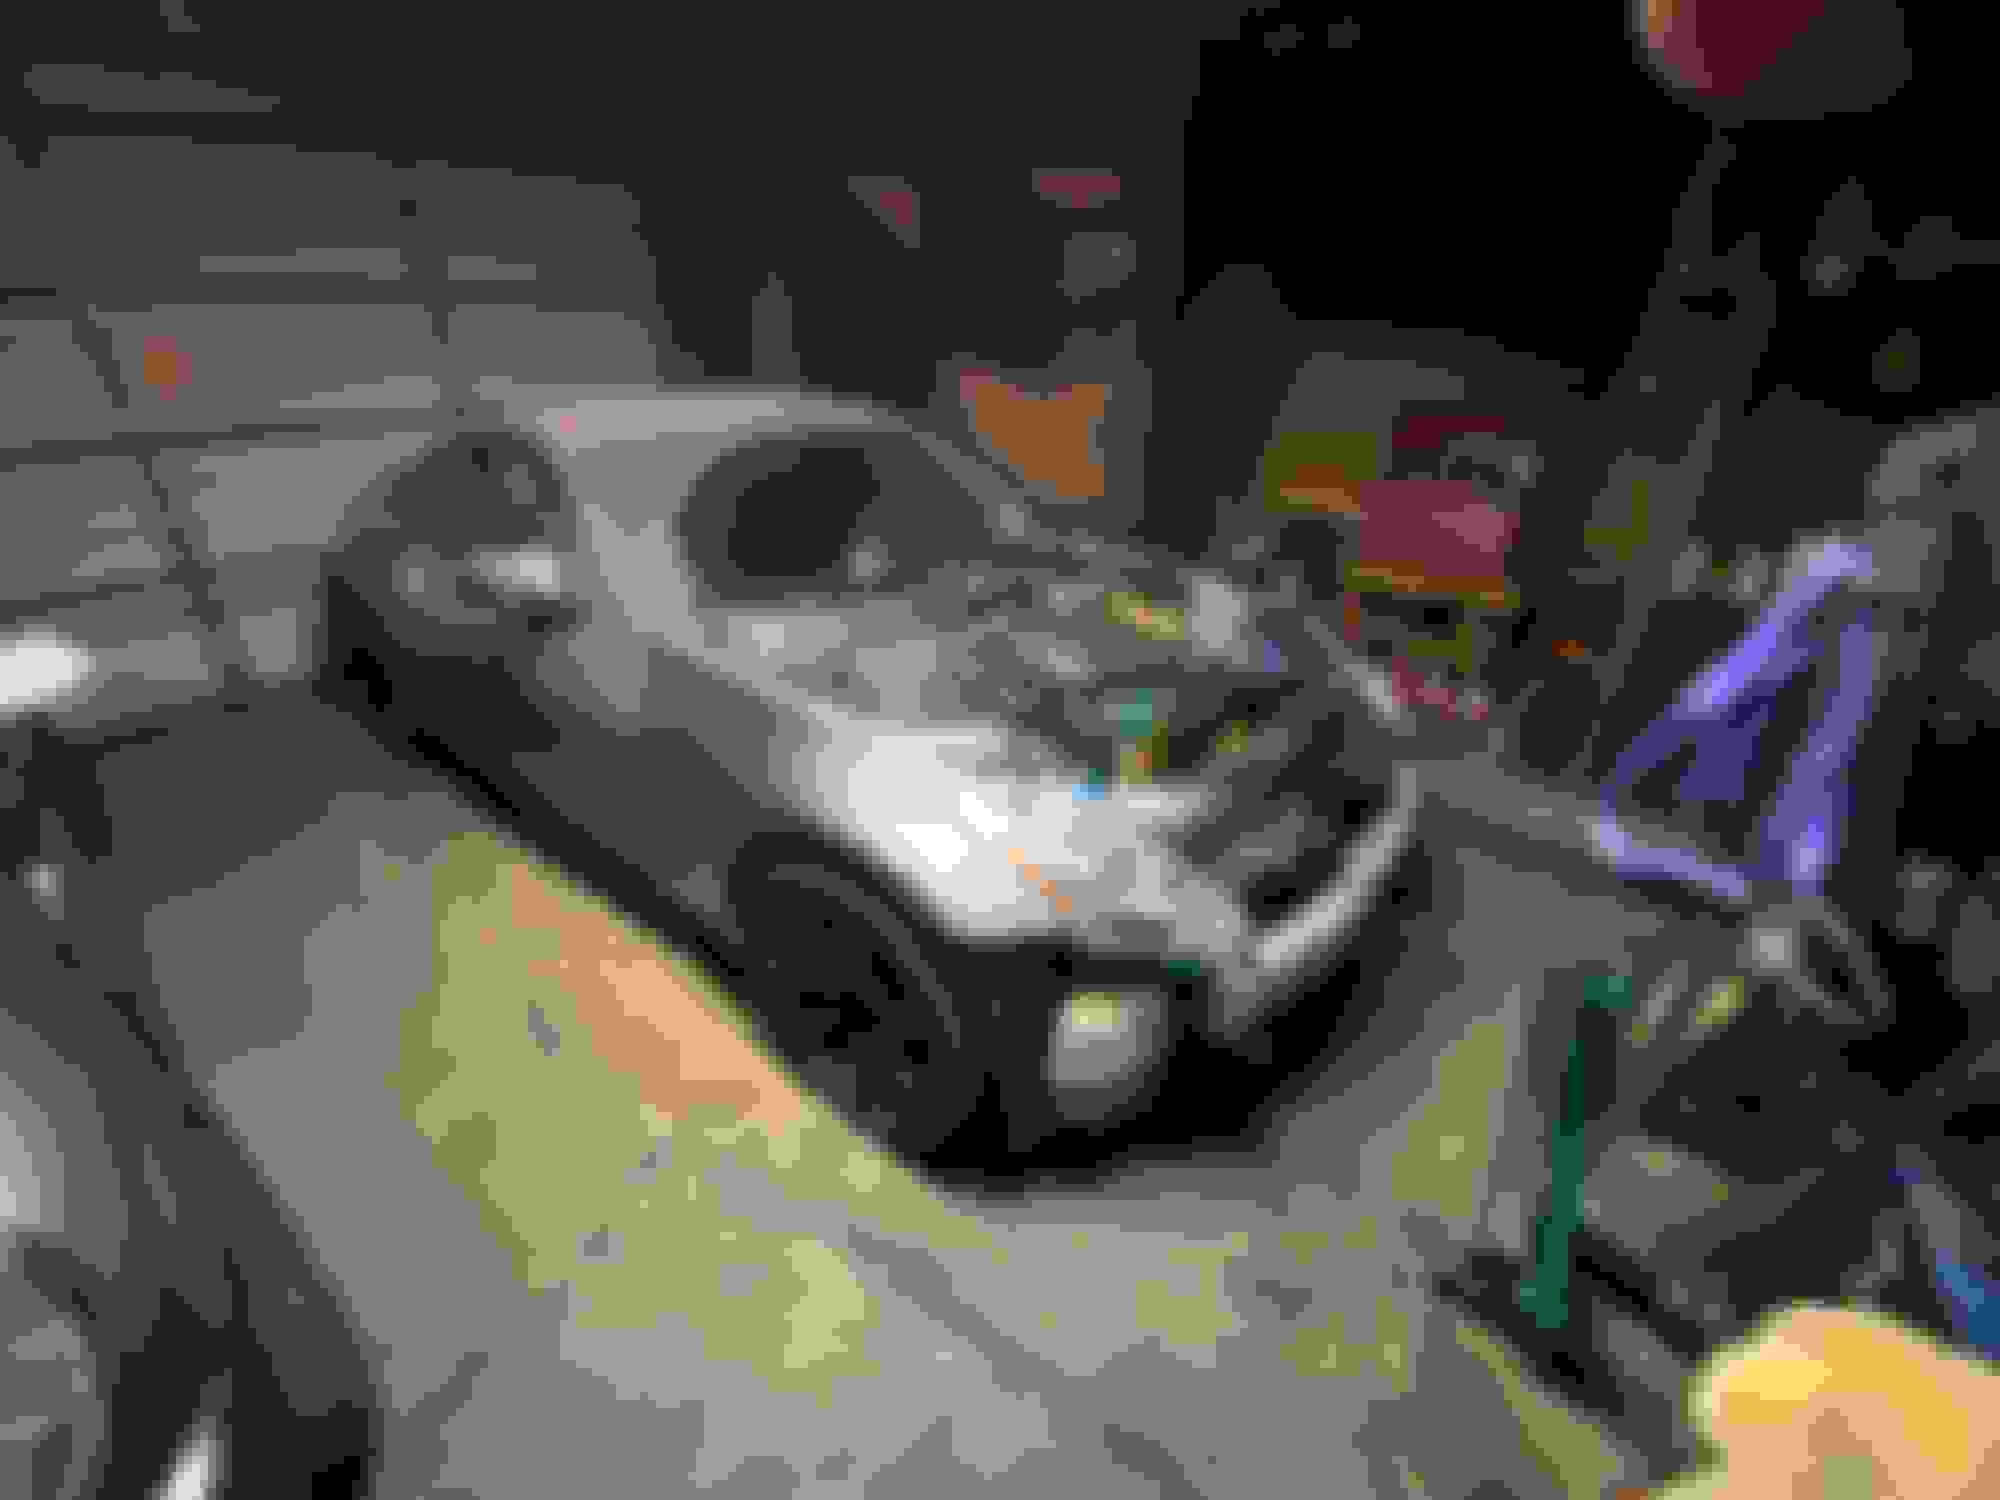
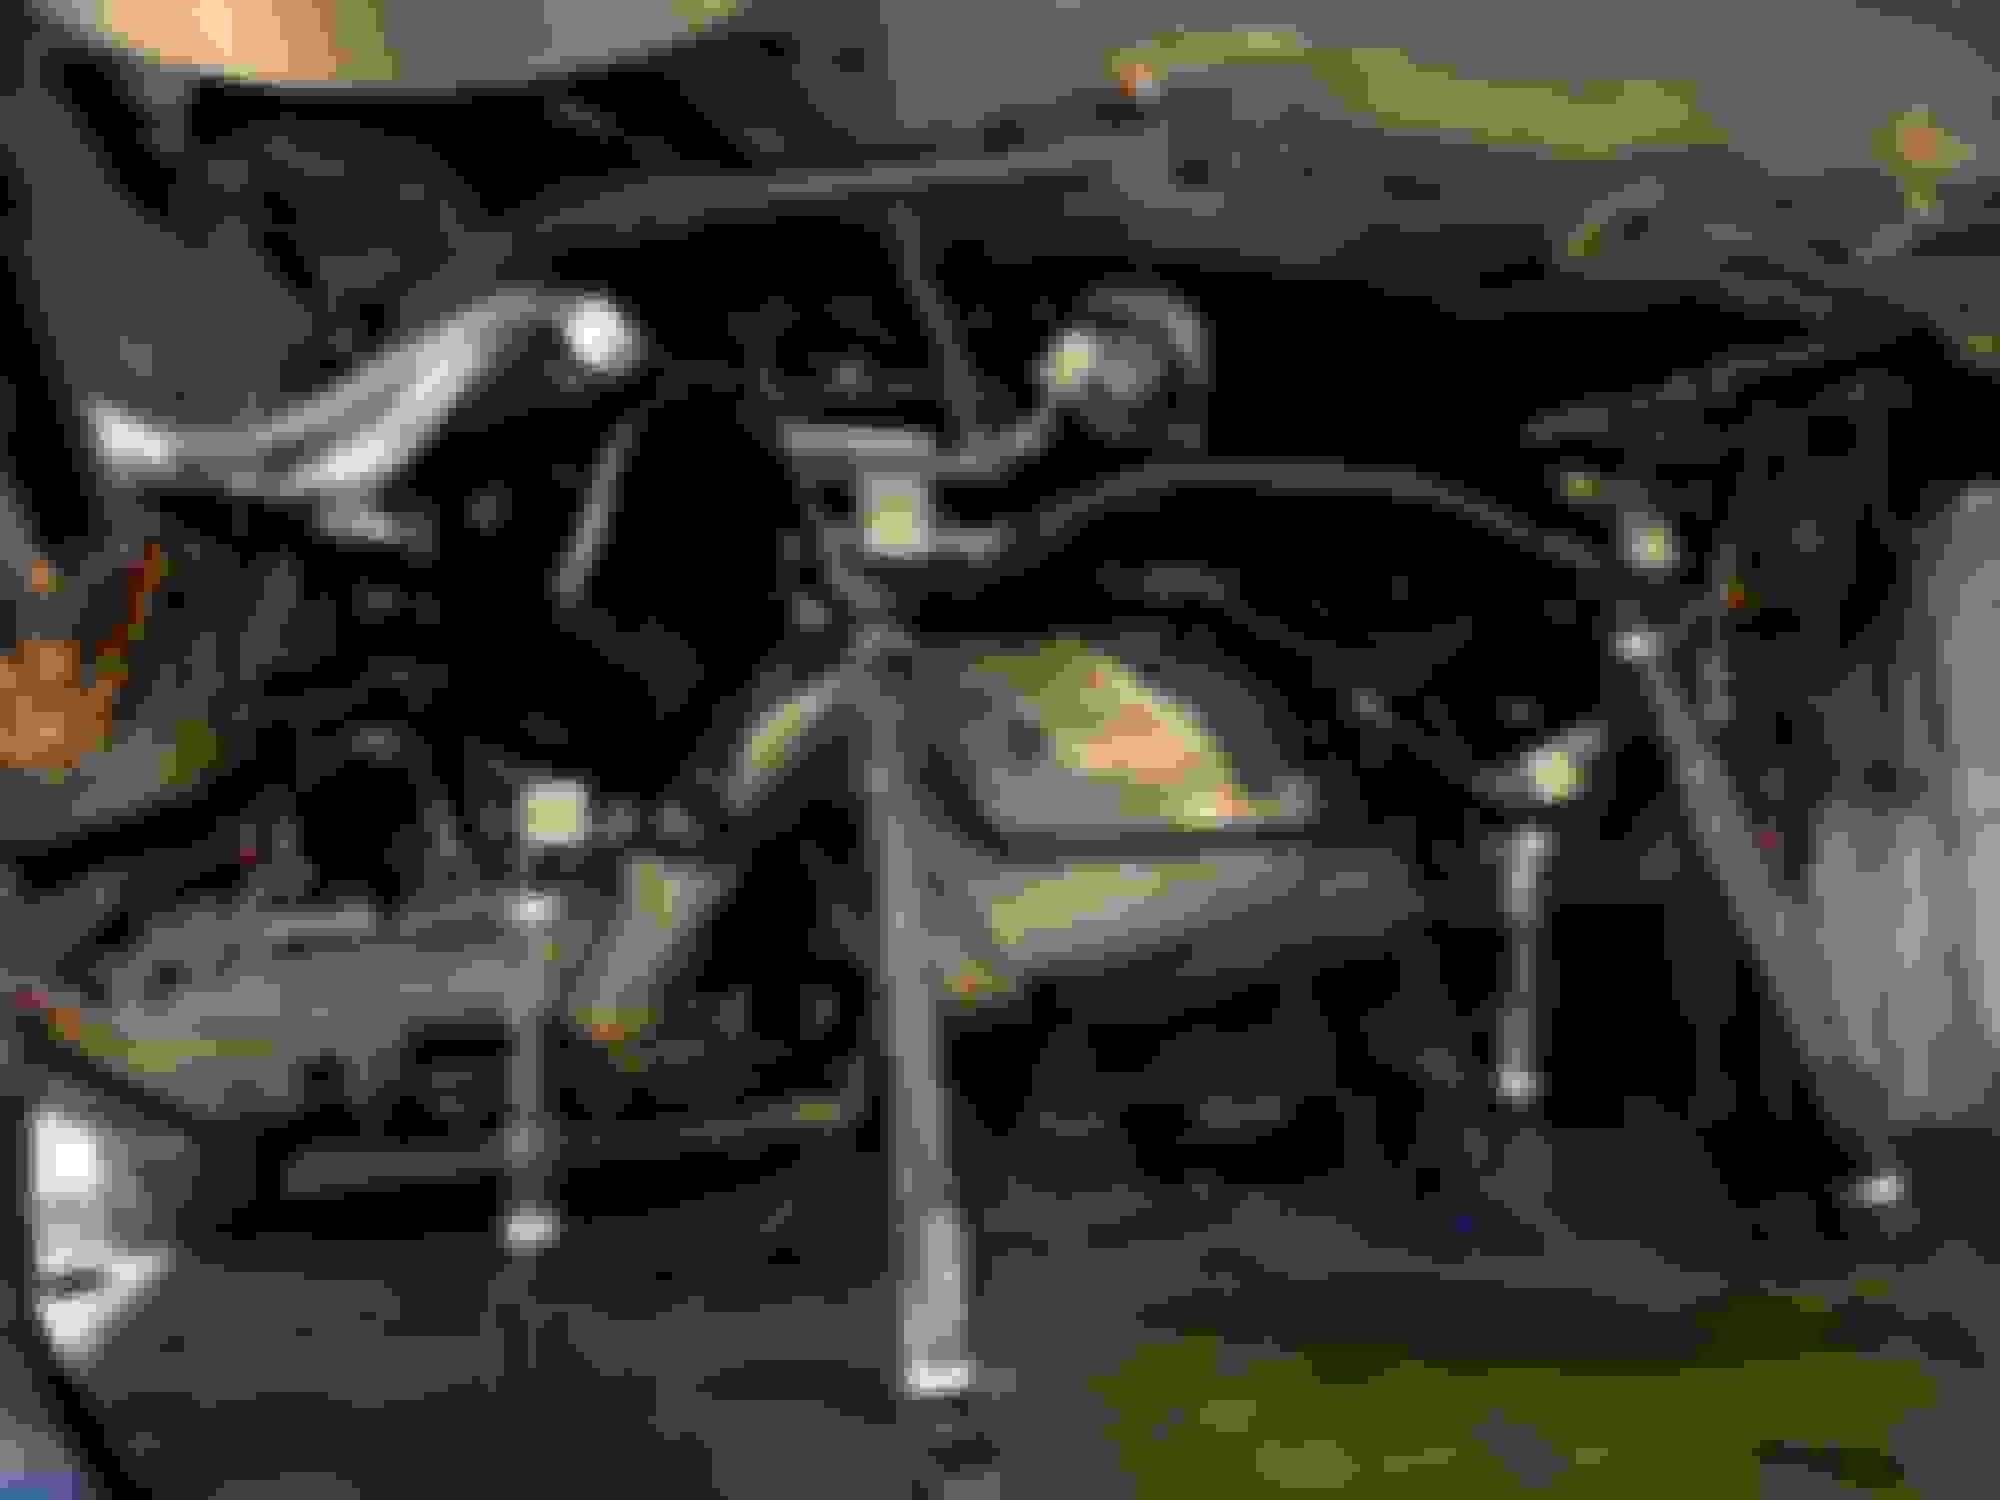
With the engine fully dressed, I bolted up a donor front subframe I had purchased and had powdercoated a few years ago. It was about this time that I realized I had an AT donor shortblock, so out came the slide hammer to pull out the AT crank bushing. With that done the Z1 lightweight flywheel and street clutch could go on. The Z1 transmission mount was bolted into the cleaned up transmission crossmember before the whole thing was mated to the back of the engine.
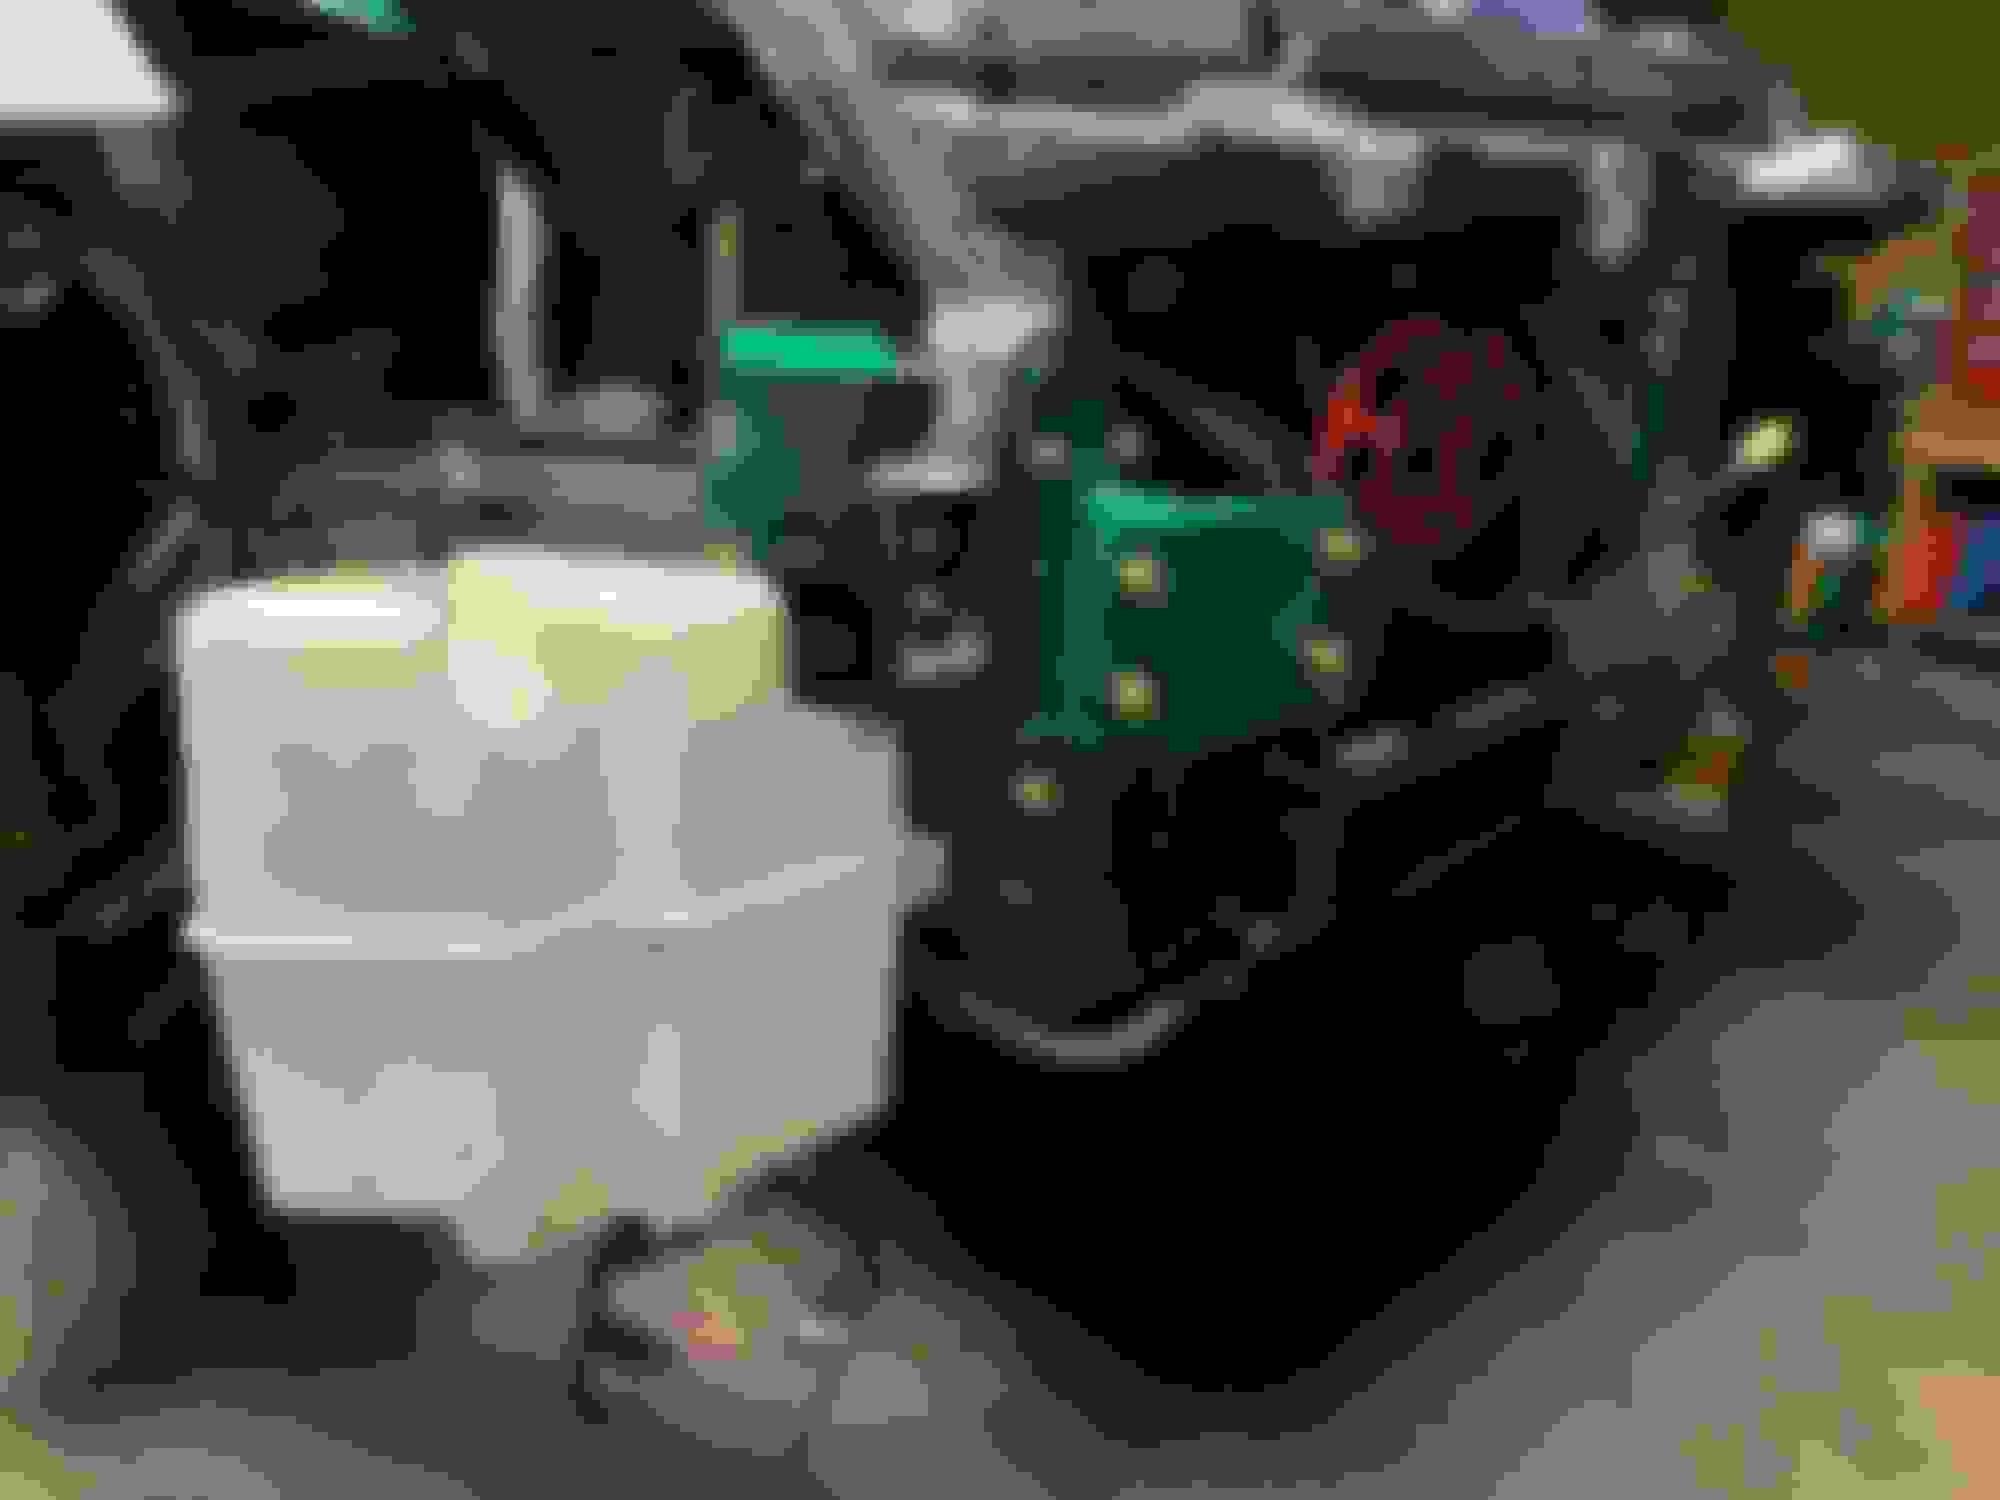
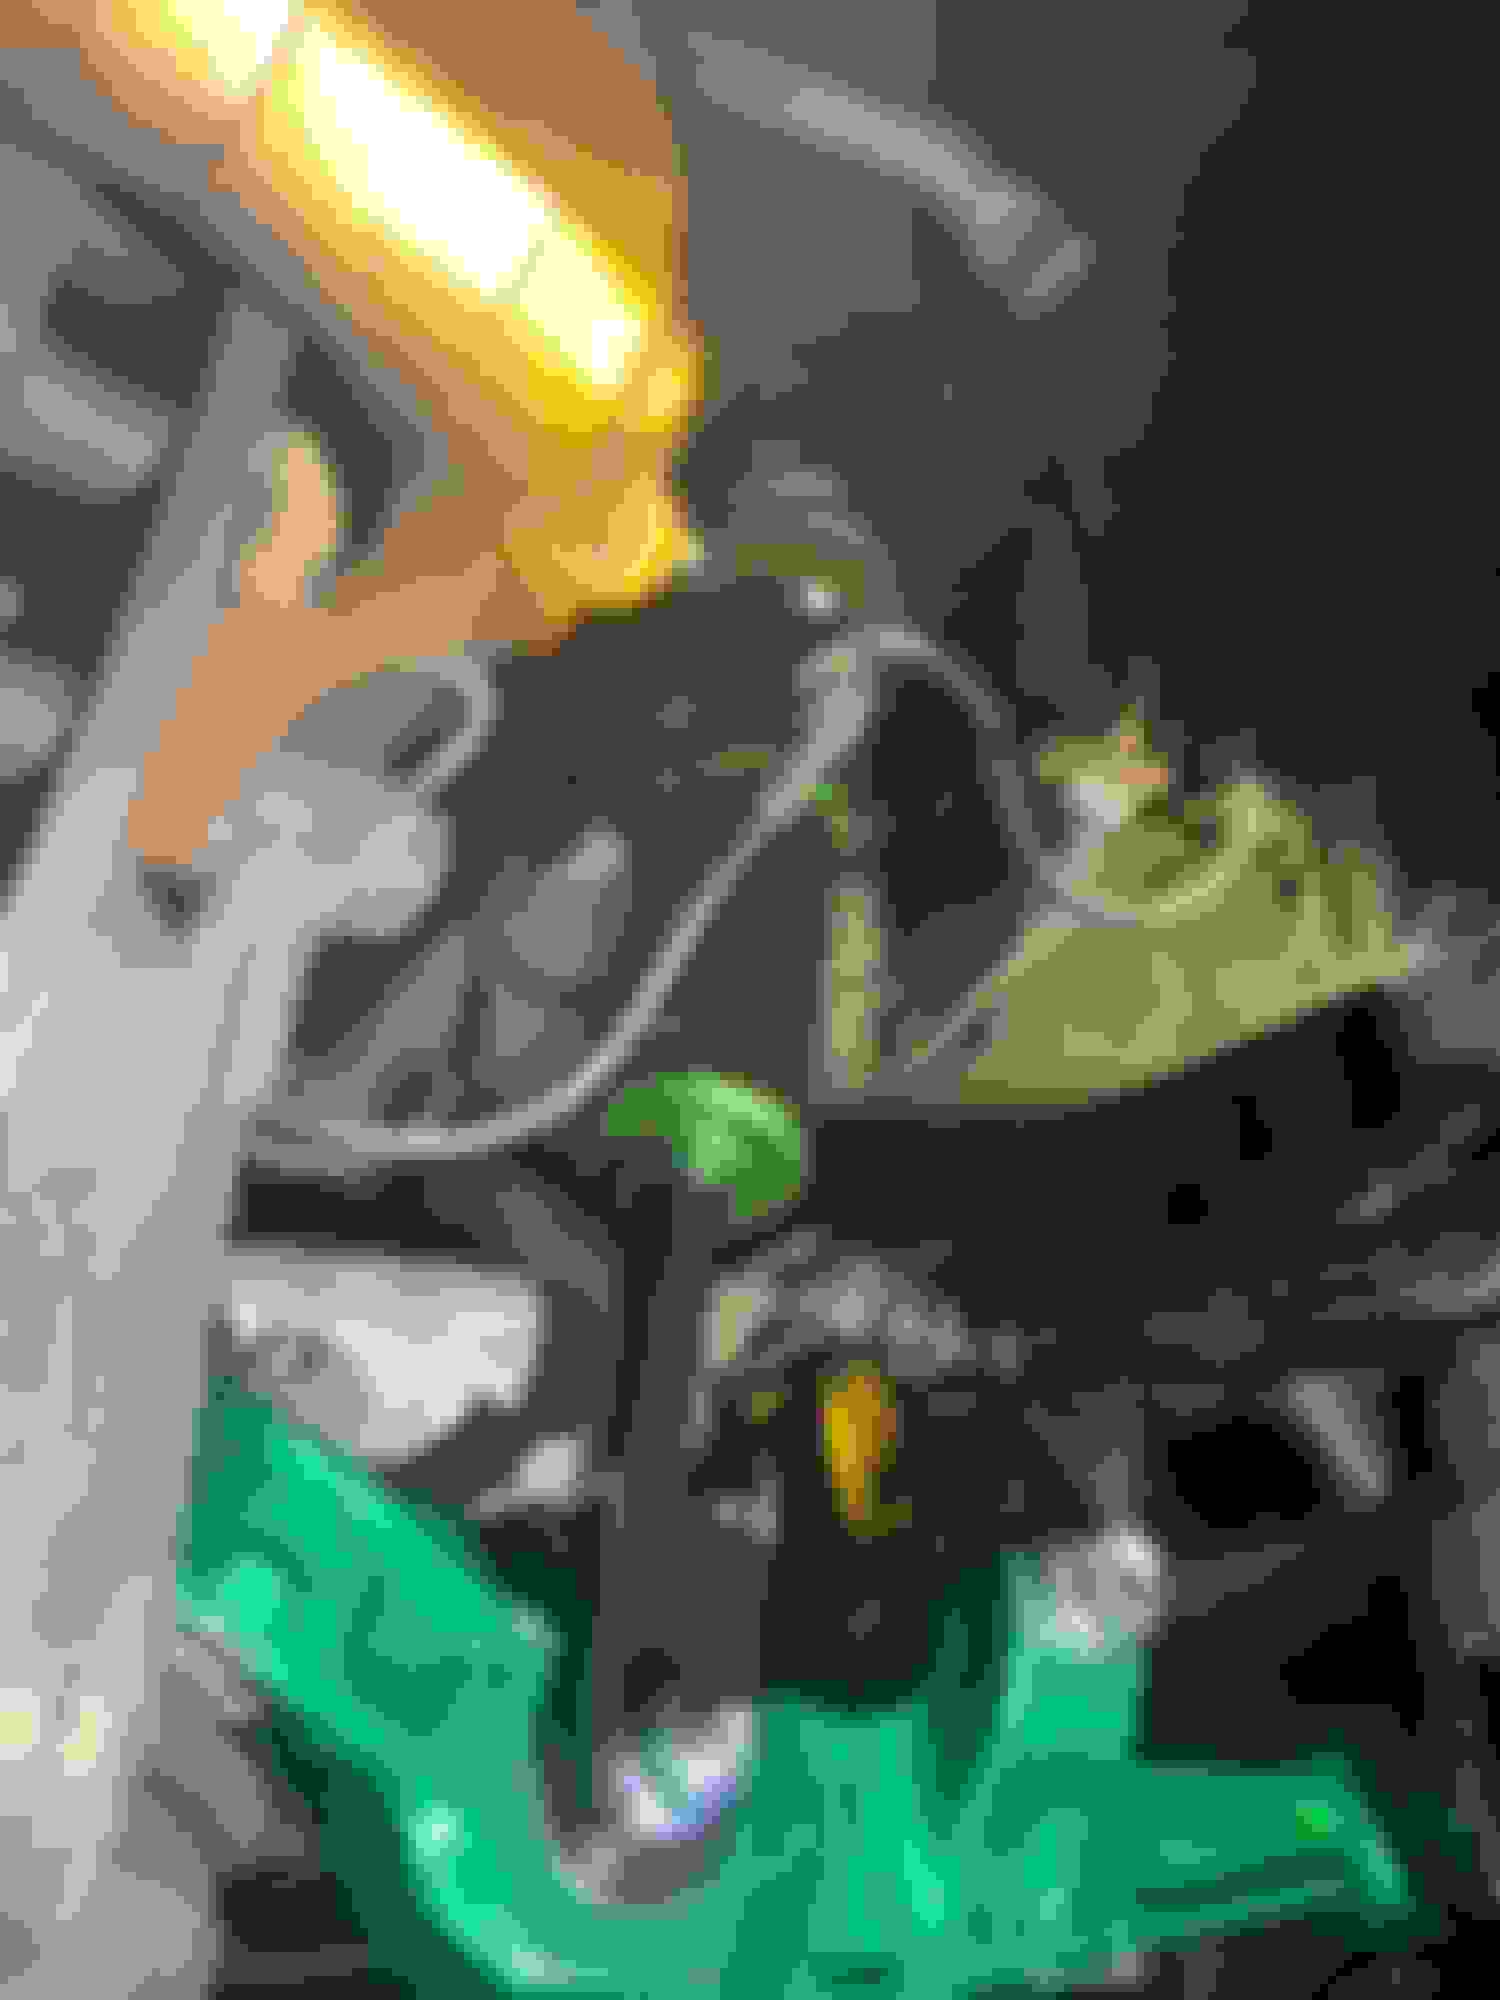
With the hoist straps around the moto mounts and the transmission on the transmission jack it was super easy to get the whole thing positioned in the car and lifted onto the subframe studs. From there the subframe and transmission crossmember were bolted up using new hardware. Things again gained some momentum and I barely remembered to take this snap of the new CSF radiator before hiding it behind the new AC condenser. In the interim I had also powdercoated the upper and lower plenums in a wrinkle black, so those were installed along with the intake to keep things sealed up. Z1 silicone hoses started to make a more prominent appearance throughout.
Things are really moving at this point. First (re)start and the dyno seemed like they were just around the corner. With that it was time to take care of random bits and bobs.
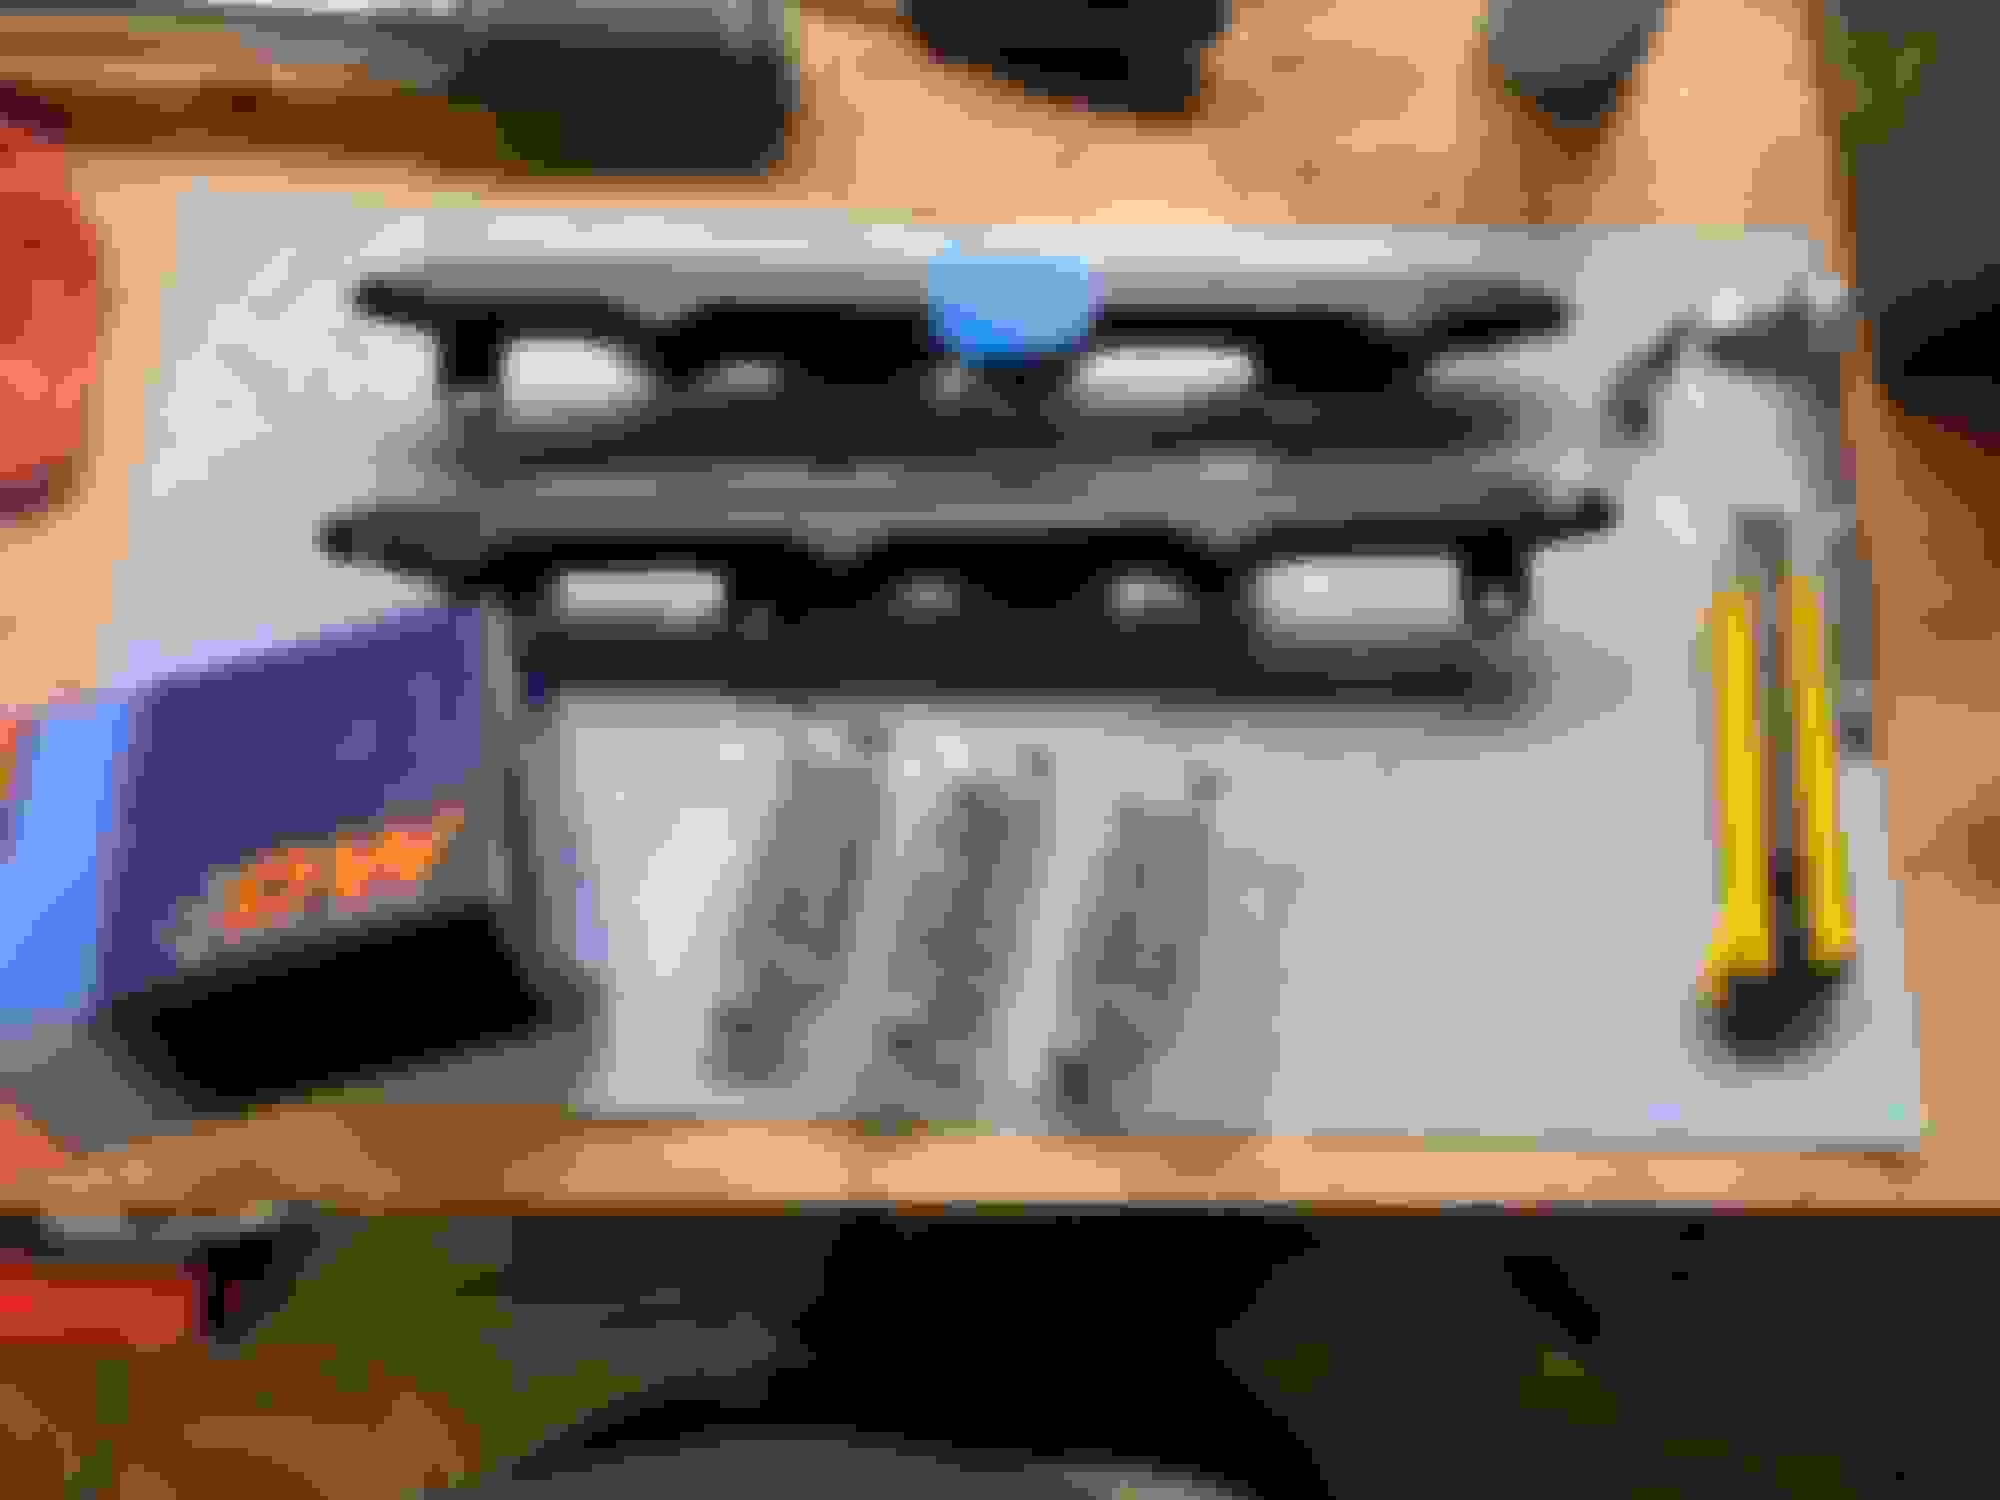
New headlamps went into the powdercoated headlamp buckets.
New coils and plugs had been put in.
The power steering went in with a Setrab cooler replacing the crunchy stock unit (see bit about the car doing winters on winters).
A Mishimoto catch can (not very good, more on that waaay later).
Some new Supertones replaced the factory horns because I only eat the finest rice...
The fueling system got some attention with a DW200 pump dropped into a new sending unit before being installed in the tank and CJ Motorsports rails with dampers and a CJ Motorsports feed and crossover lines being installed to feed the new DW 440lb/h injectors.
Finally a new balljoint and wheel bearing for one of the spindles along with new dust shields both sides (again, le crunchy).
Oil, coolant, power steering fluid, gearbox oil, and just like that...
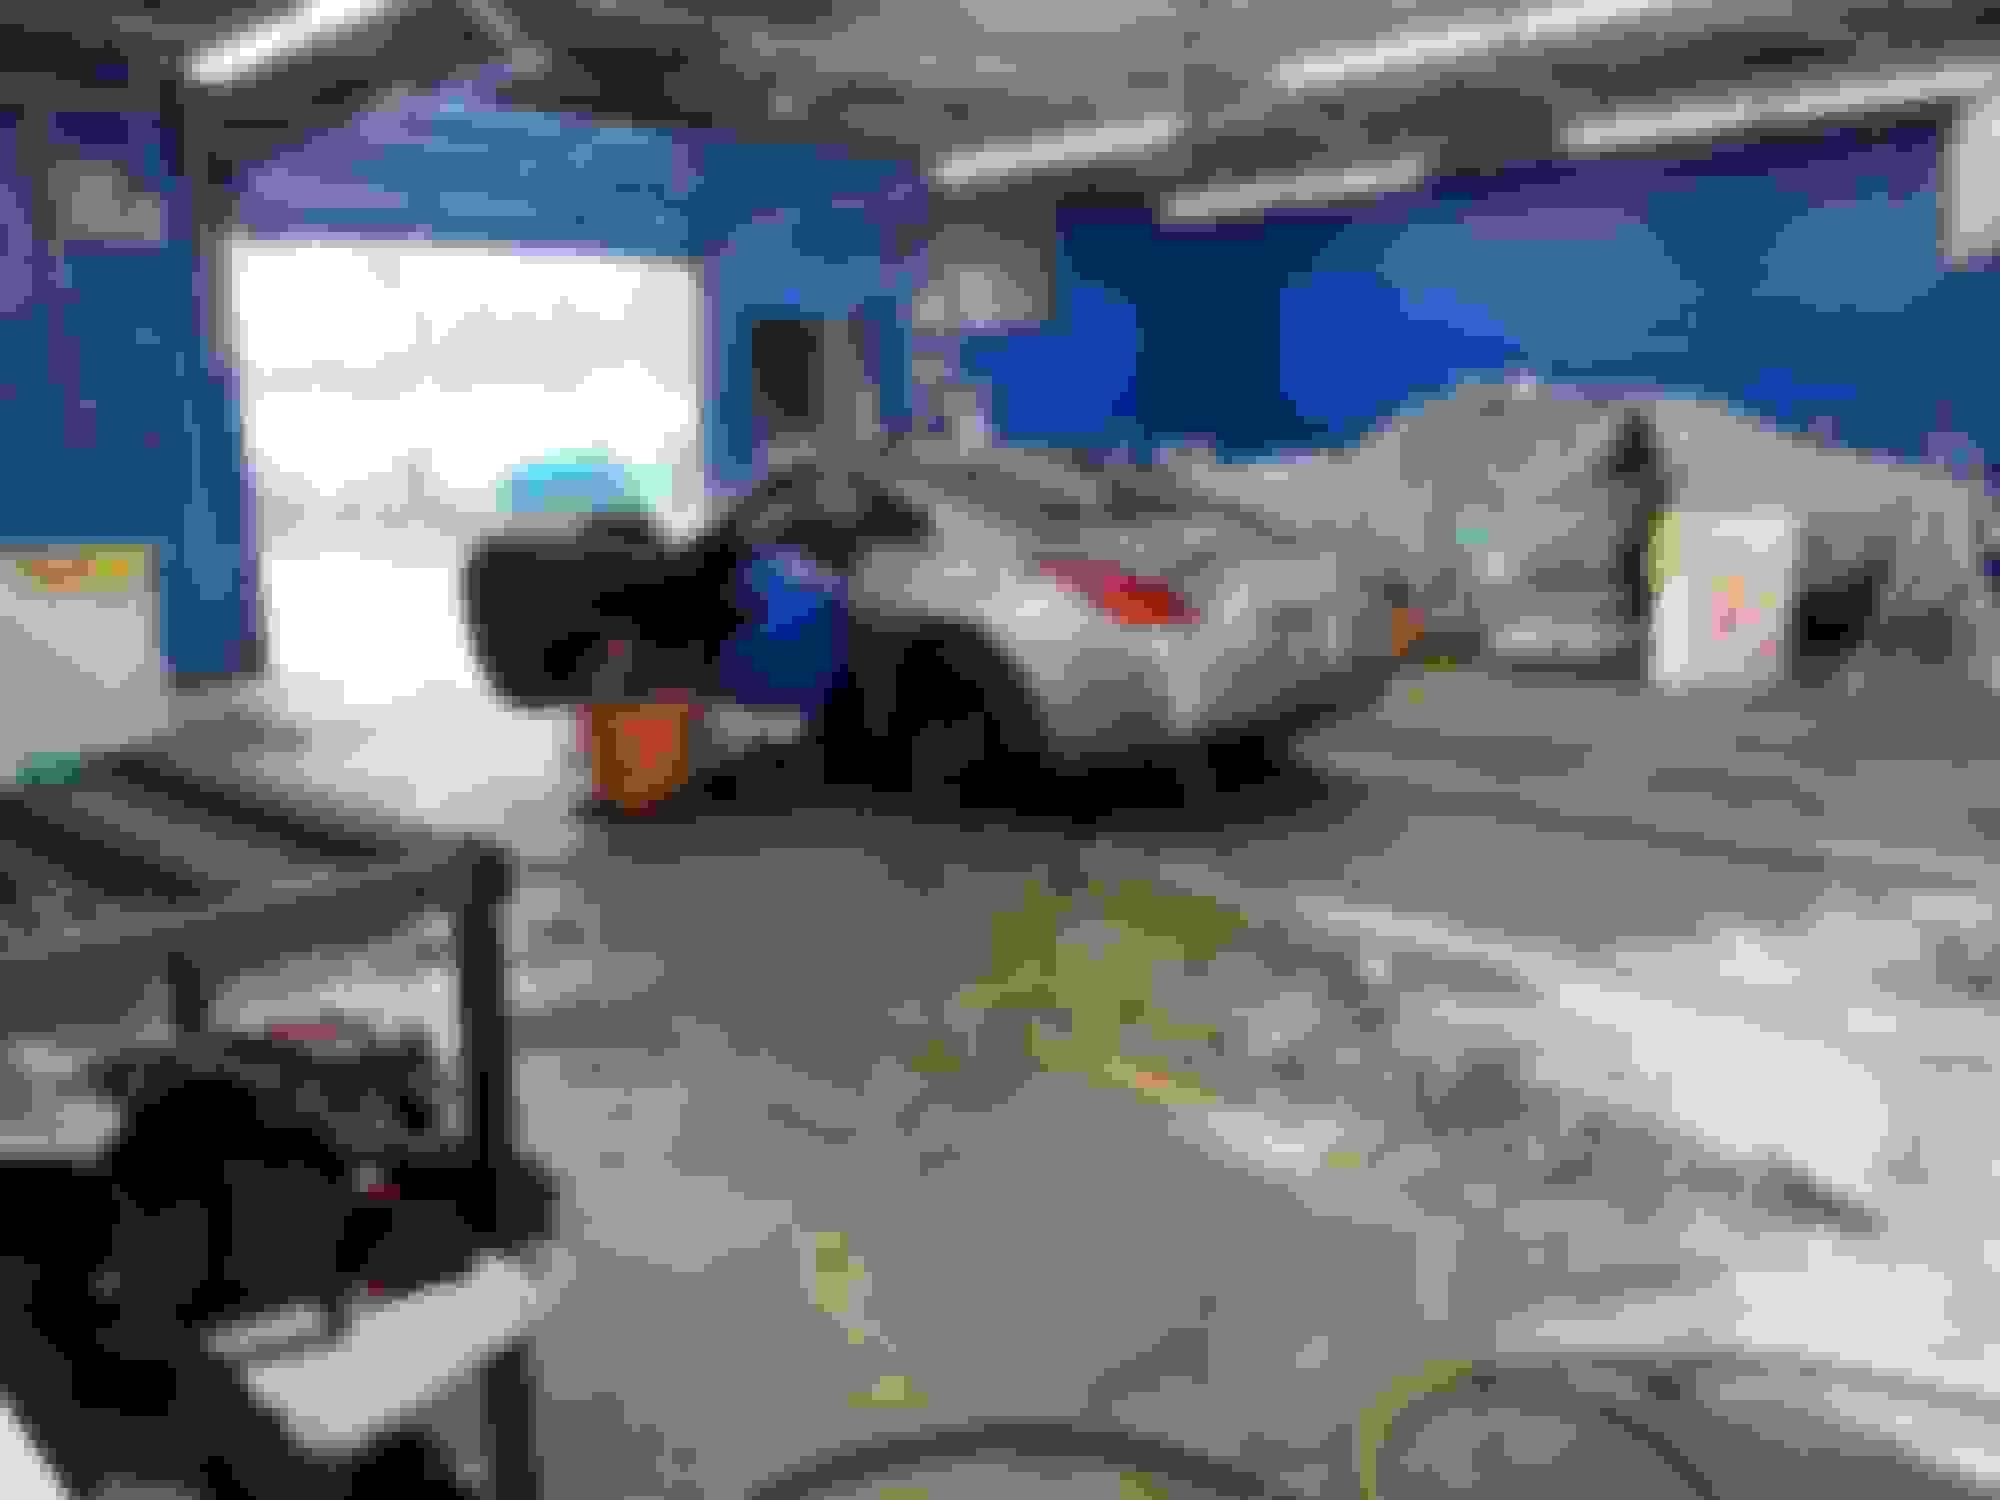
BAM! She was back on the ground!
Last edited by Sundown72; Sep 14, 2021 at 02:28 PM.
So with the old girl on the ground, I decided I should prime the new fuel pump. You can imagine my surprise when it turned over at the first bump of the starter.
I shut it down pretty quick and got UpRev working so I could richen the tune enough to get me to the dyno safely. After that, the poor gal got her first wash in three years, and then it was off to P&L Motorsports for a tune with JR Tuned. It was pretty funny to see the heads of all the Subie guys (P&L is predominantly a Subie shop) pop up and start looking around when the usual Subie burble-burble was replaced with some sweet VQ howl. The car made 279 to the wheels, a bit less than I had hoped, but reasonable given the fact I had my heavy-*** old XXR wheels on the car and was still running a warm air intake. Based on that I'd call it somewhere between 280 and 285 depending on the day. The curve is classic NA, making jam all the way to the limiter, with a slope change as the car runs out of plenum. The brief was to develop usable power, not to go for peak numbers, this is a road course car after all. I'll say now that with some valve timing tuning and throttle tuning, there's more torque to be had slightly lower down but that only became apparent after a season on track.
So it was late November when the car came off the dyno, so her 370Z winter wheels went on and I occasionally enjoyed the car on dry days in the winter, and headed out to the garage once a week to annoy the neighbors and make sure the fluids got circulated.
I did discover I had gotten the rod of the fuel level hanger stuck with I put the fuel pump assembly in by running out of fuel on the highway with 1/2 a tank showing on the gauge. Don't be me, kids, make sure both senders are working well.
In a somewhat related story, I needed to sell my beloved R53 Mini because my partner sustained a serious injury and can no longer drive manual. The Mini went up on CL and pretty soon a couple of guys showed up to take a look, in a Porsche GT3... The mini had some fun goodies (Milltek headers and exhaust, IE camber plates, 17" Sparco wheels, EBC yellows and GD discs, poly bushes, low speed fan resistor, coils, plugs, etc) that I had put on over the couple years I had it and these guys were going to use it for ice racing. During negotiation it turns out one of them owns TH Motorsports/Autoplicity...So maybe some sweetheart pricing for a bit off the top on the Mini? A deal was struck and I had an unexpected discount for some parts.
So what do you do with such a fortuitous turn of events? You remember that such bounty must only be spent responsibly, so you buy a CF hood and hatch...This is a sound adult decision.
I also picked up some poly bushes and whiteline sway bar links while I was at it. Now, enter delayed Covid supply chain problems. I waited months for this stuff to finally show up, and when it did, the boxes looked a bit grim, but the parts looked good so I accepted the shipment and on they went. I'm building the car around the Gridlife "Street" ruleset, so no fancy plastic back windows for now. The old glass was pulled from the old hatch and moved to the new one.
At some point the Aerocatches went in on the hood, and the weather stripping/seals got mounted/bonded to the hood and hatch, but no photos because the thrash was on for the season and fiberglass/carbon dust sucks.
Attention now turned to the suspension, particularly at the rear of the car. Remember this is a crunnnnchy winter warrior. She didn't give up her rear subframe without a fight, and two snapped subframe studs...I repaired the studs using grade 12.9 threaded rod, mild steel tubing, a grinder, cutoff wheels, drill, tap, and a MIG welder. That's all I'll say about it, because I know my fix is good, but I don't want to be sued when your fix goes bad. Seek assistance if this happens to you an the fix is out of your depth.
With the subframe out I burned out the bushings and took it and all the other stuff too big for me to powerdercoat myself to my powdercoater in the suburbs. While it was there I set to blasting, powdercoating, and zinc plating everything else that wasn't being replaced. My powdercoater did a great job and had the subframe back and looking sharp. The subframe got dressed and was mounted back to the car smooth as butter.
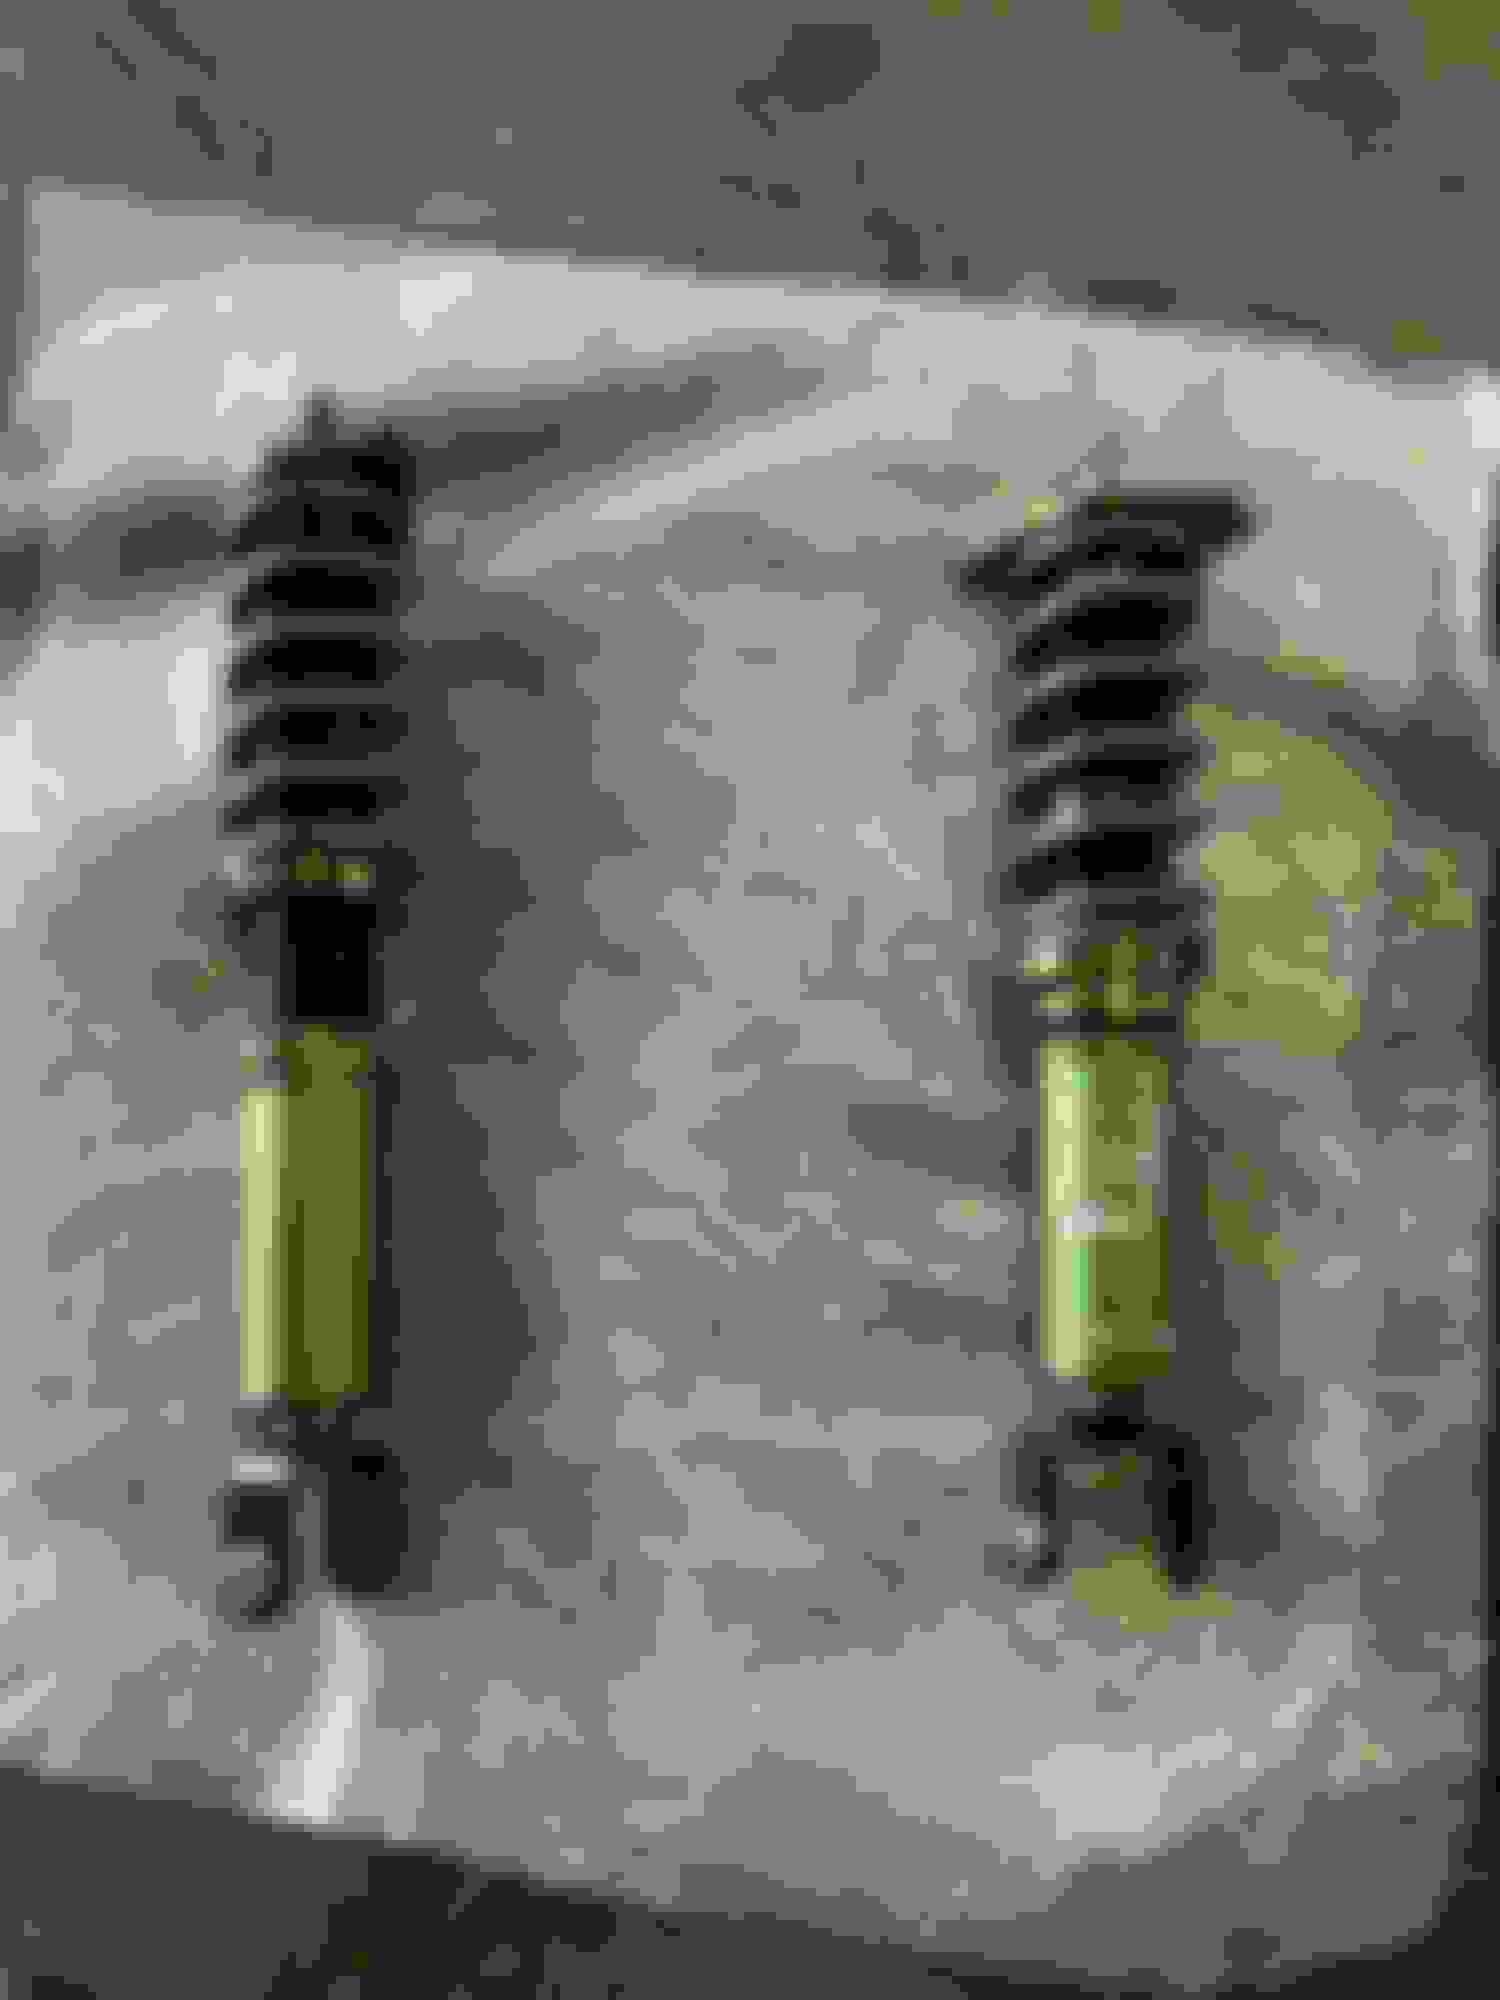
I took this time to put on my new spring/damper setup as well. I had done some math and discussed it with Fortune Auto to get the car in the 1.9Hz front 2.1Hz rear range on a true coil setup. Now, in hindsight, this was a bit soft, but that's all part of sorting out a car. I went with their 500-series coils with 11K/6K springs.
In addition to the coils and subframe, a ton of new parts went on during this phase, so I'll list them instead of writing a book report.
Fortune Auto 500 coilovers (true)
Z1 toe/camber/traction arms (street) with lockouts
Whiteline subframe bushings
Energy suspension rear bushings
Whiteline differential bushings
Energy suspension subframe bushings - front/rear
Whiteline sway bar links - front/rear
New OEM dust shields - front/rear
New OEM e-brake cams, shoes, springs, and cables
370Z axles and hubs
Safety is a system, and I really wanted to ditch the factory seats. I love those leather buckets, but I'm not a fan of trying to stay in them while on track. I'm also a long-legged 6-footer, so the further back and down I could get, the better. With seats came the requirement for seat mounts and belts. From belts comes the need to properly mount the belts. From the need to properly mount the belts comes the need for rollover protection because your spine is an unreliable crash structure. Yes, I still have the driver airbag because I still drive this on the street wearing the 3-points. Sub-optimal, yes, I agree.
A friend cued me into a smoking deal for two Sparco QRT-R seats, that I paired with PCI seat mounts. The local motorsport safety supplier Northstar Motorsports was where I picked up my new HJC helmet (my old SA2005 was unfortunately expired), Schroth head restraint and SFi 6-point belts. I called Kirk Racing and picked up a competition bolt-in roll bar that I installed by myself...I only scratched the ever living bejeezus out of one rocker panel and cracked the windshield. Get a friend to help...get friends...be social. After the bar went in, the seats followed with the belts for the driver (I did the passenger belts late in the year). In the photos the seats are just mocked up, anyone who has installed seats knows the cursing and sweating that follows the first, "That's actually pretty close..." Last I added an extinguisher and roll bar mount for it, because...you know..."I" built this thing...
The original doors got replaced with salvage replacements. Driving the car through so much salt over the years had lead to rust building up under the door handle. I'm allergic to paint jail, so new doors it was. Everything was swapped over and new black door handles added for maximum cred or something.
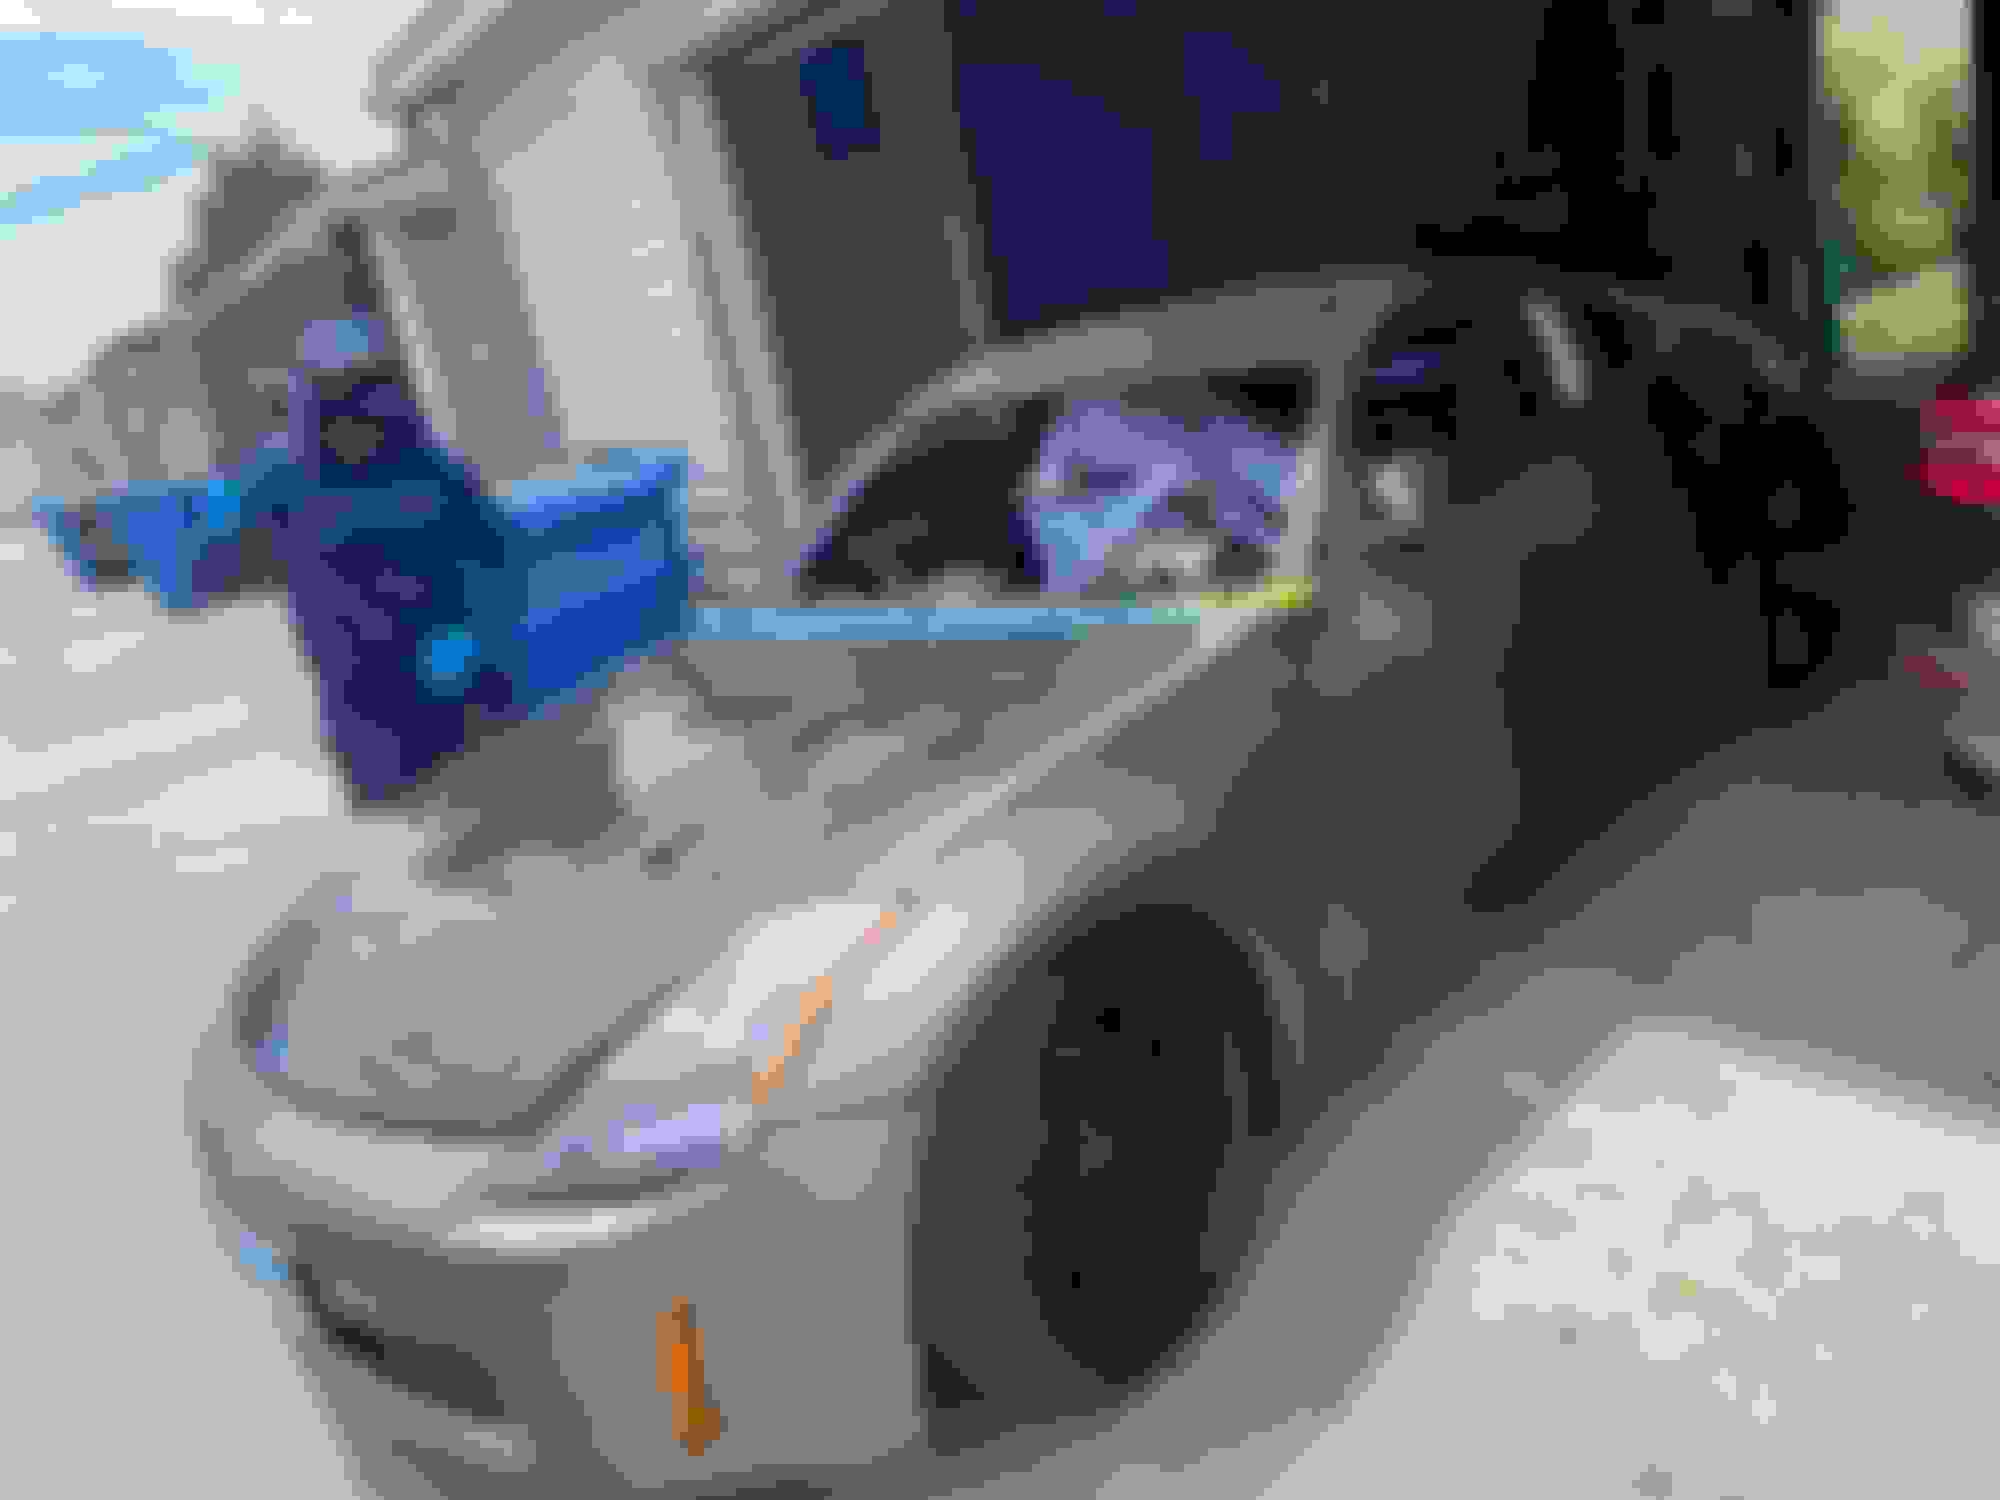
It was time for odds and ends to get sorted out. The keen-eyed reader will have noticed that the car got a new set of wheels along the way. My 18x9.5+25 Konig Dekagrams arrived in early May 2021. Fast on their heels were my Falken RT-660s in 275/35/18. A short stop at the local tire shop and the wide beautifuls were on their way home with a new set of TPMS sensors to meet the car.
I did a custom, latching, VDC defeat using the TCS button from a Maxima in the blank bay beside the VDC button. This defeat latches in the defeated position once you push it until the car shuts off, and then it resets to stock for the next start. Let's me run the milder VDC Off on the street and the full blown defeat on the track.
The window squirter location in the rear glass needed some attention. I build custom bicycles (MoonMan Design) and thought, "That looks about the same size as a headset cap..." Lo and behold, it would accept the factory grommet as well, double win. So I got this little detail etched up, just as a reminder.
I got the AC charged locally (I have never had working AC in this car, what a boon). I set the ride height at about an inch below stock and got the car aligned at P&L to my specs:
Front camber: Camber due to lowering, maybe -1.5deg
Front toe: 0deg
Rear camber: -2.5deg
Reat toe: 0.5deg in
New brake pads went on. I decided to try CL brakes based on the reviews of some Corvette and E46/E92 folks. And I mean, Professional Awesome runs them, so...I'll post up a proper review at some point in the future.
And with al that done, it was of to my first shakedown track day in the car, and my first track day as a driver in about a decade.
Last edited by Sundown72; Sep 26, 2021 at 01:51 PM.
I've used the CL RC5+, and now on Hawk DCT 70's (although I think I should put 60's on the rear, especially when I delete the whole ABS block thing).
I guess you've not had a chance yet to get out on track with the CL's ?
I've used the CL RC5+, and now on Hawk DCT 70's (although I think I should put 60's on the rear, especially when I delete the whole ABS block thing).
I guess you've not had a chance yet to get out on track with the CL's ?
Thanks Rob!
This thread is hellllla behind, in so far as I started the thread after the season, lol. I ran the whole season on a set and a bit of the RC6E. I�ll post up a decent review at some point. I have to couch my impressions with the fact that I ran the whole season with a super inconsistent brake pedal, a lot of which is probably the result of not having a working check valve on the booster line. The car makes really poor vacuum at high rpm and it was playing havoc with the assist. I�ve got a fresh check valve in now and I�m hoping to get a better idea next season.
Broadly: I wanted more bite, but the total torque was good. Really good performance on the street to and from events, dust cleaned up easily enough with sonax, great wear, easy on rotors. They are loud(er) on the street, but sort of whistly and musical, not grindy and screechy like HP+.
I have a friend in a Z33 running DTC-60 front, DTC-30 rear. It�s worth noting they have a TCS car, not a VDC car and the defeat of the factory system is trickier and seems to have a bigger impact on the bias. I�m currently not locking the rears, so no need for the friction split yet.
I am also considering deleting the booster and ABS. I came from F2000 with manual brakes and the softness of the assisted pedal isn�t for me. Compbrakes makes a dual-mc with bias bar kit for a 5:1 pedal. I have a spare pedal to measure, but I think stock is ~4.5:1, putting it close enough to play with MC sizing to get it right. They say their kit fits LHD as well as RHD, so we�ll see.
Yeah definitely post up more, it's good to read.
I'm also running the C8's (have rebuilt the engine entirely).
So our cars over here have TCS/VDC/ABS, Brembo's, 18" Rays etc (UK 'GT spec'), however I installed a switch/module that disables TCS/VDC but keeps ABS functioning.
Since recently rebuilding my engine, I managed to get about 1.5 track days in. And that worked out nicely, no complaints really, just that my car is too heavy!
Prior to fitting that switch I did run the car pulling the VDC fuse but as I'm sure you're aware it doesn't work as you'd expect, and it eats rear pads (and has a primary bias iirc).
I think I had 1 track day with the DCT 70's and the pulled fuse but it was pretty easy to lock up the tyres (this was pre C19 bs, so around 2019).
And I always swap my track pads out for street ones, once I've finished up with the track day. The DCT 70's are horrifically noisy on the street
I've been looking at options to delete the ABS stuff now as I've read several posts here, and saw a few vids of the ABS hitting 'ice mode' on track.
That looks terrifying to me (pressing the brakes and nothing is happening), and more so since I usually have my wife with me.
How much room do you have between your head and the bar? that kirk bar main hoop sits pretty far up and i'm guessing your head is right underneath the bar?