
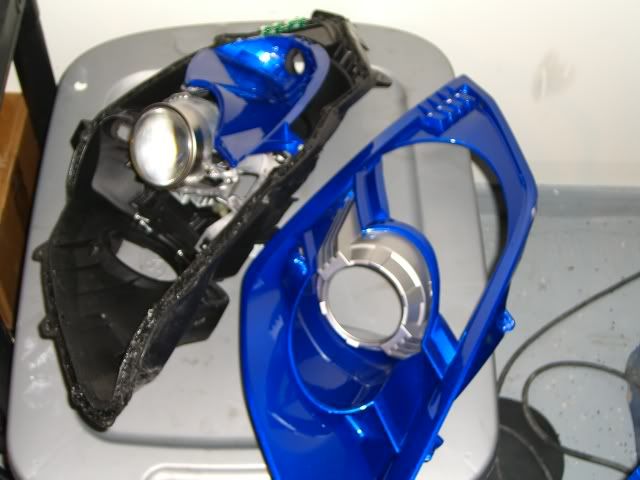
DIY: Painting '06- Headlights.


i was reading somne threads on here and it said that 03-05 dont have a true projector so when you painting the headlight you are kinda of covering or lessing the light that can be potrayed. is this the same with 06 Hid they have projectors but i mean will the light be less bright or not?

i was reading somne threads on here and it said that 03-05 dont have a true projector so when you painting the headlight you are kinda of covering or lessing the light that can be potrayed. is this the same with 06 Hid they have projectors but i mean will the light be less bright or not?
Blinkers are another story. Certainly diminished output, but can still be seen during the day. Going a gloss black will help somewhat.
Last edited by gr8scott_o; Apr 30, 2009 at 07:34 PM. Reason: clarity


Registered User
Joined: Mar 2009
Posts: 1
Likes: 0
From: Kennesaw, GA
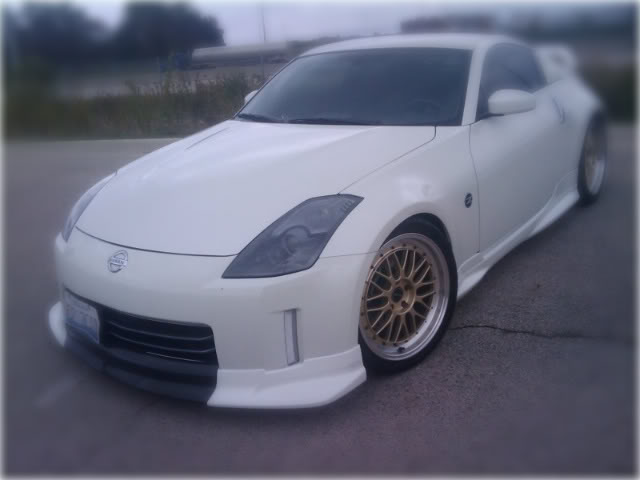
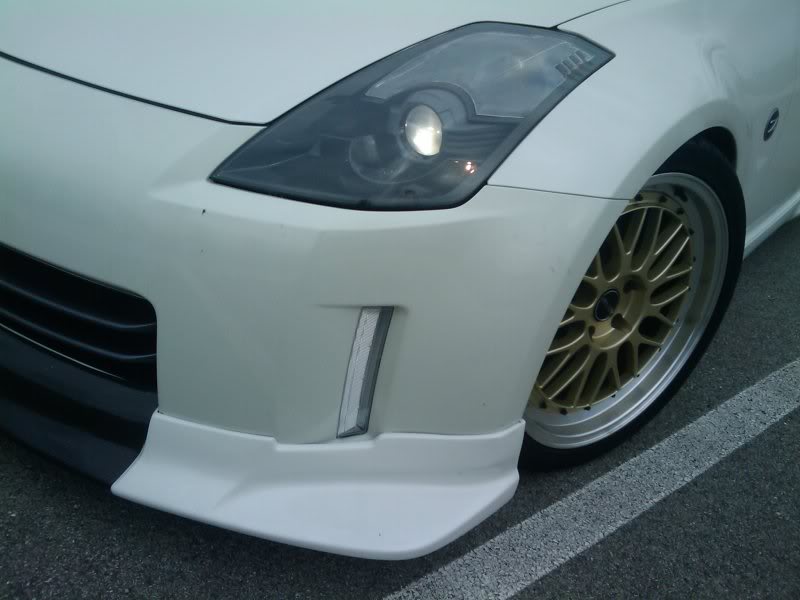
This is by far one of the best DIY threads out there but I was wondering if this process would work with the 03' headlights as well. Would there be any diminished light in the 03' unlike the 06'? I have an 03' and I am looking to do it to match my Daytona Blue Z.

some people don't pain around the HID section on the '03s to maintain the output
 This wasnt done by me btw.. It was Mr. Zipps.....


damn man.. mine are the same way though.. but mine happened bc i had mine overlayed with bats vynil...good news is the 03-05 lights have the same mounting points on the clear lens, so if you can find some of those in good shape you can just swap it out!
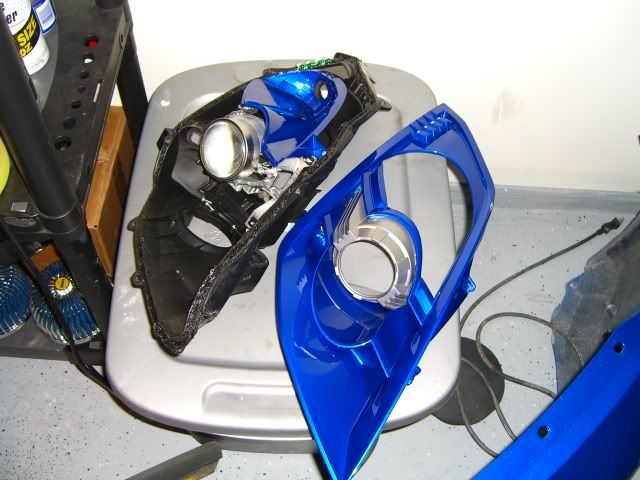

 I ordered the ebay lights and Ill pull the lenses off....

Registered User
Joined: Sep 2008
Posts: 577
Likes: 0
From: Pembroke Pines, FL
Wow awsome info in this write up, thank you all!
I'll be attempting this during the weekend but Im still unsure on some details.... Should I use a Cardboard box or a baking sheet? Whats the best way to prevent fogging?
I'll be attempting this during the weekend but Im still unsure on some details.... Should I use a Cardboard box or a baking sheet? Whats the best way to prevent fogging?

Helpful hints:
- Get leather gloves... it will be uncomfortably hot.
- Set it down on a towel that you don't mind throwing away
- Use two people... one to hold on to the base and one to pull off the lens.
- Pull the lens FORWARD, not UP. Really only possible with two ppl, unless you secure or bolt the housing to something first.
- When the adhesive starts to give, it will get stringy and very sticky. Be prepared to deal with that. You will want to avoid getting that gooey stuff on anything you like, especially any part of the light.
Good luck.
Registered User
Joined: Sep 2008
Posts: 577
Likes: 0
From: Pembroke Pines, FL
Baking sheet is all that is needed. Do not do cardboard. Look at your oven before you turn it on and do a trial fit... make sure the rack, sheet and light are as far away from the heat element as possible, and no part of the light assembly touches the sides of your oven. Do LOW heat for LONGER periods of time, I did 250F and checked it at 12 minutes, loosened the cover as much as I could, then typically put it back in for 5 mins or so before taking it out again and finishing the job.
Helpful hints:
Good luck.
Helpful hints:
- Get leather gloves... it will be uncomfortably hot.
- Set it down on a towel that you don't mind throwing away
- Use two people... one to hold on to the base and one to pull off the lens.
- Pull the lens FORWARD, not UP. Really only possible with two ppl, unless you secure or bolt the housing to something first.
- When the adhesive starts to give, it will get stringy and very sticky. Be prepared to deal with that. You will want to avoid getting that gooey stuff on anything you like, especially any part of the light.
Good luck.


just throw some lenses on them.. the paint looks great!i am split on the ebay lenses bc i have heard bad things about them as well..and then some ppl have had great luck.. eitherway, it might be worth a shot for u.. if not, id try to find some base 03's that are brandnew.. maybe dealer? you just want the OEM lens