
DIY rear ARP wheel stud instilation

Thread Starter
Registered User
iTrader: (8)
Joined: Jul 2004
Posts: 2,386
Likes: 0
From: Bellevue, Ne
I had some issues with shearing wheel studs when I was changing my wheels and decide to finly just suck it up and buy the ARP wheel studs and new open ended lugs (even though I bout some with my new wheels and had ZERO miles on them).
I came across a mention of this but the directions were a little vauge. This is a rear stud only DIY since the fronts are pretty east to pop out and put in. I just jacked up the car and started in on it.
NOTE: The following is after you pull the caliper and rotor.
The space from the rear face of the hub to the surface of the hub mount is about 2.5 inches. Yeah big problem. I was scratching my head and looking at every thing for about 15 to 20 minutes then I remembered some thing about removing the parking brake cable. I broke into the drivers side parking brake assemble and pulled the whole thing off. I tried to fit the bolt in that hole and it was still too small to fit. I started thumbing through the service manual and fealing arround with a scribe and found that the space behind the parking brake cable guide was a bit larger than the opening on the out side. So I got a bright idea, pull the cable guide.
Pull the spring and clevis pin on the bottom of the parking brake assembly that holds the cable to the lever. On the back side of the suspention assembly there are fitting on the back 2- 17mm nuts and a 14 mm bolt.
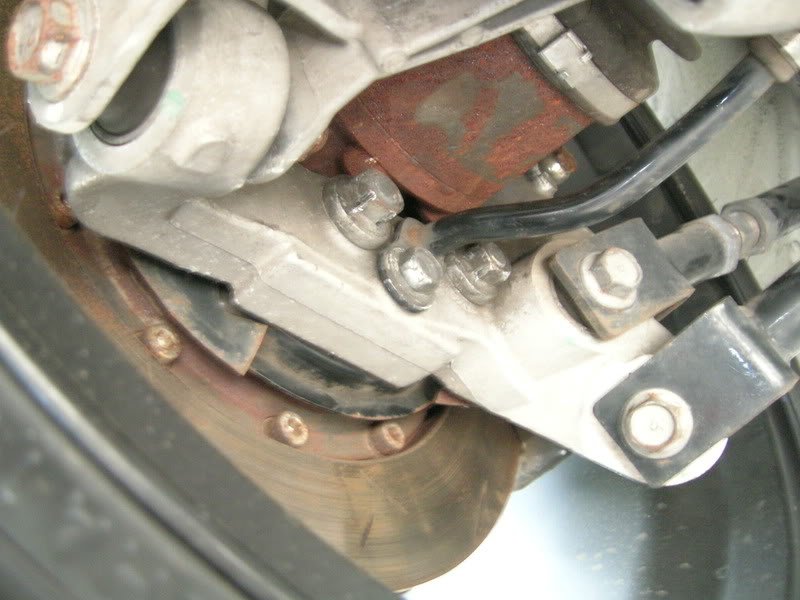
The 14mm bolt is the retainer for the parking brake and the 17mm holds on the parking brake cable guide. Pull the 14mm first then both 17mm nuts. Expand the shoes and you should be able to slide the guide out.
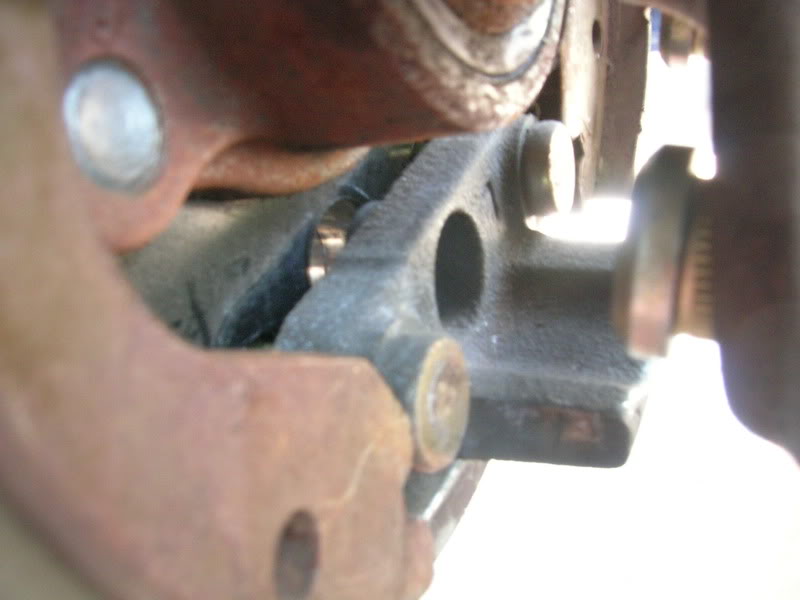
Note you can see the diffrence in the opening at the front of the guide and the opening in the hub assembly.
Once this is out the fun begins. Align one stud with the bottom hole, pound it out. Slide the extended stud into the opening in the hub assembly.
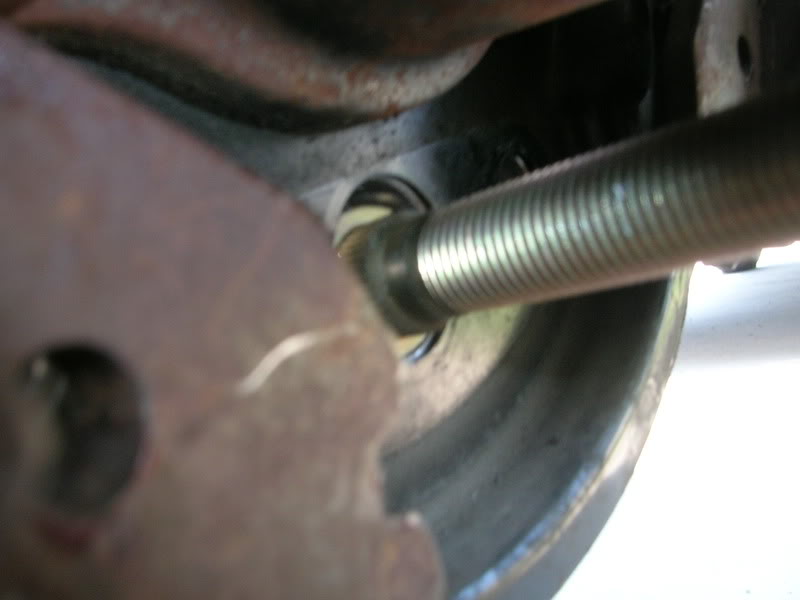
Rotate the hub and continue until all studs are in. Assemble every thing in revers as you took it off. All three fastners on the back are about 21 ft/lbs of torque. The rest is just like any other stud replacement. put on some spacers and torque the stud down the 90-100 ft lbs to set it. Be sure to set them before you put the tire on. It may seem easier to set them when the tire is on but with the length you cant realy do that and you cant verrify that its set all the way.
Thats it. Sounds simple enough but it took about 3 hours of head scratching getting up from the driveway to get tools in the back room and a bit of cursing to get the drivers side done and 35 with the passanger side. It just wasnt my day at all. Once all was figured out I would guestimate about 20-25 minutes with all the preperation and tools out already. Here is what the wheel looks like:
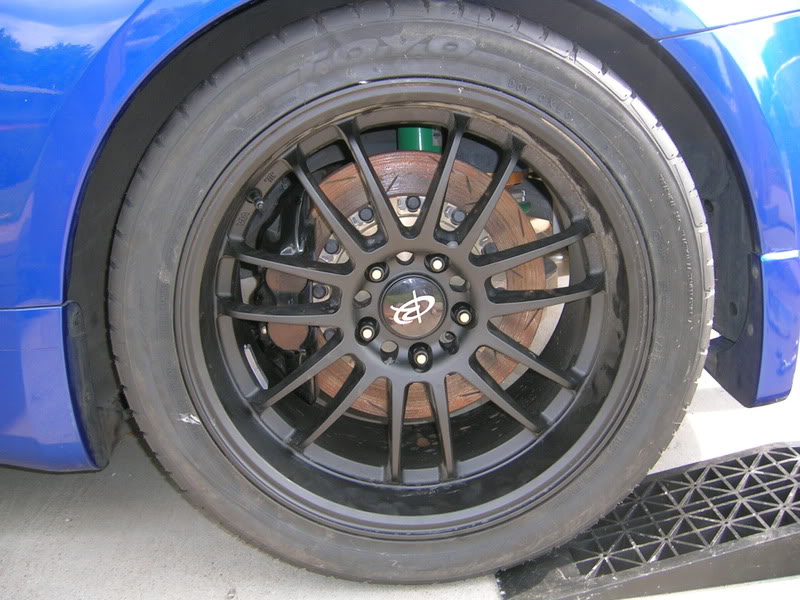
Every thing fit together nicely. Yes rotors are on the rusty side but the day of the start of a month long trip I had several studs break so it hasnt been driven in good while.
I came across a mention of this but the directions were a little vauge. This is a rear stud only DIY since the fronts are pretty east to pop out and put in. I just jacked up the car and started in on it.
NOTE: The following is after you pull the caliper and rotor.
The space from the rear face of the hub to the surface of the hub mount is about 2.5 inches. Yeah big problem. I was scratching my head and looking at every thing for about 15 to 20 minutes then I remembered some thing about removing the parking brake cable. I broke into the drivers side parking brake assemble and pulled the whole thing off. I tried to fit the bolt in that hole and it was still too small to fit. I started thumbing through the service manual and fealing arround with a scribe and found that the space behind the parking brake cable guide was a bit larger than the opening on the out side. So I got a bright idea, pull the cable guide.
Pull the spring and clevis pin on the bottom of the parking brake assembly that holds the cable to the lever. On the back side of the suspention assembly there are fitting on the back 2- 17mm nuts and a 14 mm bolt.
The 14mm bolt is the retainer for the parking brake and the 17mm holds on the parking brake cable guide. Pull the 14mm first then both 17mm nuts. Expand the shoes and you should be able to slide the guide out.
Note you can see the diffrence in the opening at the front of the guide and the opening in the hub assembly.
Once this is out the fun begins. Align one stud with the bottom hole, pound it out. Slide the extended stud into the opening in the hub assembly.
Rotate the hub and continue until all studs are in. Assemble every thing in revers as you took it off. All three fastners on the back are about 21 ft/lbs of torque. The rest is just like any other stud replacement. put on some spacers and torque the stud down the 90-100 ft lbs to set it. Be sure to set them before you put the tire on. It may seem easier to set them when the tire is on but with the length you cant realy do that and you cant verrify that its set all the way.
Thats it. Sounds simple enough but it took about 3 hours of head scratching getting up from the driveway to get tools in the back room and a bit of cursing to get the drivers side done and 35 with the passanger side. It just wasnt my day at all. Once all was figured out I would guestimate about 20-25 minutes with all the preperation and tools out already. Here is what the wheel looks like:
Every thing fit together nicely. Yes rotors are on the rusty side but the day of the start of a month long trip I had several studs break so it hasnt been driven in good while.
Last edited by punish_her; May 23, 2009 at 03:05 PM.


Thread Starter
Registered User
iTrader: (8)
Joined: Jul 2004
Posts: 2,386
Likes: 0
From: Bellevue, Ne
Yeah I was hoping some people were able to get some use out of this. I found only one quick blurb about this procedure in one thread that didnt have many views so I wanted to do a DIY to get this out there.
Hopefuy this will encourga more people to do this if they have been thinking about it. Pulling the hub to replace them is BS and taking it to a shop to over pay is a little much too. This is simple and I would say a 2 of 10 for dificulty. Only because you need to mess with the paring brake assembly. Mainly the return springs for the shoes.
Hopefuy this will encourga more people to do this if they have been thinking about it. Pulling the hub to replace them is BS and taking it to a shop to over pay is a little much too. This is simple and I would say a 2 of 10 for dificulty. Only because you need to mess with the paring brake assembly. Mainly the return springs for the shoes.

Make sure you use a good quality lug nut to pull the studs through, I used el cheapo nuts and all the torque from pulling the studs through the hub messed up the threads on a few of my ARP Studs

Trending Topics

sorry to bump an old thread, didnt wanna waste forum space by creating a new thread.
But where can I buy ARP wheel studs ?? I was originally gonna go with Nismo, but did my research and found out ARP are stronger and better.
so where can I buy regular NON extended ARP wheel studs guys, please and thanks
But where can I buy ARP wheel studs ?? I was originally gonna go with Nismo, but did my research and found out ARP are stronger and better.
so where can I buy regular NON extended ARP wheel studs guys, please and thanks

So you just pounded the old studs out with a hammer? No damage to the hub itself?
I tried hitting it with a dead blow hammer but the wont come out.
What sort of hammer did you use?
I tried hitting it with a dead blow hammer but the wont come out.
What sort of hammer did you use?


Thread
Thread Starter
Forum
Replies
Last Post