
DIY OEM sideskirt removal& cw style side skirt(CF) install


Thread Starter


Joined: Jul 2009
Posts: 5,217
Likes: 18
From: Maryland & Arkansas
Hey everyone,
I wanted to put my cw style side skirts on my car but I didn't have a clue on how to remove the oem sides. For those of you who dont know, the oem side skirts (front and rear mud guards too) have to be removed to put cw style side skirts on. After searching teh forums, I found an outdated thread but pics where unavailable (you know who u are)
Attention: Please keep in mind that I have zero experience in body work, and 1yr of education when it comes to automotive service. I don't do this for a living so please dont flame or blame me for something not going right. This is my first time removing & installing side skirts and I used my beloved Z as a platform for trial and error. I dont have a badass lift, or high speed tools that shops do. Im an average joe who takes pride in his work and I do make mistakes:
Estimated time??? I dunno how ever long it takes???
I rate the difficulty of this project about 5/10. IMO its a time consuming task and would work better w/two people.
Now to the removal, here's something you dont nessecarily have to have, but it would make the install easier.
Tools that I used: Flat head screw driver/s (more than one, if you have a really long one thats awesome!!!) Phillips head screw driver/s, 10mm deep well socket, 3/8 rachet, tape (blue painters) jack stands, low profile jack.
1.) First, (not needed but recommended) make sure you order the correct part before you install and check your product for damage/defects.
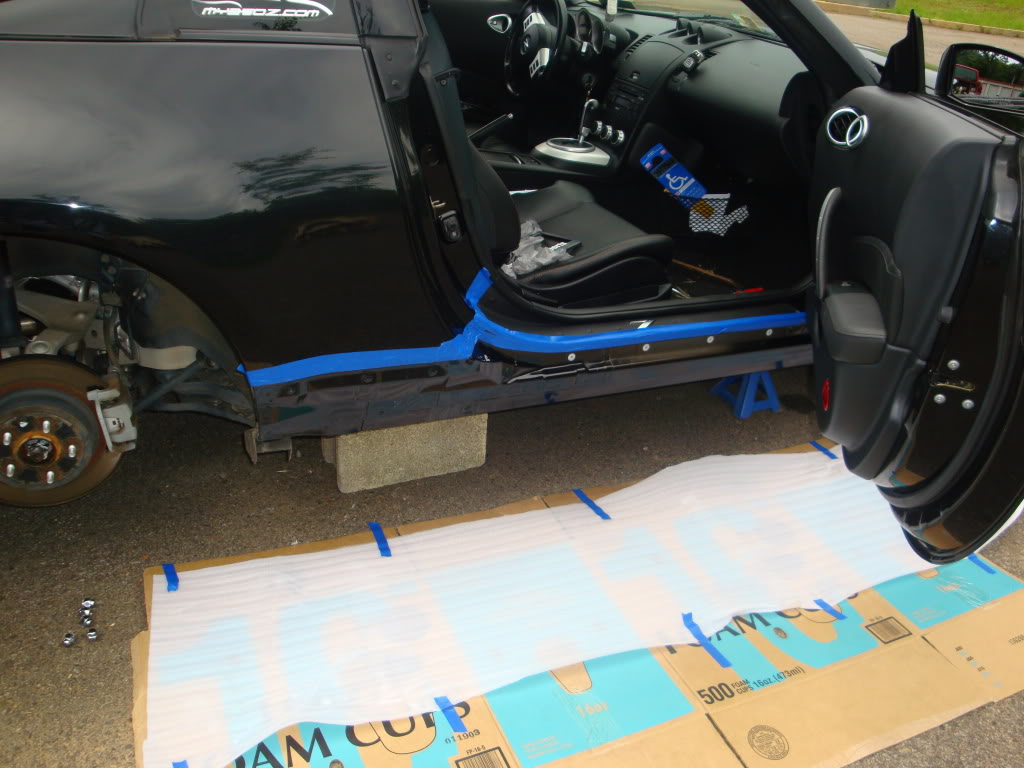
2.) Jack the car up on stands (if your poor like me ) Refer to the proper lift points, use e-brake. You might need to remove your rear wheels, so loosen dem lugs before the tires come off the ground. You will need enough space to work comfortably under the car, drilling will be involved for installation.
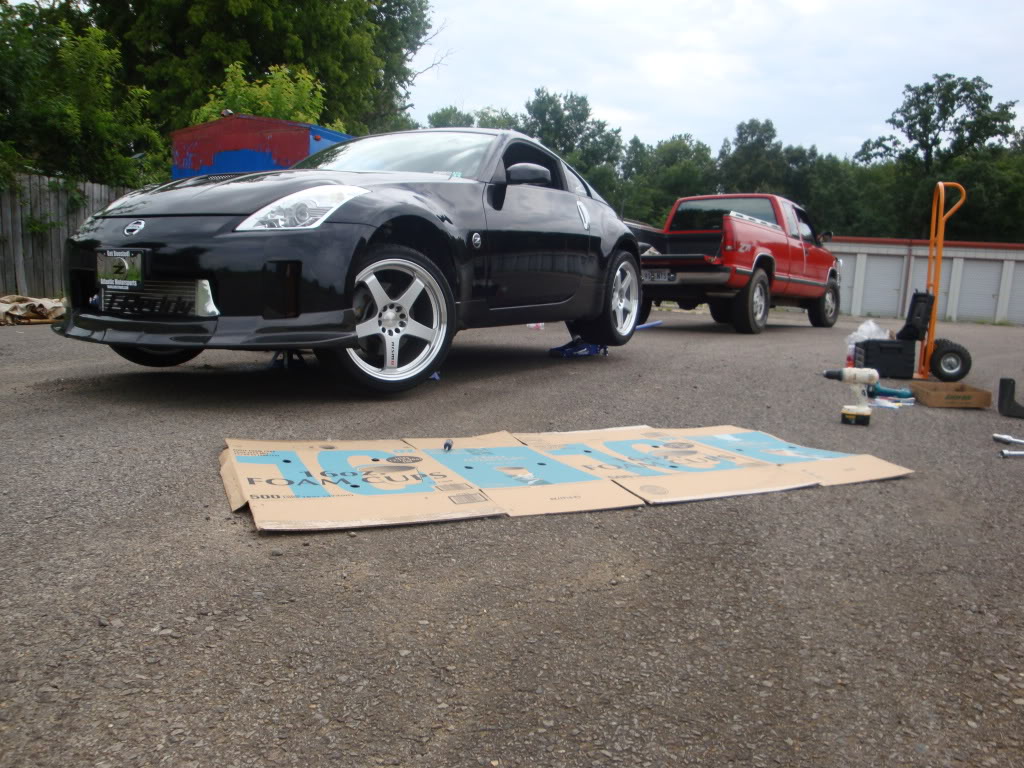
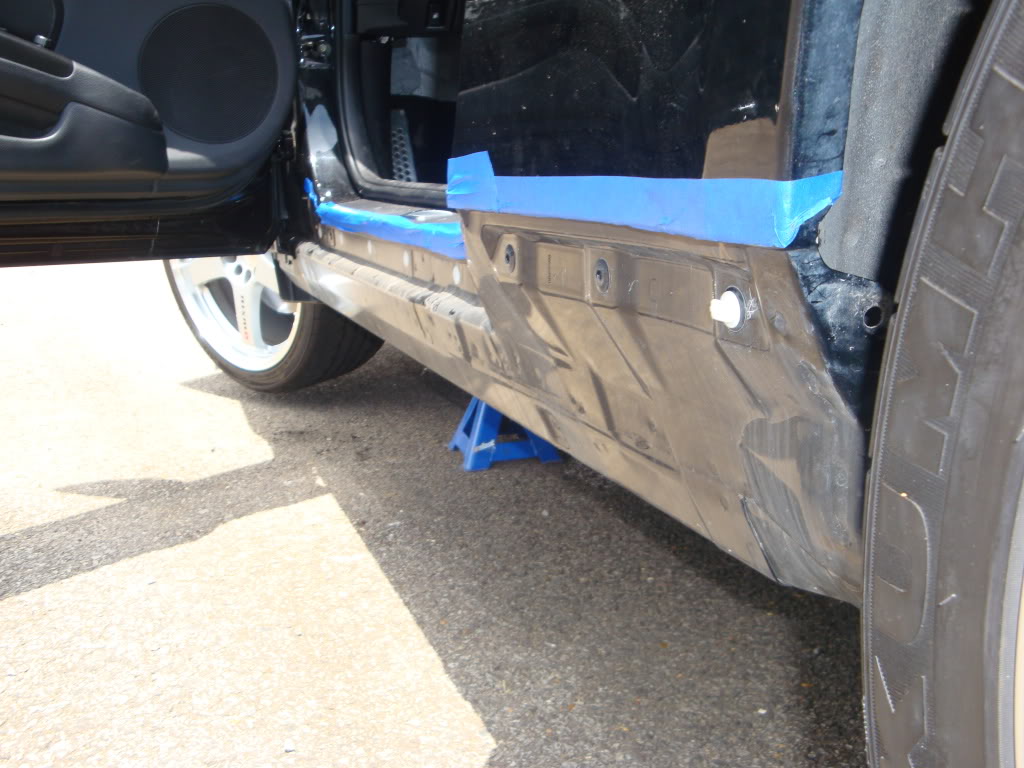
3.) Tape around the door jams, bottom part of the doors, rear sideline, wheels if you have to. Although this step is not require, but I would not risk scratching my baby. Would you?
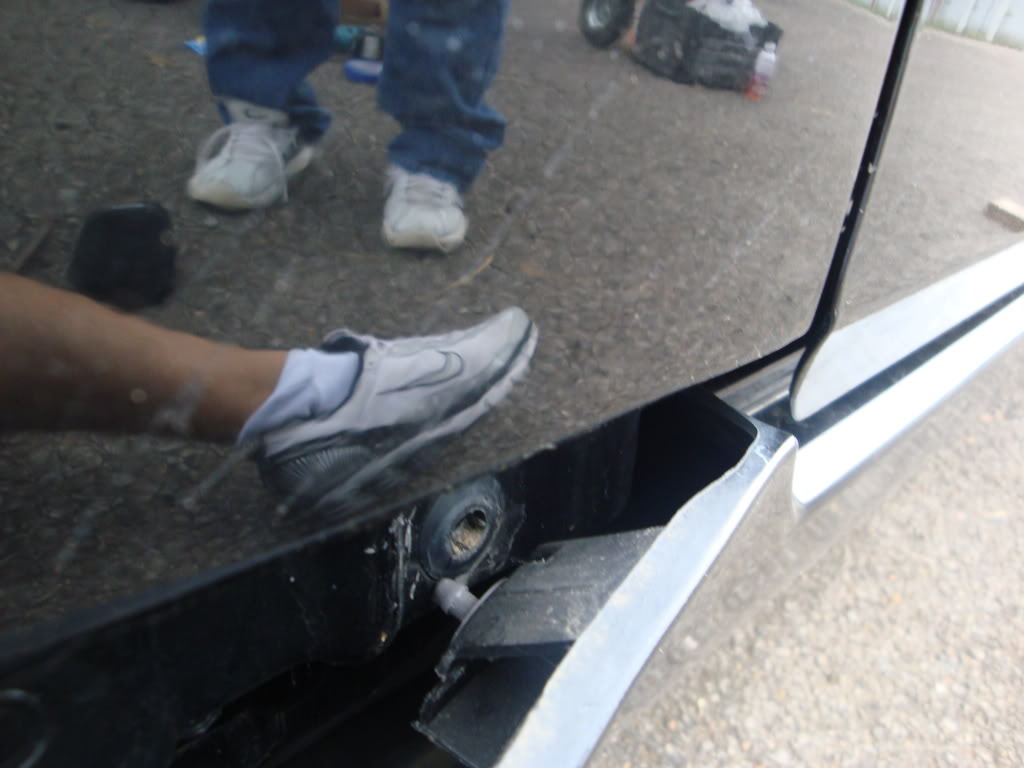
4.) I turned the ignition on but did not start the car. This will allow you to turn the wheels (power steering) remove the front mud guards using a phillips head screw driver. There should be 2 p.h screws holding the mud guards.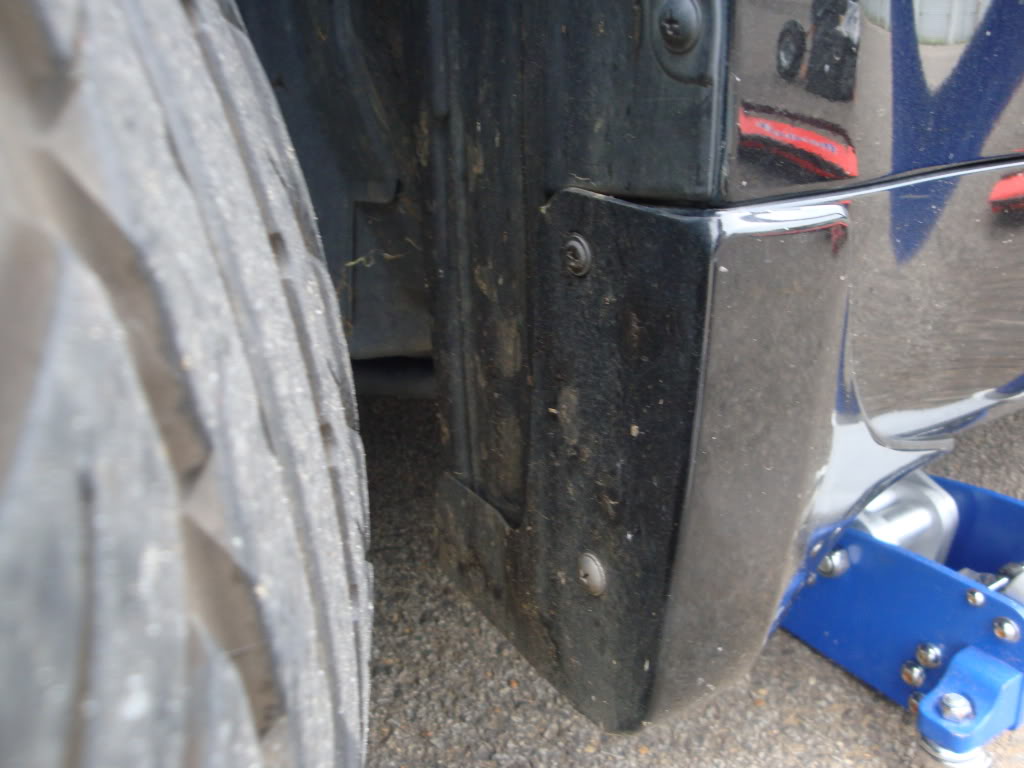
^^^drivers front screws (behind the screws are clips, using a flat head screw driver carefully remove them)
5.) Repeat method from step 4 to reomve the rear mud guards. I removed mine prior to this DIY threadl. Remove your rear wheels at this time*

^^^drivers rear clips (I dont have mud guards but I believe there were 3 p.h screws)
6.) Remove the bolts underneath the car. 7 bolts maybe? A 3/8 ratchet+10mm deepwell should be enough. (My memory owns me)
-----After that there will be 1 clip on each end of the skirt. (Front & rear by the tire well)That should be all the bolts and clips that hold the skirt up*
This part got interesting because nissan put two kinds of rivets on the sides + 3m double side tape(door jam)WTF right?
7.) Now for the rivets. I started from the driver's side. Tape a flat head screw driver tip so you dont scratch anything. With one arm, genlty pull on the side skirt and with the other gently pry the rivet out. Becareful because you make break the urethane clips. I broke one in the rear...
8.) I moved to the rear clips. Note the rear clips are different from the front. These rivets can be removed in 2 different ways. Carefully pry (easier) or push the rivet so it lines up w/the grove of the urethane clip and slide out.
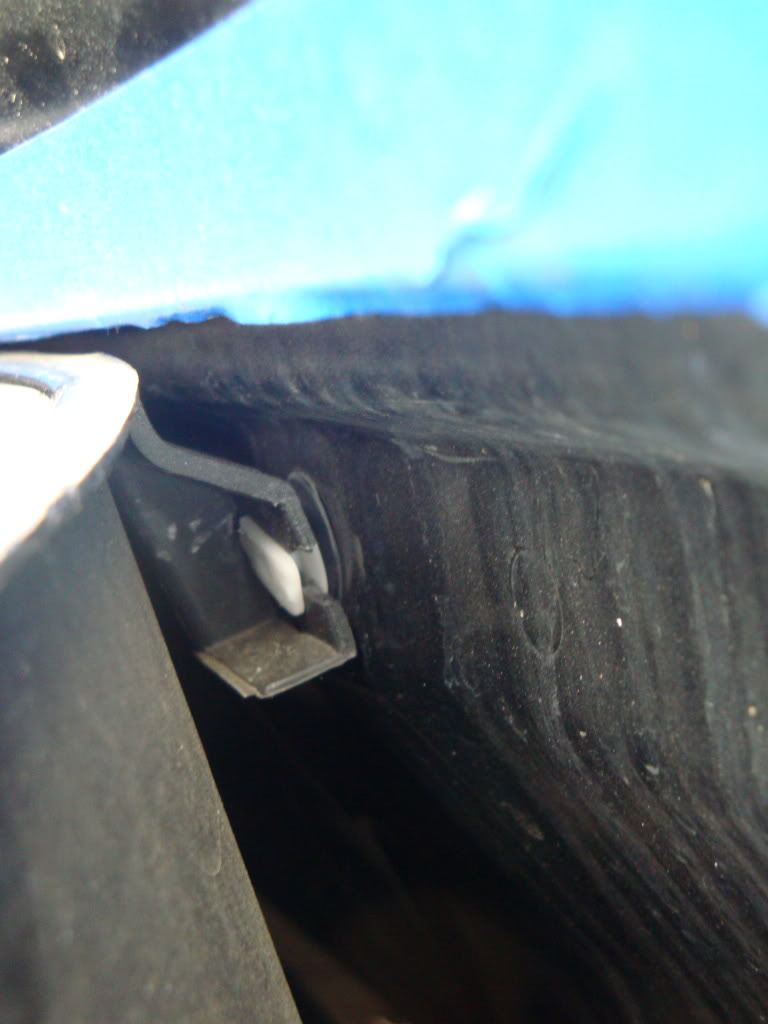
9.) The section betweem the door& door jam has double sided tape. I carefully pulled down on the corner until it tore the tape. Now remember the rivets in the front? We'll they are the same in the middle as well. You know drill, carefully pry em' out. After completing the steps the sides should come off. Double check before you get carried away pulling.*
^^^left over rivet from where I broke the urethane clip. Dont repeat my mistake
^^^drivers side skirt (just to get an idea of how many rivets their are)
10.) Repeat process to the passenger's side for the removal. This DIY is a guide, you dont have to follow my steps. "Take this with you, need it for your journey you will" (Yoda voice)
I wanted to put my cw style side skirts on my car but I didn't have a clue on how to remove the oem sides. For those of you who dont know, the oem side skirts (front and rear mud guards too) have to be removed to put cw style side skirts on. After searching teh forums, I found an outdated thread but pics where unavailable
(you know who u are)Attention: Please keep in mind that I have zero experience in body work, and 1yr of education when it comes to automotive service. I don't do this for a living so please dont flame or blame me for something not going right. This is my first time removing & installing side skirts and I used my beloved Z as a platform for trial and error. I dont have a badass lift, or high speed tools that shops do. Im an average joe who takes pride in his work and I do make mistakes:
Estimated time??? I dunno how ever long it takes???
I rate the difficulty of this project about 5/10. IMO its a time consuming task and would work better w/two people.
Now to the removal, here's something you dont nessecarily have to have, but it would make the install easier.
Tools that I used: Flat head screw driver/s (more than one, if you have a really long one thats awesome!!!) Phillips head screw driver/s, 10mm deep well socket, 3/8 rachet, tape (blue painters) jack stands, low profile jack.
1.) First, (not needed but recommended) make sure you order the correct part before you install and check your product for damage/defects.
2.) Jack the car up on stands (if your poor like me
) Refer to the proper lift points, use e-brake. You might need to remove your rear wheels, so loosen dem lugs before the tires come off the ground. You will need enough space to work comfortably under the car, drilling will be involved for installation.3.) Tape around the door jams, bottom part of the doors, rear sideline, wheels if you have to. Although this step is not require, but I would not risk scratching my baby. Would you?
4.) I turned the ignition on but did not start the car. This will allow you to turn the wheels (power steering) remove the front mud guards using a phillips head screw driver. There should be 2 p.h screws holding the mud guards.
^^^drivers front screws (behind the screws are clips, using a flat head screw driver carefully remove them)
5.) Repeat method from step 4 to reomve the rear mud guards. I removed mine prior to this DIY threadl. Remove your rear wheels at this time*
^^^drivers rear clips (I dont have mud guards but I believe there were 3 p.h screws)
6.) Remove the bolts underneath the car. 7 bolts maybe? A 3/8 ratchet+10mm deepwell should be enough. (My memory owns me)
-----After that there will be 1 clip on each end of the skirt. (Front & rear by the tire well)That should be all the bolts and clips that hold the skirt up*
This part got interesting because nissan put two kinds of rivets on the sides + 3m double side tape(door jam)WTF right?
7.) Now for the rivets. I started from the driver's side. Tape a flat head screw driver tip so you dont scratch anything. With one arm, genlty pull on the side skirt and with the other gently pry the rivet out. Becareful because you make break the urethane clips. I broke one in the rear...
8.) I moved to the rear clips. Note the rear clips are different from the front. These rivets can be removed in 2 different ways. Carefully pry (easier) or push the rivet so it lines up w/the grove of the urethane clip and slide out.
9.) The section betweem the door& door jam has double sided tape. I carefully pulled down on the corner until it tore the tape. Now remember the rivets in the front? We'll they are the same in the middle as well. You know drill, carefully pry em' out. After completing the steps the sides should come off. Double check before you get carried away pulling.*
^^^left over rivet from where I broke the urethane clip. Dont repeat my mistake
^^^drivers side skirt (just to get an idea of how many rivets their are)
10.) Repeat process to the passenger's side for the removal. This DIY is a guide, you dont have to follow my steps. "Take this with you, need it for your journey you will" (Yoda voice)
Thread Starter
Joined: Jul 2009
Posts: 5,217
Likes: 18
From: Maryland & Arkansas
Now for those of you who stuck around for the removal of the oem side skirts and are wanting to put your cw style side skirts on ...(but not limited to just cw style)
Here are some items you might need:
Blue painters tape, hand drill (fully charged w/extra battery), screw driver/s (both phillips and flat head), double sided tape(optional) for a flush look), 5/32 black oxide drill bit (used for common steel), aluminum screws*: I went to an outdoors store and couldn't find any black aluminum screws. I already had a can of spray paint laying around so got creative.lol As for the drill bit, thats just the size I chose and it was perfect for the thread pitch of my screws.
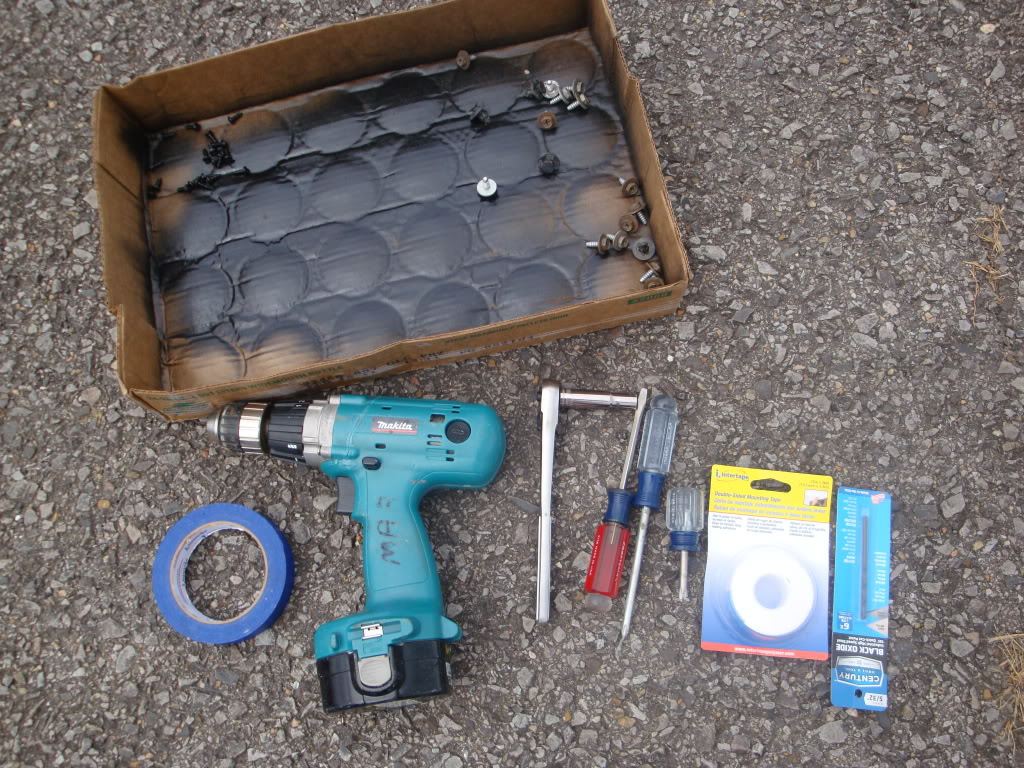
^^^I used a left over piece of carboard to keep from misplacing screws, I didn't want to run over them.
This time I started on the passenger's side of the car.
I gave my brother two of my jack stands so I brought it back mexican style lol (Not a racial slurr, when its your own race)
1.) If you haven't already taped your door jams, trims, body lines etc., do so now. Time for some test fitting. If your wondering, I would rate SEIBON's fitment as 9.5/10.
2.)One could choose to mount their side skirts in many ways. You could measure the holes in the oem skirts and pre-drill the holes into the CF and re-use the bolts that were on the car. Mine were rusty and I choose not to, instead after test fitting I decided to start over and make my own holes and use my own screws. You remember my baller screws in gloss black?
S.S stands for side skirts from here on out*
3.) Using two people have one person hold the oppisite end of the S.S and the other person w/the drill line up his side.
4.) After both people agree that both sides are lined up, commence drilling. After the hole is made, hand tighten the screw into the S.S to the undercarriage of the car.
^^^I started towards the rear of the passenger's side. Dont get too carried away drilling, and be sure to double check the body lines so that your S.S line up with the contours of your car. I recommend hand tightening the screws so the S.S have a little give and room to play with. One more thing, don't drill so close to the edge of the CF, just incase it might fracture.
5.) Now to the middle of the car. Notice how there is a huge opening on the Side skirt? I think it might be for a floor jack(im not sure), so I decided to put two screws there.
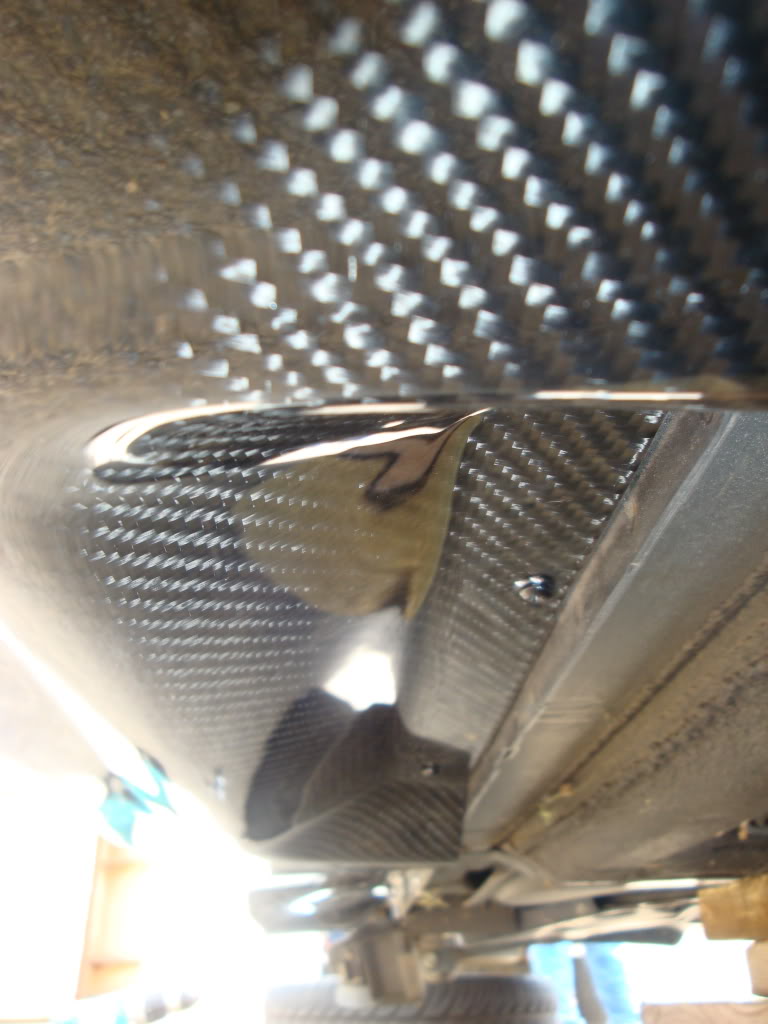
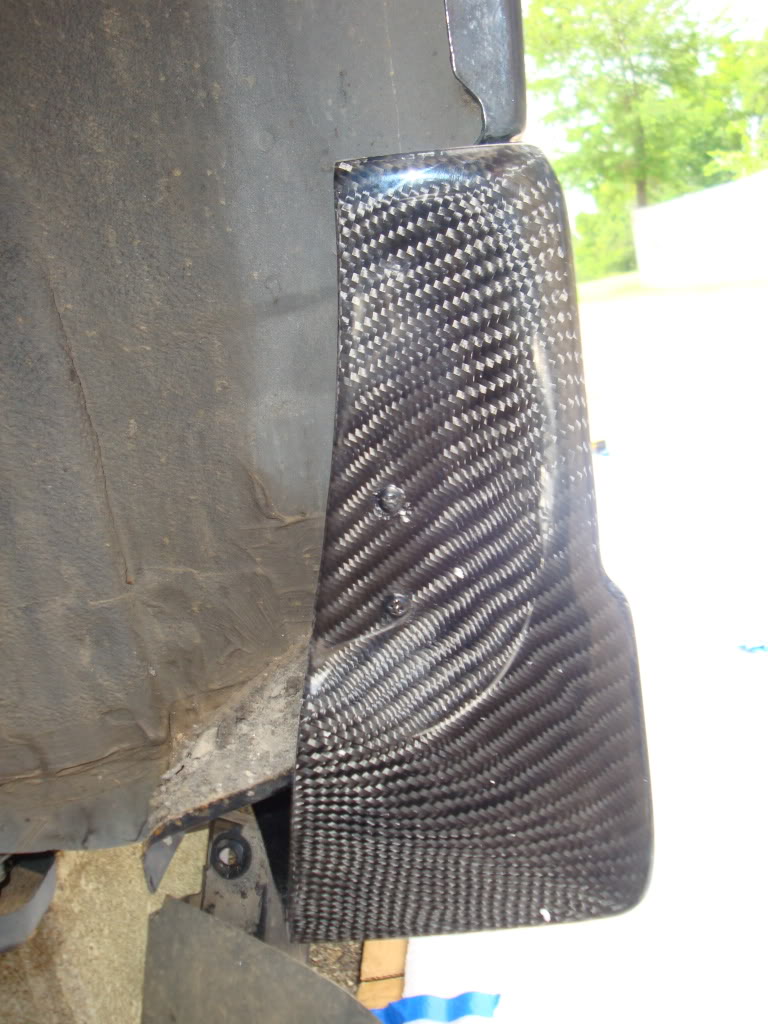
6.)Moving towards the front. After checking to see if I was lining up the S.S correcly, I drilled one more hole in the front.

I could've put two in there but I didnt want the screw so close together as it might cause a fracture in the CF. A pre-existing thread was between the gap, hence once screw.
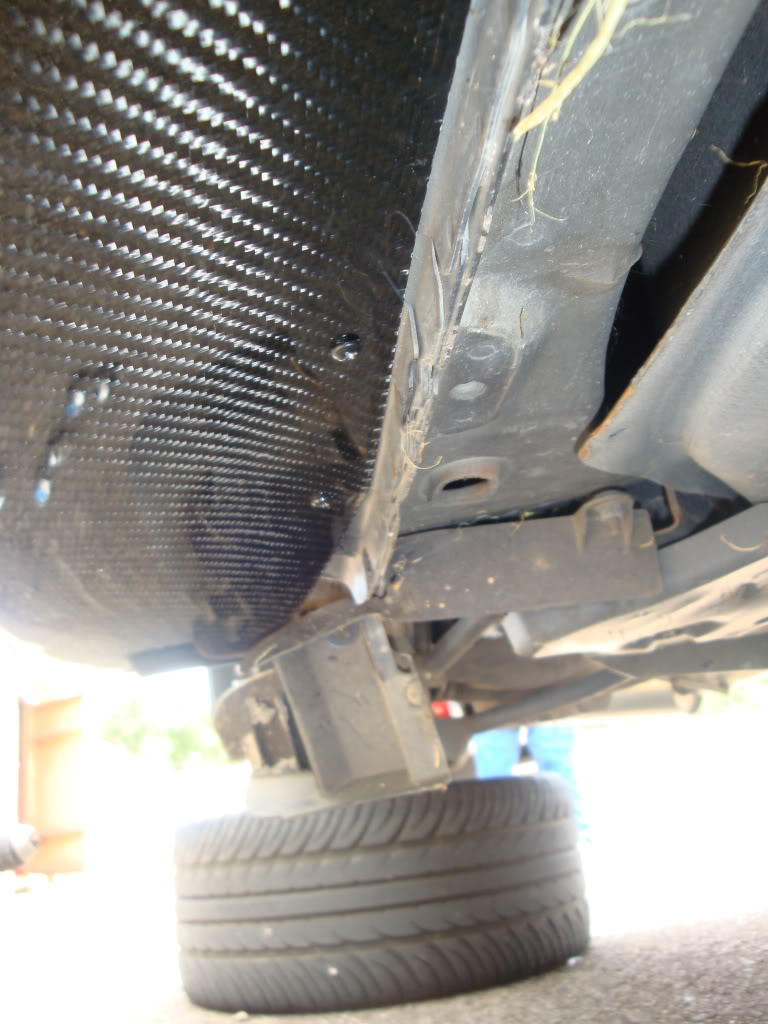
7.) Body lines look good so im moving to the rear passengers tire well. I put two holes there:
I double checked the pre-existing holes, so that I could drill and the screws would stay in place.*
8.) Repeat step 7 for the front. (Sorry, I forgot to take pics. )
)
9.)There are two groves once you open the door jams, they look like indentions. Put one screw into each indention. If done right there shouldn't be a problem closing the door.
(I will post pic once I get my car back)
10. Repeat this method or introduce your own concept to the drivers side. Again this is just a blueprint to your own work, so feel free to change things up.
11.) Once project is complete, put your tires back on, torque them to specs. Remove tape and enjoy.

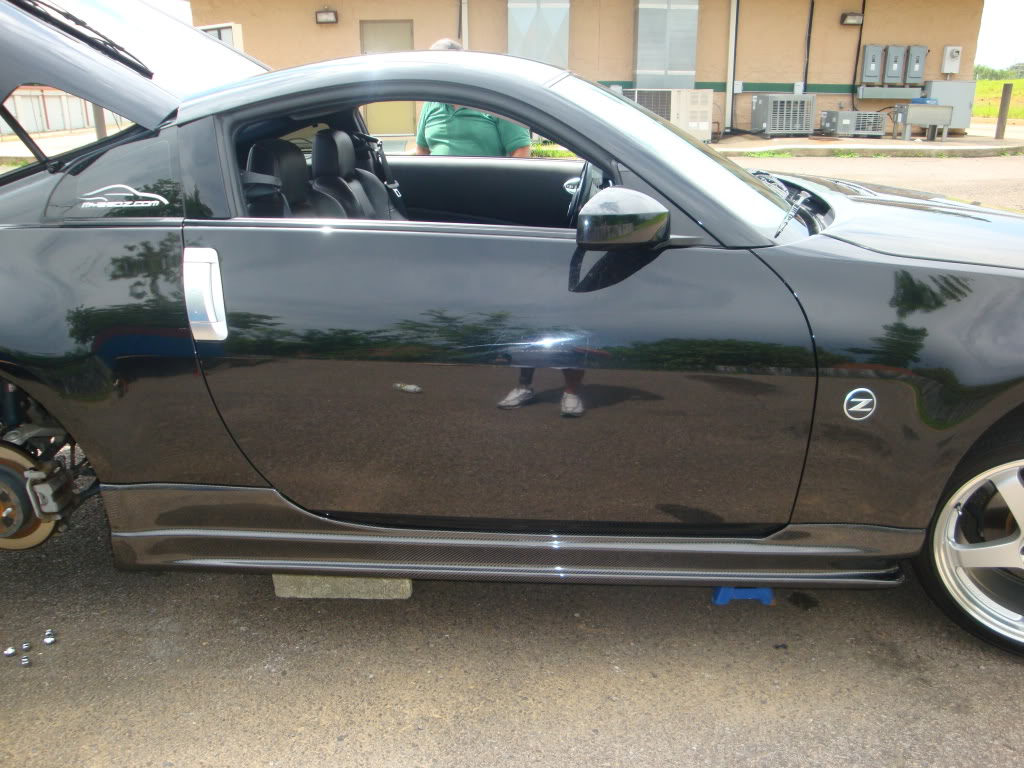
^^^At stock height

^^^pops in the background
I wanna give a special thanks to my pops for helping me, CVR motorsports for providing low prices, and to RobbinsJ for giving me some ideas and encouragement to do this on my own.
As always thanks for viewing and lets keep the DIY's coming!!! We should share our knowledge and learn from each other.
Here are some items you might need:
Blue painters tape, hand drill (fully charged w/extra battery), screw driver/s (both phillips and flat head), double sided tape(optional) for a flush look), 5/32 black oxide drill bit (used for common steel), aluminum screws*: I went to an outdoors store and couldn't find any black aluminum screws. I already had a can of spray paint laying around so got creative.lol As for the drill bit, thats just the size I chose and it was perfect for the thread pitch of my screws.
^^^I used a left over piece of carboard to keep from misplacing screws, I didn't want to run over them.
This time I started on the passenger's side of the car.
I gave my brother two of my jack stands so I brought it back mexican style lol (Not a racial slurr, when its your own race)
1.) If you haven't already taped your door jams, trims, body lines etc., do so now. Time for some test fitting. If your wondering, I would rate SEIBON's fitment as 9.5/10.
2.)One could choose to mount their side skirts in many ways. You could measure the holes in the oem skirts and pre-drill the holes into the CF and re-use the bolts that were on the car. Mine were rusty and I choose not to, instead after test fitting I decided to start over and make my own holes and use my own screws. You remember my baller screws in gloss black?
S.S stands for side skirts from here on out*
3.) Using two people have one person hold the oppisite end of the S.S and the other person w/the drill line up his side.
4.) After both people agree that both sides are lined up, commence drilling. After the hole is made, hand tighten the screw into the S.S to the undercarriage of the car.
^^^I started towards the rear of the passenger's side. Dont get too carried away drilling, and be sure to double check the body lines so that your S.S line up with the contours of your car. I recommend hand tightening the screws so the S.S have a little give and room to play with. One more thing, don't drill so close to the edge of the CF, just incase it might fracture.
5.) Now to the middle of the car. Notice how there is a huge opening on the Side skirt? I think it might be for a floor jack(im not sure), so I decided to put two screws there.
6.)Moving towards the front. After checking to see if I was lining up the S.S correcly, I drilled one more hole in the front.
I could've put two in there but I didnt want the screw so close together as it might cause a fracture in the CF. A pre-existing thread was between the gap, hence once screw.
7.) Body lines look good so im moving to the rear passengers tire well. I put two holes there:
I double checked the pre-existing holes, so that I could drill and the screws would stay in place.*
8.) Repeat step 7 for the front. (Sorry, I forgot to take pics.
)9.)There are two groves once you open the door jams, they look like indentions. Put one screw into each indention. If done right there shouldn't be a problem closing the door.
(I will post pic once I get my car back)
10. Repeat this method or introduce your own concept to the drivers side. Again this is just a blueprint to your own work, so feel free to change things up.
11.) Once project is complete, put your tires back on, torque them to specs. Remove tape and enjoy.
^^^At stock height
^^^pops in the background
I wanna give a special thanks to my pops for helping me, CVR motorsports for providing low prices, and to RobbinsJ for giving me some ideas and encouragement to do this on my own.
As always thanks for viewing and lets keep the DIY's coming!!! We should share our knowledge and learn from each other.
Last edited by ImWeeZzel; Jul 20, 2010 at 04:54 PM.

Registered User
Joined: Oct 2008
Posts: 64
Likes: 0
From: Concord
good job, man. i was wondering if the original creator who made the sides skirt removal thread was ever going to update his old thread with pics(or wait for someone new to show). i needed this for awhile. now i know what to do. thanks.

Thread Starter
Joined: Jul 2009
Posts: 5,217
Likes: 18
From: Maryland & Arkansas
thanks guys!!!
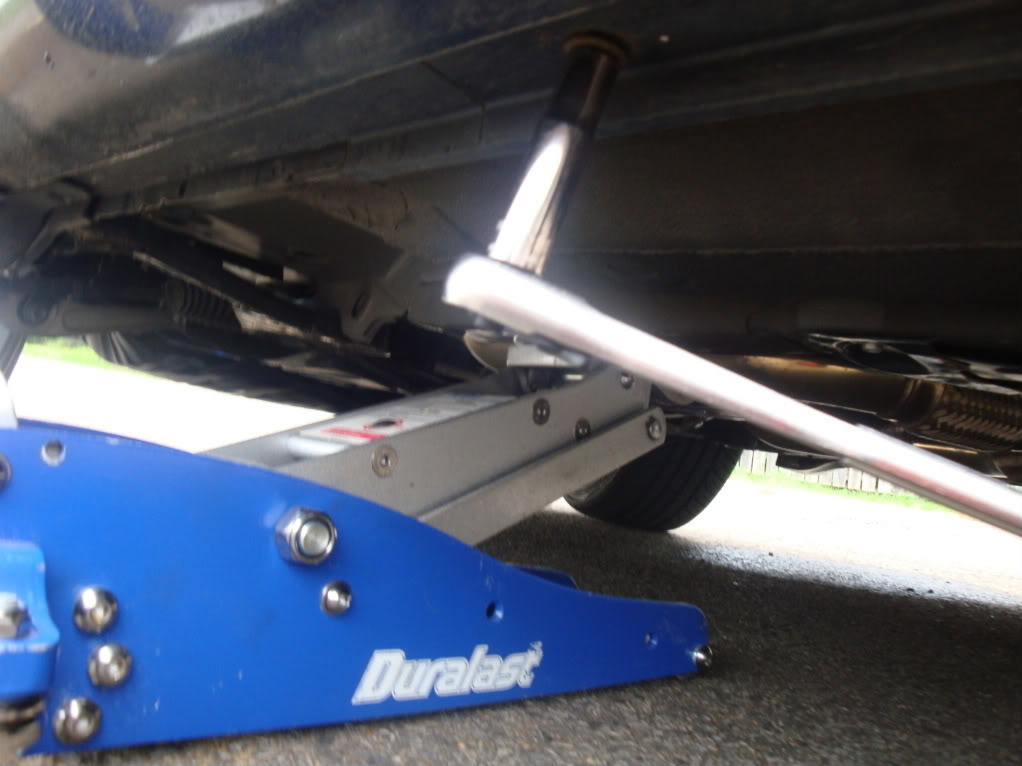
As for the lift, autozone had a sale and I had to get it. That thing might get frowned upon, but its very useful. I had a hard time finding a low profile jack, plus it came w/ricer led lights
As for the lift, autozone had a sale and I had to get it. That thing might get frowned upon, but its very useful. I had a hard time finding a low profile jack, plus it came w/ricer led lights


Trending Topics

Thanks OP!
I used this DIY when installing my cwest sides. It was very helpful in the removal of the stock sides.
I just wanted to comment that with genuine parts the holes are all pre-drilled. They lined up perfectly and I had no problem installing these by myself.
I used this DIY when installing my cwest sides. It was very helpful in the removal of the stock sides.
I just wanted to comment that with genuine parts the holes are all pre-drilled. They lined up perfectly and I had no problem installing these by myself.

Awesome thread dude,only thing I did different was reuse the push pins instead of screws on the ends
Last edited by NissanZcrazy; Jul 20, 2012 at 01:49 PM.

Thread
Thread Starter
Forum
Replies
Last Post
xirtam
Zs & Gs For Sale
5
Oct 3, 2015 02:06 PM
hardkicks
Zs & Gs For Sale
0
Sep 20, 2015 12:28 PM