DIY 06+ remove and paint center console, cubby, guages


I'll be doing a lot of sanding soon too. The plastic in the hatch of my car has a bunch of scuffs from the previous owner. I'll be taking them out to sand the scuffs and all of the 'wrinkly' texture off the pieces then painting them with the same paint i used on the dash. I'll post another DIY, but it's likely to be a couple weeks away.
I also need to repaint the silver on top of the strut tower bar and the Z in the middle of it has weird bubbly paint on it so that needs redone too. Has anyone done the silver piece of the strut tower bar before? Any paint recommendations?
I also need to repaint the silver on top of the strut tower bar and the Z in the middle of it has weird bubbly paint on it so that needs redone too. Has anyone done the silver piece of the strut tower bar before? Any paint recommendations?

An awesome write-up. Looks like it was a well worth DIY with great results.
I may have missed it, did you use any clear coat on the center console/ping-pong pieces? Thanks.
I may have missed it, did you use any clear coat on the center console/ping-pong pieces? Thanks.
Last edited by frolik33; Jun 1, 2011 at 06:15 PM.
Nope, the only part i used any clear on was the cubby button. I really wanted it all to look just like stock so i avoided using clear on the ping pong. You could give it a try, but i'd be concerned about getting glare if you used too much.
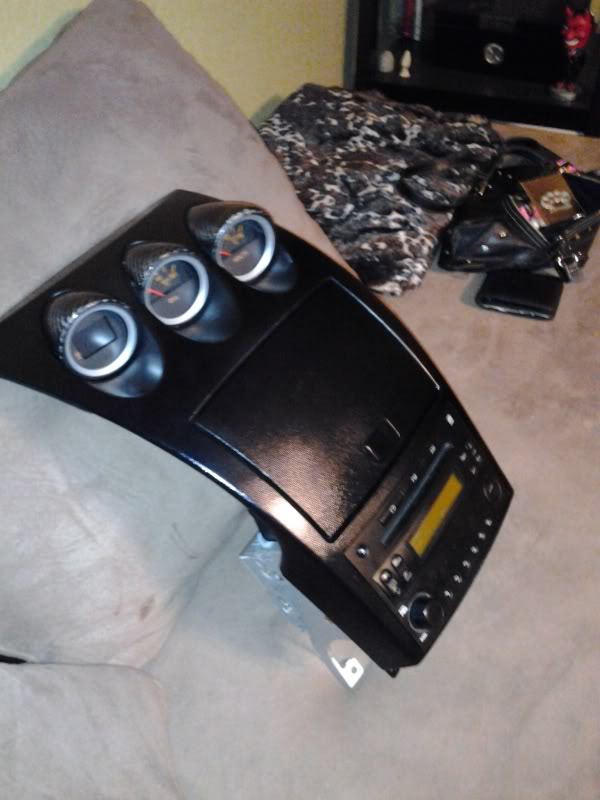
I kinda wanted to spray a dab of it on the gauge pods so that they'd look like my door pulls, but couldn't since Nissan had plastic welded them in place I debated on breaking the weld then just gluing them in place after i painted them. It seems like it would work out OK, but i just didn't want it bad enough to apply the effort, lol. You may not even need to glue them since the bottom parts of each pod has 2 screws and then the gauges are secured in behind those.
I kinda wanted to spray a dab of it on the gauge pods so that they'd look like my door pulls, but couldn't since Nissan had plastic welded them in place
I debated on breaking the weld then just gluing them in place after i painted them. It seems like it would work out OK, but i just didn't want it bad enough to apply the effort, lol. You may not even need to glue them since the bottom parts of each pod has 2 screws and then the gauges are secured in behind those.


If you just need to refinish the "button" for the console cubby,I'd cover it with a piece of carbon fiber.I'd get a thin sheet/3m backed,make a template of the button,trim the material to fit,remove the 3m backing and apply.You would first have to sand of the little
texture bumps to get a flat surface.My entire interior is done in CF.Since your is not,
the CF button will be an accent piece.Since its so small,the pattern if the CF covering
will not show too well.When trimming the CF sheet,cut the piece to be used as the button overlay to show the pattern on an angle.You can order CF material/sheets online through many sources.PROTECHCOMPOSITES.COM is a good source.For what you need,they have "sample" pieces at a reasonable price available.


Registered User
Joined: Jul 2011
Posts: 867
Likes: 0
From: Kent, WA
im stuck on the spring, i feel like an idiot but i took it all apart (springs flew) last night and cannot get them in. It sounds easy in the directions but the spring doesnt go behind the screw (maybe 03-05 is different?)
help..... anyone? im stuck
help..... anyone? im stuck
Registered User
Joined: Jul 2011
Posts: 867
Likes: 0
From: Kent, WA

If you PM me with your phone number i can text you a video. I still have it from when i did mine. It's not highly descriptive or a DIY style video.. it's just me recording how the hinge works while i opened and closed it a few times in case i needed it for reassembly.
I'm not sure if it's applicable to the 05 cubby or not though.
I'm not sure if it's applicable to the 05 cubby or not though.
Registered User
Joined: Jul 2011
Posts: 867
Likes: 0
From: Kent, WA
If you PM me with your phone number i can text you a video. I still have it from when i did mine. It's not highly descriptive or a DIY style video.. it's just me recording how the hinge works while i opened and closed it a few times in case i needed it for reassembly.
I'm not sure if it's applicable to the 05 cubby or not though.
I'm not sure if it's applicable to the 05 cubby or not though.

Registered User
Joined: May 2010
Posts: 60
Likes: 0
From: SUN DIEGO
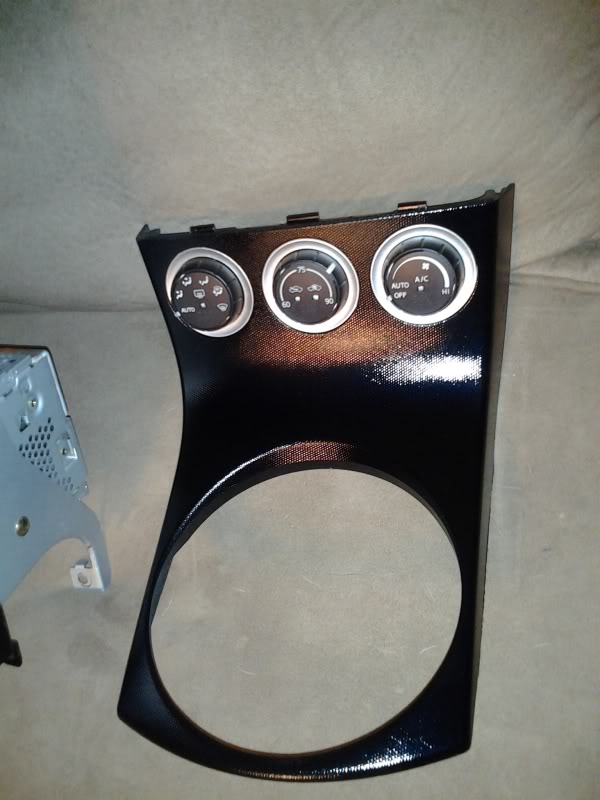
first step is to pull out the shifter bezel. This is just clipped in place so all you have to do is put your hand down into the boot and lift up on the inner edge of the bezel. It will pop right out without much effort.. But it will not be fully removable due to the boot not going up over the shifter ****.
There are 2 connectors to disconnect. They're the simple 'press a tab and pull' type. Be careful not to scratch anything with the edges of the bezel while you're working on the connectors.
After it was disconnected, i simply rotated it sideways. I put something underneath it so that it didn't scratch up the other plastic pieces.

I only cleared the pieces that get touched a lot.. arm rests on doors & the button on the cubby. I didn't clear the big dash pieces for fear they'd blind me by reflecting sunlight. Though, some people sand the whole dash down and paint it some vibrant color and drench it in clearcoat.. so i guess it's all in what you prefer.
Everything has held up nicely over the last few months. no scratches, fading, etc.
Everything has held up nicely over the last few months. no scratches, fading, etc.

Registered User
Joined: Oct 2011
Posts: 12
Likes: 1
From: Orlando, Florida
Just an FYI. the Dupi-color Vinyl Paint was a little difficult to spray. I did this on a hot Florida Summer Day and the paint was dry before I ever coated the whole handle. This made the paint look spotty and almost like camo black. the trick was to spray very light mists from far away. It wastes alot of paint, so make sure to get extra. It looks original and almost feels the same though.
I haven't yet got to the center pocket, but it also needs some paint and I'm afraid ill have the same issue with this paint and I don't want to go back to redo the arm handle again to match.
Just some useful information for the next guy. Perhaps a gloss black would be easier, but it would reflect more in the car while driving, so its up to you.

Registered User
Joined: Oct 2011
Posts: 3
Likes: 0
From: Georgia
Wanted to add my 2 cents here. Excellent write up with pics too, thats great. I am working on my 2006 center console now and finished the door/window switch trim a couple of weeks ago. On the door trim I used Krylon plastic fusion black satin with a Krylon clear protectant on top. It has a nice finish but I thought a little to glossy for the center console (which really is flat black). I built coats on the door trim sanding between each coat to develop a smooth finish. I'm really happy with them.
I also had scratches around the interior door latch which I am working on now. I could not for the life of me get those off so I am working in place. I was able to remove all the crap paint from these just using my fingernail scraping off the black goo down to a glossy gray primer. I removed the vent louver and sanded. I will mask and paint these in place. If anyone knows how to get them off I am curious, but will be painted in place soon.
The center console gage pods I am going to paint the same color as my exterior (silverstone). I ordered the paint online from "Express Paints" and its due in today. I am also going to paint the door latch trim same.
Everything is in pieces now, may be another week getting painted and reassembled. I will follow up and update this thread when complete. Hopefully soon, Z has been laid up now a couple weeks and I'm getting antzy to drive it.
Tim