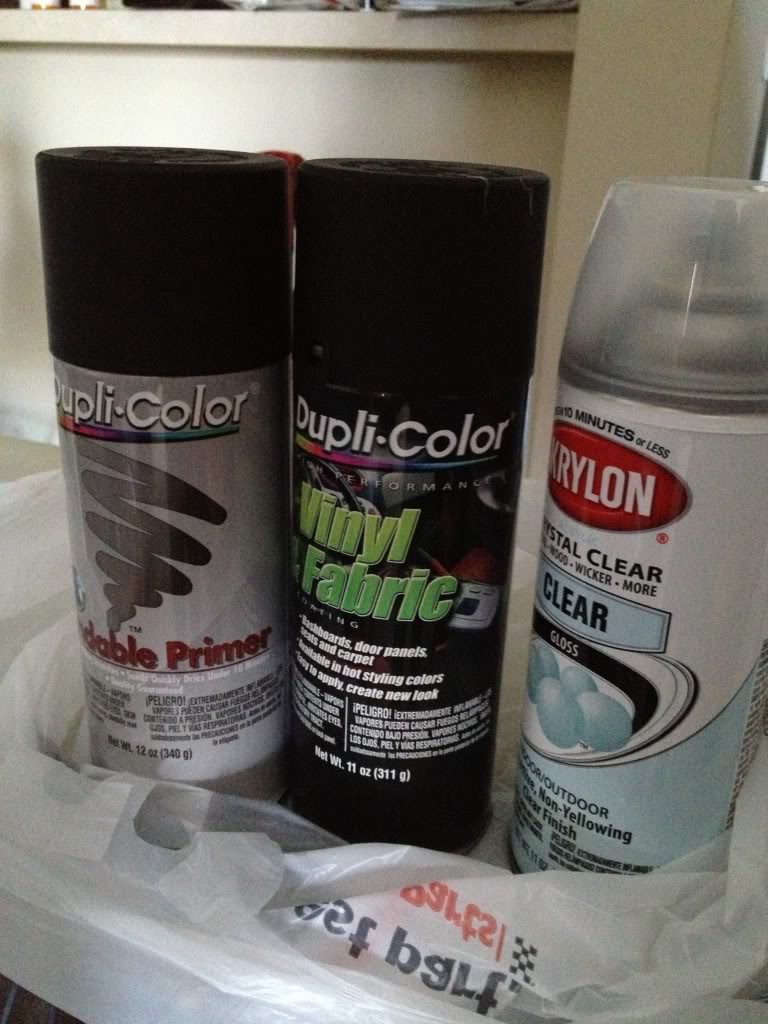
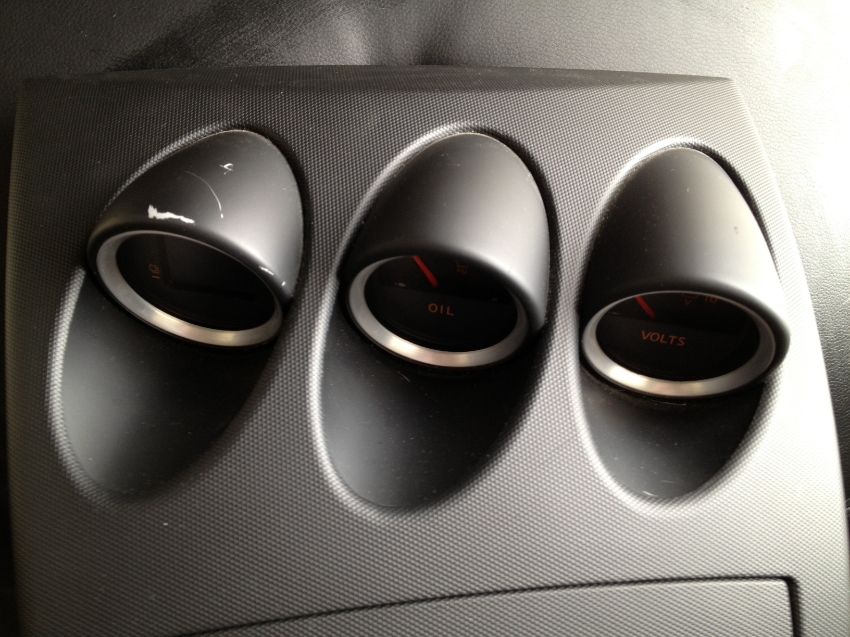
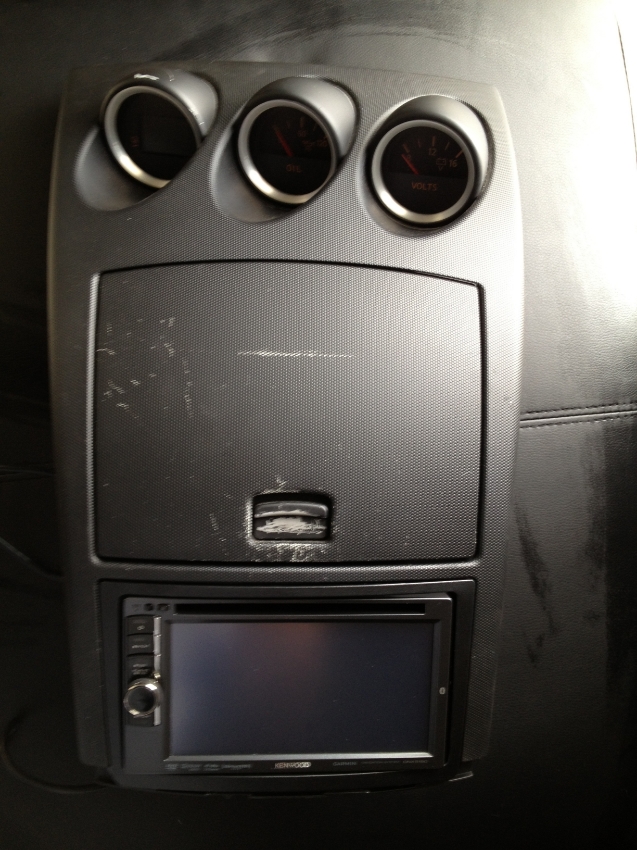
DIY 06+ remove and paint center console, cubby, guages
#61
Registered User
Join Date: Feb 2013
Location: Charleston, WV
Posts: 14
Likes: 0
Received 0 Likes
on
0 Posts
For the center all I did was wash and paint
Same for the inner door handles
The part where you have you window and lock buttons I cleaned, sandpapered, cleaned, painted the did a clear coat on since its a "high traffic area"
Same for the inner door handles
The part where you have you window and lock buttons I cleaned, sandpapered, cleaned, painted the did a clear coat on since its a "high traffic area"
#62
Registered User
Join Date: Apr 2013
Location: New Orleans, Louisiana
Posts: 3
Likes: 0
Received 0 Likes
on
0 Posts
Thanks,
I have a 06 enthusiast roadster. Ever since I bought it the scratches on the door and dash parts really bothered me. With the guide of this thread everything went well. My car is the metallic silver and I painted the three gauges, door handles and the escutcheons near the door opener the same silver as the exterior. It really looks great without looking gouache. I found that the 06 paint was flawed and before I repainted the black center console, I had to steel wool the paint off. My concern was that the ping pong paddle texture would be somehow distorted, but it was not. The paint adhered well and the interior looks great.
I have a 06 enthusiast roadster. Ever since I bought it the scratches on the door and dash parts really bothered me. With the guide of this thread everything went well. My car is the metallic silver and I painted the three gauges, door handles and the escutcheons near the door opener the same silver as the exterior. It really looks great without looking gouache. I found that the 06 paint was flawed and before I repainted the black center console, I had to steel wool the paint off. My concern was that the ping pong paddle texture would be somehow distorted, but it was not. The paint adhered well and the interior looks great.
#65
Registered User
This thread is a lifesaver!
I have a couple questions.
1. Do you remove the stock rubbery paint from the 3 pods? If so, how?
2. Do you remove the stock paint from the ping pong center stack?
3. Should you use a primer on the ping pong surface?
4. Can this same paint be used on the door switch panels?
5. How do I remove the door switch panels?
THANKS
Last edited by justin428; 06-05-2013 at 07:50 AM.
#66
Registered User
Join Date: Feb 2013
Location: Charleston, WV
Posts: 14
Likes: 0
Received 0 Likes
on
0 Posts
This thread is a lifesaver!
I have a couple questions.
1. Do you remove the stock rubbery paint from the 3 pods? If so, how?
2. Do you remove the stock paint from the ping pong center stack?
3. Should you use a primer on the ping pong surface?
4. Can this same paint be used on the door switch panels?
5. How do I remove the door switch panels?
THANKS
I have a couple questions.
1. Do you remove the stock rubbery paint from the 3 pods? If so, how?
2. Do you remove the stock paint from the ping pong center stack?
3. Should you use a primer on the ping pong surface?
4. Can this same paint be used on the door switch panels?
5. How do I remove the door switch panels?
THANKS
1. I didnt I left mine black inside because I liked the turnout
http://imgur.com/s1trD0Z and http://imgur.com/wA4yTUj (you can't see it in the pic but the dimples are still there)
2. I didn't, the paint went over it very nice
3. Nope the paint stuck fine
4. Yes. But I would HIGHLY recommend you sand the **** out of the door handles. The paint doesn't sit well alone. Then once done make sure you apply some sort of clear coat on it. It is a "high-traffic" area and you will end up repainting it if you don't
5.This guide will help you get everything off you need on the doors
https://my350z.com/forum/audio-video...r-install.html
#67
Registered User
1. I didnt I left mine black inside because I liked the turnout
http://imgur.com/s1trD0Z and http://imgur.com/wA4yTUj (you can't see it in the pic but the dimples are still there)
2. I didn't, the paint went over it very nice
3. Nope the paint stuck fine
4. Yes. But I would HIGHLY recommend you sand the **** out of the door handles. The paint doesn't sit well alone. Then once done make sure you apply some sort of clear coat on it. It is a "high-traffic" area and you will end up repainting it if you don't
5.This guide will help you get everything off you need on the doors
https://my350z.com/forum/audio-video...r-install.html
Thanks for the reply! I've ordered some samples of 3M's Scotchprint vinyl wrap for the door panels. Mine is harder than yours because I have a white roadster with that gray/ivory interior. It would be early impossibly to match. So, hopefully a aluminum or silver wrap would go nicely after all, there are aluminum trim bits elsewhere in the car.
My center stack is already mildly scratched. Just worried after I paint it those scratches would show through.
Do you suggest using the paint the op used?
#69
Registered User
Join Date: Feb 2013
Location: Charleston, WV
Posts: 14
Likes: 0
Received 0 Likes
on
0 Posts
Thanks for the reply! I've ordered some samples of 3M's Scotchprint vinyl wrap for the door panels. Mine is harder than yours because I have a white roadster with that gray/ivory interior. It would be early impossibly to match. So, hopefully a aluminum or silver wrap would go nicely after all, there are aluminum trim bits elsewhere in the car.
My center stack is already mildly scratched. Just worried after I paint it those scratches would show through.
Do you suggest using the paint the op used?
My center stack is already mildly scratched. Just worried after I paint it those scratches would show through.
Do you suggest using the paint the op used?
#70
Registered User
I read where one guy used steel wool to get the old paint off but you're saying thats not needed right?
Sorry for 20 questions. Whats really happening here is my dad is having me (car guy in the family) touch up the Z. The interior is aweful I think being a convertible its worse maybe because the sun heats it up and makes the rubbery stuff even more likely to scratch off.
Like I said, considering 3M scotchprint for the door swicth panels. I'm assuming its applies with a heat gun but I have no idea.
#71
Registered User
Join Date: Feb 2013
Location: Charleston, WV
Posts: 14
Likes: 0
Received 0 Likes
on
0 Posts
I read where one guy used steel wool to get the old paint off but you're saying thats not needed right?
Sorry for 20 questions. Whats really happening here is my dad is having me (car guy in the family) touch up the Z. The interior is aweful I think being a convertible its worse maybe because the sun heats it up and makes the rubbery stuff even more likely to scratch off.
Like I said, considering 3M scotchprint for the door swicth panels. I'm assuming its applies with a heat gun but I have no idea.
Sorry for 20 questions. Whats really happening here is my dad is having me (car guy in the family) touch up the Z. The interior is aweful I think being a convertible its worse maybe because the sun heats it up and makes the rubbery stuff even more likely to scratch off.
Like I said, considering 3M scotchprint for the door swicth panels. I'm assuming its applies with a heat gun but I have no idea.
#72
Registered User
If you sand the paint off on the middle be very gentle because you don't want uneven dimples. I had a ton of scratches and 4 coats of paint they were gone. But im not against it. If you do the vinyl you will def want a heat gun. I used a hairdryer and it was awful at first. Here is my carbon fiber vinyl I used for the doors before I painted. http://imgur.com/fQepou6
The following users liked this post:
vincentc (10-07-2016)
#73
Registered User
Join Date: Feb 2013
Location: Charleston, WV
Posts: 14
Likes: 0
Received 0 Likes
on
0 Posts
#75
Registered User
#77
Registered User
I'm in the middle of painting, and I'm freaking out. Nobody mentioned the surface feeling really rough like 800 grit sandpaper.
Feel like I just ruined my center console. It was all perfect and smooth before I started.
Feel like I just ruined my center console. It was all perfect and smooth before I started.

#80
Registered User
What year is your car? I've seen Z's that don't have this type of coating


