
DIY: How to Remove and Paint Brake Calipers
 10-29-2011, 09:24 PM
#1
Registered User
Thread Starter

Join Date: Sep 2011
Location: Surprise, AZ
Posts: 187
Likes: 0
Received 0 Likes
on
0 Posts
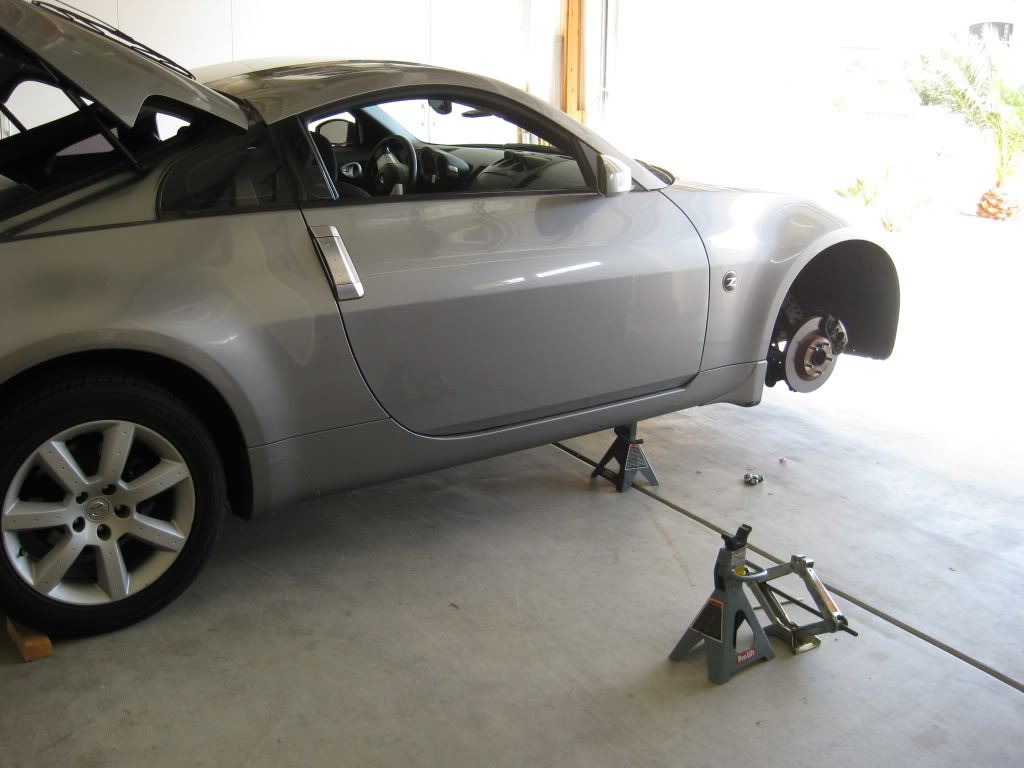
Step 1: Make sure the car is parked on a flat surface, with the parking brake on and the car in park (AT) or first gear (MT). Always remember to block the wheels that are not being lifted (preferably on both sides) as to prevent any movement of the car. Loosen the lugs on the front wheels. Place the jack under the jack point located between the front axle, lift the car, and then lower onto jack stands on the two side jack points. Remove the wheels and place them somewhere out of the way.
 10-29-2011, 09:35 PM
#2
Registered User
Thread Starter
Join Date: Sep 2011
Location: Surprise, AZ
Posts: 187
Likes: 0
Received 0 Likes
on
0 Posts
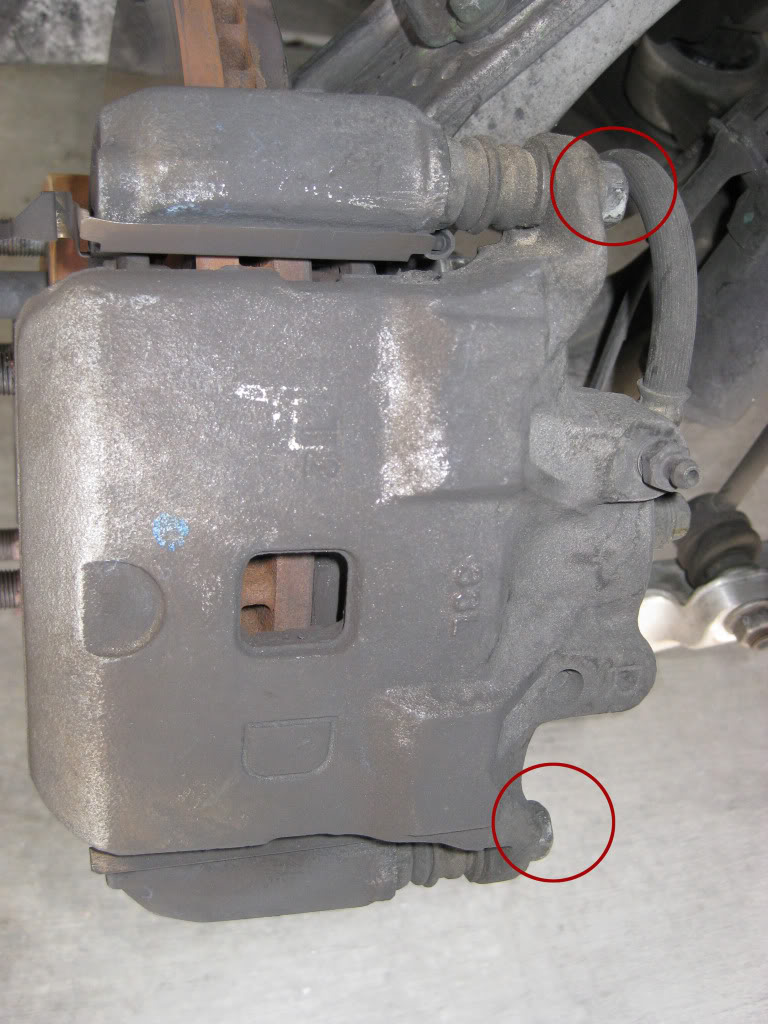
Step 2: Remove the two bolts that hold on the top caliper, and it will slide right off of the pads and rotor. (WARNING) Do not pull off or yank on brake line!! If you remove the brake line, you will have another huge task at hand, which involves bleeding your brakes. It is more hassle that would be added to the already long process. To hold up the caliper, you will need to cut a wire clothes hanger and hook one end to the upper control arm, and the other end to the hole in the caliper where the bolt screws into. The reason for this is to keep as little tension as possible off of the brake line. Carefully slide out the brake pads and the metal seats that are mounted on the lower caliper.
Last edited by TreeFiddyGee; 10-29-2011 at 10:14 PM.
10-29-2011, 09:42 PM
#3
Registered User
Thread Starter
Join Date: Sep 2011
Location: Surprise, AZ
Posts: 187
Likes: 0
Received 0 Likes
on
0 Posts
Step 3: With the top caliper removed, you will need to clean off all of the caked-on brake dust and other dirt and grime. Use a wire brush, or a drill with a wire wheel attachment to scrape off/ polish the caliper to perfect condition. Trust me, it looks brand new after an hour of using the drill attachment to polish off all of the dirt and bring out a new shine.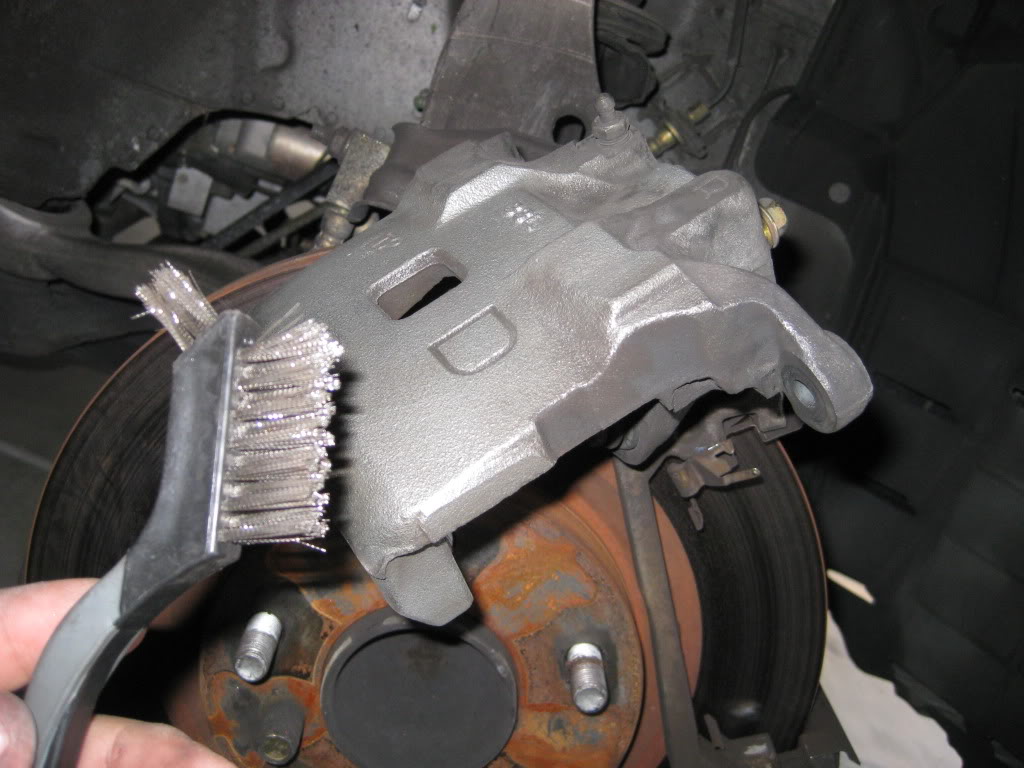
10-29-2011, 09:45 PM
#4
Registered User
Thread Starter
Join Date: Sep 2011
Location: Surprise, AZ
Posts: 187
Likes: 0
Received 0 Likes
on
0 Posts
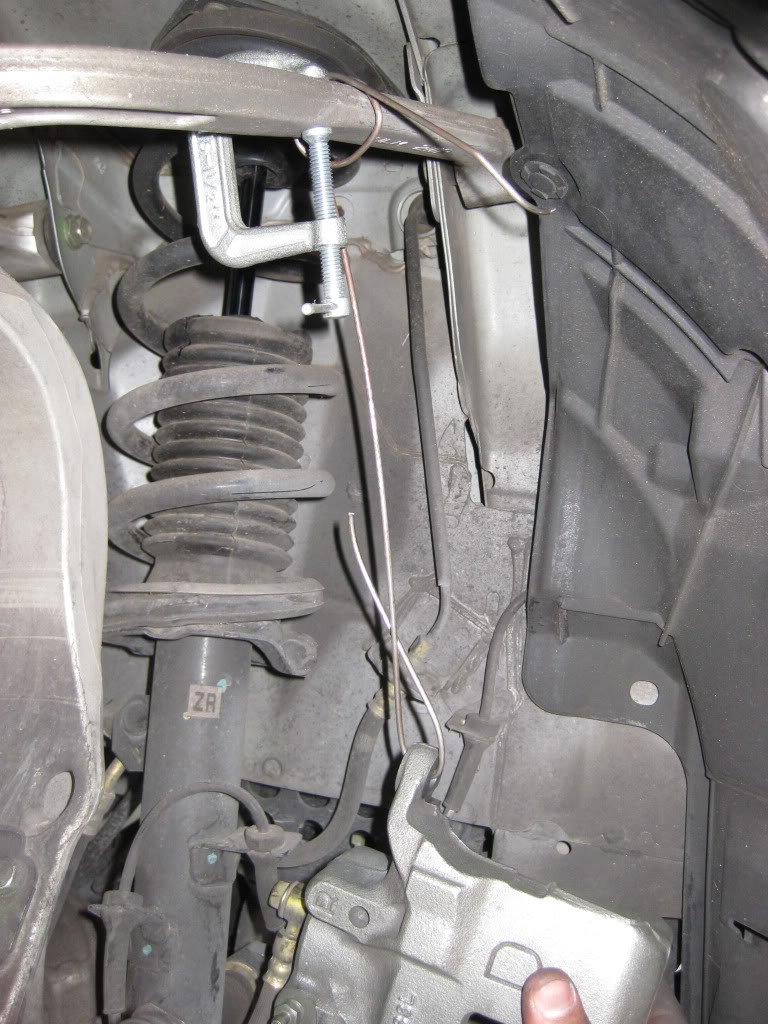
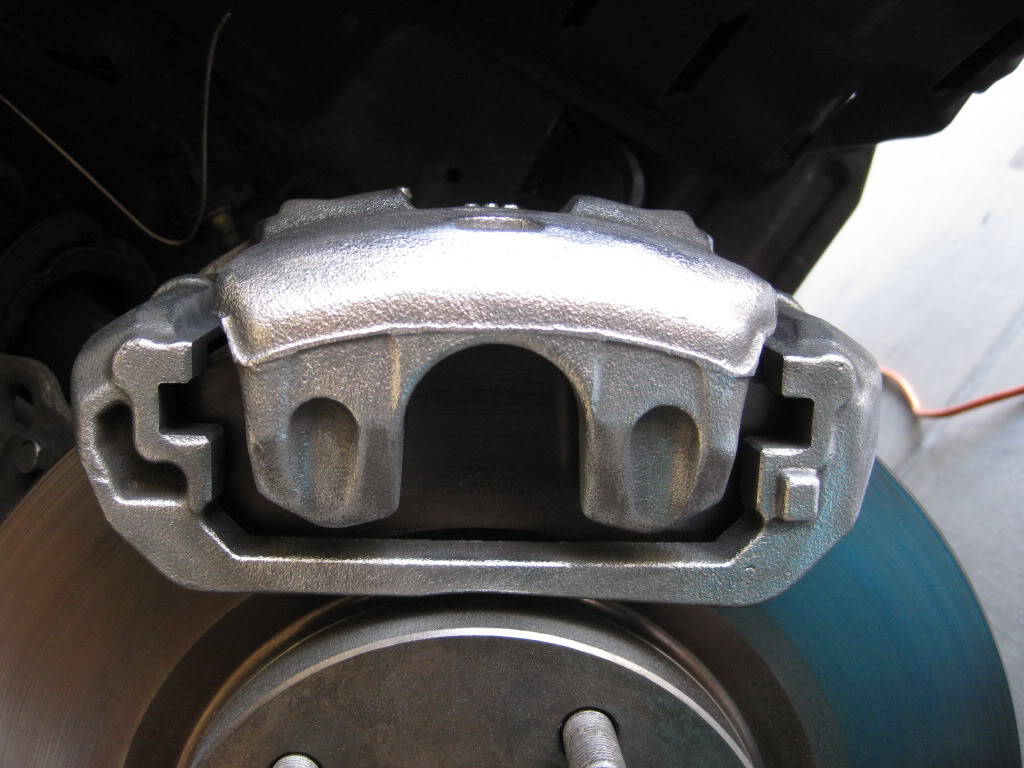
Step 4: When you are finished polishing off the first caliper piece, place it on the coat hanger that you bent up a little bit ago. This will hang here until you are ready to prepare for painting. The C-clamp I used is only to keep the hanger from sliding down the upper arm.
10-29-2011, 09:50 PM
#5
Registered User
Thread Starter
Join Date: Sep 2011
Location: Surprise, AZ
Posts: 187
Likes: 0
Received 0 Likes
on
0 Posts
Step 4.1(Optional): If your rotors are excessively rusted or you cannot stand the look of the rust, you can grind off all of the rust with the drill for a nice silver finish.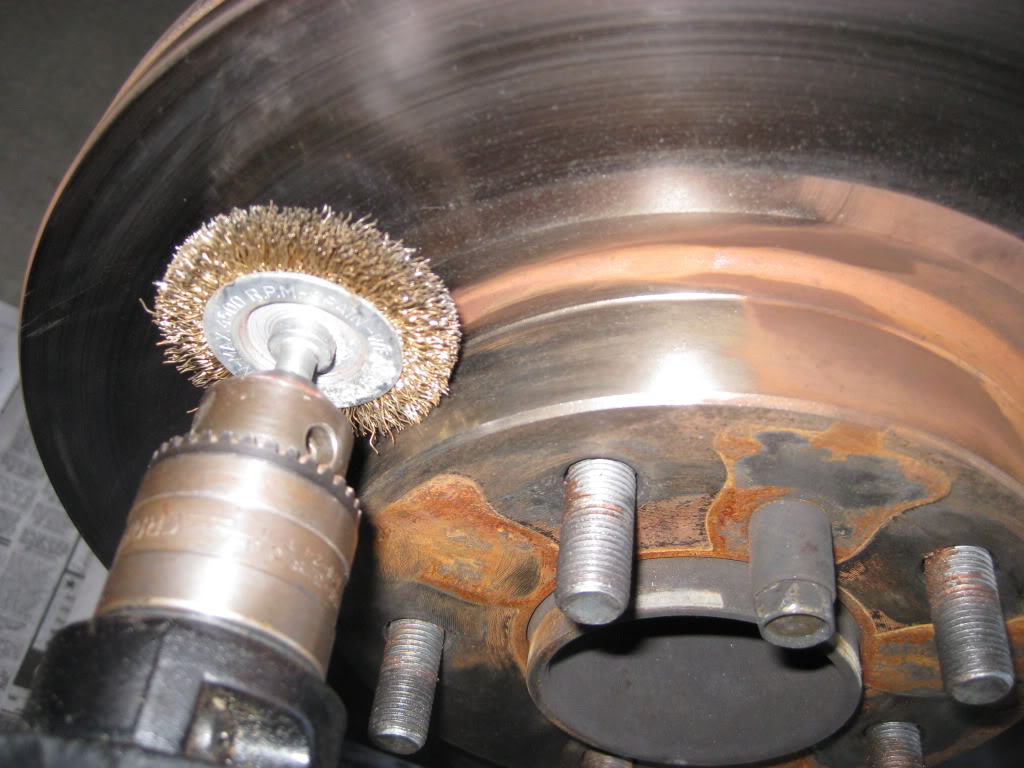
10-29-2011, 09:52 PM
#6
Registered User
Thread Starter
Join Date: Sep 2011
Location: Surprise, AZ
Posts: 187
Likes: 0
Received 0 Likes
on
0 Posts
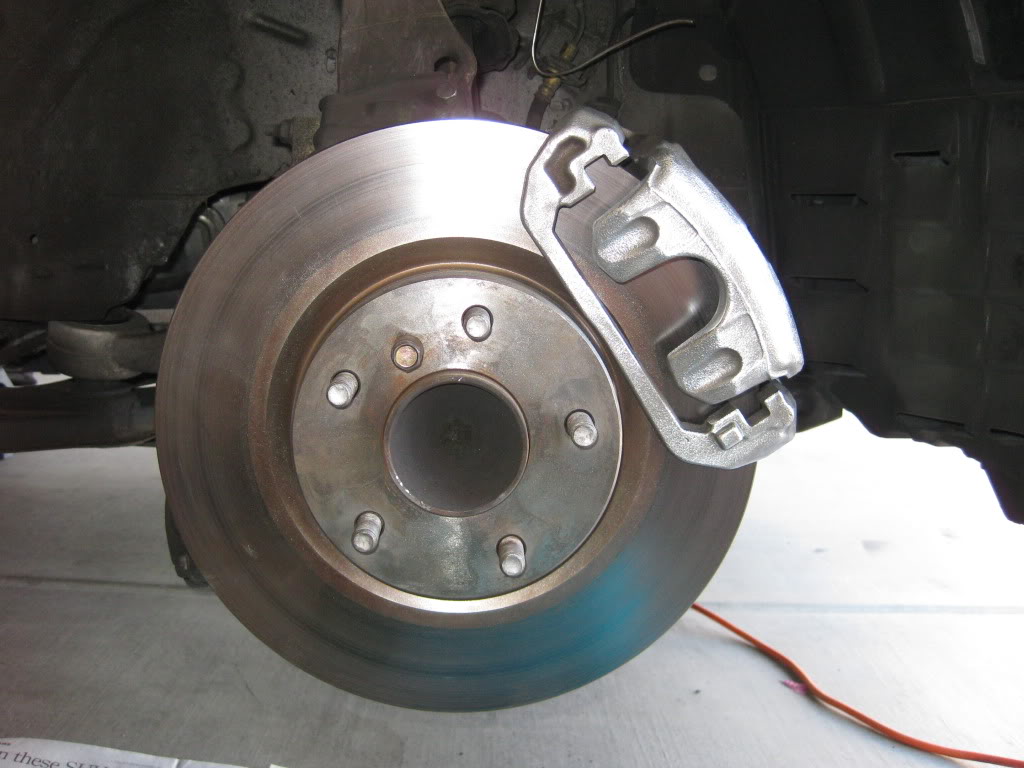
Step 5: Finish grinding away at the bottom caliper and rotor. This is what it should look like when you are done. If it does not look somewhat this clean, then you should put a few more minutes of cleaning into it
10-29-2011, 09:58 PM
#7
Registered User
Thread Starter
Join Date: Sep 2011
Location: Surprise, AZ
Posts: 187
Likes: 0
Received 0 Likes
on
0 Posts
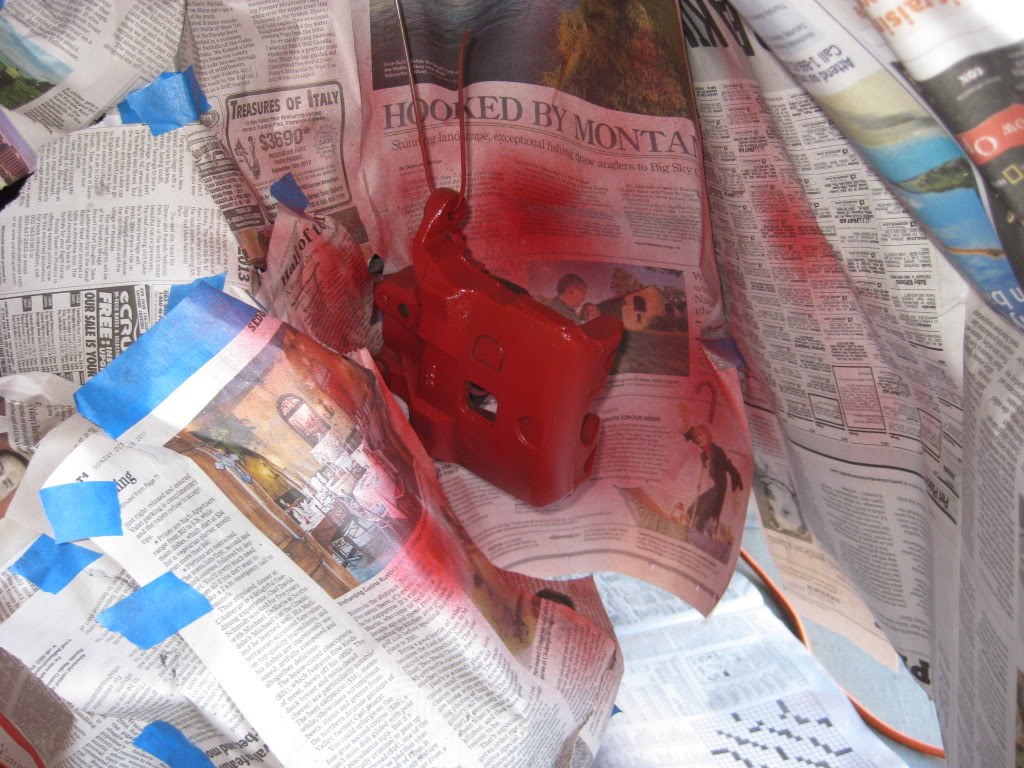
Step 6: If you haven't already, hang the caliper on the clothes hanger, and tape newspaper all around the wheel well and the floor. Leave the hanging caliper exposed, that will be what you are starting off with when spray painting. Make sure to tape around the bleeder nipple and the exposed portion of the brake line.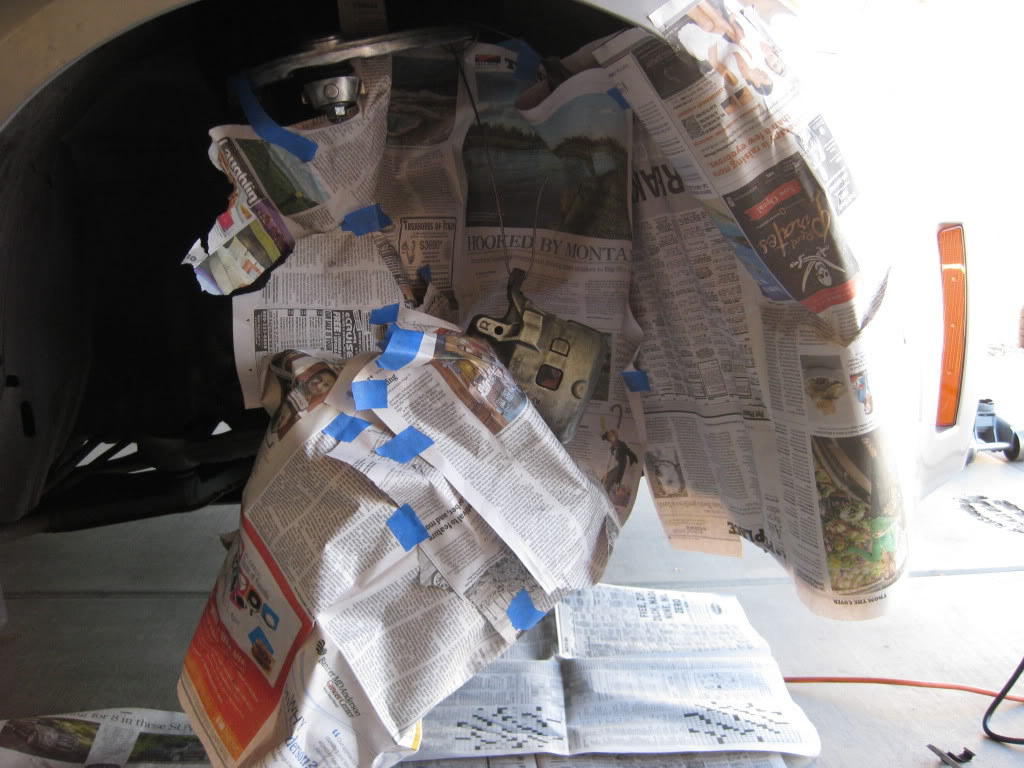
Trending Topics
10-29-2011, 10:02 PM
#8
Registered User
Thread Starter
Join Date: Sep 2011
Location: Surprise, AZ
Posts: 187
Likes: 0
Received 0 Likes
on
0 Posts
Step 7: Spray 6-10 light coats of the caliper paint of your choice (Mine is the Dupli-Color Red Caliper Paint), with 10 minutes between each coat.
Last edited by TreeFiddyGee; 10-29-2011 at 10:08 PM.
10-29-2011, 10:07 PM
#9
Registered User
Thread Starter
Join Date: Sep 2011
Location: Surprise, AZ
Posts: 187
Likes: 0
Received 0 Likes
on
0 Posts
Step 8: Remove the newspaper that is covering the rotor, and replace it with newspaper that will be placed between the lower caliper and the rotor. make sure the rubber boots on the back are taped around with painters tape. Use the same painting process as Step 7.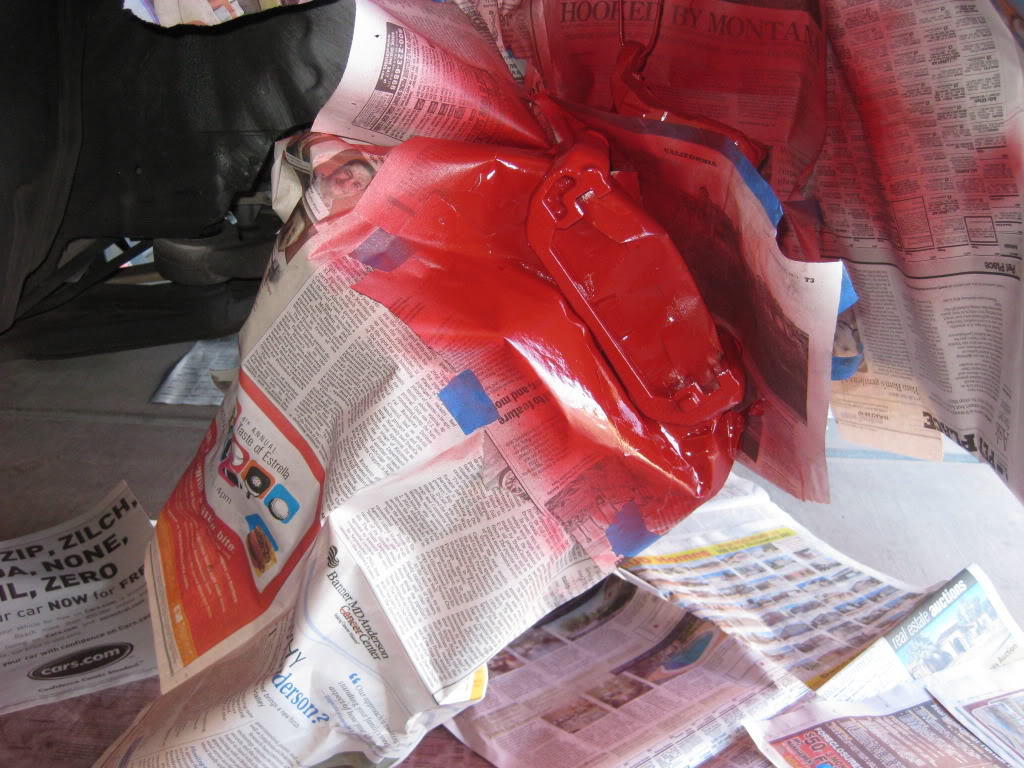
10-29-2011, 10:11 PM
#10
Registered User
Thread Starter
Join Date: Sep 2011
Location: Surprise, AZ
Posts: 187
Likes: 0
Received 0 Likes
on
0 Posts
Step 9: Once the painting is completed, you may now carefully remove all of the newspaper, being sure not to bump the newly painted brakes. Allow 24 hours before re-assembling the brakes, because even though the brakes may seem dry to the touch, it can still be scarred with tools. 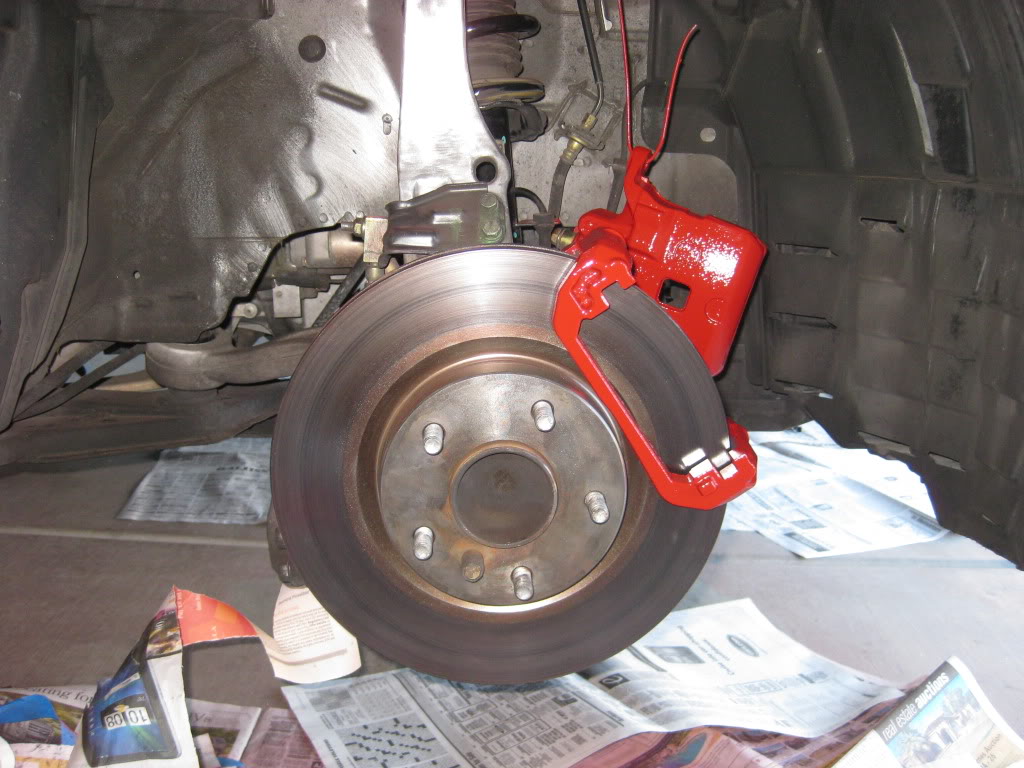
10-29-2011, 10:20 PM
#11
Registered User
Thread Starter
Join Date: Sep 2011
Location: Surprise, AZ
Posts: 187
Likes: 0
Received 0 Likes
on
0 Posts
Step 10: Now it is time to re-assemble your brakes. Clean off the metal brake pad seats that you removed earlier, and place them back into the slots on the lower caliper. Slide in the brake pads, making sure they are pressed against the rotor. Next, slide on the upper caliper, lining it up and placing the screws through and then tightening.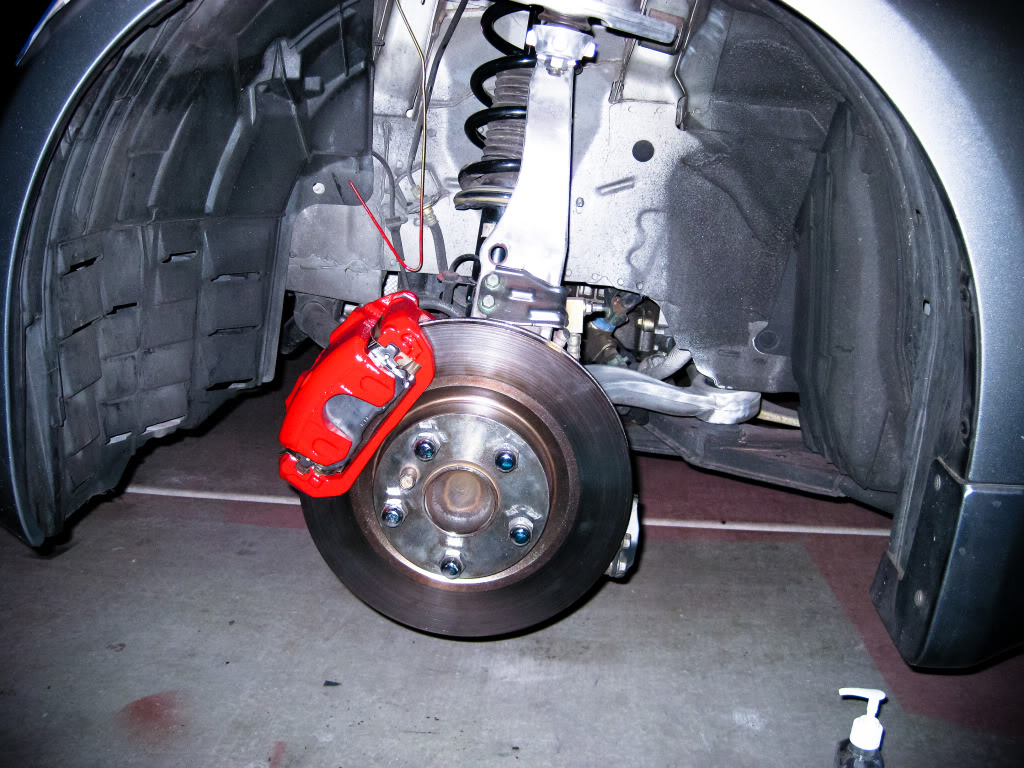
10-29-2011, 10:28 PM
#12
Registered User
Thread Starter
Join Date: Sep 2011
Location: Surprise, AZ
Posts: 187
Likes: 0
Received 0 Likes
on
0 Posts
Final Step: Remove the hanging clothes hanger, and mount the wheel onto the car. Repeat these steps for each wheel. You now have new eye catching brakes!! Before starting your car, pump the brakes to make sure that the piston is pressing against the pads snugly. To heat treat your brake paint, make light stops to heat up your brakes. Do not make any abrupt stops. It had taken me 20 hours to clean and paint all 4 brakes, not including the 24 hours of drying time. Just make sure you have enough time and a spare car to use in the meantime (: Happy Braking!
Last edited by TreeFiddyGee; 10-29-2011 at 10:40 PM.


 10-30-2011, 08:37 PM
#18
this might be the wrong thread to ask in but since we were on the topic of brake calipers i wanted to ask if anyone know of a diy for putting the track brembo brake kit on an enthusiast model, im looking to buy new rotors and soon and am debating it cause bbk are expensive 
10-30-2011, 09:34 PM
#19
Registered User
Thread Starter
Join Date: Sep 2011
Location: Surprise, AZ
Posts: 187
Likes: 0
Received 0 Likes
on
0 Posts
It also takes an extra $60 or so for a bleeder vacuum, plus $10 for a bottle of brake fluid. WHY pay the extra cost when you can prevent it? It only took me about 2 minutes for each wheel to put newspaper and tape up everything.
10-31-2011, 08:22 AM
#20
Registered User
Thread Starter
Join Date: Sep 2011
Location: Surprise, AZ
Posts: 187
Likes: 0
Received 0 Likes
on
0 Posts
How did you paint your strut bar? Did you disassemble the whole thing? I'm planning on painting mine, however i dont know what kind of paint i should use or the process.
Last edited by TreeFiddyGee; 10-31-2011 at 08:27 AM.