Drift spin e-brake button DIY
 06-28-2009, 01:33 AM
#1
Registered User
Thread Starter
iTrader: (12)

Join Date: Jul 2004
Location: NorCal
Posts: 281
Likes: 0
Received 0 Likes
on
0 Posts
I did a search here for an e-brake drift button (drift spin ****) and only found like 3 good threads. None of them had pics, and it was confusing to read. There was talk of wire, springs, sleeves, and dremeling. I'm really shocked there's no DIY on this...hasn't the Z33 been around for 6 years? After getting it all apart, I understood what the others were talking about. Just wanna thank the other posters for this mod  . Here's my method.
I only had my camera phone, sorry.
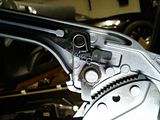
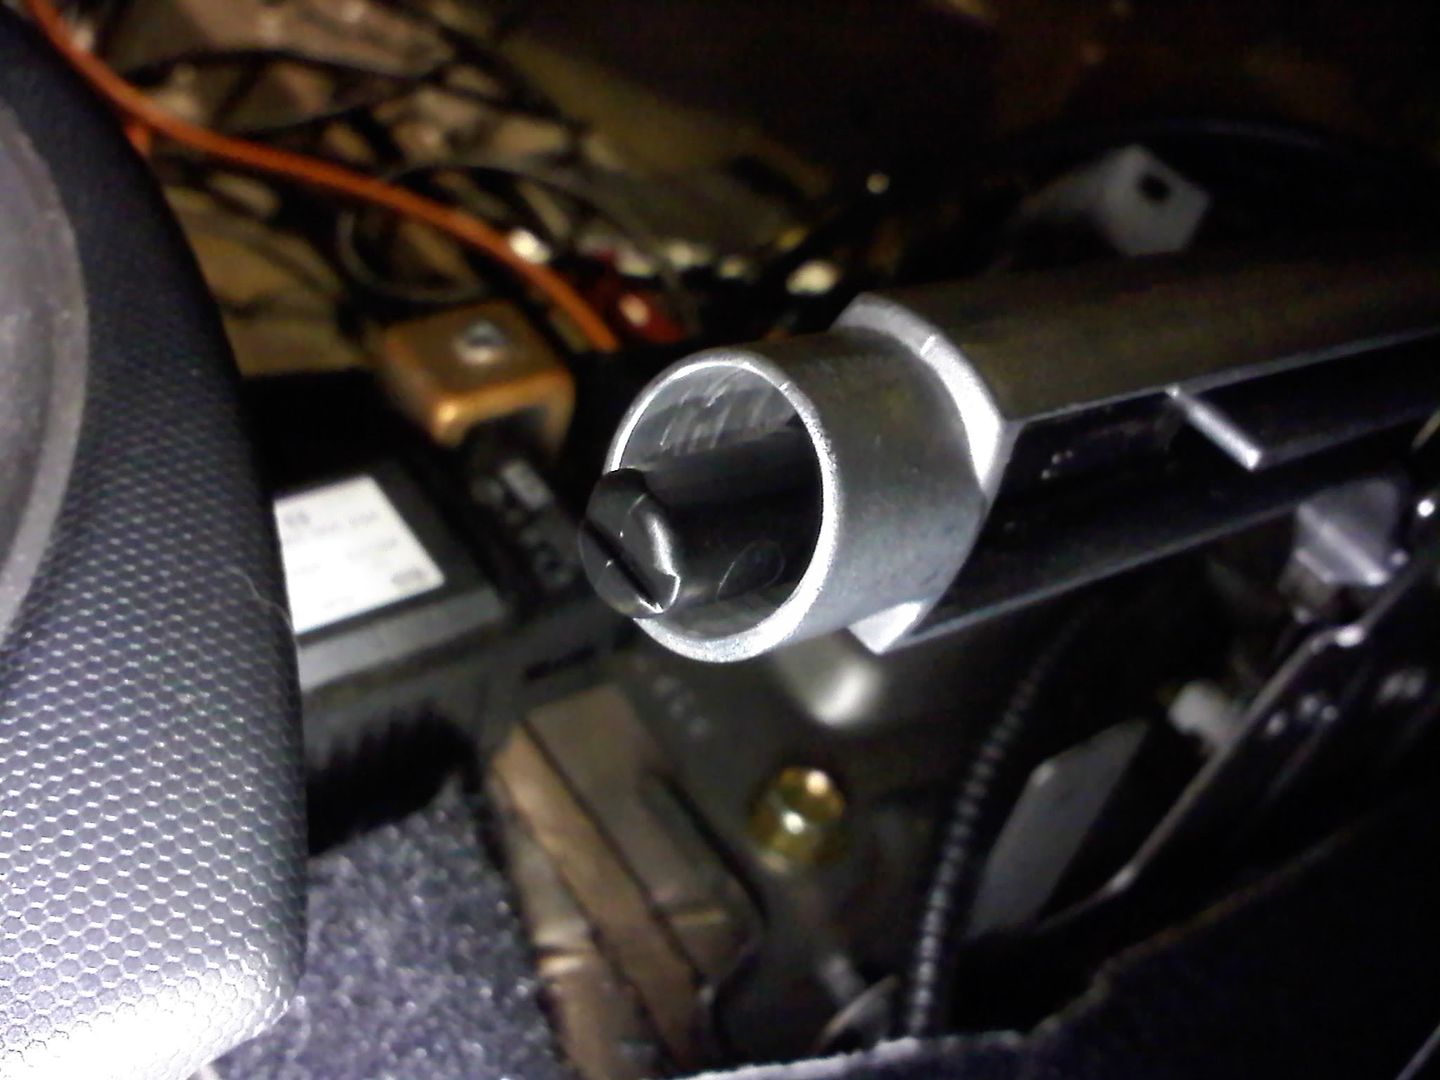
This is what it looks like all taken apart.

With the e-brake button is pushed, it moves the catch lever away from the teeth, thus releasing the rear drums. The spring keeps tension on the button, always keeping the catch lever on the teeth, hence the reason it "clicks" when you pull the handle.
This is the spring that some have removed. Ok, it's the same pic as above, but look at the spring this time!
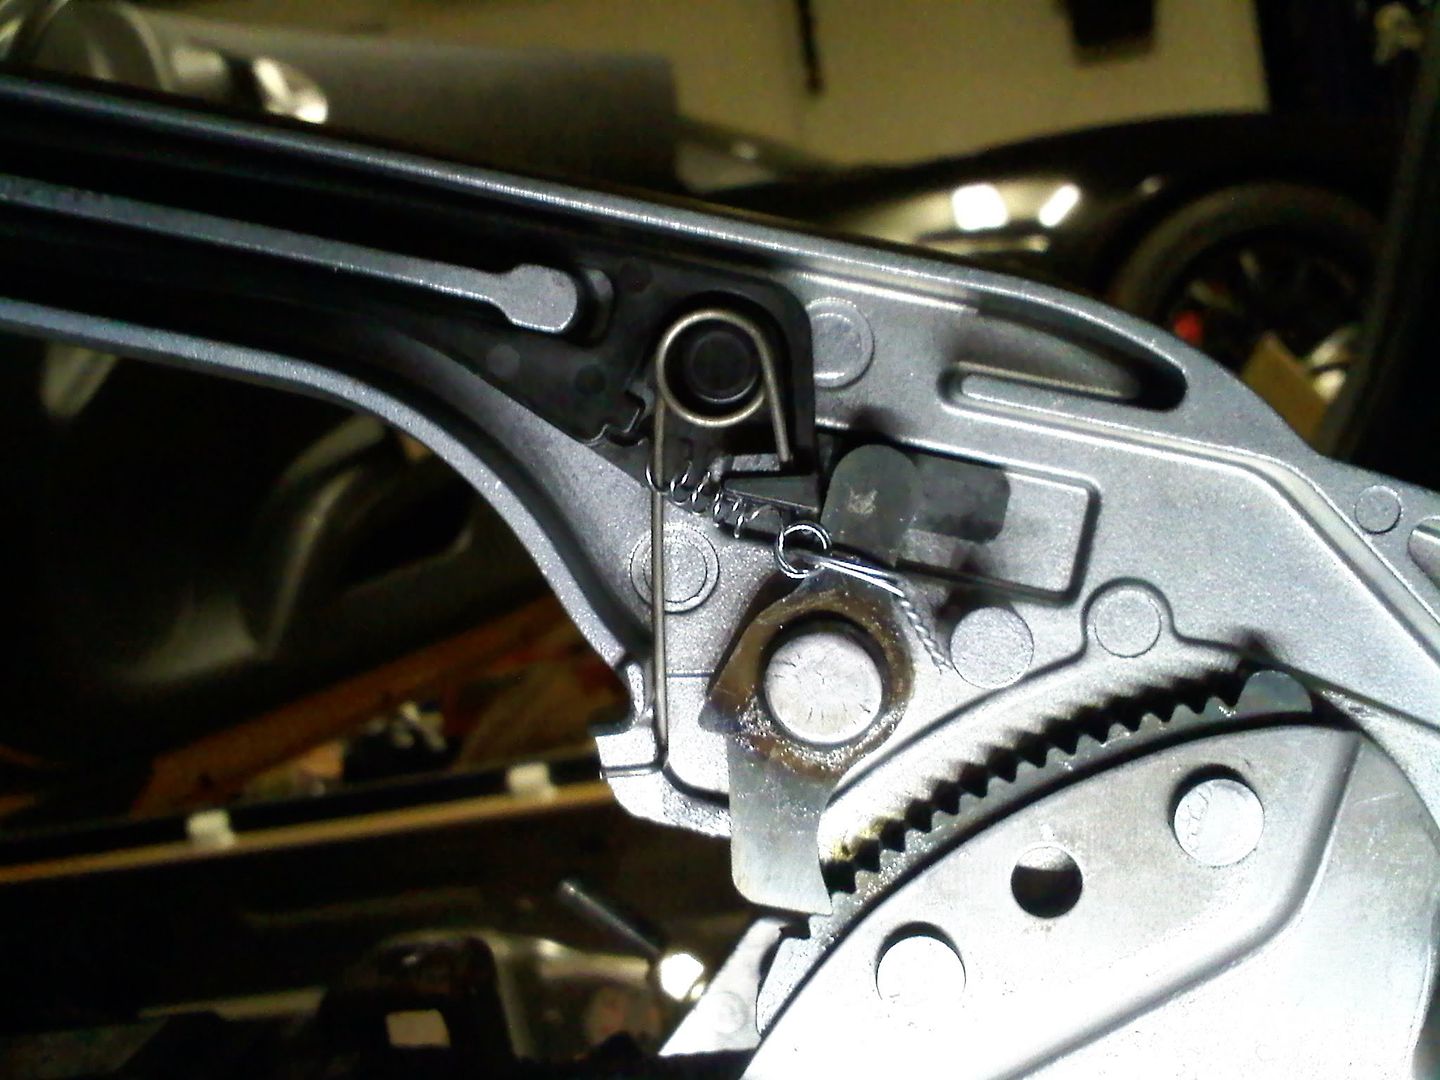
When the stock spring is removed, the button arm and catch lever just hang free. The idea to wire the catch lever to the button arm is to keep the connection without spring tension, rendering the clicker disabled. I'm sure this works well enough, but basically the catch lever is now just kinda floating there. My rule of thumb has always been to avoid any potential problem, even if it is "just in case". The way I saw it was that a sudden jar or mishap could cause the catch lever to grab a tooth when you don't want it to. That would be a sucky surprise. So I stared at it for about 10 min, then a light bulb went off.
I flipped the stock spring around.

This allows the spring tension to keep the catch lever far away from the locking teeth. I thought I was so smart! Now, I still needed a way to attach the catch lever to the button arm. I tried wire, but then the catch lever would only move about 1-2mm away from the teeth. The angle was goofy and the wire didn't have enough allowance. So now I'm back to square one. I almost gave up here, then another light bulb went off.
What if i had another spring to hold the catch lever to the button arm? This way the flipped spring would still keep the catch lever away from the teeth, and the tension from another spring in the opposite direction would keep the catch lever attached to the button arm. The space we're talking about here is only 10-12mm though. Where can I possibly get a freaking spring that small...third light bulb! A push button pen! So I run in the house and find a sacrificial pen, harvest the spring, and it's still too long. Damn it! Wait a minute you dorkus malorkus, just snip it down. So after snipping it down, I bent over one side to make a "hook" and the other side I coiled the other side tightly to fashion a "eye hole". The hook side goes into the hole on the button arm (look closely at the pic, it's hooked through that little hole. It's not attached the stock spring) and the eye hole side gets attached to the catch lever via some all purpose wire.
Modified pen spring
So I was so psyched that this **** really worked, I wanted to share.
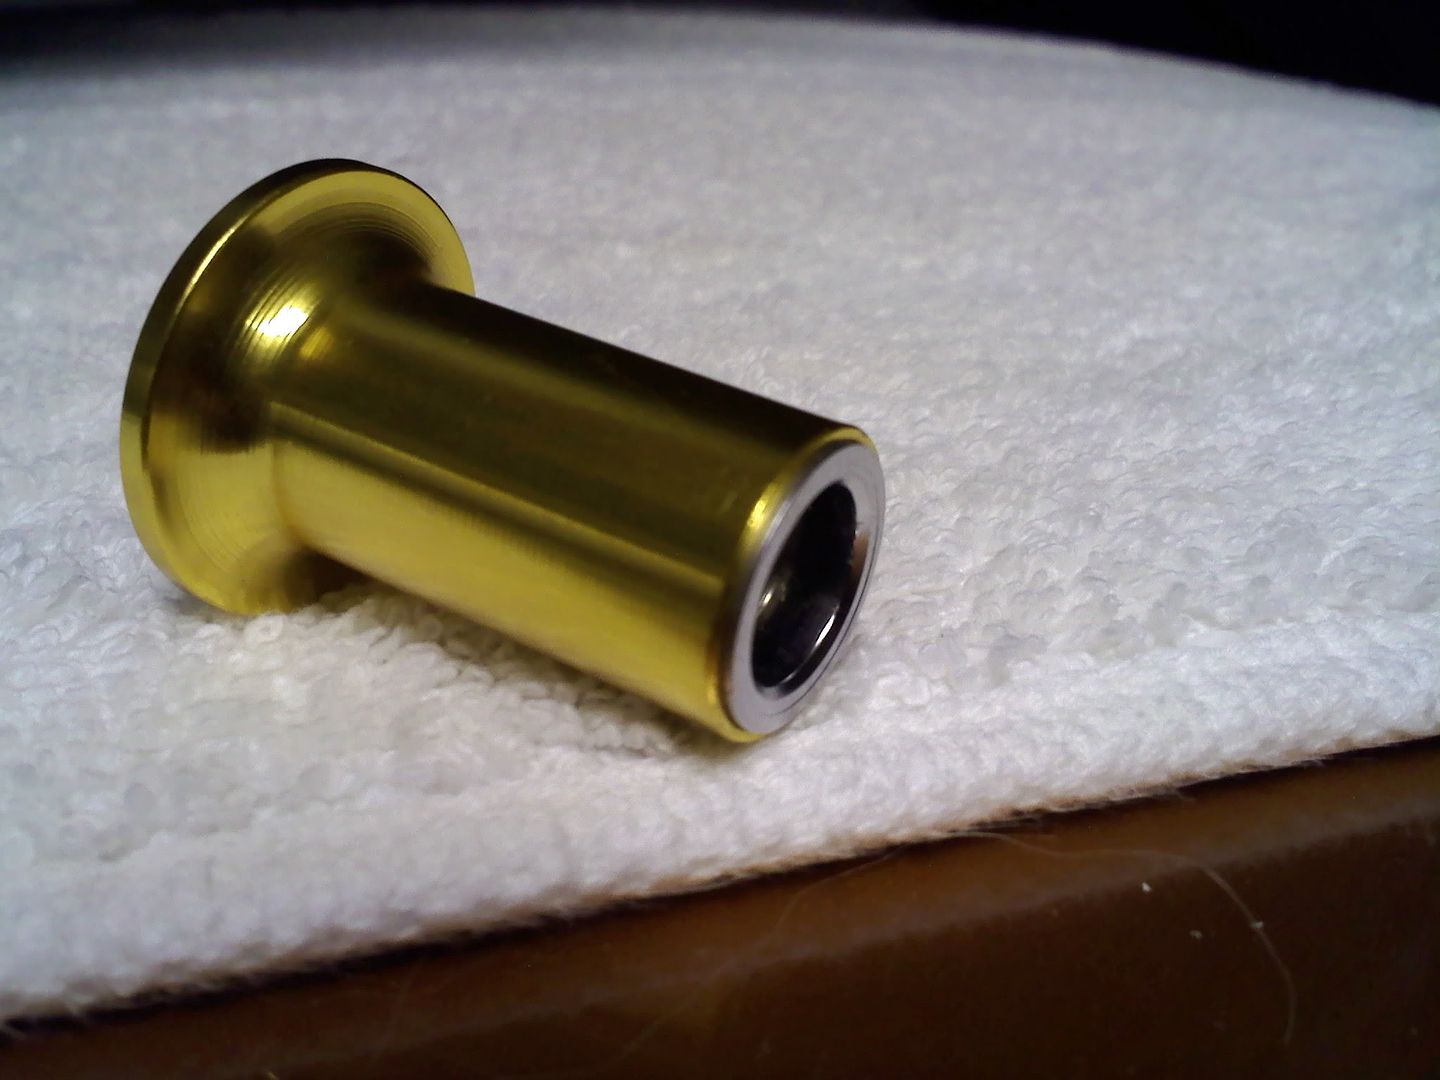
This is probably the reason no one makes a Z33 specific drift e-brake button. I got an Ebay special $15 S13 button. It fits a little tight, but works with some persuasion. Once you remove the button arm from the handle assembly, the silver button part pulls off with some force. Now take the silver button and force it into the drift button. At first it will seems that it won't fit, but it's made of plastic and has "forgiveness". I used a rubber ended dead blow hammer and it worked like a charm. The two magically become one...that **** will never come out.
Stock button inside of my $15 drift button.

Next we attack the problem of the S13 drift button not "exactly" fitting the Z33. Below is a pic of the exposed e-brake handle and button arm (without the silver button). That hole/channel that the button arm goes thorough is way too narrow for the S13 drift button to fit. Go to Home Depo or OSH and get a 5/8 drill bit. With the button arm removed, ream that little ***** out. Go slow on the drill speed, if that **** catches you're gonna smack up everything around the drill. If you don't have or can't borrow a 1/2" chuck drill, you can use a dremel, but it will take much longer and make way more of a mess.
Reamed handle...biatch!

The S13 drift button is too big for the leather handle cover too. You could prolly get away without it, but I took a broke out the dremel with a barrel sander bit and reamed out leather too. Why stop there, ya know.
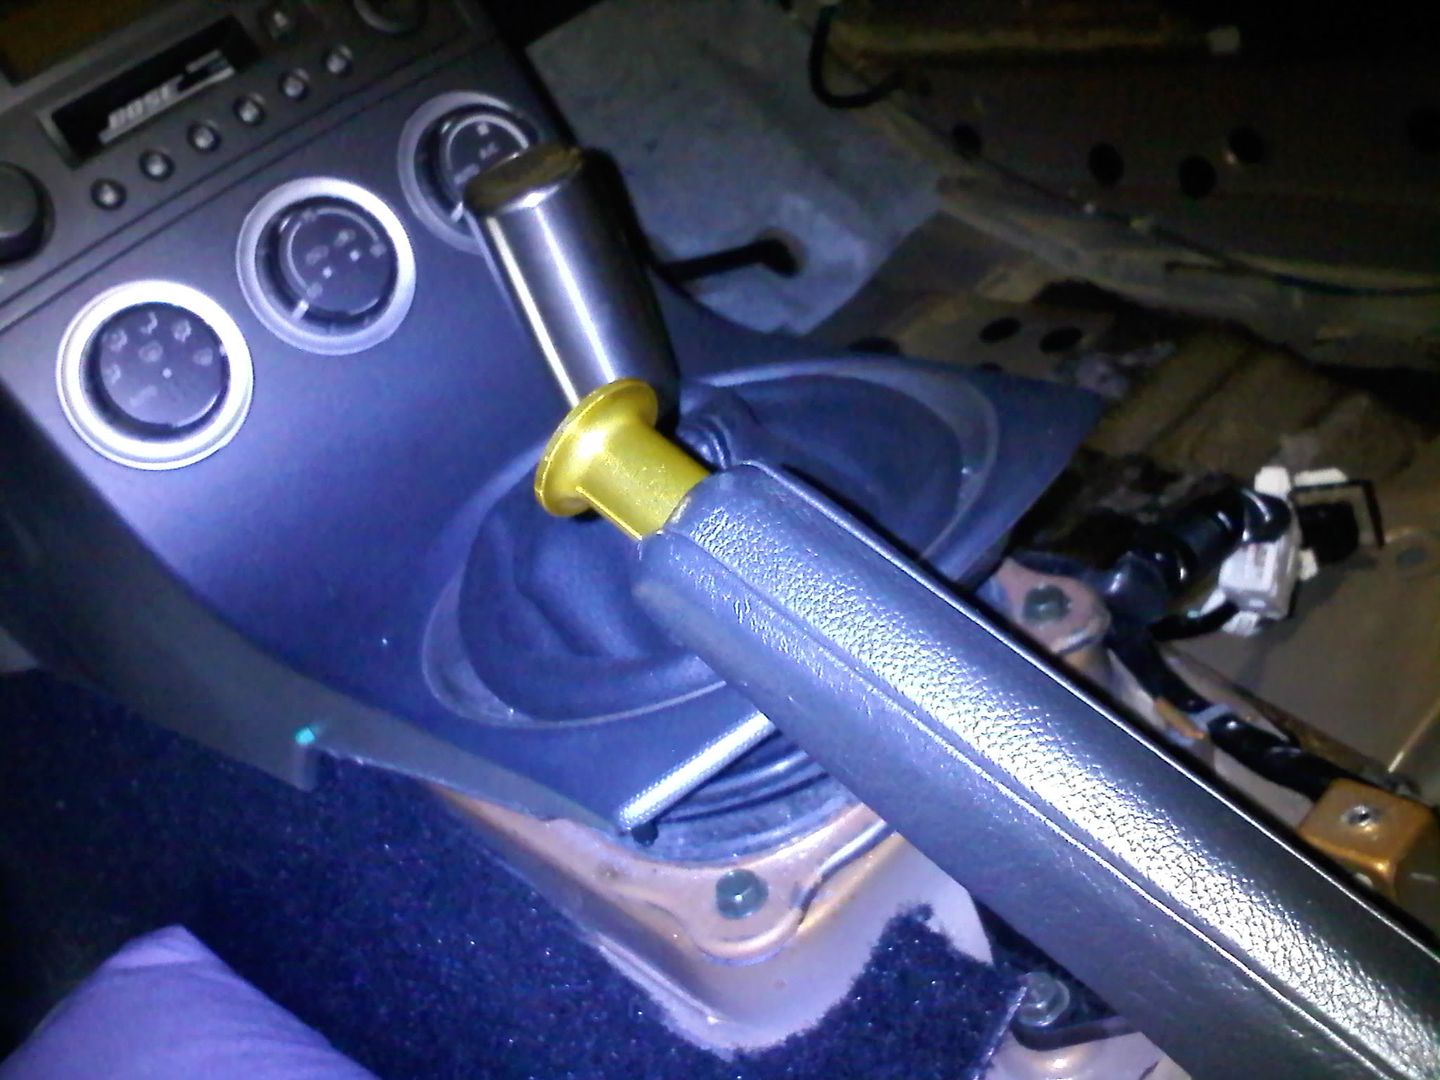
The last piece to go back on is the drift button. Don't make the mistake of snapping it back on the button arm before you put the leather cover back on, cause that **** snaps on tight son! You may break something (like your hand on the radio or the shifter) when you're trying to take the button back off. I used the dead blow hammer again.
So there you have it. The flipped spring keeps the catch lever off the teeth and the pen spring keeps the catch lever attached to the button arm. It's dope!

. Here's my method.I only had my camera phone, sorry.
This is what it looks like all taken apart.
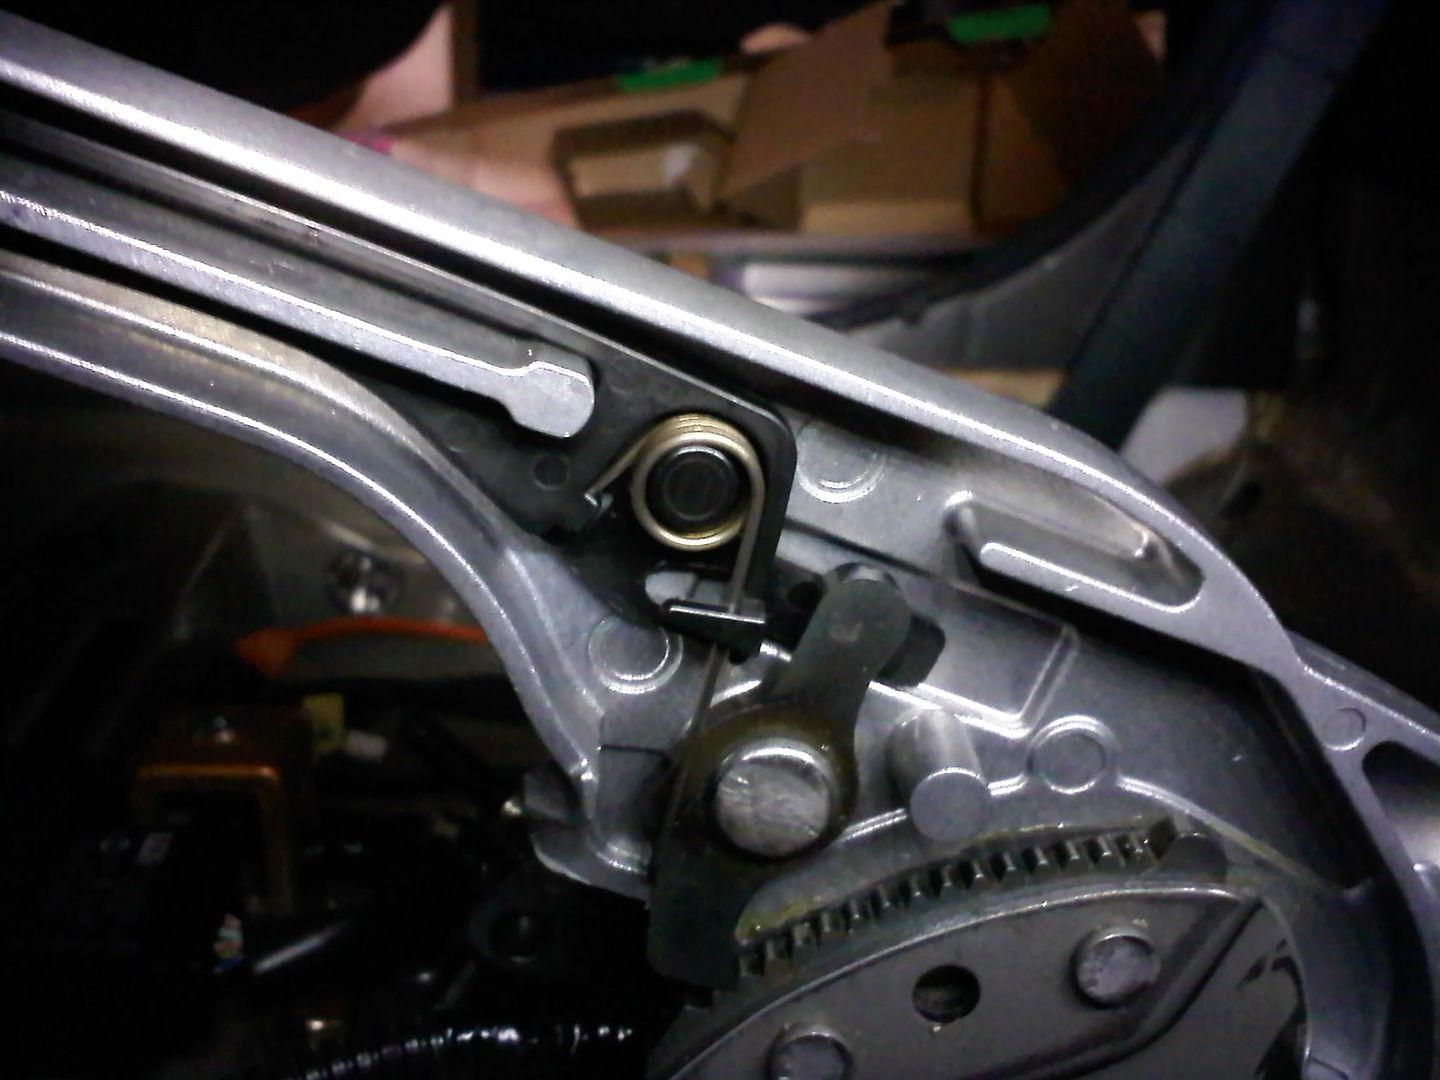
With the e-brake button is pushed, it moves the catch lever away from the teeth, thus releasing the rear drums. The spring keeps tension on the button, always keeping the catch lever on the teeth, hence the reason it "clicks" when you pull the handle.
This is the spring that some have removed. Ok, it's the same pic as above, but look at the spring this time!
When the stock spring is removed, the button arm and catch lever just hang free. The idea to wire the catch lever to the button arm is to keep the connection without spring tension, rendering the clicker disabled. I'm sure this works well enough, but basically the catch lever is now just kinda floating there. My rule of thumb has always been to avoid any potential problem, even if it is "just in case". The way I saw it was that a sudden jar or mishap could cause the catch lever to grab a tooth when you don't want it to. That would be a sucky surprise. So I stared at it for about 10 min, then a light bulb went off.
I flipped the stock spring around.

This allows the spring tension to keep the catch lever far away from the locking teeth. I thought I was so smart! Now, I still needed a way to attach the catch lever to the button arm. I tried wire, but then the catch lever would only move about 1-2mm away from the teeth. The angle was goofy and the wire didn't have enough allowance. So now I'm back to square one. I almost gave up here, then another light bulb went off.
What if i had another spring to hold the catch lever to the button arm? This way the flipped spring would still keep the catch lever away from the teeth, and the tension from another spring in the opposite direction would keep the catch lever attached to the button arm. The space we're talking about here is only 10-12mm though. Where can I possibly get a freaking spring that small...third light bulb! A push button pen! So I run in the house and find a sacrificial pen, harvest the spring, and it's still too long. Damn it! Wait a minute you dorkus malorkus, just snip it down. So after snipping it down, I bent over one side to make a "hook" and the other side I coiled the other side tightly to fashion a "eye hole". The hook side goes into the hole on the button arm (look closely at the pic, it's hooked through that little hole. It's not attached the stock spring) and the eye hole side gets attached to the catch lever via some all purpose wire.
Modified pen spring
So I was so psyched that this **** really worked, I wanted to share.
This is probably the reason no one makes a Z33 specific drift e-brake button. I got an Ebay special $15 S13 button. It fits a little tight, but works with some persuasion. Once you remove the button arm from the handle assembly, the silver button part pulls off with some force. Now take the silver button and force it into the drift button. At first it will seems that it won't fit, but it's made of plastic and has "forgiveness". I used a rubber ended dead blow hammer and it worked like a charm. The two magically become one...that **** will never come out.
Stock button inside of my $15 drift button.
Next we attack the problem of the S13 drift button not "exactly" fitting the Z33. Below is a pic of the exposed e-brake handle and button arm (without the silver button). That hole/channel that the button arm goes thorough is way too narrow for the S13 drift button to fit. Go to Home Depo or OSH and get a 5/8 drill bit. With the button arm removed, ream that little ***** out. Go slow on the drill speed, if that **** catches you're gonna smack up everything around the drill. If you don't have or can't borrow a 1/2" chuck drill, you can use a dremel, but it will take much longer and make way more of a mess.
Reamed handle...biatch!
The S13 drift button is too big for the leather handle cover too. You could prolly get away without it, but I took a broke out the dremel with a barrel sander bit and reamed out leather too. Why stop there, ya know.
The last piece to go back on is the drift button. Don't make the mistake of snapping it back on the button arm before you put the leather cover back on, cause that **** snaps on tight son! You may break something (like your hand on the radio or the shifter) when you're trying to take the button back off. I used the dead blow hammer again.
So there you have it. The flipped spring keeps the catch lever off the teeth and the pen spring keeps the catch lever attached to the button arm. It's dope!
Last edited by USED; 06-28-2009 at 08:08 AM.


 07-10-2009, 04:33 AM
#5


Trending Topics


 07-28-2011, 11:02 AM
#10
Registered User
Thread Starter
iTrader: (12)
Join Date: Jul 2004
Location: NorCal
Posts: 281
Likes: 0
Received 0 Likes
on
0 Posts
Good luck!
08-01-2011, 06:16 AM
#11

+ melting my ebrake handle...
did you have to widen the hole at the end to fit both the button and the stock black button inside?
Thanks!
10-12-2011, 08:54 PM
#13
Registered User

Join Date: Oct 2011
Location: Flushing, Ny
Posts: 1
Likes: 0
Received 0 Likes
on
0 Posts
Thanks a lot for the install. Seems like many of the people on other forums are ignorant of drifting let alone a drift ****. Which brings me to my question. I'm looking to find a ****. any idea where I might find one? possibly one that is designed to actually fit the z33 model. I mean with all the zs I see on the track someone had to make one by now, right?

 03-29-2016, 12:33 AM
#17
Registered User

So I am looking at getting a different button... I don't drift... I know I know what am I doing... BUT my question is... If I were to get this button and NOT remove the spring will the e brake still function like normal?


Thread
Thread Starter
Forum
Replies
Last Post
Lt_Ballzacki
Brakes & Suspension
39
08-06-2021 06:19 AM
Workshop12
Exterior & Interior
256
03-23-2020 01:45 PM
350Z Project X
Suspension
9
10-10-2015 09:23 AM