
Another handbrake installation... CNC DIY


Thread Starter
Registered User
Joined: Jun 2007
Posts: 48
Likes: 1
From: coatesville, pa
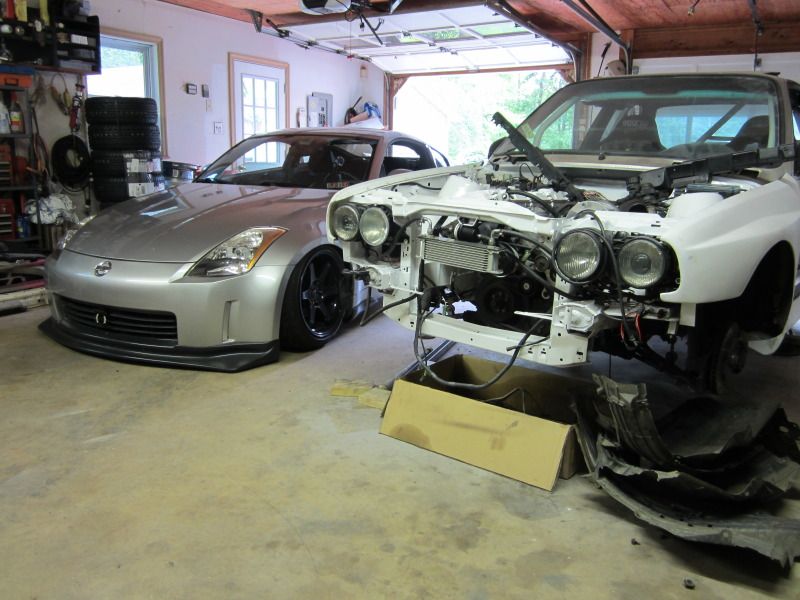
First of all, I am new to Z's...I bought the car stock about 1 month ago and planned on keeping it as a daily driver for a few months but quickly fell in love and wasted a bunch of money
As I said, this is my first Nissan so feel free to critcize any of my work or info. I am only putting this information out there so it may help someone else in the future.
So here we go!
Step 1
Dont start this task unless you are able to be without a car for a few hours.
Step 2
Dissassemble the interior (no pics), jack the front end up, remove the passenger fender liners, and start on the real work.
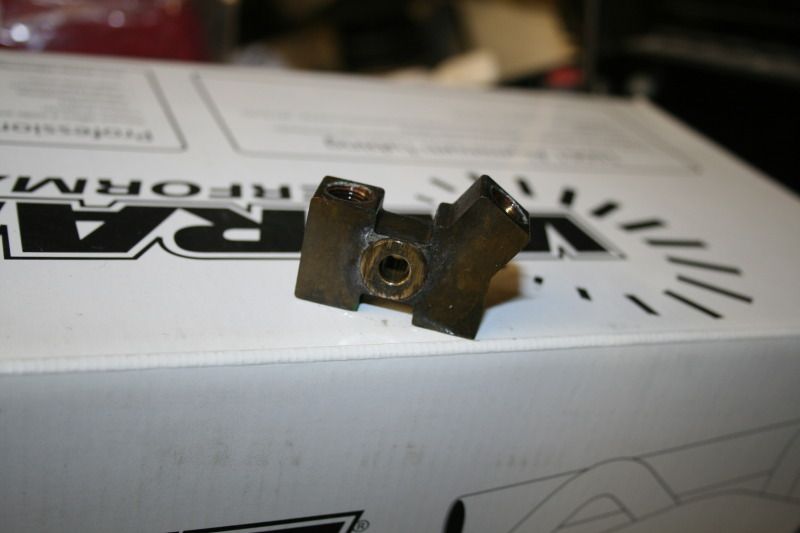
Remove this junction block (46313) from the passenger side
Step 3
Dont let your lines leak all over the floor and make bleeding harder..
Step 4
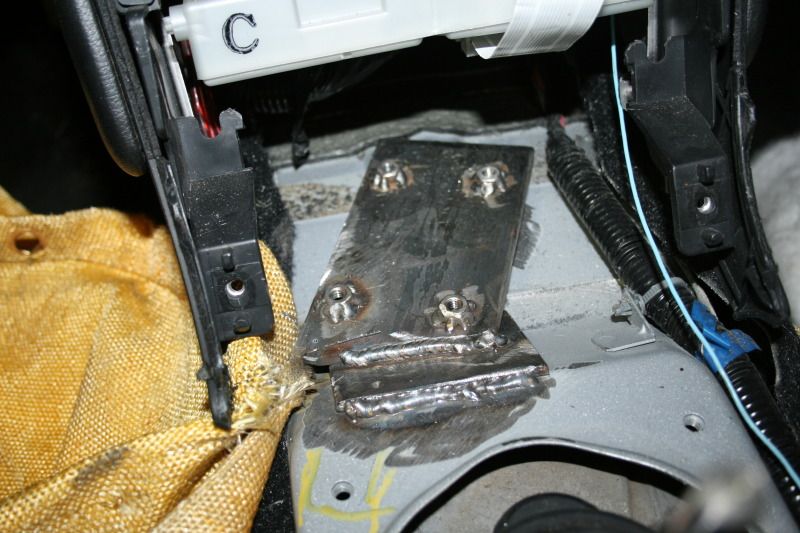
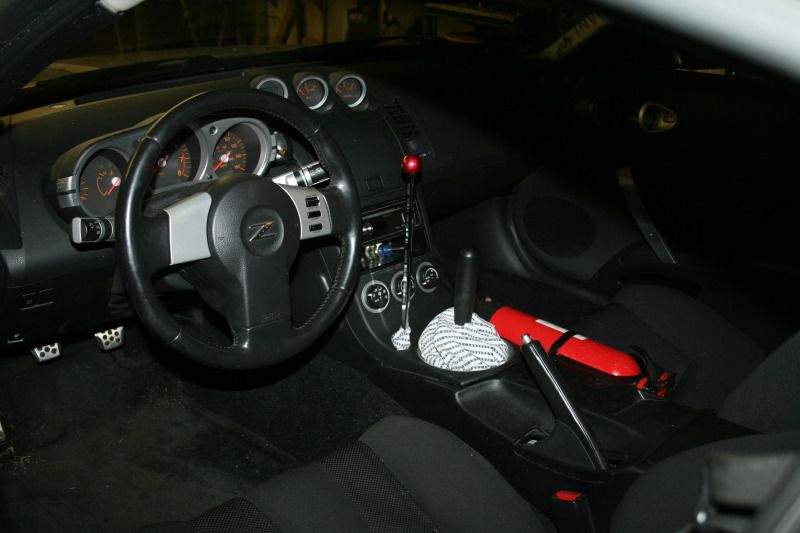
Create a platform for the handbrake. This part is all up to you... I did some research and found tons of installs but I like this one the best.
My inspiration was O.G.'s setup after looking through this forum.
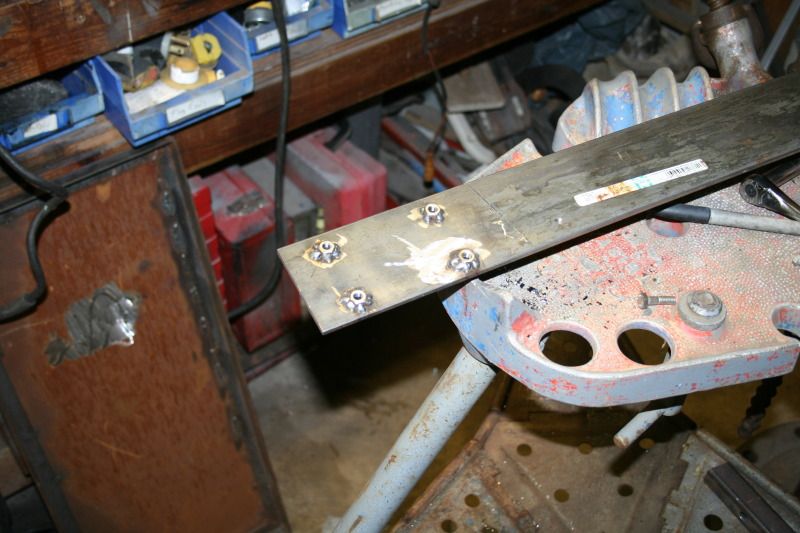
and DONT run a bead around a nut... it will warp the threads. Ugly little tacks works for me and I also tapped the steel plate for good measure
Step 5
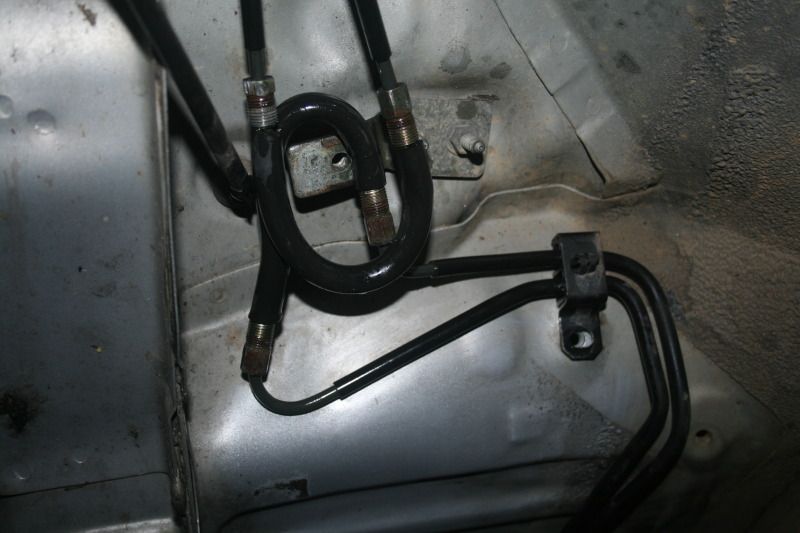
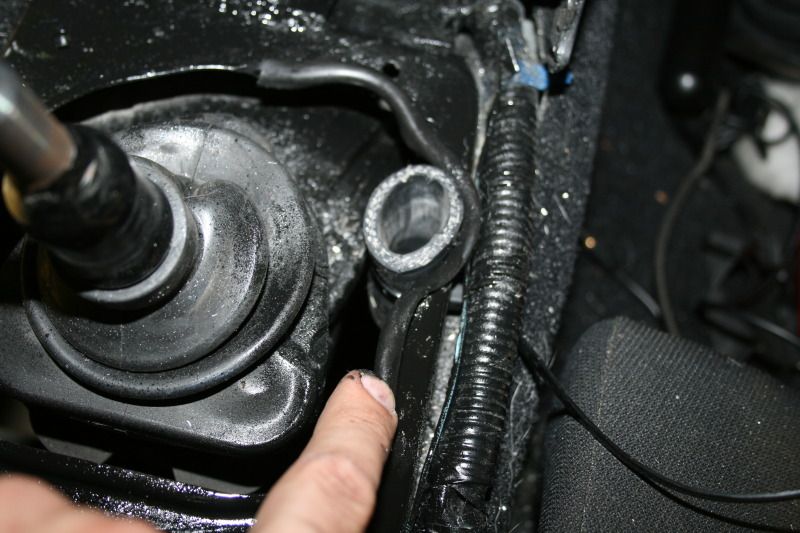
Route the brake lines! I went through the shifter hole after opening it up a bit.
I made sure to file everything smooth, added a rubber lining, and used a 1" braided radiator hose to make sure nothing touches the lines

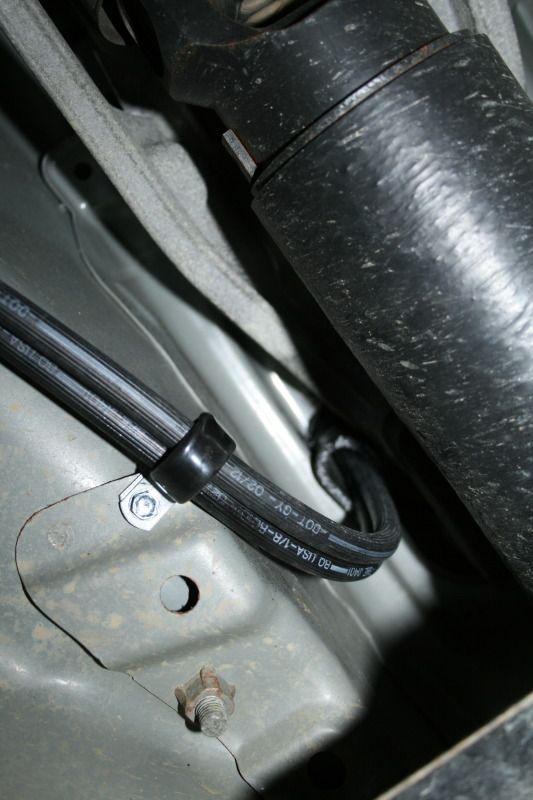
Next I just tied the lines to the chassis in a few places. I took a lot of info from Nackers' blog but decided not to go under the plastic piece because I bottom out a lot.
It looks like it was raped by rocks so Ill keep the lines away from that
passed the ballin as$ CF drive shaft
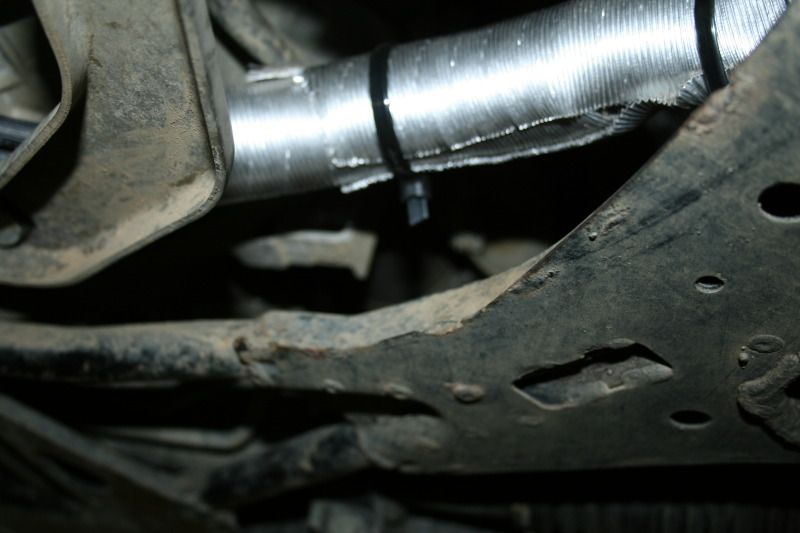
along the channel

and into the wheel well! I added two layers of insulated shielding because I have to pass the headers. I am about 4-5" away in one spot but I dont think it will be an issue.
Step 6
Buy this junk.
10x1 T fittings

Step 7
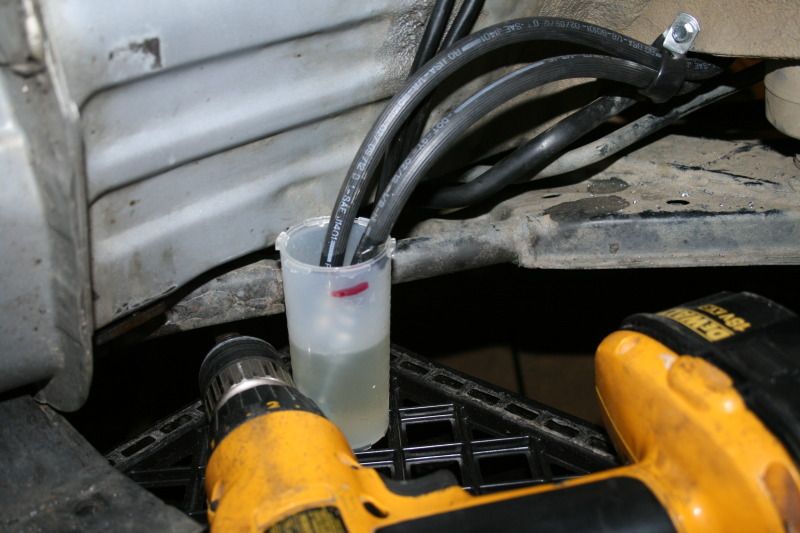
Bleed the hydro.
Stick both lines into some brake fluid and pump like a street hooker.... It wont bleed 100% but gives you a good head start.
Step 8
Attach the lines to the T fittings.
The top two lines run from your MC and should be attached to the IN port on the hydro.
The bottom two lines head back to the brakes and should be attached to the OUT port on the hydro.
Here is a pic installed... I had trouble bending the lines with my bender so I used my hand in a few spots.

Step 9
Bleed your lines per the FSM... plus a lil trick.
Have a buddy help! I did this on my own and it sucked
Pump the pedal 3 times and hold.
Crack the Passenger Rear bleeder.
With the bleeder OPEN and the pedal depressed, pull on the hydro handle.
Tighten the bleed.
Release the foot brake, then release the hydro.
Do this until you get bored and move to the Driver Rear side.
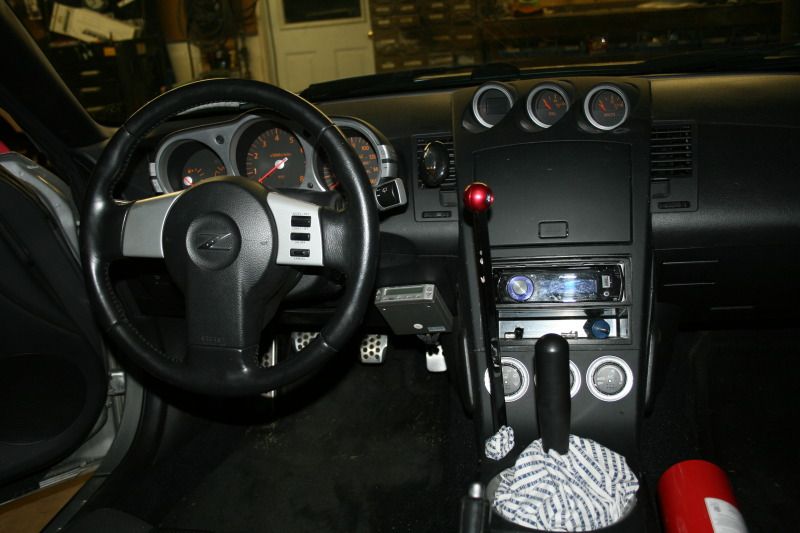
Step 10
Put the plastic junk back where it goes.
Viola!
I bled the system on my own and it only locks up if I use the ol' Scandanavian flick. I will bleed it more tomorrow and make this bish work.
Pics and vid to come tomorrow!
Dont expect much... Im new to drifting
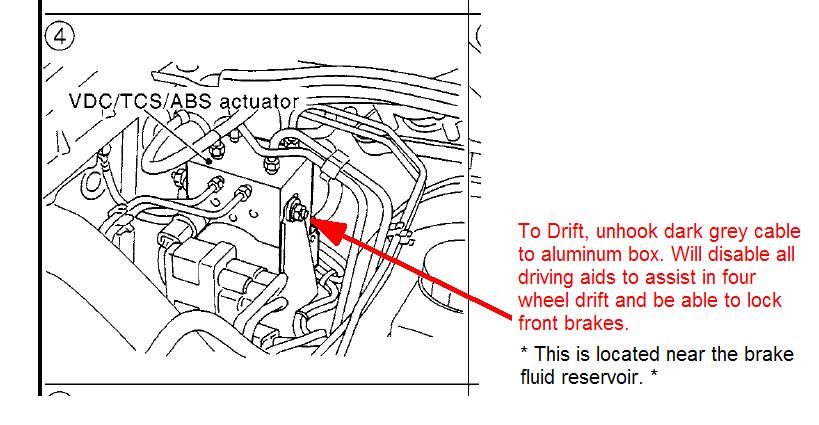
NOTE: Disconnect your battery when welding and bleeding the brakes. Disconnect your Grey ABS plug forEVERS!
Oh and this probably isnt legal.. I dont know
As I said, this is my first Nissan so feel free to critcize any of my work or info. I am only putting this information out there so it may help someone else in the future.
So here we go!
Step 1
Dont start this task unless you are able to be without a car for a few hours.
Step 2
Dissassemble the interior (no pics), jack the front end up, remove the passenger fender liners, and start on the real work.
Remove this junction block (46313) from the passenger side
Step 3
Dont let your lines leak all over the floor and make bleeding harder..
Step 4
Create a platform for the handbrake. This part is all up to you... I did some research and found tons of installs but I like this one the best.
My inspiration was O.G.'s setup after looking through this forum.
and DONT run a bead around a nut... it will warp the threads. Ugly little tacks works for me and I also tapped the steel plate for good measure
Step 5
Route the brake lines! I went through the shifter hole after opening it up a bit.
I made sure to file everything smooth, added a rubber lining, and used a 1" braided radiator hose to make sure nothing touches the lines
Next I just tied the lines to the chassis in a few places. I took a lot of info from Nackers' blog but decided not to go under the plastic piece because I bottom out a lot.
It looks like it was raped by rocks so Ill keep the lines away from that
passed the ballin as$ CF drive shaft
along the channel
and into the wheel well! I added two layers of insulated shielding because I have to pass the headers. I am about 4-5" away in one spot but I dont think it will be an issue.
Step 6
Buy this junk.
10x1 T fittings
Step 7
Bleed the hydro.
Stick both lines into some brake fluid and pump like a street hooker.... It wont bleed 100% but gives you a good head start.
Step 8
Attach the lines to the T fittings.
The top two lines run from your MC and should be attached to the IN port on the hydro.
The bottom two lines head back to the brakes and should be attached to the OUT port on the hydro.
Here is a pic installed... I had trouble bending the lines with my bender so I used my hand in a few spots.
Step 9
Bleed your lines per the FSM... plus a lil trick.
Have a buddy help! I did this on my own and it sucked
Pump the pedal 3 times and hold.
Crack the Passenger Rear bleeder.
With the bleeder OPEN and the pedal depressed, pull on the hydro handle.
Tighten the bleed.
Release the foot brake, then release the hydro.
Do this until you get bored and move to the Driver Rear side.
Step 10
Put the plastic junk back where it goes.
Viola!
I bled the system on my own and it only locks up if I use the ol' Scandanavian flick. I will bleed it more tomorrow and make this bish work.
Pics and vid to come tomorrow!
Dont expect much... Im new to drifting
NOTE: Disconnect your battery when welding and bleeding the brakes. Disconnect your Grey ABS plug forEVERS!
Oh and this probably isnt legal.. I dont know
Last edited by kunt_masha; Jun 8, 2012 at 08:36 PM.


Thread Starter
Registered User
Joined: Jun 2007
Posts: 48
Likes: 1
From: coatesville, pa
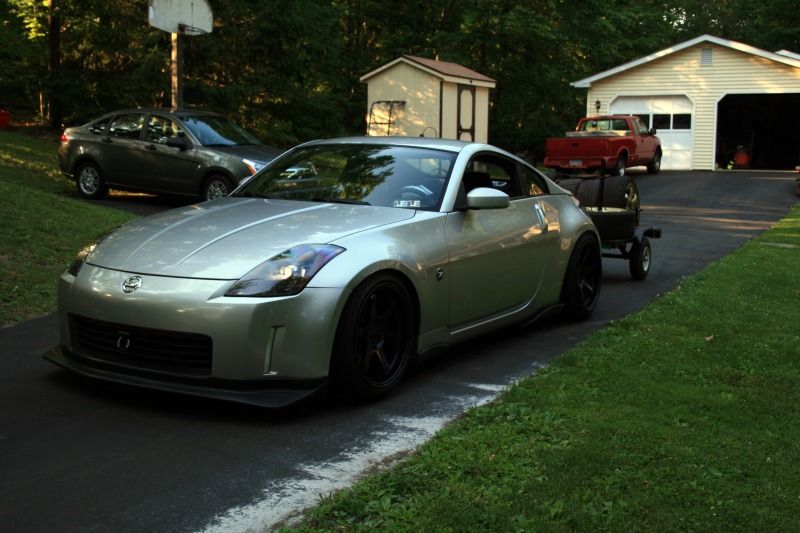
Awesome color!
This one will be techno violet in a few days
here ya go
Its a cheap lip... I got two of them for $50 so its perfect for me!
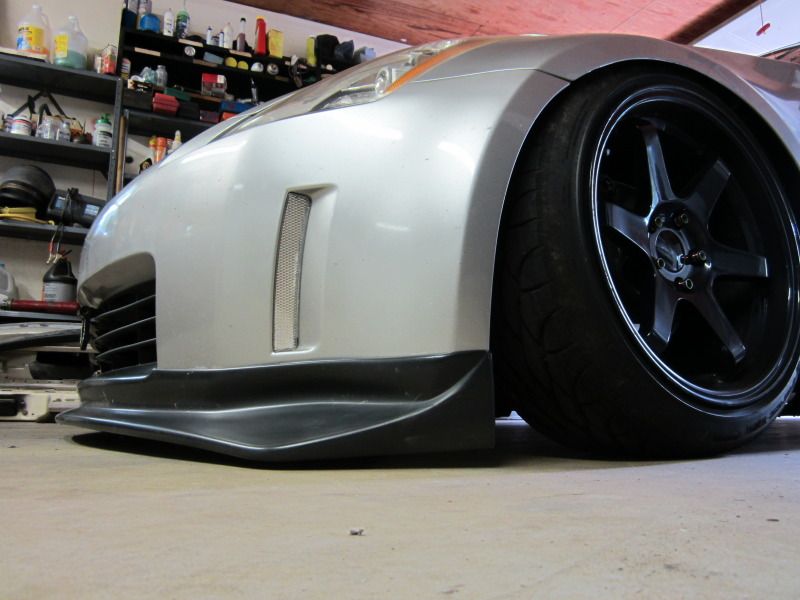
100% agree!
Its a little higher for daily driving but the car handles well when its down too
Here is a video from today... I am new to drifting and I got my bump into B class this morning so be gentle!
http://www.youtube.com/watch?v=1338I...ature=youtu.be
http://www.youtube.com/watch?v=ry_Po...ature=youtu.be

Trending Topics


WARNING:
Make sure you disconnect the gray plug behind the ABS module and NEVER daily drive with the ABS on again...it wont work ever again with this set up!
Read about the issues it causes here:
https://my350z.com/forum/brakes-and-...ighlight=kevin
Kevin in this thread has pretty much a simliar set up, with requires ABS to be off always.
-J
Thread Starter
Registered User
Joined: Jun 2007
Posts: 48
Likes: 1
From: coatesville, pa
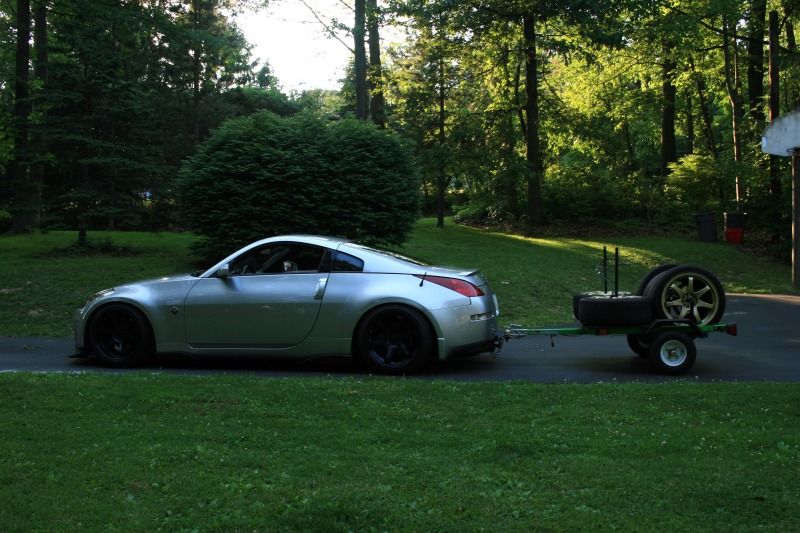
it tows great! I cruise at 75mph with no problems
I saw your find on the 240 T's. I would do that if I had a junkyard close by but these were only $8 total and picked up from a local hydraulics shop

Thread
Thread Starter
Forum
Replies
Last Post
abarclay
Wheels Tires
4
Sep 21, 2015 04:51 AM
EnjukuRacing
Engine
0
Sep 11, 2015 08:30 AM