
Spent time with a GT-R (120 pics)


Thread Starter
Registered User
Joined: Feb 2009
Posts: 100
Likes: 2
From: Toronto
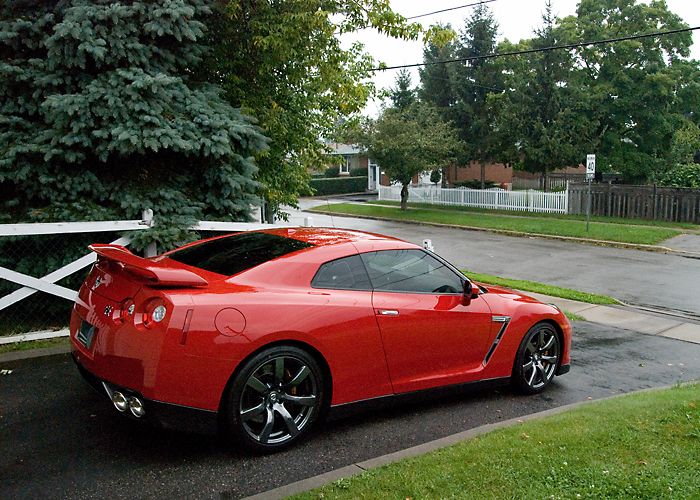
Hey my fellow Canucks I was fortunate enough to spend some time with a R35 GT-R. I have documented it and tried to make it educational hopefully you guys enjoy it.
https://my350z.com/forum/cleaning-an...-120-pics.html
Cheers.
https://my350z.com/forum/cleaning-an...-120-pics.html
Cheers.


 weekly?).
Thread Starter
Registered User
Joined: Feb 2009
Posts: 100
Likes: 2
From: Toronto
Sorry for the really late reply but a medium to aggressive polish I only suggest be done one in a car lifetime if possible then through proper care like the 2 bucket method and the right products. You should only need a light 1 step once a year or so.
Trending Topics
Thread Starter
Registered User
Joined: Feb 2009
Posts: 100
Likes: 2
From: Toronto
Just wanted to bump this up and share some other write ups I've done recently.
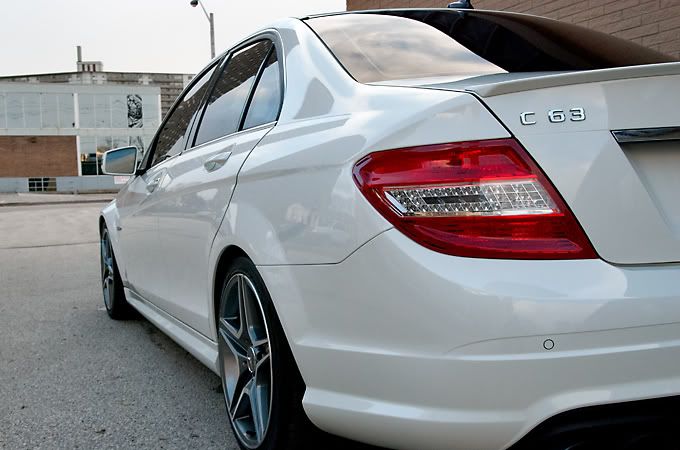
C63 AMG (44 pics)
https://my350z.com/forum/cleaning-an...3-44-pics.html
GT-R (82 pics)
https://my350z.com/forum/cleaning-an...r-82-pics.html
C63 AMG (44 pics)
https://my350z.com/forum/cleaning-an...3-44-pics.html
GT-R (82 pics)
https://my350z.com/forum/cleaning-an...r-82-pics.html
Thread Starter
Registered User
Joined: Feb 2009
Posts: 100
Likes: 2
From: Toronto
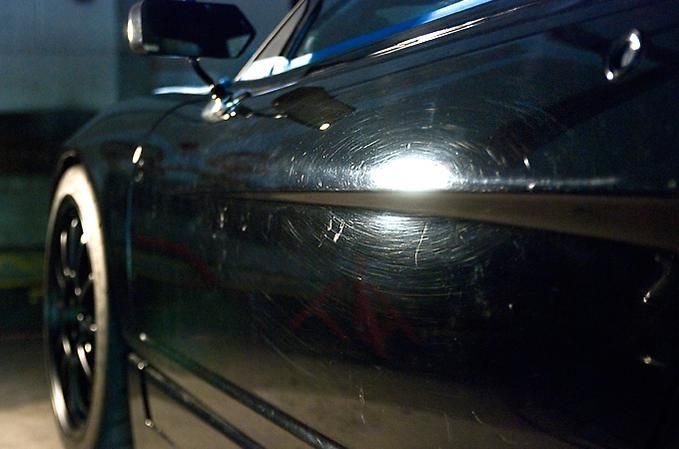
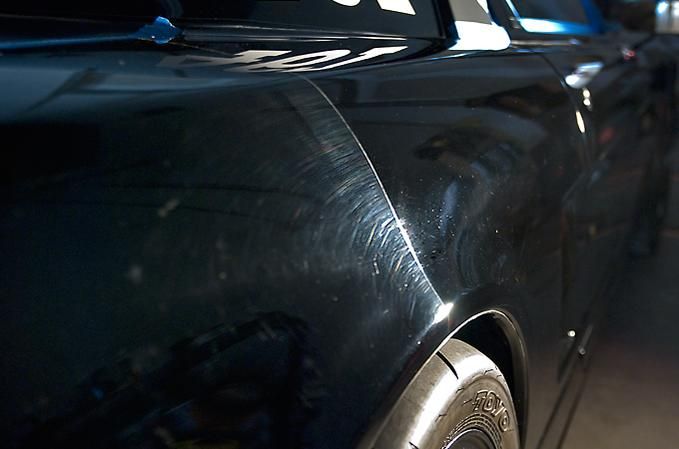
Just wanted to share mini write up on a heavily tracked NSX I worked on.
Before
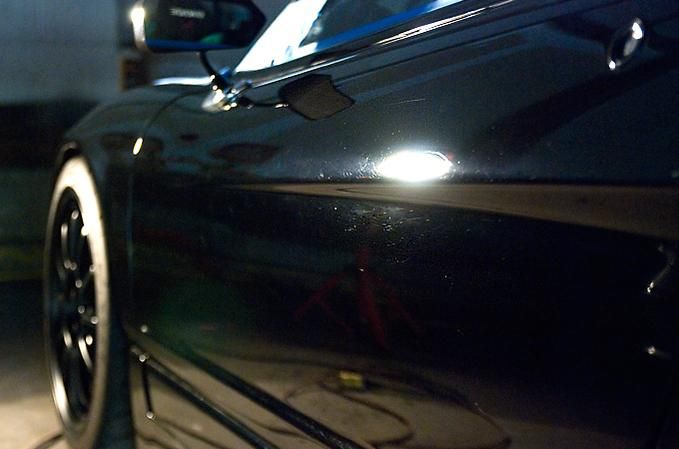
After
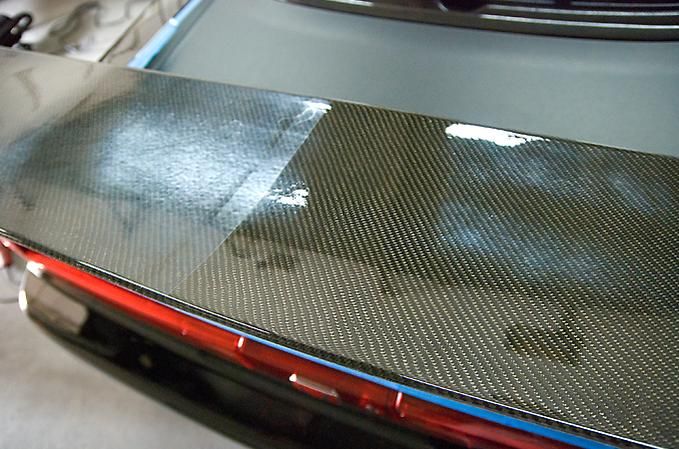
50/50
50/50 on the carbon wing
Finished product and I love the gloss!
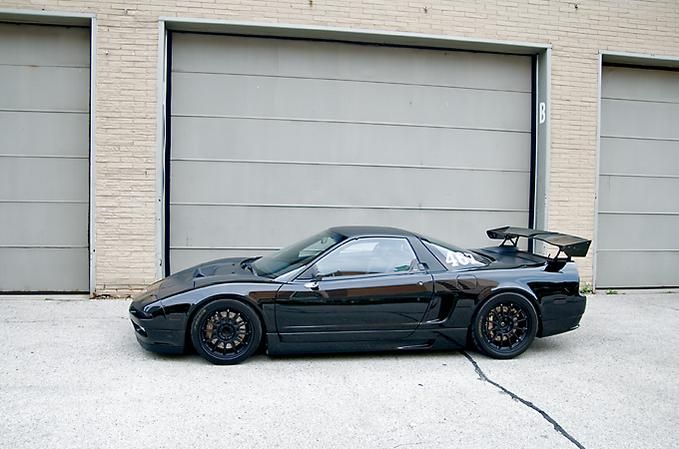
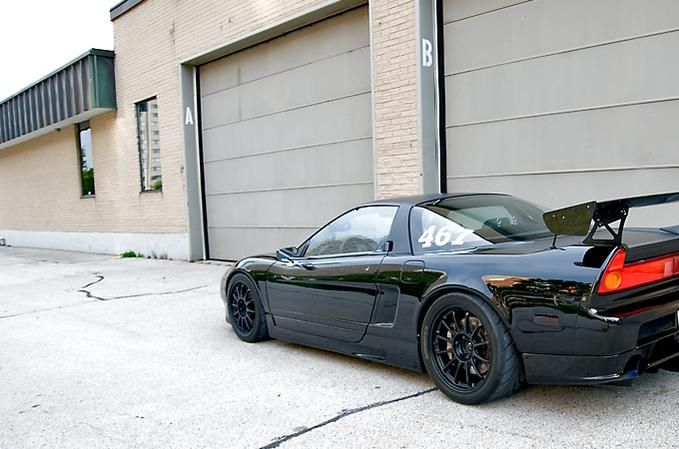
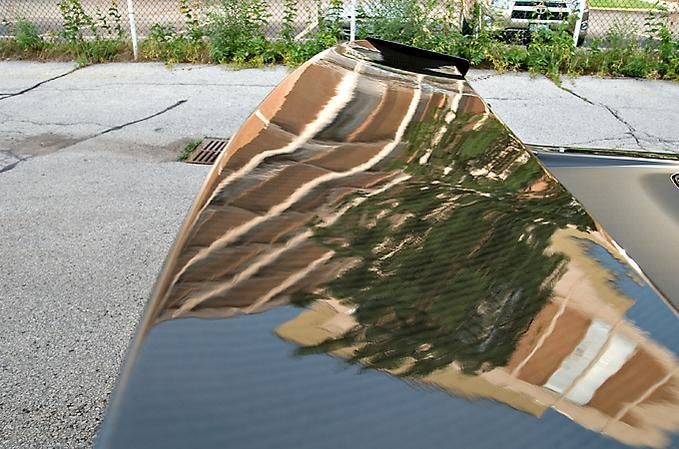
Reflection shot on the wing
Before
After
50/50
50/50 on the carbon wing
Finished product and I love the gloss!
Reflection shot on the wing

Thread Starter
Registered User
Joined: Feb 2009
Posts: 100
Likes: 2
From: Toronto
Thread Starter
Registered User
Joined: Feb 2009
Posts: 100
Likes: 2
From: Toronto
First off Happy New Year!
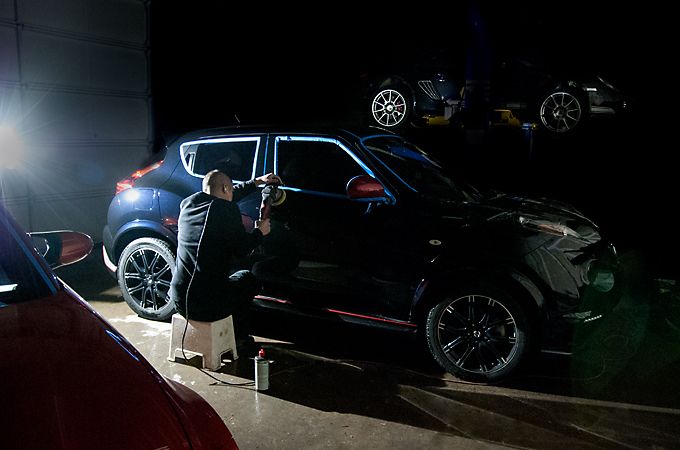
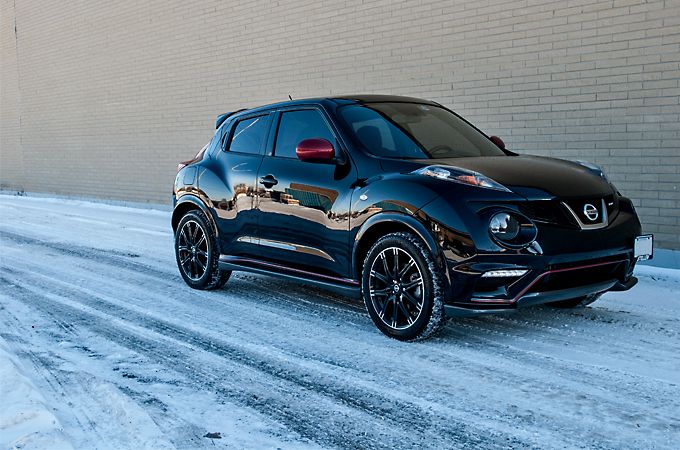
I started the year off Opti Coating this Juke Nismo. To be honest this is a love it or hate it car and I actually really like it! Not a full write up due to time constraints but I couldn't have it in my shop and not snap some pics!
Measuring the paint

Polishing
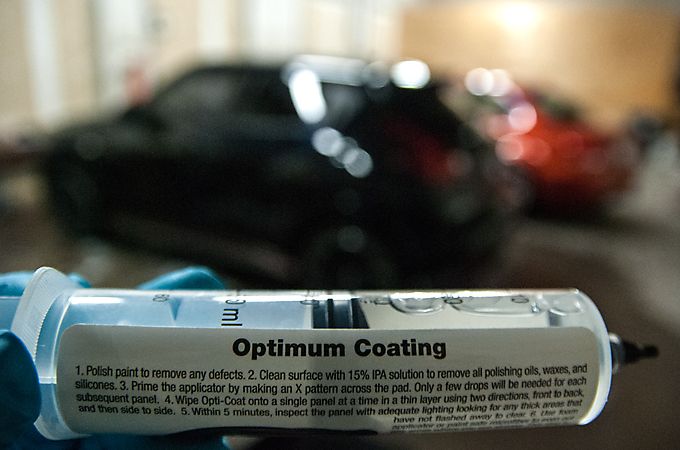
Opti Coat Pro
And the finished product
Hope you enjoyed the pics and all the best in 2014!
-Wes
I started the year off Opti Coating this Juke Nismo. To be honest this is a love it or hate it car and I actually really like it! Not a full write up due to time constraints but I couldn't have it in my shop and not snap some pics!
Measuring the paint
Polishing
Opti Coat Pro
And the finished product
Hope you enjoyed the pics and all the best in 2014!
-Wes

Thread Starter
Registered User
Joined: Feb 2009
Posts: 100
Likes: 2
From: Toronto
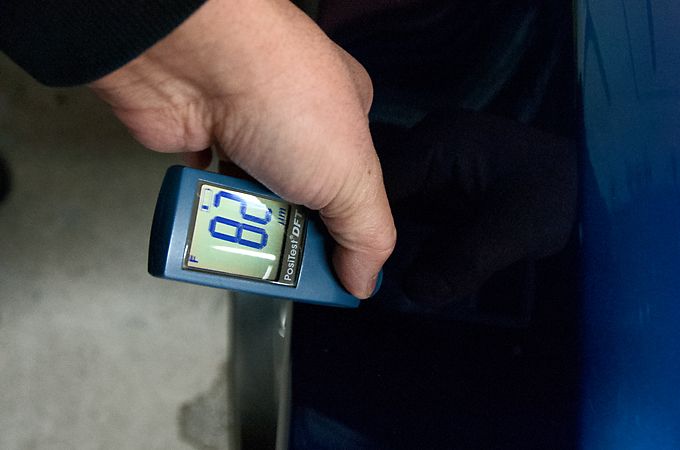
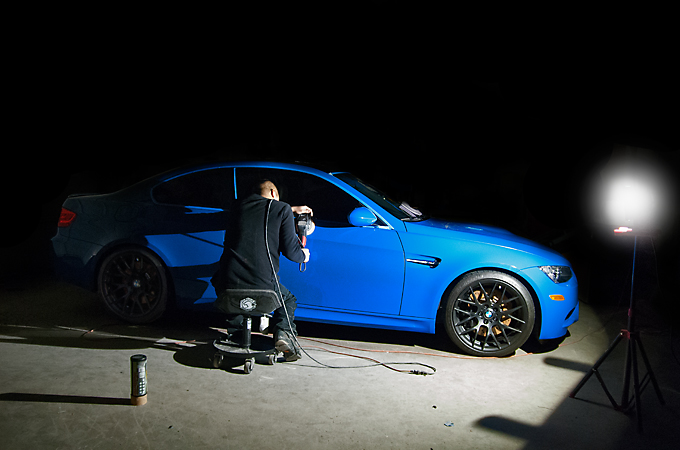
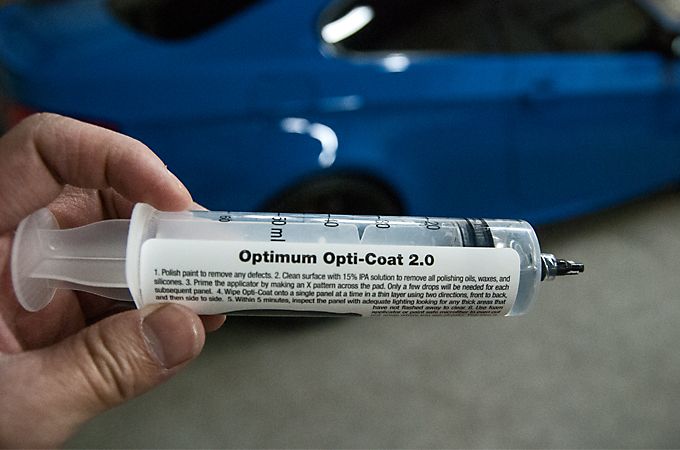
Just finished paint correcting an e39 M5 in the beautiful Le Mans Blue color. This was a 2 stage polish finished off with Opti Coat 2.0
measuring the paint
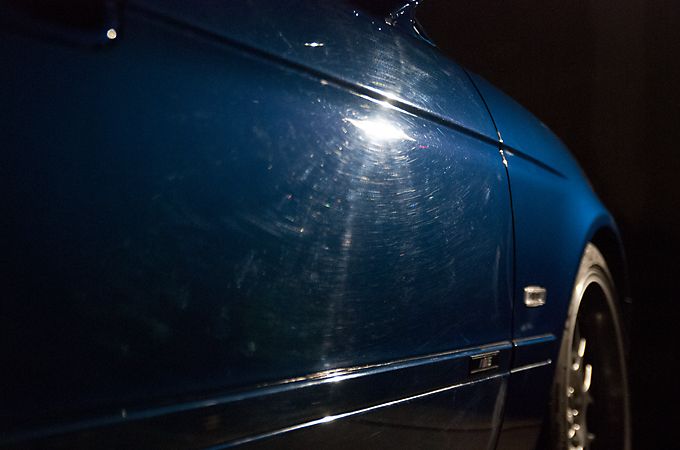
before
after
50/50
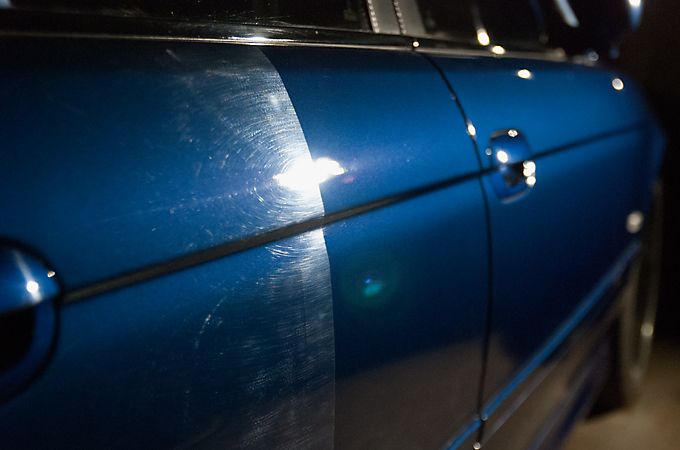
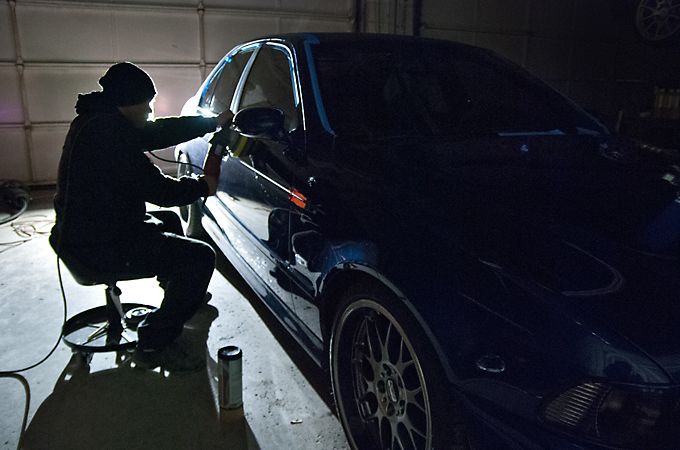
polishing
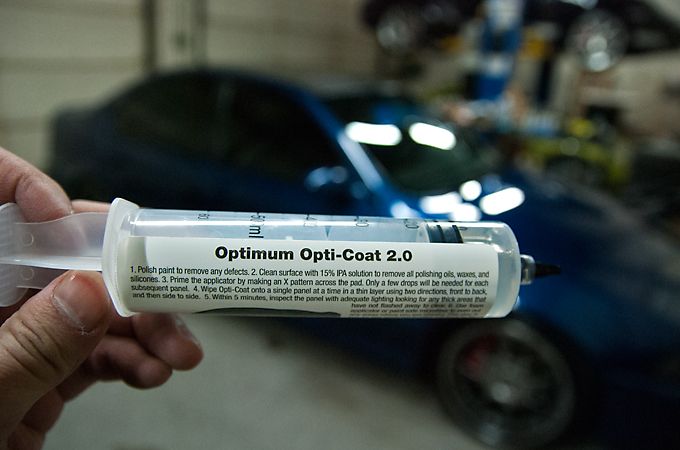
opti coat 2.0
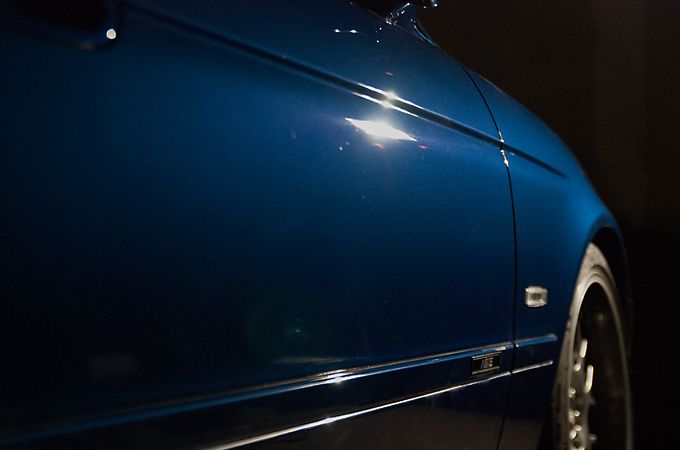
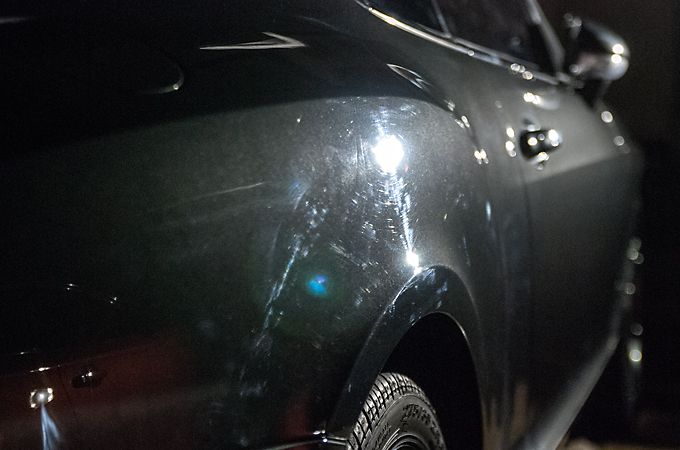
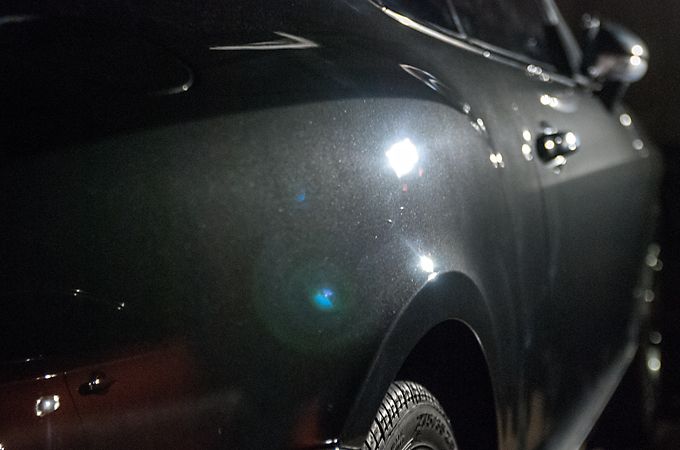
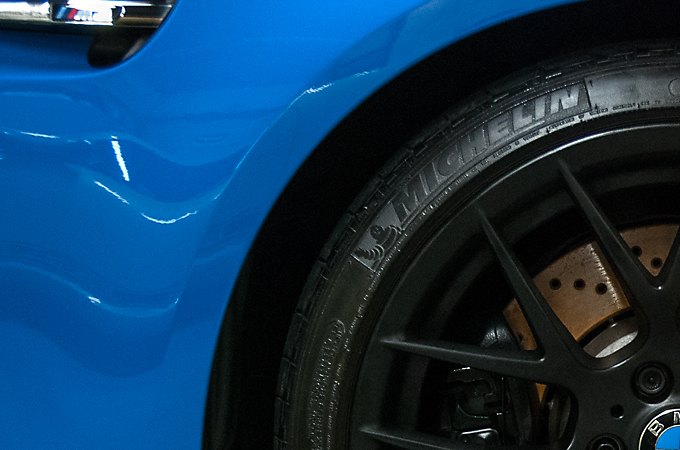
I love the way the rear fender was bending the light
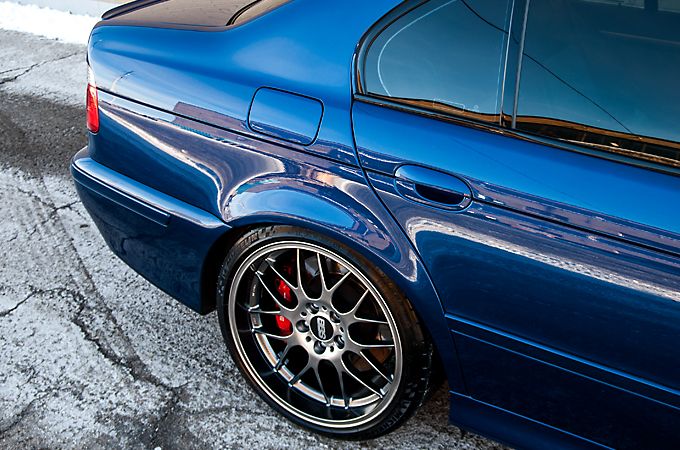
finished pic

Stay warm!
Wes
measuring the paint
before
after
50/50
polishing
opti coat 2.0
I love the way the rear fender was bending the light
finished pic
Stay warm!
Wes
Thread Starter
Registered User
Joined: Feb 2009
Posts: 100
Likes: 2
From: Toronto
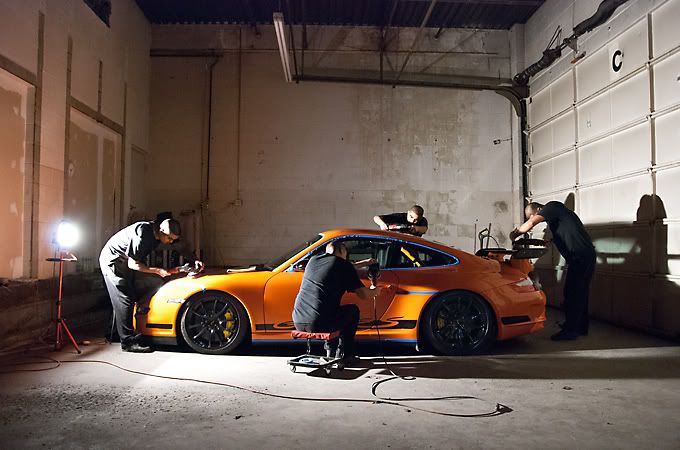
Hey Guys, I just posted a new write up in the detailing section on a 996 GT3 here https://my350z.com/forum/cleaning-an...3-44-pics.html

Thread Starter
Registered User
Joined: Feb 2009
Posts: 100
Likes: 2
From: Toronto
Hey Guys,
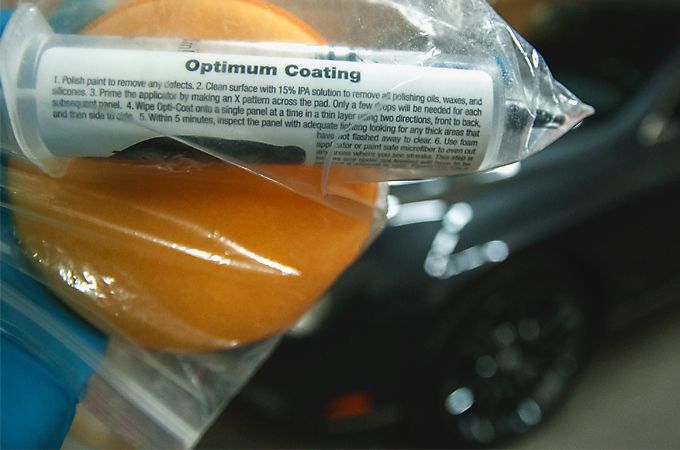
Here is a mini write up on a 60th Anniversary CGT that came to me after hearing about Opti Coat and decided it was the perfect option to protect his CGT since it would be winter driven. He decided to upgrade and go for the Opti Coat Pro over Opti Coat 2.0. This job ended up being a 2 stage polish and here are the results.
Stay warm
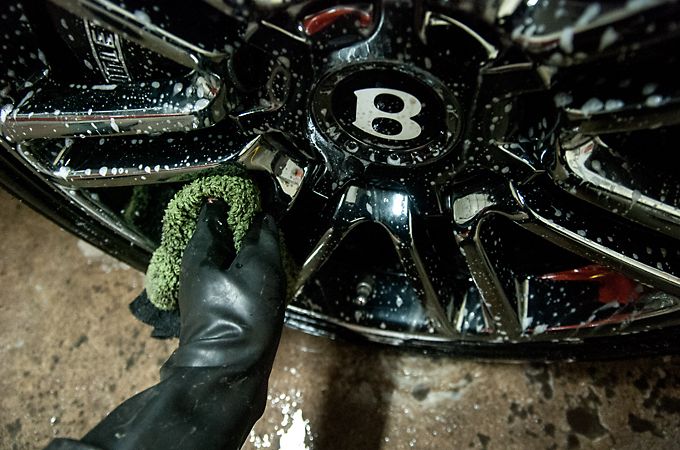
Cleaning the wheels
Before paint correction
After paint correction
I wanted to do something different then the usual 50/50 shot so I polished only in a square. Lol I call this the window of hope for paint. Hahaha I know, corny, but I can't help myself
Opti Coat Pro
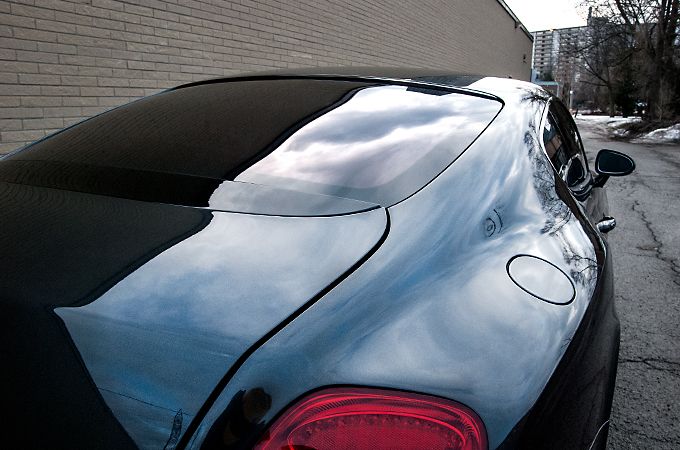
Glossy rear panel. I love the cloud reflections
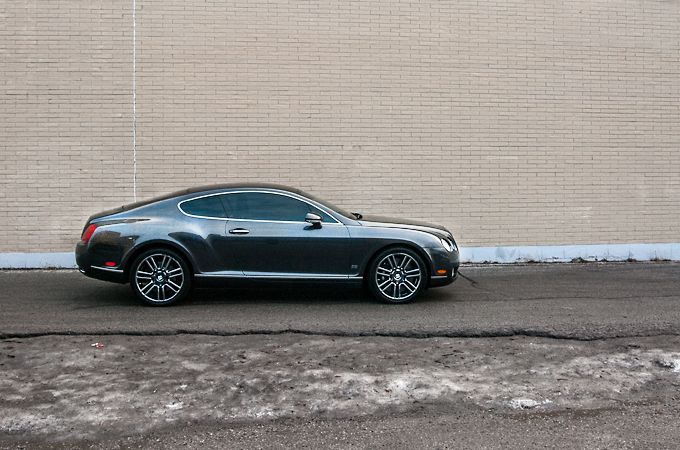
Last pic. Unfortunately no sun but it was still shiny.
Here is a mini write up on a 60th Anniversary CGT that came to me after hearing about Opti Coat and decided it was the perfect option to protect his CGT since it would be winter driven. He decided to upgrade and go for the Opti Coat Pro over Opti Coat 2.0. This job ended up being a 2 stage polish and here are the results.
Stay warm
Cleaning the wheels
Before paint correction
After paint correction
I wanted to do something different then the usual 50/50 shot so I polished only in a square. Lol I call this the window of hope for paint. Hahaha I know, corny, but I can't help myself
Opti Coat Pro
Glossy rear panel. I love the cloud reflections
Last pic. Unfortunately no sun but it was still shiny.
Thread Starter
Registered User
Joined: Feb 2009
Posts: 100
Likes: 2
From: Toronto
Hey my350zers,
Just a mini write up this time due to time constraints.
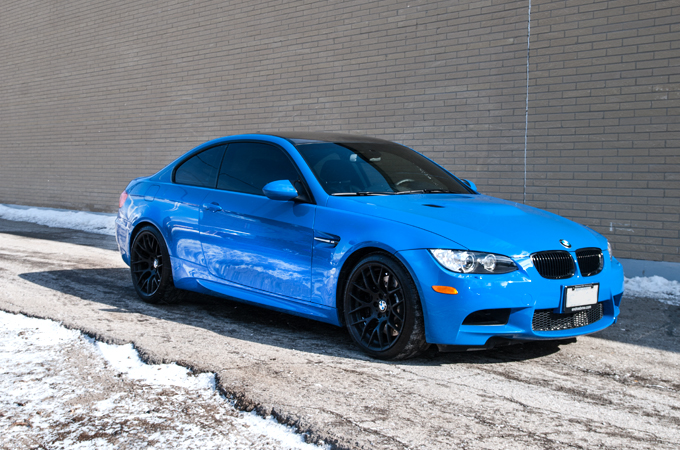
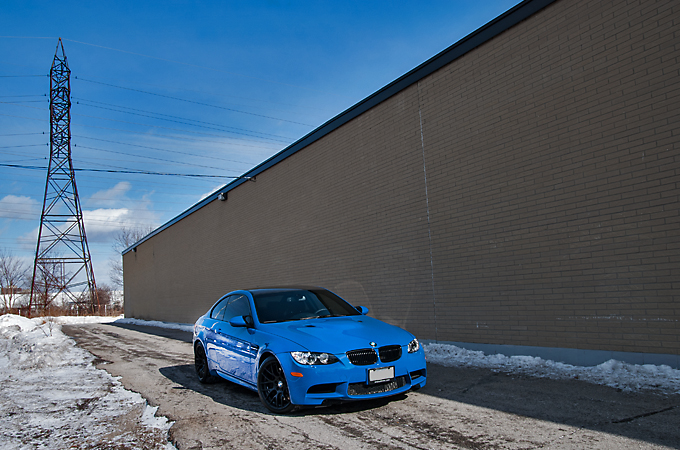
This client has been with me for a couple years now and first came in with a 335is. He recently purchased this brand new Santorini Blue M3 of which there are only 10 of in Canada. It had some light swirling that was to be polished out and then Opti Coated. I mentioned Pro but in the end we just went with 2.0. This was a 1 Stage Polish to buff out the light swirling.
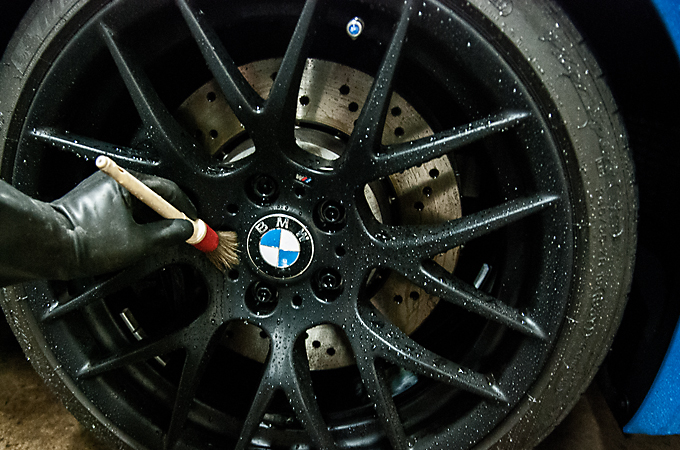
Getting started with the rims, which came in black from the factory by the way
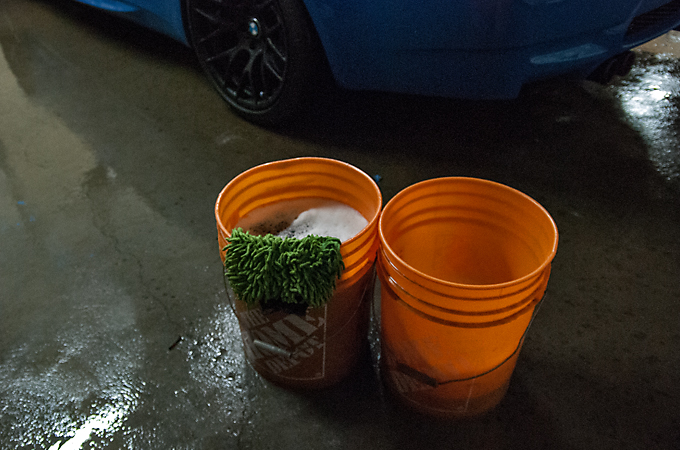
2 Bucket Method Washed as always
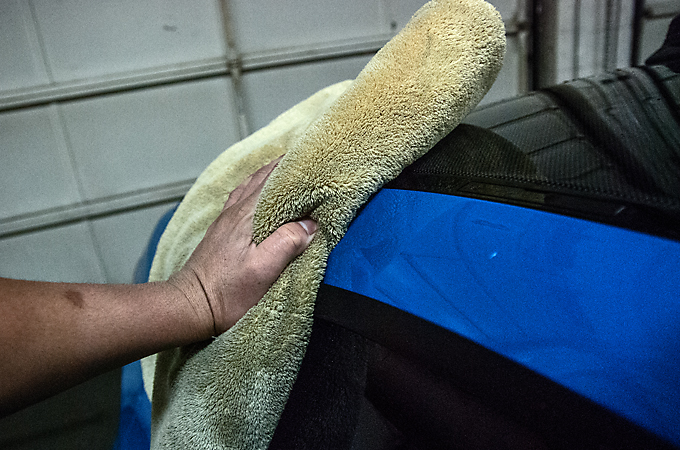
Clayed with the Nanoskin Mitt while the car was still wet
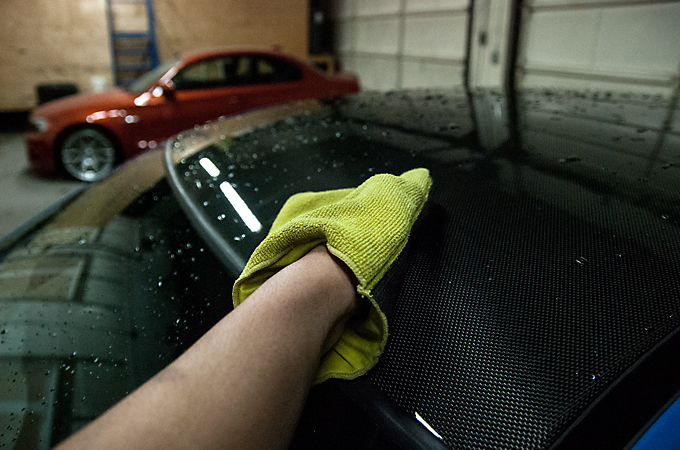
Then dried with a plush microfibre towel
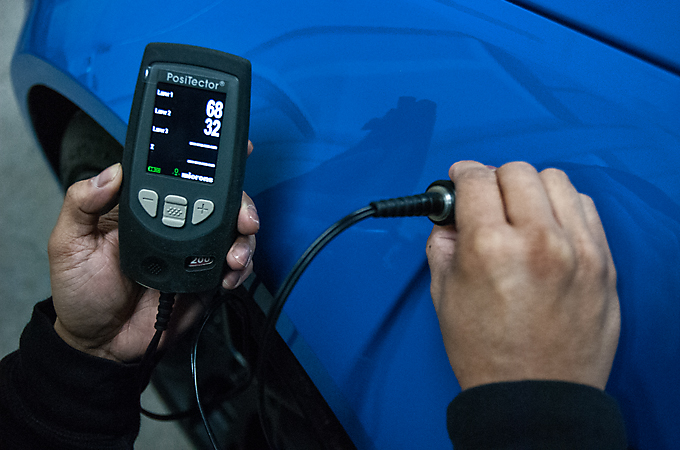
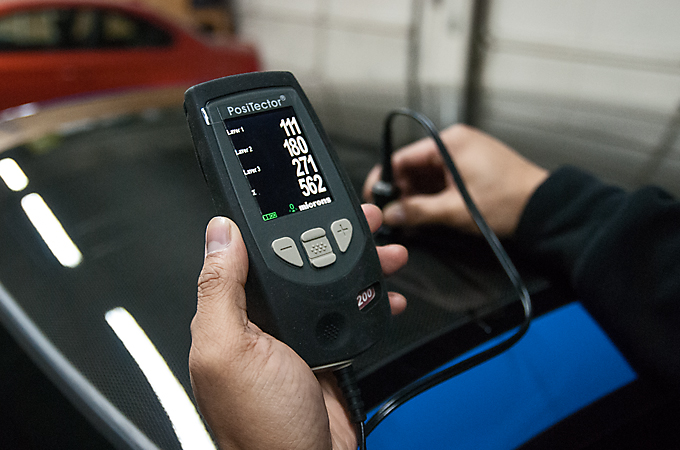
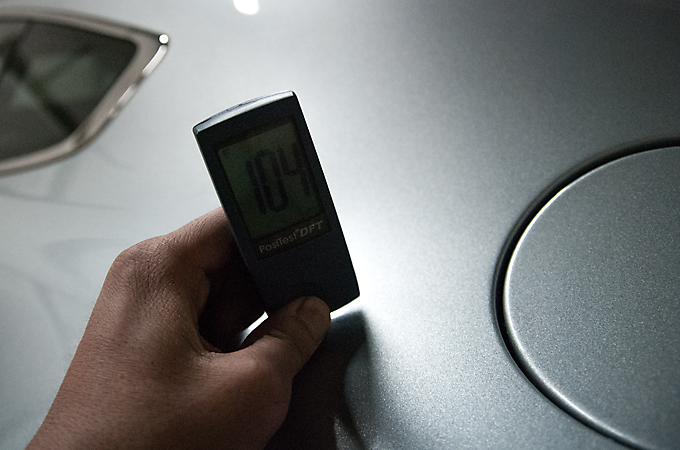
Paint was measured in microns to look out for low spots or repainted panels
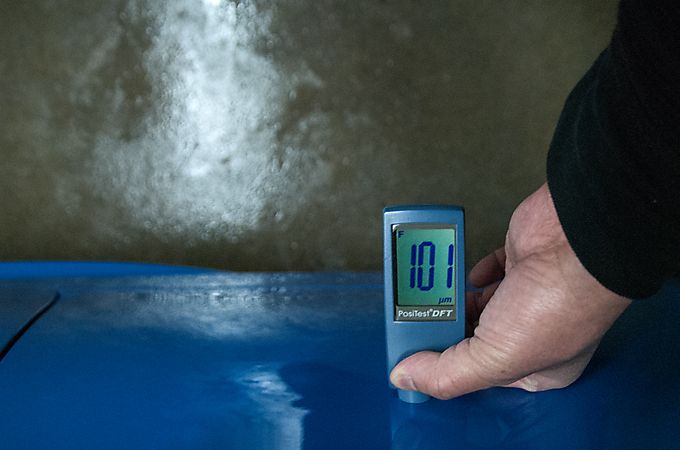
And we brought out a new paint depth gauge that can measure non metallic surfaces by using ultrasound. This thing costed $3000!!!
It can measure up to 3 different layers.
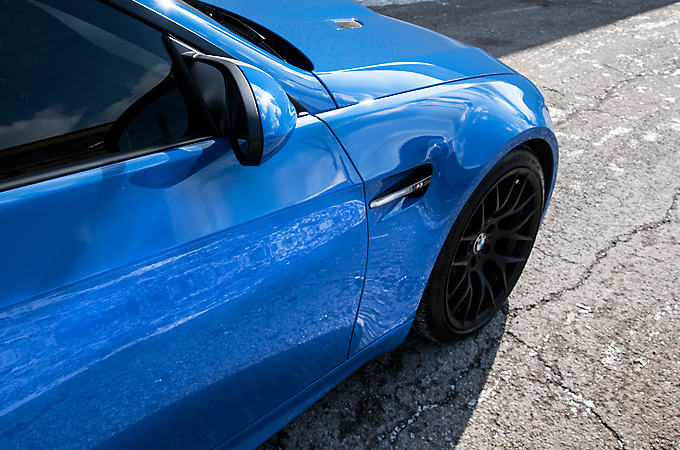
The front fenders are made of an "advanced plastic" according to BMW so the "32" is primer and paint and the "68" is clearcoat equalling 100 microns. Which is about right because the other gauge measured 101 microns on the door.
Next up was masking the rubber trim
 [/QUOTE]
And I could start polishing
Before
After
A shot of yours truly polishing
Unmasking

Alcohol wiping to clean off the polishing oils

Opti Coat 2.0 about to be applied
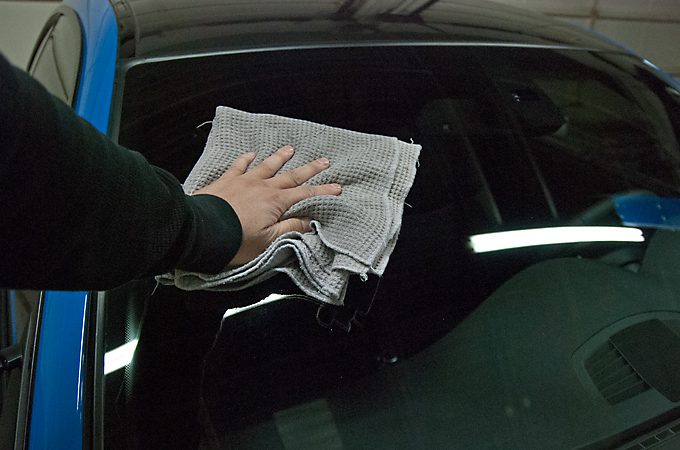
Windows cleaned
Tires dressed(I don't like the shiny stuff. I prefer a satin finish)
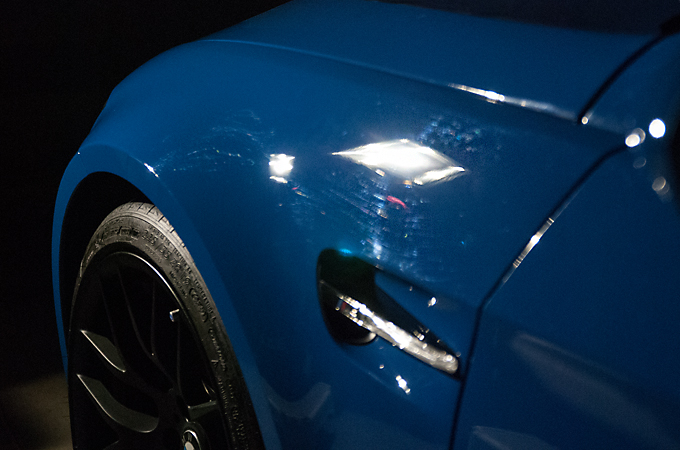
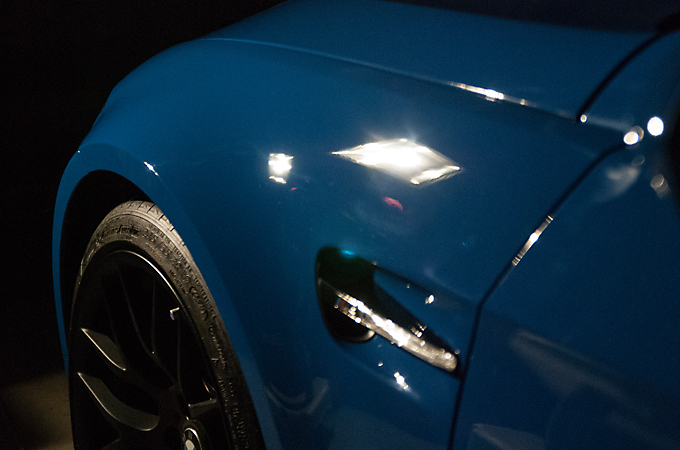
And the super sexy afters! Words cannot describe!
Drool
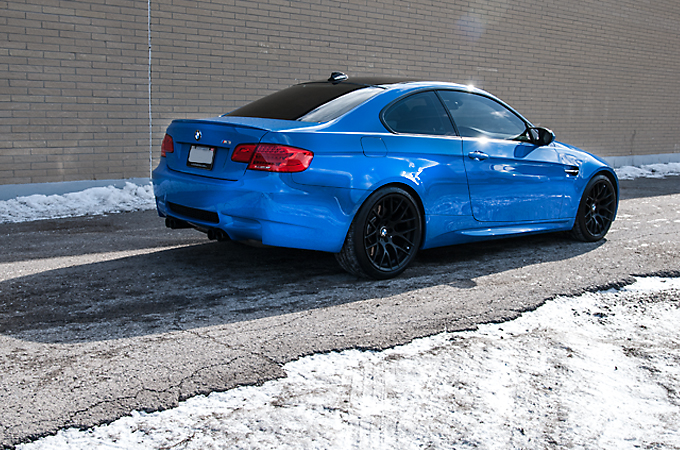
And my last 2 favorite pics
I love the matching stitching
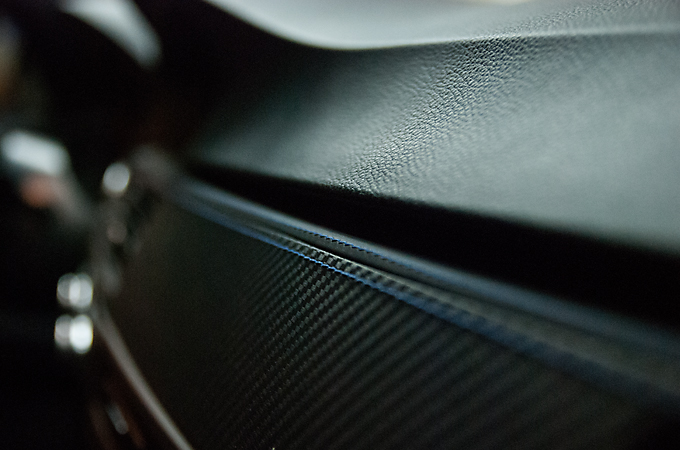
And one of those cool guy pics to end it off
All in all I spent about 9hrs beginning to end.
Hope you guys enjoyed the pics!
Just a mini write up this time due to time constraints.
This client has been with me for a couple years now and first came in with a 335is. He recently purchased this brand new Santorini Blue M3 of which there are only 10 of in Canada. It had some light swirling that was to be polished out and then Opti Coated. I mentioned Pro but in the end we just went with 2.0. This was a 1 Stage Polish to buff out the light swirling.
Getting started with the rims, which came in black from the factory by the way
2 Bucket Method Washed as always
Clayed with the Nanoskin Mitt while the car was still wet
Then dried with a plush microfibre towel
Paint was measured in microns to look out for low spots or repainted panels
And we brought out a new paint depth gauge that can measure non metallic surfaces by using ultrasound. This thing costed $3000!!!
It can measure up to 3 different layers.
The front fenders are made of an "advanced plastic" according to BMW so the "32" is primer and paint and the "68" is clearcoat equalling 100 microns. Which is about right because the other gauge measured 101 microns on the door.
Next up was masking the rubber trim
[/QUOTE]And I could start polishing
Before
After
A shot of yours truly polishing
Unmasking
Alcohol wiping to clean off the polishing oils
Opti Coat 2.0 about to be applied
Windows cleaned
Tires dressed(I don't like the shiny stuff. I prefer a satin finish)
And the super sexy afters! Words cannot describe!
Drool
And my last 2 favorite pics
I love the matching stitching
And one of those cool guy pics to end it off
All in all I spent about 9hrs beginning to end.
Hope you guys enjoyed the pics!
Thread Starter
Registered User
Joined: Feb 2009
Posts: 100
Likes: 2
From: Toronto
Hey My350zers,
Spring is almost here.... I hope lol.
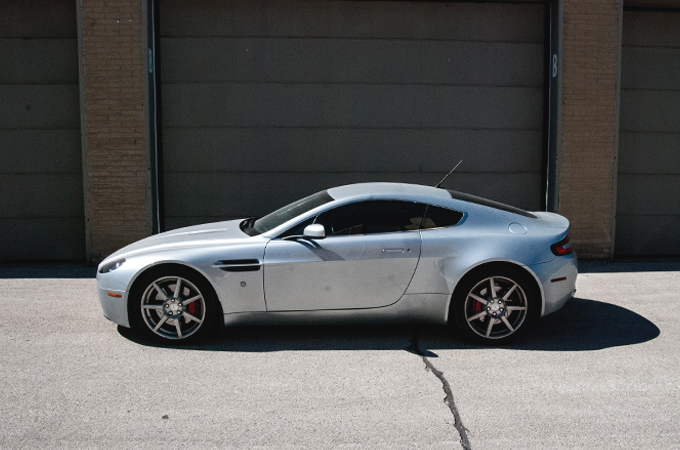
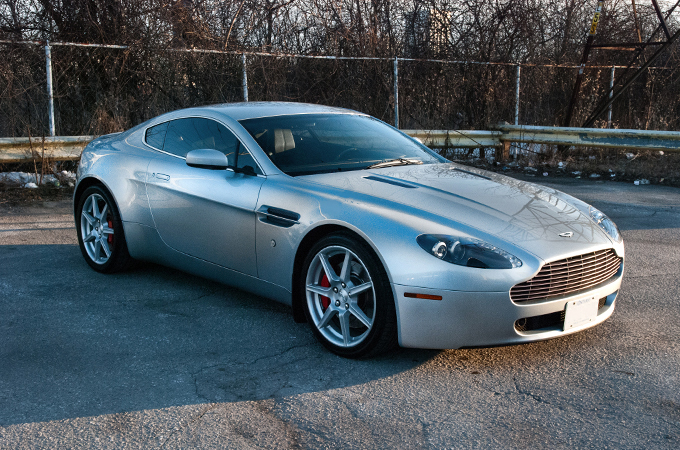
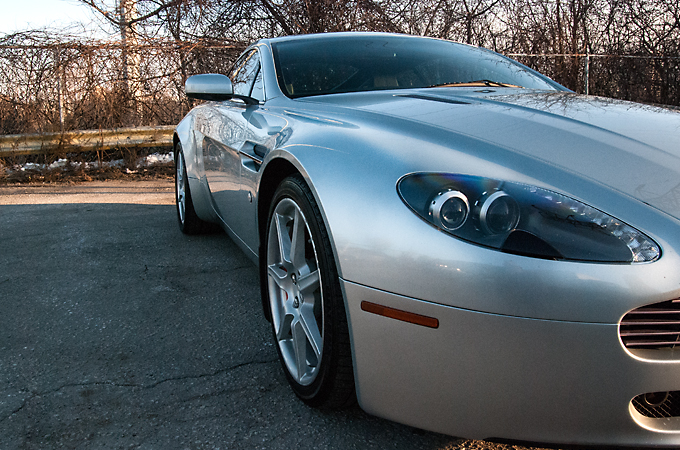
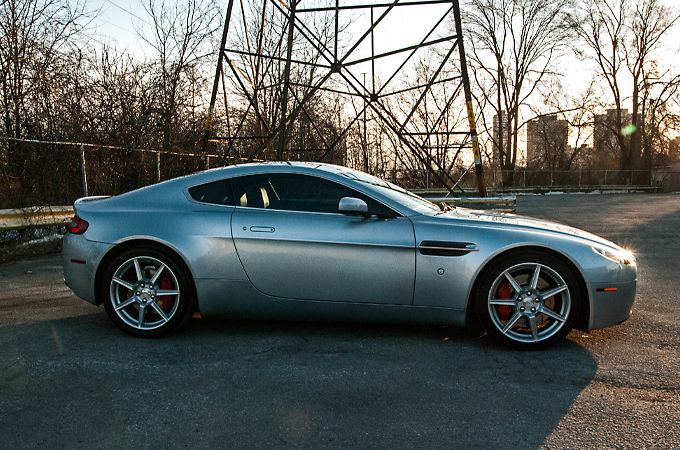
This client contacted me regarding paint correction on his Vantage as well as his M5. Not much was really discussed other then pricing and when he could bring the cars in. We figured out a date and in first was the Aston which received a 1 stage polish. This was the loudest Vantage I have ever heard, and any car with aftermarket exhaust for that matter actually.
On arrival pic
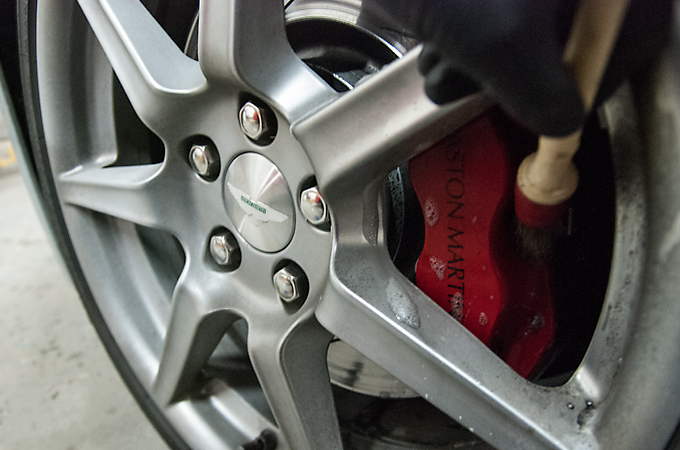
Started out with the rims, wheel well, and calipers
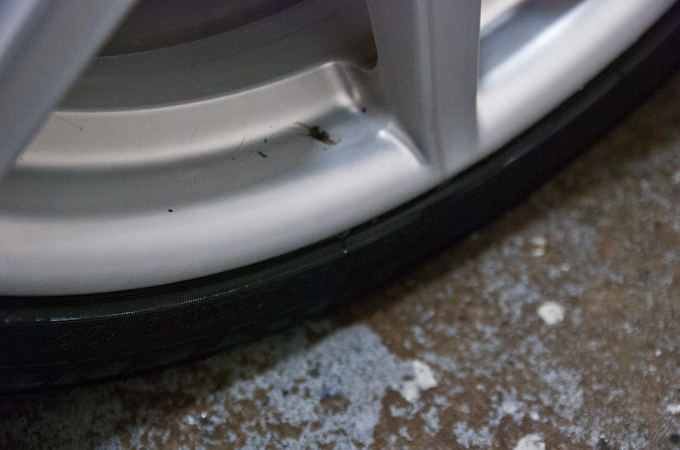
After cleaning the rims there was some left over tar that needed special attention
Tarminator in action
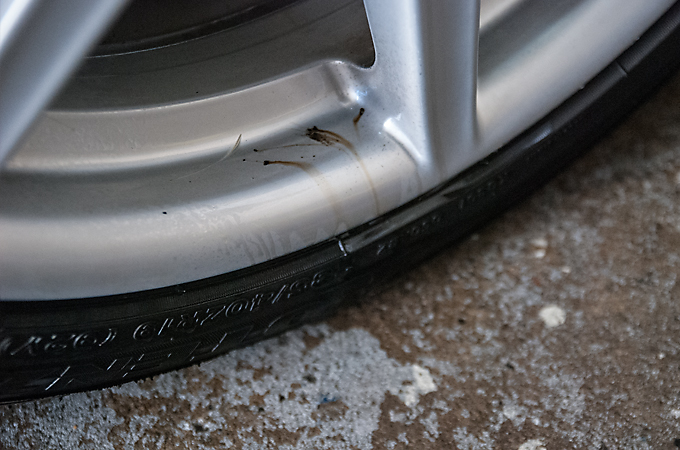
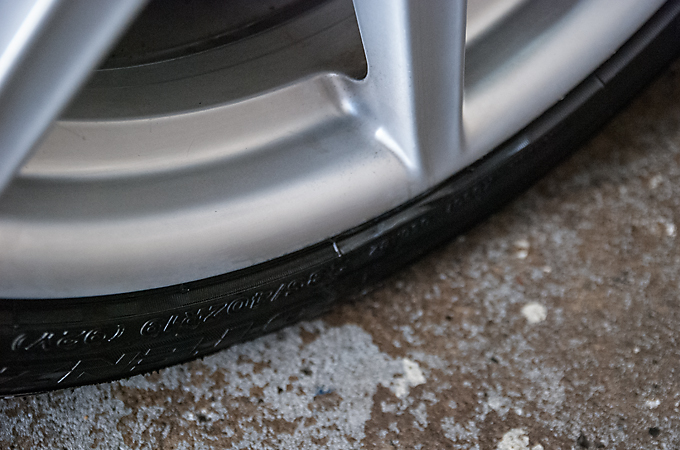
All gone
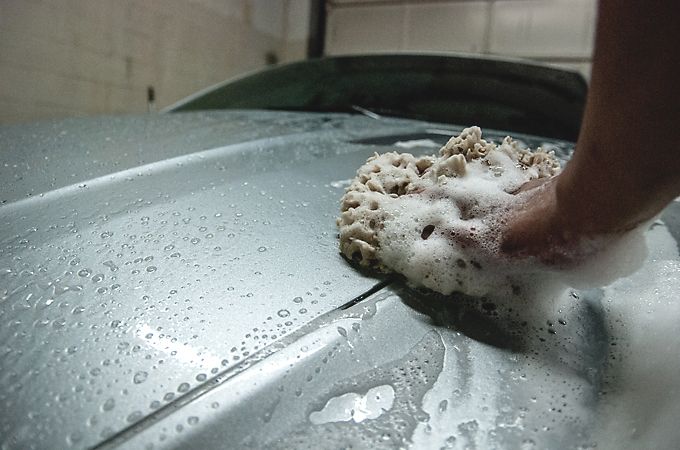
Washed with a sea sponge and the 2 Bucket Method
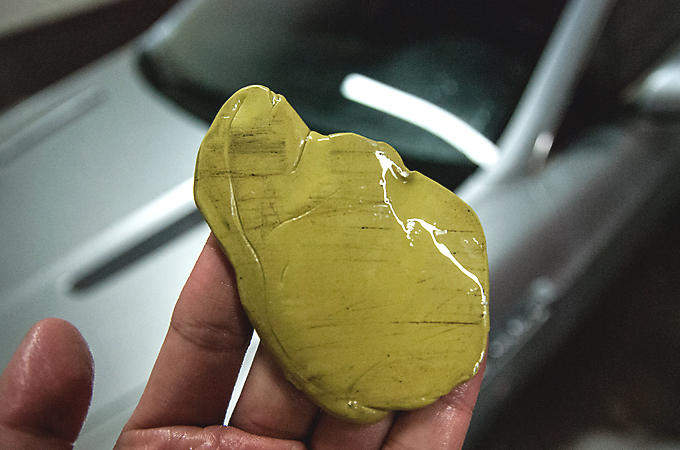
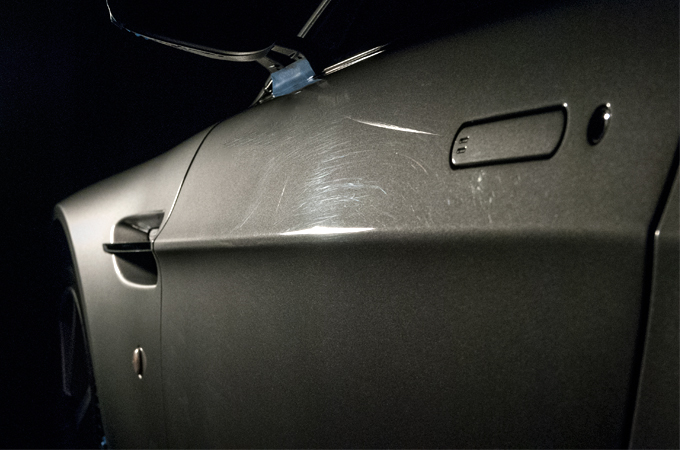
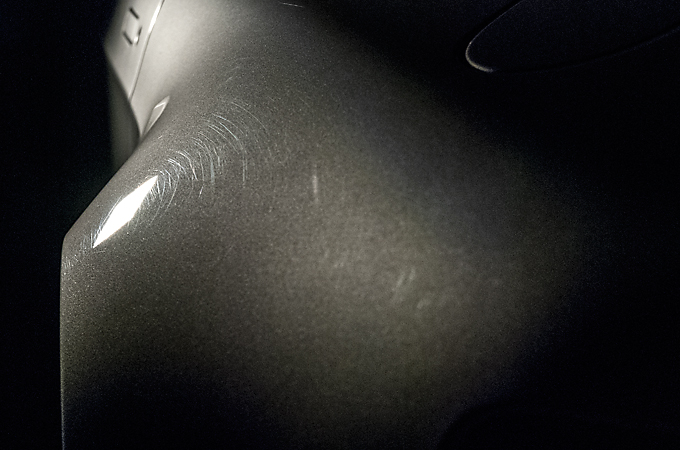
Claybarred the paint and it was in really rough shape
Took measurements and everything was ok with no repaint
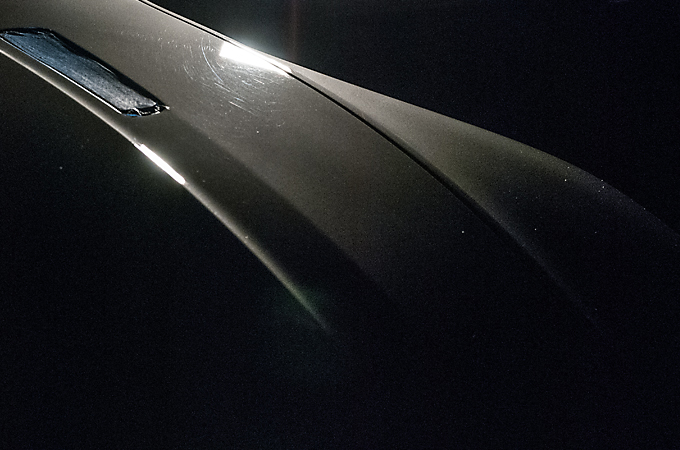
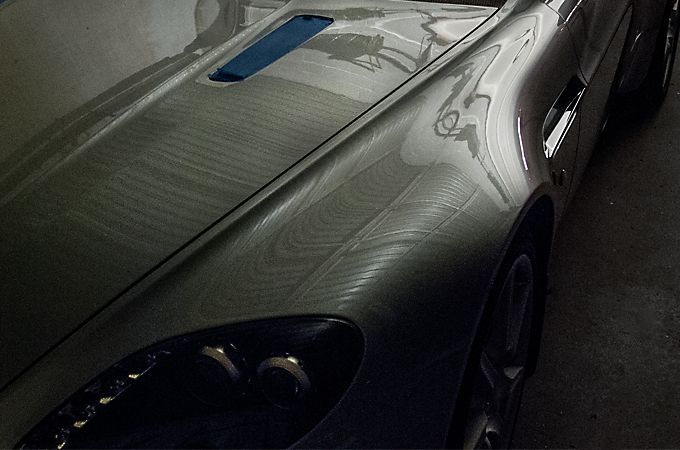
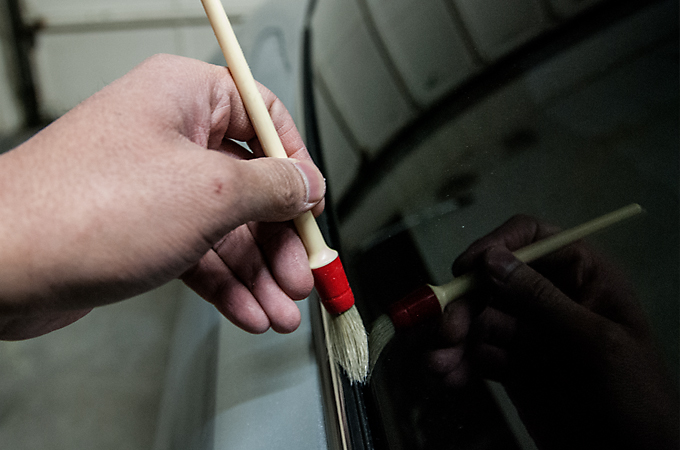
Masked off all the rubber trim and began polishing
Before
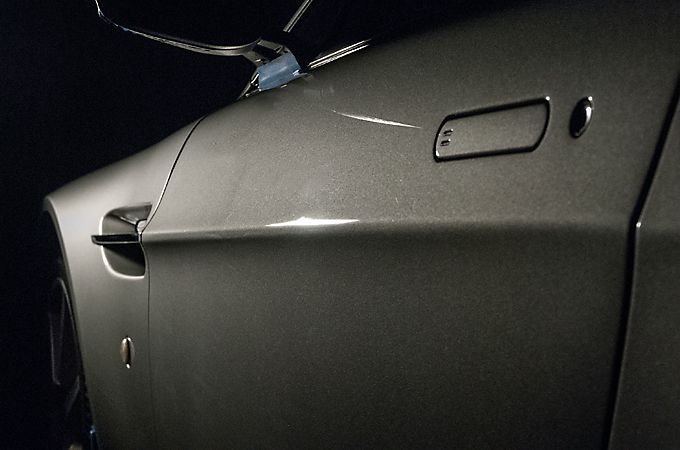
After
Before
After
Before
After
Before
After
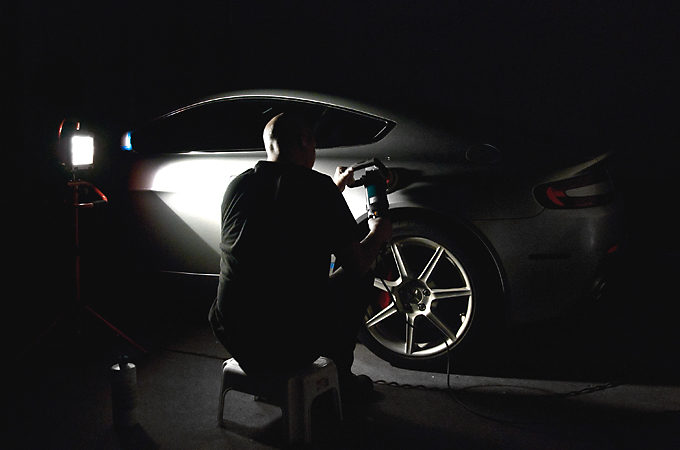
Paint correction in action going old school with the rotary
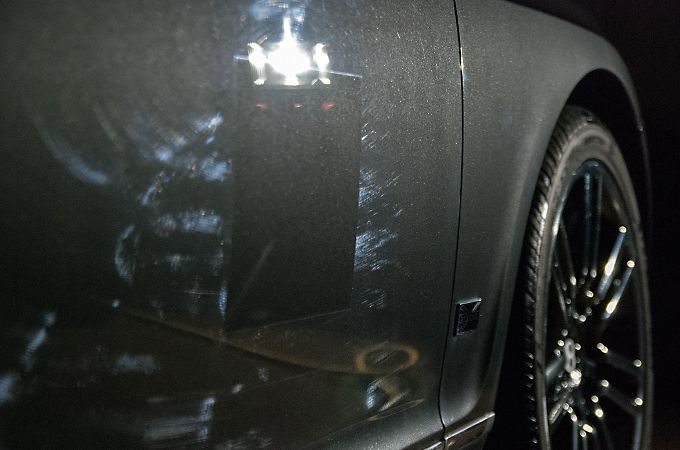
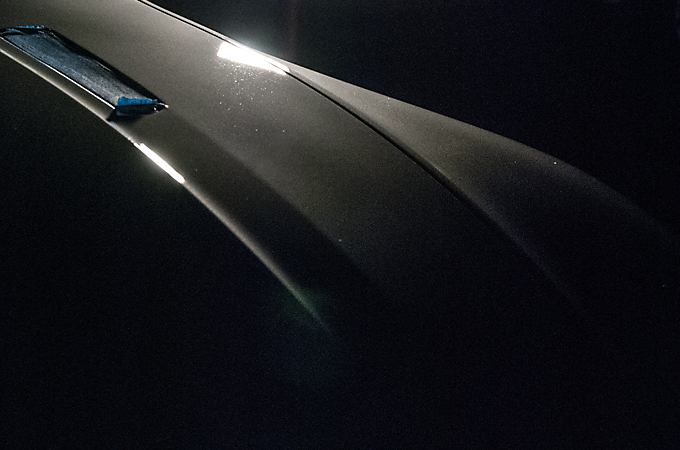
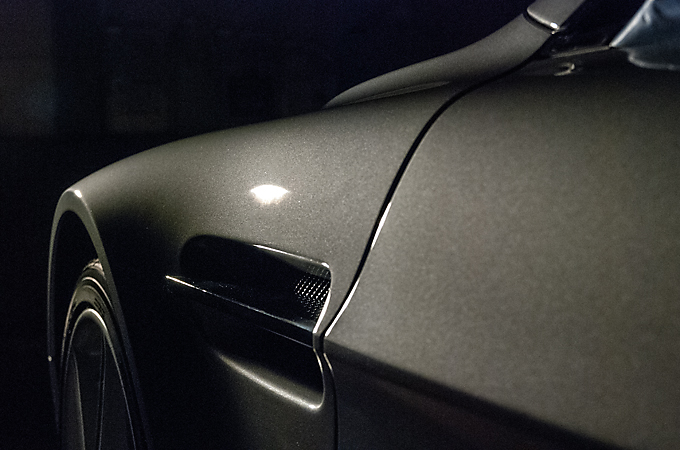
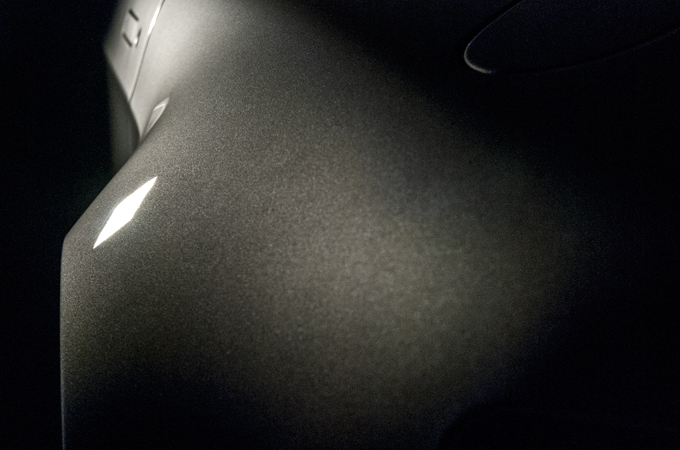
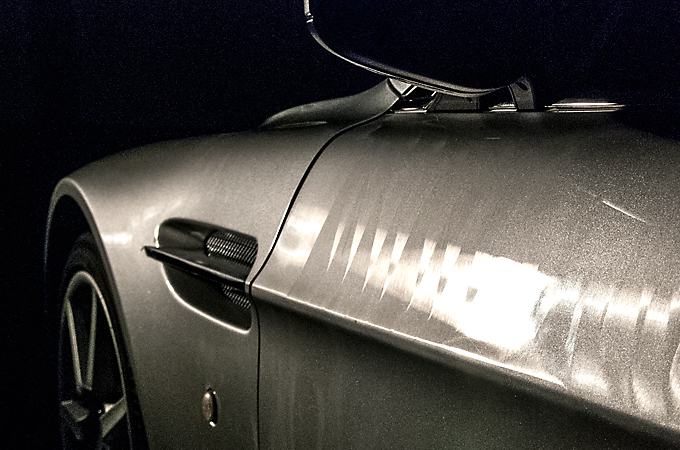
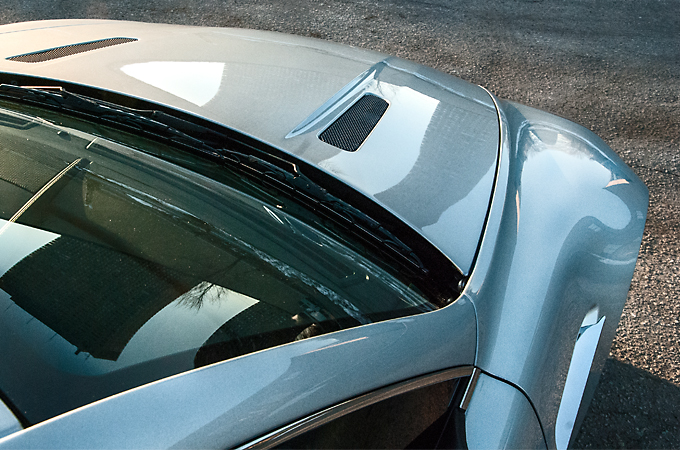
Teaser shot of the gloss achieved. The fender was looking like liquid metal!
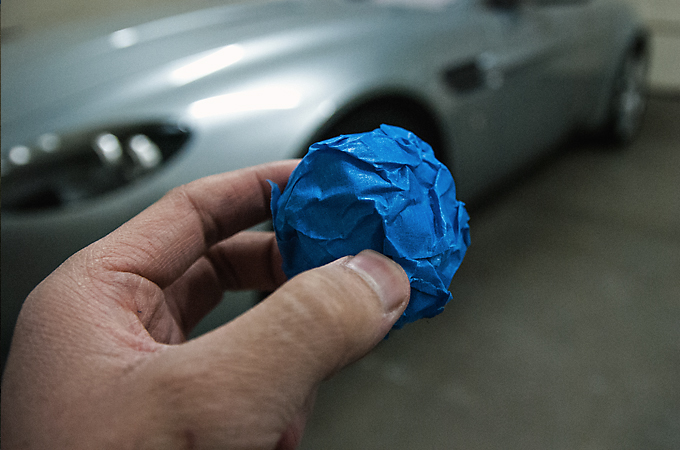
Blue masking tape removed
Cleaning up the polishing dust left behind
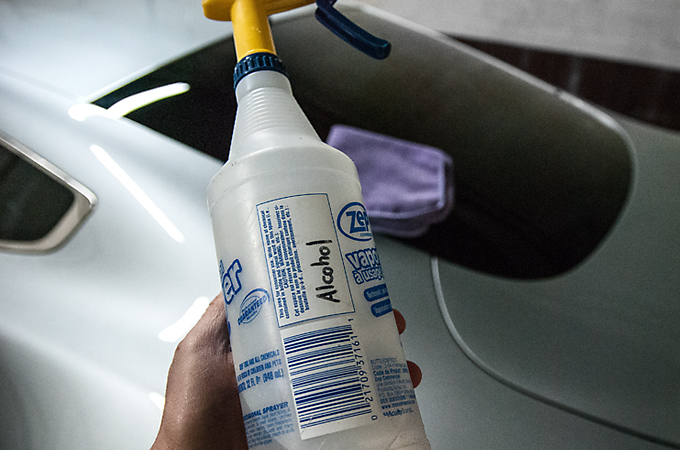
Alcohol wipe down
Wax applied and curing
And the afters
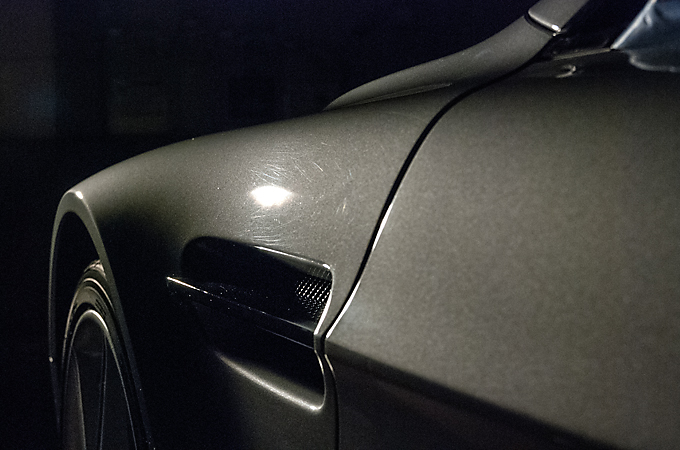
Reflections
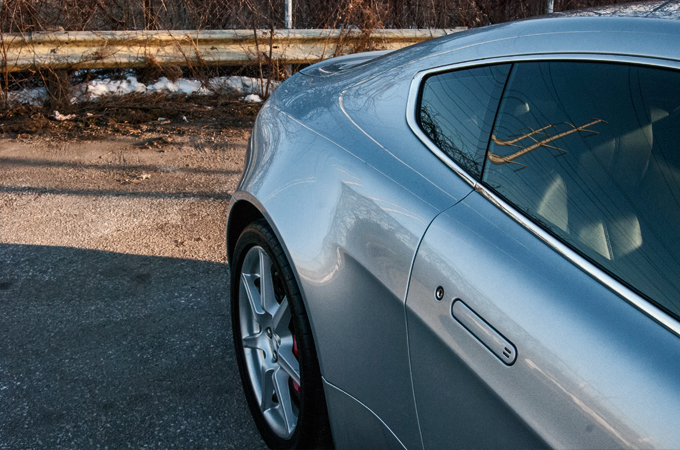
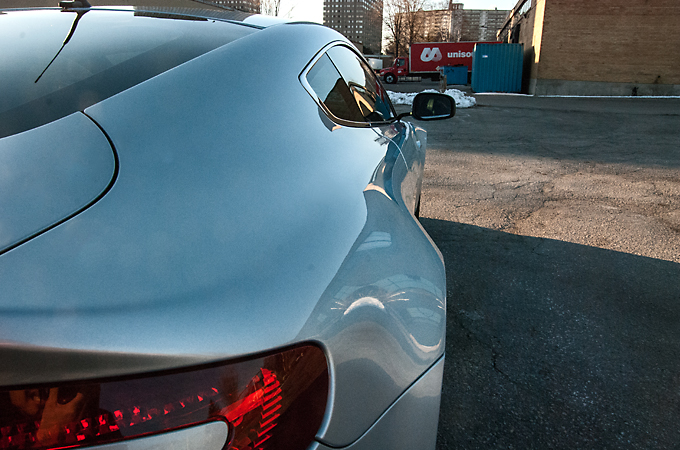
Who says silver can't shine and reflect
I love the reflections down the side
And my favourite pic!
Hope you enjoyed the pics as usual and hopefully this weather starts to get warmer soon!
Spring is almost here.... I hope lol.
This client contacted me regarding paint correction on his Vantage as well as his M5. Not much was really discussed other then pricing and when he could bring the cars in. We figured out a date and in first was the Aston which received a 1 stage polish. This was the loudest Vantage I have ever heard, and any car with aftermarket exhaust for that matter actually.
On arrival pic
Started out with the rims, wheel well, and calipers
After cleaning the rims there was some left over tar that needed special attention
Tarminator in action
All gone
Washed with a sea sponge and the 2 Bucket Method
Claybarred the paint and it was in really rough shape
Took measurements and everything was ok with no repaint
Masked off all the rubber trim and began polishing
Before
After
Before
After
Before
After
Before
After
Paint correction in action going old school with the rotary
Teaser shot of the gloss achieved. The fender was looking like liquid metal!
Blue masking tape removed
Cleaning up the polishing dust left behind
Alcohol wipe down
Wax applied and curing
And the afters
Reflections
Who says silver can't shine and reflect
I love the reflections down the side
And my favourite pic!
Hope you enjoyed the pics as usual and hopefully this weather starts to get warmer soon!