
Customer's 350z LS3 Swap


Thread Starter
Vendor - Former Vendor
Joined: Jan 2011
Posts: 127
Likes: 1
From: Baltimore, MD


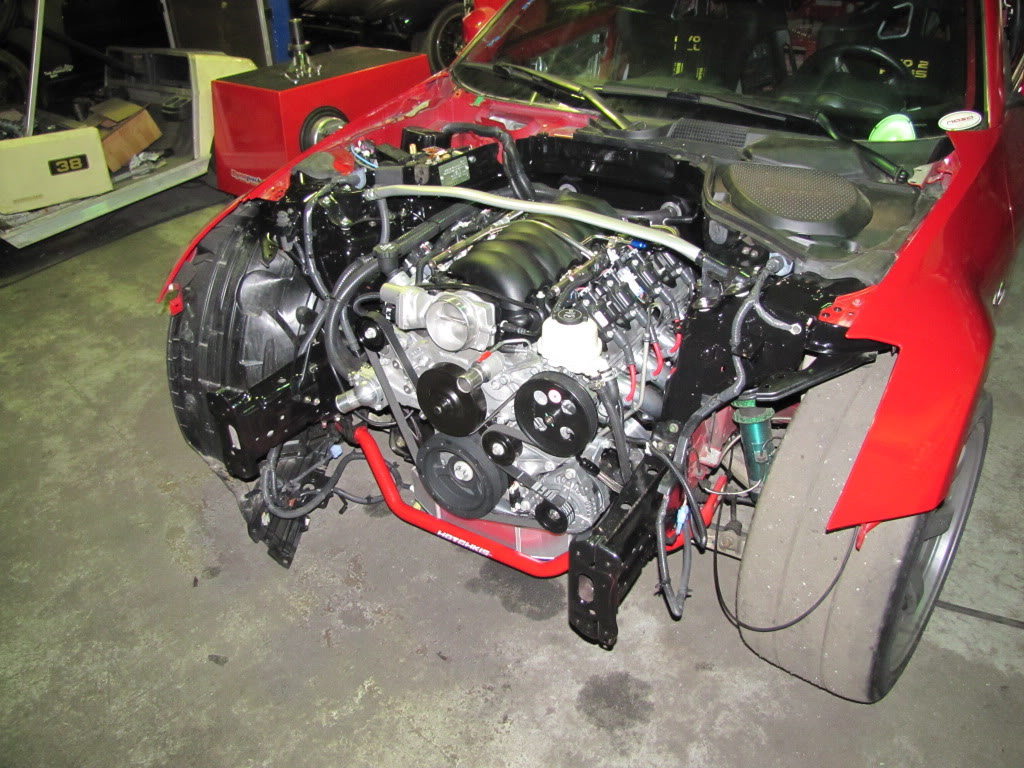
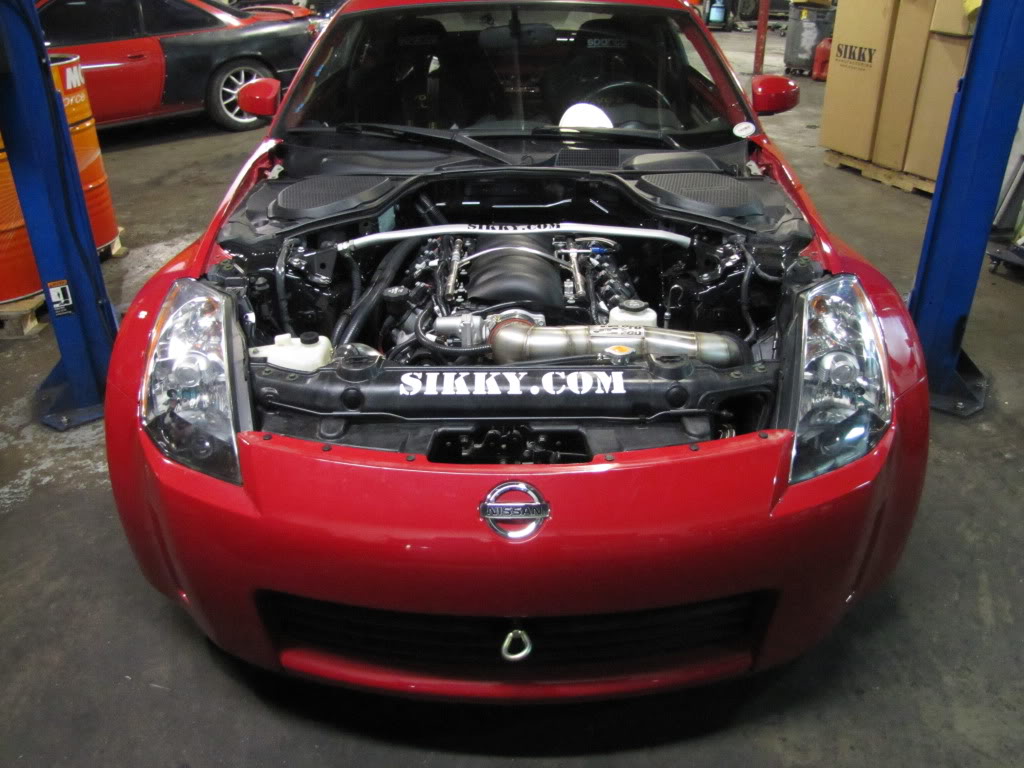
Is that a stock intake and TB?
Also, slightly unrealted, but James may have an answer. I had an issue with my Cusco front sway contacting the pass side of the oil pan right at the corner on the weld bead. I assume this was from my lowered ride height (front wheels just inside the fenders) and stock endlinks.
If I purchased a beefy set of aftermarket links could I keep my aggressive ride height or is the answer just raising the ride height? I have swapped the stock struts back in for the time being to correct this issue. Thanks Guys.


Thread Starter
Vendor - Former Vendor
Joined: Jan 2011
Posts: 127
Likes: 1
From: Baltimore, MD
Is that a stock intake and TB?
Also, slightly unrealted, but James may have an answer. I had an issue with my Cusco front sway contacting the pass side of the oil pan right at the corner on the weld bead. I assume this was from my lowered ride height (front wheels just inside the fenders) and stock endlinks.
If I purchased a beefy set of aftermarket links could I keep my aggressive ride height or is the answer just raising the ride height? I have swapped the stock struts back in for the time being to correct this issue. Thanks Guys.
Also, slightly unrealted, but James may have an answer. I had an issue with my Cusco front sway contacting the pass side of the oil pan right at the corner on the weld bead. I assume this was from my lowered ride height (front wheels just inside the fenders) and stock endlinks.
If I purchased a beefy set of aftermarket links could I keep my aggressive ride height or is the answer just raising the ride height? I have swapped the stock struts back in for the time being to correct this issue. Thanks Guys.
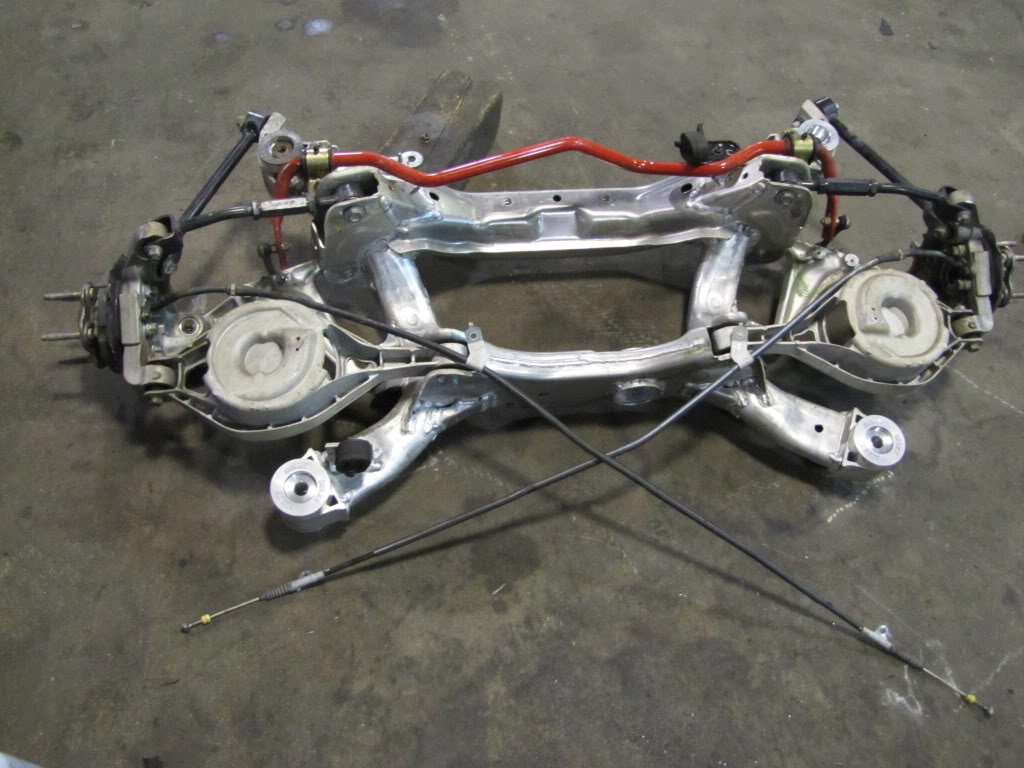
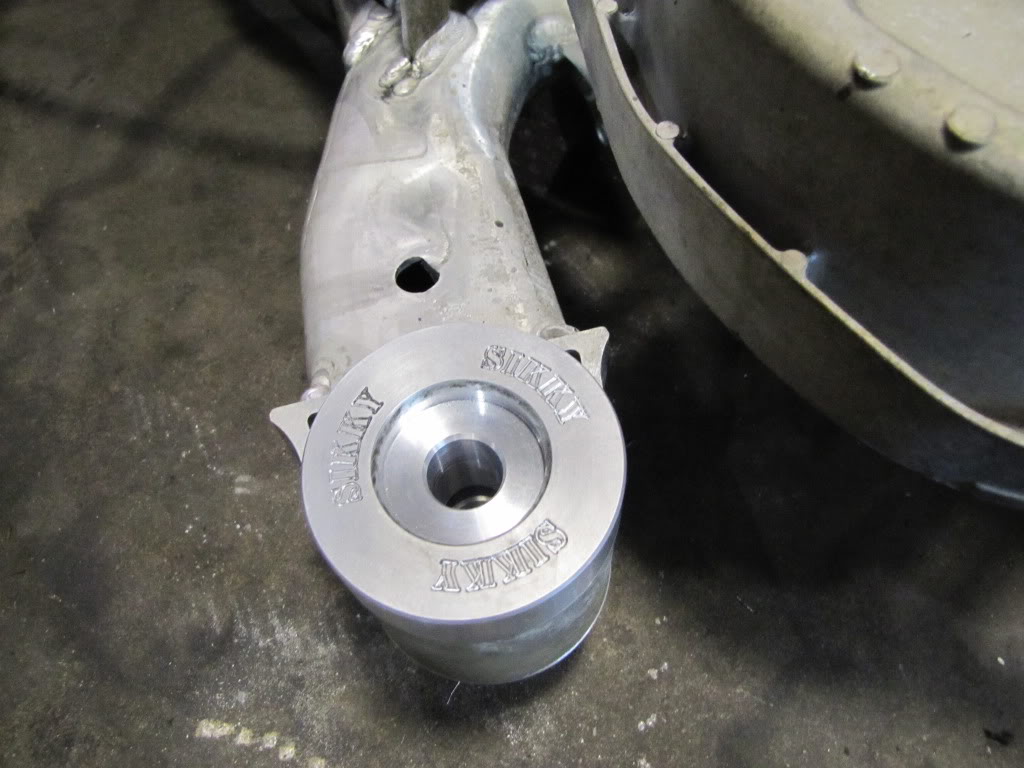
I don't have any direct experience with the Cusco bar. We run the SIKKY bars on our other cars and they have 3-way adjustment and heim joint endlinks. They are the perfect solution for low applications.
Here's a picture for you. You can zoom and see them pretty clear.


Last edited by JE; Jan 26, 2012 at 05:18 AM.


Thread Starter
Vendor - Former Vendor
Joined: Jan 2011
Posts: 127
Likes: 1
From: Baltimore, MD
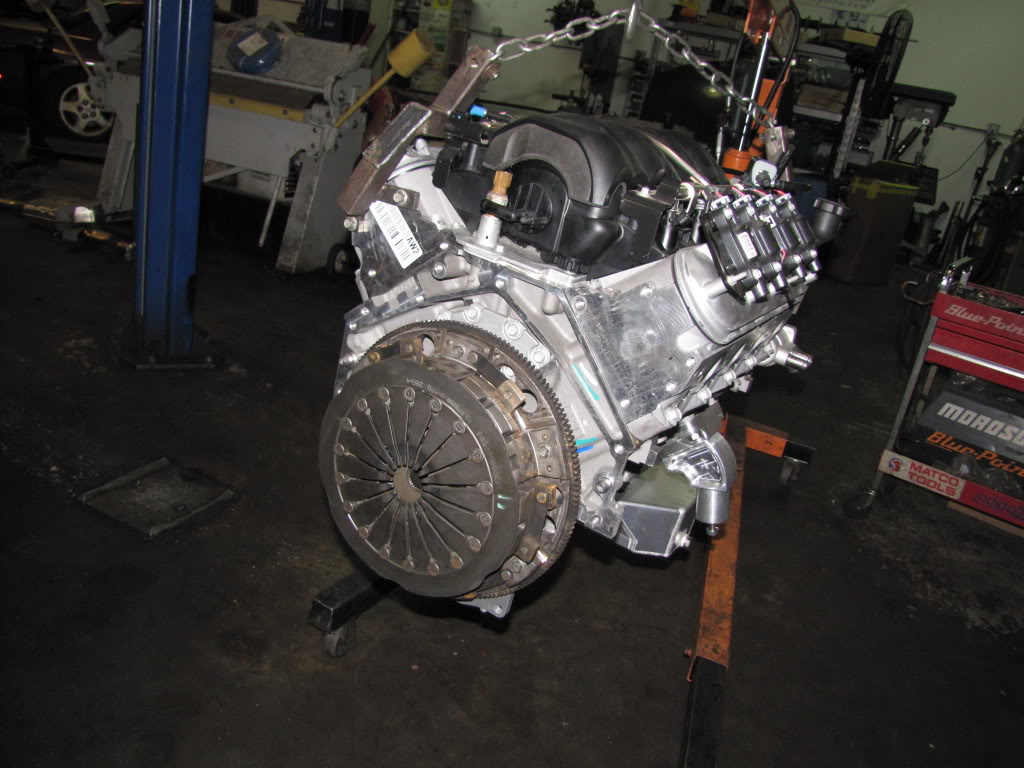
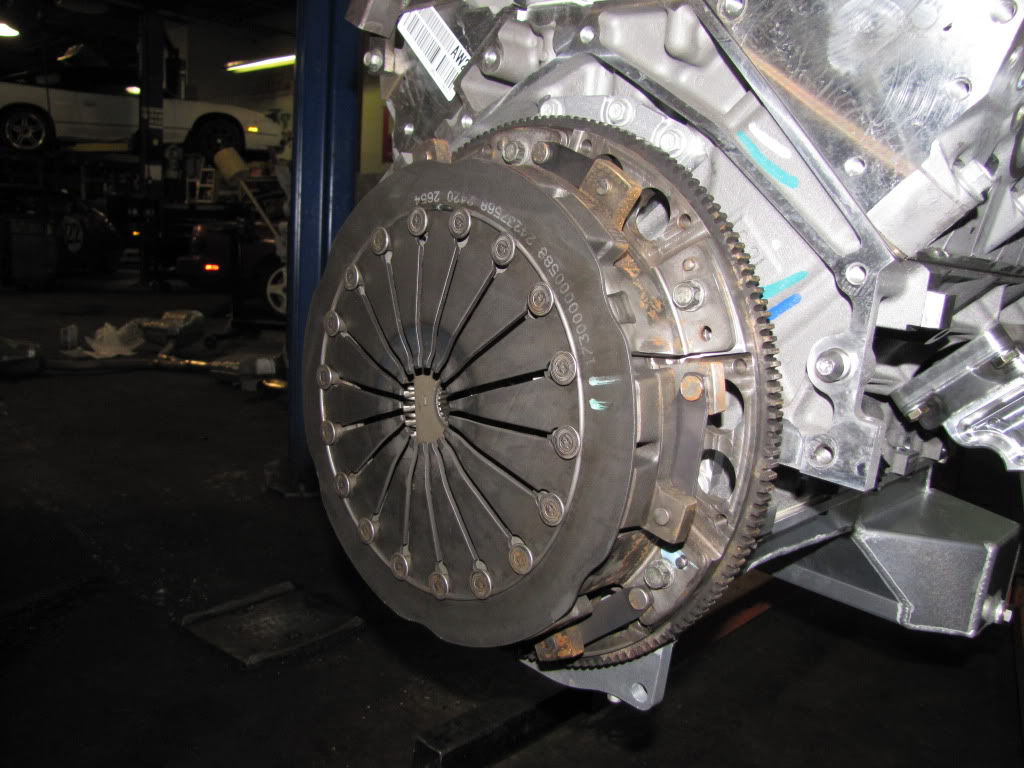
Motor back in and awaiting a few more parts. Doing what we can as the parts flow.
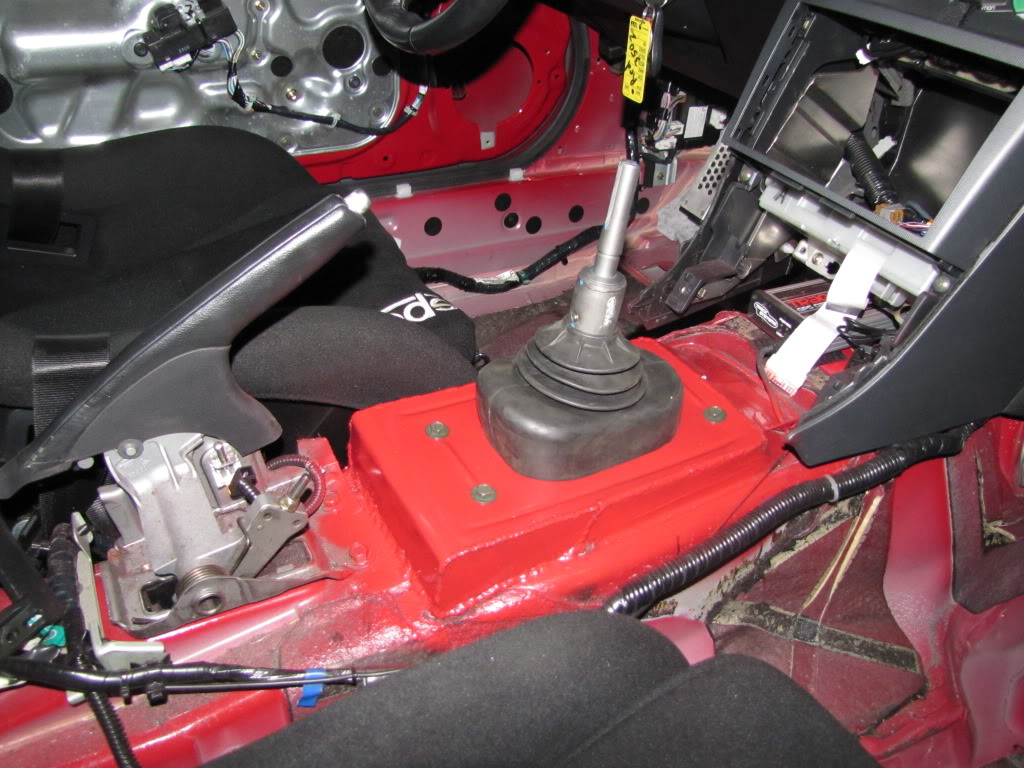
Welded up the new shifter location
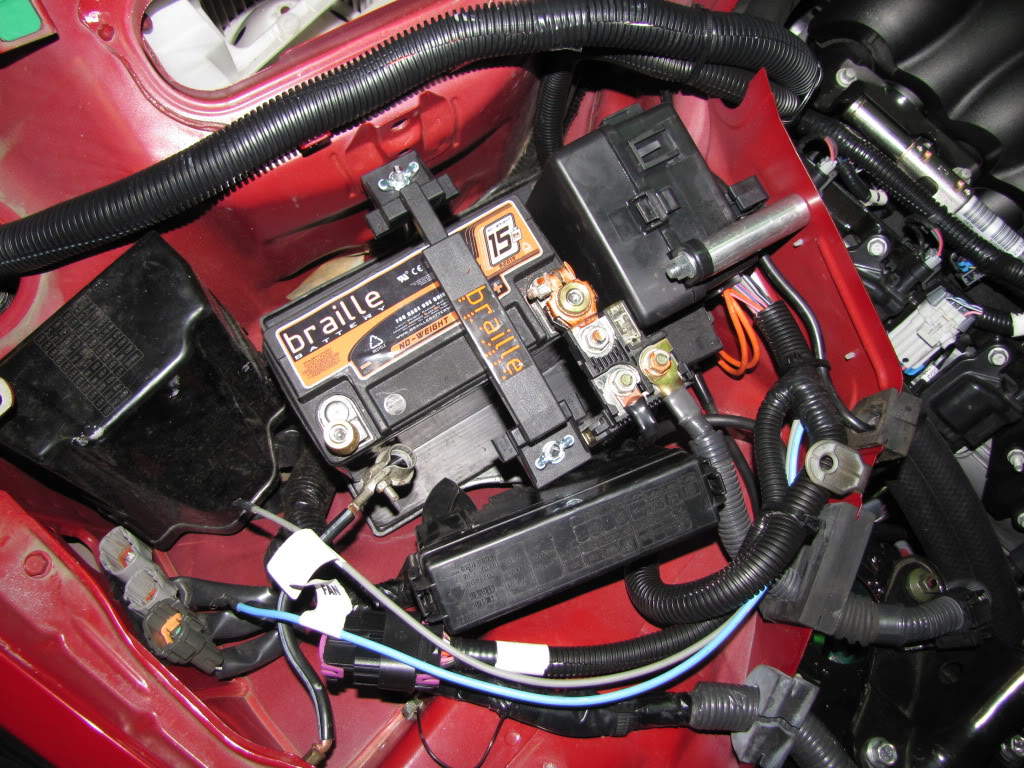
Customer wanted to run a carbon Braille battery so we made a base and mounted it up.
Welded up the new shifter location
Customer wanted to run a carbon Braille battery so we made a base and mounted it up.
Last edited by JE; Jan 23, 2012 at 12:18 PM.
Thread Starter
Vendor - Former Vendor
Joined: Jan 2011
Posts: 127
Likes: 1
From: Baltimore, MD
Wow, time really goes by when we are this busy!
A lot of progress was made in the last few weeks when the remaining parts we needed arrived.
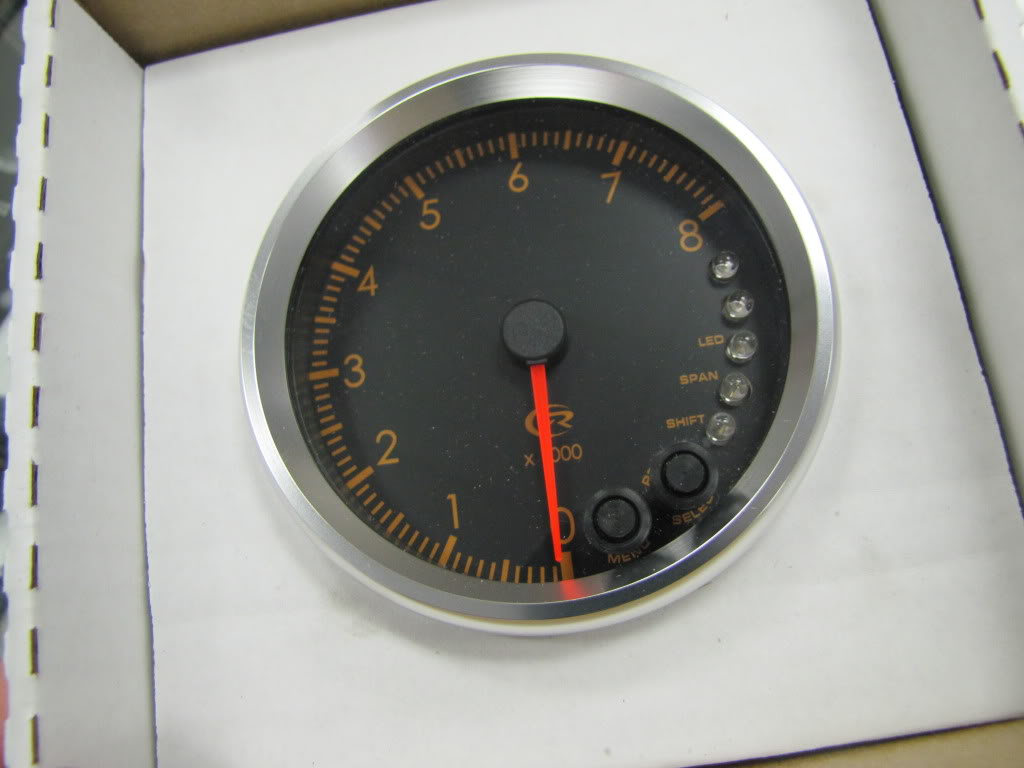
Custom SpeedHut tach to match the stock gauges. Once we get it outside I'll have a nice picture installed. Poor lighting in the shop for a justifying photo of it.
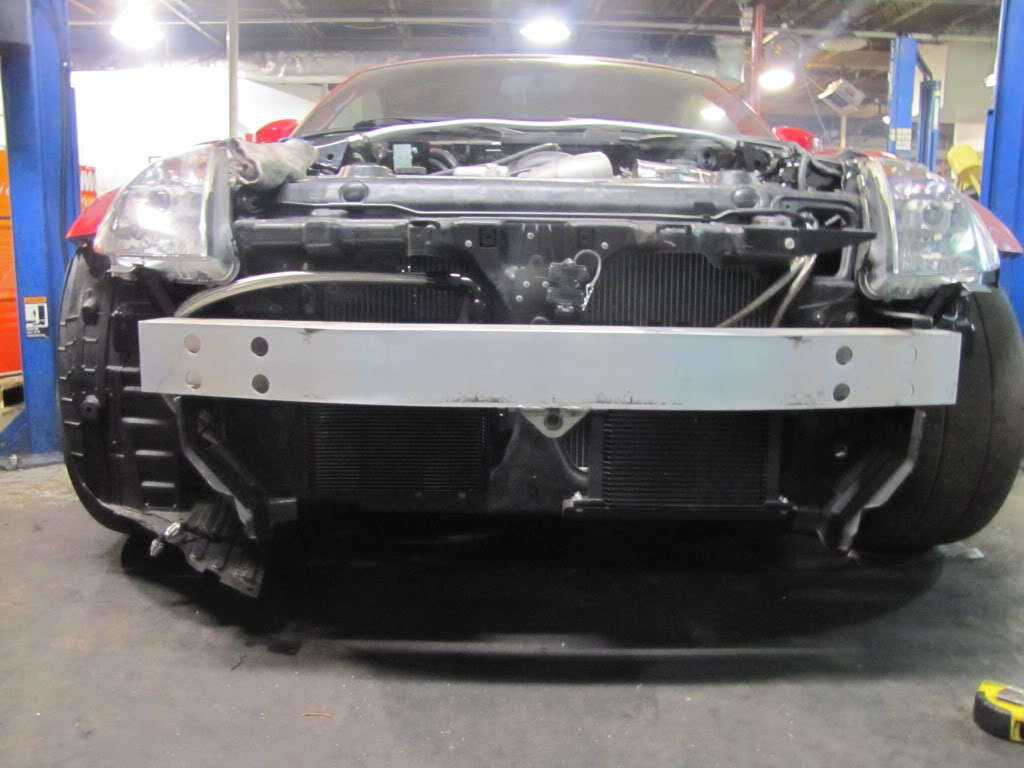
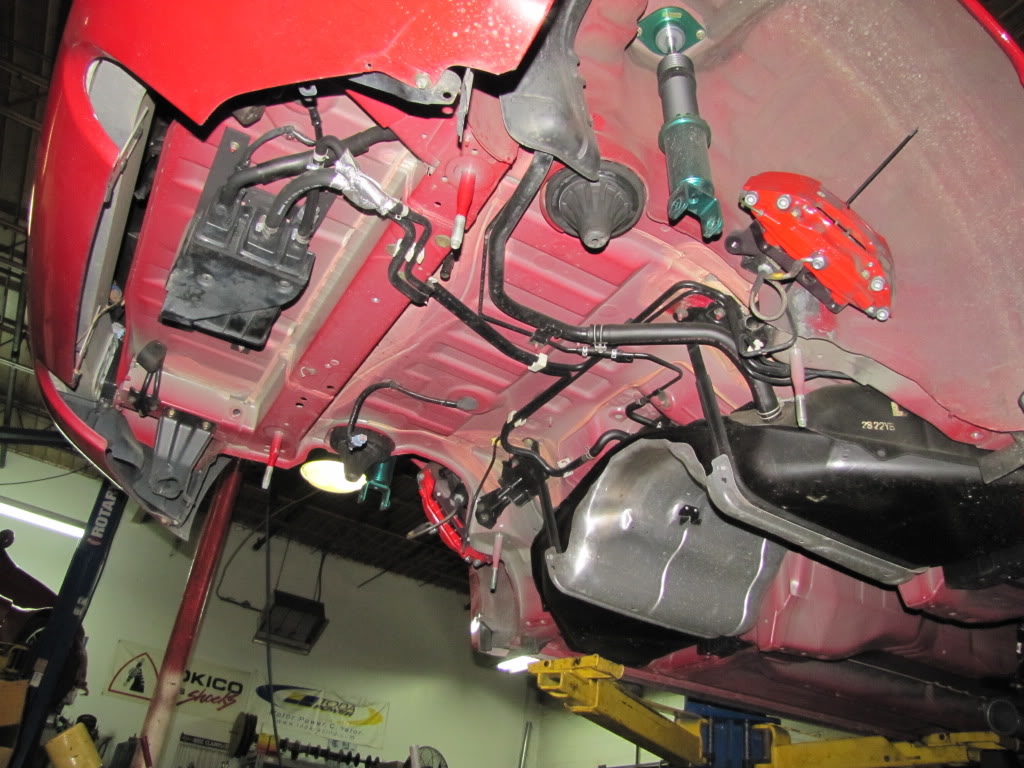
B&M Oil & Trans coolers mounted. Hard to snap some photos behind there, but hidden away is the custom mounted Mishimoto aluminum fan shroud and Koyo radiator. Had to fabricate some cooling lines and pipe to get everything to fit perfectly.
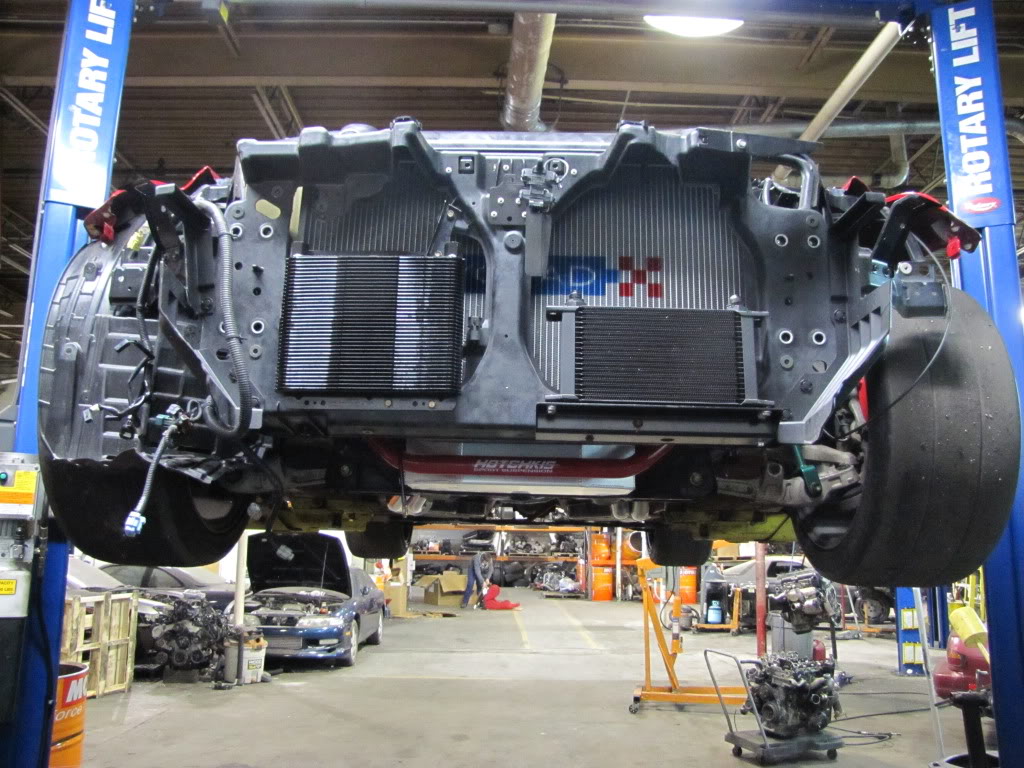
All routed, lined and support reinstalled. They fit perfect.
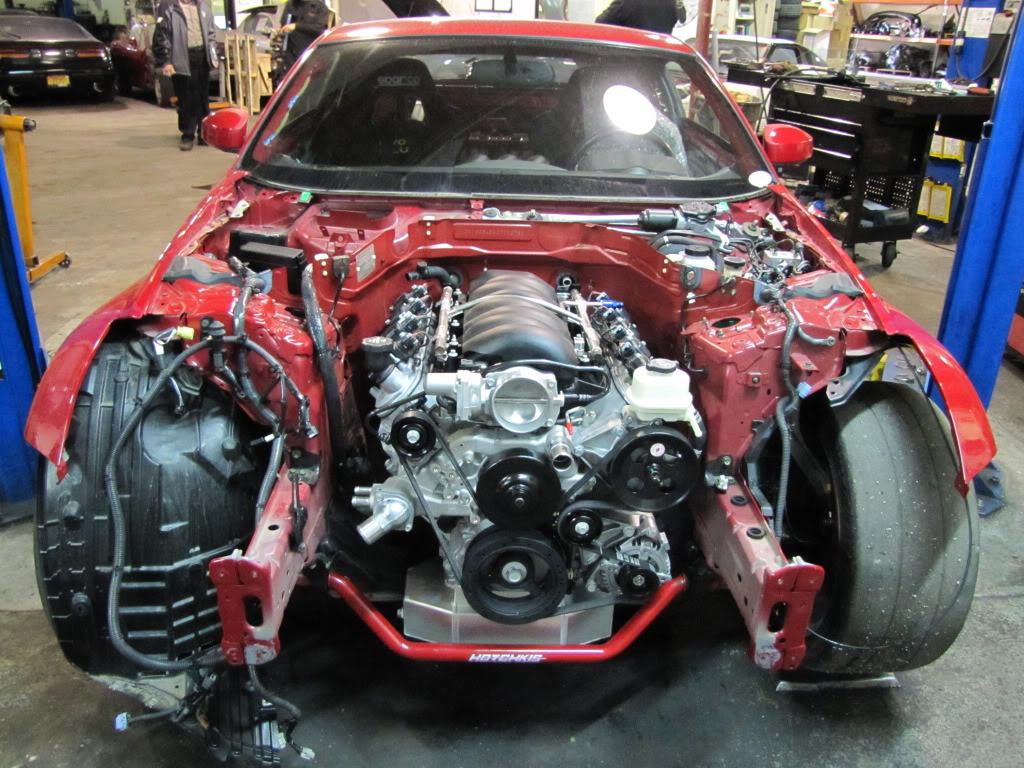
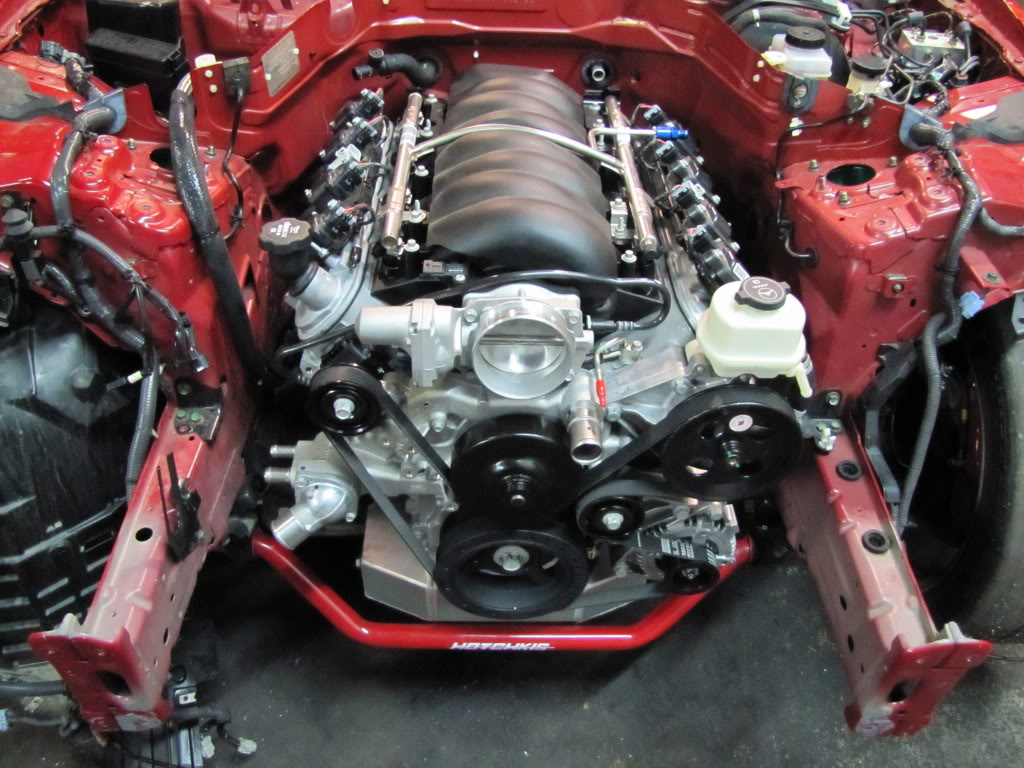
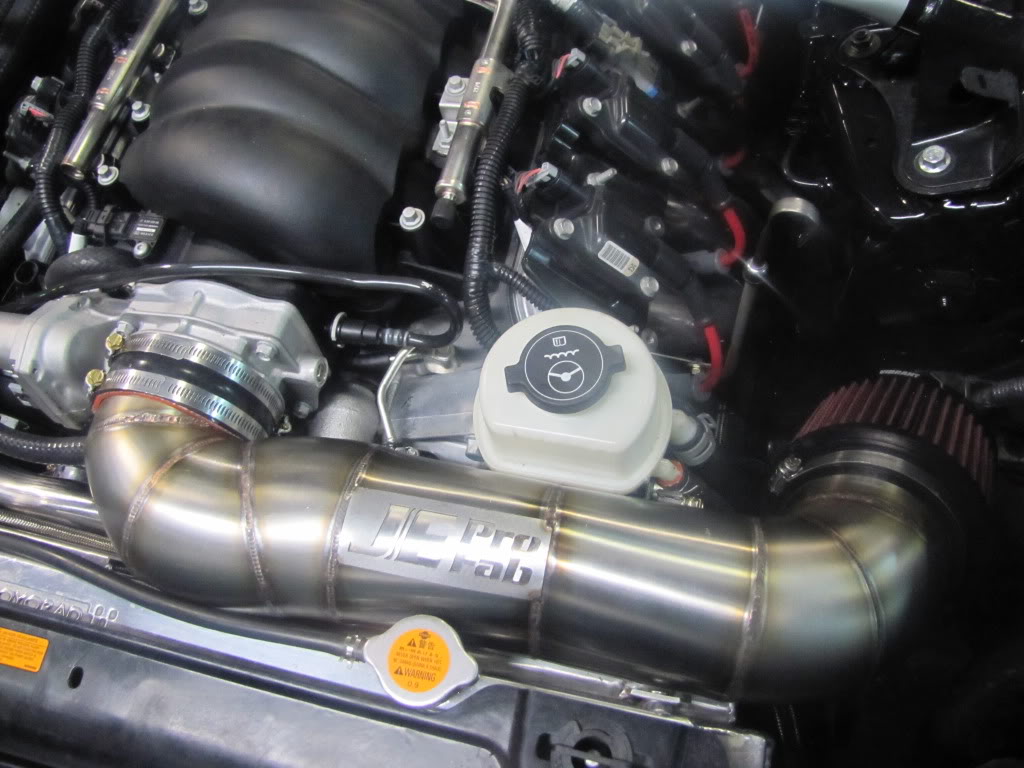
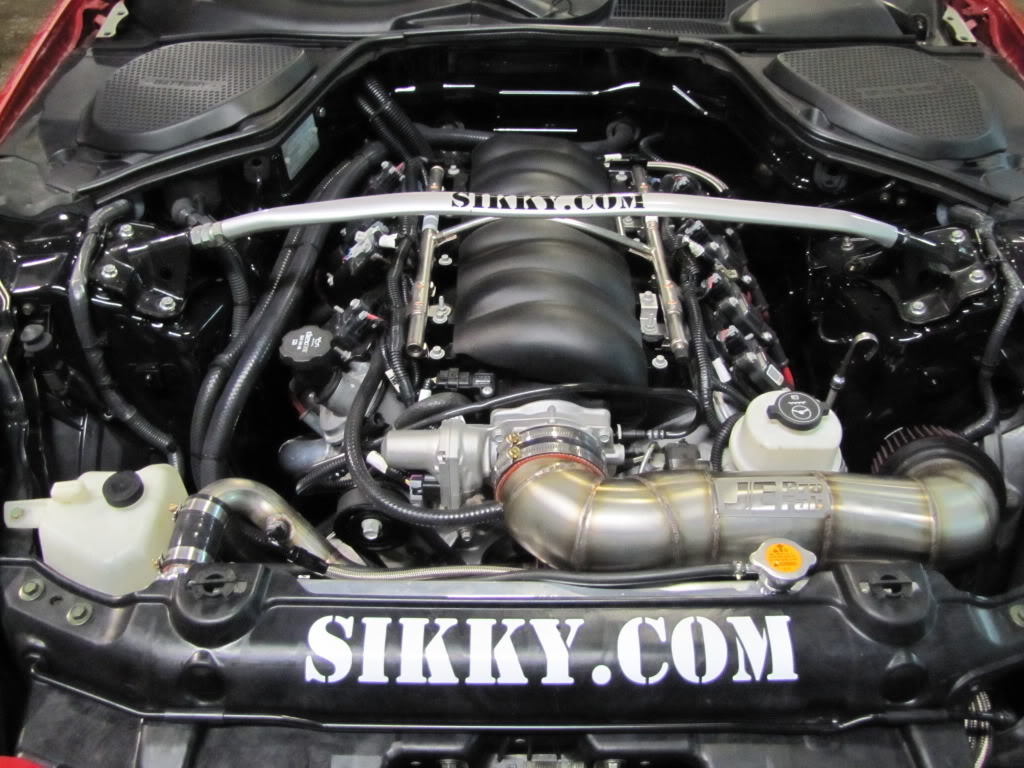
JE Pro Fab Custom intake system. John did phenominal work with the bends.
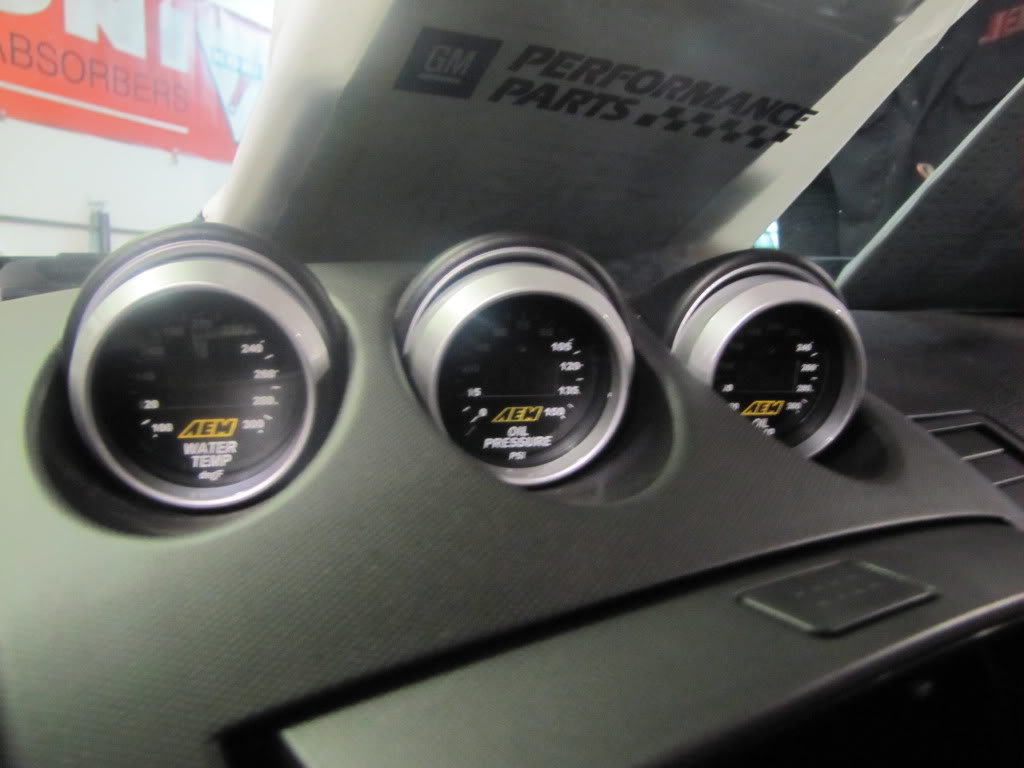
We will be relocating these AEM digital gauges to the pocket below with a custom bracket in the next week or so.
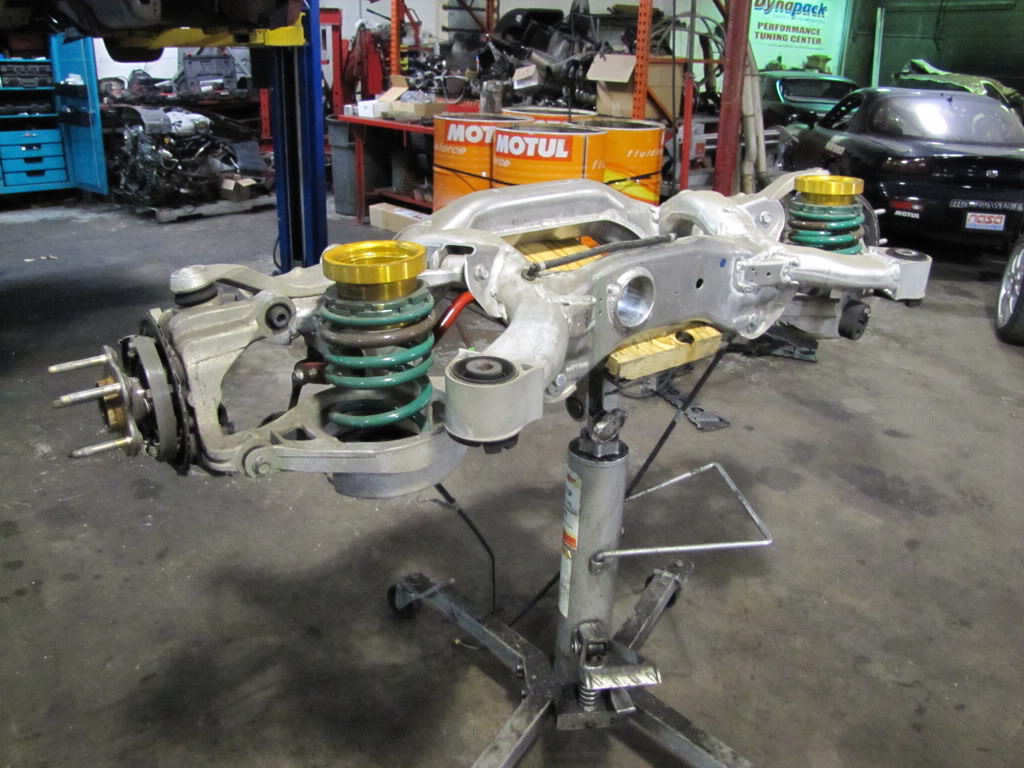
As soon as SIKKY Manufacturing delivered their bushing kit and aluminum driveshaft we were ready to knock out the rear of this car. We get excited to see these projects come together just like the customer does so we wasted no time pulling it out.
The entire shop smelled like burning rubber and a cat hoarders house for the day. Didn't get any pictures of the knocking/cutting process to remove the originals, but you get the idea.
After finishing the subframe installation the next step was to install the driveshaft and finish fabrication of the exhaust system. We were able to make custom midpipes to tie the SIKKY headers into the existing Greddy system.
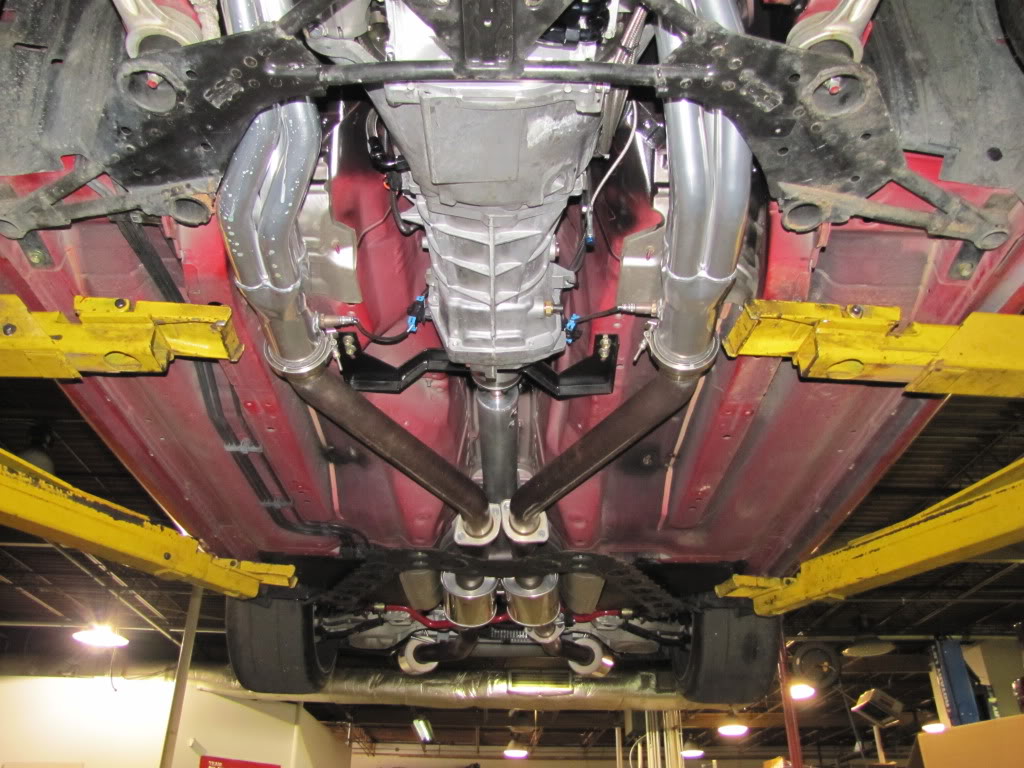
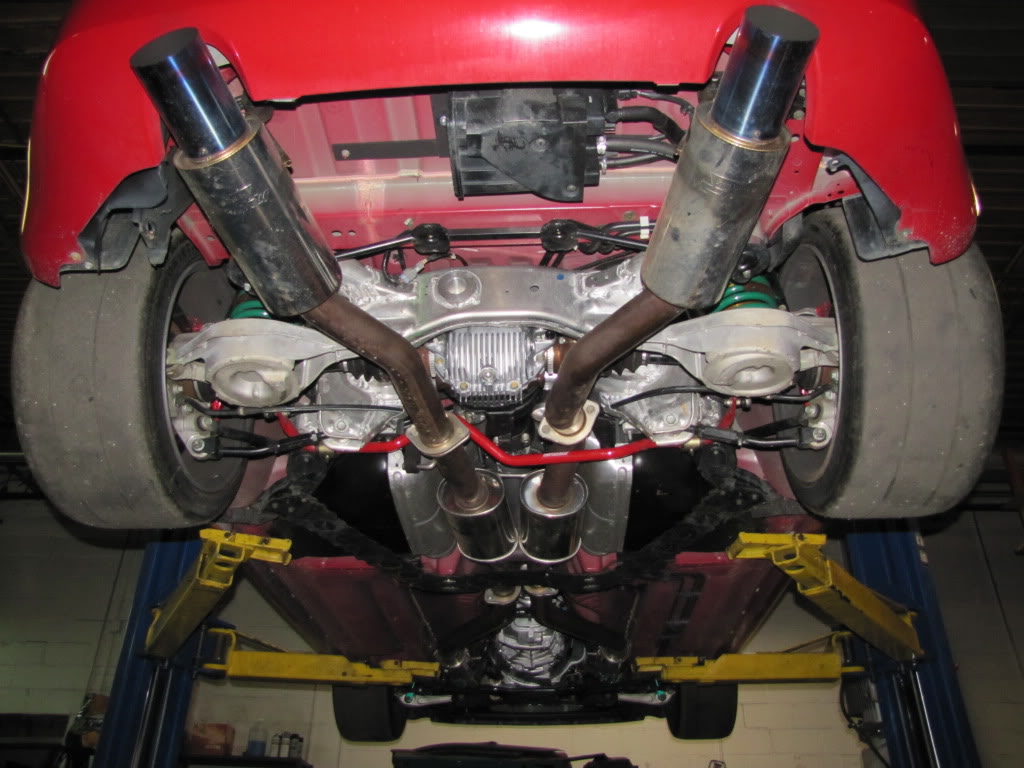
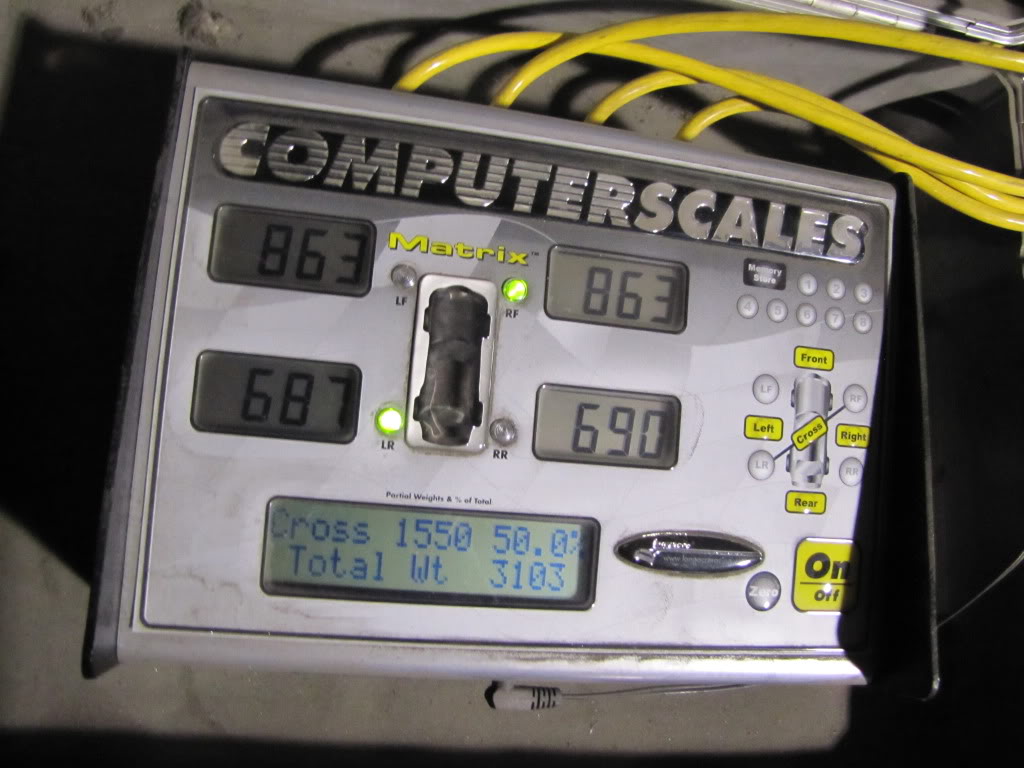
The money shot.
And the last step before we move onto fabrication of the cage was to reweigh the car. We all were pretty amazed by how well the weight is distributed. After all the work we've done and everything involved in the swap it's at a perfect 50%. The car has about 8+ quarts of oil in it now, which added 20lbs; otherwise, we gained 0 weight overall and were able to have an almost perfect distribution. Just another reason why people bring us their cars. Our tech's performance and know-how speaks for itself.
A lot of progress was made in the last few weeks when the remaining parts we needed arrived.
Custom SpeedHut tach to match the stock gauges. Once we get it outside I'll have a nice picture installed. Poor lighting in the shop for a justifying photo of it.
B&M Oil & Trans coolers mounted. Hard to snap some photos behind there, but hidden away is the custom mounted Mishimoto aluminum fan shroud and Koyo radiator. Had to fabricate some cooling lines and pipe to get everything to fit perfectly.
All routed, lined and support reinstalled. They fit perfect.
JE Pro Fab Custom intake system. John did phenominal work with the bends.
We will be relocating these AEM digital gauges to the pocket below with a custom bracket in the next week or so.
As soon as SIKKY Manufacturing delivered their bushing kit and aluminum driveshaft we were ready to knock out the rear of this car. We get excited to see these projects come together just like the customer does so we wasted no time pulling it out.
The entire shop smelled like burning rubber and a cat hoarders house for the day. Didn't get any pictures of the knocking/cutting process to remove the originals, but you get the idea.
After finishing the subframe installation the next step was to install the driveshaft and finish fabrication of the exhaust system. We were able to make custom midpipes to tie the SIKKY headers into the existing Greddy system.
The money shot.
And the last step before we move onto fabrication of the cage was to reweigh the car. We all were pretty amazed by how well the weight is distributed. After all the work we've done and everything involved in the swap it's at a perfect 50%. The car has about 8+ quarts of oil in it now, which added 20lbs; otherwise, we gained 0 weight overall and were able to have an almost perfect distribution. Just another reason why people bring us their cars. Our tech's performance and know-how speaks for itself.
Last edited by JE; Feb 18, 2012 at 09:46 AM.
