
DIY Wire Tuck


Weeelll.... i guess not many try this at home? lol.. Anyways i got a new driftlady and decided to do it all right from the start. no more shortcuts so this was part of my plan of things to do. I went ahead and did the wire tuck in myself, took me about 4.5-5 hours total. Passenger side and Driver side are easy. I did not have to cut anything and everything fitted perfectly, but if u are not running a wired aftermarket radiator those pins get a little tight on the passenger side just a heads up!
For grounds I used stock holes, love you Nissan for the amount of holes! lol Worst part was the engine harness big fatty plastic covering the wire going over the passenger side in the back. I made it easier by taking the fuel crap out and putting it to the side. Gave me a lot more room to work with back there. Once you have gotten all those little pieces of plastic off and tape and what not oh my God it is so freaking easy it ain't even funny. i think i did 4 hours taking crap off and plastics and 30 minutes to an hour taping it all back like OEM! just all hidden
on to pics:
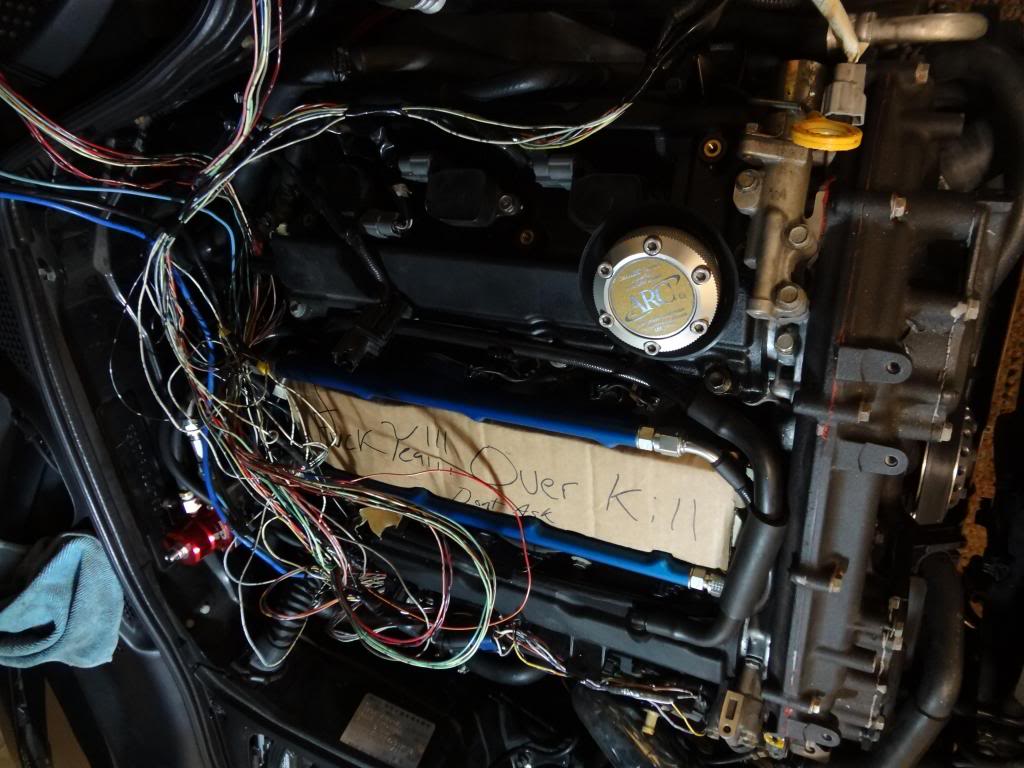
These are the cams, maf, 02 sensor and throttle body cables. All these will be hiding in the back . I went to autogay and bought the heat oem looking stuff and electric tape that can withstand up to 300 degrees. i know it aint much but all combined will be fine. Just tried giving it the OEM look

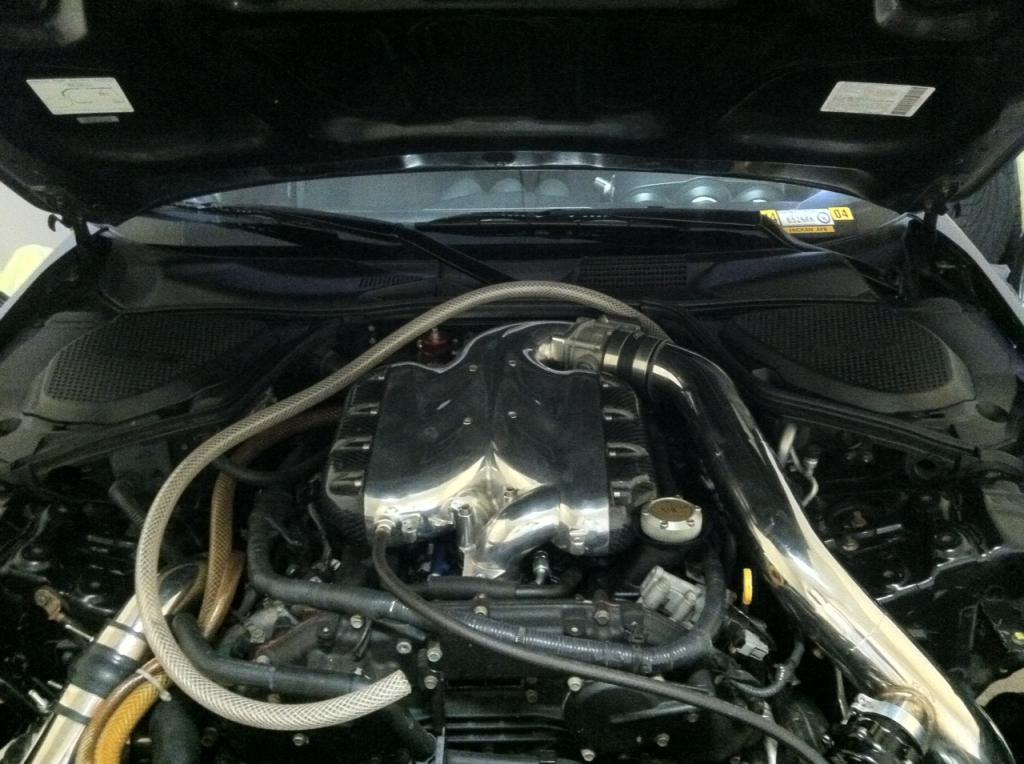
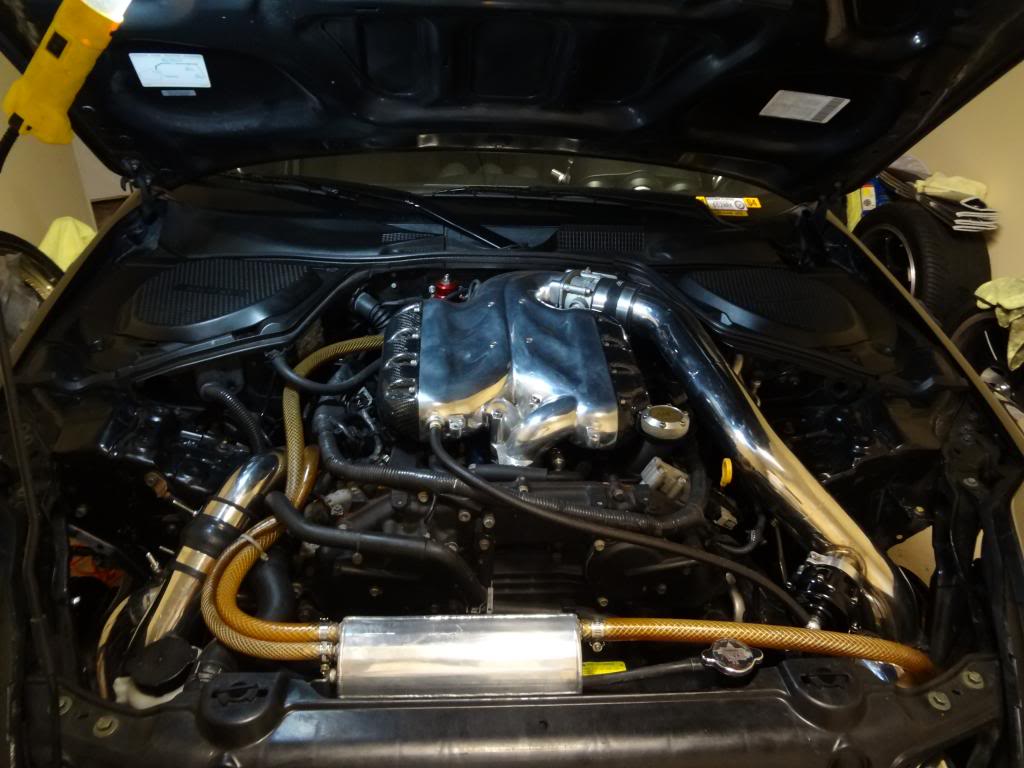
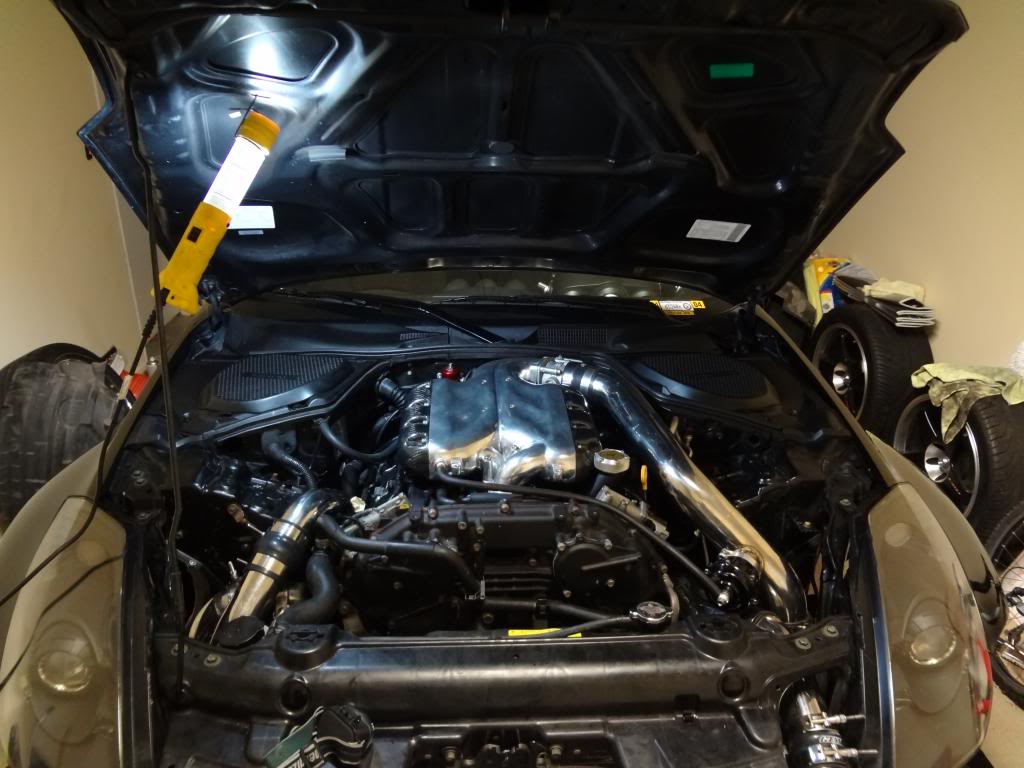
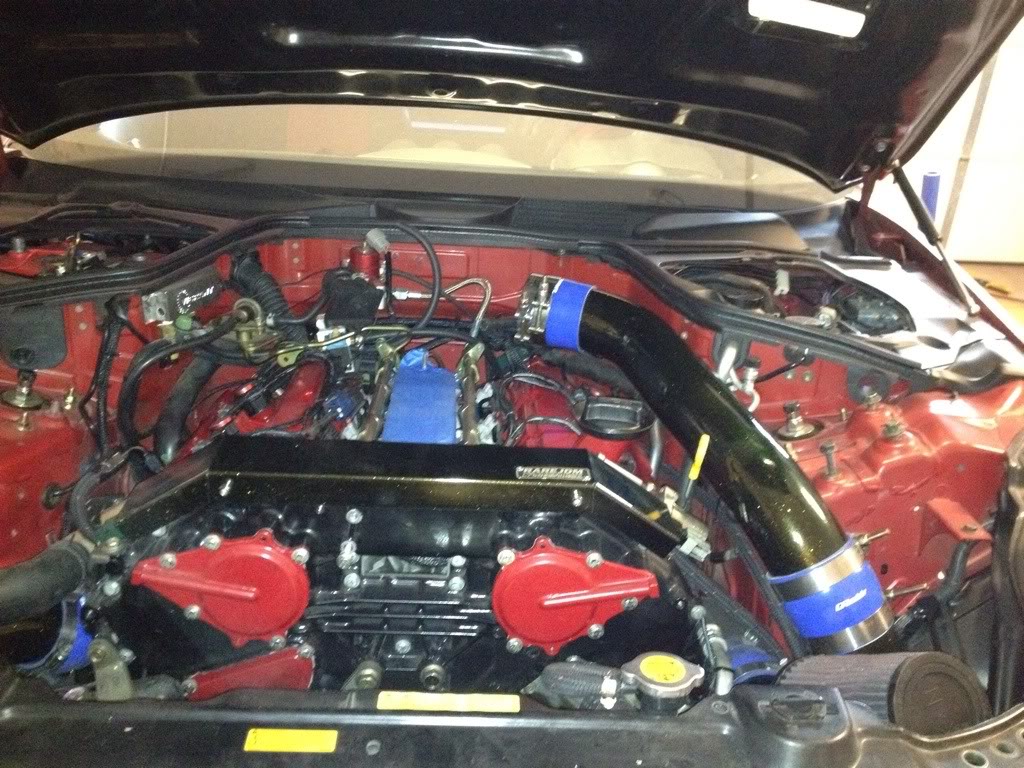
Finished process!

dont mind crappy pics and f'up winshield lol but here is a pic of what looks like. gotta take better ones when is light out.

For grounds I used stock holes, love you Nissan for the amount of holes! lol Worst part was the engine harness big fatty plastic covering the wire going over the passenger side in the back. I made it easier by taking the fuel crap out and putting it to the side. Gave me a lot more room to work with back there. Once you have gotten all those little pieces of plastic off and tape and what not oh my God it is so freaking easy it ain't even funny. i think i did 4 hours taking crap off and plastics and 30 minutes to an hour taping it all back like OEM! just all hidden
on to pics:
These are the cams, maf, 02 sensor and throttle body cables. All these will be hiding in the back
. I went to autogay and bought the heat oem looking stuff and electric tape that can withstand up to 300 degrees. i know it aint much but all combined will be fine. Just tried giving it the OEM lookFinished process!
dont mind crappy pics and f'up winshield lol but here is a pic of what looks like. gotta take better ones when is light out.

Looks great litoflow!!!
I did the easy strut towers bundles the past week. Thinking about doing the main center one next week.
iPhone pic of mine so far.
I did the easy strut towers bundles the past week. Thinking about doing the main center one next week.
iPhone pic of mine so far.
Last edited by sradenton; Dec 24, 2012 at 05:26 PM.
^^yeah bro do it!. You wont be disappointed.
Btw i would not use those hoses u are using for the catch can, u see how they start getting skinnier and skinnier because of the air sucking thru or whatever? u better off get black hoses like oil hoses
Btw i would not use those hoses u are using for the catch can, u see how they start getting skinnier and skinnier because of the air sucking thru or whatever? u better off get black hoses like oil hoses
Thanx,
I was just thinking about going with the black braided hose. Cause these look like crap and collapses.


sradenton
the ground wires on the passenger side, can be moved to the bottom on that same side inside the engine and u can put the grounds on wholes the engine already has. that's what I did and it worked mint! lol
the ground wires on the passenger side, can be moved to the bottom on that same side inside the engine and u can put the grounds on wholes the engine already has. that's what I did and it worked mint! lol


Yeah. I wanted to run it out of the backside of the battery box in reverse order like someone else mentioned but I couldn't make it work. Having TT charge pipes in the way makes it more difficult.
What I ended up doing is removing the clamshell plastic casing, replaced with braided sleeving, shrink. Since I removed the vacuum crossover pipe for the brake booster I had a spare hole open in the grommet and used it. Ran the cable down the brake line and to the alternator/start. Much more hidden but still not 100% what I wanted to do.
If I ever get a long break I would love to pull my motor again, redo the front brake lines, tuck the battery cable better and paint the engine bay since mine is showing its years of abuse.