Plasti-Dip Questions & Projects Thread


350z World Rally Blue- http://www.dipyourcar.com/forums/sho...highlight=350z
350z 5 color Chameleon- http://www.dipyourcar.com/forums/sho...highlight=350z
350z Satin Black- http://www.dipyourcar.com/forums/sho...highlight=350z
350z Blue/Green Chameleon- http://www.dipyourcar.com/forums/sho...highlight=350z
350z Black/Blue- http://www.dipyourcar.com/forums/sho...highlight=350z
350z Candy Purple- http://www.dipyourcar.com/forums/sho...highlight=350z
370z Anthracite- http://www.dipyourcar.com/forums/sho...highlight=370z
370z Orange- http://www.dipyourcar.com/forums/sho...highlight=370z


New Member
Joined: Jul 2009
Posts: 3,382
Likes: 116
From: New York
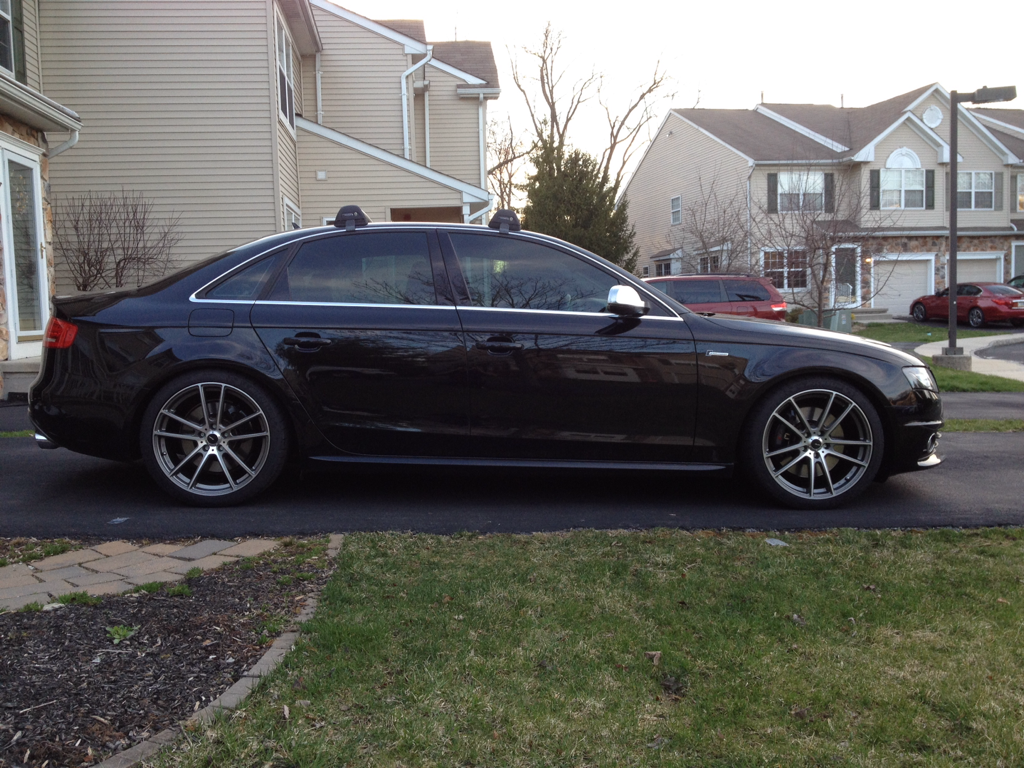
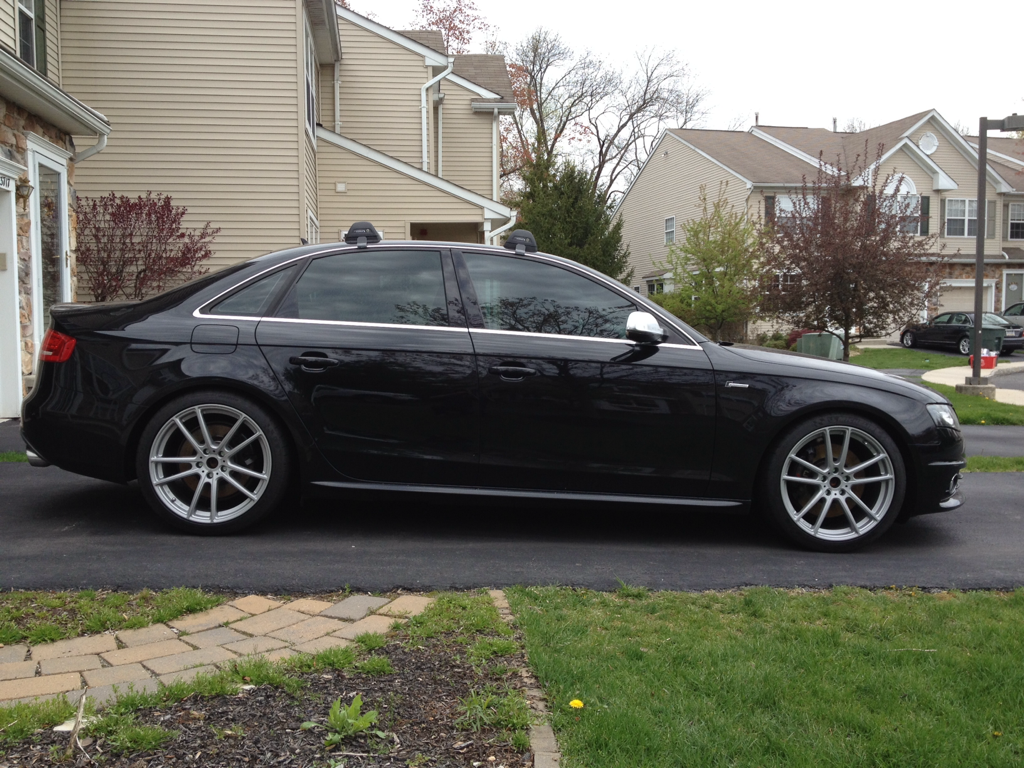
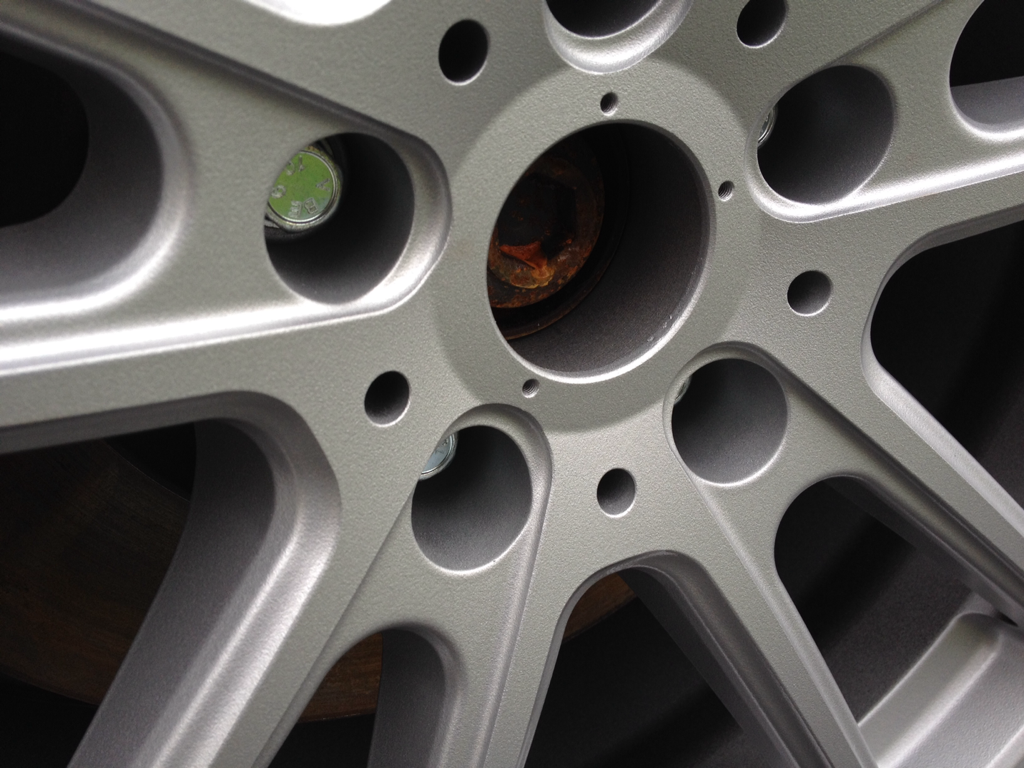
I would say only really 2 spots I didn't like the finish. The paint was shot on the car and wanted a cheap fix. Put alot of effort though, so overall I would say it was a success.


Registered User
Joined: Mar 2014
Posts: 11
Likes: 0
From: GA
Warning: Grammar was not my best subject. I can make corrections though.
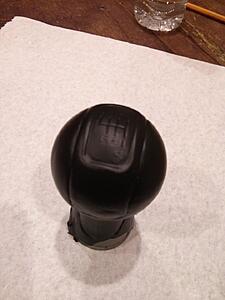
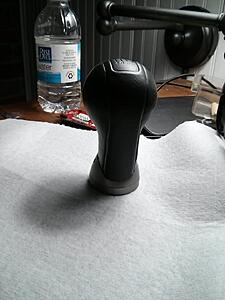
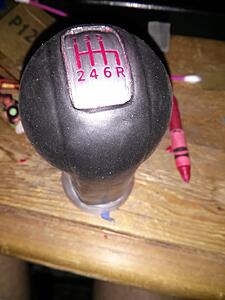
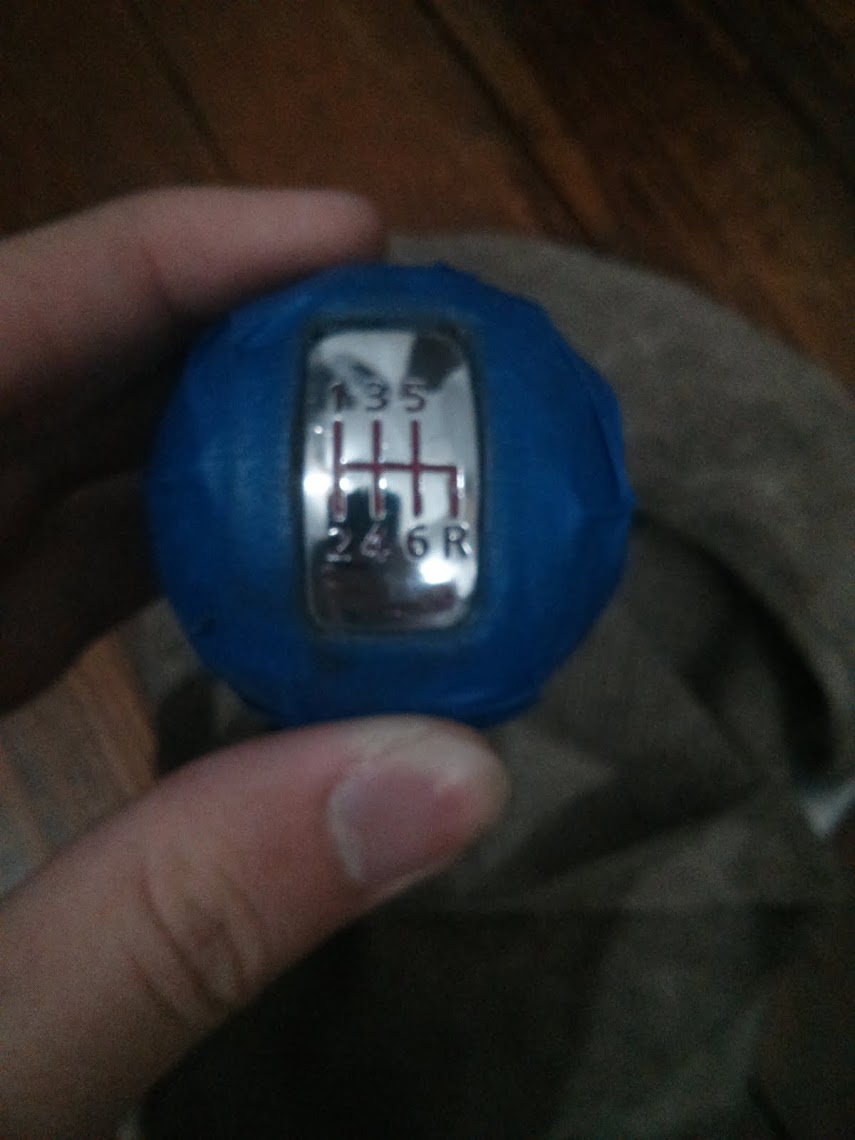
This is where its at as of now
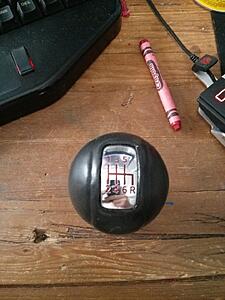

I know it's not perfect but I think it looks a lot better when I started working on it.
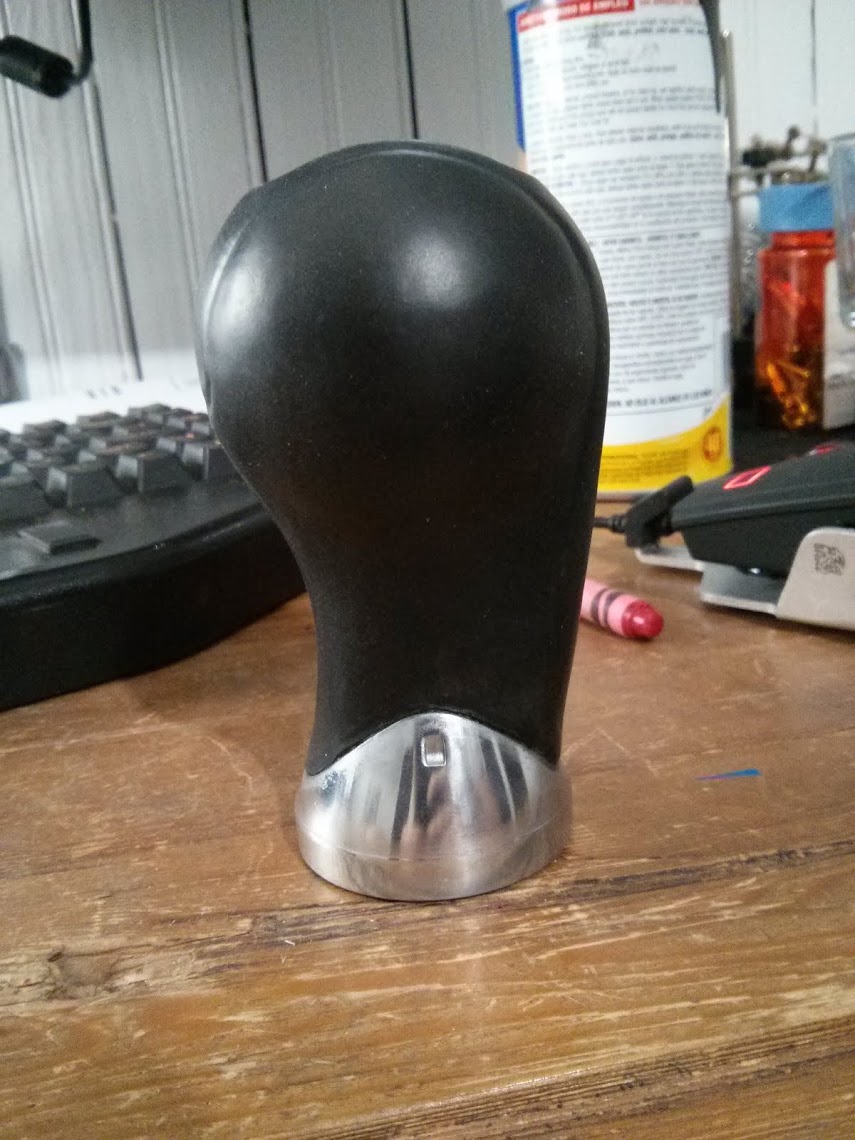
I picked up a slightly worn oem shift **** from my friend that was light gray and had been painted silver on the sides. It wasn't really my thing so I decided to see if I could make it black. Unfortunately I didn't take pictures of the **** before I started. I decided to give plasti dip a try because if I screwed up hopefully it would pull off of the leather.
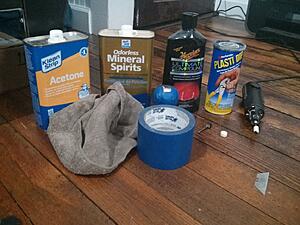
Here is a pic of most of the stuff I used, I forgo to put the sand paper, tooth picks, q-tips and paper towels in the picture.
I found this thread http://www.8thcivic.com/forums/diy-h...ternative.html and worked off it. I might epoxy like the guy on that forum did but I haven't decided yet.
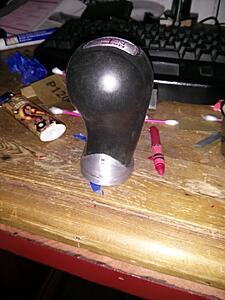
The first thing I did was to clean the **** and then wipe it down with an acetone soaked rag. I then flipped it over and dipped it into the plasti dip container (you can cut and peel it off the areas you don't want it). The container says to go down an inch every 5 second and I tried to follow that. Try not to bump the sides when pulling it out because it will disturb the surface of the **** causing lumps. It comes out looking pretty uneven but it manages to really level itself out pretty well. I did two coats (on separate days) and it came out looking pretty good but needed one more coat for a couple bad spots.
I would suggest trimming it off the metal parts between coats. I did this on the bottom only and it was difficult to get a decent cut on the top piece when trying to cut through two layers.

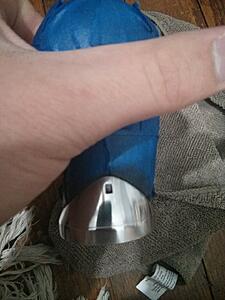
Next I taped off the dipped part (It would probably be smarter to do this before dipping) and got to work removing chipped paint from the metal with 500 grit sand paper and then 1200 grit sandpaper.
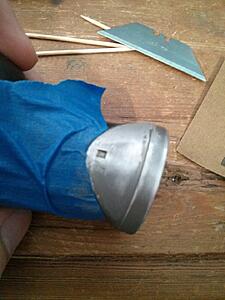
I tried to only move the paper horizontally to get a brushed finish but I ended up not being happy with how curvy my scratches were.
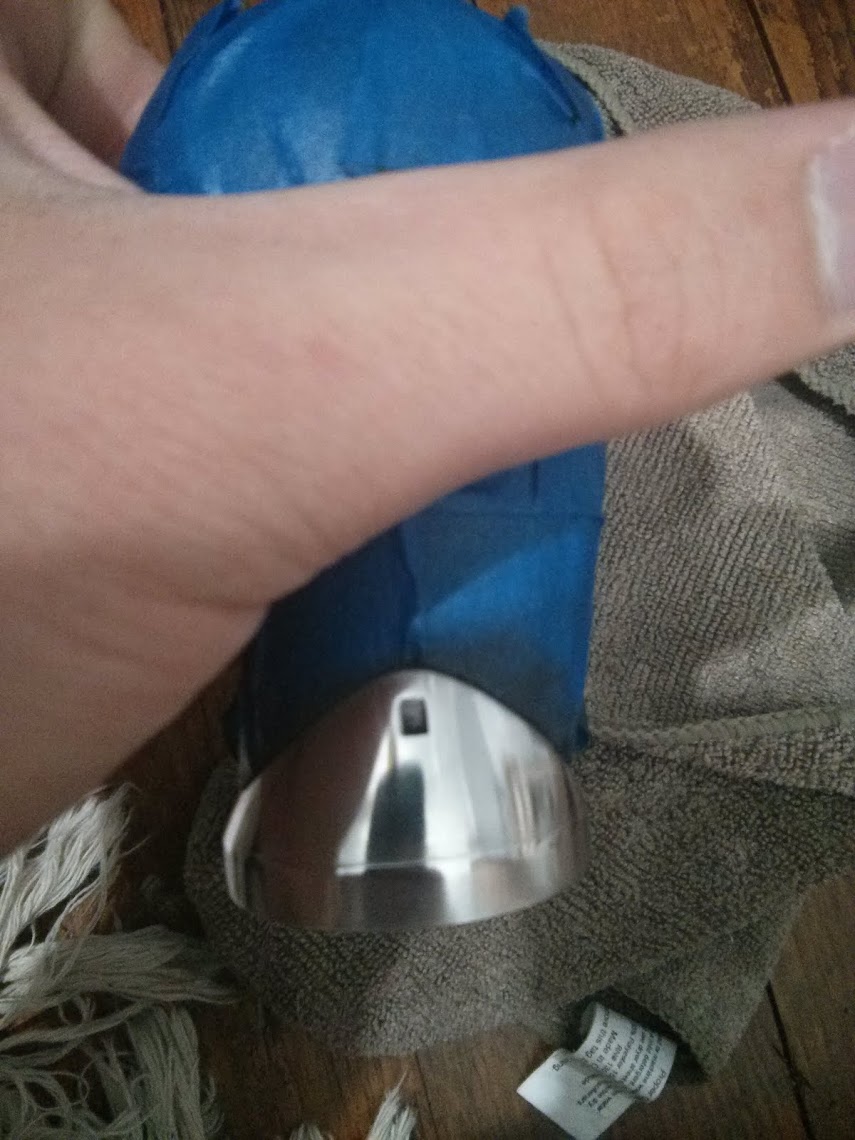
To make it look better I took rubbing compound ( metal polish might work better but I didn't have any) and a dremel polishing tip and buffed it out. With more work you could get it all the way to a mirror finish but that was not what I really wanted.
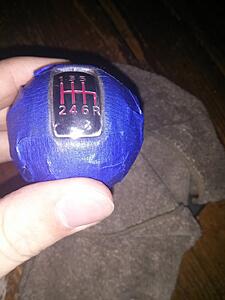

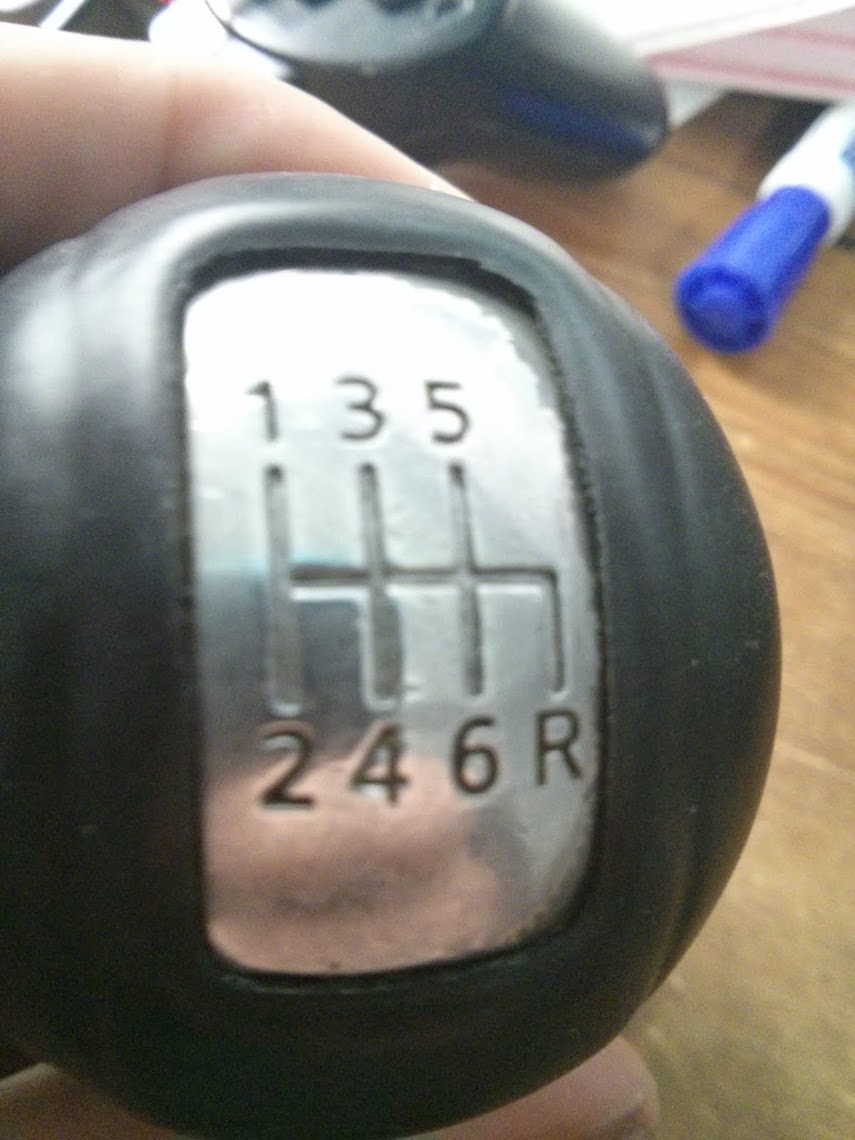
To fill the shift numbers in I used wax from a crayon ( I heard it can melt out over time but I'm not terribly concerned because I might put epoxy over it.) Make sure to clean the the grooves out really well before trying to fill it. I didn't the first time and the color had dark spots. I then used a tooth pick and a curved tip x-acto knife to pick any gunk out of the grooves. after I had it nice and clean I dipped a q-tip in acetone and cleaned the grooves of any left over gunk. I then took the crayon and kind of colored over the indention. I tried to kinda treat it like a cheese grater and scrape the wax into the groove. Keep going until its pretty much filled up, it should look pretty messy with excess wax all around the numbers. Next I melted the wax with my hot air attachment of my soldering iron but I think a hair dryer, hot air gun, or even lighter( if your careful) would work fine. Try not to heat the plasti dip too much. After the wax in the cracks was obviously melted together and smooth I took a paper towel and rubbed the excess wax off from around the numbers.
If any of the lines where the excess plasti dip was trimmed off are not in great shape you can dip a q tip in mineral spirits and run it over the edges or any other blemishes. It seems to kind of remelt the plasti dip and can smooth edges. Feel free to ask any questions and I'll try to answer them. If I decide to epoxy it, I will add that to the guide as well.
Link to imgur gallery http://imgur.com/a/Sc2qU with a few more pictures.
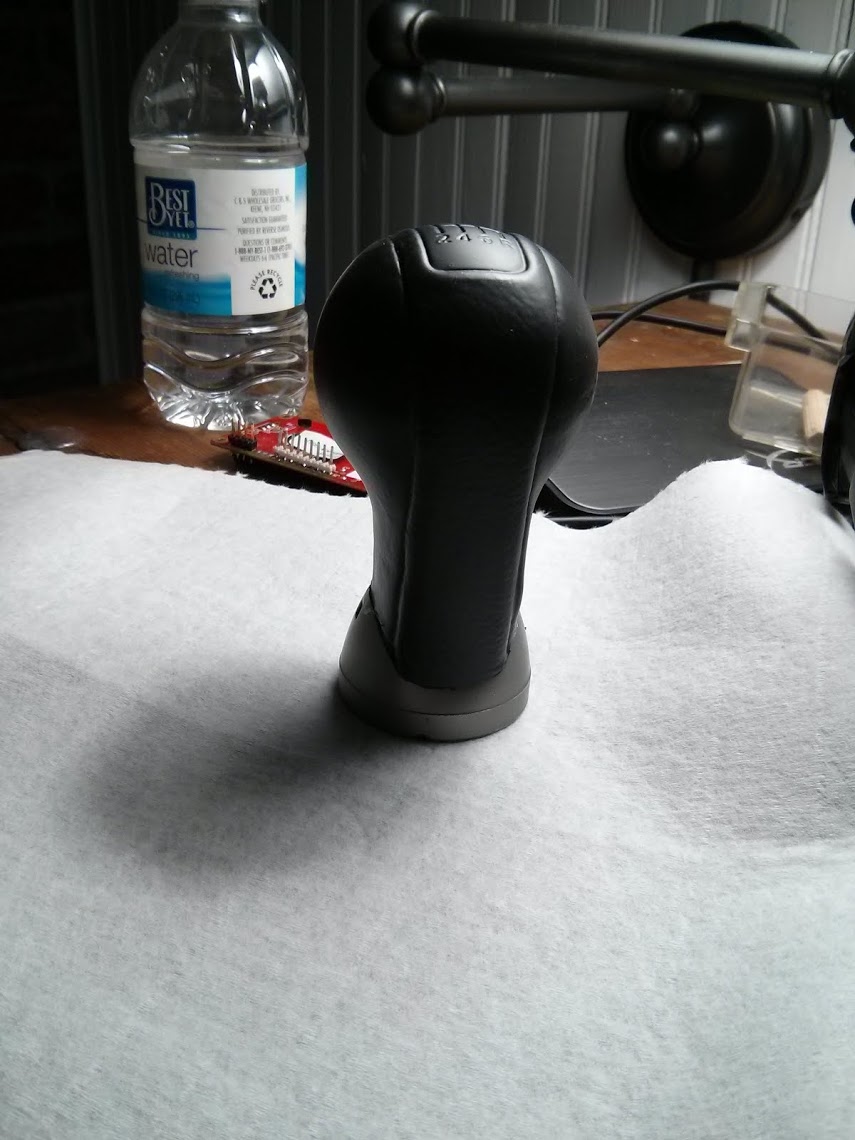
This is where its at as of now

I know it's not perfect but I think it looks a lot better when I started working on it.
I picked up a slightly worn oem shift **** from my friend that was light gray and had been painted silver on the sides. It wasn't really my thing so I decided to see if I could make it black. Unfortunately I didn't take pictures of the **** before I started. I decided to give plasti dip a try because if I screwed up hopefully it would pull off of the leather.
Here is a pic of most of the stuff I used, I forgo to put the sand paper, tooth picks, q-tips and paper towels in the picture.

I found this thread http://www.8thcivic.com/forums/diy-h...ternative.html and worked off it. I might epoxy like the guy on that forum did but I haven't decided yet.
The first thing I did was to clean the **** and then wipe it down with an acetone soaked rag. I then flipped it over and dipped it into the plasti dip container (you can cut and peel it off the areas you don't want it). The container says to go down an inch every 5 second and I tried to follow that. Try not to bump the sides when pulling it out because it will disturb the surface of the **** causing lumps. It comes out looking pretty uneven but it manages to really level itself out pretty well. I did two coats (on separate days) and it came out looking pretty good but needed one more coat for a couple bad spots.

I would suggest trimming it off the metal parts between coats. I did this on the bottom only and it was difficult to get a decent cut on the top piece when trying to cut through two layers.
Next I taped off the dipped part (It would probably be smarter to do this before dipping) and got to work removing chipped paint from the metal with 500 grit sand paper and then 1200 grit sandpaper.

I tried to only move the paper horizontally to get a brushed finish but I ended up not being happy with how curvy my scratches were.


To make it look better I took rubbing compound ( metal polish might work better but I didn't have any) and a dremel polishing tip and buffed it out. With more work you could get it all the way to a mirror finish but that was not what I really wanted.

To fill the shift numbers in I used wax from a crayon ( I heard it can melt out over time but I'm not terribly concerned because I might put epoxy over it.) Make sure to clean the the grooves out really well before trying to fill it. I didn't the first time and the color had dark spots. I then used a tooth pick and a curved tip x-acto knife to pick any gunk out of the grooves. after I had it nice and clean I dipped a q-tip in acetone and cleaned the grooves of any left over gunk. I then took the crayon and kind of colored over the indention. I tried to kinda treat it like a cheese grater and scrape the wax into the groove. Keep going until its pretty much filled up, it should look pretty messy with excess wax all around the numbers. Next I melted the wax with my hot air attachment of my soldering iron but I think a hair dryer, hot air gun, or even lighter( if your careful) would work fine. Try not to heat the plasti dip too much. After the wax in the cracks was obviously melted together and smooth I took a paper towel and rubbed the excess wax off from around the numbers.
If any of the lines where the excess plasti dip was trimmed off are not in great shape you can dip a q tip in mineral spirits and run it over the edges or any other blemishes. It seems to kind of remelt the plasti dip and can smooth edges. Feel free to ask any questions and I'll try to answer them. If I decide to epoxy it, I will add that to the guide as well.
Link to imgur gallery http://imgur.com/a/Sc2qU with a few more pictures.

Registered User
Joined: Mar 2014
Posts: 11
Likes: 0
From: GA
Yeah I live in Georgia, Im definitely going to epoxy it before I put it in the car if I decide to keep the wax. If not I might just get some enamel paint.