When you click on links to various merchants on this site and make a purchase, this can result in this site earning a commission. Affiliate programs and affiliations include, but are not limited to, the eBay Partner Network.
This will tell you what trim level you're starting with and exactly what you'll need to buy for. Example: if it's a base model, you won't be needing (even though already purchased) all of the buttons/controls that the other trim levels offered (radio, cruise control, etc). But it also tells you if you have VLSD in the rear pumpkin or whether or not TCS (traction) or VDC (vehicle dynamic control) are on the car. Yes, you can go looking for the associated sub-systems (yaw sensor, TCS/VDC control buttons) on lower left front panel, that sort of thing. Why go looking for stuff if the car is known to NOT have the features?
On headlights, sounds like you may have figured it out already but the easiest way to tell (without removing the headlight) is how they turn on: Instant turn-on to full bright on cold start = halogen. If they take a second to "warm up" (like on a dimmer switch), they're HID. You can then confirm this when taking the light out of the fender.
The debate on whether to upgrade the lights is up to you and your budget. IMO, a move up to '06+ lights (with or without lens or ballast upgrade) is still a positive upgrade. The '06+ Bi-Zenon lights ARE a cut above the earlier lights. Better cutoff, whiter n' brighter light and a simple installation using the available 6 to 8 pin connectors (listed previously in thread) or on EBay or.... wherever, They're available. Nothing wrong with the stock halogen units; the '06+ are just better. When shopping for lights for upgrade, consider the aforementioned DEPO lights. This company makes replacement units for MANY cars and are the closest thing to "OEM equivalents" as compared to the other junk out there.
I STRONGLY SECOND dkmura's suggestion on "enhanced driving skills" that can be learned at many venues. In slightly different words (but meaning the exact same thing): Driving school (beyond high school driver's ed/training) is the ONE modification that transfers to every car your son will ever own. It also helps for a new driver to gain respect for the car, vigilance of other drivers/cars, and just plain reinforcing common sense with skills. Spending a few dollars on this now will set him up for life. On top of that, did I mention how fun gaining car control is? Hahahaha.
Again, great project for you and your son, I'm in for future installments.
Big thanks for that VIN link. I now know I have the enthusiast model and it came with HID headlights. Also validated I got the right steering wheel which is the one that ONLY has the cruise buttons, so that is a relief. Printed it all out and into the folder.
Sunday morning update. Well, progress was made. The Momo steering wheel has been replaced with a very nice stock 350z wheel. Fortunately, everything went smoothly with the install. All the plugs for the airbag and horn were not cut and in good condition. Got the the steering wheel installed and we have a horn that works now and even cruise control is functional once again. Small Miracles.
So, on to the headlight. Well the headlight had a lot of water in it and was not functional. Pulled out the bulbs and poured out the water, then blow dryer, then just let it sit out while I was out of town and air dry. We put in some new HID and Halogen bulbs, but the driver side still did not work. The next morning I checked the fuses and they were fine. By the way, finding the "hidden" third fuse box was "fun". What a pain to get the cover off that thing to even get to the fuses!. Lastly, I came onto this forum and discovered this car has a common issue. No fender well under the driver side. The water being thrown off the tire shorted out Ballast and flooded the headlight. So, new ballast and fender well and we got it working with the original headlight! While I was doing all of this, I also noticed that they had bumped something with the driver side bumper which caused body work to be not "right" around the headlight lower area. Noticed the culprit was a bent bumper bracket. Hammered that out. They also broke the plastic around the radiator. I was able to use a jack and line up the plastic get the bolt back in to shore it up. I also made a aluminum bracket piece with two bolts on either side to mend it all together strongly. I can imagine the amount of work it will take to replace that heavy plastic shell around the radiator. This will wait until the radiator goes out and I will probably replace it with an aftermarket product at that time.
So, we now have functional lights, horn and two(driver and passenger) out of 6 of the airbags re-installed. Tint guy is coming to the house on Tuesday to make the tint legal and I am going to take the car in to the Z store near me and have them to a full mechanical look over on the car with a compression test Wednesday. Later in the week we pull the headliner out and re-install the driver curtain airbags. Lastly, I check out the situation on the seat air bags and see what we have. Crossing my fingers I can get this airbag system back up and running with no codes. Then I take a look at the exhaust as it is to loud for me. I want a dual exhaust look rather than a single pipe. From what I read the Nismo setup may be what I am looking for? I do not want the "drone", but do want to hear it. Go Astros!
So, the game today is, what does this plug do? Mystery. My son and I were re-installing the driver side airbag and there is this white plug with no home? I am thinking a interior light maybe or a wire for the passenger side speaker? The funny thing is the first picture is from a youtube video and that same white plug is taped off in that video. The other loose wire is for the cigarette lighter. It has an aftermarket sound system in it. Sorry for the double post, could not figure out how to delete the extra one.
Last edited by Jim Stephens; Oct 20, 2019 at 06:37 AM.
Nice work, Jim! Reading through your last post has me thinking of several things. First, your Z really had some significant damage to the LF side that you have been mostly successful in repairing. Those fender liners really are important, as are the grey plastic covers over the ballast/bulb moldings. Congrats on getting that headlight working again!
As for exhausts, I still prefer my Stillen true dual for the street. It's quiet until you get on it, then it allows the VQ to scream all the way to redline. Durable and looks good too, with polished surfaces and tips.
Stock steering wheel installed and interior trim. New wheel liner. The damage was minimal as the bumper trim bracket is sheet metal thin that holds the plastic bumper trim in place and the part that broke underneath was plastic. Definitely hit something or a ditch as there was some dirt Inside.
So, the game today is, what does this plug do? Mystery. My son and I were re-installing the driver side airbag and there is this white plug with no home?
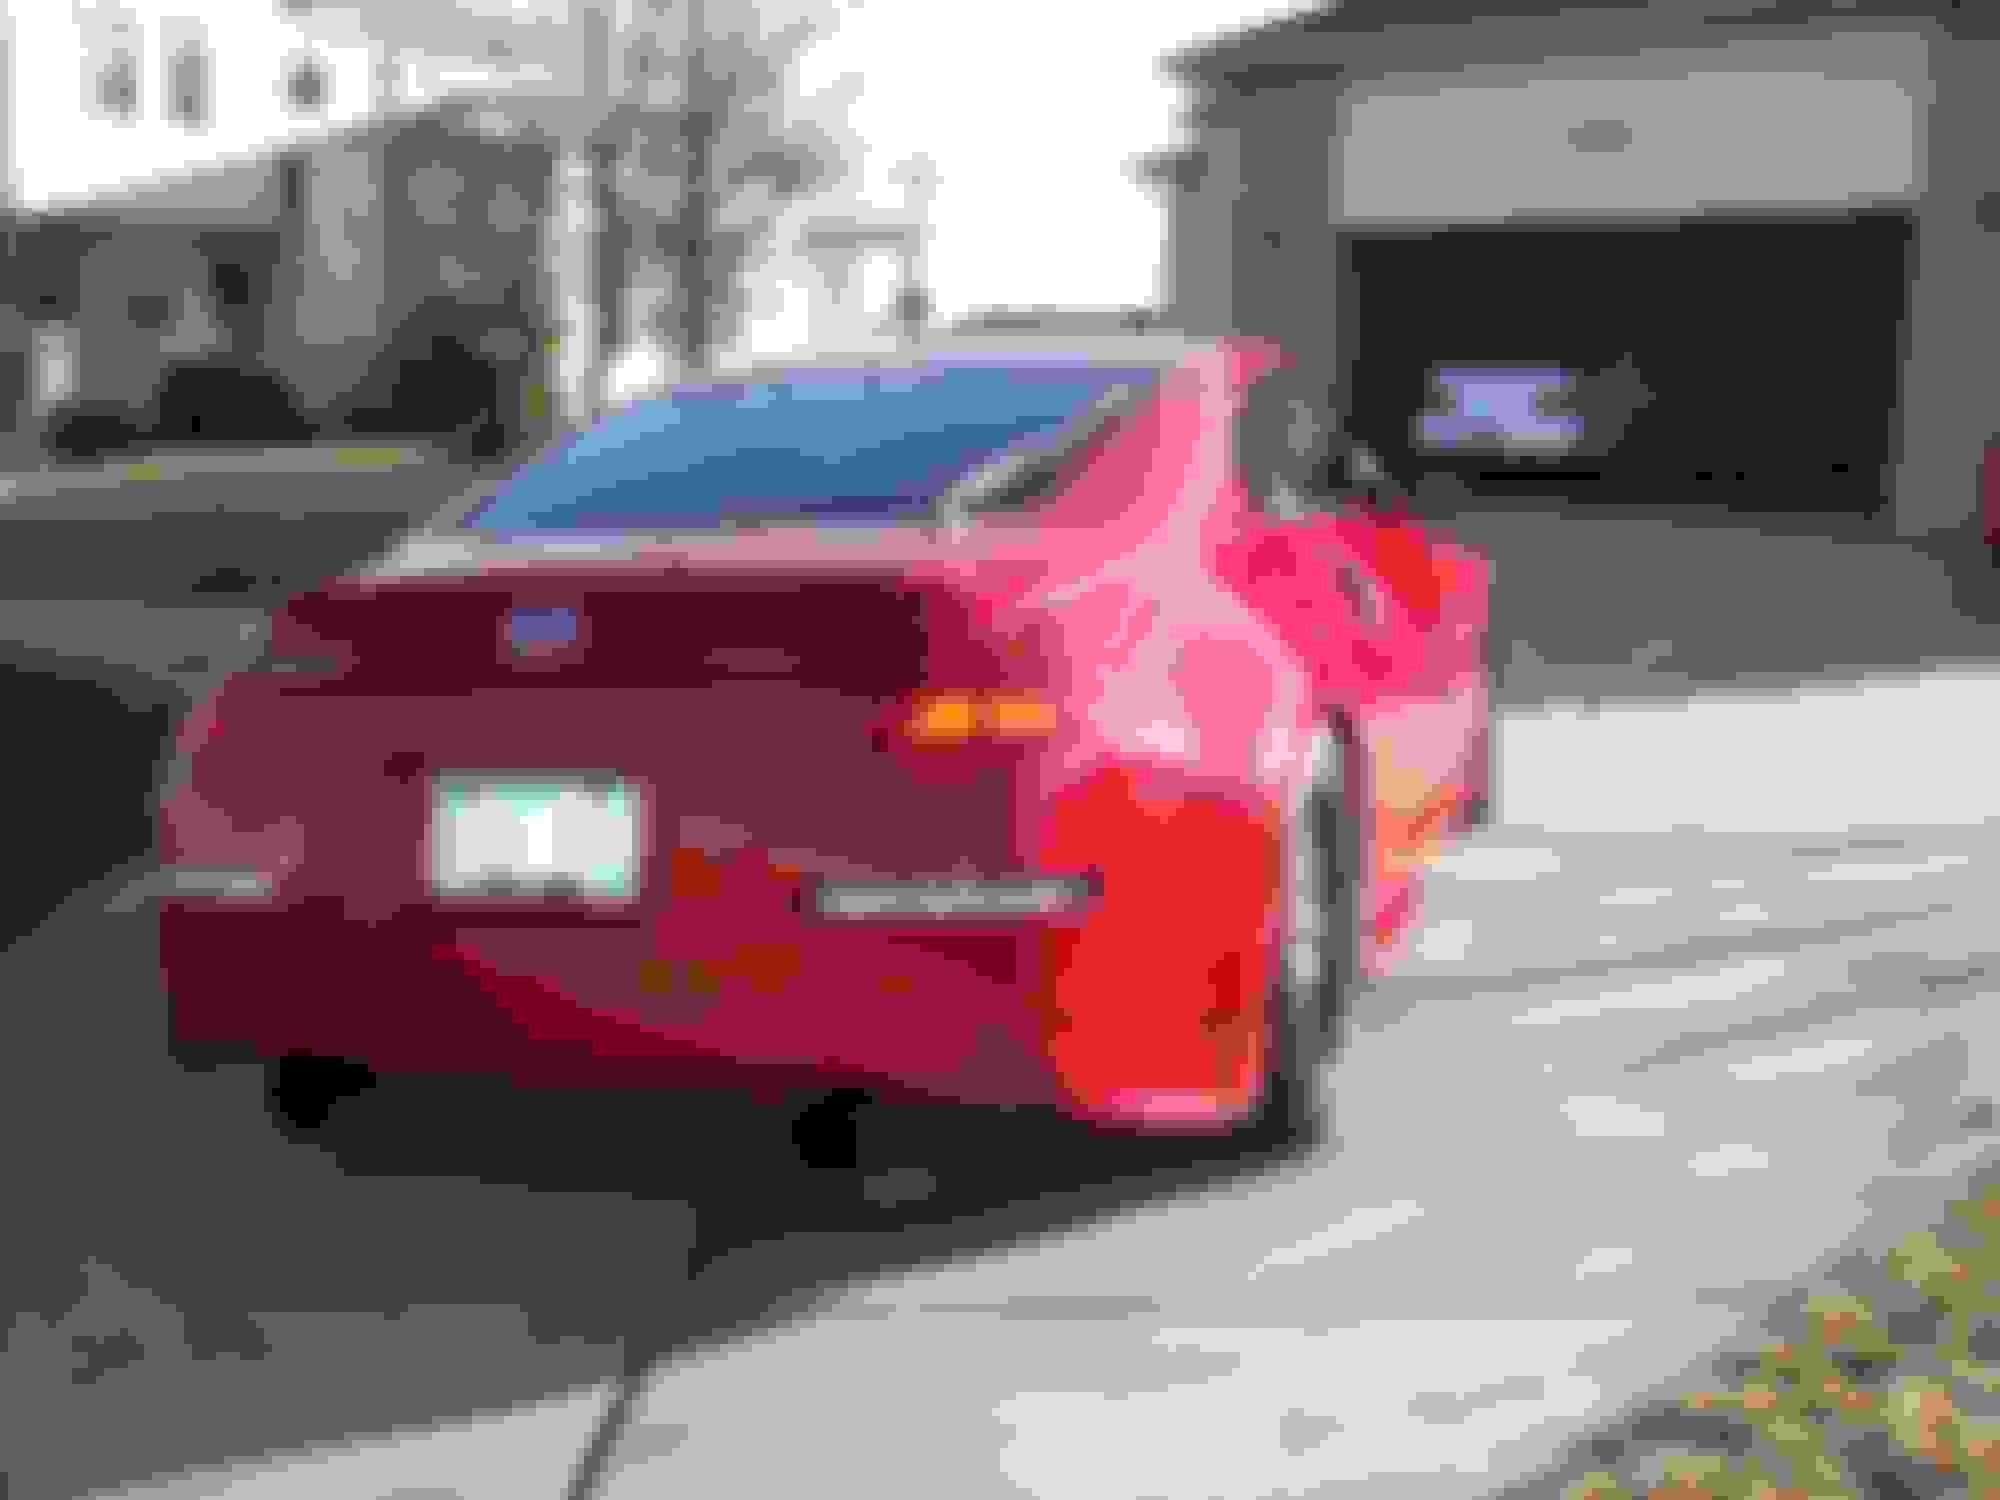
As for the wheels, they look like some Volk GT-Cs.
Also, it looks like your rear differential bushing is blown. That should be a fun project for you to tackle. Throw in a set of Whiteline bushings and you'll be much happier. https://my350z.com/forum/engine-drivetrain-and-forced-induction-diy/495887-diy-solid-diff-bushing-install-no-subframe-drop-method-no-c-clamp-either.html
Last edited by Heel Til I Die; Oct 20, 2019 at 03:54 PM.
Thanks so much for the answer on what the heck that white plug is for question. On the second item....LOL...I had a feeling that bit of oil in the picture was some type of bad news. After looking at the link provided by you, I am thinking I may want to pass on this little project! So these bushings are rubber eh? I suppose they all fail with age as the car as only 47,500 miles on it roughly. As luck would have it, or not, I am taking the car in on Wednesday to have a "Z Shop" look it over and do a compression test. I kinda went into this purchase knowing that given the age of the car there is always going to need to be something done right after you buy it. LOL. So, I will see what they quote me and pay to have this project done I think. Care to guess what this is going to cost on average?
Jim- one thing left unsaid here is that the Z is durable enough that a blown diff bushing won't throw it off the road. My pre-order Z33 track has over 100K and while there are bushings, syncros, etc. that are worn, I don't really worry too much about them! Sure, the throwout bearing is growling a bit, but put the tranny in neutral at a stoplight and it's not a problem. It's not going to be easy to guess at what your estimate will be, as the shop may find other issues that have bigger priorities (and costs).
But for what it's worth- I admire the approach you and others who've adopted Z33s have taken to restore them.
Well, as you said, I think I will wait to hear what the issues are with the car and prioritize it. I spoke to the owner of https://szrpro.com/ he mentioned a 'priority list' without seeing the car as of yet. Now I get it. Some I will do myself as I actually enjoy working on the car (even with limited ability) and some I will just have it done. Good to note that while this is a problem, it may not need immediate attention. Just started researching it and everyone is all over the place on dealing with it. However, slowly but surely I will get it in good condition.
So...I looked at the video's on the bushing replacement project and it's a new morning. I can do this. LOL. I will wait and see what else they find on the car and figure out what I will be willing to pay the auto shop to do vs. what I will do myself. Today the tint guy comes to re-tint the car and finally make it "legal". Before and after pictures to come.
So...I looked at the video's on the bushing replacement project and it's a new morning. I can do this. LOL. I will wait and see what else they find on the car and figure out what I will be willing to pay the auto shop to do vs. what I will do myself. Today the tint guy comes to re-tint the car and finally make it "legal". Before and after pictures to come.
Good for you on tackling the rear differential bushings! They ARE very doable yourself. I've done it twice two different vehicles and, as most things, it gets easier the second time around. I used the reciprocating saw/chisel/hammer method and it only took me a couple hour the second time. I think it took about 4 on my first try.
Well, Good news to report. The tint is done and I am now legal. I got the Suntek Ceramic tint which my brother has had a good experience with. We did the driver windshield (not really tinted, but it is treated with the Ceramic compound so slightly tinted) and the doors. I left the rear alone for now as it is legal and the tint guy pointed out the dark tint hides the sub-woofers. May redo it later. Not planning on driving this car at night that often. Scroll up and look how black the front windshield was in the car with the old tint.
The best news is I took the car into the Z shop today for an inspection and compression test. There were some issues, but basically they agreed the car is in excellent shape! I chatted with the mechanics and they said they had not seen such a clean car underneath or the engine well in a long time. Here are the issues they found. None of them were deemed critical or in need of immediate repair.
1. Tires (yes this does need to be done NOW. Back Driver tire has a bad wear pattern, inside worn. Going to get new tires, alignment etc. All the tires are about due.
2. Slight leak on driver side Valve Gasket. Warned me the oil leaking will foul that plug and coil eventually. Quoted me two new valve covers because of some bolt or something with the original that you can no longer get??? Not sure I got this. He said new valve covers and recommended a high flow intake manifold (since they have to take it off anyway, no add'l labor). Going to research all of this in due time. Quote: $1666
3. Bushing's for the differential. As expected. They were not in too bad of shape yet, but will need to be done at some point Quote:. $907
4. Noted slight leaking of front and rear struts. Recommended coil-overs at some point, but again not urgent.
The other really great thing is I found a bracket on his donor car that goes under the passenger dash that was very hard to find! Winner! LOL
Now that I have that bracket The lower dash will be installed and completed. This weekend we are pulling the headliner out and re-installing the airbags and also cleaning the headliner of all the grime. After the ceiling is complete I will look into the seat air bag situation.
Last edited by Jim Stephens; Oct 23, 2019 at 03:08 PM.
Tires. Probably the least fun thing to spend lots of money on, but very necessary. So, I went back and forth on this last night and this morning. Contemplated cheeping out and replacing just the rear tires. Went back out and looked at them again. I have three Nitto tires and one Continental tire. Nice. The three that are not damaged have some decent tread on them, but are getting there. Then, I thought, hmmm let me check the age of these tires. Ready for this. The Nitto tires were made in 2008 and the Continental tire on the front was made in...2004! That pretty much sealed the deal for me. I bought a set of Michelin Super Sport Max tires. front 245/35/19 and back 275/35/19 as recommended on the top 100 questions section in this forum. Ordered them from Tire Rack and should have them on the car within a week. I am CERTAIN this will be much better than my current situation. By the way, 6 years or older is point to replace them regardless of tread. I have seen many an old perfect camper tires go out for this age reason.
Last edited by Jim Stephens; Oct 24, 2019 at 02:30 PM.
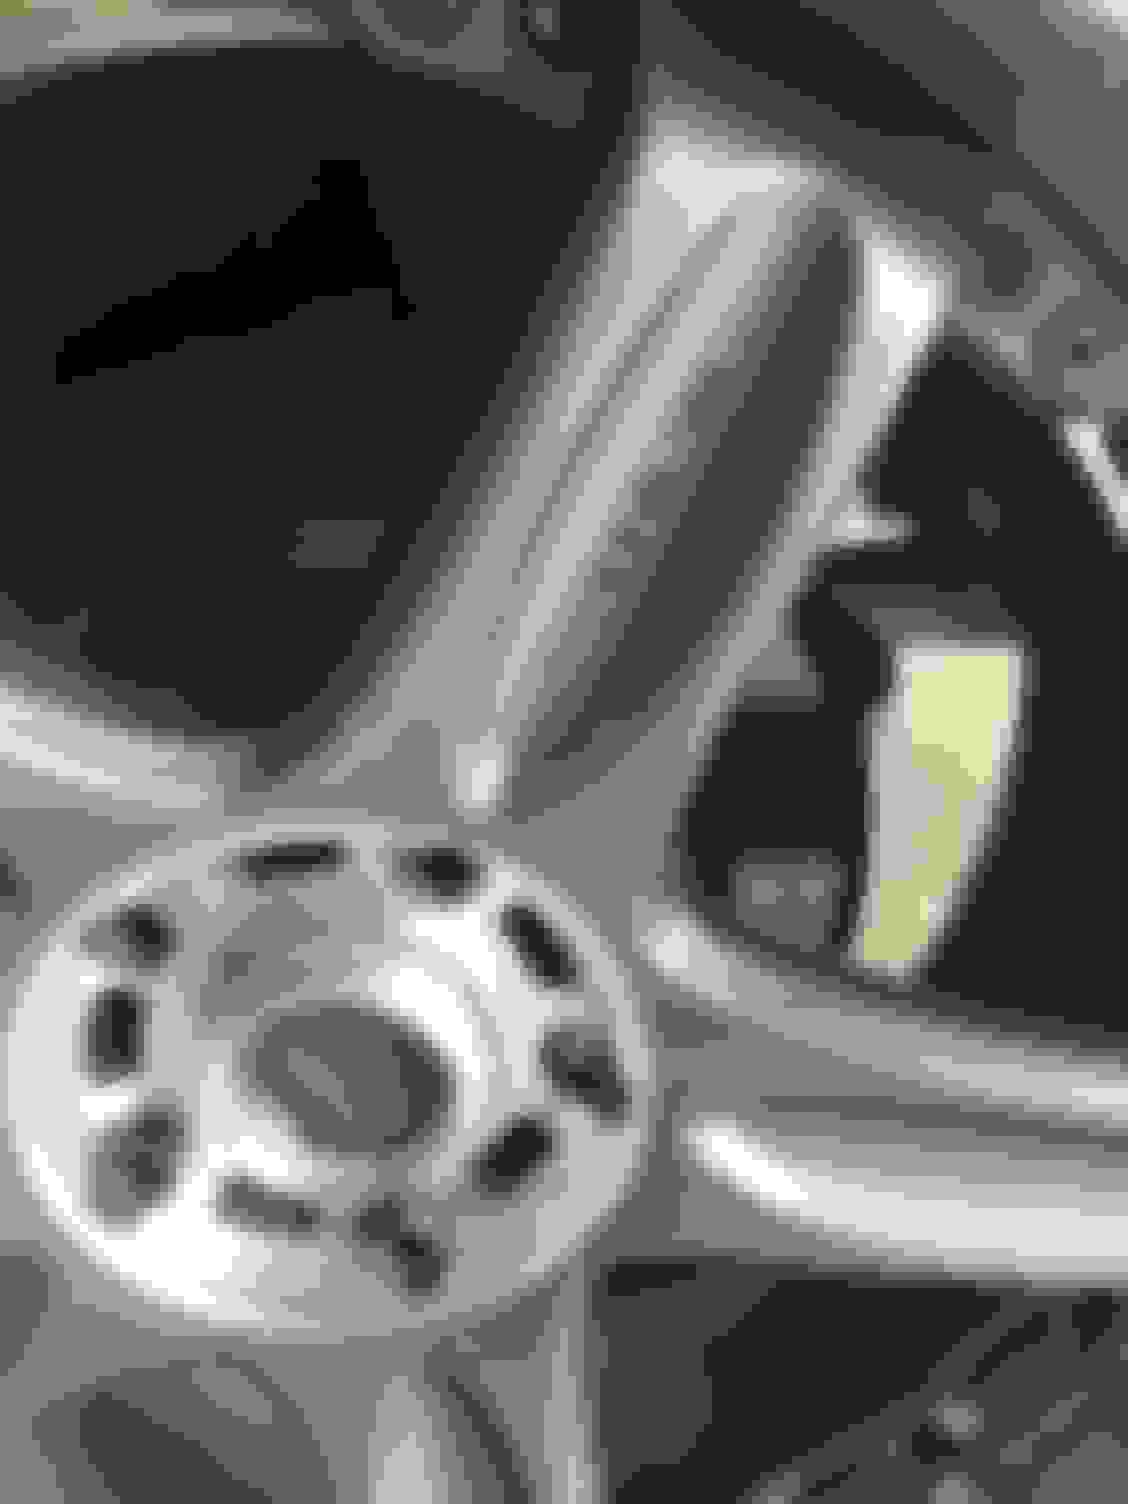
The Z Shop also noticed a bolt was missing from the rear driver side tire! At first they thought it may be stripped, but the bolt is fine. I just looked back at one of my previous pics of the rim and yep it's not there. So, I dug through one of the bags of bolts he gave me and there are several bolts there. So, another item....done. wow. Can you spot it?
Lucky you got spare lugnuts. The GT-C wheel takes a very specific nut (narrow barrel with allen type drive hole) and are not generally available as a single nut. Full set runs $125 or so.
Good choice on tire type and size.
Funny, I find tire shopping to be most fun thing in any of my cars. They make/break the car�s handling being the connection between the car and road.