
My daily driver: 1st Domestic Bagged Chrysler 300c


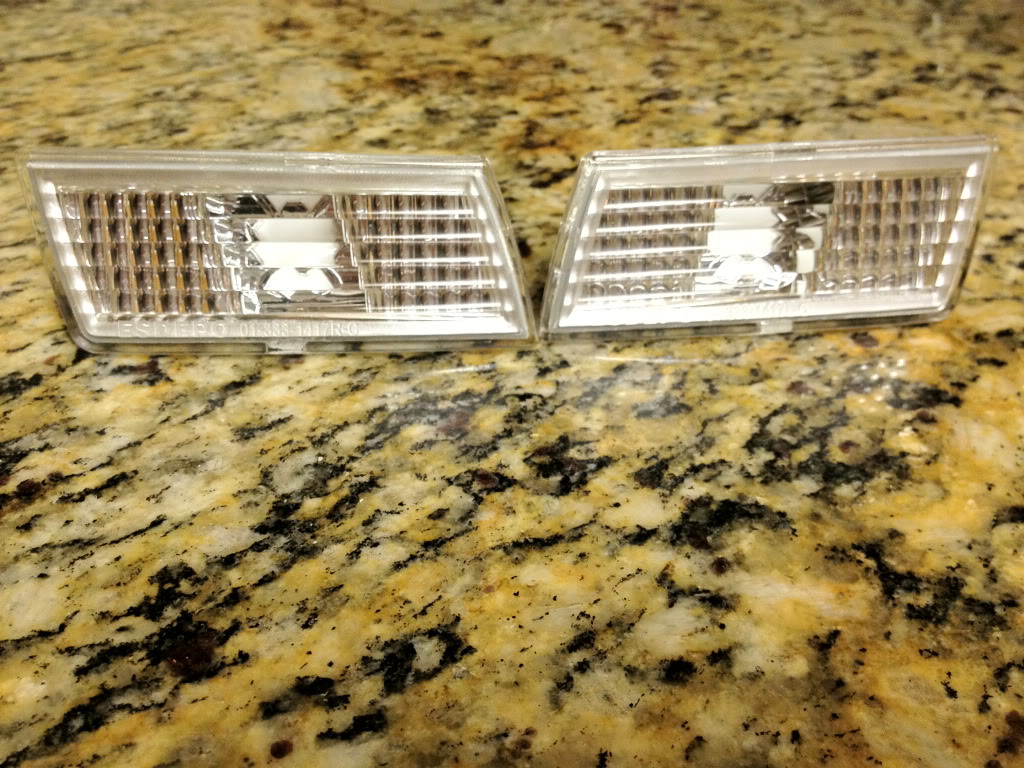
The clear front side markers came in. Although, the factory side markers were painted, I just think that it looks a bit more exquisite when lenses are left in place or shaved altogether. I can't wait for the LED's to come in.
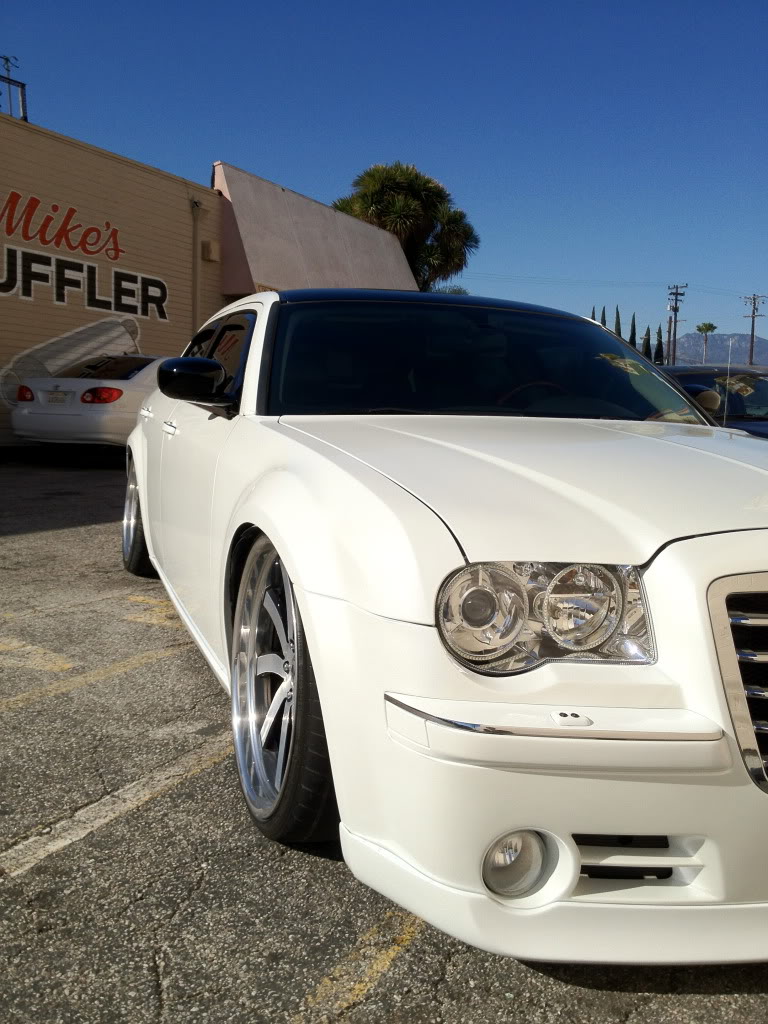
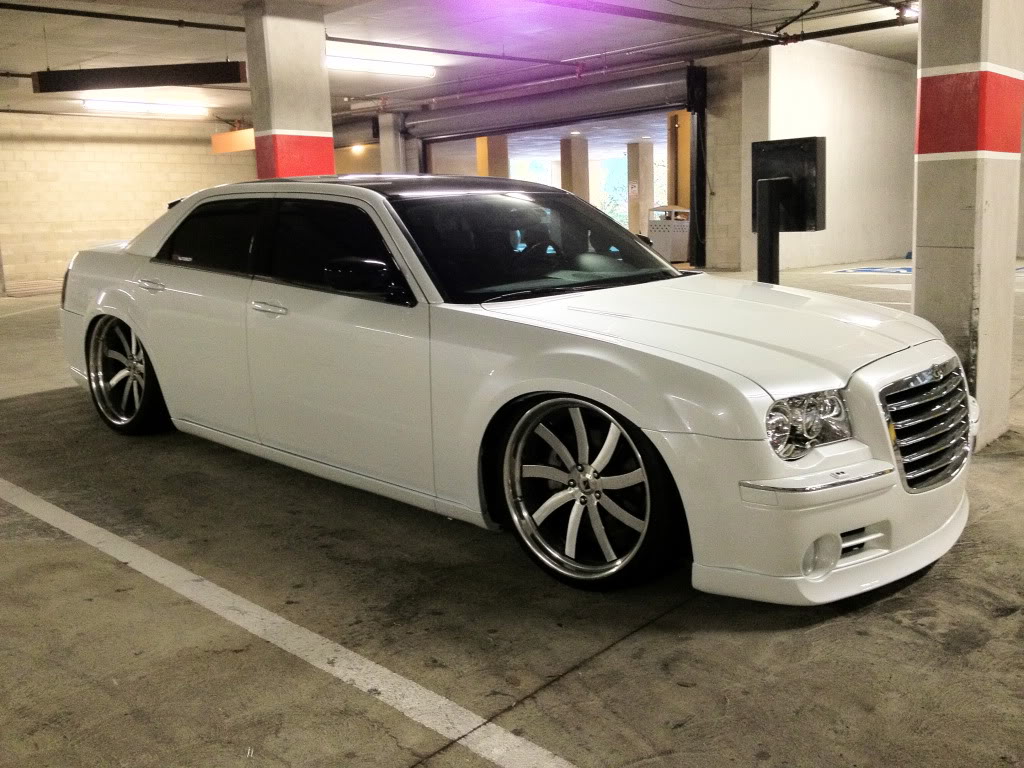
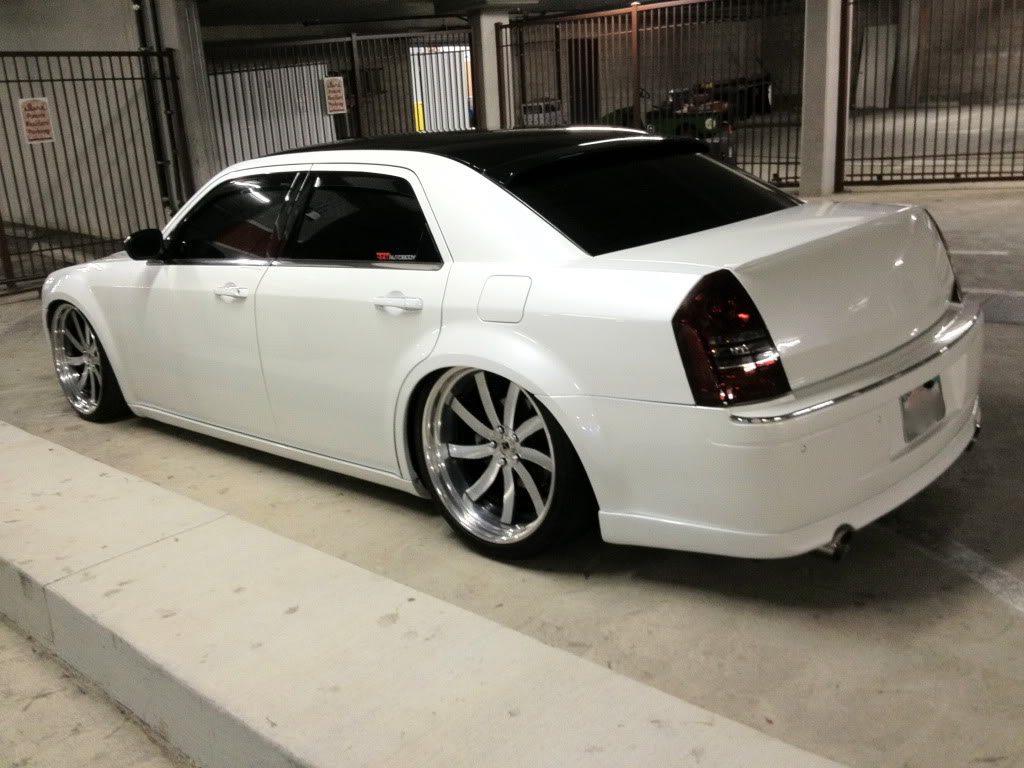
A few more angles:
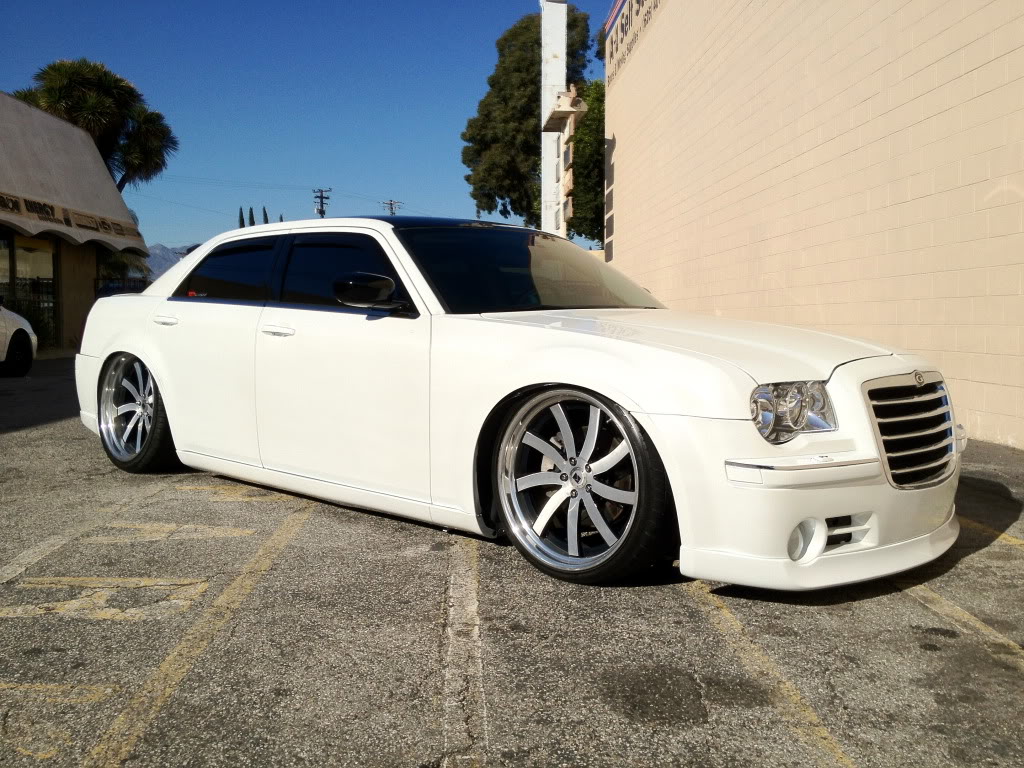
Front bumper chrome painted and partially taped off at the edges to accent wheels
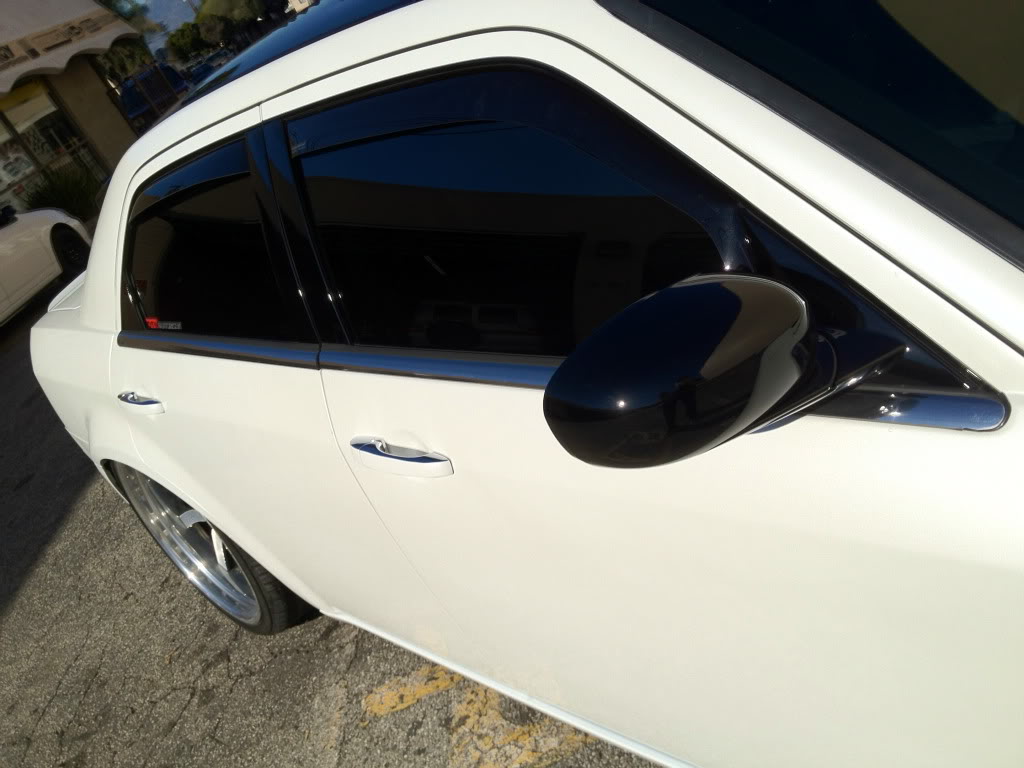
Side mirrors, roof, and top portion of window trim painted gloss black to compliment front grille mesh, tint, and windows/inner barrels of wheels. The top and bottom of the door handles were left chrome, but painted in the center for the illusion that the entire door handle is color keyed. The bottom portion of the window trim was also left chrome to leave a little chrome as an accent piece.
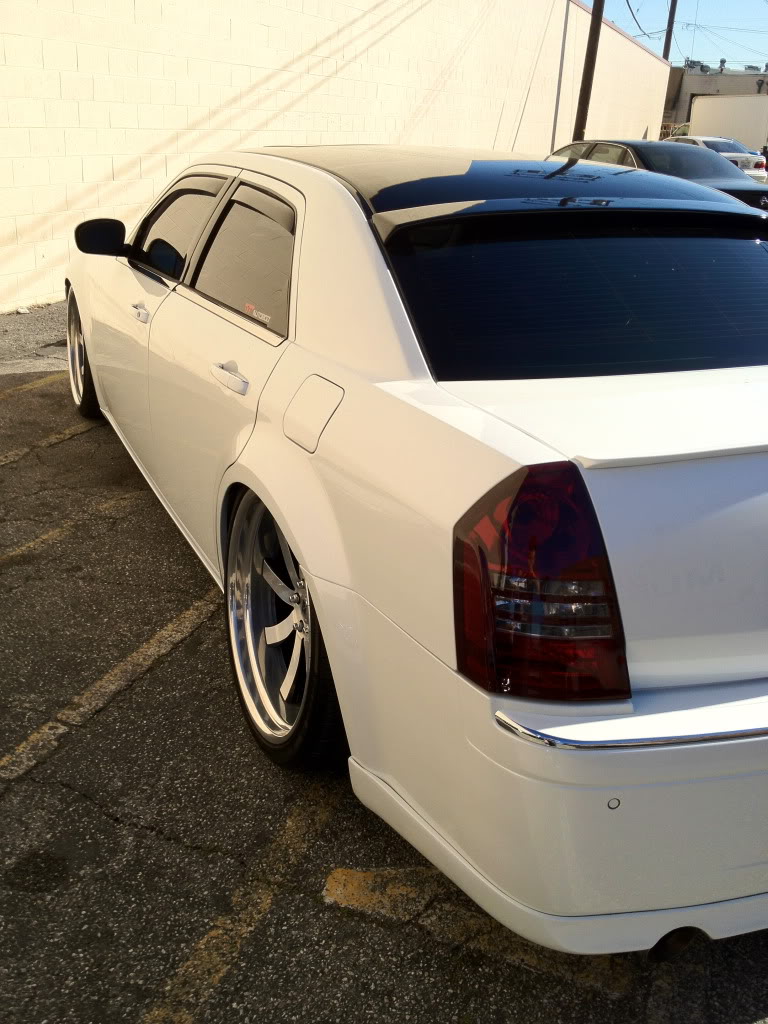
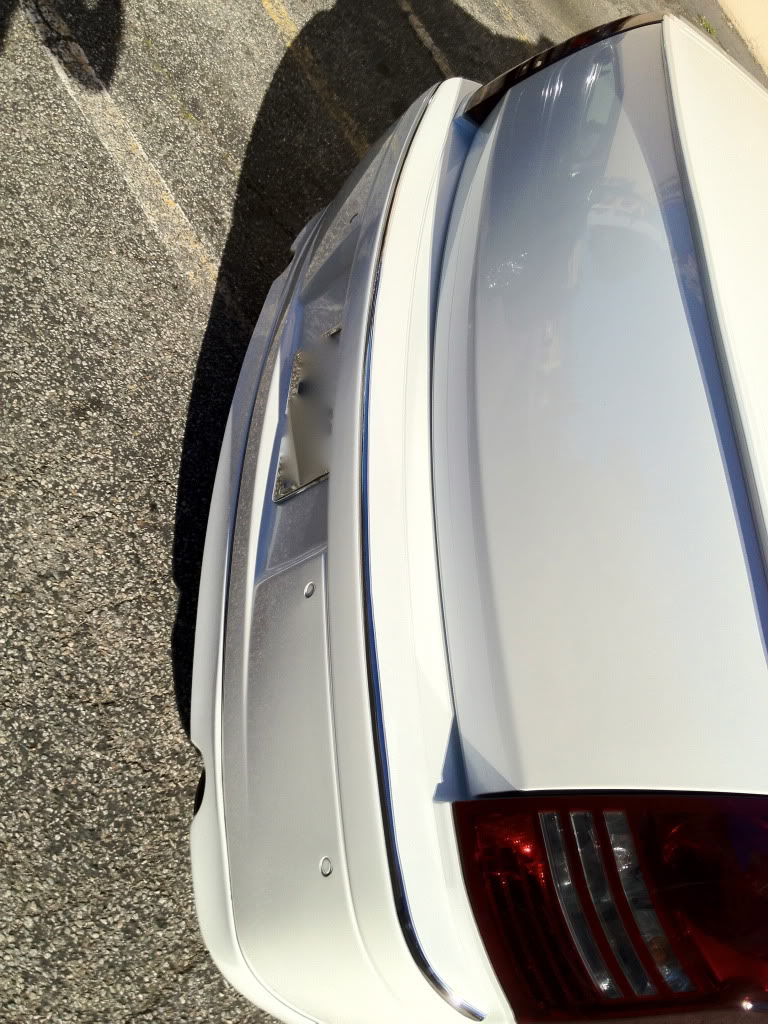
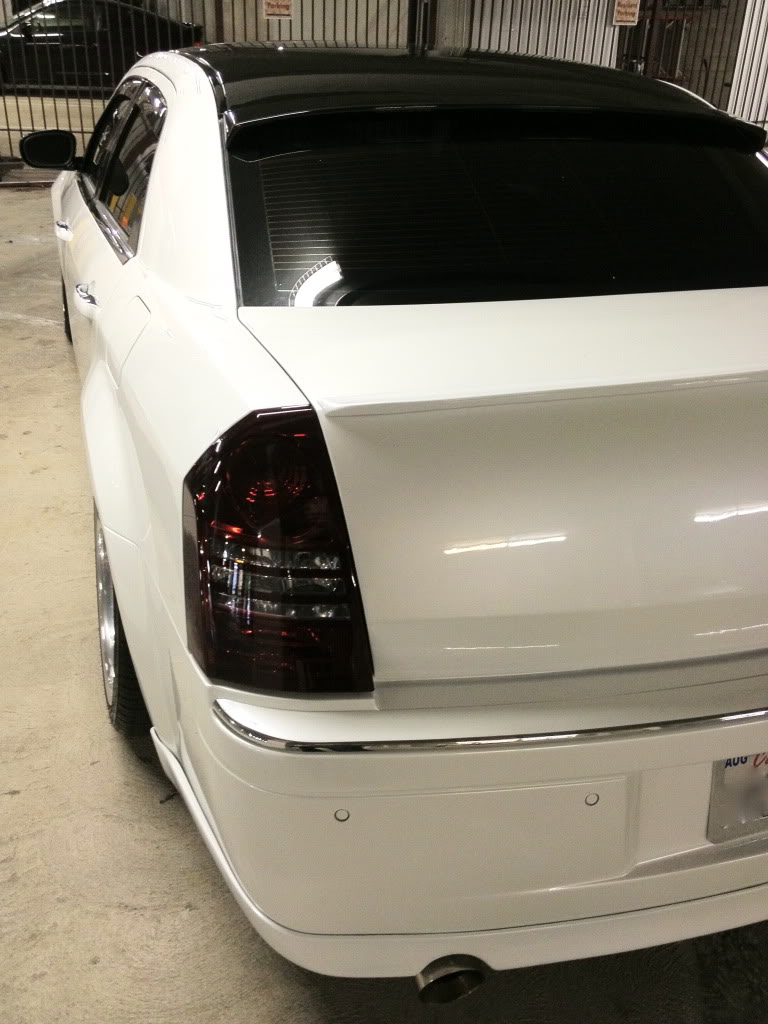
Closer shot of rear bumper trim painted white, but taped off at edges for some chrome accent
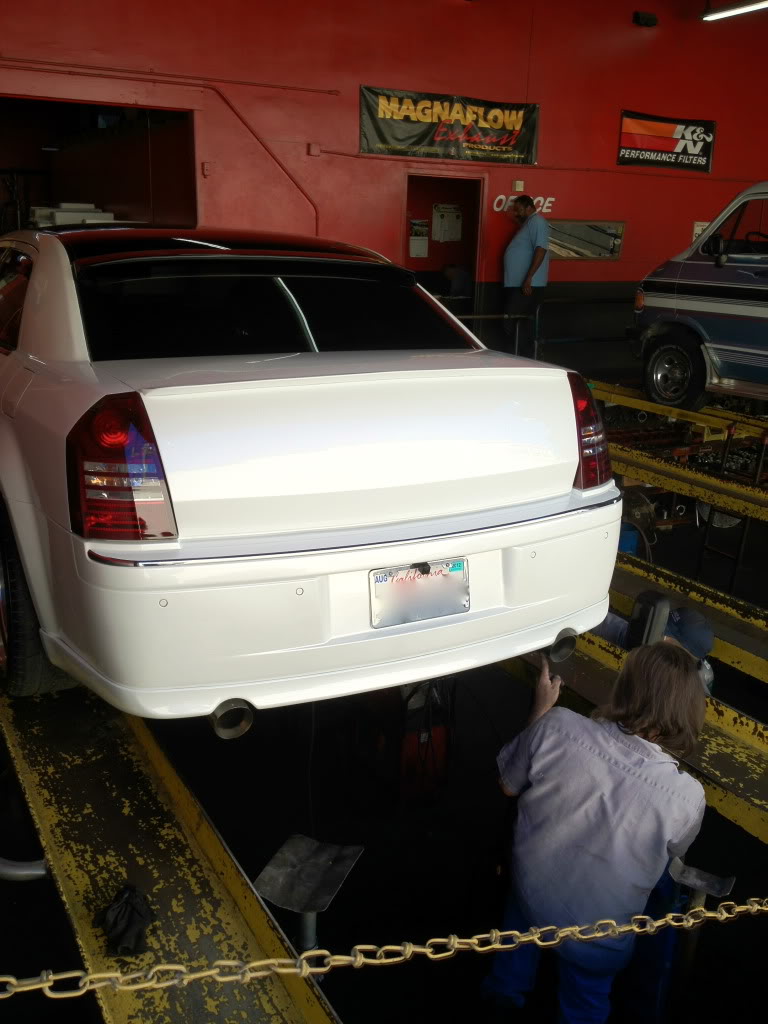
New exhaust hangers made to lower the exhaust tips and had the pipes extended a bit to sit more flush with the rear lip
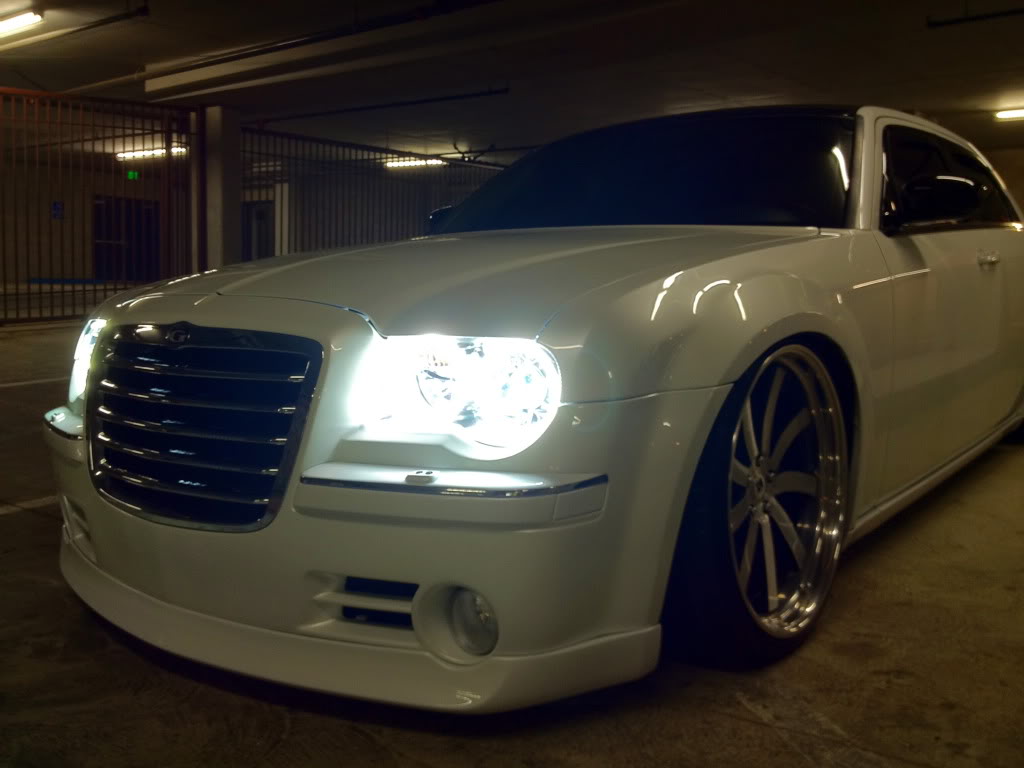
Halos hooked up to my parking lights. View from a distance.
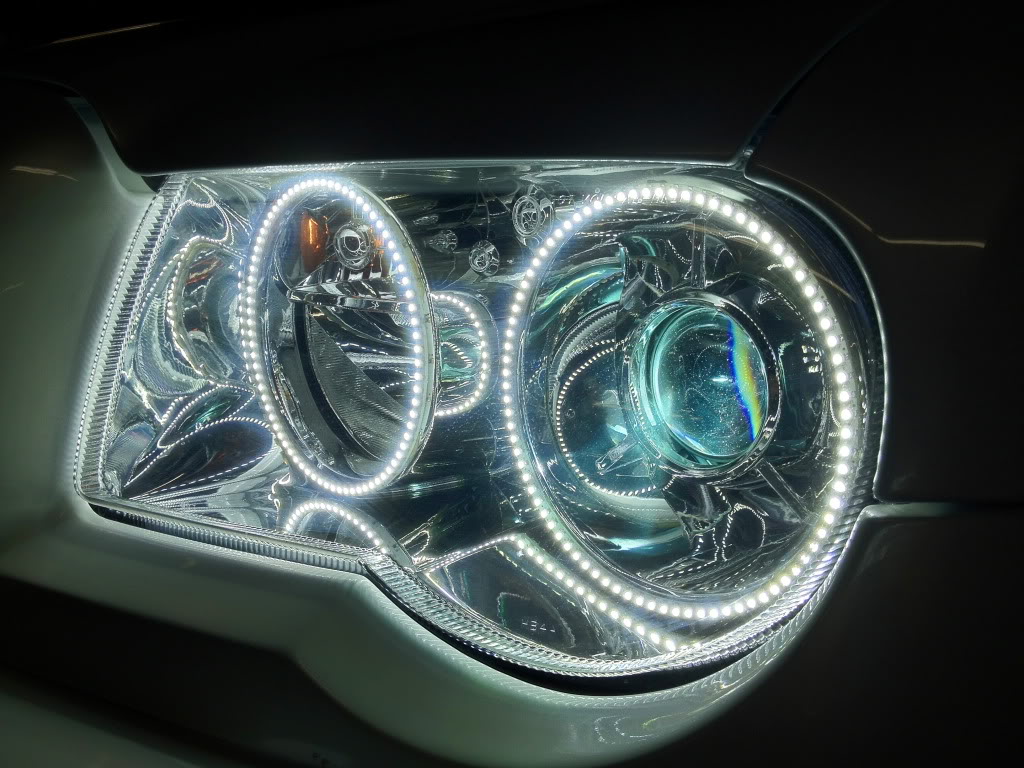
Halos up close:
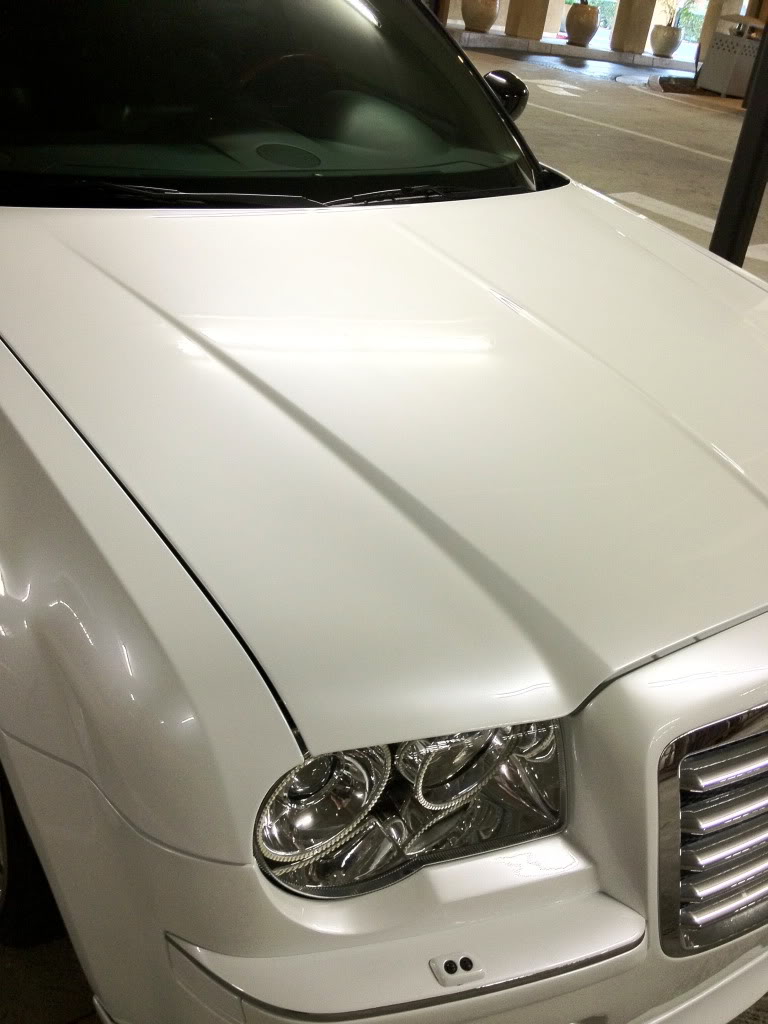
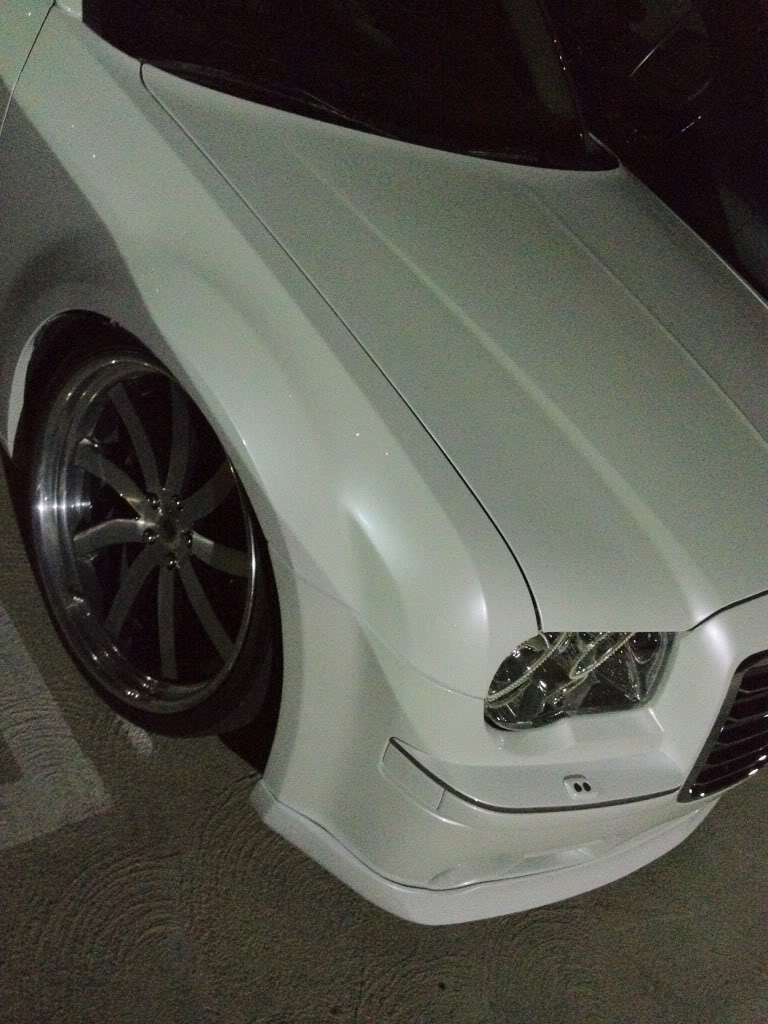
A few shots under different lighting to show how the pearl changes depending on lighting:

Front bumper chrome painted and partially taped off at the edges to accent wheels
Side mirrors, roof, and top portion of window trim painted gloss black to compliment front grille mesh, tint, and windows/inner barrels of wheels. The top and bottom of the door handles were left chrome, but painted in the center for the illusion that the entire door handle is color keyed. The bottom portion of the window trim was also left chrome to leave a little chrome as an accent piece.
Closer shot of rear bumper trim painted white, but taped off at edges for some chrome accent
New exhaust hangers made to lower the exhaust tips and had the pipes extended a bit to sit more flush with the rear lip
Halos hooked up to my parking lights. View from a distance.
Halos up close:
A few shots under different lighting to show how the pearl changes depending on lighting:
Last edited by Rickdogg; Jan 28, 2012 at 06:55 PM.
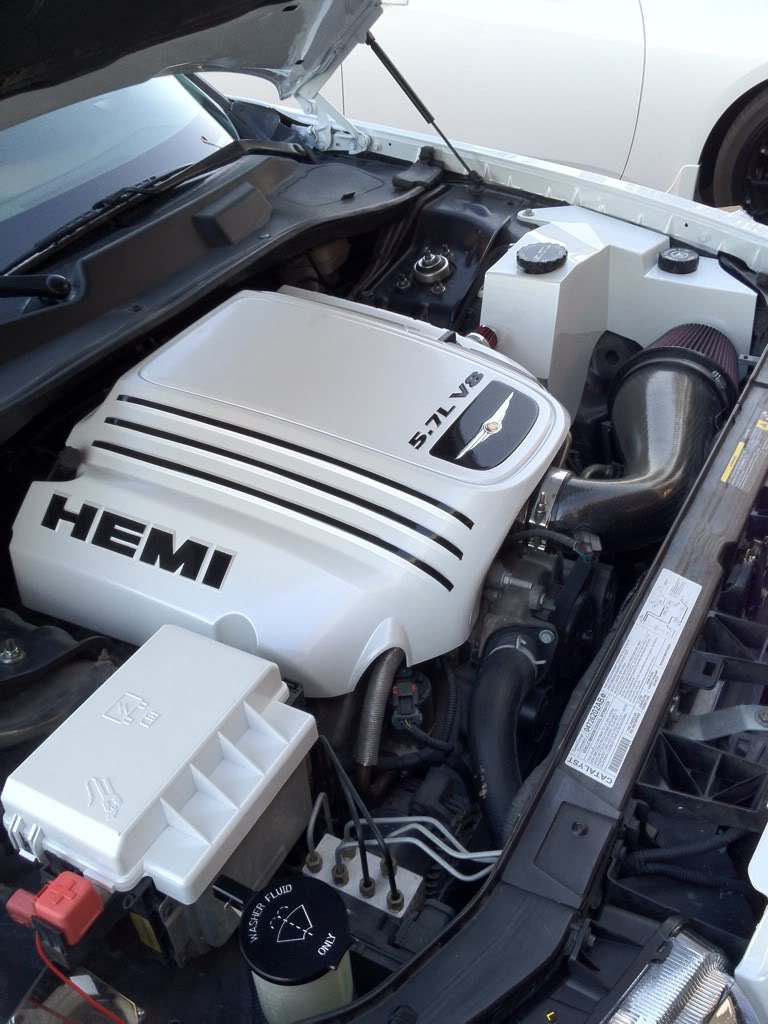
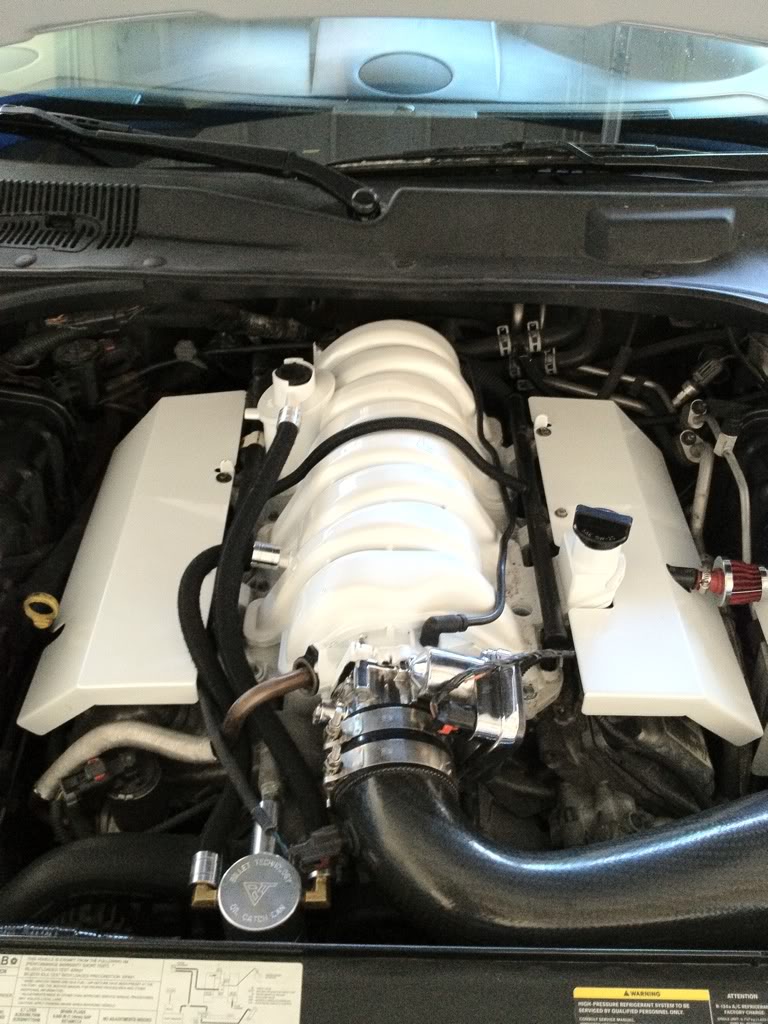
I'm waiting for the following items to install below next week, but this is what I was able to put in while hanging out at my friend's shop:
-ABS Cover
-Fusebox Cover
-Firewall cover
-Radiator Shroud
-Shaved and color matched intake manifold
-Strut bar
-Polished Throttle body
-Oil Catch Can
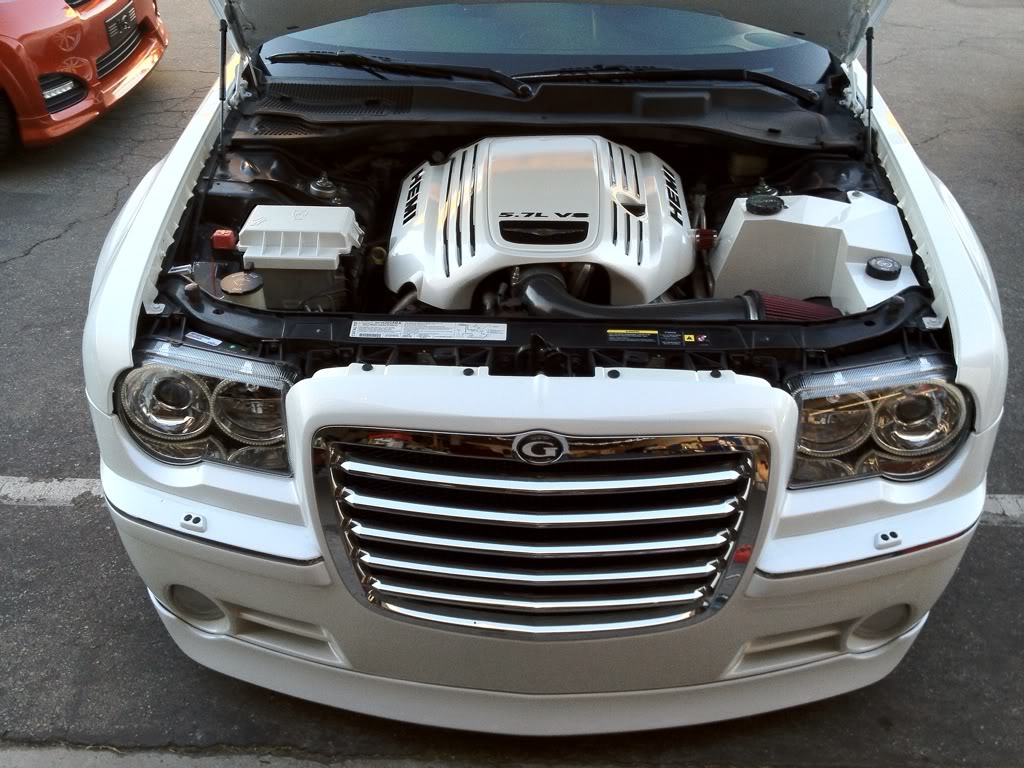
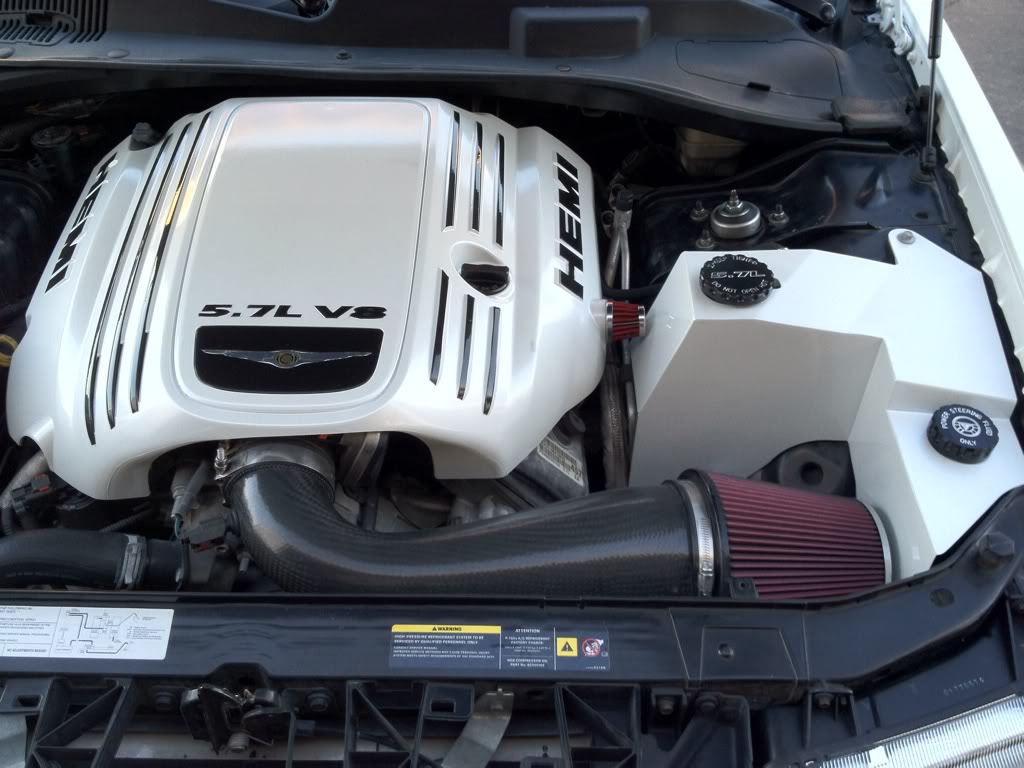
And another shot with different lighting
-ABS Cover
-Fusebox Cover
-Firewall cover
-Radiator Shroud
-Shaved and color matched intake manifold
-Strut bar
-Polished Throttle body
-Oil Catch Can
And another shot with different lighting
Thanks bro. I am now in the market for some SRT8 knuckles spindles because apparently the 8 piston AMG calipers are a direct fit. I just have to find the correct hat size and rotors to fit after the fact. :thumb up:
They are apparently the same calipers as the Brembo kits offered for the 300c's that are $4k, but at a fraction of the cost:
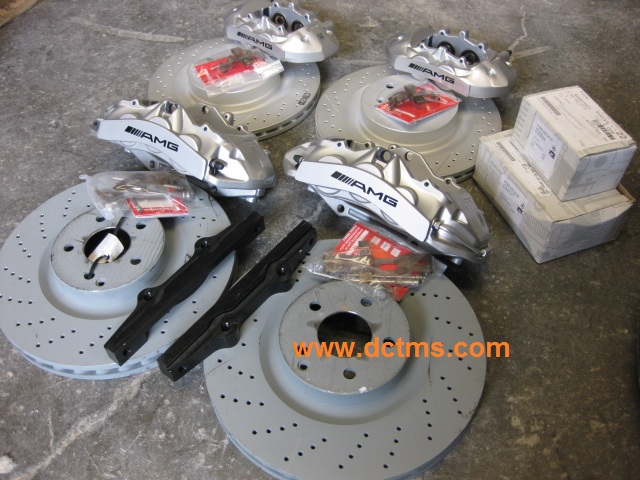

They are apparently the same calipers as the Brembo kits offered for the 300c's that are $4k, but at a fraction of the cost:
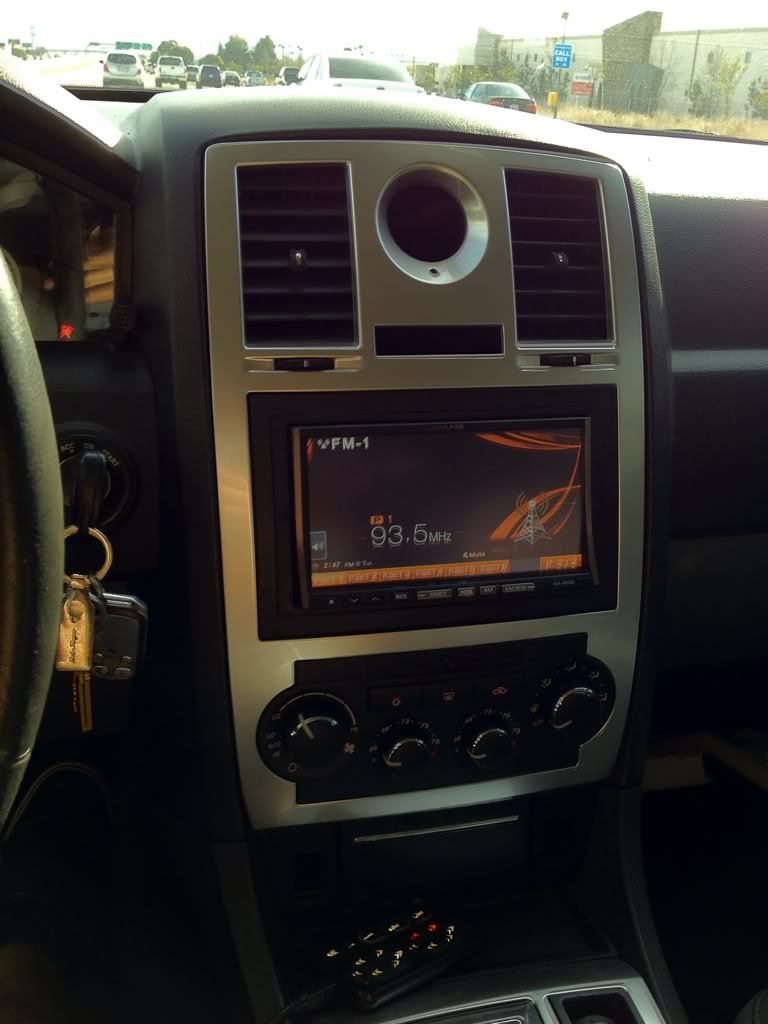
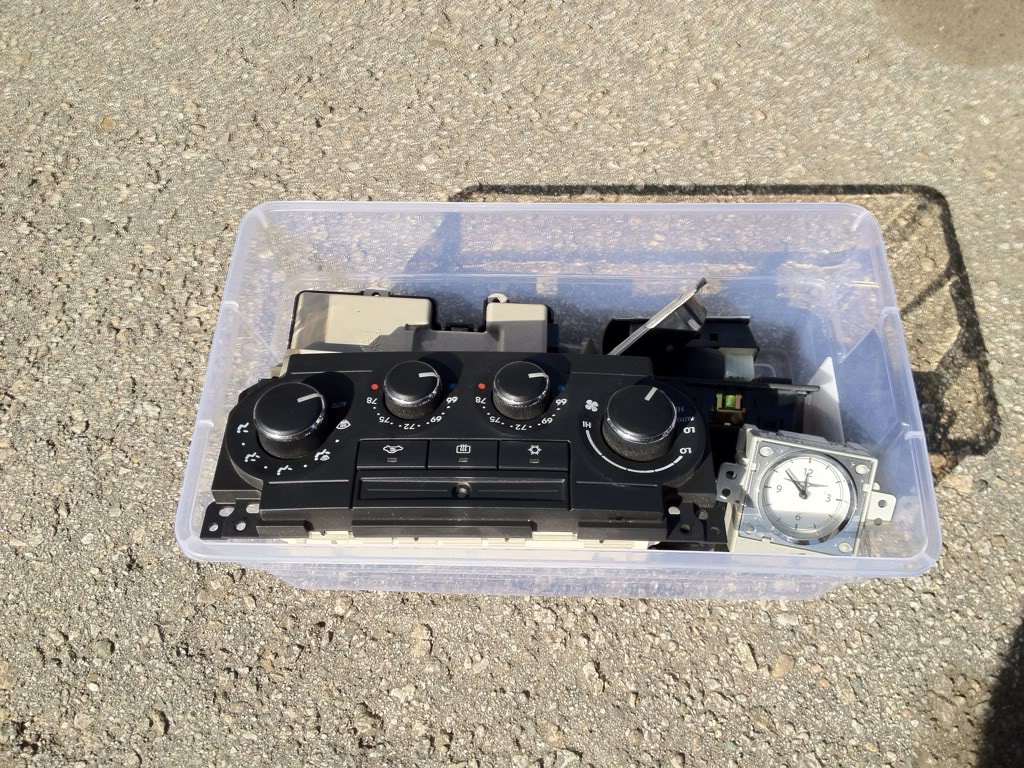
With the help of Diblobo (aka Lxharness) we pulled out all of my switches, EVAC, Headlight controls, clock, etc to swap over to red LED's. I also have a snapshot of my other goodies.
Diblobo aka LXharness pulled out everything, but gave me a loaner orange LED EVAC to use while I drive my car around. I decided to change the setting on my radio to orange for fun.
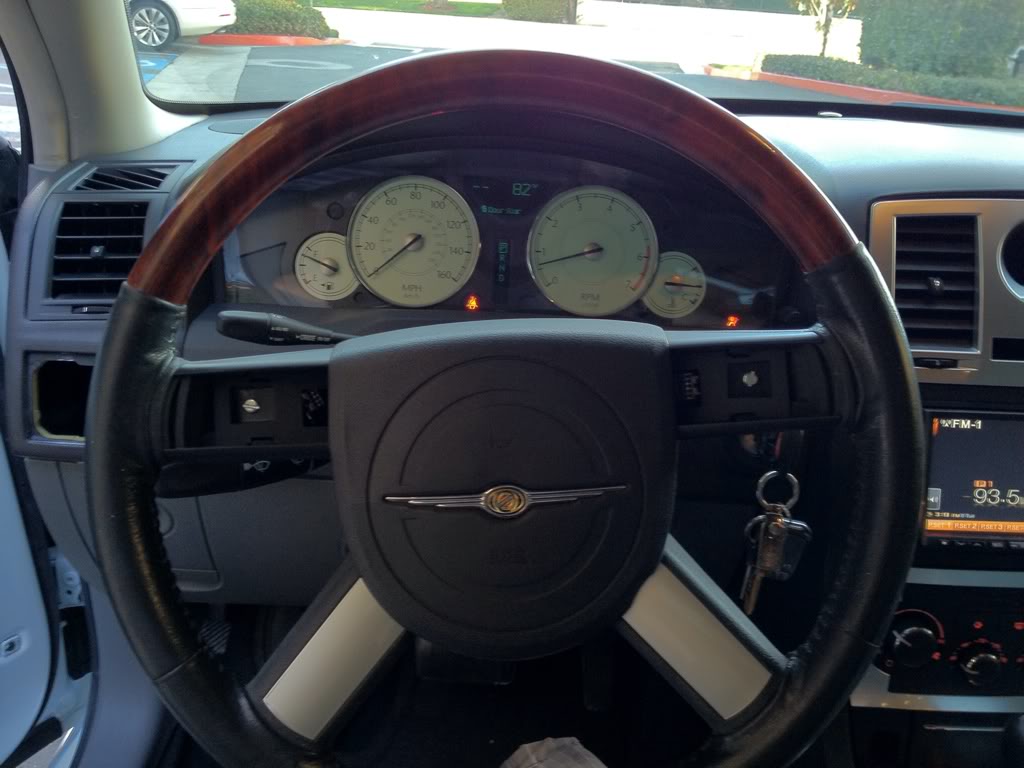
Steering controls pulled.
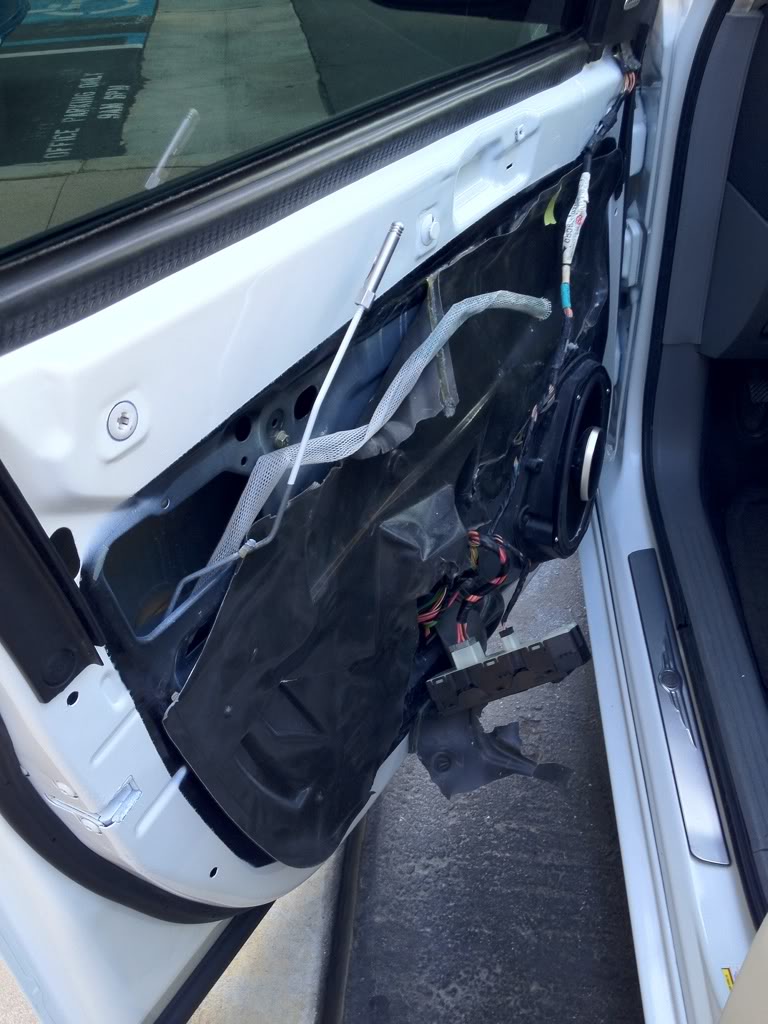
Door panel was pulled since I need to buy a clip from the dealer. Lxharness was nice enough to provide me with a 07+ window switch which allows me to at least have power door locks.
Red LED swap here we come.
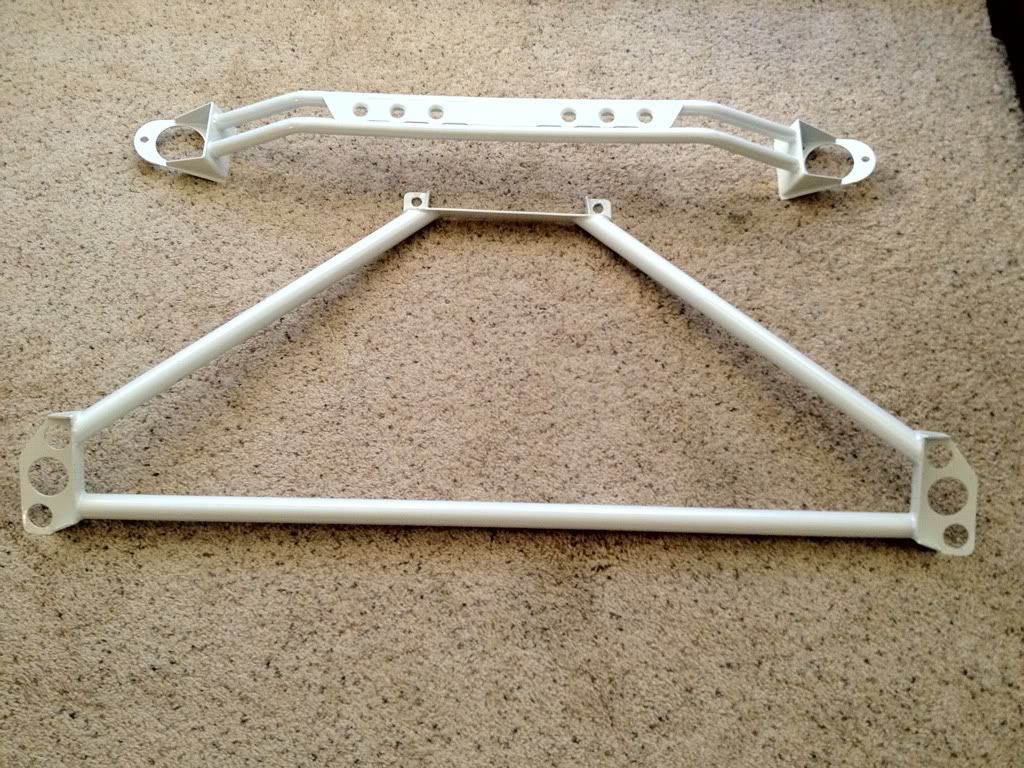
Painted front and rear strut bar
Painted 1/2 covers I plan on running in the mean time before my polished valve covers and coil packs arrive.
Diblobo aka LXharness pulled out everything, but gave me a loaner orange LED EVAC to use while I drive my car around. I decided to change the setting on my radio to orange for fun.
Steering controls pulled.
Door panel was pulled since I need to buy a clip from the dealer. Lxharness was nice enough to provide me with a 07+ window switch which allows me to at least have power door locks.
Red LED swap here we come.
Painted front and rear strut bar
Painted 1/2 covers I plan on running in the mean time before my polished valve covers and coil packs arrive.
I liked it better black. White "softens" the meanness of that car IMO.
Your mods list is crazy though lol
edit-btw those brakes above look like 6 piston not 8...
Your mods list is crazy though lol
edit-btw those brakes above look like 6 piston not 8...
Last edited by Alberto; Jan 29, 2012 at 07:52 PM.

I want people to least suspect that this car could be as fast and mean sounding as possible.

Thanks!


dam rick that came out really good. They did a really good job and some crazy sh*t your doing to that thing!
im sure pics dont do this color justice. Pearl white in person on a sunny day is a great looking color
im sure pics dont do this color justice. Pearl white in person on a sunny day is a great looking color

Thanks Edafe! 
Thanks bro. Yeah, the pearl in person is just mind boggling. The pearl at certain distances with the right lighting makes the car even close to silver. 
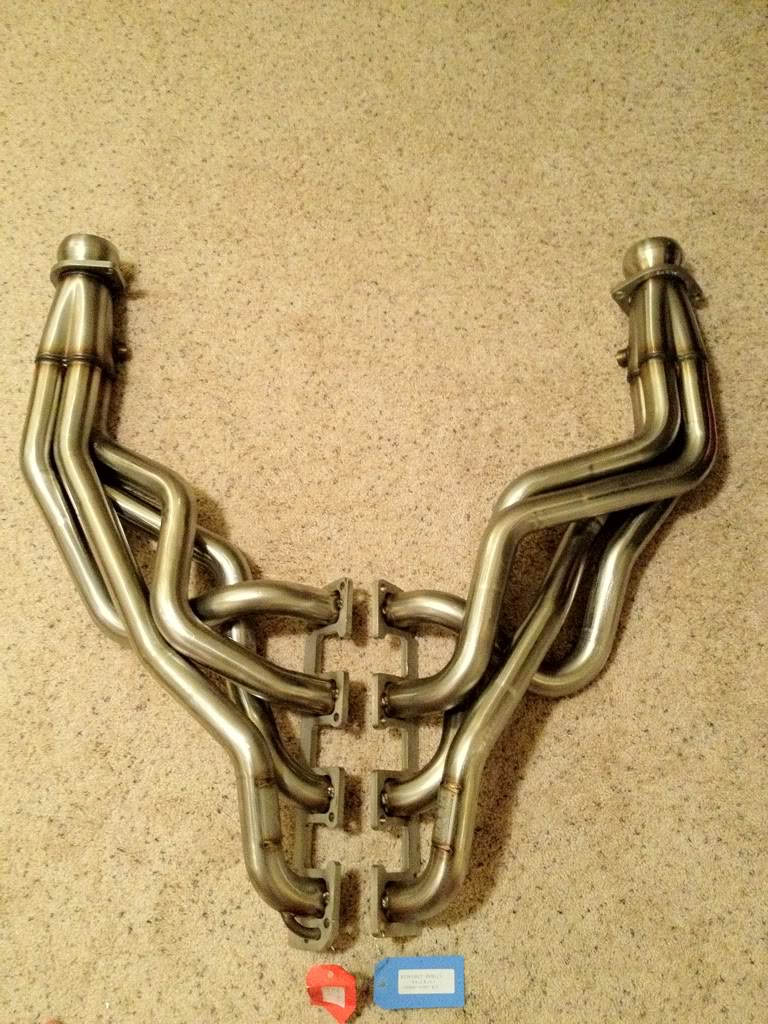
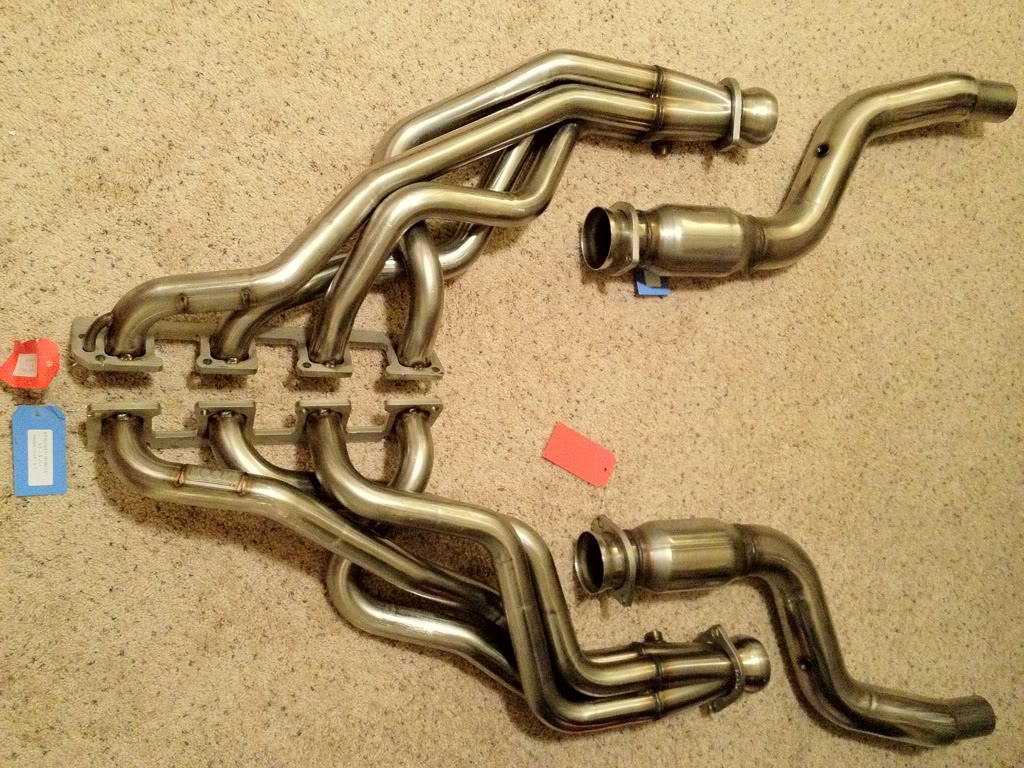
Thanks a lot. I am waiting for my valve covers to come in before I do my head/cam/Longtubes....can't wait!
Although I replaced my front upper A-arms, front radius rod bushing, and inner/outer tie rods, I still had a clunk in my front end when I would hit hard bumps and driveways. After getting the car on a lift, it was apparent that the front lower control arm bushing needed to be replaced.
For this install, Impex Motorsports installed the following items:
-Front Lower Control Arm bushing
-Front lower strut bushing
The front end feels a lot more responsive as expected. Bumps in the road are felt a bit more, but the clunk is finally gone and I shouldn't have to worry about replacing the garbage OEM units for a while. I can't wait for sway bars, end links, etc!
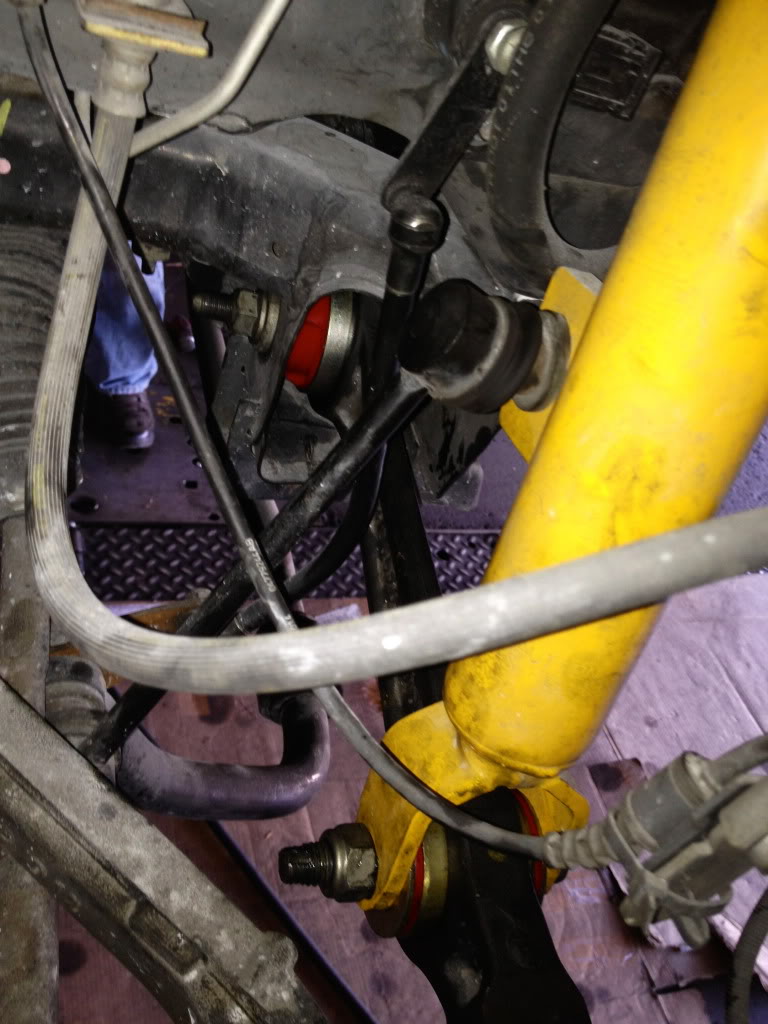
Bushings still in place. Lower strut bolt removed.
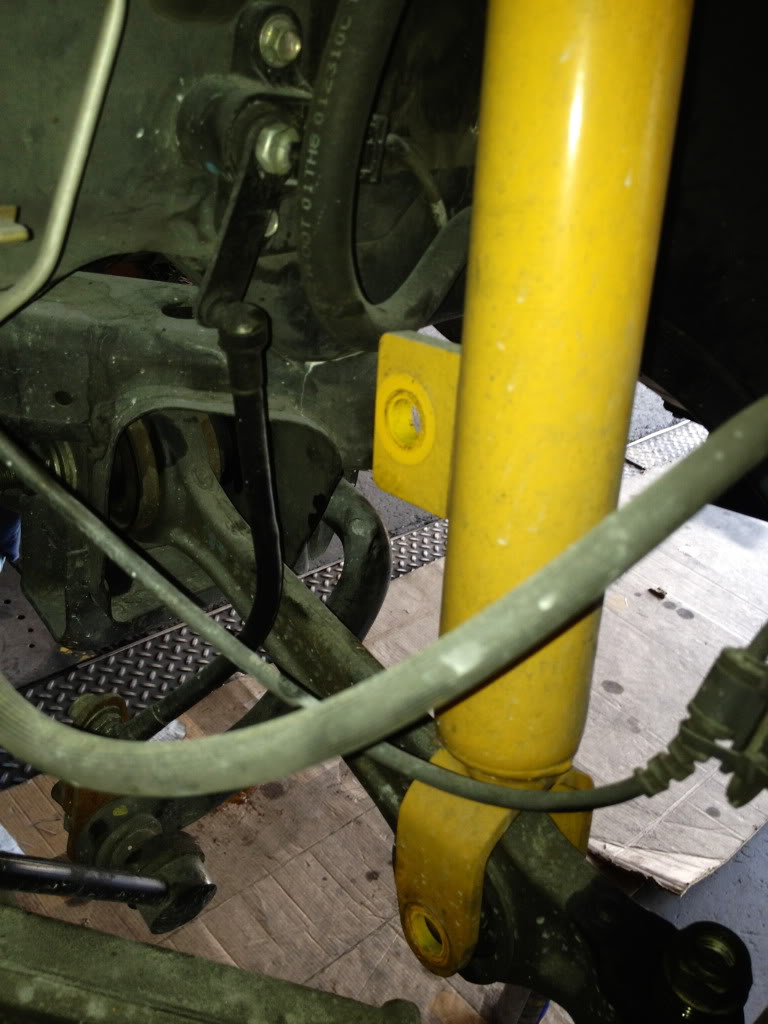
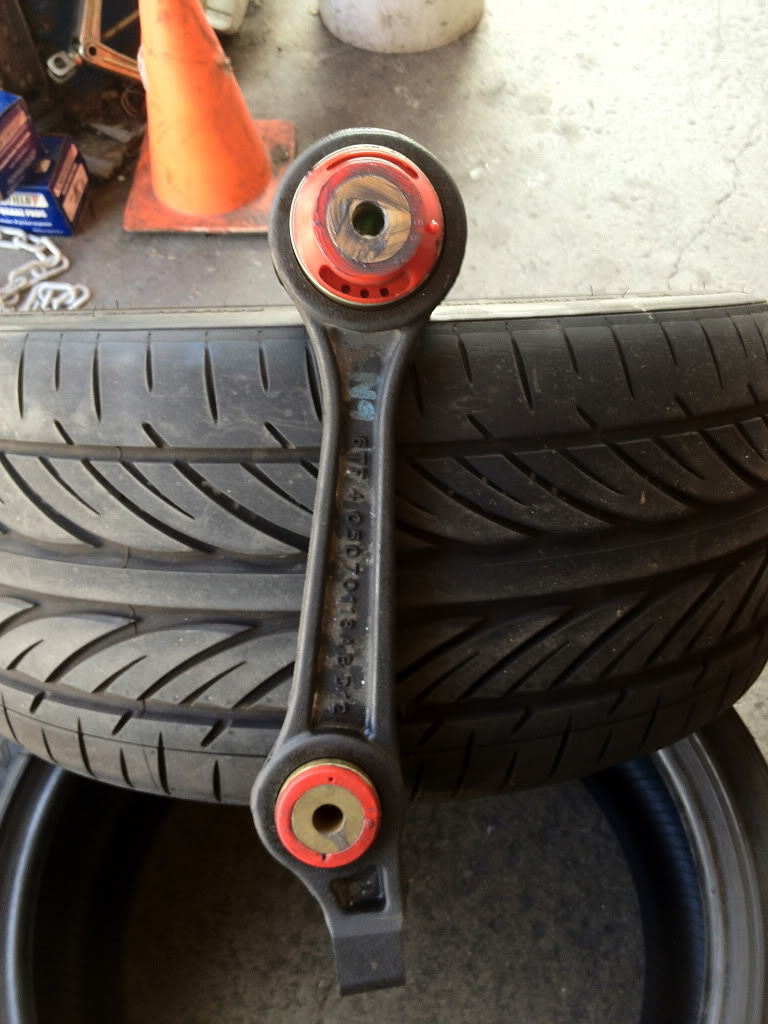
LCA pulled out
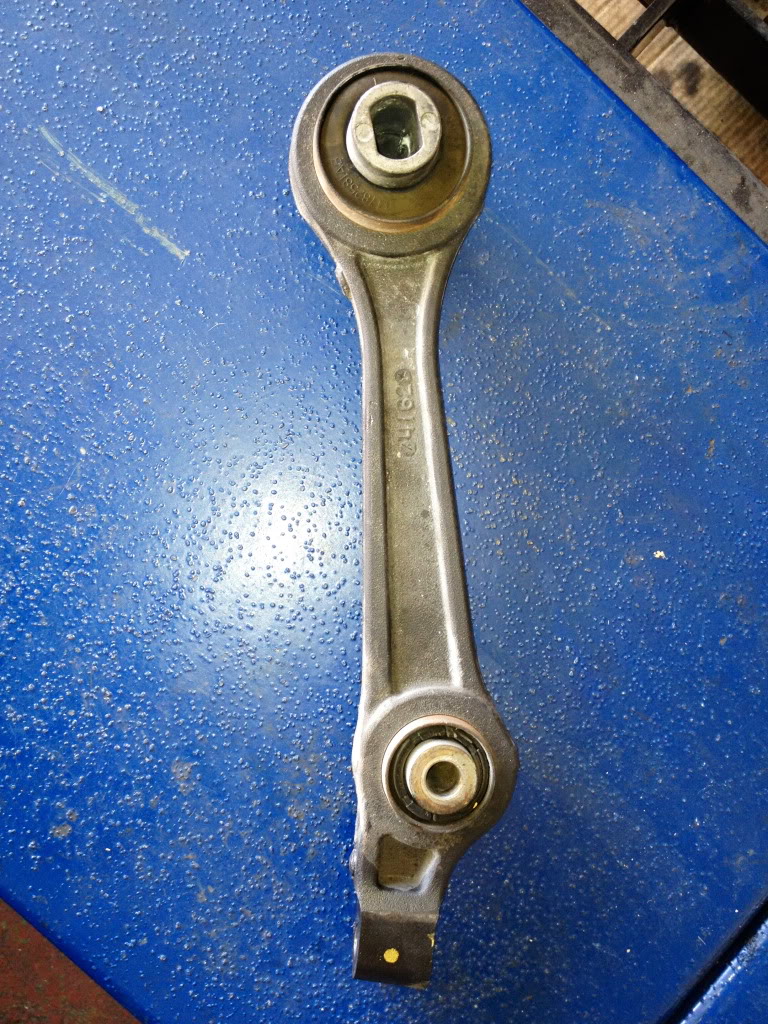
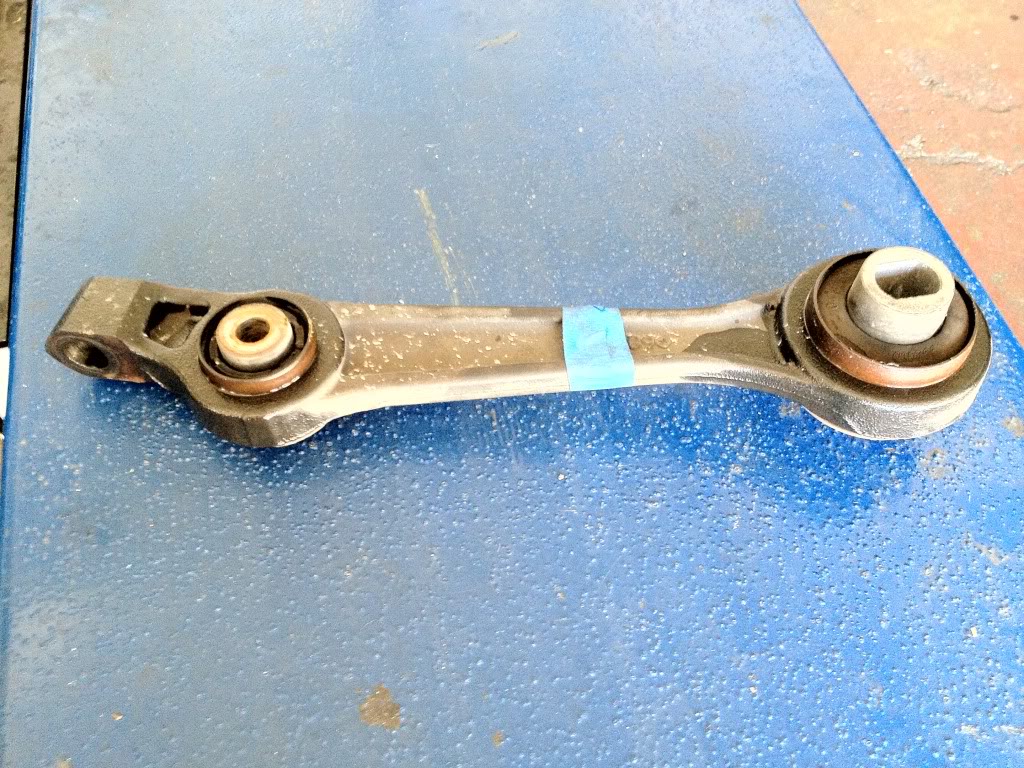
Worn out LCA bushing
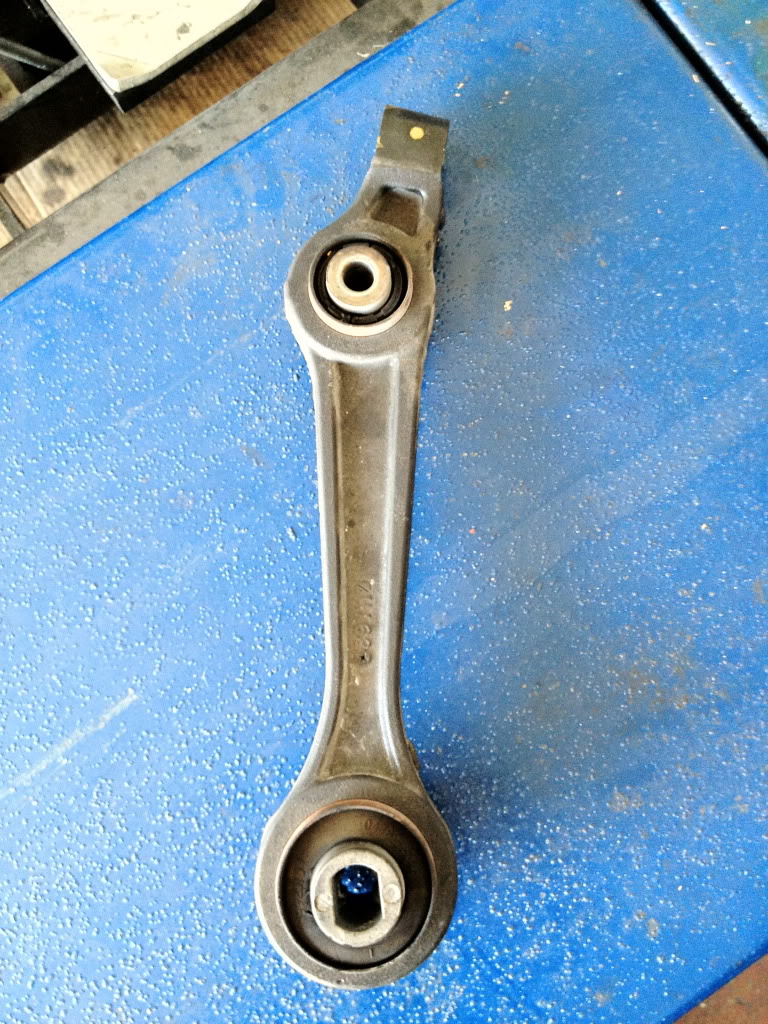
Lower front strut bushing pressed in

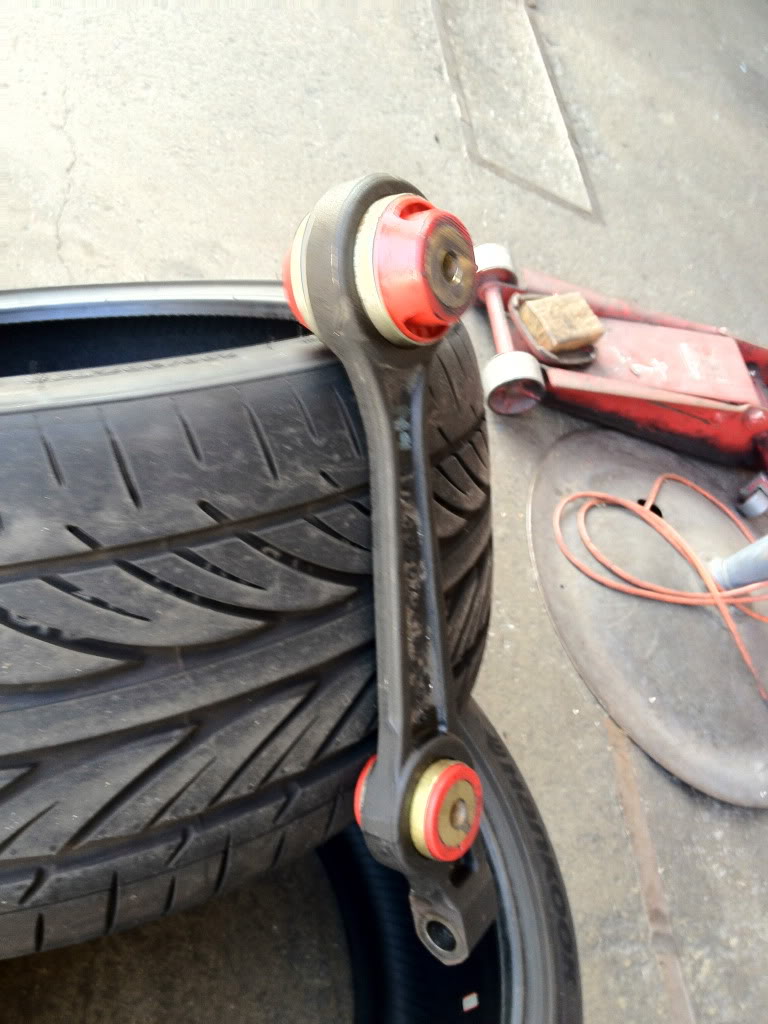
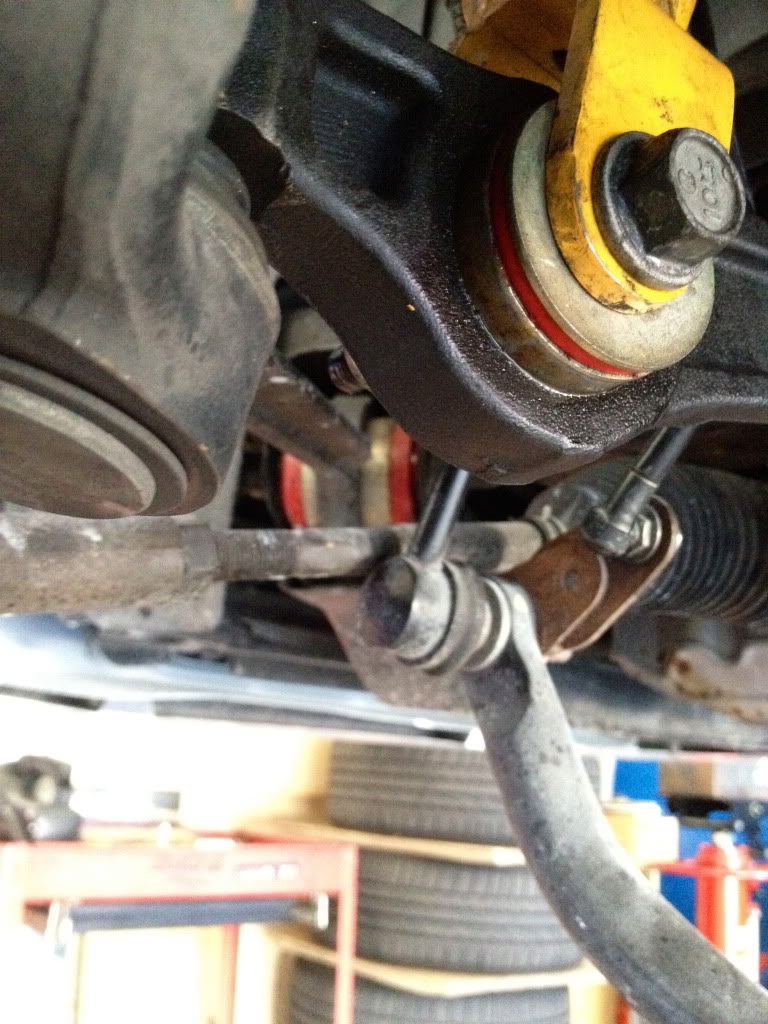
LCA and lower strut bushings pressed in
LCA and Lower strut bushings installed
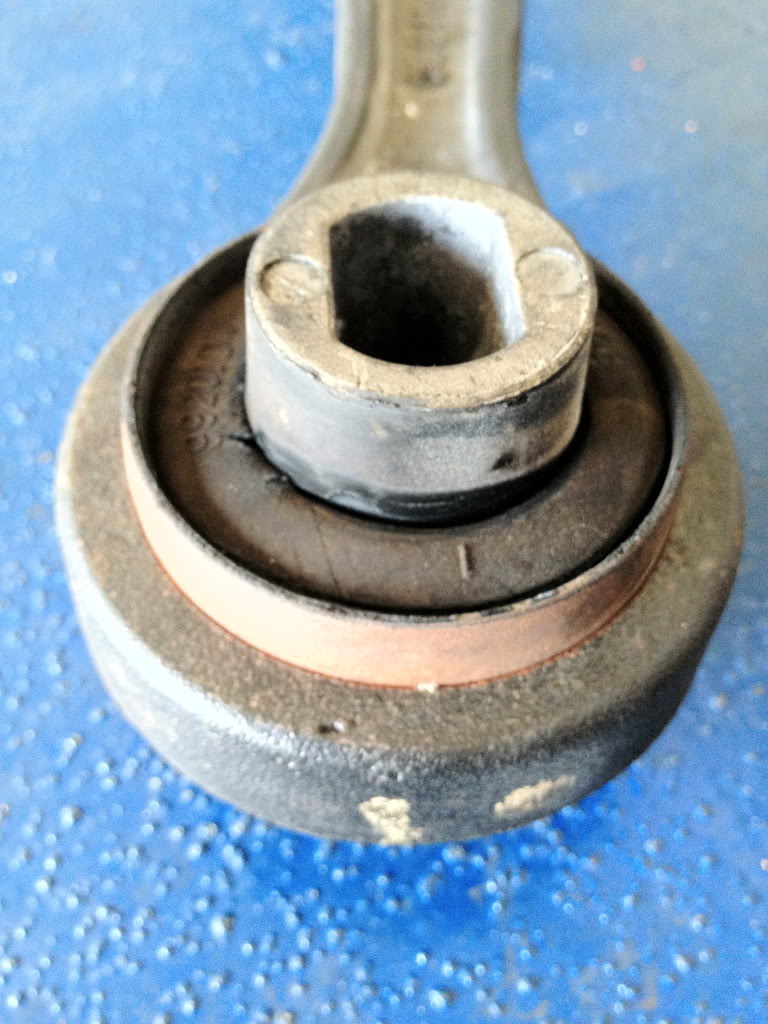
Closeup of the LCA bushing installed
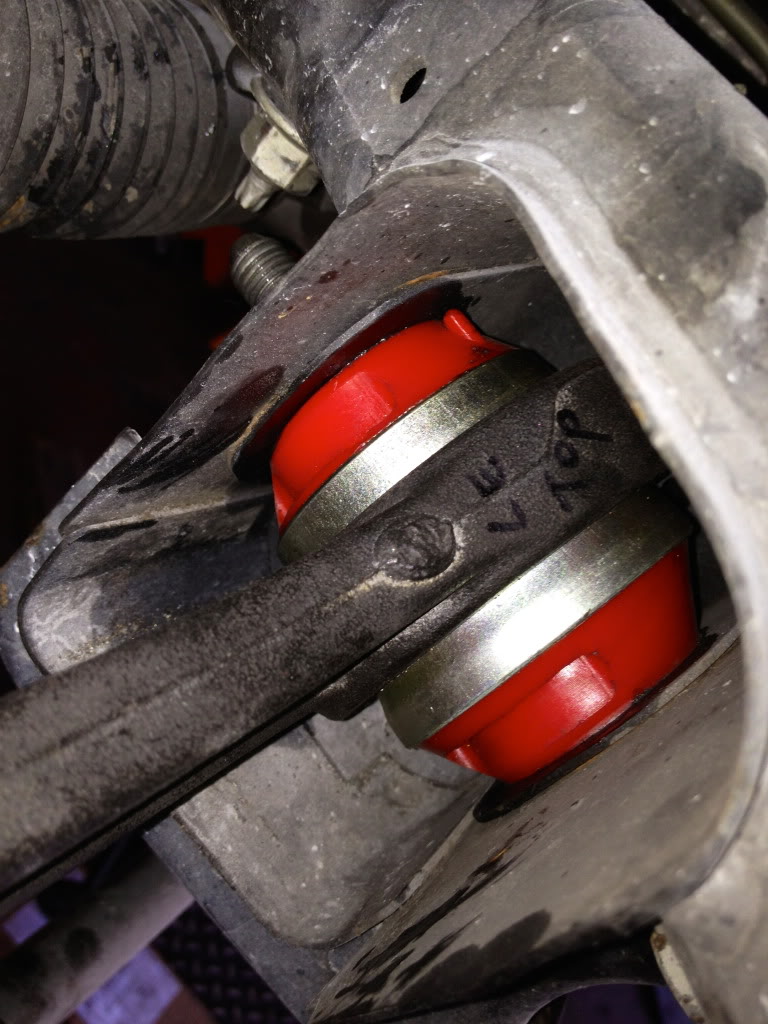
Closeup shot of lower strut bushing installed (Front Radius rod bushing in background)
For this install, Impex Motorsports installed the following items:
-Front Lower Control Arm bushing
-Front lower strut bushing
The front end feels a lot more responsive as expected. Bumps in the road are felt a bit more, but the clunk is finally gone and I shouldn't have to worry about replacing the garbage OEM units for a while. I can't wait for sway bars, end links, etc!
Bushings still in place. Lower strut bolt removed.
LCA pulled out
Worn out LCA bushing
Lower front strut bushing pressed in
LCA and lower strut bushings pressed in
LCA and Lower strut bushings installed
Closeup of the LCA bushing installed
Closeup shot of lower strut bushing installed (Front Radius rod bushing in background)
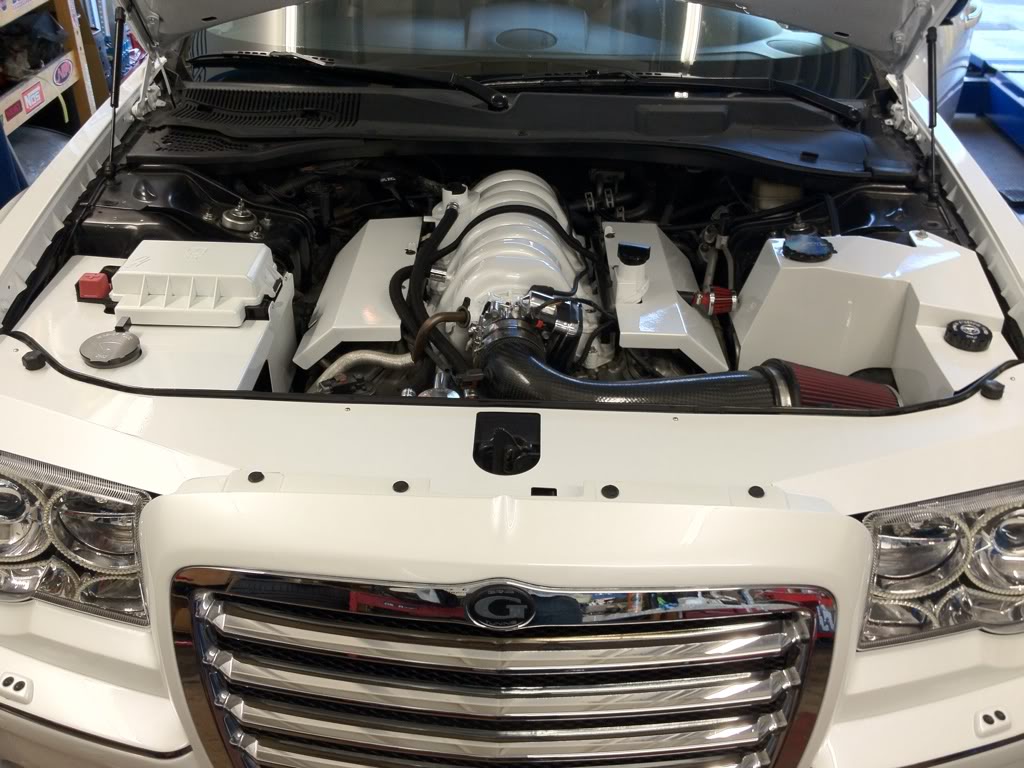
Some new toys ready to go in...
-3gKustomz Engine Kit
-Taylor 10.4mm Shorty Wires
-Champion Spark Plugs
-Shaved Intake Manifold w/ Gloss black fuel rails
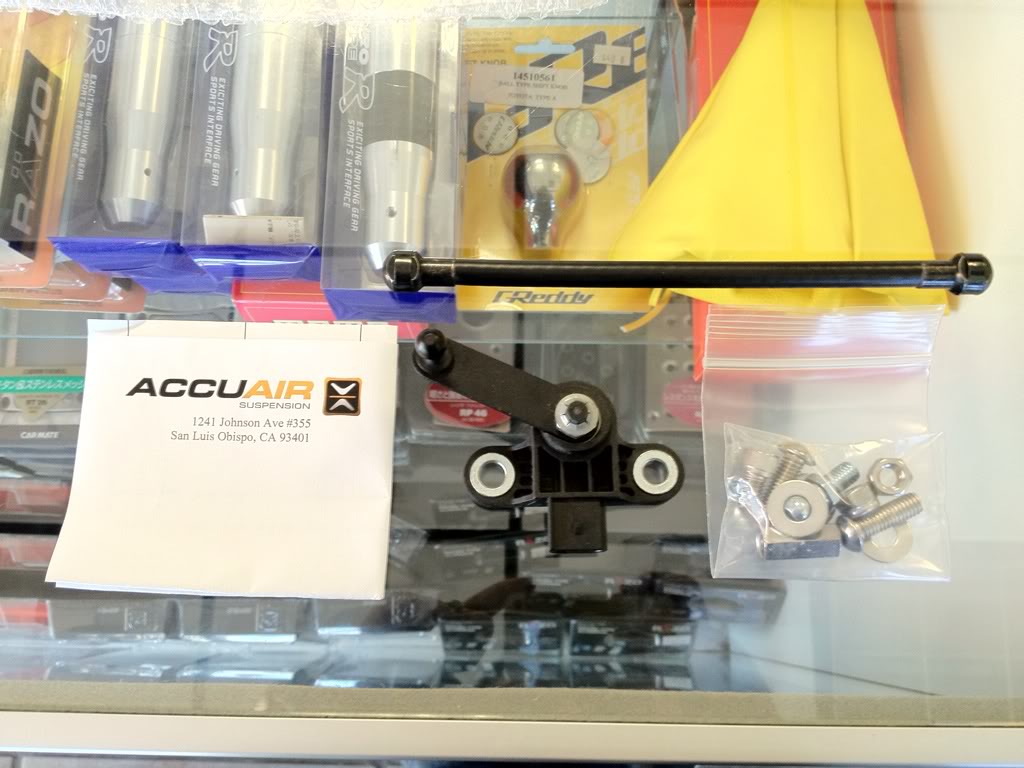
-Accuair Height sensor
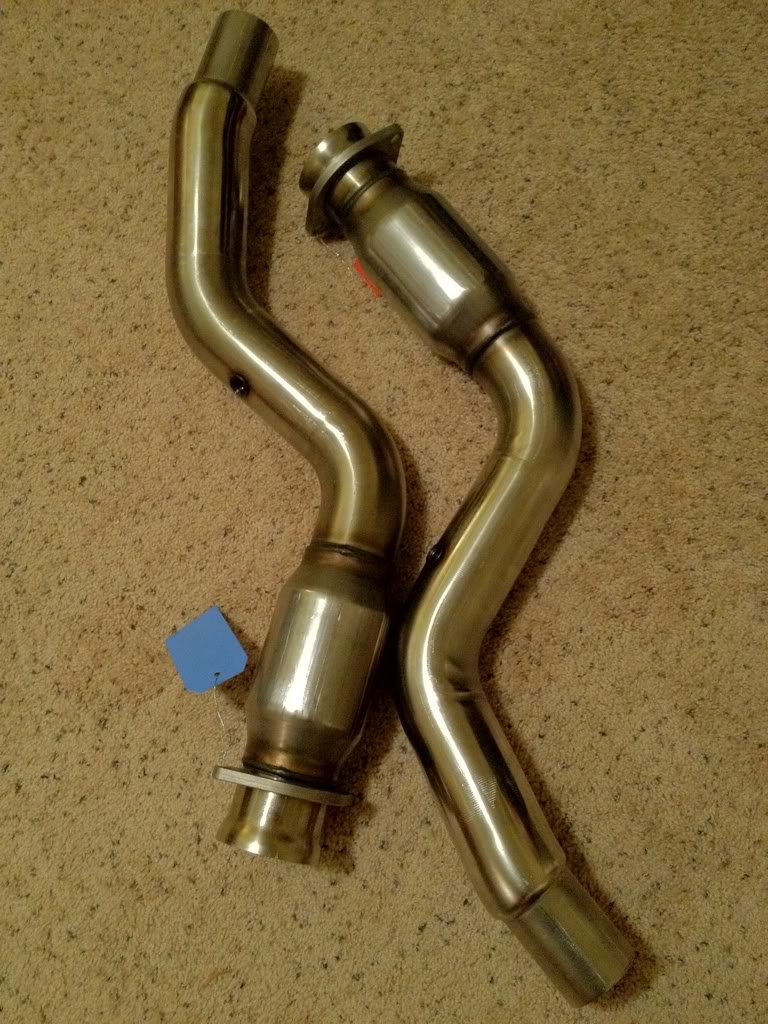
I forgot to bring my front strut bar, so I will just install that tomorrow. Also waiting for the EGR delete kit from Billet Technology and will install that during my head/cam swap with my new tune.
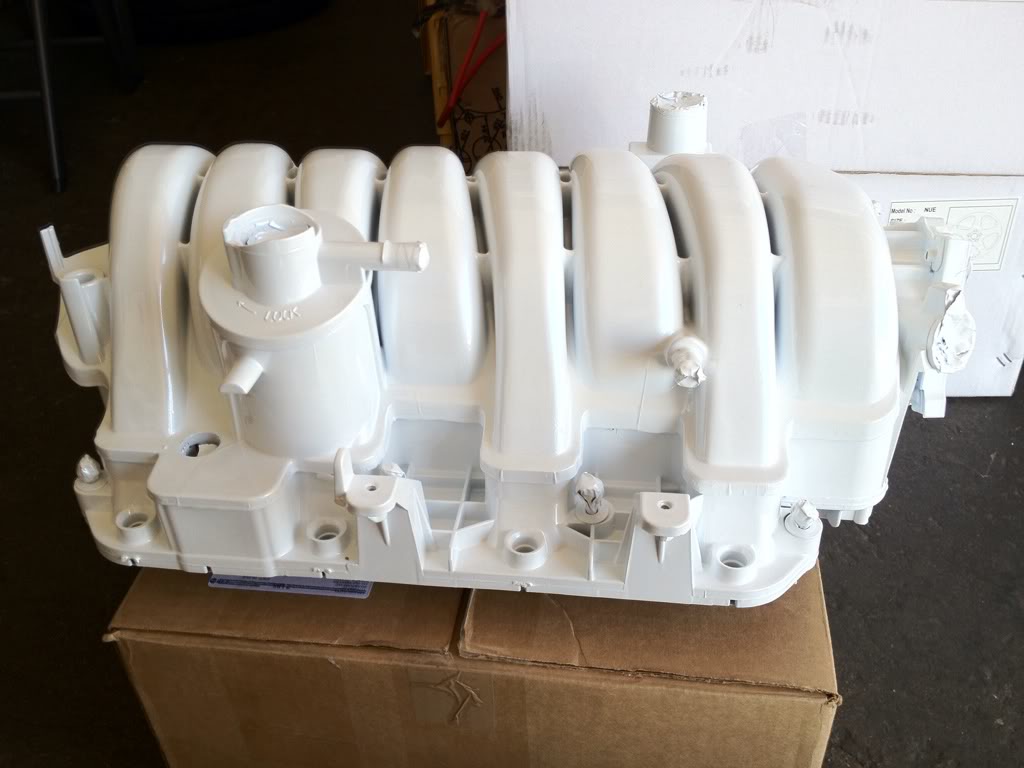
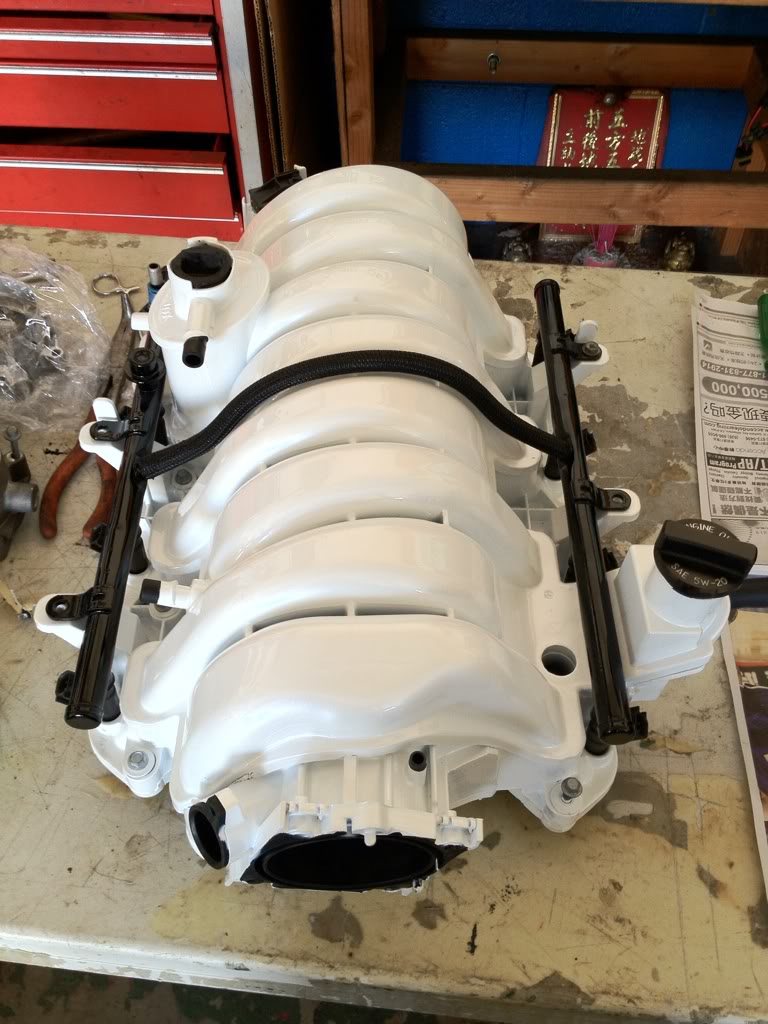
Closeup of intake manifold

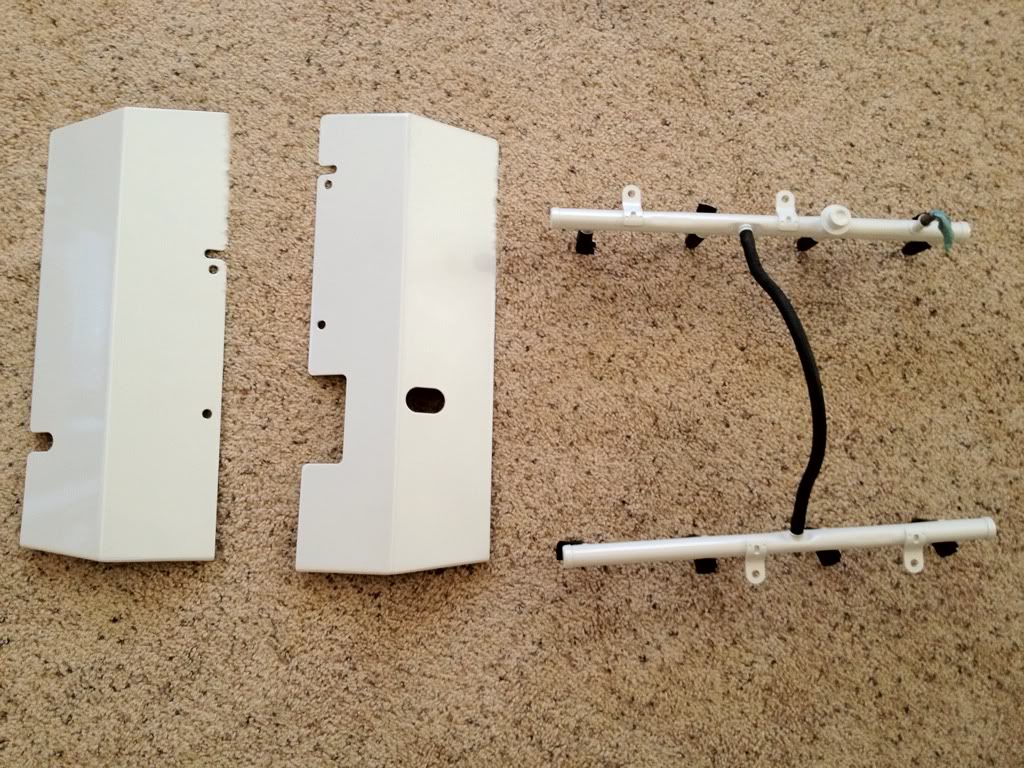
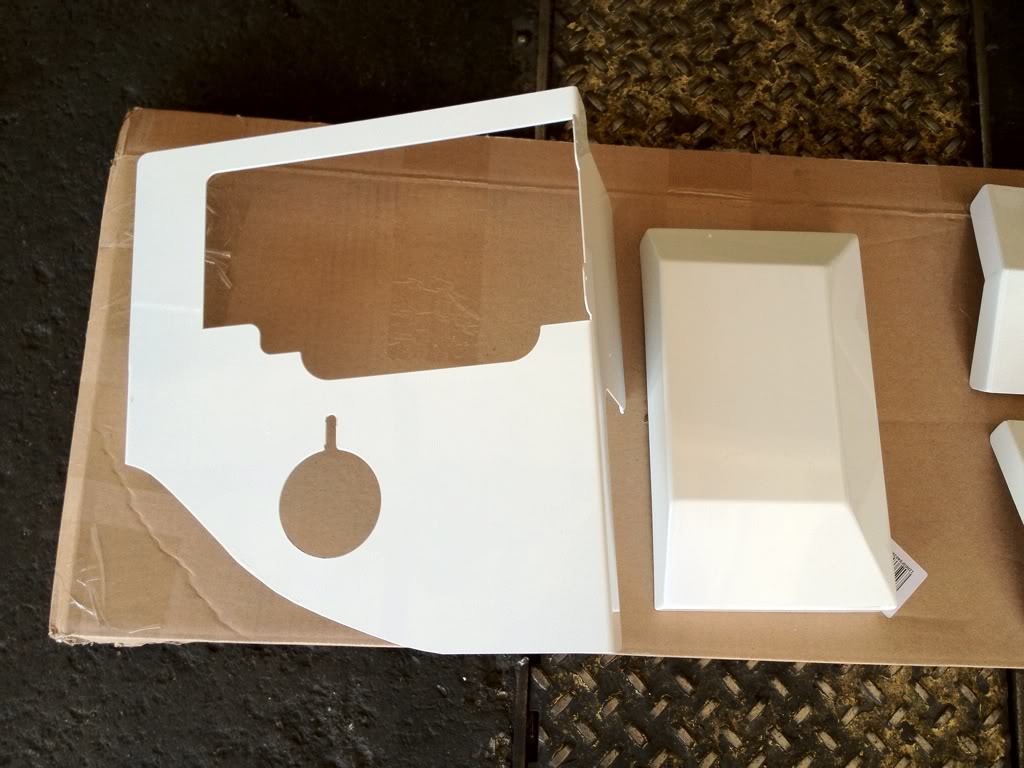
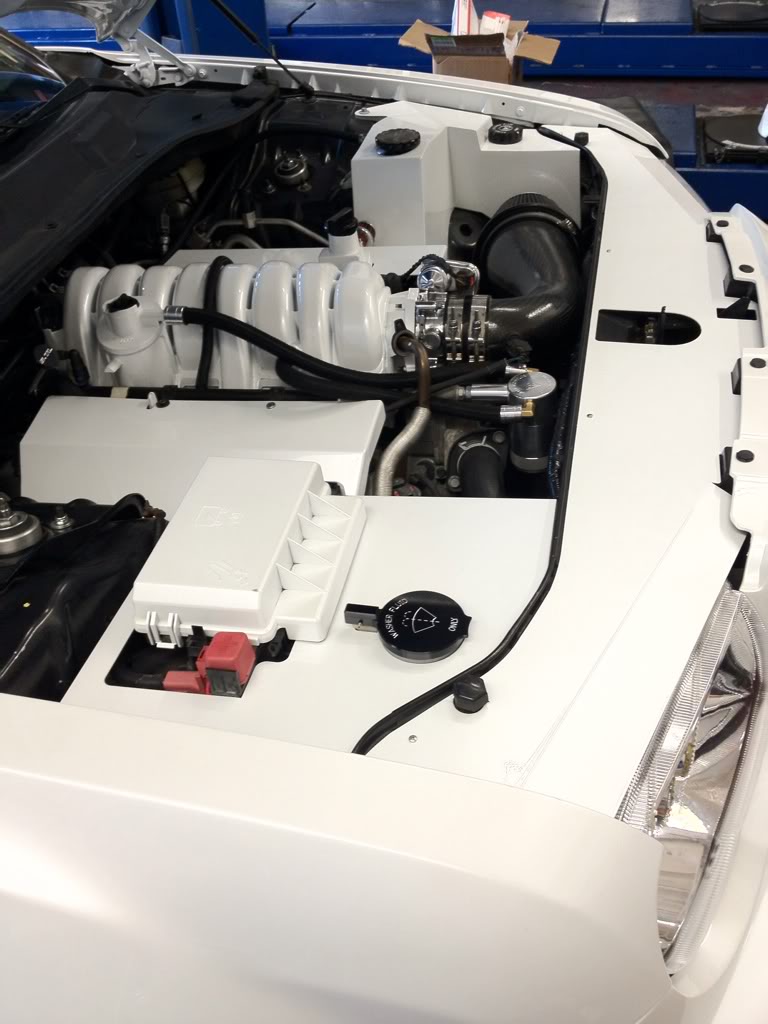
ABS cover and Fusebox cover
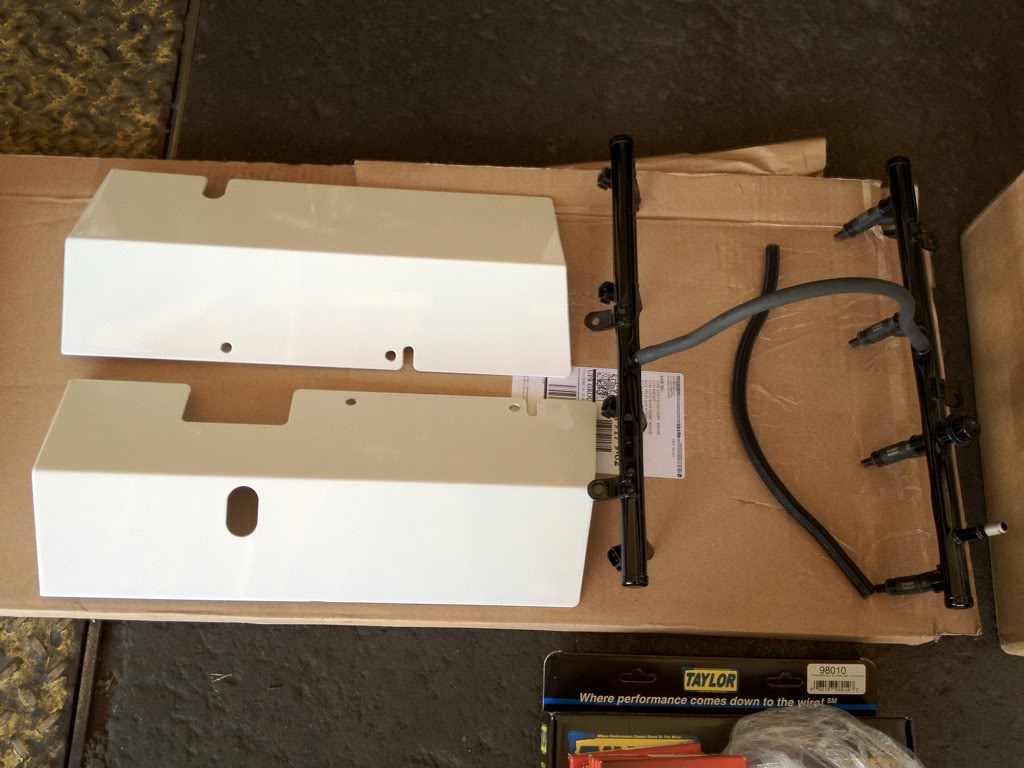
1/2 covers and fuel rails
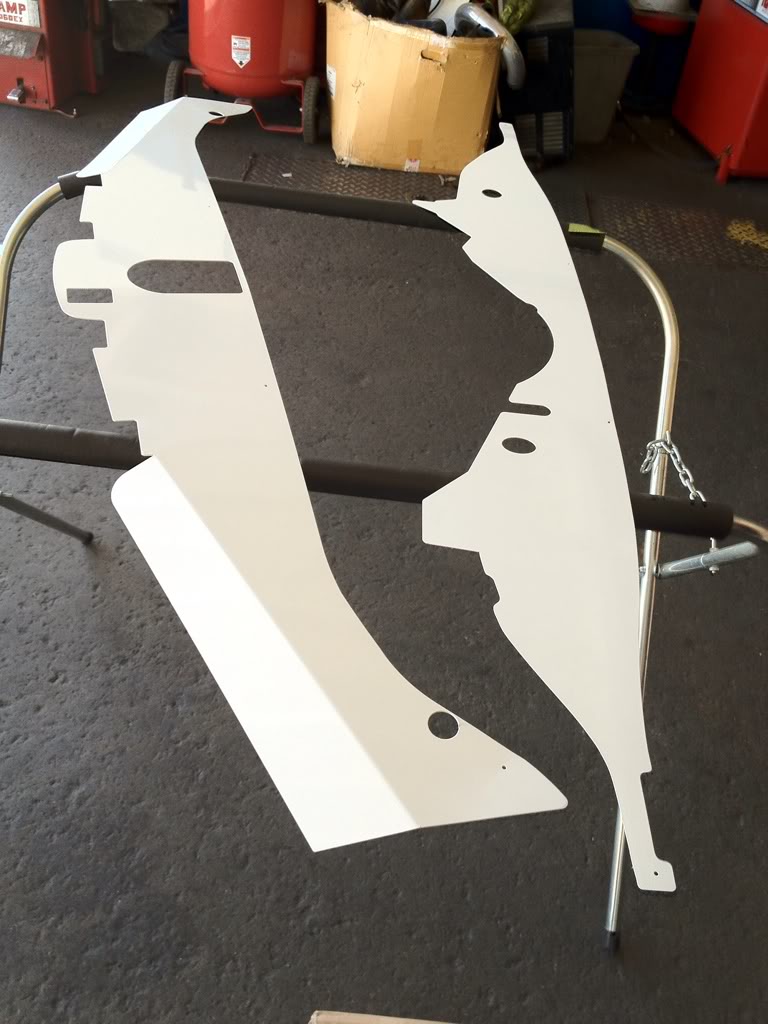
Radiator shroud and firewall cover
Accuair height sensor
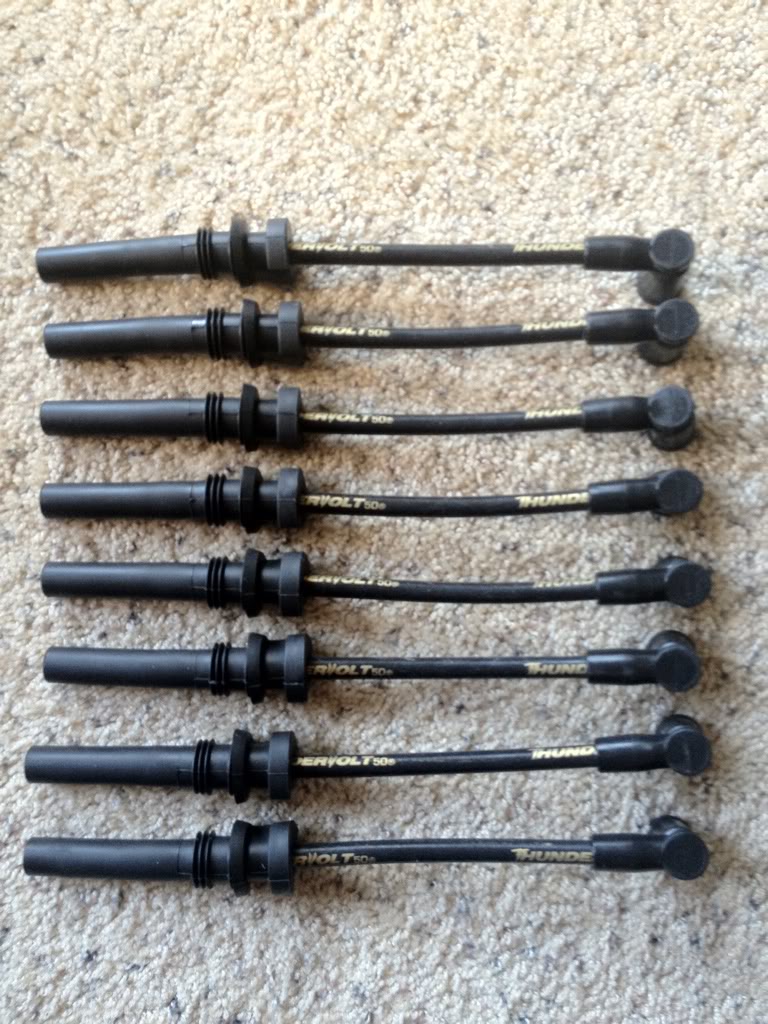
Taylor Shorty Wires

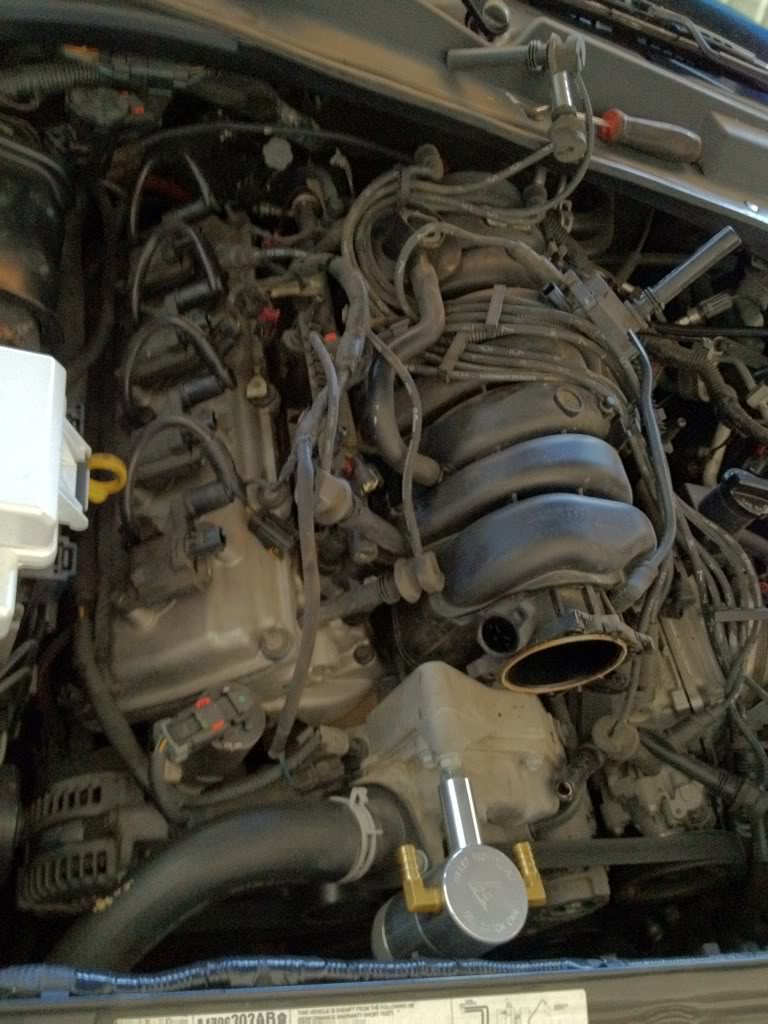
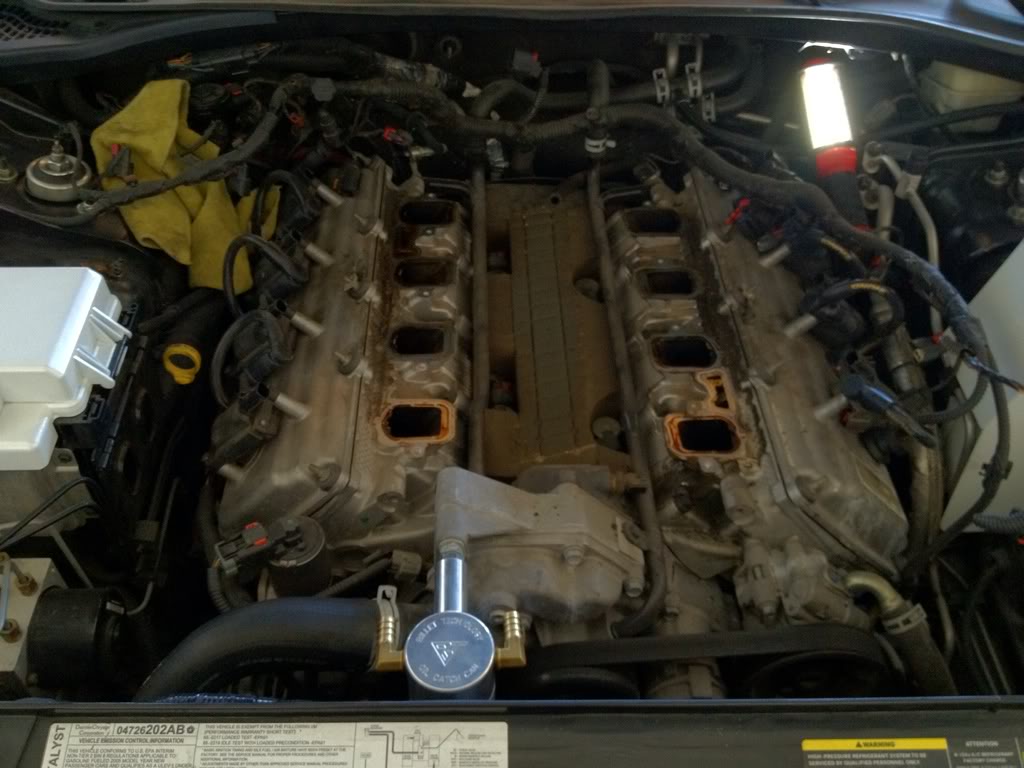
Engine cover off. Ewwww look at that rat's nest
Taylor wires and catch can mounted
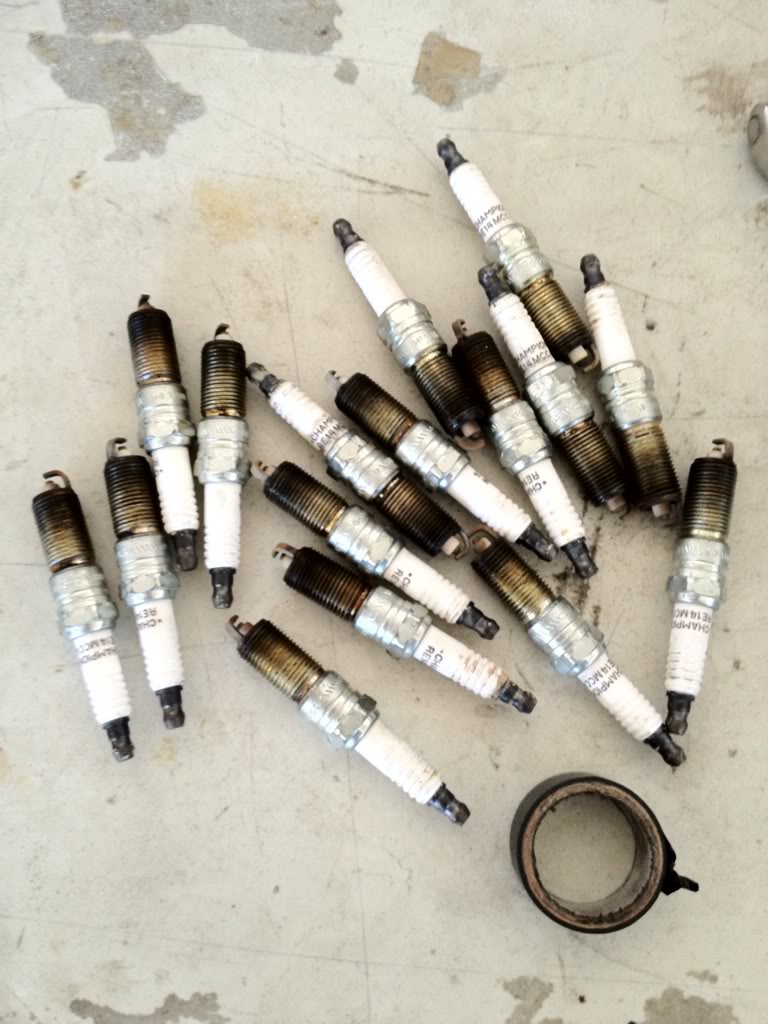
Old plugs
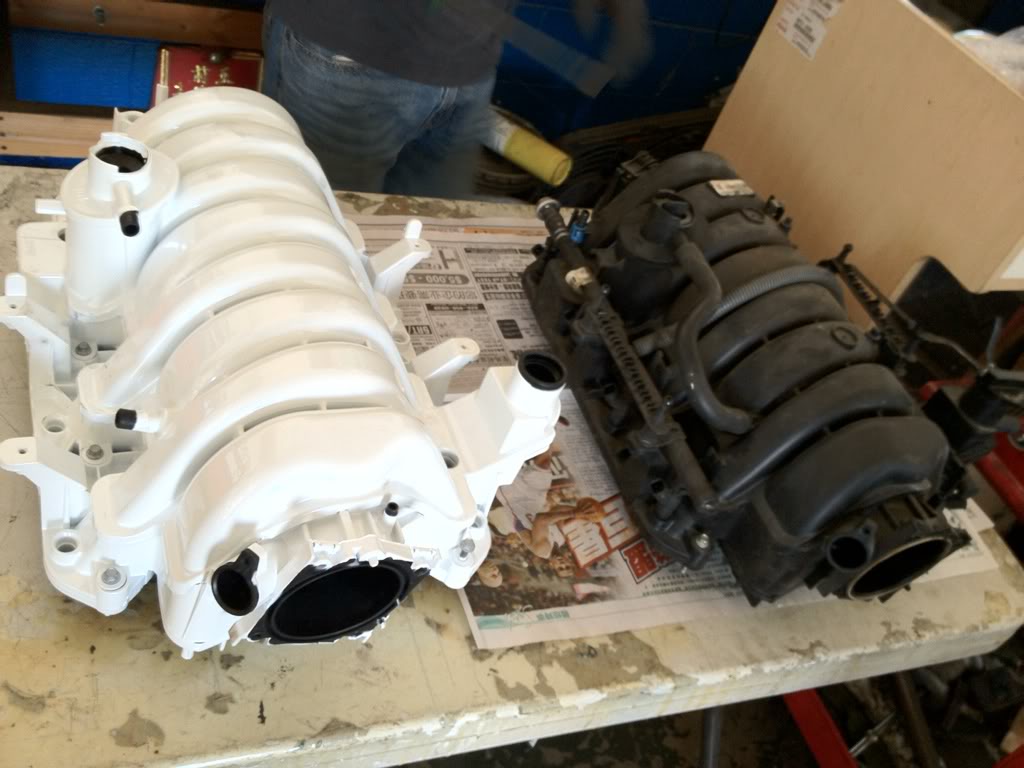
[/b]New shaved manifold vs OEM[/b]
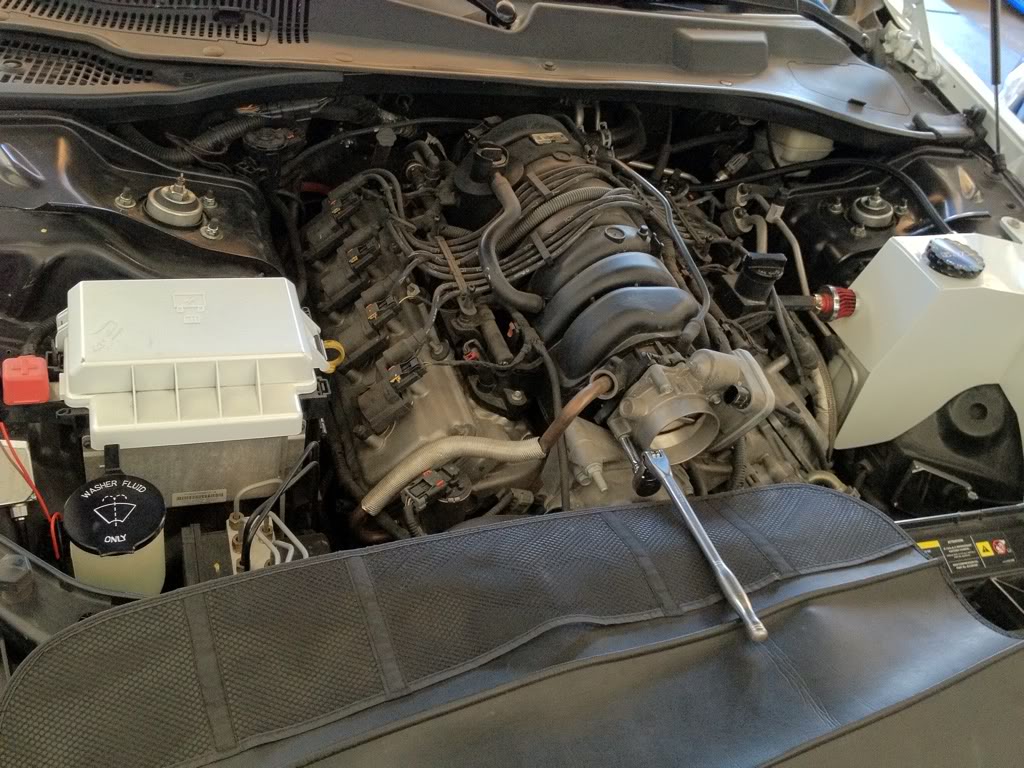
New manifold w/ rails mounted
Manifold off
Manifold mounted...unfortunately upon startup the car was running like it was misfiring. Eventually found that the injectors on the old fuel rail were not working properly so had to swap the rails back to my originals

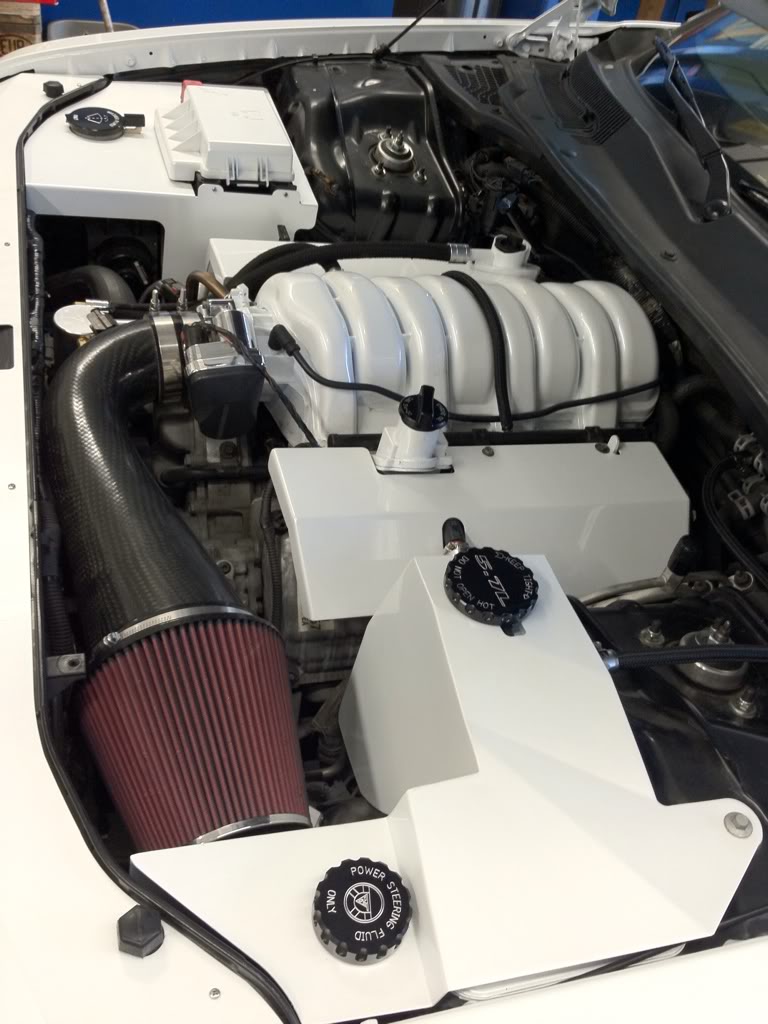
1/2 covers initially installed for now until valve covers and coil pack covers come in from Billet Technology to really run her NAKED!
Everything installed minus the firewall cover. It couldn't fit with the 1/2 covers, so I decided not to force it since I plan to run without the 1/2 covers soon anyways.

-3gKustomz Engine Kit
-Taylor 10.4mm Shorty Wires
-Champion Spark Plugs
-Shaved Intake Manifold w/ Gloss black fuel rails
-Accuair Height sensor
I forgot to bring my front strut bar, so I will just install that tomorrow. Also waiting for the EGR delete kit from Billet Technology and will install that during my head/cam swap with my new tune.
Closeup of intake manifold
ABS cover and Fusebox cover
1/2 covers and fuel rails
Radiator shroud and firewall cover
Accuair height sensor
Taylor Shorty Wires
Engine cover off. Ewwww look at that rat's nest
Taylor wires and catch can mounted
Old plugs
[/b]New shaved manifold vs OEM[/b]
New manifold w/ rails mounted
Manifold off
Manifold mounted...unfortunately upon startup the car was running like it was misfiring. Eventually found that the injectors on the old fuel rail were not working properly so had to swap the rails back to my originals
1/2 covers initially installed for now until valve covers and coil pack covers come in from Billet Technology to really run her NAKED!
Everything installed minus the firewall cover. It couldn't fit with the 1/2 covers, so I decided not to force it since I plan to run without the 1/2 covers soon anyways.