
S13 Track car VQ swap.


Thread Starter
Registered User
Joined: Sep 2004
Posts: 27
Likes: 0
From: alberta canada
Well Irax wanted me to make my own build thread so here you guys got
the Idea is a track prepped GT car
so what my plan is
: haltech PNP
: Q3 Race pack Dash
: custom suspension
: aero of some sort
: 275 dunlop slicks
: some RPF1's 17"x10"
: fuel cell
: full cage
: got some ceramic coated megan headers
: plenum spacer
: custom true dual side exit exhaust
: prob missing a few other things but they will come up when time is needed
so here we go .
1993 nissan 240sx coupe.
some pics.
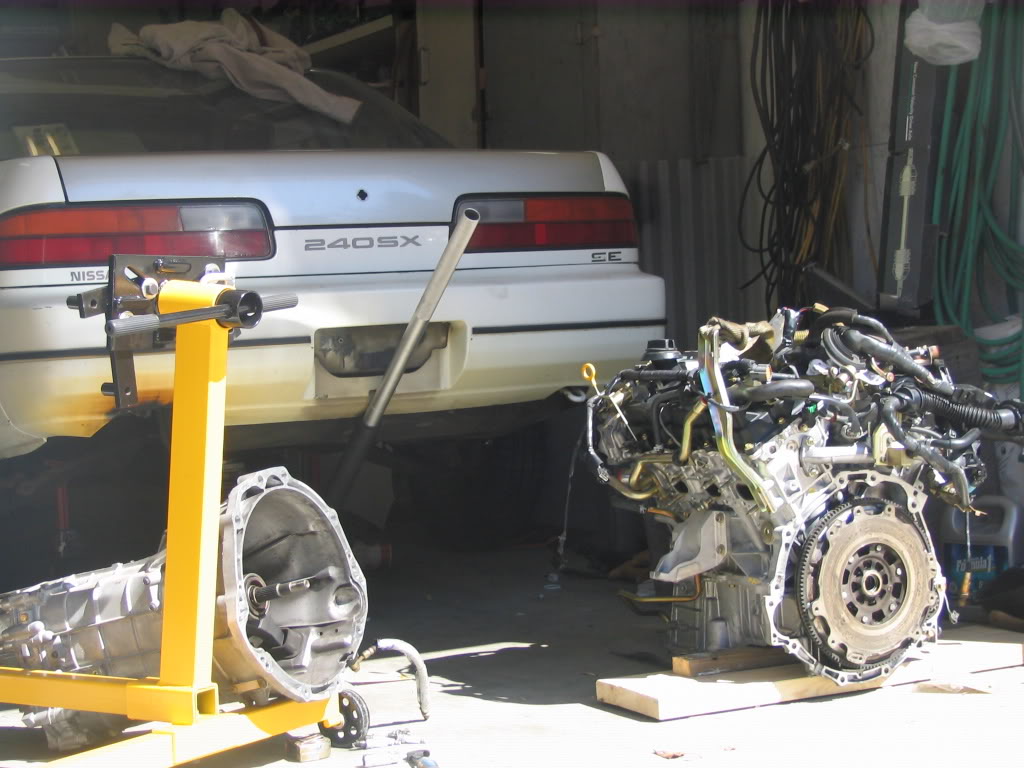
My shop space
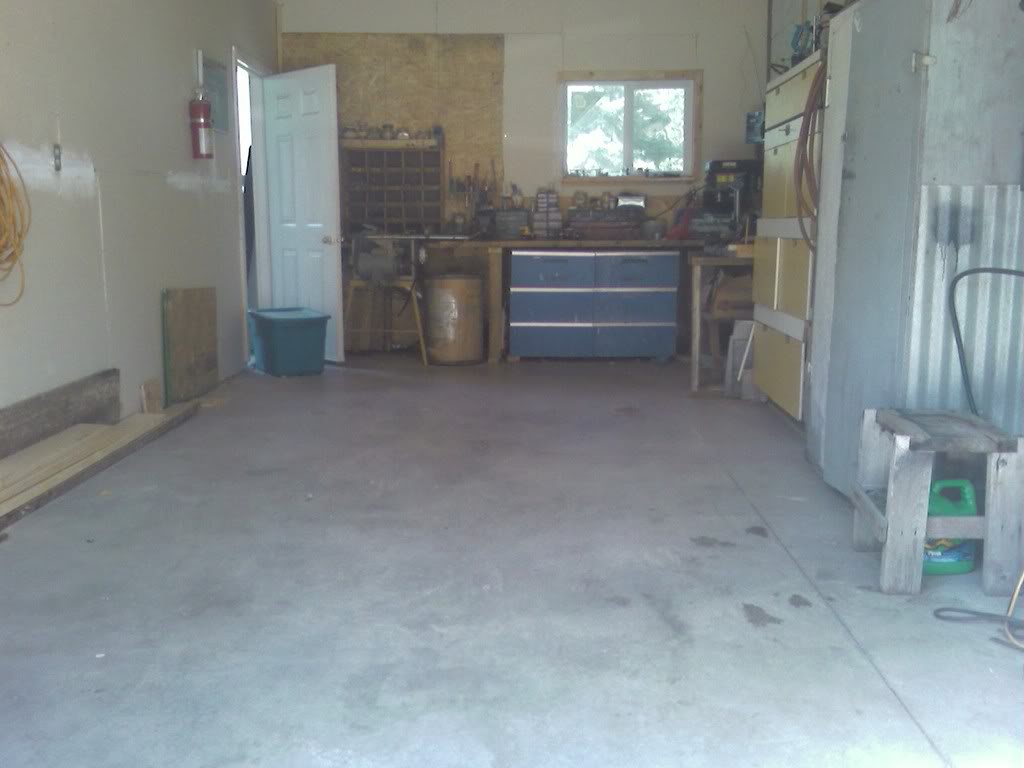
Getting the car in its new home


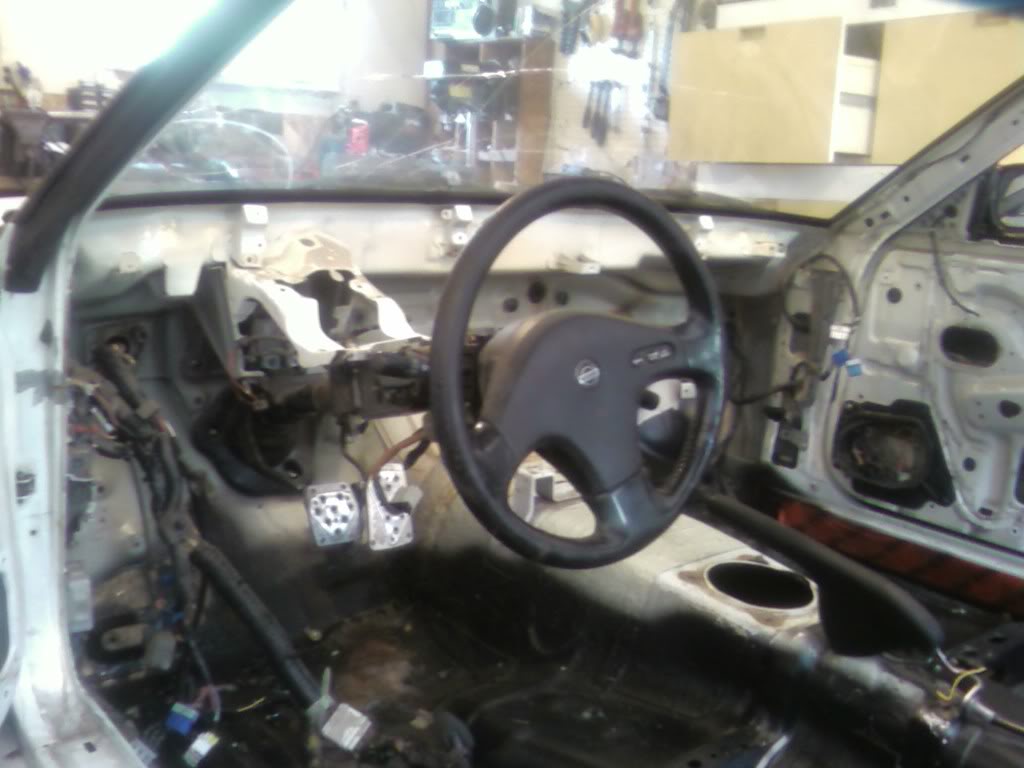
before i started ripping it apart


start the stripping !
!

sun roof gone


thing was held in with screws pain in the *** to take out
the piles of junk
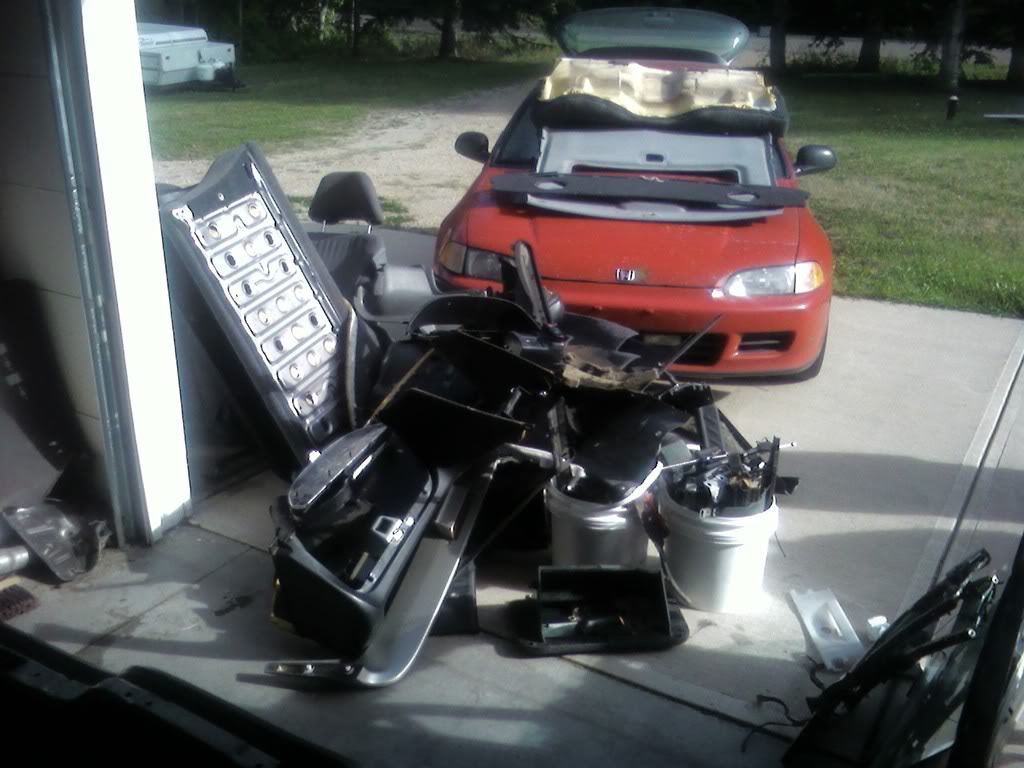
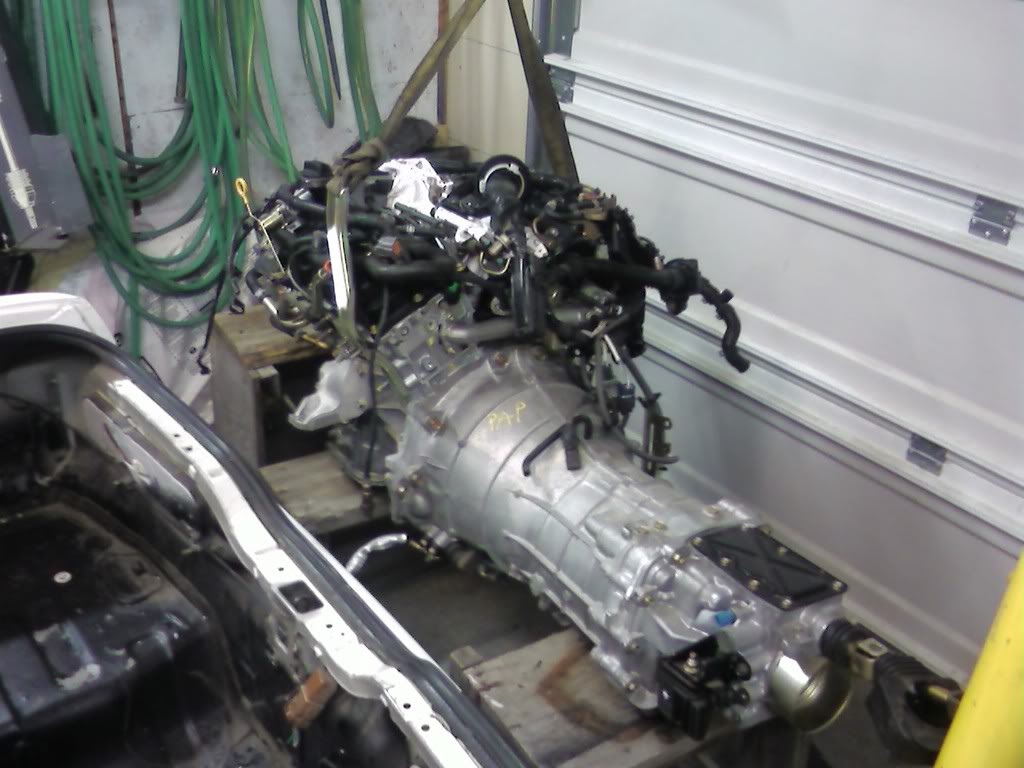
And the VQ35DE sitting around
the Idea is a track prepped GT car
so what my plan is
: haltech PNP
: Q3 Race pack Dash
: custom suspension
: aero of some sort
: 275 dunlop slicks
: some RPF1's 17"x10"
: fuel cell
: full cage
: got some ceramic coated megan headers
: plenum spacer
: custom true dual side exit exhaust
: prob missing a few other things but they will come up when time is needed
so here we go .
1993 nissan 240sx coupe.
some pics.
My shop space
Getting the car in its new home
before i started ripping it apart
start the stripping
!sun roof gone
thing was held in with screws pain in the *** to take out
the piles of junk
And the VQ35DE sitting around
Thread Starter
Registered User
Joined: Sep 2004
Posts: 27
Likes: 0
From: alberta canada
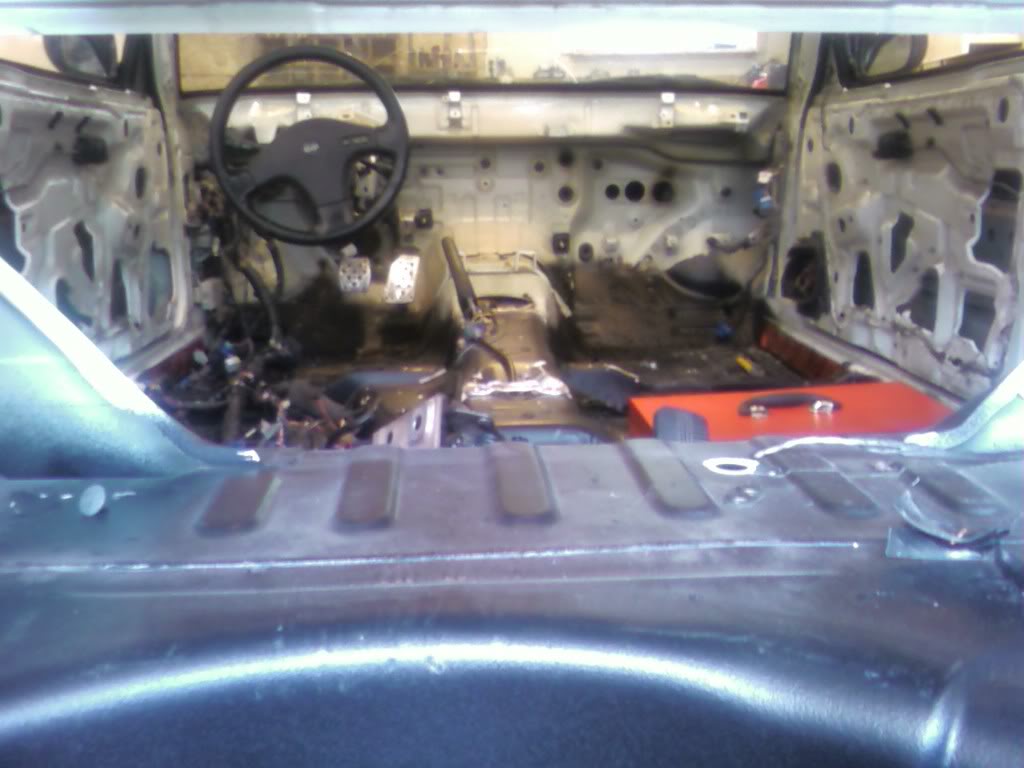
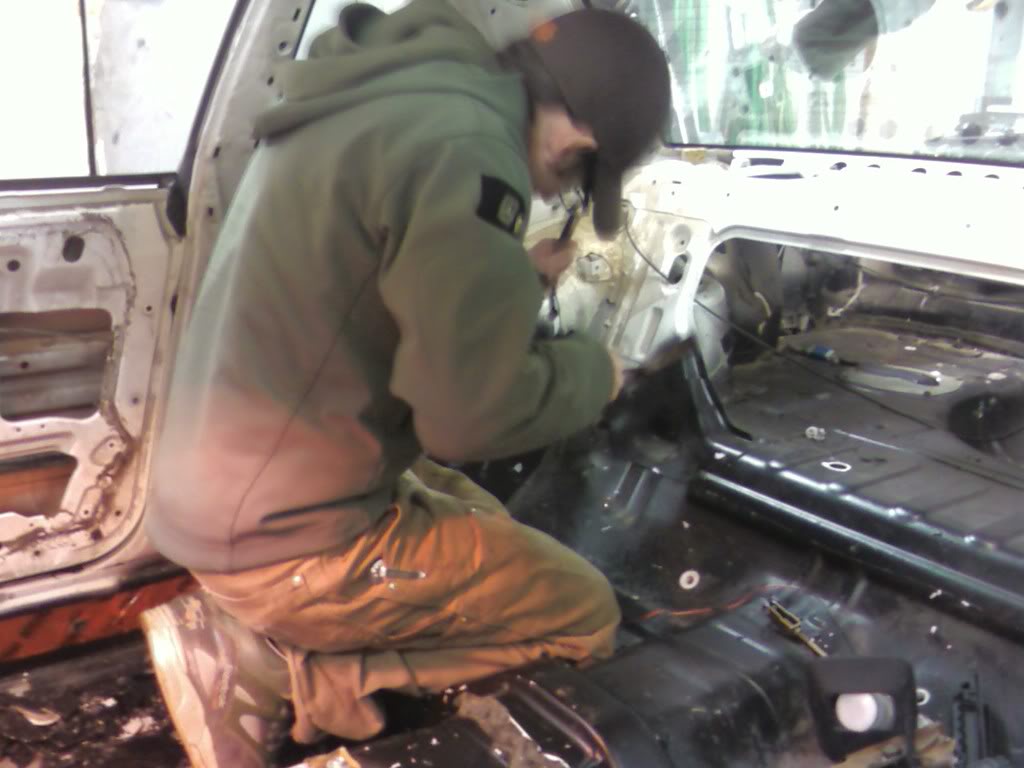
here is pete chipping out sound deadening.
and i was workign on gutting the rear trunk lid.
Sweet dewalt tin shears make quick work of the sheet metal .
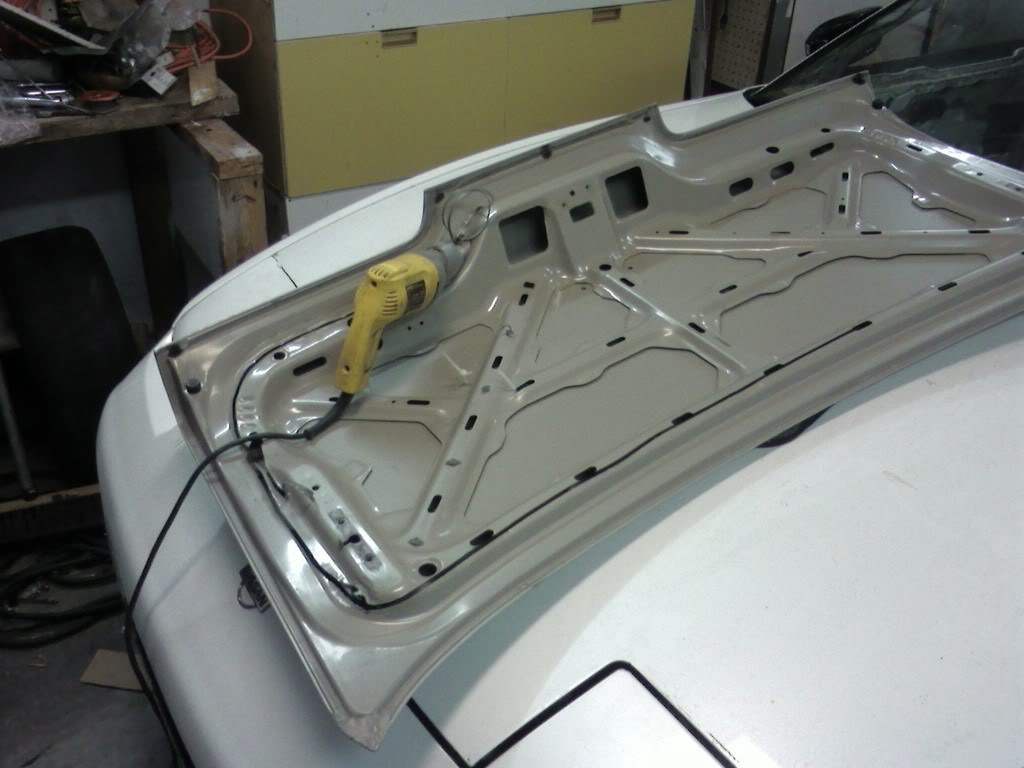
after i cut all the way a round it the only thing holding it on then was the black tar ****. I used a small torch and heated up a putty knife to slide under the ribbing and pop the ribbing off. took about 30 mins to do it and this is what i got when it was off.
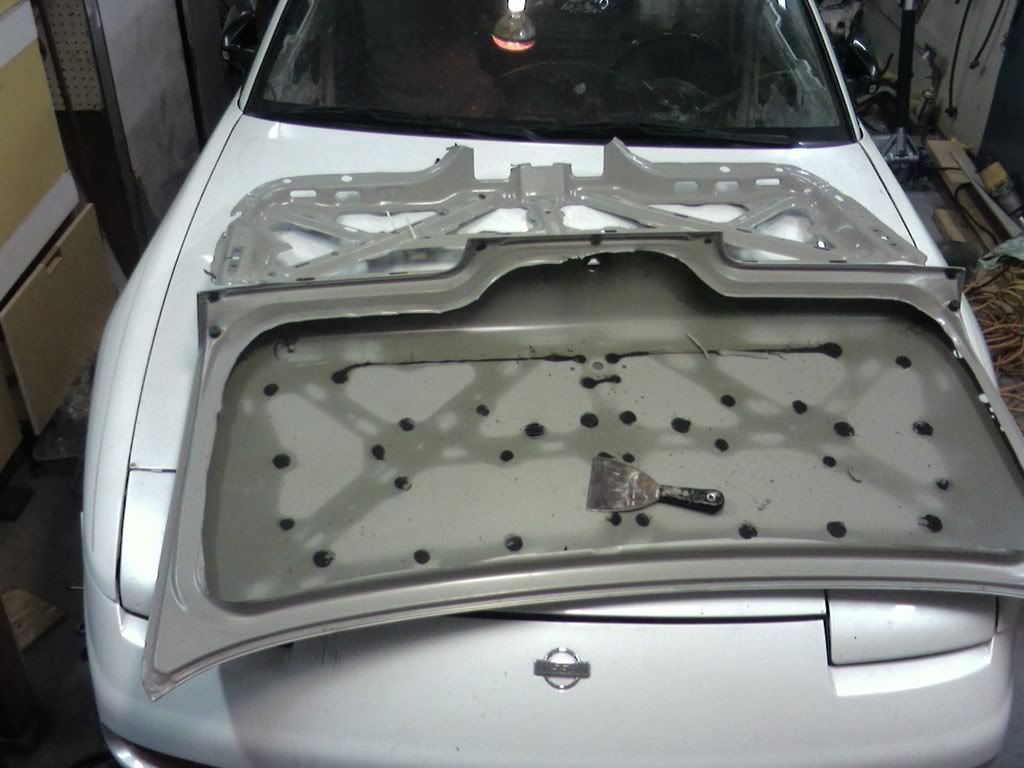
then used my olfa to scrap more of the tar off. and trimed a bit more. and all done .
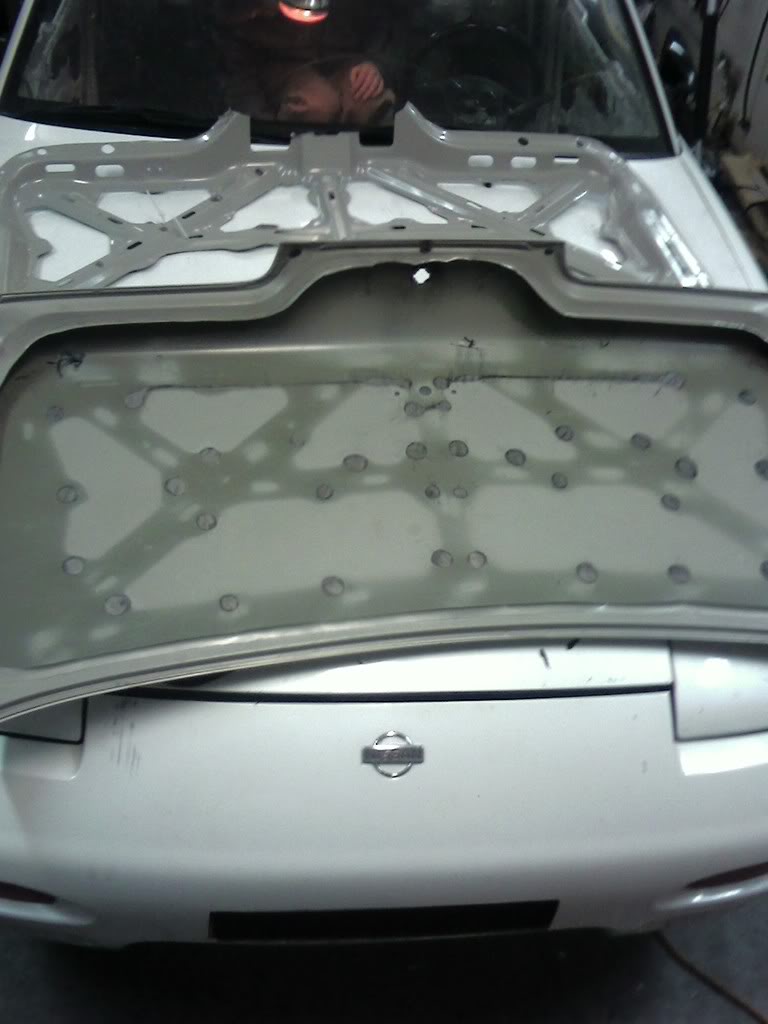
took about half the weight out of it. and its still pretty ridged . i might toss a support bar of aluminum across the width of the lid to give it a touch of support .
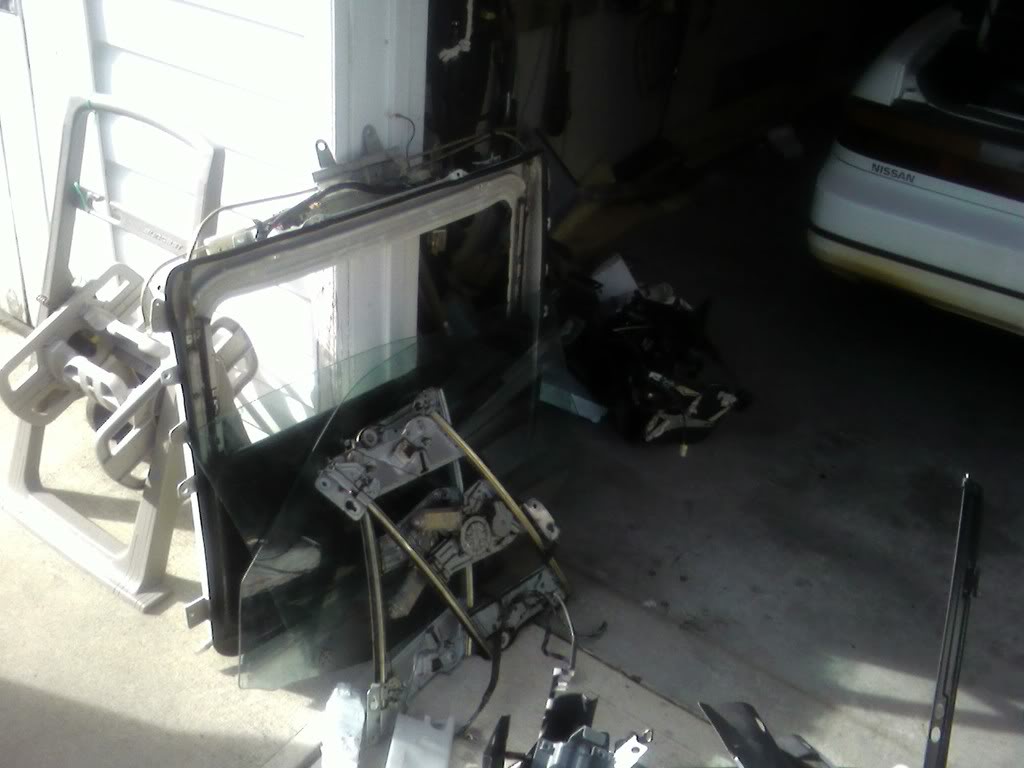
tried to gut the door door today . damn rebar is spot welded on lol . got to try again
and that is a good Idea guy's deff something we can work out
BTW the factory door that is just all steal is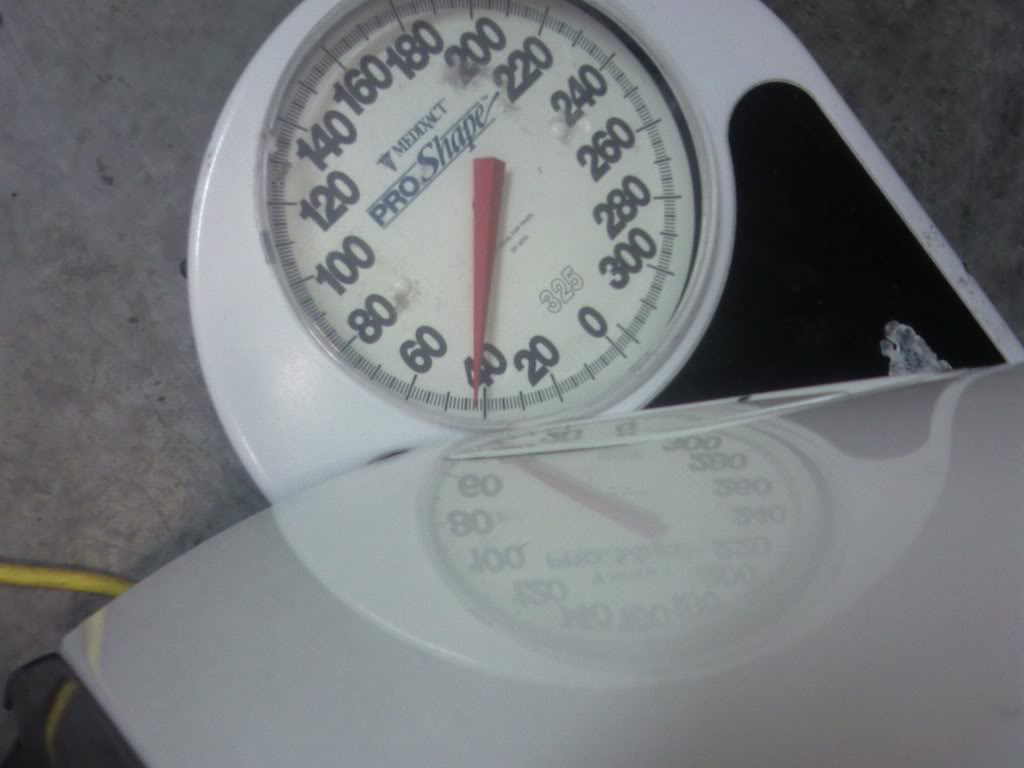 heavy sons of bitches! can't image them with the power windows junk and glass .
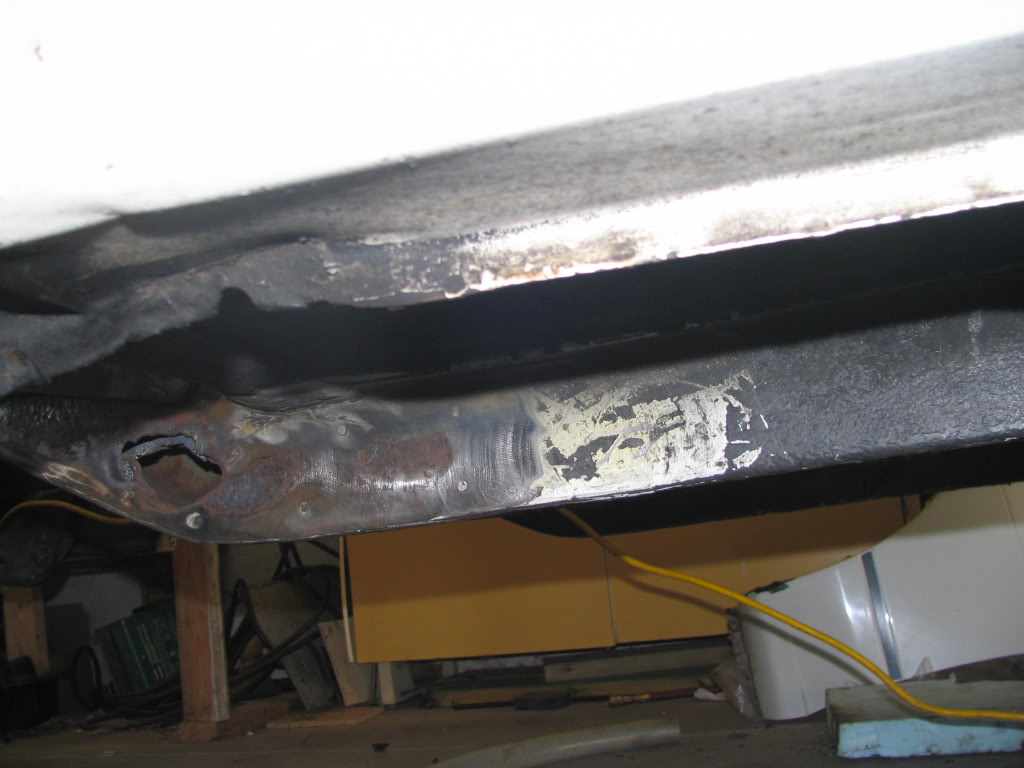
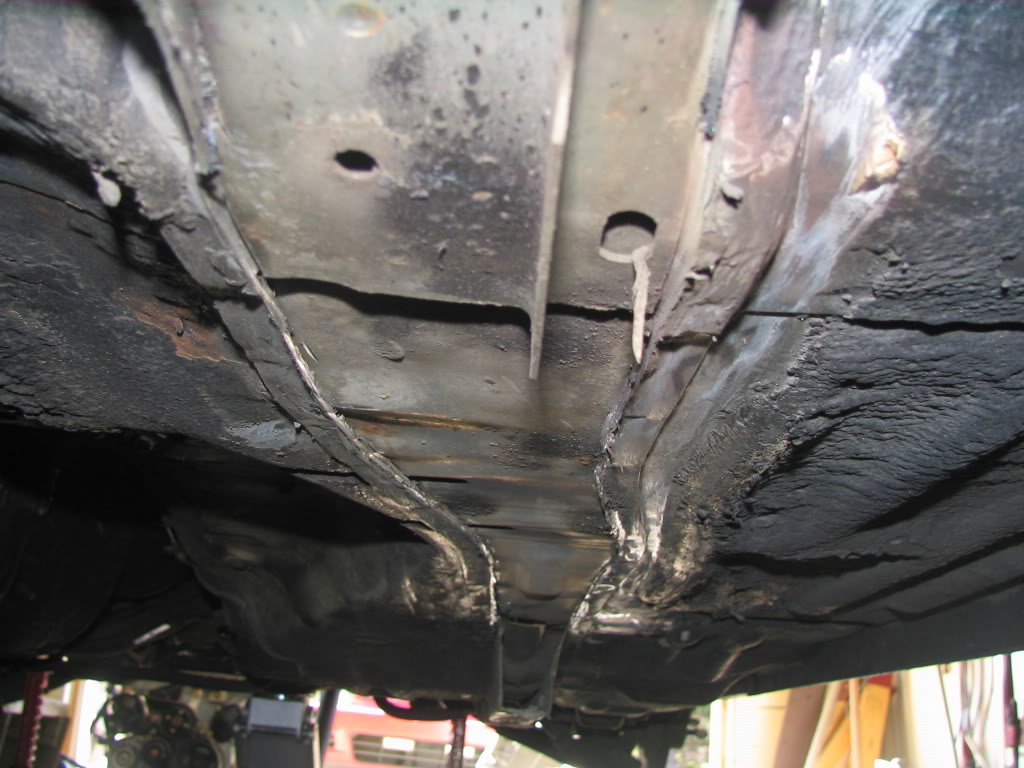
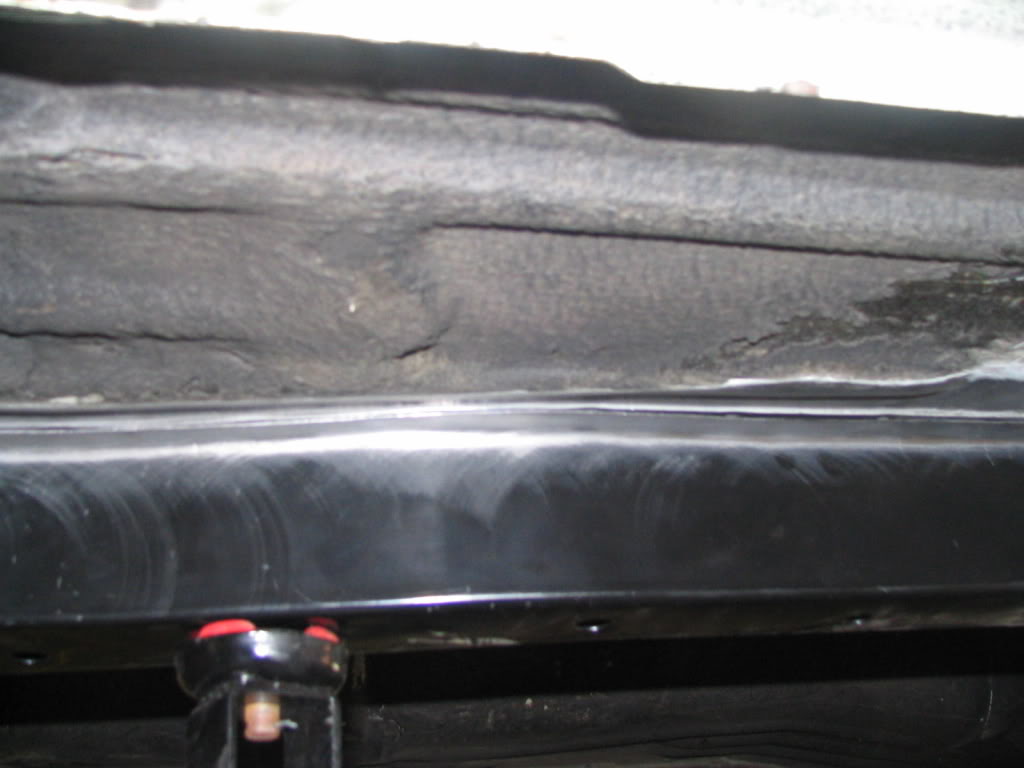
tried to use a lil cuttign torch to cut out the rusted frame rail spot . well it wasn't up to the thickness of the metal soo it didnt' work . I did get soem more worse news the other side of the rail is also rusted so patching is isn't a go any more
this is all i thought i had to deal with
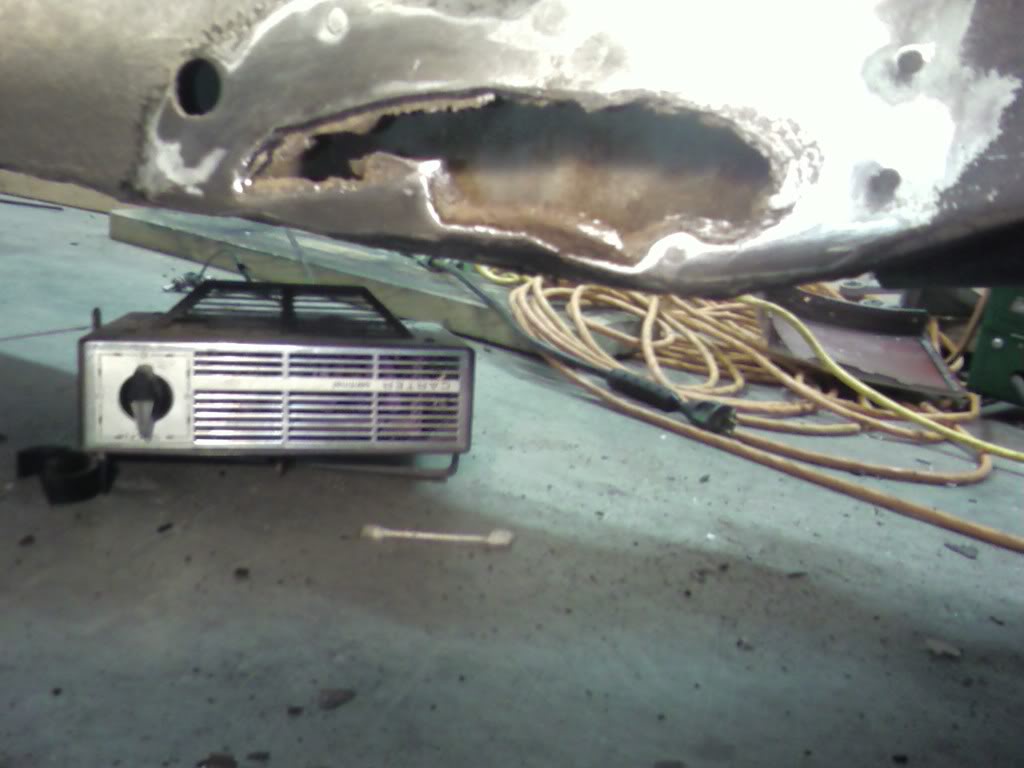
but on the out side of tha rail once i chipped / burned off the under coating/ did some grinding i ended up with this on the other side.
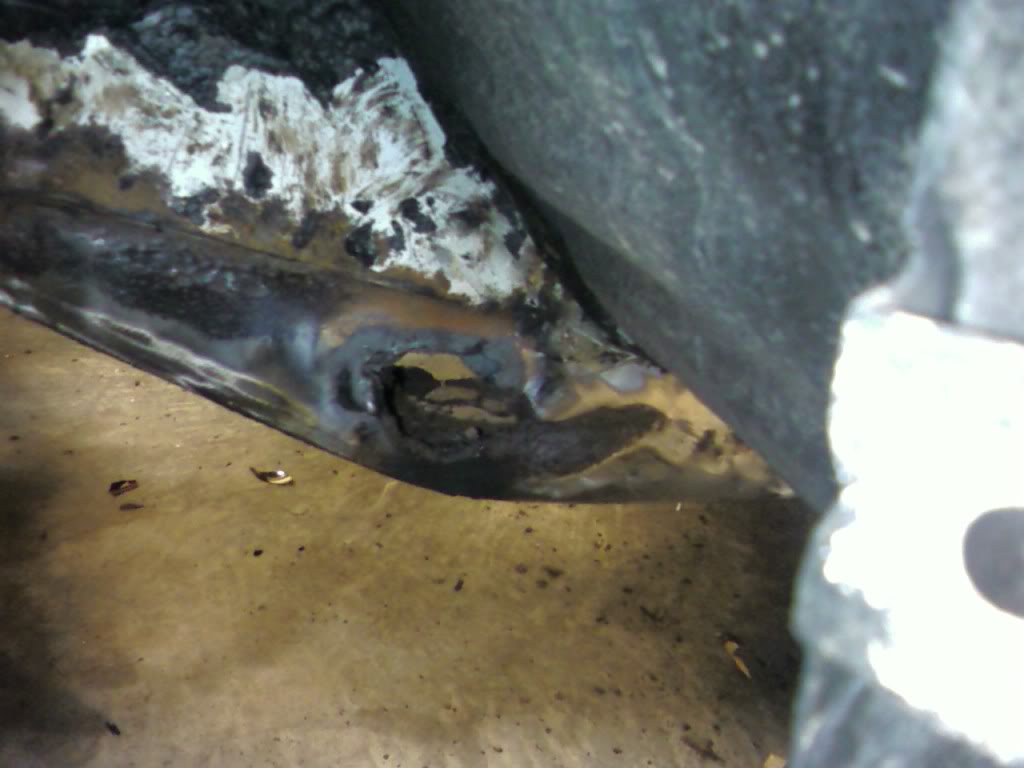

So i am not going to try and patch it any more So went to sherwood park nissan and ordered a new rail section cost me 107 bucks so should be here on wed new shinny rust free rail section .
then tiem to cut and weld
and i was workign on gutting the rear trunk lid.
Sweet dewalt tin shears make quick work of the sheet metal .
after i cut all the way a round it the only thing holding it on then was the black tar ****. I used a small torch and heated up a putty knife to slide under the ribbing and pop the ribbing off. took about 30 mins to do it and this is what i got when it was off.
then used my olfa to scrap more of the tar off. and trimed a bit more. and all done .
took about half the weight out of it. and its still pretty ridged . i might toss a support bar of aluminum across the width of the lid to give it a touch of support .
tried to gut the door door today . damn rebar is spot welded on lol . got to try again
and that is a good Idea guy's deff something we can work out
BTW the factory door that is just all steal is
heavy sons of bitches! can't image them with the power windows junk and glass .tried to use a lil cuttign torch to cut out the rusted frame rail spot . well it wasn't up to the thickness of the metal soo it didnt' work . I did get soem more worse news the other side of the rail is also rusted so patching is isn't a go any more
this is all i thought i had to deal with
but on the out side of tha rail once i chipped / burned off the under coating/ did some grinding i ended up with this on the other side.
So i am not going to try and patch it any more So went to sherwood park nissan and ordered a new rail section cost me 107 bucks
so should be here on wed new shinny rust free rail section . then tiem to cut and weld
Last edited by bigmack000; May 1, 2009 at 09:38 PM.
Thread Starter
Registered User
Joined: Sep 2004
Posts: 27
Likes: 0
From: alberta canada
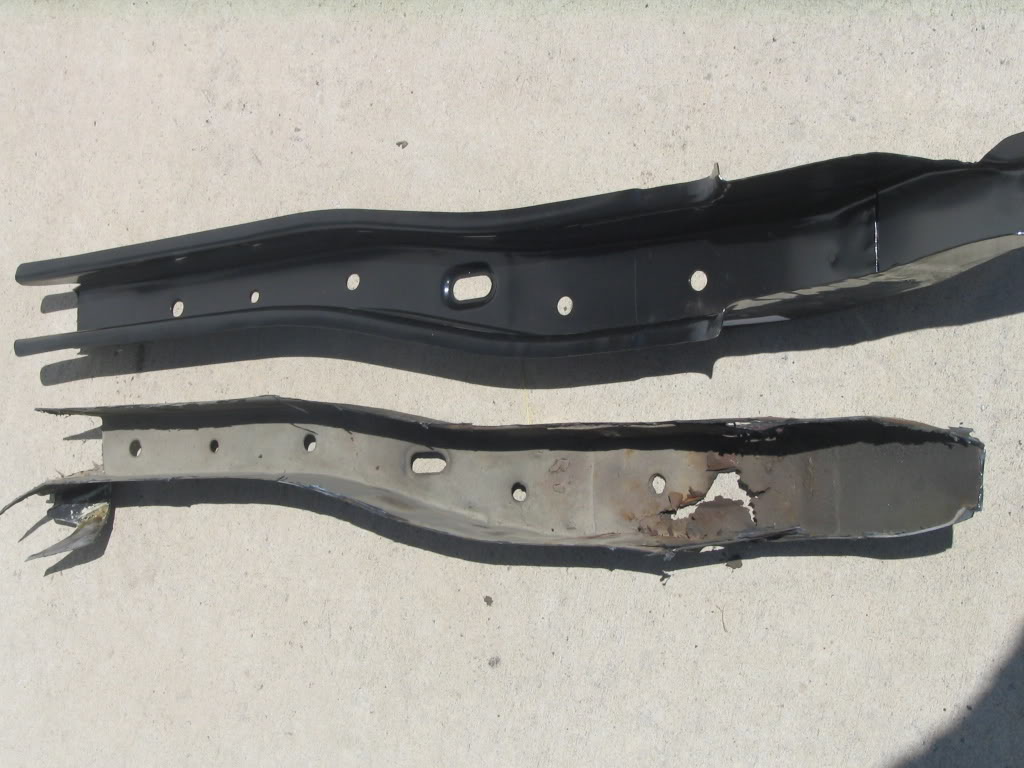
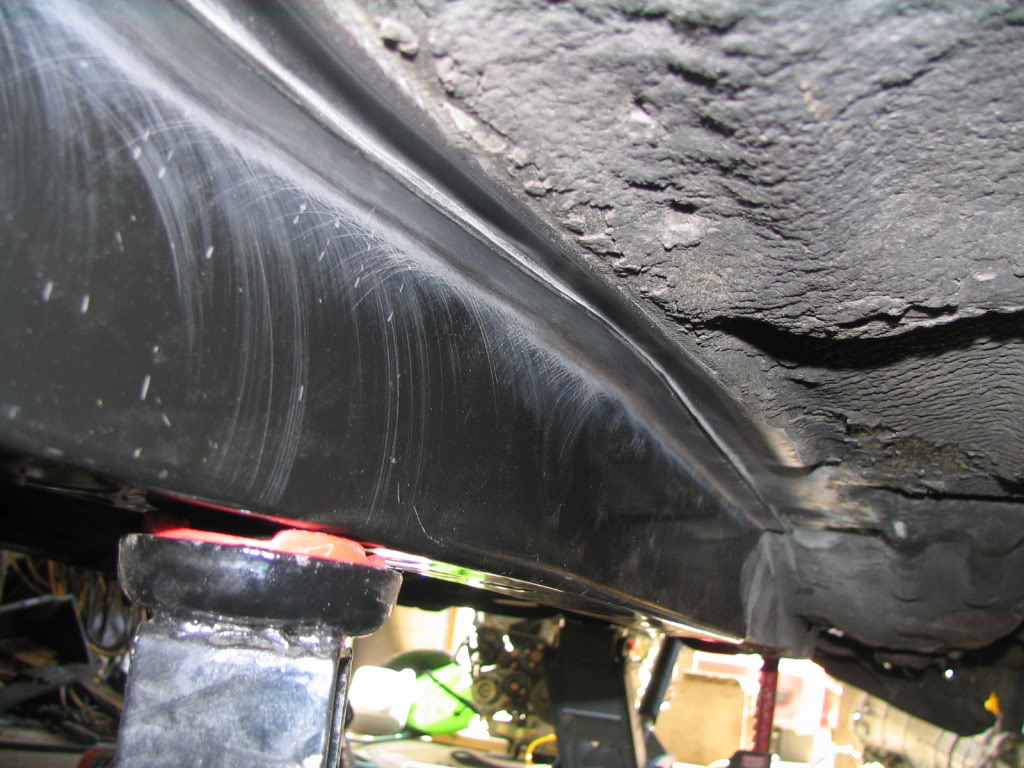
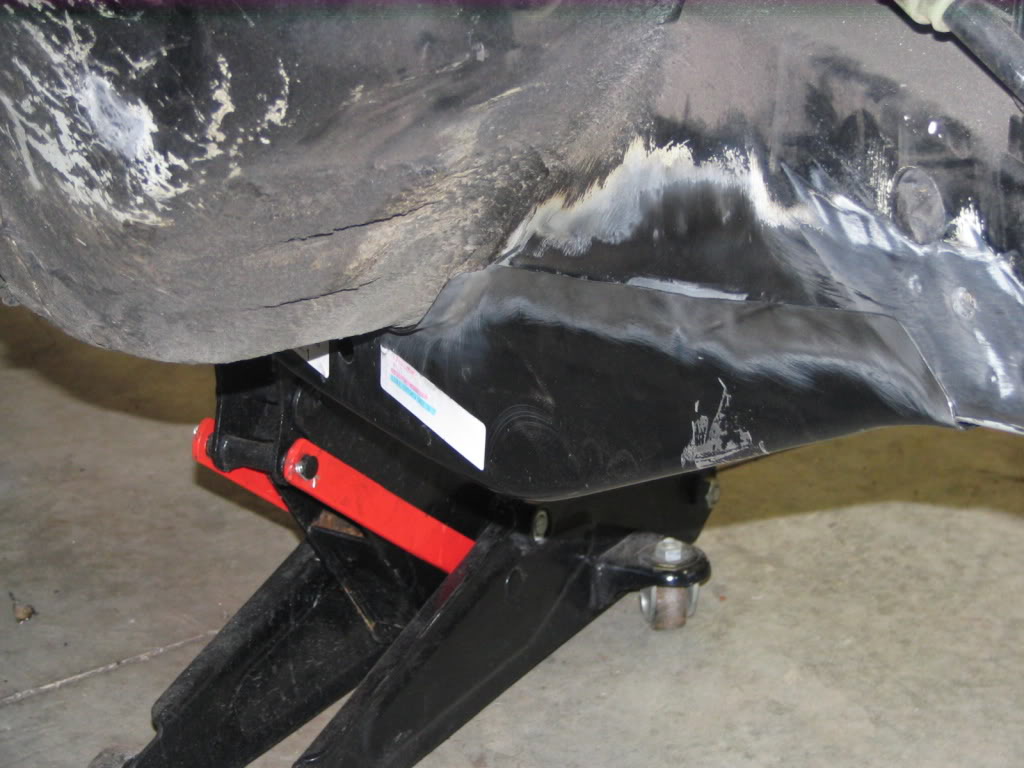
So Frame rail came in on friday so went to pick it up . I was pleasantly surprised at how big the rail section was. it measures up to 43 inches long ! witch is awesome
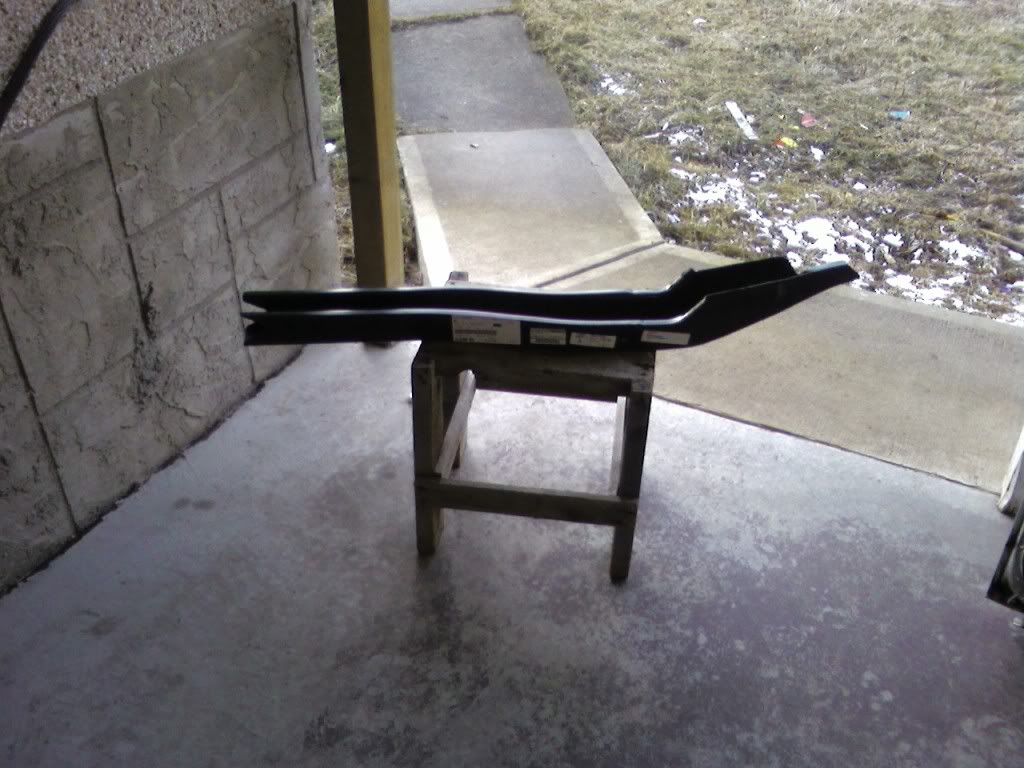
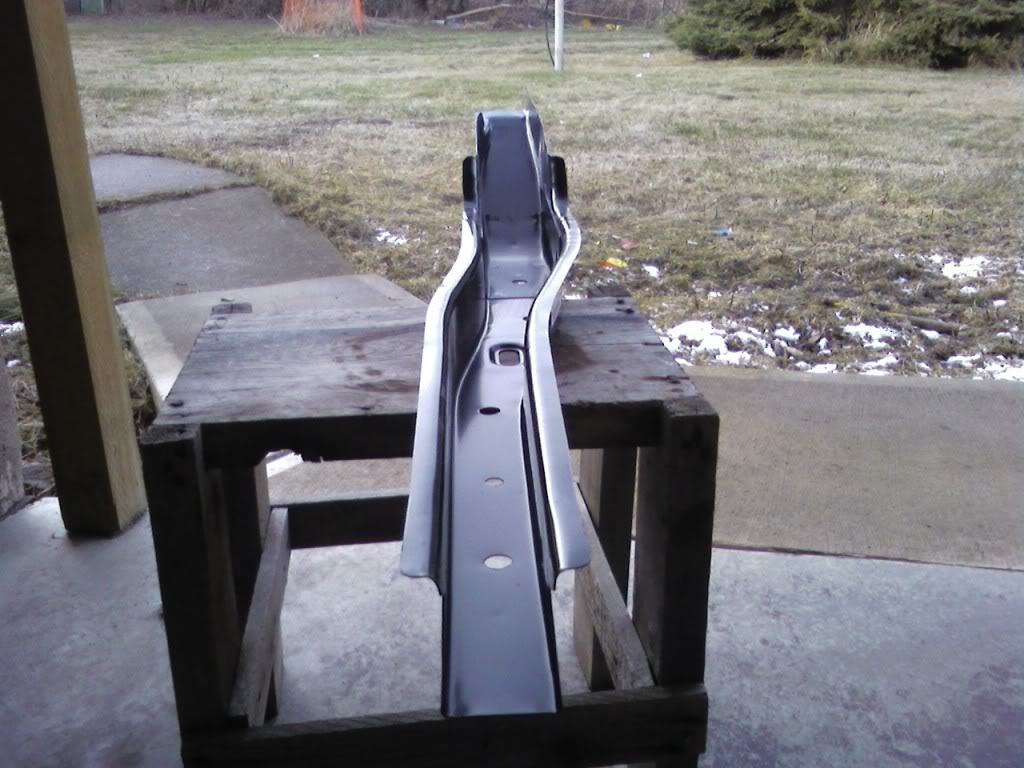
look at how nice it looks
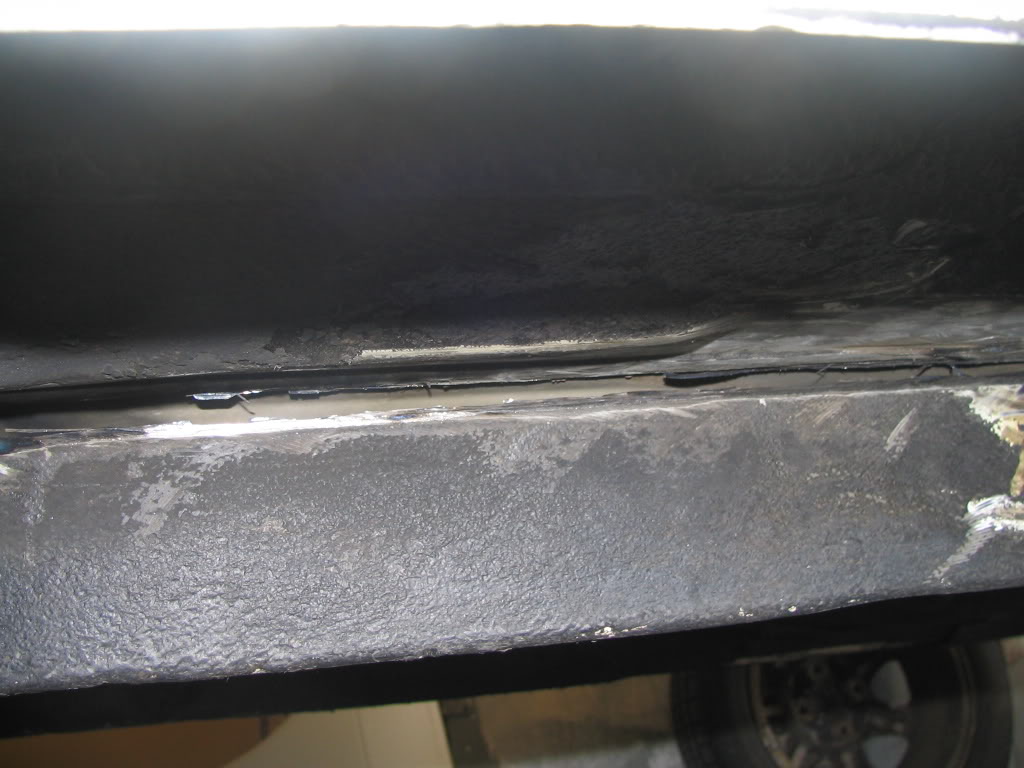
Here is the is the old one on the car
 the seam on the right hand side all the way to the left is being removed
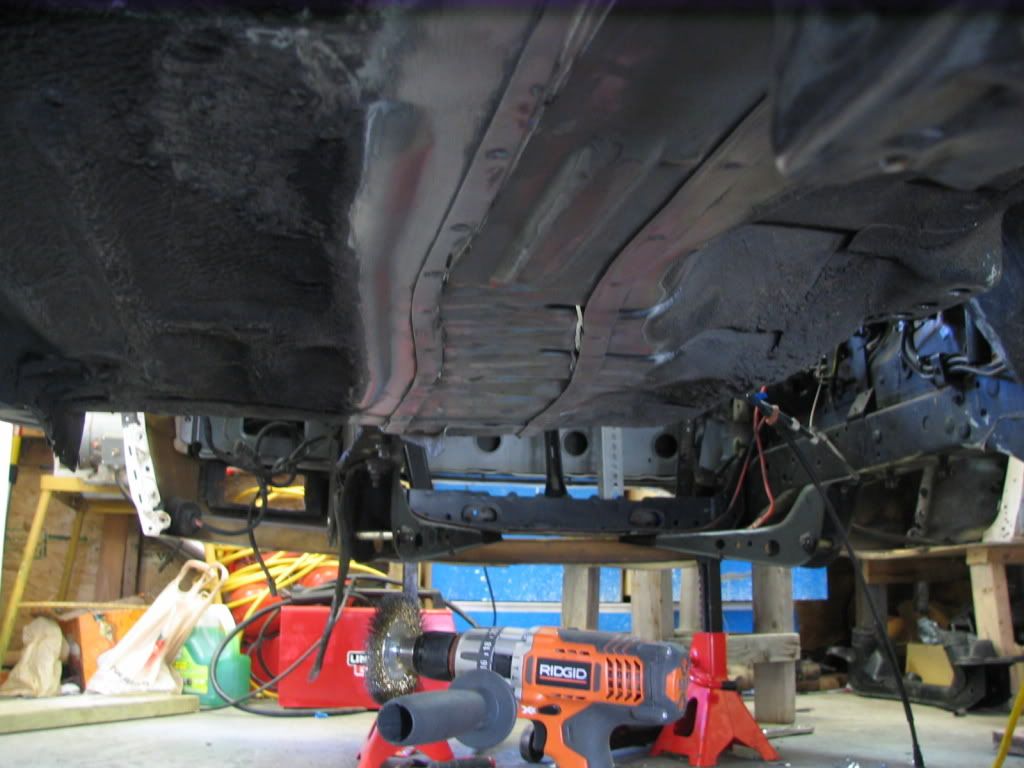
So I have to scrap an area clean for the new rail to be welded
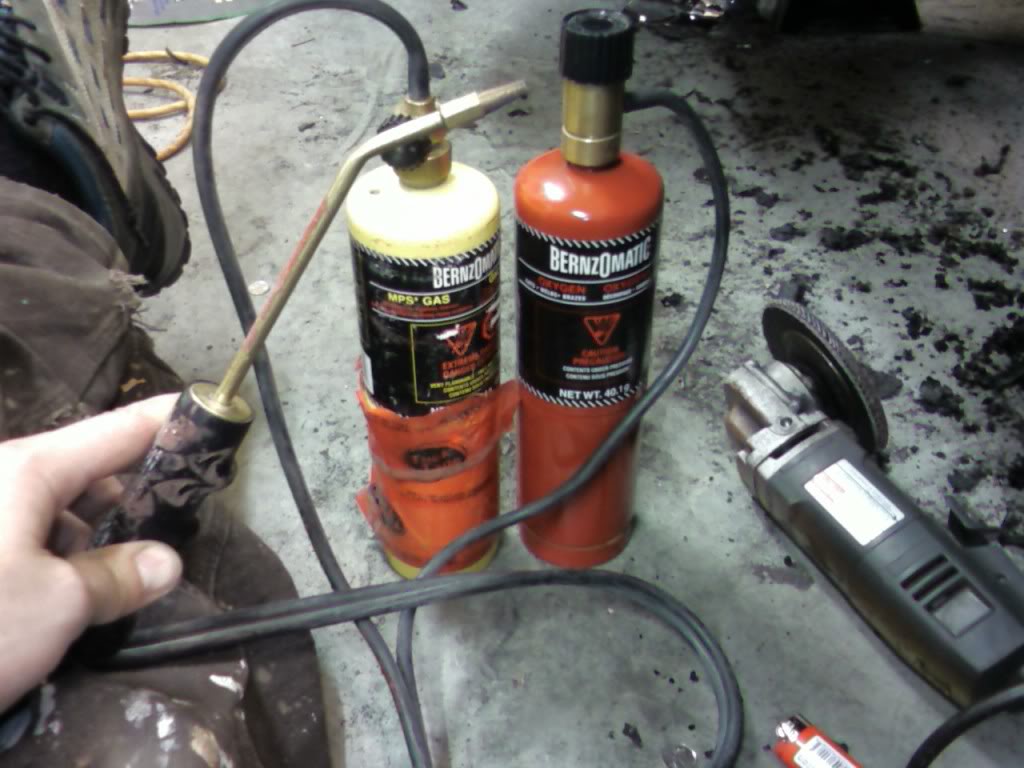
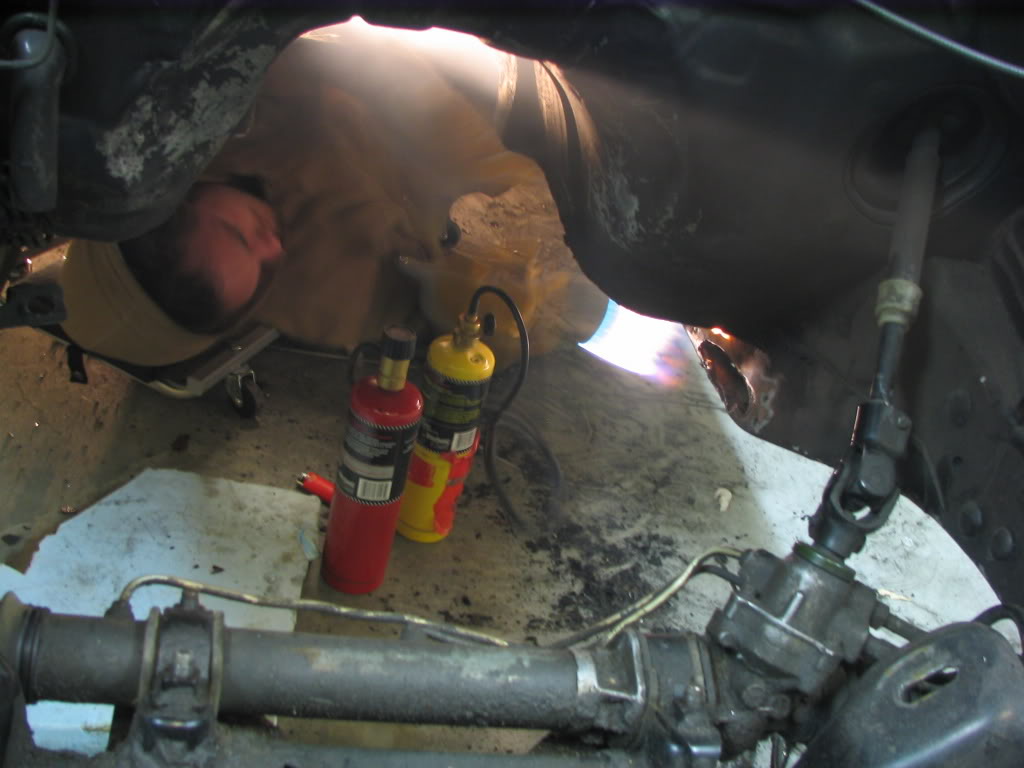
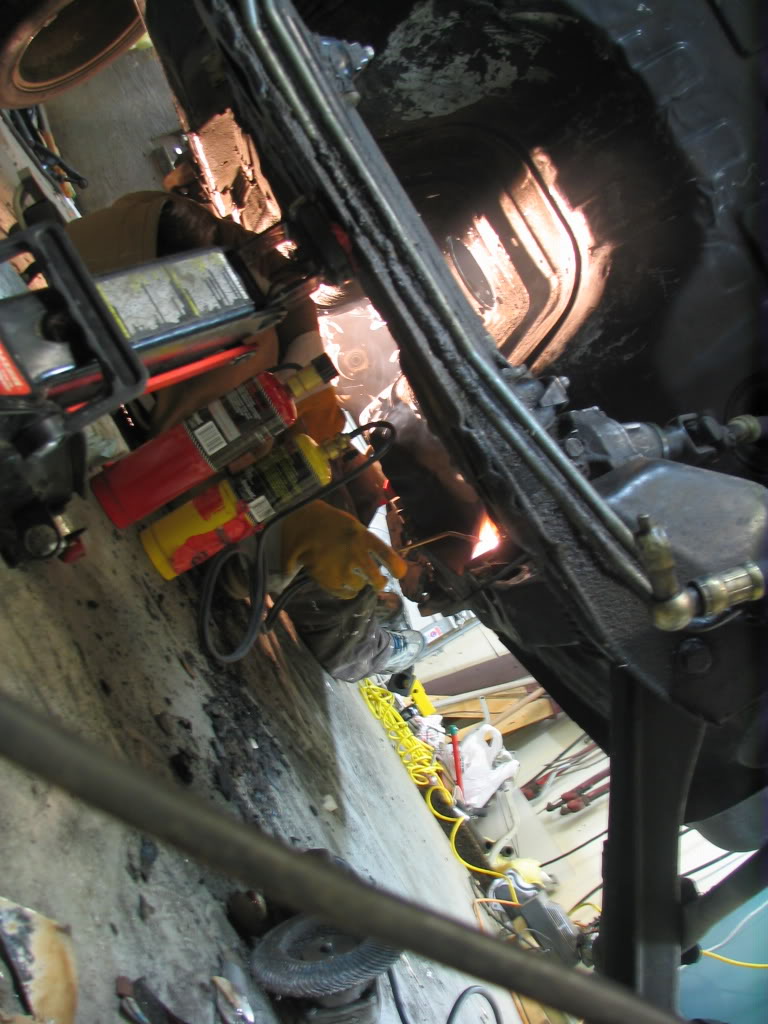
because iam lazy and like fire i decided to heat the under coating up so it just wipe off pretty much .
So i rigged up a maps gas tank and an oxygen tank
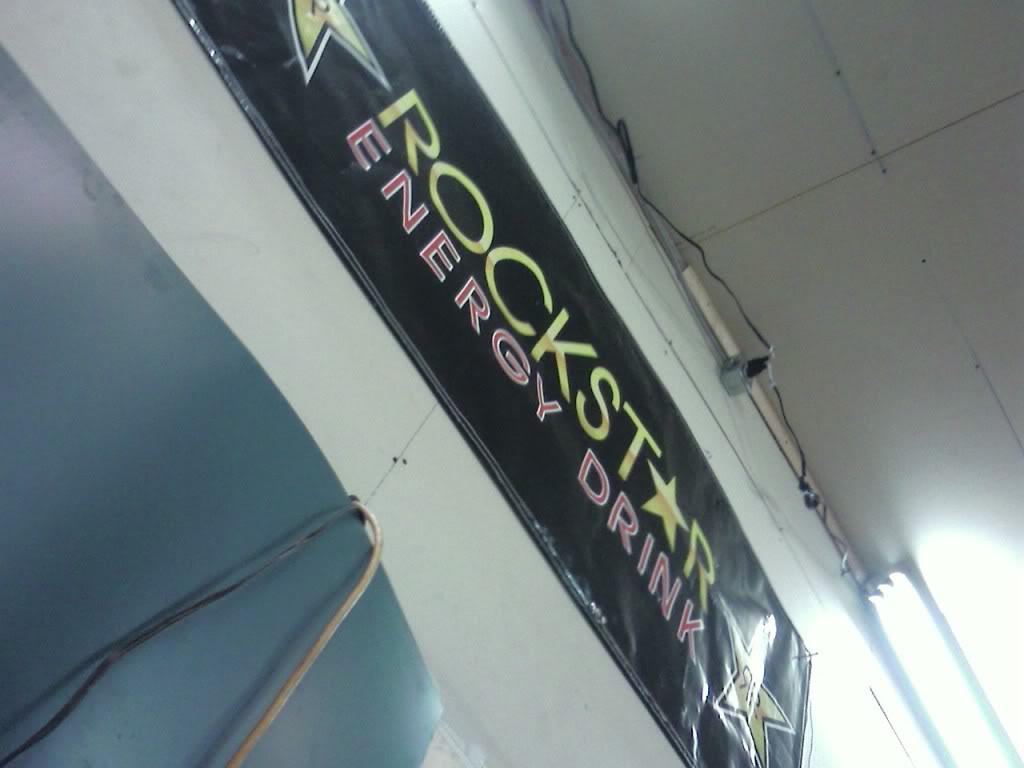
then i looked up and i agreed i am a rock star
and then there was fire !
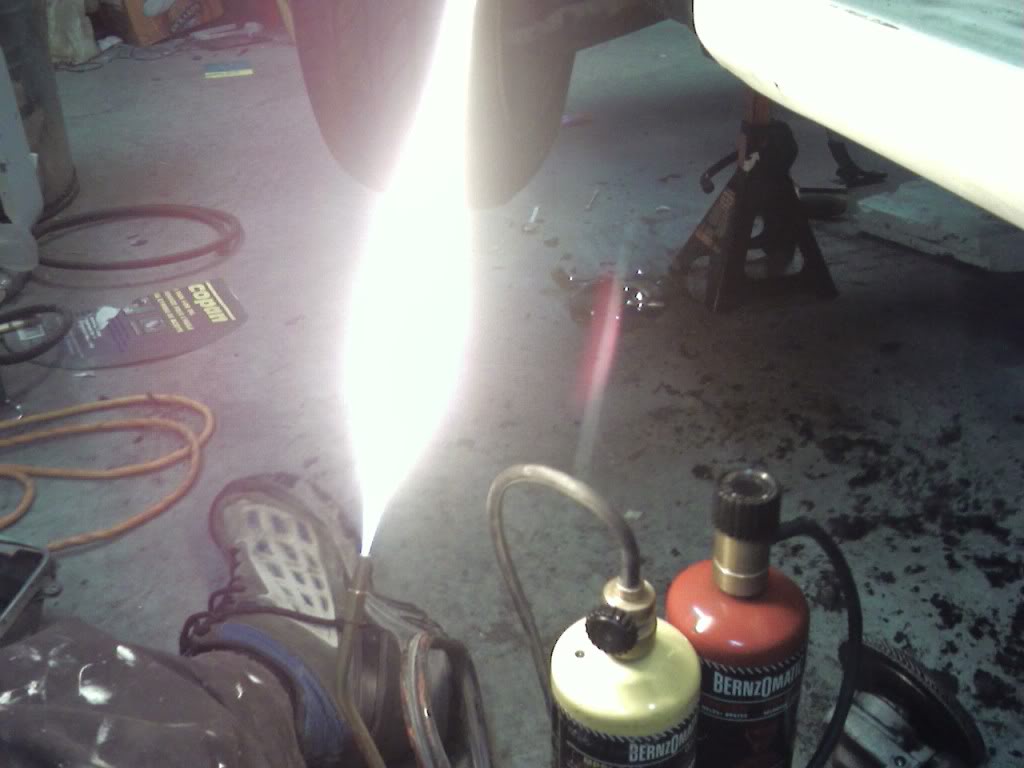
so it went well was a tad smokey when i stood up lol
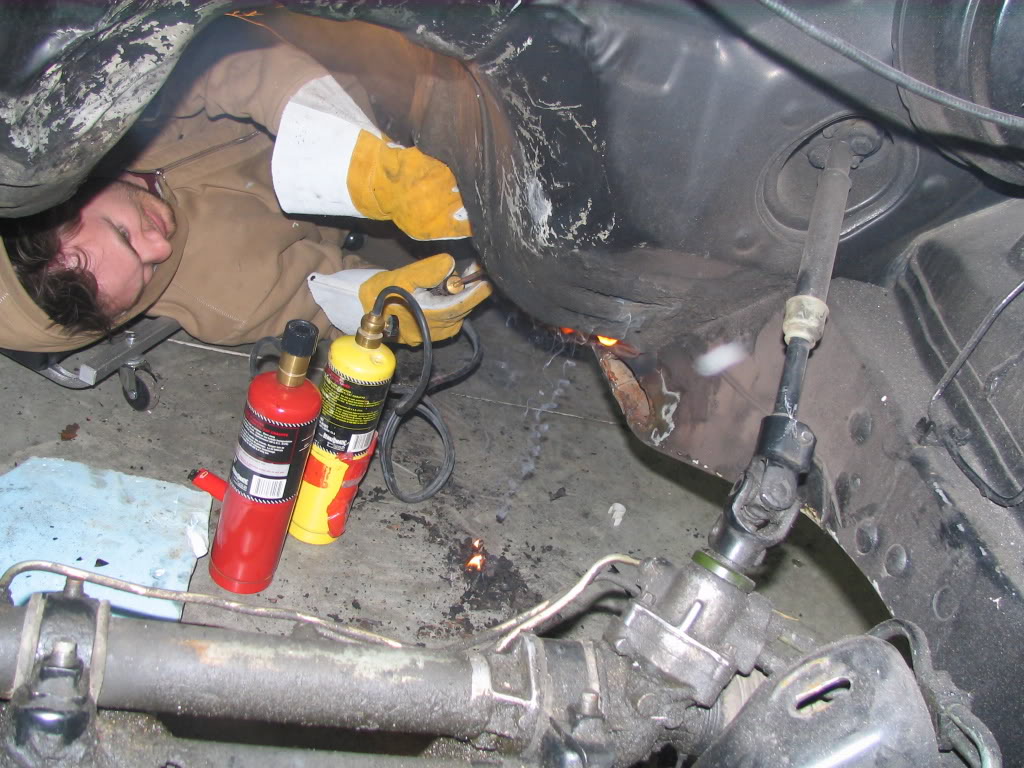
but after i scrapped most of it off i let it harden up a bit so it woudl be britel so i coudl take my nylon brush wheel for my drill and buffed it pretty clean . so have to do the other side of the rail tomorrow night
so more work done the frame rail is ready to be cut off now and the new one put on .
pics .
more buring and scrapping of under coat with my sweet lil super torch set up lol
so now that i can see the factory seam should be no prob at all to gind it off .
then will have to clean more with a wire brush attachment on my drill to make sure its really clean for welding .
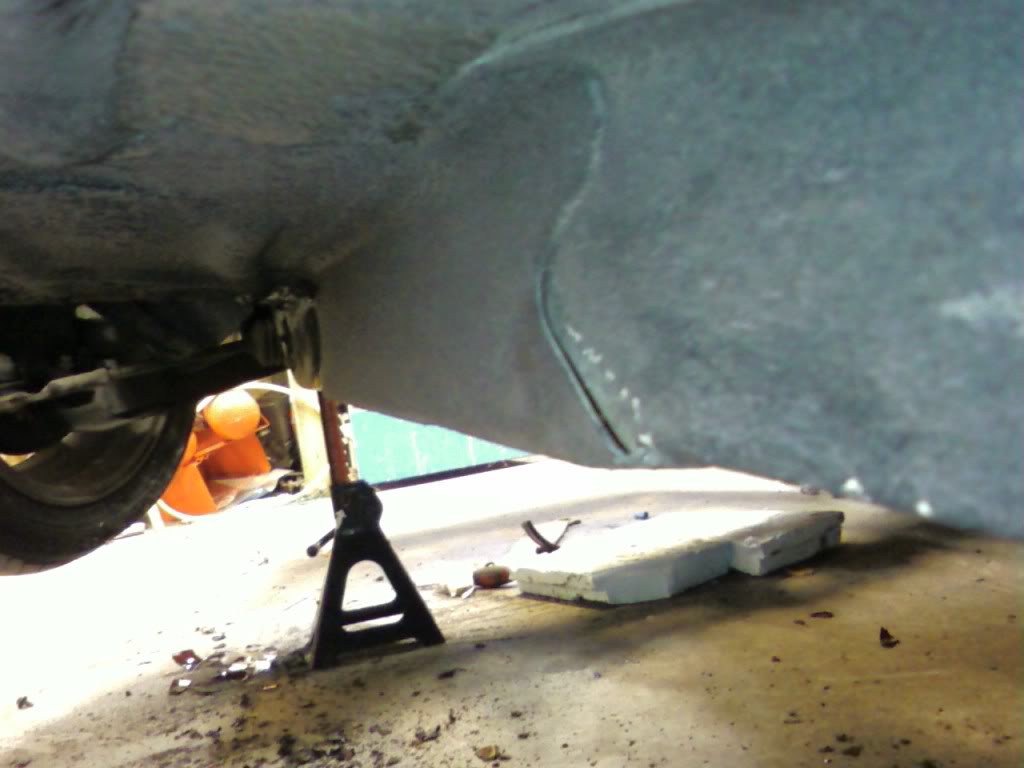
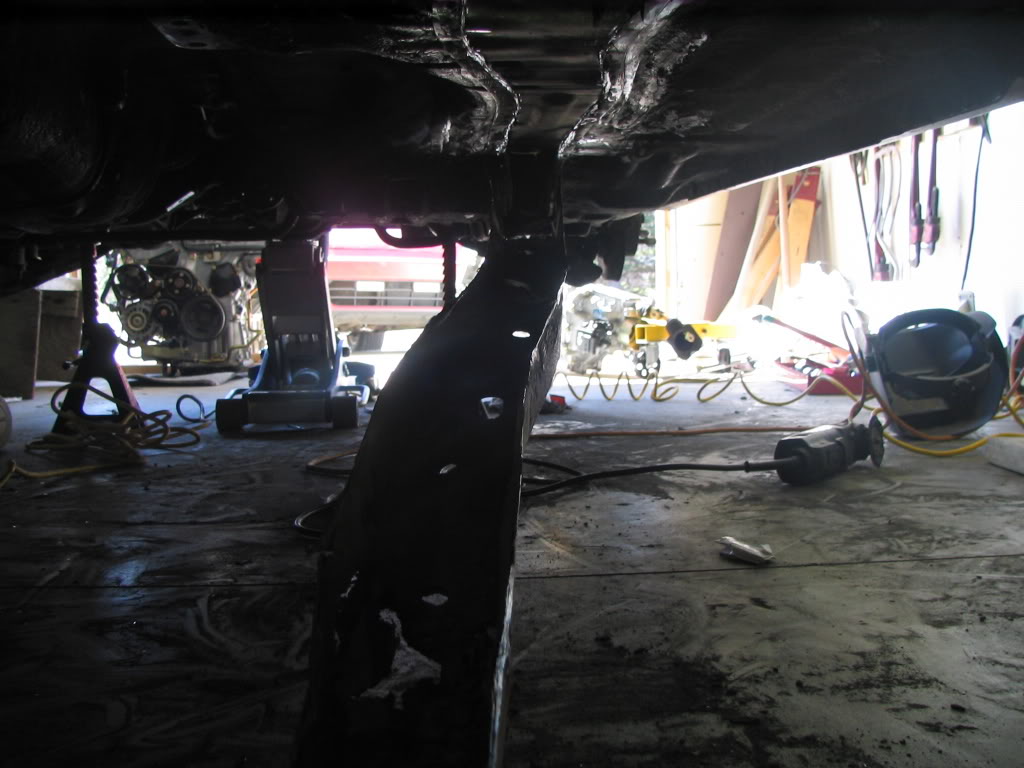
While i was doing that mike was workign away removing the fornt suspension
and the entire front sub frame with every thign still attached
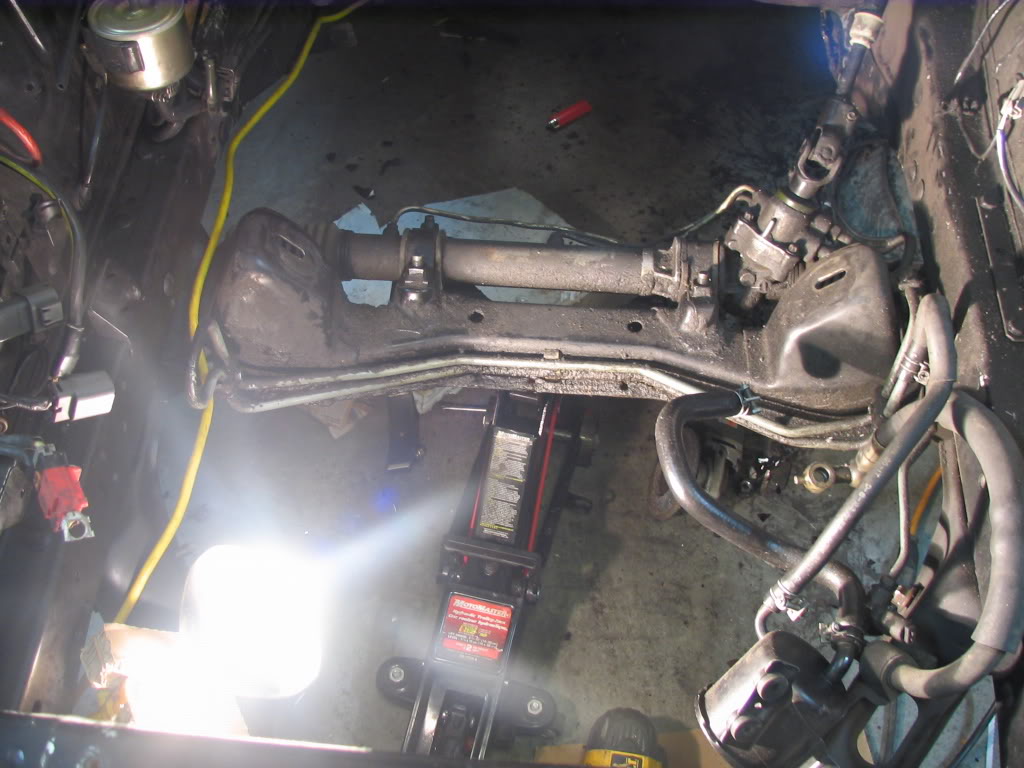
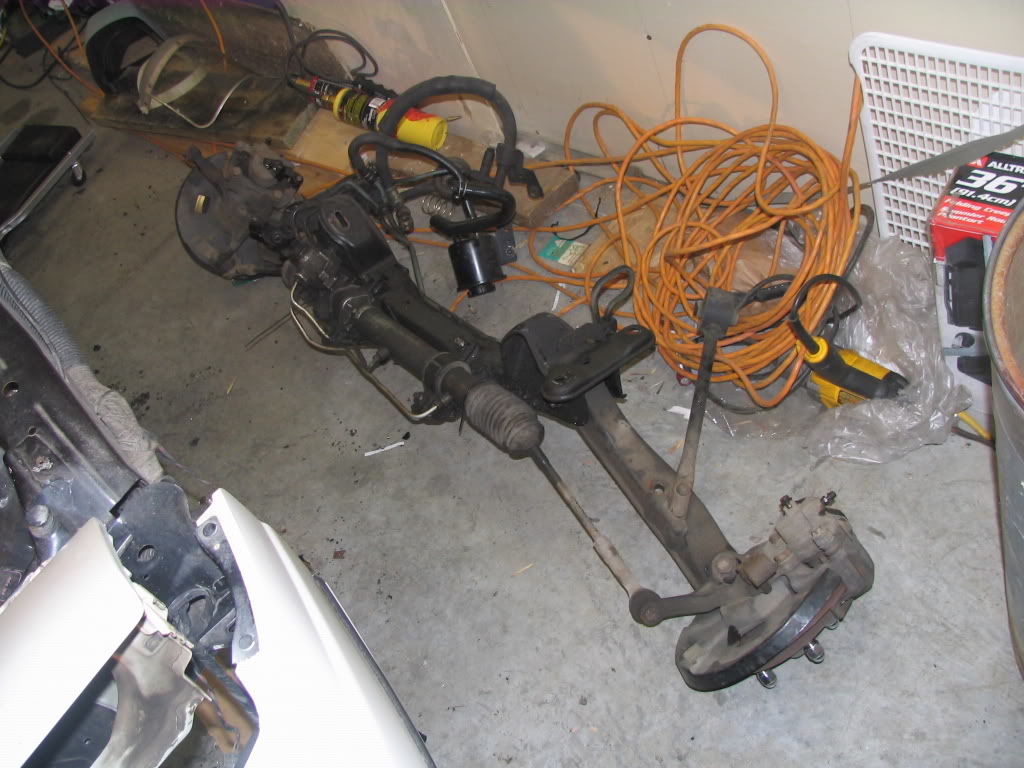
look at all that room to work with now !
So on sat i am goign to start the rail replacement and cleaning up parts of the sub frame
should be a good time
going to cut the rail and weld in the new on tomorrow morn will have pics tomorrow evening
look at how nice it looks
Here is the is the old one on the car
the seam on the right hand side all the way to the left is being removed So I have to scrap an area clean for the new rail to be welded
because iam lazy and like fire i decided to heat the under coating up so it just wipe off pretty much .
So i rigged up a maps gas tank and an oxygen tank
then i looked up and i agreed i am a rock star
and then there was fire !
so it went well was a tad smokey when i stood up lol
but after i scrapped most of it off i let it harden up a bit so it woudl be britel so i coudl take my nylon brush wheel for my drill and buffed it pretty clean . so have to do the other side of the rail tomorrow night
so more work done the frame rail is ready to be cut off now and the new one put on .
pics .
more buring and scrapping of under coat with my sweet lil super torch set up lol
so now that i can see the factory seam should be no prob at all to gind it off .
then will have to clean more with a wire brush attachment on my drill to make sure its really clean for welding .
While i was doing that mike was workign away removing the fornt suspension
and the entire front sub frame with every thign still attached
look at all that room to work with now !
So on sat i am goign to start the rail replacement and cleaning up parts of the sub frame
should be a good time
going to cut the rail and weld in the new on tomorrow morn will have pics tomorrow evening


Thread Starter
Registered User
Joined: Sep 2004
Posts: 27
Likes: 0
From: alberta canada
Alright so today was frame rail transplant day over all went fairly well had some trouble with the welder tho but that's ok will fix it up in the next couple days.
heres the pics no action shots due to lack of helpers lol
so the start old frame rail with the lip exsposed so i know where to cut
rail cut and started prying away from floor
one good kick and presto

all that is holding it up is one spot weld that i busted with a chisel
rail detached
side by side old rail and new
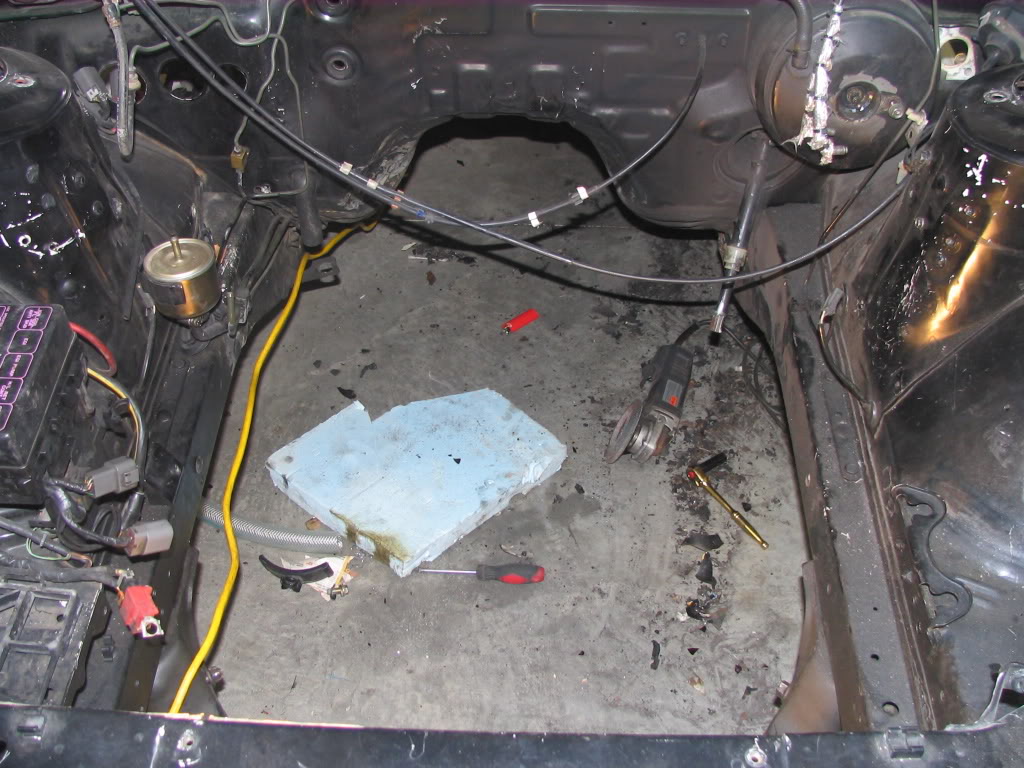
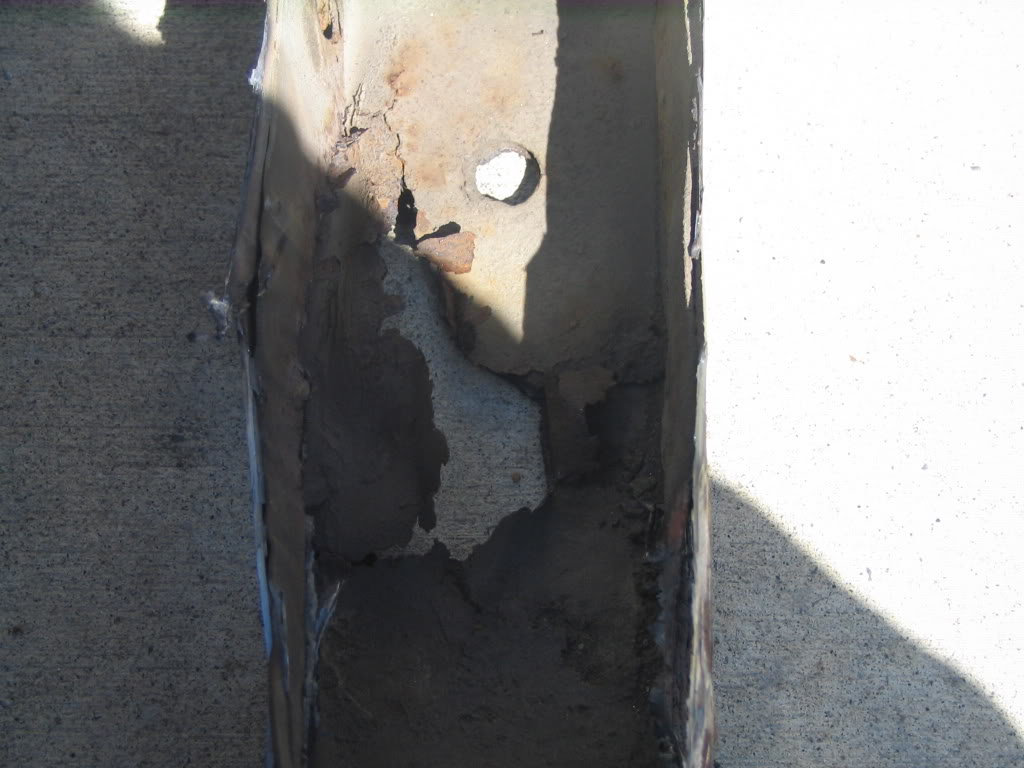
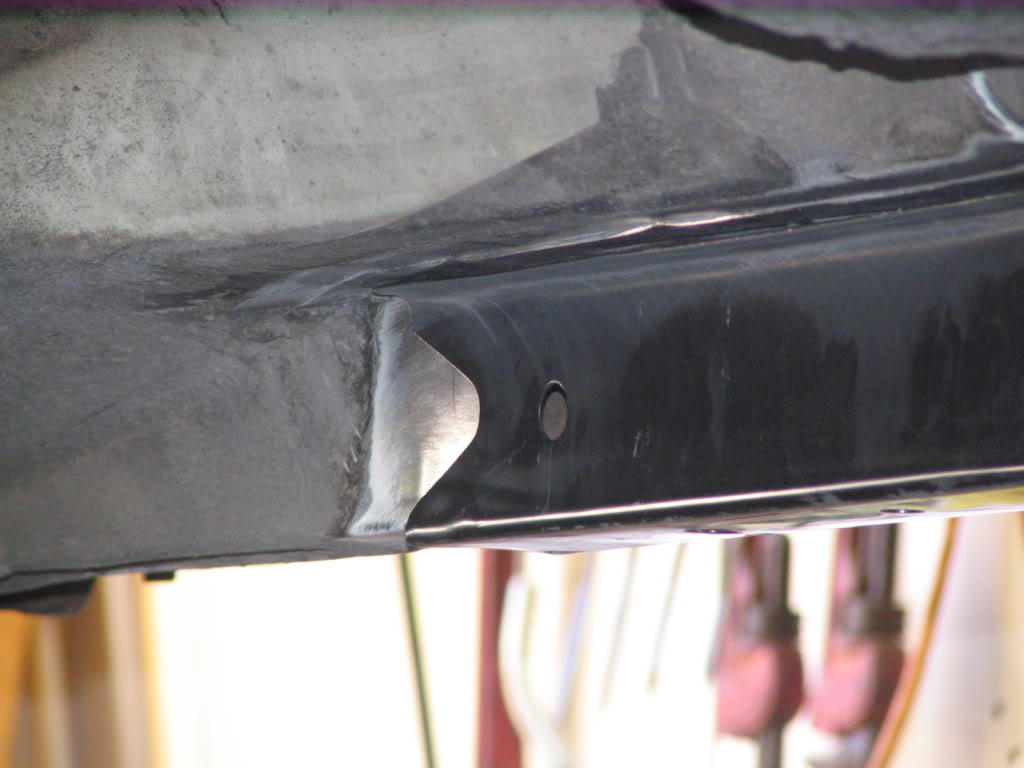
the damage
sweet pick i took while eatting my lunch
cleaned up the floor so i had a nice contact area for welding
New rail held up into its new home !
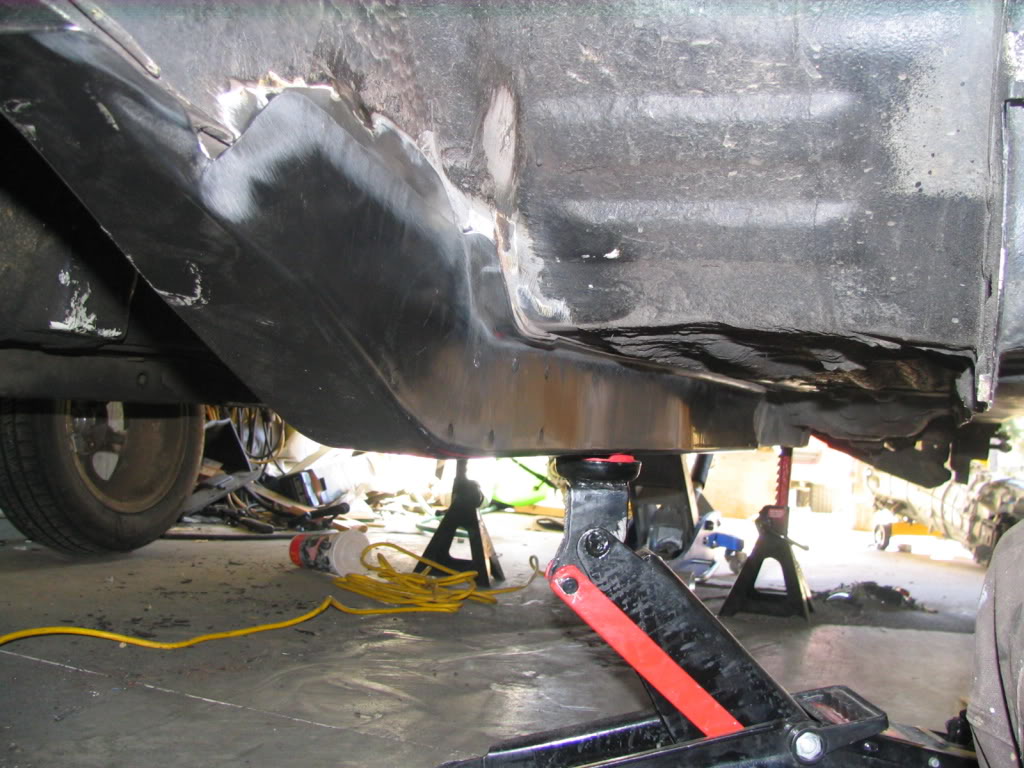
had a slight gap that i had to pound down with a hammer to get a nice tight fit
20 mins later after beating the **** out of it
from inside the engine bay this is the part that gets all the heat form the factory down pipe that is the cause of the rust
rear section fitment
and then tacked on on both sides

have to find out why i was having trouble with the welder i think it was the ground but i moved it and even cleaned new areas for it but still no help .
hope to have my crap welds gridded down and then have some nice ones put over top next week .
Joel
heres the pics no action shots due to lack of helpers lol
so the start old frame rail with the lip exsposed so i know where to cut
rail cut and started prying away from floor
one good kick and presto
all that is holding it up is one spot weld that i busted with a chisel
rail detached
side by side old rail and new
the damage
sweet pick i took while eatting my lunch
cleaned up the floor so i had a nice contact area for welding
New rail held up into its new home !
had a slight gap that i had to pound down with a hammer to get a nice tight fit
20 mins later after beating the **** out of it
from inside the engine bay this is the part that gets all the heat form the factory down pipe that is the cause of the rust
rear section fitment
and then tacked on on both sides
have to find out why i was having trouble with the welder i think it was the ground but i moved it and even cleaned new areas for it but still no help .
hope to have my crap welds gridded down and then have some nice ones put over top next week .
Joel
Trending Topics

Thread Starter
Registered User
Joined: Sep 2004
Posts: 27
Likes: 0
From: alberta canada
there is a small time attack thing here where i live , and a bunch of GT races at army air ports and the GT invitational at the Edmonton INDY run by http://www.nascc.ab.ca/ . and also race city in Calgary alberta unless it gets shut down sooner.
i hope to run at the INDY in 2010


Thread Starter
Registered User
Joined: Sep 2004
Posts: 27
Likes: 0
From: alberta canada
hahah as do i. but worked slowed down for a while. but now is picking up again so should be able to start ordering parts right away .
I for got to say from what i have gutted out of the car already i have shaved off 350 lbs and i will be running the factory final drive of 4.10
target race weight is around 2300-2400 lbs
so almost a 1000lbs less then a 350 depending on the year and model of it
iam sure you guy can imagen how your cars would be 1000lbs lighter
.I for got to say from what i have gutted out of the car already i have shaved off 350 lbs and i will be running the factory final drive of 4.10
target race weight is around 2300-2400 lbs
so almost a 1000lbs less then a 350 depending on the year and model of it
iam sure you guy can imagen how your cars would be 1000lbs lighter
Thread Starter
Registered User
Joined: Sep 2004
Posts: 27
Likes: 0
From: alberta canada
I need to stay NA for now the race reg i have to follow make you add points to your class so if i put a turbo set up on the car would have to weight more. where as if i keep it NA i can go as low as 2100 but that be pretty hard. with FI i have to be almost 3100lbs :S
here are the regs
There are five GT classes. The classes are grouped according to engine size and type, as follows:
Class
Engine Displacement
Class Weight Factor (CF)
GT-1
2551 cc to 6000 cc
0.53 lb/cc
GT-2
2051 cc to 2550 cc
0.90 lb/cc
GT-3
1551 cc to 2050 cc
1.05 lb/cc
GT-4
1190 cc to 1550 cc
1.10 lb/cc
GT-5
Up to 1190 cc
1.20 lb/cc
a) For the purpose of classification, "Engine Displacement" is defined as the displacement of the specific engine currently installed in the competitor's vehicle, multiplied by all applicable displacement factors. The vehicle minimum race weight shall be calculated as follows: Minimum weight = Displacement(cc) x DF x CF + 180 lb. DF = displacement factor. CF = class factor.
b) This displacement is defined as the displacement (swept volume) of the specific engine currently installed in the competitor's vehicle. If the engine is not an OEM installation, the vehicle race weight must be adjusted to account for any change in displacement, induction or valve train.
c) DF (displacement factor) is defined as the product of all applicable displacement factors listed below, multiplied together.
d) The vehicles will be weighed in drivable condition, i.e. with some fuel, oil and other fluids aboard and including the driver of the vehicle. It is expected that vehicles will generally be weighed at the termination of a track session, in immediate post-race condition.
e) The 180 lbs does not specifically represent the driver or any other particular component of the vehicle.
Examples:
1997 Toyota Corolla with a 1588 cc 2-valve per cylinder engine: Engine Displacement = 1588 cc x 0.85 = 1350 cc Eligible for GT4 Minimum Weight (including driver) = 1588 x 0.85 X 1.10 + 180 = 1664 lbs.
1991 Olds Cutlass with a 6000 cc 2-valve per cylinder engine: Engine Displacement = 6000 cc x 0.85 = 5100 cc Eligible for GT1 Minimum Weight (including driver) = 6000 x 0.85 x 0.53 + 180 = 2883 lbs.
1983 RX-7 with a fuel injected, bridge ported, 12A Wankel engine: Engine Displacement = 1146 cc x 1.05 x 1.55 = 1865 cc Eligible for GT3 Minimum Weight (including driver) = 1146 x 1.05 x 1.55 x 1.05 + 180 = 2138 lbs.
Displacement Factors
Displacement factors are used to roughly equalize the vehicle power to weight ratio achievable with different engine configurations and induction systems. The factors are as follows:
Induction or Cylinder Head Type
Displacement Factor (DF)
Restricted Induction
1.0
Unrestricted Induction (GT-1)
1.1
Unrestricted Induction (GT-2 to GT-5)
1.05
Forced Induction
1.55
Fast, Fun & Fair Motorsports - 15 - 2006 WCMA Technical Regulations - Race
SECTION 1 - GT REGULATIONS
Reciprocating Engines - 2 valve per cylinder
0.85
Wankel Engines - non-bridge ported
1.35
Wankel Engines - bridge ported
1.55
Wankel Engines - peripheral ported
1.85
Reciprocating Engines - 3 valves per cylinder
0.85
All applicable displacement factors will be multiplied together to give the overall displacement factor for the competitor's particular vehicle. The overall displacement factor is multiplied by the displacement of the specific engine currently installed in the competitor's vehicle to give an adjusted engine displacement. This adjusted engine displacement is used to determine vehicle classification according to the table in Section 30 of the GT Regulations
Last edited by bigmack000; May 9, 2009 at 09:31 AM.
Thread Starter
Registered User
Joined: Sep 2004
Posts: 27
Likes: 0
From: alberta canada
well test fitted the sub frame and it fits like a glove.
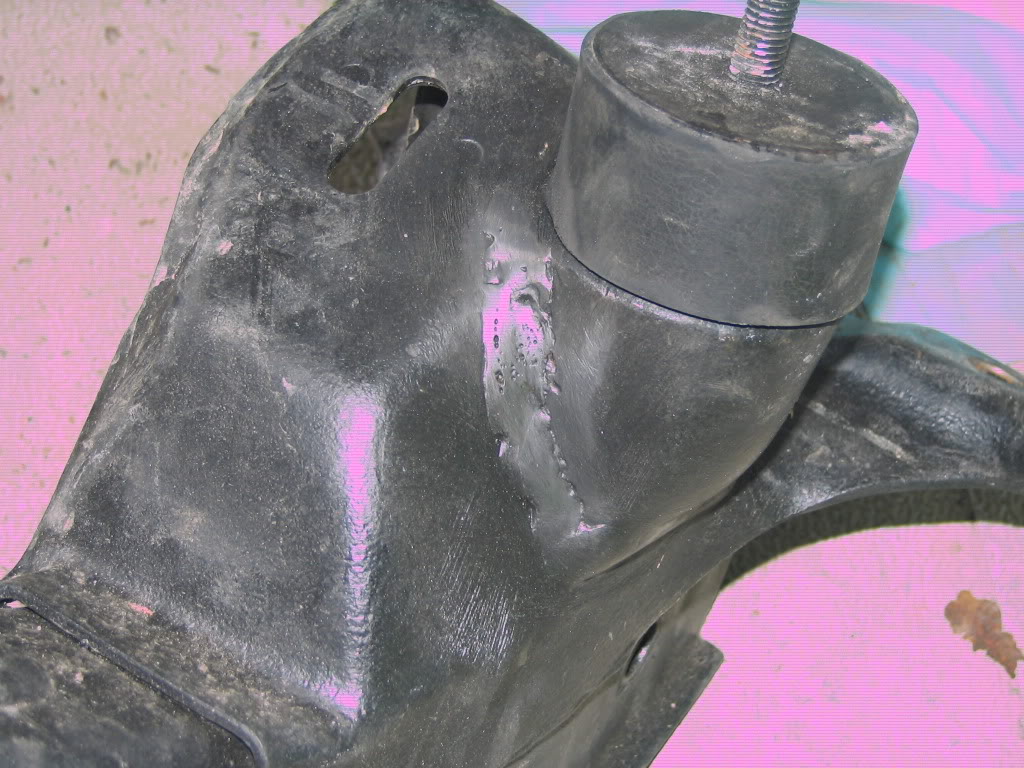
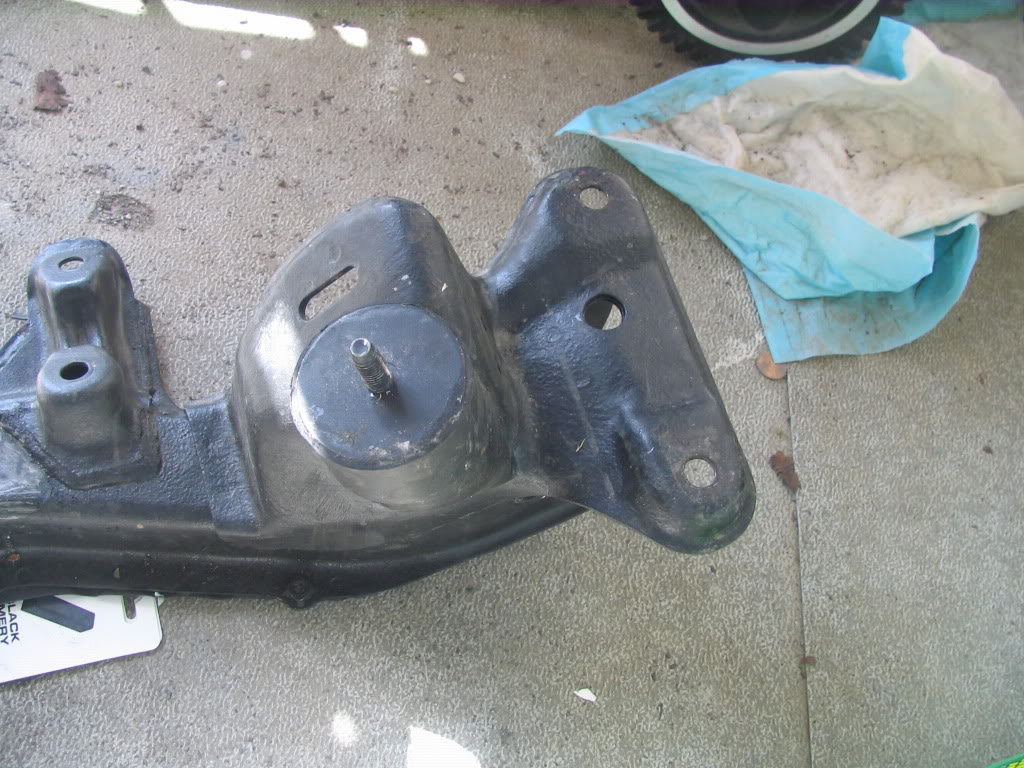
but the new engine mount points on the sub frame were caked in under coating spray
and i wanted to see the quality of the welds under the coating so i took a wire wheel to it and holy hell this stuff was strong it took an hour to expose the weld surface.
and just as i thought they were ****
not sure why the sun is pink in the pic haha but what ever you can see how crappy the weld is
So i decided i want to strip the entire sub frame and re coat it in some thing better.
as takign a wire wheel to it was damn near impossible and i wasn't paying 300+ bucks to get it acid dipped.
i met up with my paint sales rep and he gave me this stuff to try
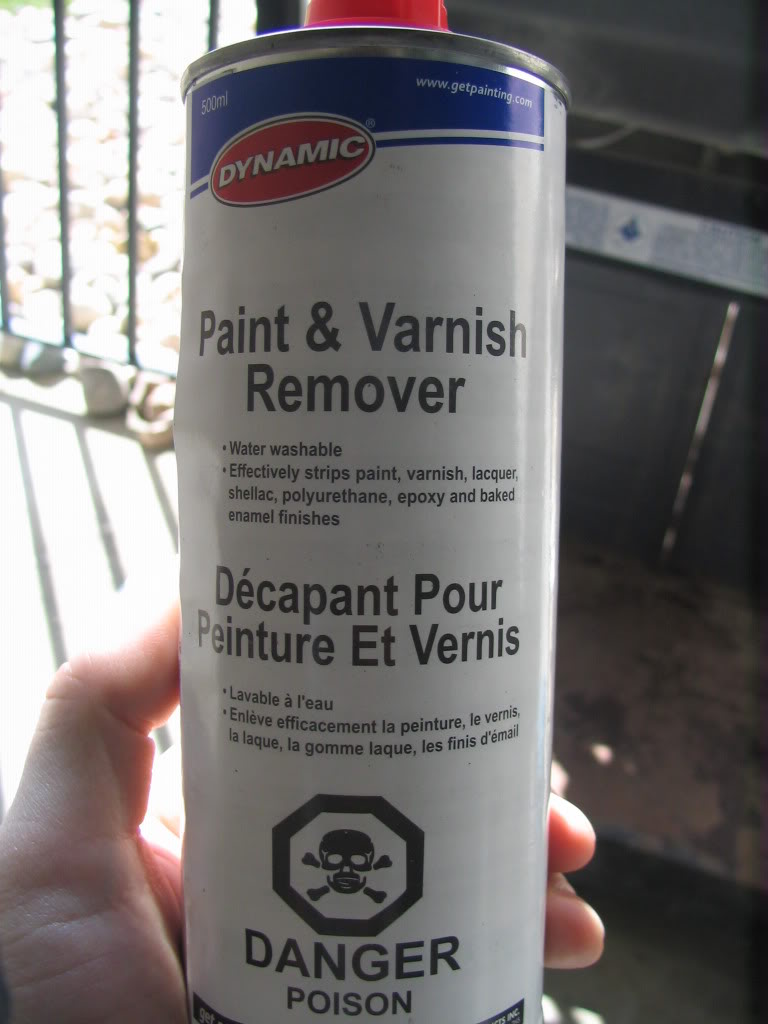
now it says it does epoxy and even baked on coating AKA powder coating ( BS right ) . but it was free so gave it a shot
so this is where i tried
so pasted it on let it sit for a bit
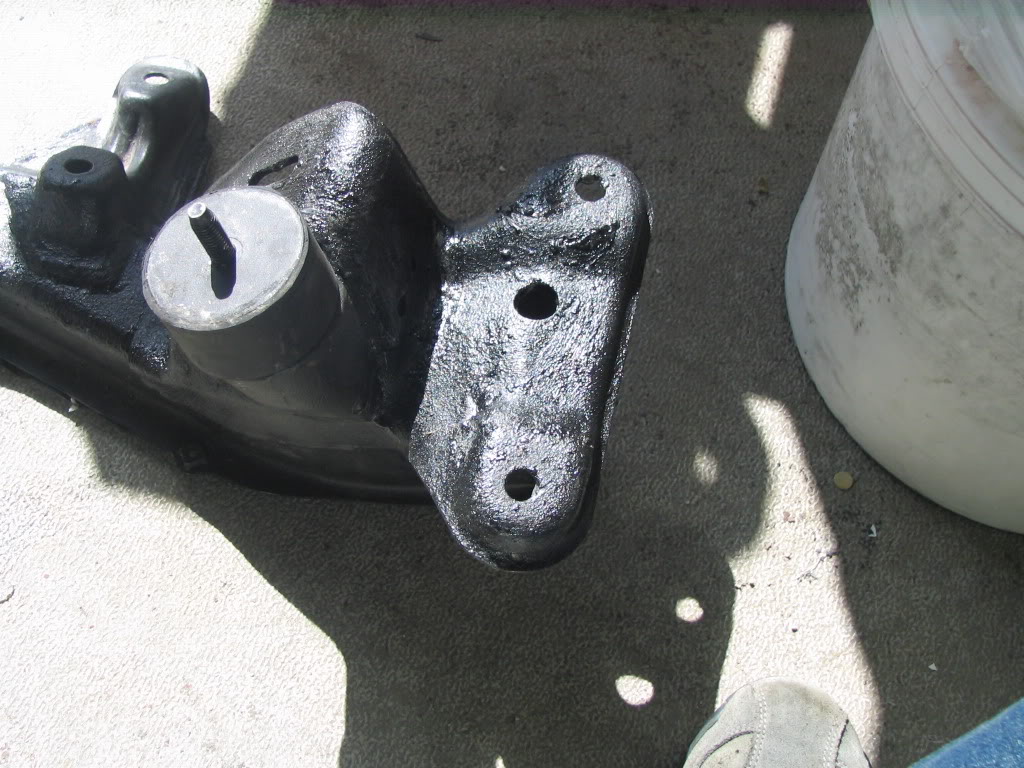
took a putty nice to it after 8mins ! and holy **** ! it worked !
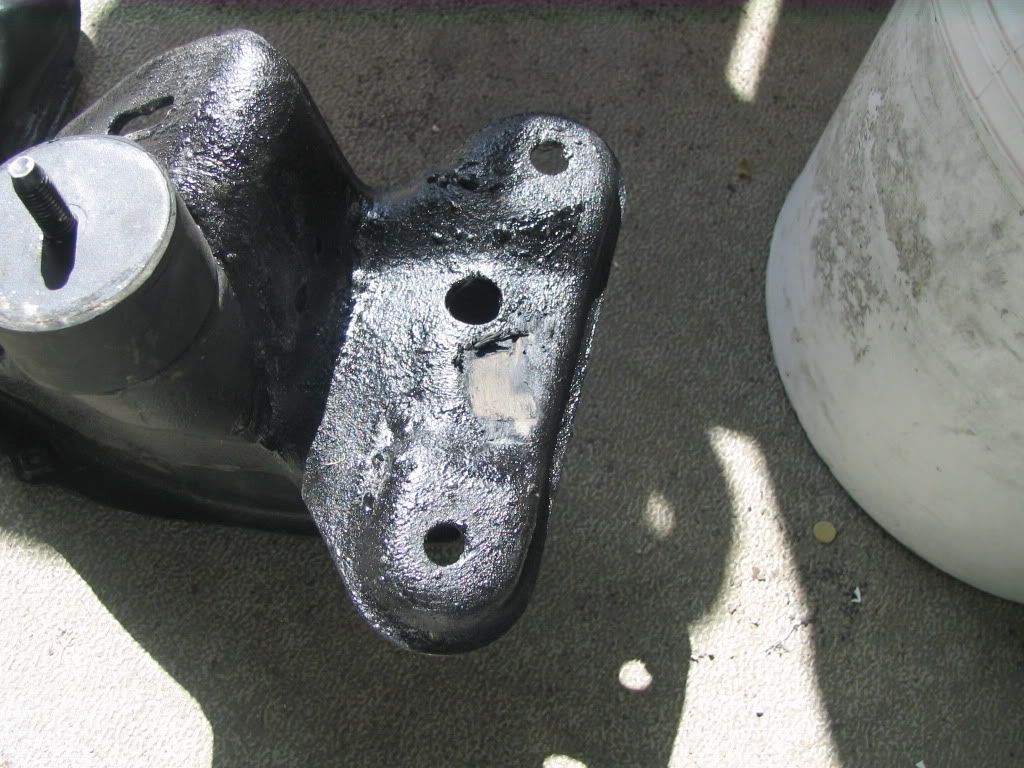
so i caked more stuff on and let it sit for about 15mins and then went scrapping.
after i got the majority off i scrubed it with some simple green and then just rinsed it off with water after and then took a wire brush to it for a few mins and this is what i ended up with
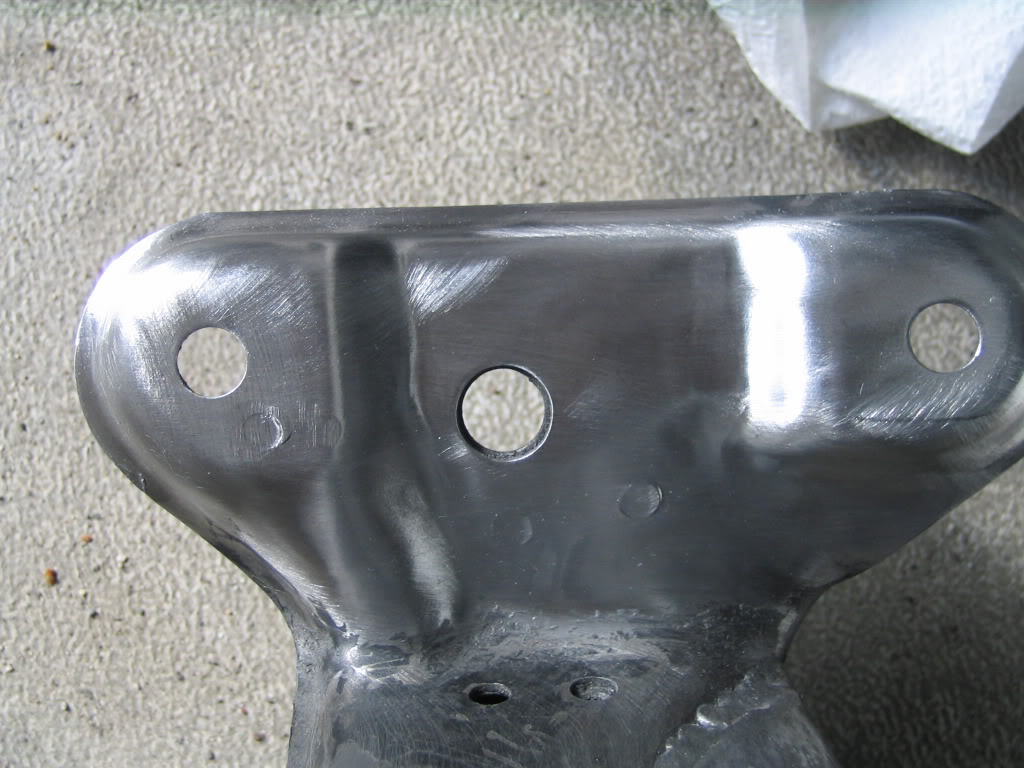
all in all worked awesome
but got lots more to do hahaha
oh well
Joel
but the new engine mount points on the sub frame were caked in under coating spray
and i wanted to see the quality of the welds under the coating so i took a wire wheel to it and holy hell this stuff was strong it took an hour to expose the weld surface.
and just as i thought they were ****
not sure why the sun is pink in the pic haha but what ever you can see how crappy the weld is
So i decided i want to strip the entire sub frame and re coat it in some thing better.
as takign a wire wheel to it was damn near impossible and i wasn't paying 300+ bucks to get it acid dipped.
i met up with my paint sales rep and he gave me this stuff to try
now it says it does epoxy and even baked on coating AKA powder coating ( BS right ) . but it was free so gave it a shot
so this is where i tried
so pasted it on let it sit for a bit
took a putty nice to it after 8mins ! and holy **** ! it worked !
so i caked more stuff on and let it sit for about 15mins and then went scrapping.
after i got the majority off i scrubed it with some simple green and then just rinsed it off with water after and then took a wire brush to it for a few mins and this is what i ended up with
all in all worked awesome
but got lots more to do hahaha
oh well
Joel


Thread Starter
Registered User
Joined: Sep 2004
Posts: 27
Likes: 0
From: alberta canada
well the main wiring will be pluggin the engine harness into the haltech harness. every thing eles will be bare bones for break ignition and gauges other wise . on a street car it might be a lil more difficult

