my turn

 10-16-2011, 04:17 PM
#82
Registered User
Thread Starter
iTrader: (3)

Join Date: May 2009
Location: earth
Posts: 1,365
Likes: 0
Received 0 Likes
on
0 Posts
did anyone put any oil on the cam cap bolts to ensure proper torque? I was thinking about just putting a dab of all purpose grease on the threads before tightening
 10-17-2011, 11:02 AM
#85
Registered User
Thread Starter
iTrader: (3)
Join Date: May 2009
Location: earth
Posts: 1,365
Likes: 0
Received 0 Likes
on
0 Posts
things will get rolling soon. i bought some high temp gloss black for my valve covers, but i might do flat black instead. i know they are flat black as is, but they should clean off easier later down the road if they have a layer of paint on them, and i am also considering HR buckets too. once i get these things ironed out, it shouldnt be too much longer
 11-23-2011, 09:01 PM
#87
Registered User
Thread Starter
iTrader: (3)
Join Date: May 2009
Location: earth
Posts: 1,365
Likes: 0
Received 0 Likes
on
0 Posts
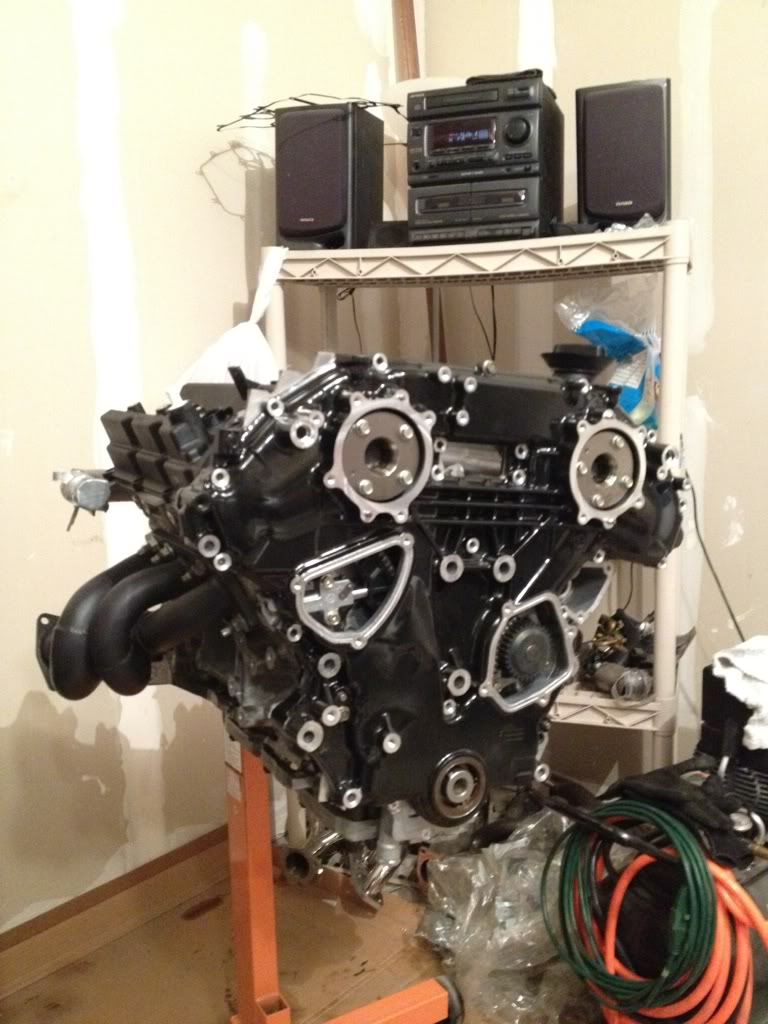
so was working on the engine today some. everything was going good but when we went to put the primary timing chain on, it looks like we are one tooth off.
here is the problem
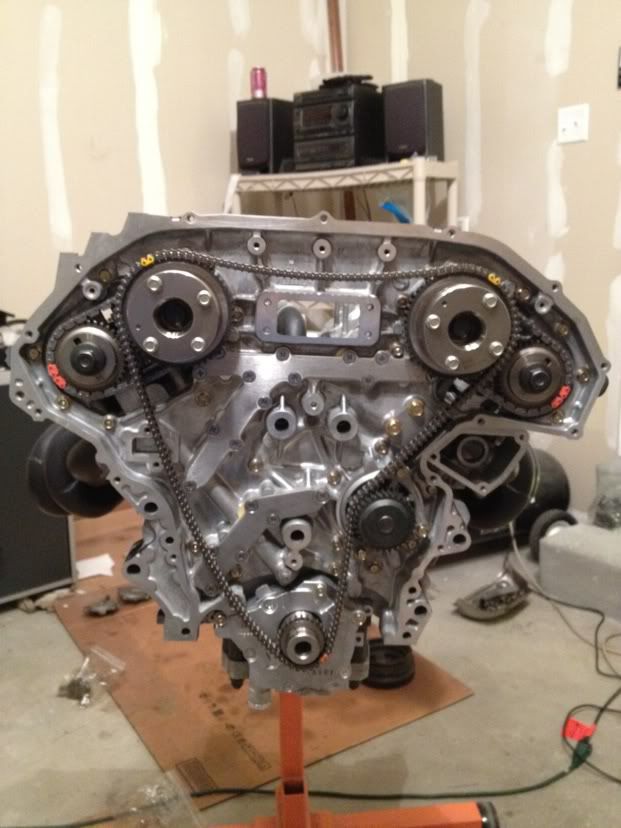
all timing marks are lined up on both heads
but when we routed the chain around the guides and water pump, there seemed to be too much slack on the water pump side instead of the chain tensioner side.
when we put the slack on the tensioner side, then the crank sproket and primary chain were one tooth off, even though the crank pulley key is facing up toward the bank 2 head and aligned with the marking on the block.
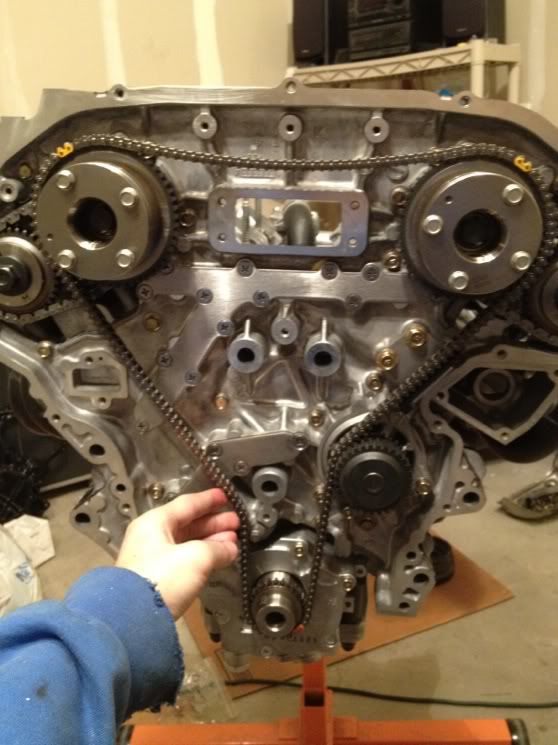
any ideas? could it have something to do with the intake sprockets being slightely off? the chain is new and we put it up next to the stock chain that come off this block and all the colored markings lined up the same. it just seems that with the slack on the water pump side, that things will get out of time as soon as things start spinning. any help is appreciated.
here is the problem
all timing marks are lined up on both heads
but when we routed the chain around the guides and water pump, there seemed to be too much slack on the water pump side instead of the chain tensioner side.
when we put the slack on the tensioner side, then the crank sproket and primary chain were one tooth off, even though the crank pulley key is facing up toward the bank 2 head and aligned with the marking on the block.
any ideas? could it have something to do with the intake sprockets being slightely off? the chain is new and we put it up next to the stock chain that come off this block and all the colored markings lined up the same. it just seems that with the slack on the water pump side, that things will get out of time as soon as things start spinning. any help is appreciated.
11-23-2011, 10:54 PM
#88
Registered User
Thread Starter
iTrader: (3)
Join Date: May 2009
Location: earth
Posts: 1,365
Likes: 0
Received 0 Likes
on
0 Posts
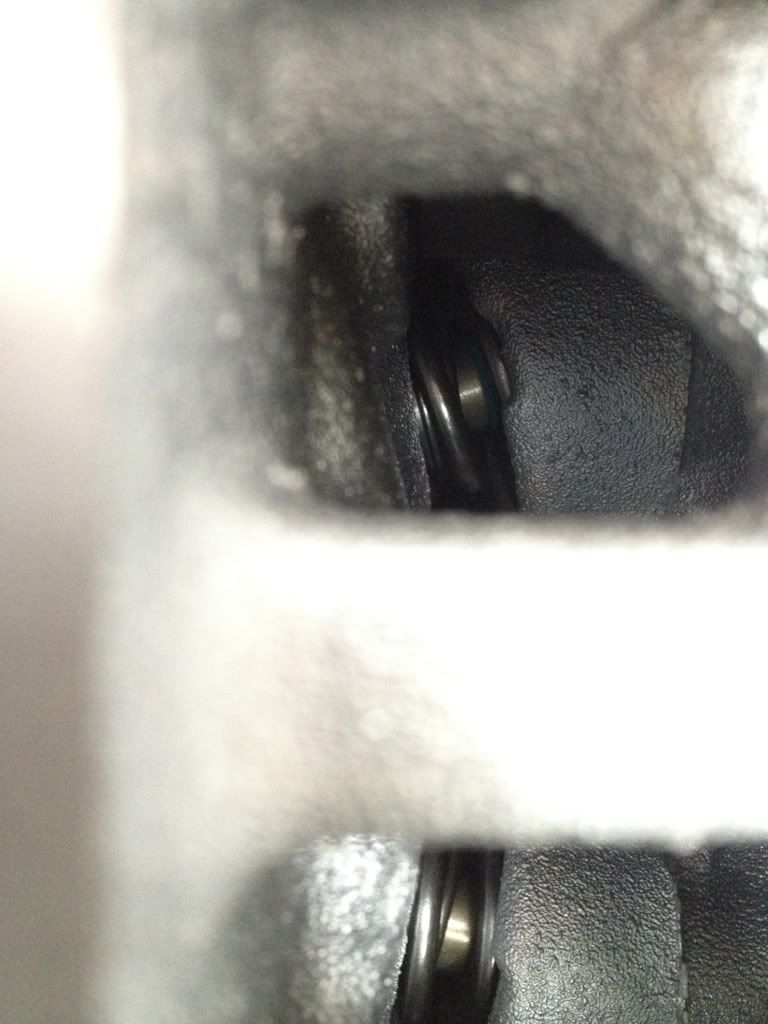
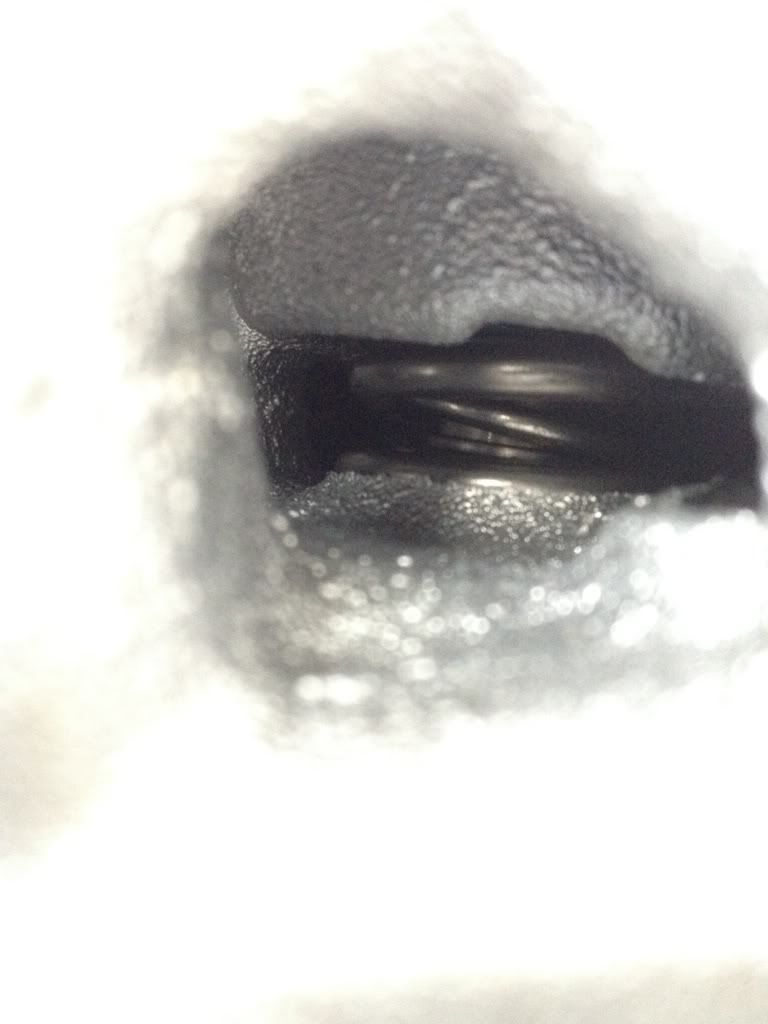
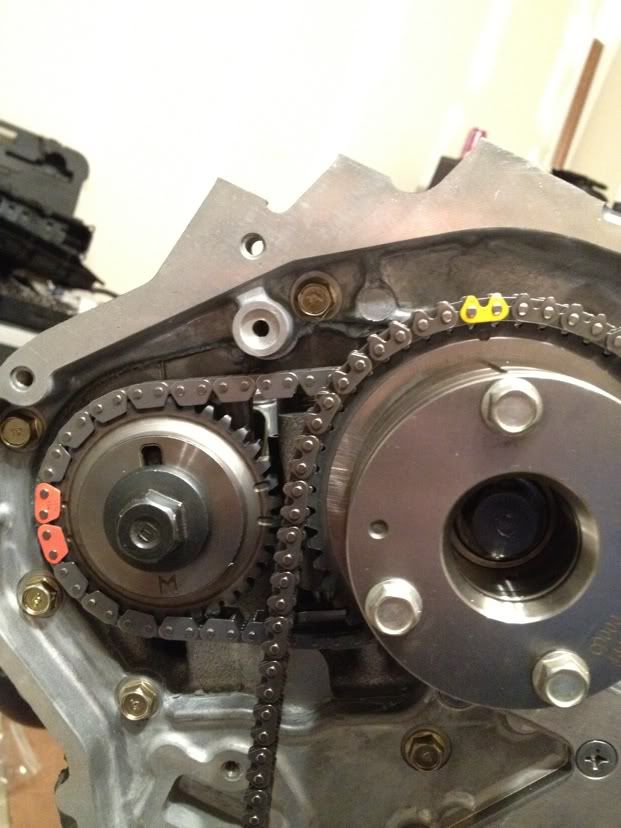
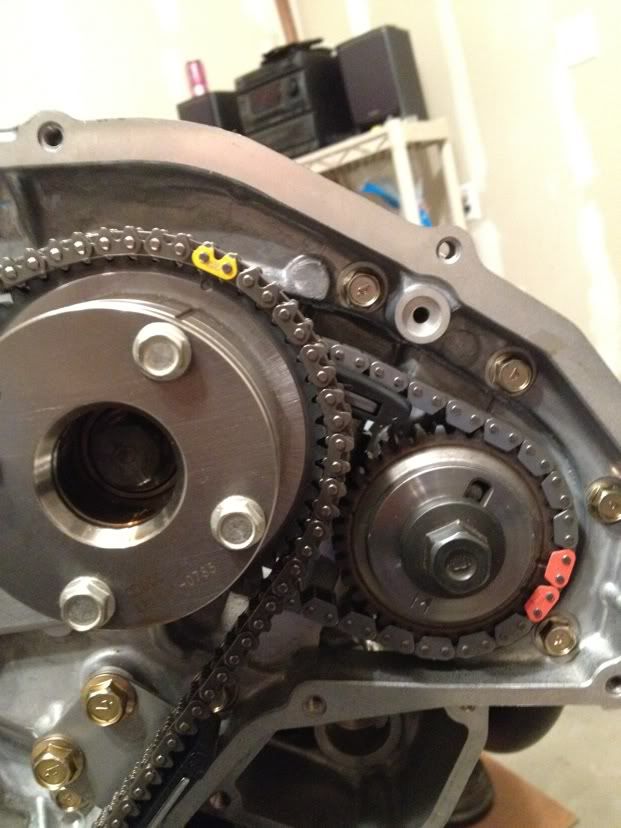
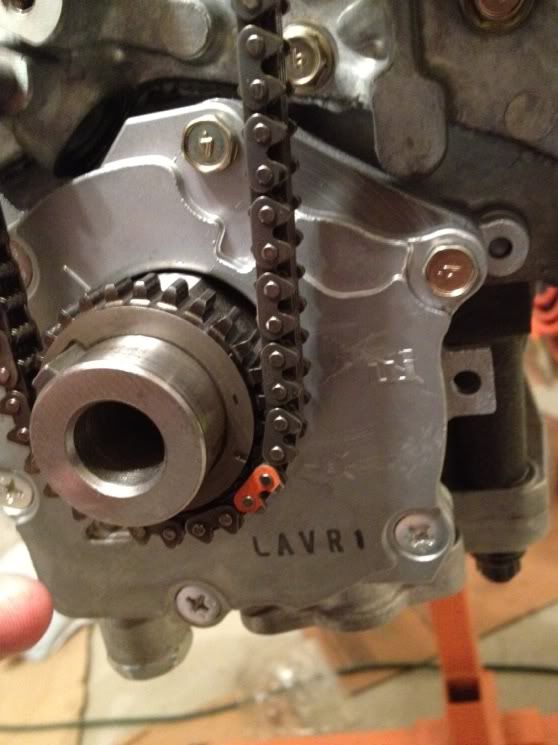
so i went ahead and just bolted everything up with all camshaft timing marks all lined up, but the crankshaft timing chain mark was one tooth off and this is how it looks:
crank sprocket lined up with the mark
primary chain 1 tooth off from the stamp on the crank sprocket
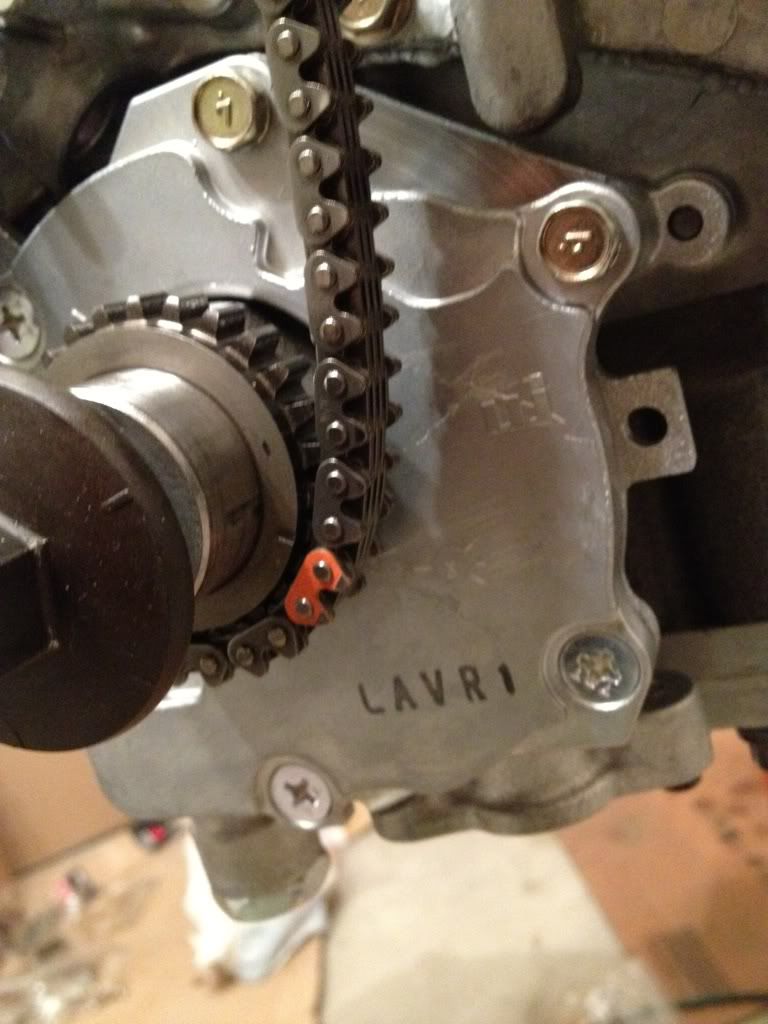
if i move the slack in the chain over to the water pump side so the crank sprocket mark lines up with the chain, then i cant get the chain tensioner guide in there because its too tight.
crank sprocket lined up with the mark
primary chain 1 tooth off from the stamp on the crank sprocket
if i move the slack in the chain over to the water pump side so the crank sprocket mark lines up with the chain, then i cant get the chain tensioner guide in there because its too tight.
11-23-2011, 11:08 PM
#89

Just timing alignment woes... it happens. It just a matter of not stopping until you get it right. It's ok to tweak the points around to remove the slack but he points have to match up after the slack is gone. The last time I dealt with it, it took me about 35-45 mins of tweaking the gears and crank around to get it right. I did notice that putting the main tensioner and the small guide (leaving the upper tensioner off) helped to get the slack "moved" from the left side and into the tensioner where the slack was taken up. You just have to try to keep the links matched to marks while you rotate the chain and assembly.
11-23-2011, 11:13 PM
#90
One tooth will screw up the way it runs. Try again and line it up, holding everything in place as best you can while rotating it. At some point you should notice all of the slack on one side. I noticed when you start rotating it backward to check the alignment, the tensioner really begins to clean up any slack. It should line up if you kept everything together.
11-23-2011, 11:30 PM
#91
Registered User
Thread Starter
iTrader: (3)
Join Date: May 2009
Location: earth
Posts: 1,365
Likes: 0
Received 0 Likes
on
0 Posts
ok, thanks man, i will give it another go tomorrow. but it is just weird, because everything fits perfect with all timing marks lined up and the crank sprocket and chain one tooth off, its just weird.
11-23-2011, 11:39 PM
#92
Registered User
Thread Starter
iTrader: (3)
Join Date: May 2009
Location: earth
Posts: 1,365
Likes: 0
Received 0 Likes
on
0 Posts
Well, I can easily get all of the primary chain marks to line up. But that would require me to move the crank independent of everything which then the crank sprocket to block timing marks would not me aligned
12-09-2011, 06:41 PM
#95
Registered User
Thread Starter
iTrader: (3)
Join Date: May 2009
Location: earth
Posts: 1,365
Likes: 0
Received 0 Likes
on
0 Posts
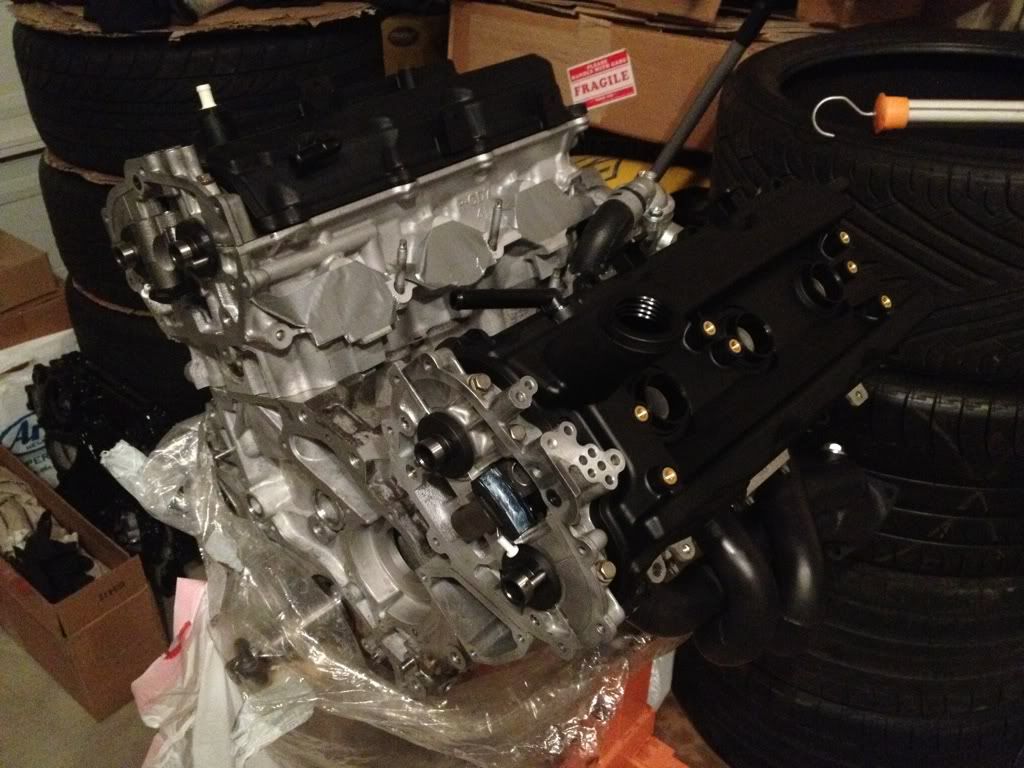
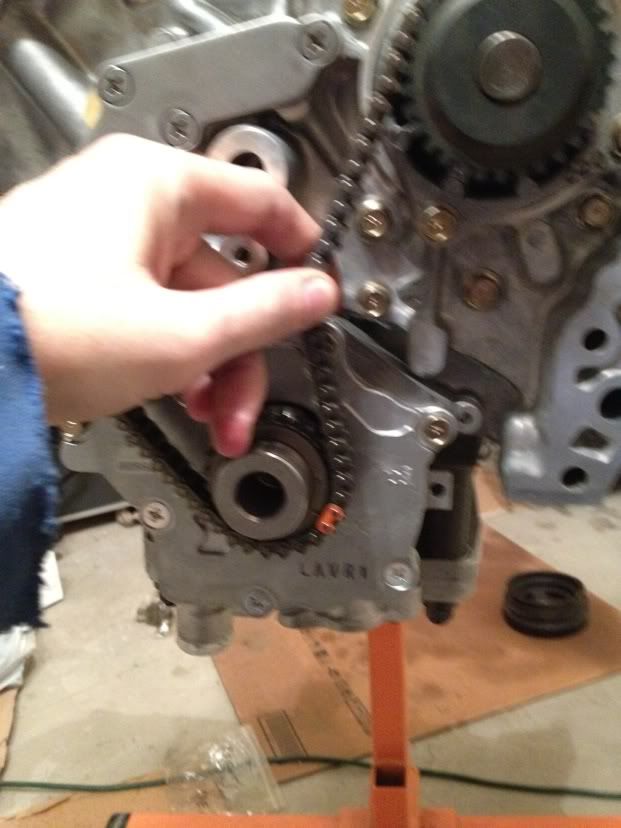
Almost done, pulling old engine tomorrow
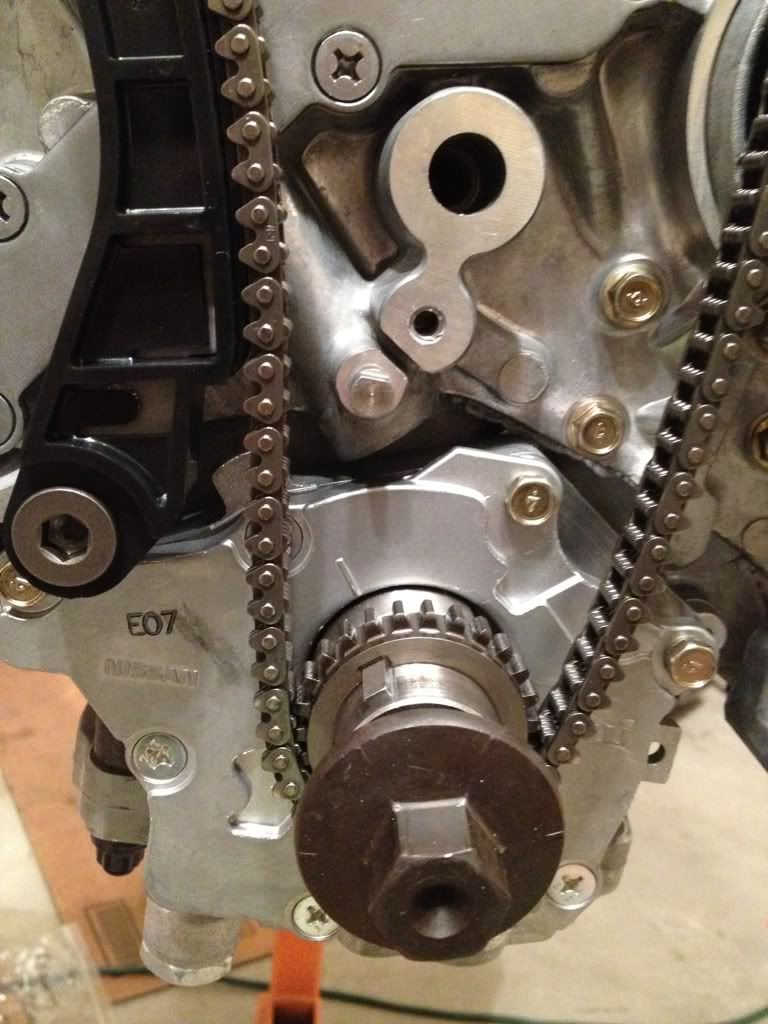
Do have a question though. The 2 vtc sprocket covers bolt to the front timing chain cover. In between them, the FSM calls for an "o ring with a collar" for each side, would that be this guy here?:

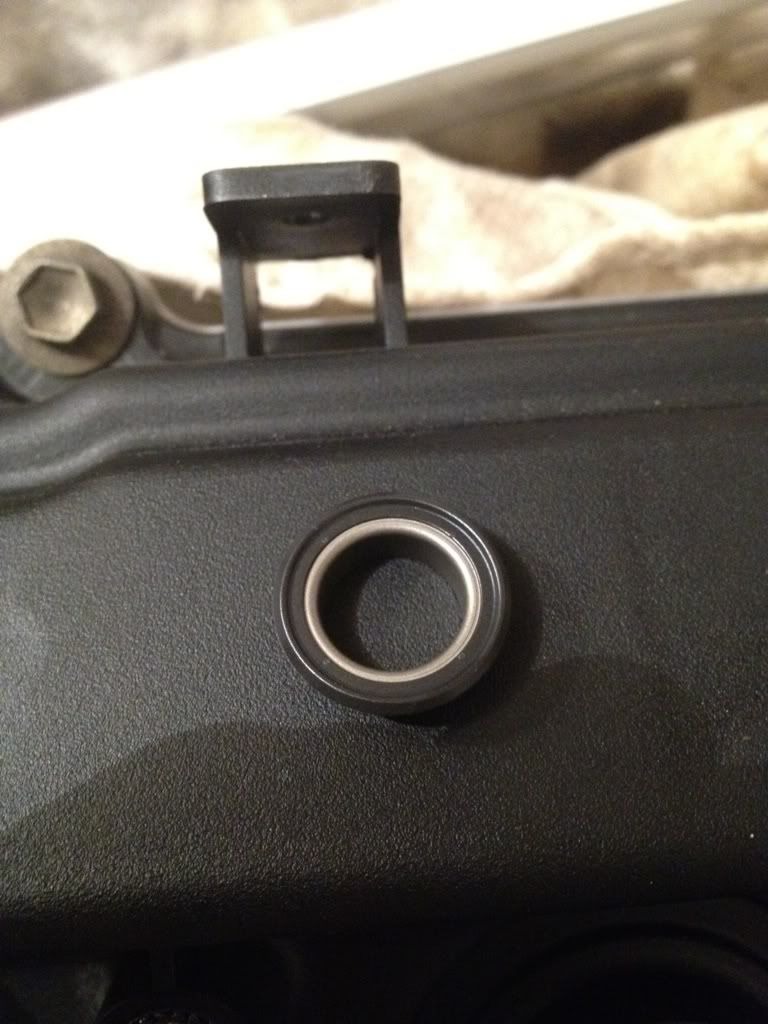
Do have a question though. The 2 vtc sprocket covers bolt to the front timing chain cover. In between them, the FSM calls for an "o ring with a collar" for each side, would that be this guy here?:
Last edited by mgrotel; 12-09-2011 at 06:50 PM.