When you click on links to various merchants on this site and make a purchase, this can result in this site earning a commission. Affiliate programs and affiliations include, but are not limited to, the eBay Partner Network.
Happy to announce that I am finally over my mount installation hump!
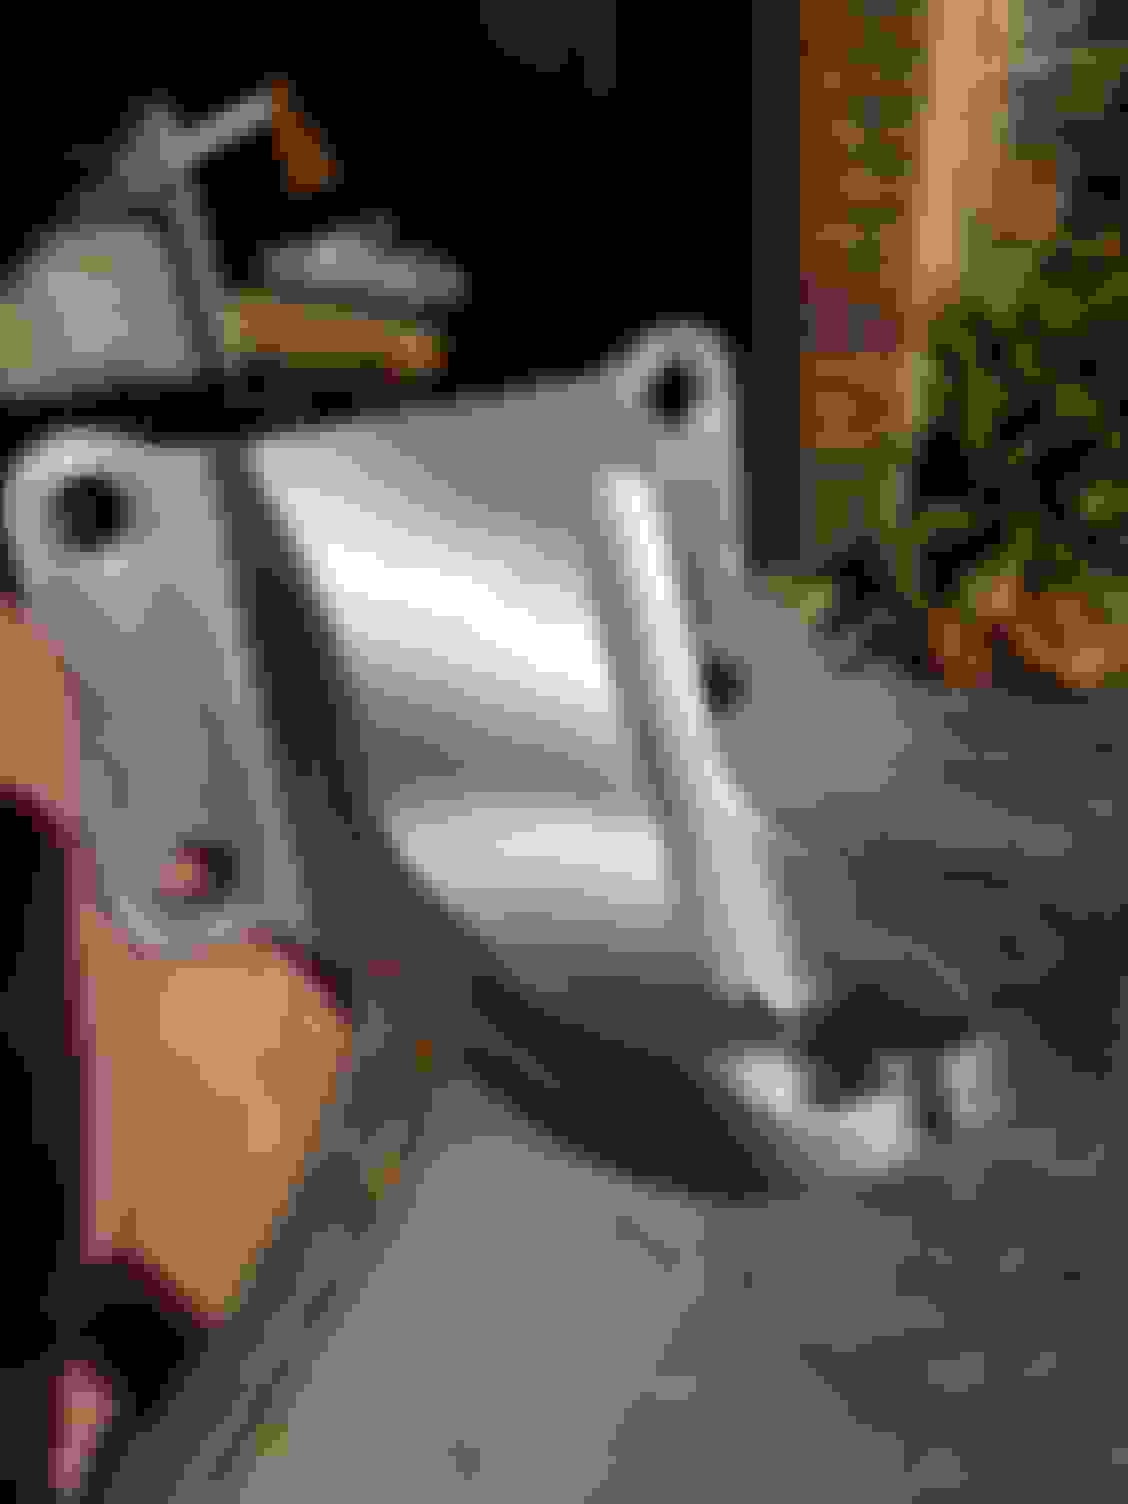
After a bit more effort this morning I was finally able to break loose the last bolt with PB blaster, an open-ended 14mm, and a pry bar wedged against the frame. With the alternator out I was able to maneuver the mount and bracket out without hassle.
I thought for sure that I would have to cut the top nut off the mount since it was partially rounded, but found it was still able to be gripped and broken loose fairly easily.
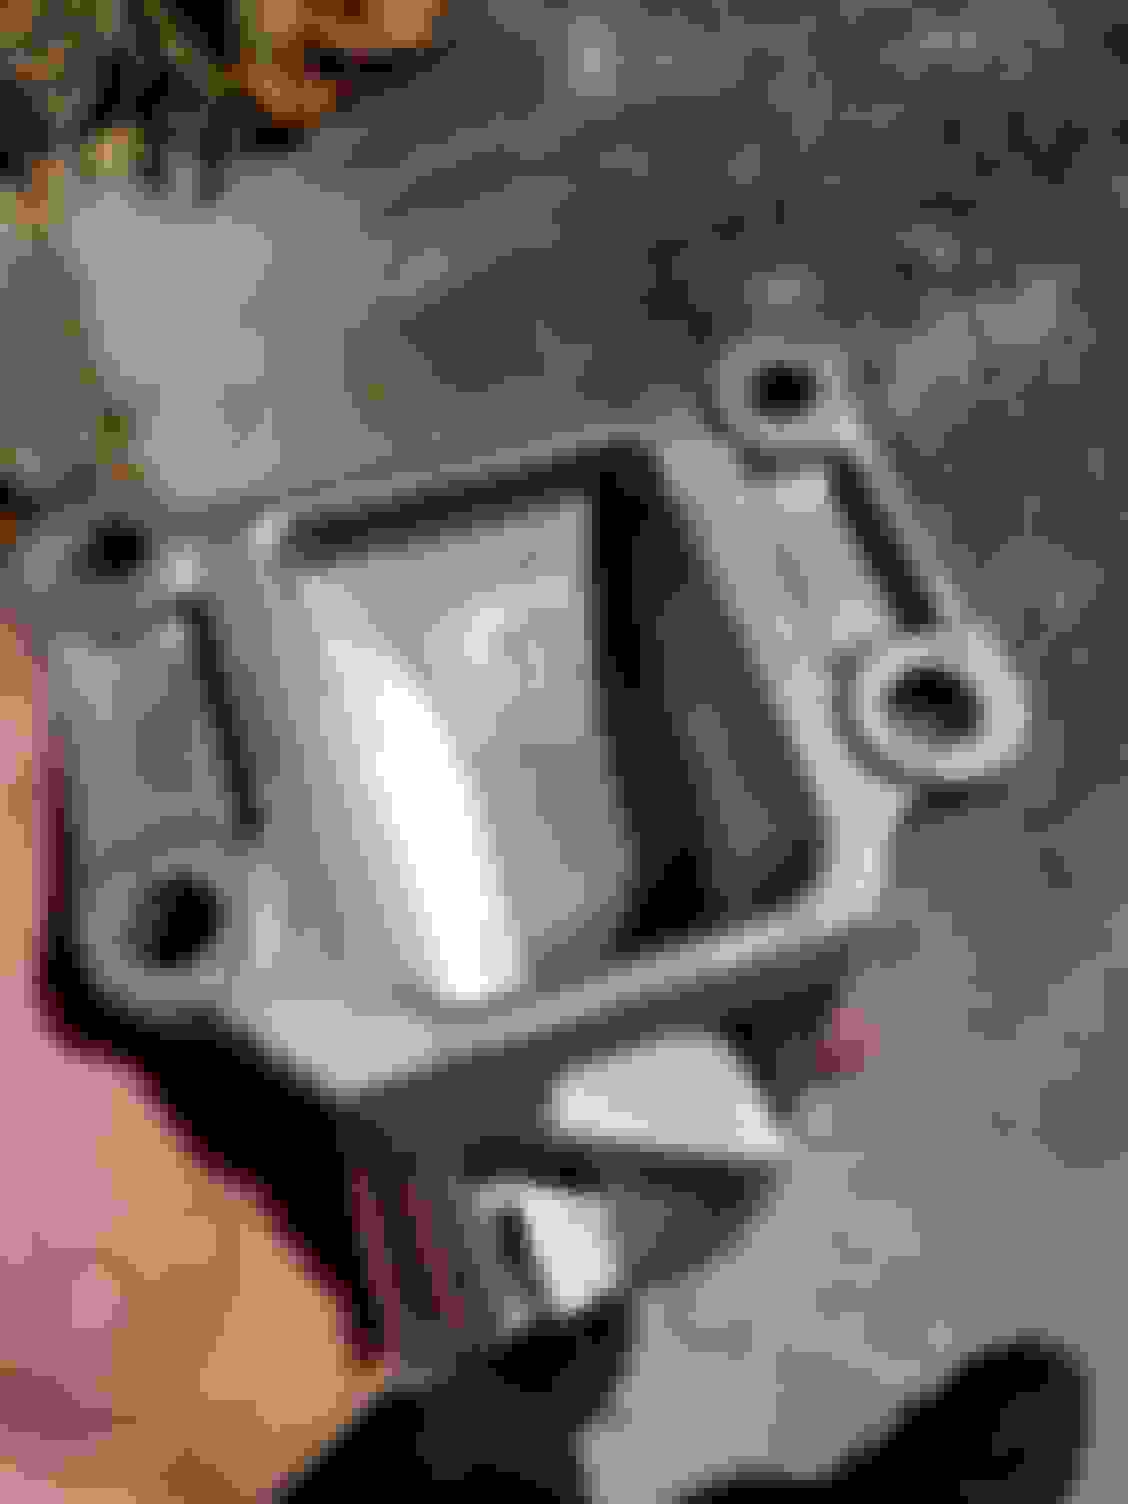
I took a little time to scrub down the bracket. Don't ask me why, but it looks great, imo. I just wish I could get my entire block this clean!
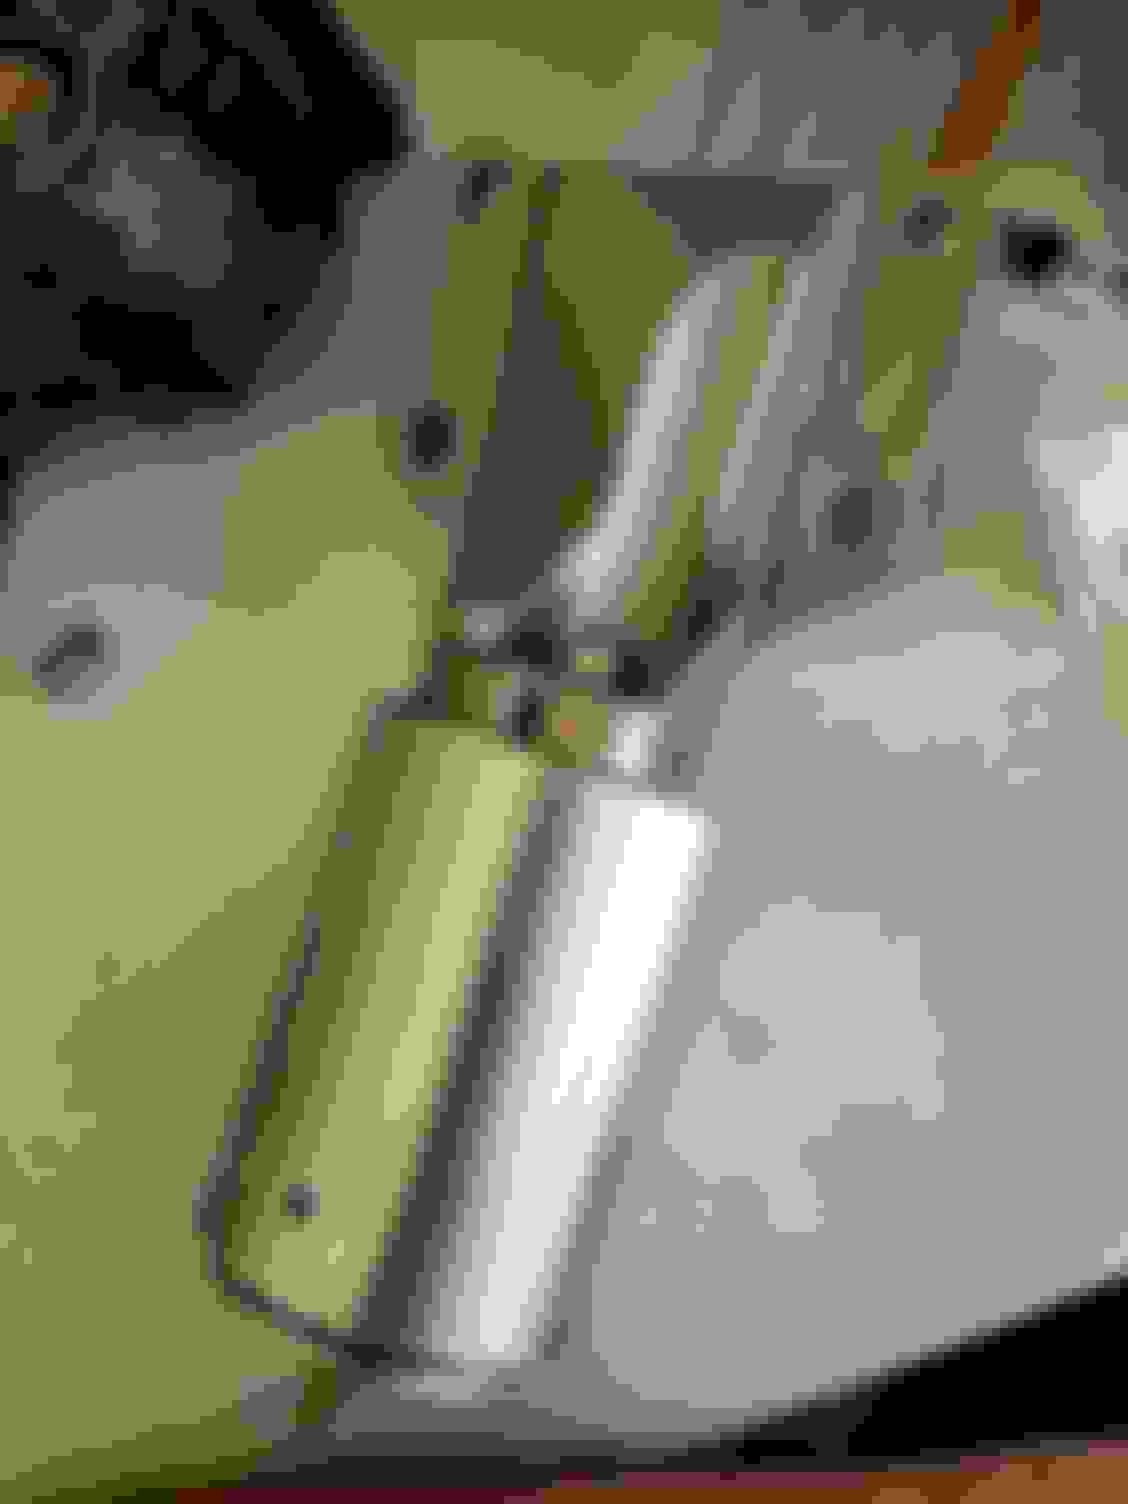
New mount and a freshly washed bracket.
Got the bracket and mount bolted back in. I could feel the upper rear bolt beginning to cross-thread, so I pulled it out. I plan to swing by Nissan tomorrow morning and pick up a new one. Additionally, I have the driver's side upper nut re-torqued to the 36 ft-lbs recommended in the FSM.
I am happy to finally be to this point. All that is left to do is complete reassembly.
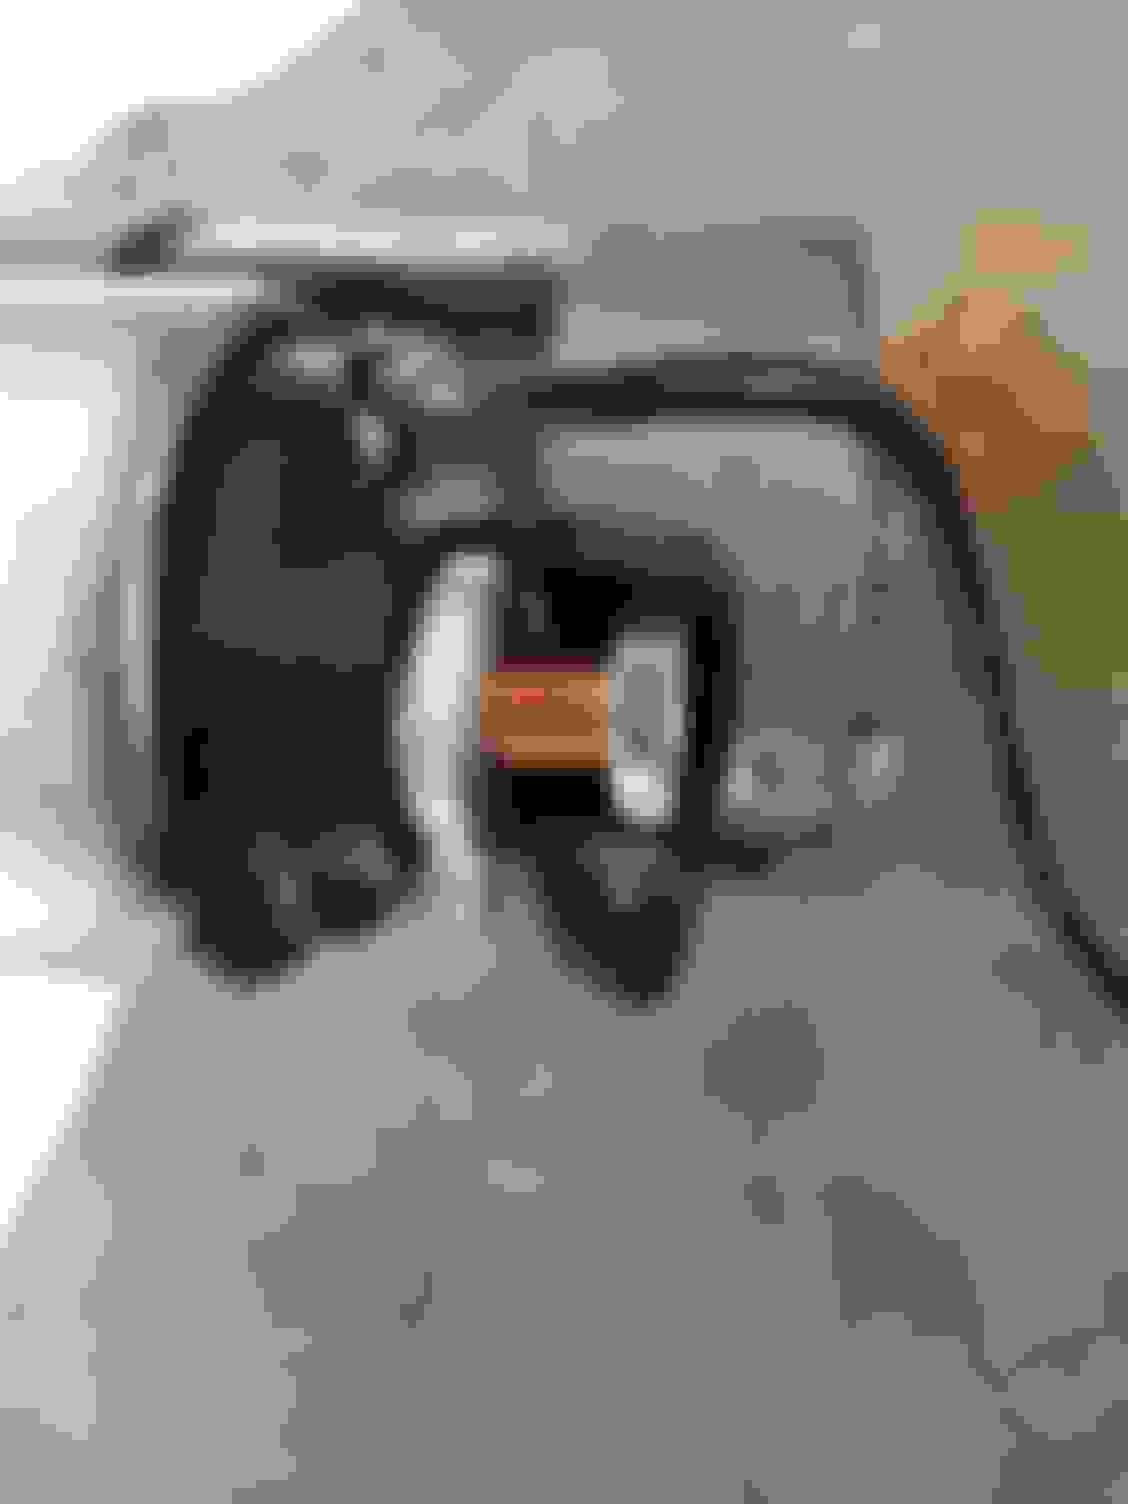
I took a look over the starter. I think I may be able to get it working for now. The stud that snapped turns into a ring terminal that is bolted to another stud -_0 . I may be able to remove the snapped stud/terminal, and wire the posi directly to the stud that comes off the starter body. It would only be a temporary fix until I can get a new starter.
Today marked the end of this mod chapter. Got everything reassembled without a hitch. Found a work around for my starter. As previously mentioned, the threaded stud that comes off the back of the starter for the (+) contains a ring terminal with another threaded stud on it. I was able to remove the ring terminal, screw the (+) cable to that stud, and flip the rubber boot around to cover it. Started up with no problems.
There is definitely a noticable increase in NVH, but it tolerable. The car is not a DD and is more of a late-night, back road cruiser on the weekends. Glad to have this completed.
So a bit of information for anyone considering this (there's not much info out there that isn't vague):
- You do NOT need to drop, or touch the subframe or K-brace at all
- Removing the driver's side exhaust heat shield may be necessary to get a better "bite" on the upper nut
- Removing the starter and alternater is STRONGLY recommended
when working the passenger side. There is so much more space.
Getting the coolant system bled now and taking her for a test drive!
😁👍
Tax season is upon us so I decided to pre-purchase a Z1 polyurethane transmission mount. I am looking forward to a much smoother install than the motor mounts and figured I'd tackle this before moving on to the differential bushing install. USPS says they will be here on Monday.
As for the motor mounts, I am loving them. I didn't expect them to make a difference in the power-delivery section, but I do love how the car feels, even the NVH. It did not take long to get used to. I do need to place something between the driver's front fender and the headlight. At idle with the AC on the RPMs drop just slightly due to the extra load and causes a bit more NVH. The two pieces are just close enough to rattle. Other than that everything is quiet and solid. Curious to see how much, if any, this changes when I install the transmission mount.
Should notice some shifting improvement with the trans mount. With the engine mounts done first you may not notice as much as doing them the other way around. Personally love the sound with the mounts as well. Am sure the headers and full exhuast add to the note.
oh btw, you will really love the diff bushings when you do them. If you love the feel of the engine mounts you will really love the feel of subframe bushings. The latter is my favorite of all the bushing that i have done.
Should notice some shifting improvement with the trans mount. With the engine mounts done first you may not notice as much as doing them the other way around. Personally love the sound with the mounts as well. Am sure the headers and full exhuast add to the note.
I've heard it is a noticable difference in sound. If it adds to the driving experience then I am all for it.
Originally Posted by rustyschopshop
oh btw, you will really love the diff bushings when you do them. If you love the feel of the engine mounts you will really love the feel of subframe bushings. The latter is my favorite of all the bushing that i have done.
I've done the research on the differential bushings and am figuring out the best way to tackle it. At this point I think I may take the reciprocating saw / freezing bushing and PB blaster route.
Originally Posted by bealljk
trans mounts will take you 15minutes...
Rusty - I need to do my FD bushings ... thanks for the reminder!
Will be a good transition between the decent amount of work engine mounts and the not-as-decent differential bushings.
I did the saw drill bits method from harbor freight and sawzall. Its a little messy but fairly quick. Seeing other methods with presses, burning, freezing seems like too much hassle. Just get caveman with it
New transmission mount arrived today. Wow! What a beautiful piece! Honestly, the pics do not do justice. It is such a shame that this mount will never be seen, even if you crawl under the car.
Got the car jacked up and began removing the crossmember. Fought with it for about 15 minutes before I had to go to work. I did not realize that there is apparently a "hook" that requires you to push the crossmember up and towards the driver's side to get it off. Talk about feeling stupid. I knew there was too much play in it for it to be stuck to the trans mount.
Definitely a nice looking piece. Can't wait to hear what you think about driving with it. Felt the same way about my torque solutions mount when i had to "hide" it after install.
Looking forward to seeing what, if any, difference it makes. I have a 5AT so I won't get to experience the feel of a better gear engagement. My main thing is the piece of mind from knowing that the drivetrain mounts are all prepared for future power that I may throw at it....and because I'll never have to change them again!
I run the Z1 trans mount and it made a big difference in engagement, although I did the diff bushings at the same time so it could have been those. The trans mount is a breeze to install compared to the rear diff bushing (the front ones were easy). I haven't done the motor mounts yet and after reading your thread I don't want to haha.
I run the Z1 trans mount and it made a big difference in engagement, although I did the diff bushings at the same time so it could have been those. The trans mount is a breeze to install compared to the rear diff bushing (the front ones were easy). I haven't done the motor mounts yet and after reading your thread I don't want to haha.
A breeze you say? *Murphy has entered the chat*... 😂😂
Honestly, the motor mounts were not that bad. If I had to go back and do it again I could easily have it done in a few hours. Mine took longer due to sourcing the right tools and testing different approaches. In the end they were worth the sweat.
Ouch! At least you have some of the threads hanging out to work with. There's always something when working on cars, but that's the fun part.


 01-08-2020, 12:56 PM