When you click on links to various merchants on this site and make a purchase, this can result in this site earning a commission. Affiliate programs and affiliations include, but are not limited to, the eBay Partner Network.
I knew it was going to happen. The bolt was taking way too much effort to get out. It eventually got to the point where I had to work at it with a breaker bar. I figured I would get it out as far as I could before it snapped.
I knew it was going to happen. The bolt was taking way too much effort to get out. It eventually got to the point where I had to work at it with a breaker bar. I figured I would get it out as far as I could before it snapped.
ahhh shot! I hope your threads are ok in the trans case!
ahhh shot! I hope your threads are ok in the trans case!
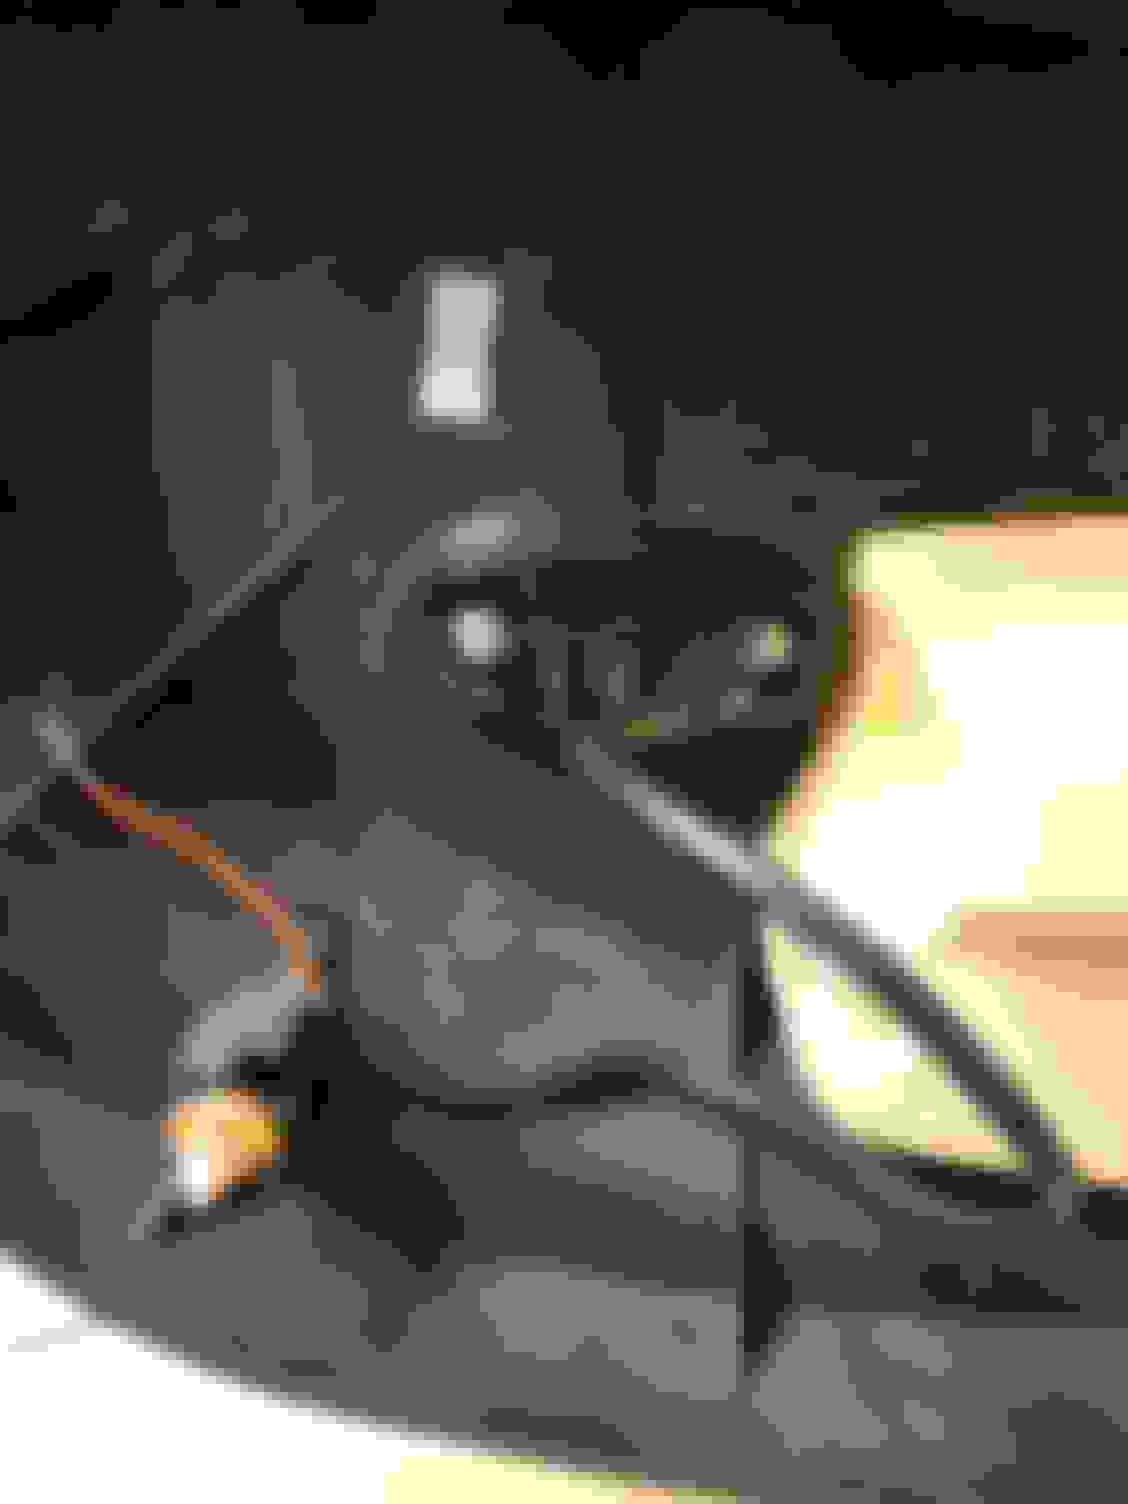
I am pretty sure they will not make it. That sucker is wedged in TIGHT!! Tried to just get vice grips on what little bit of the threads I could, ended up twisting right off. The extractor isn't working either and I am not going to force it out if fear that the bit will break off.
Now, fortunately for me while I was taking a closer look I noticed that the back side of the bolt hole is opening (meaning if the bolt was out then you could stick a pencil through the top and it would fall straight through to the ground. What I think may be a safer route is to just say F the threads and drill through the center of the bolt out the other side and just break the bolt apart. At that point I could then pick up a longer bolt of slight smaller diameter, so as not to interfere with the threads that may be left, and long enough to go out the other side. I could then place a nut to fasten it in place. May not be OEM but if it gets the job done then who cares? No one will not it but me.
Finally finished up install. Ended up drilling straight through the broken bolt, slightly enlarging the hole, sticking a large bolt straight through and using a nut on the top side to fasten everything down. Did the job!
Can't say I noticed much of a difference, maybe a hair more NVH. Waiting to see the effects of the differential kit!
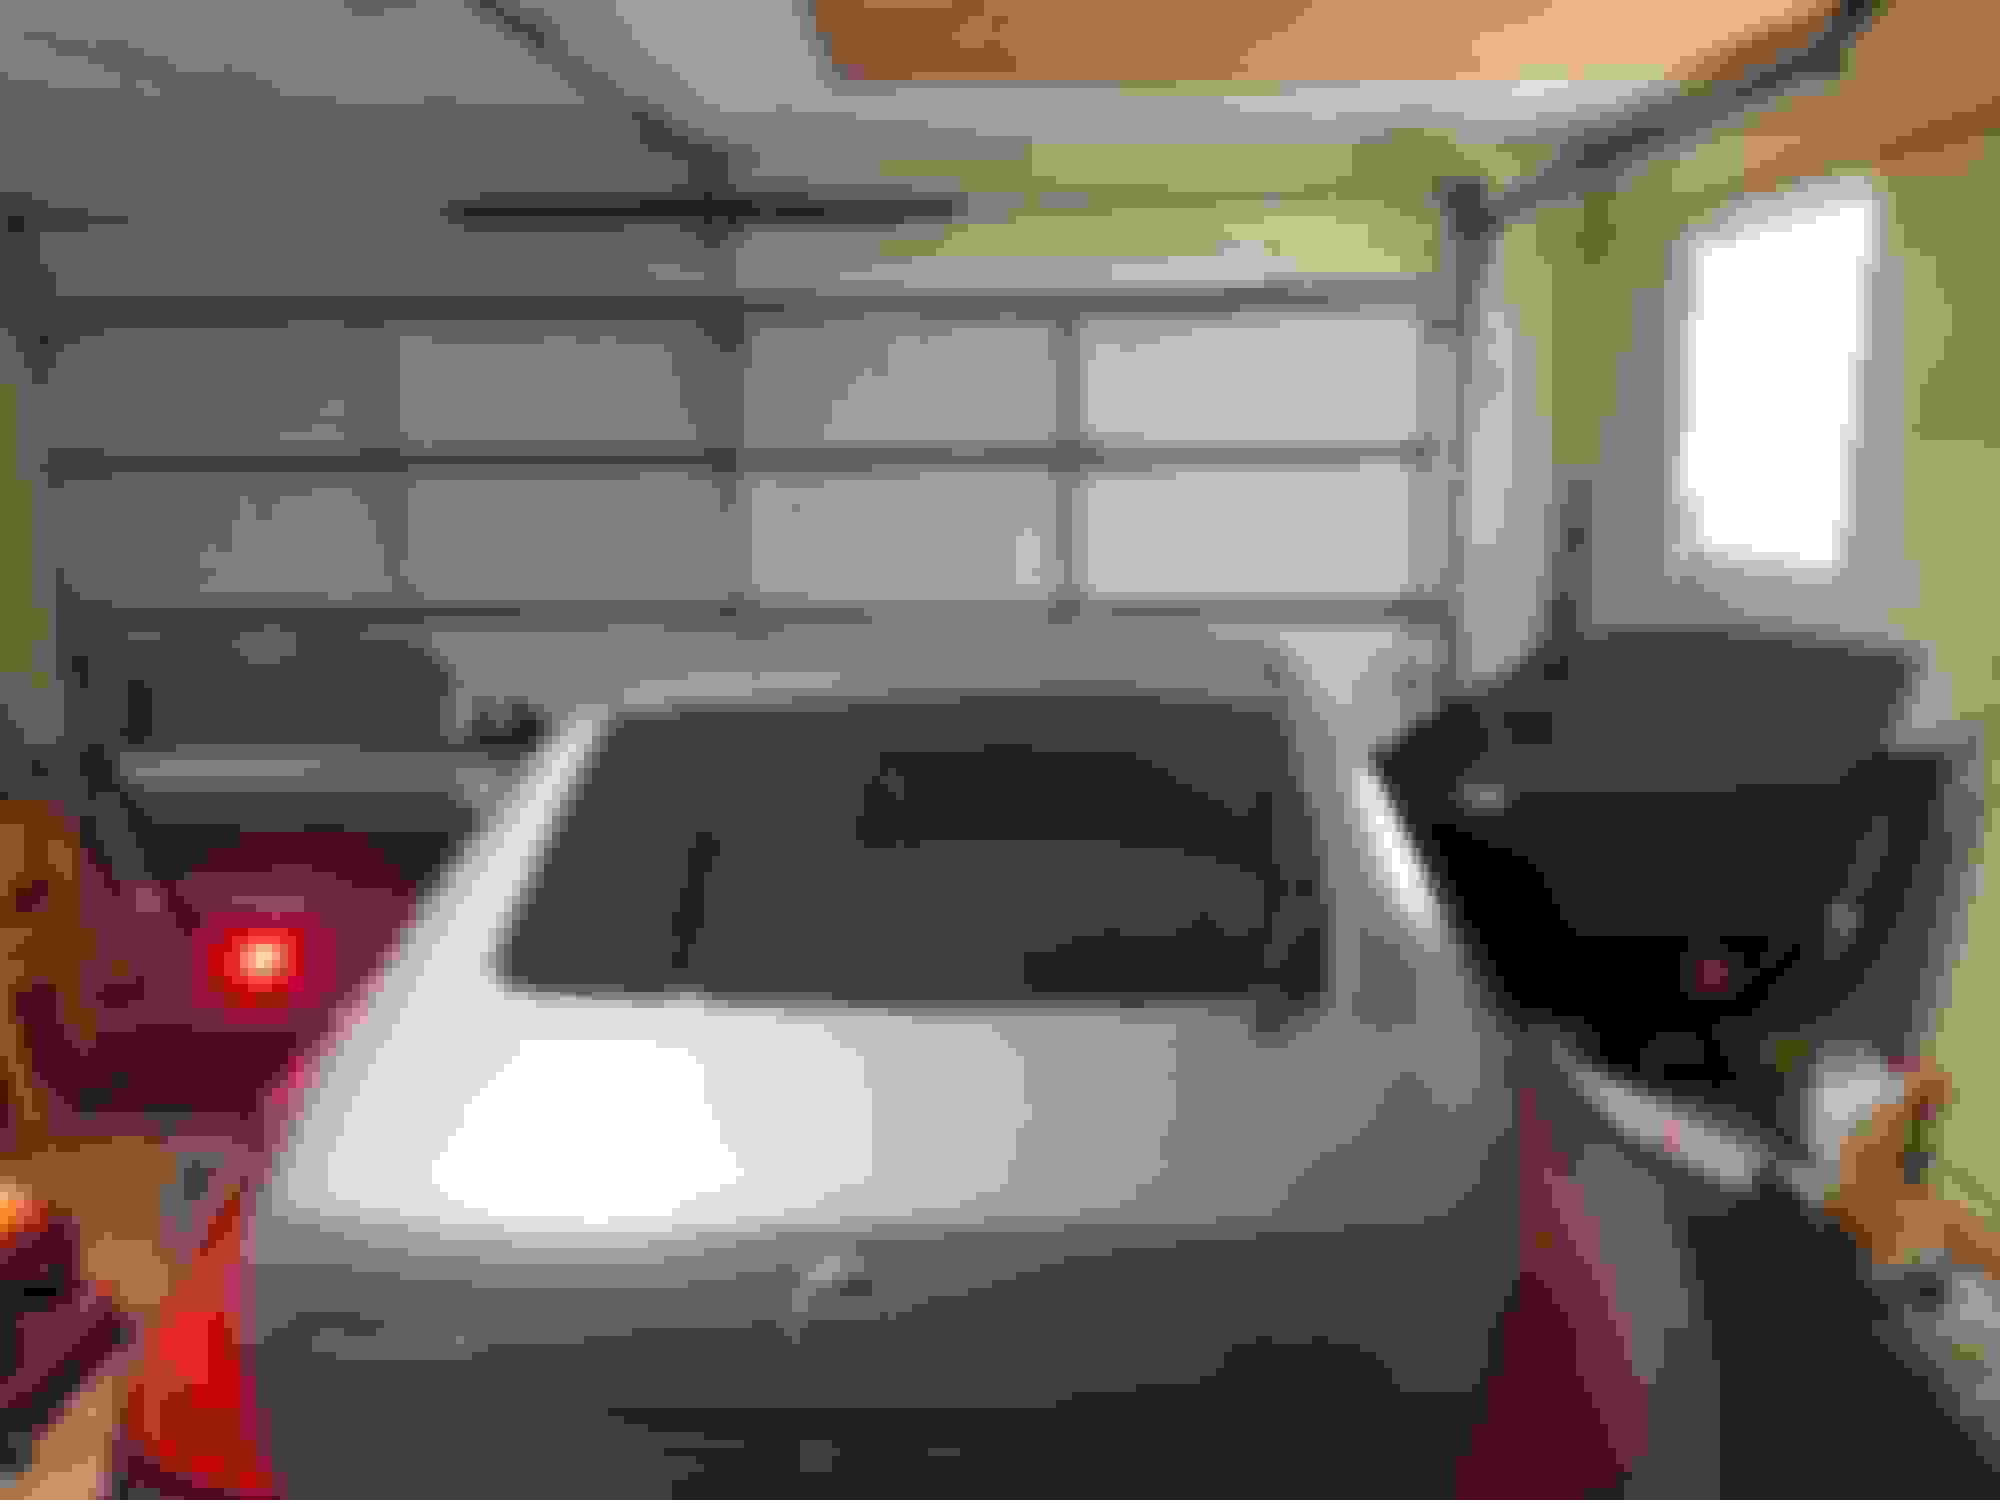
The wife and I got the rare opportunity to go to dinner the other night baby-free. While she was getting in a BMW was coming down the road and almost clipped the door. It was dark out side I really can't say it was all his fault, but it sparked a new project idea...
As we all know, the Zs door panel has this useless reflector which really doesn't do much. My wife's car has the reflector also, but it is illuminated. Why Nissan never decided to do it I will never know, but i decided to do it to increase visibility.
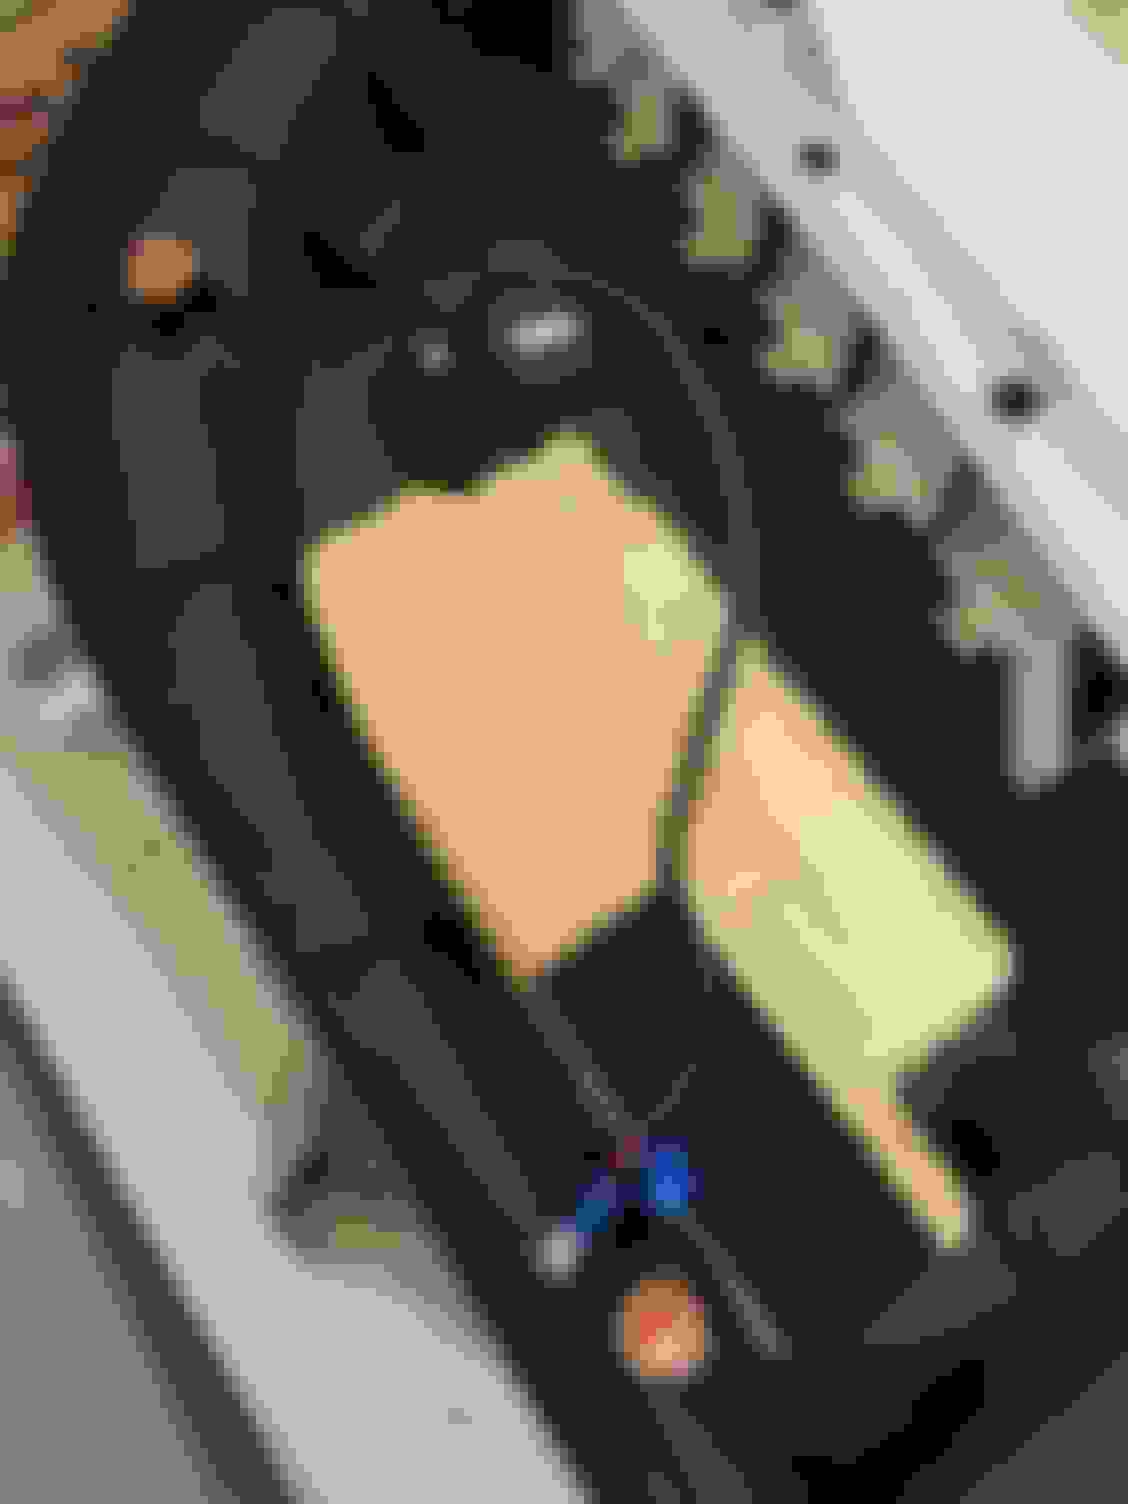
Picked up the lights off Amazon. They are "rock lights" typically mounted in the wheel wells of Jeeps and what not. I had tried to figure out what I was going to do and spent a few days researching. These were perfect in my eyes since they are almost the same size as the factory reflector.
I did a little mock up as can be seen below. They come with a rubber backer plate which is held to the light by two through-bolts. Right now I just have the light on the panel and the backer on the backside of the panel to get a few ideas. When all is said and done I plan to have these wired in to the dome circuit so they illuminate when the door open and during initial startup and have the reflector back over them to keep the look as OEM as possible.
Going to do a bit of research on the wiring colors / locations, but I plan to tap into constant (+) somewhere nearby and then into the door switch located beneath the B-pillar. I originally stated I wanted to tap in to the dome light circuit, but that would not give me what I want. All I want is for the reflector LEDs to come on when the door is opened and go out when the door is closed.
Jesus, the motor mounts seems like a huge PITA than reaching those top bolts for the OEM Cats.
Only thing I can think of worse is swapping in headers, with engine still intact in car.
I could not imagine doing headers with the engine in the car. For a second I considered trying to get them off on the passenger side but that wasn't going to happen.
If I had to do it again I could honestly say I could get it done in about 5 hours with no breaks taking my time.
Took some time over the weekend to get started on the LEDs / reflectors.
Install was pretty straight forward. I tapped a ground wire in to the door switch wire and a posi wire to the illumination wire for the switches on the door. This allowed me to achieve the desired effect of having the lights come on when the door is opened, but shut off as soon as it closes.
I wanted to keep the install as OEM-looking as possible so I took on two of the most PITA tasks, disconnecting the molex for a wire pass-through and removing all factory wrapping from the door harness.
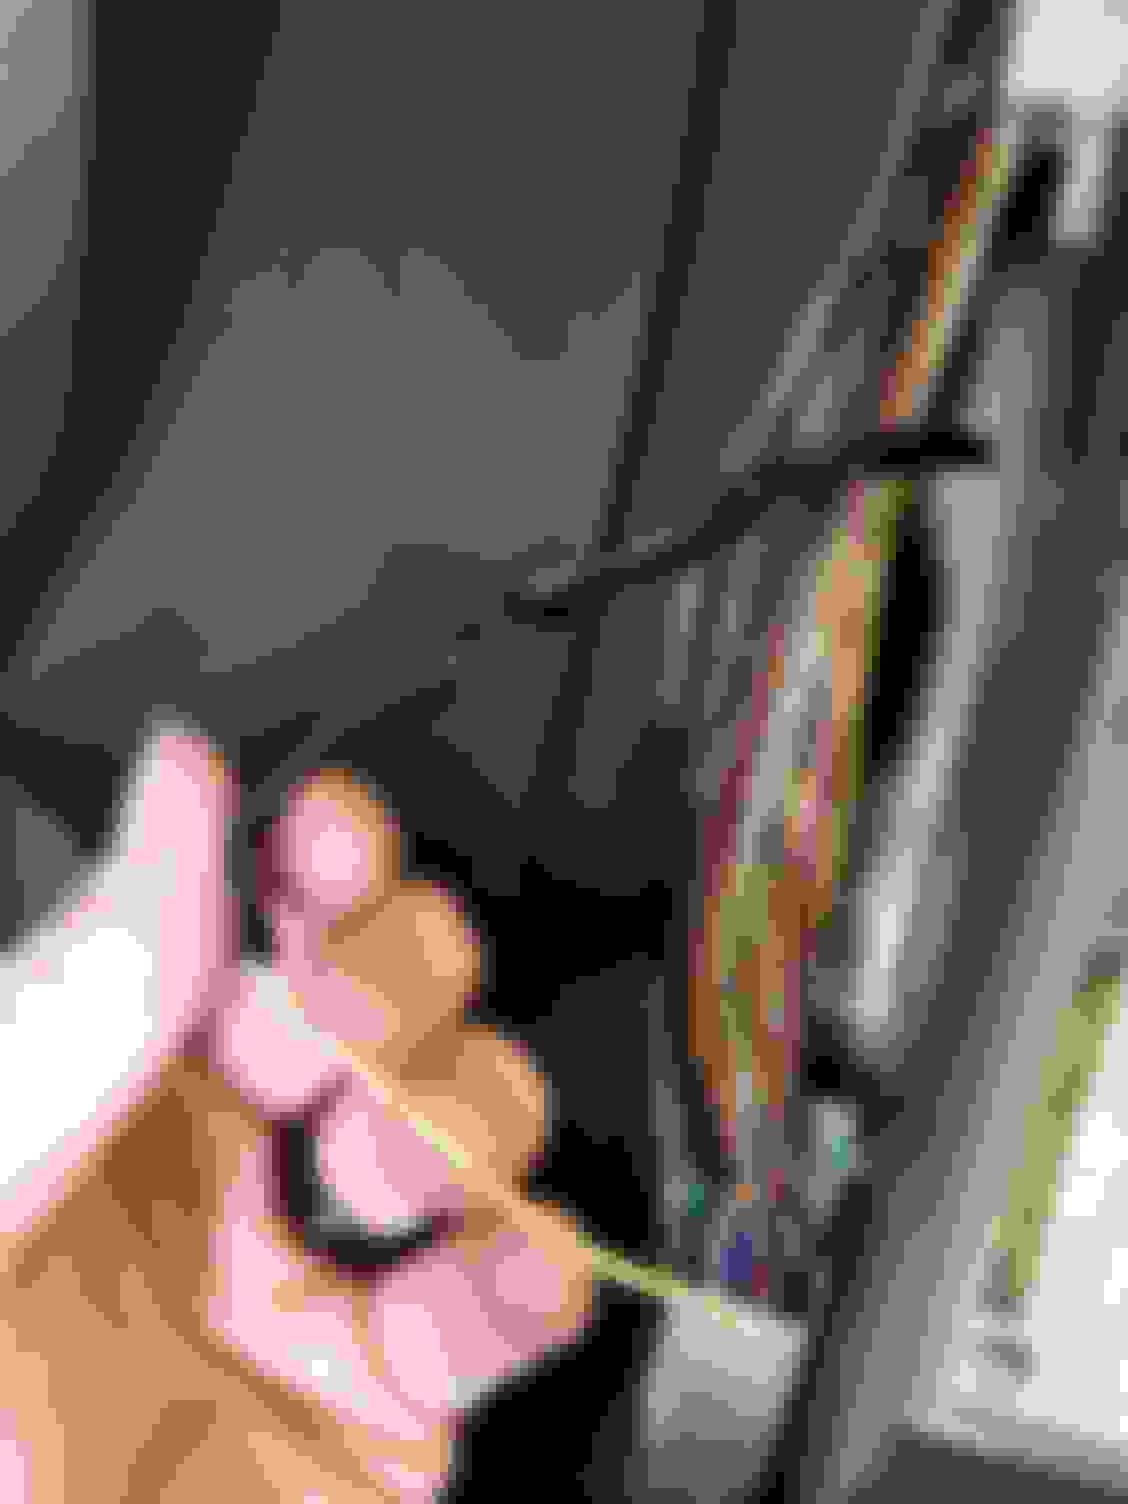
A few threads I had viewed showed others using existing holes in the vehicle body or drilling news holes to run wires through. I did not want any wiring to be exposed with the door open other than the factory harness. I ran the ground wire along the door sill and up to the molex. I disconnected the coupler and pulled the chassis-side plug out and under the dash. Using a 1/8 drill bit I carefully put a hole through one of the unused ports in the harness taking caution not to hit any other wires. I then removed the harness on the door side and did the same. This allowed me to run the wire straight through the holes and into the rubber boot along with the rest of the wires and into the factory harness. I did not get pics of the pass-through process, but will when I do the drivers side. Anyone who has ever toyed with the molex knows it can be a pain to reconnect lol. I did take a pic of the ground wire running to the molex. I didn't have enough patience to run this along with the other wire from the door switch. Doing so would have definitely been much more clean, but would have required much more wire and a disassembly of half the interior.
I removed all of the factory wrappinwrfrom the door harness so that I could integrate the new ground wire in with the rest of the wires. I then wrapped everything back up and even placed the yellow sticker with Japanese writing back on it 😁
I used terminal connector for now. This is only temporary until I can source OEM 2-pin connectors.
This is the finished result.
I have a few things to clean up.
At a later date I plan to cut the ground wire at the molex and pin both sides into the connector. Right now if I needed to remove my door for some reason I would need to cut the wire as it goes straight through the molex. I also intend to cut the ground at the door switch and pin it in to the connector as the door switch has an unused port where it could accommodate another pinned wire. This would be much more clean and OEM like.
I plan to source OEM 2-pin connectors for the LED / reflector. Right now I am just using crimped terminal connectors, but they don't look very clean.
I still need to figure out permanent mounting for the LED and get the reflector to fit. I am going to play around with the spacing, but one option is to attach the reflector back to the panel as usual and then screw the LED pod directly to the door with shallow screws to avoid conflict with the window. Right now I would need to grind down the sides of the pod and risk damaging it if I wanted the reflector to fit over it.
I'll update with more pics when I do the drivers side.
Got to work and finished the driver's side. I had the panel and light facing the floor when I plugged them in but as soon as the light came on I knew something was off! Guess I tapped in to the wrong wire on the passenger side.
I took the passenger side off and rewired it. Both are the same now. There is definitely no way someone should could not see them now.
Here are just a few more pics during the drivers side install such as drilling the molex, running the wire, rewrapping the harness, etc:
Took the Z out last night and had the door light come on while the door was closed. Got home and noticed that it turns on when the key is in the "acc" position and shuts off when it isnt. The speaker also let's out a little "pop" when I take the key off so i have a short somewhere although i am not sure where. I am guessing it may be in the molex. I have the power tapped to a wire running to the window switch that has constant power. I then have a (-) tapped in to the door switch by the switch itself that then runs along the harness up, and through, the molex, then into the door and along the door harness. The light should only come on when the door is open, but somehow the radio is overriding the door switch (-) signal and causing it's own ground.
I would actually look at your speaker wiring comparing ds and ps. I suspect if you check for continuity between the speaker and new lamp you'll find 12V so you may need to be creative finding a suitable ground point. If all else fails you can tap the (+) side of your dome light but before the switch. That way your door lamps would function regardless of how the overhead lamp/switch is set. Gl!
EDIT-
Another possibility is relocating the ( - ) side for your door lamps back to the steering column or center console to ground.
I appreciate it, JHC. The setup is exactly how I want it, constant power, tapped to the door switch so the lights come on when the door opens and go off immediately once it is closed. It is still independent of the dome lights.
I pulled the molex and found my issue, or so I guessed. I must have pinched the ground wire when I reconnected the molex and tore the insulation. Placed some heatshrink on the wire and re-ran it. The wire is a little longer than needed which was favorable in this situation as I just left the heatshrinked portion outside of the molex. I carefully ran the wire back through and made sure not to let it pinch when I reconnected the molex. Tested everything and found that the light did not work.
I found that the ground wire appeared to have reversed? What I mean is that the end that was originally connected to the light can be grounded and the dome lights will turn on, yet the end that is connected to the door switch that would have originally been grounded out and completed the circuit when the door opened did nothing. In the end, I ended up removing the ground wire for now and cleaned up the connection at the door switch. The lights will now come on if I ground the OEM wire, but won't if the wire is plugged in to the door switch.
I also found that the windows do not operate with either the driver's side or passenger side switches. What's even more strange is that the passenger side window will roll up and down when the fob is held, but the driver's would only go down and is now stuck in the down position no matter what I do. The mirror switch work, but not the windows switch and only the passengers works. Odd because the motor is brand new and I know it is not that and I know there is no fuse for the motors.
Calling it a day for now. Planning to go over the schematics tonight and tomorrow and attempt to sort this mess out at a later time and attempt to get the windows and door switch operating again.
Did you manage to resolve the rest of the lighting issue?
Honestly, I have not had time to toy with it. I am in the middle of switching jobs so I have been doing a lot of running around for appointments and just getting things ready. I do need to toy with it though.
The passenger side light is working flawlessly. I removed the negative wiring for the driver side for now and was able to get the door switch functioning as it should be. When I have time, I will run a new (-) wire and reconnect everything to have it working again only this time I will ensure nothing is pinched and is grounded properly and securely.
I do need to figure out what happened with my windows though. Neither window will roll down or up with the switch on either side, only when I insert the key into the hole in the door and hold it.
I do have one more week of "quarantine" before I begin though so I may try to get it sorted out lol

 01-28-2020, 08:46 AM