When you click on links to various merchants on this site and make a purchase, this can result in this site earning a commission. Affiliate programs and affiliations include, but are not limited to, the eBay Partner Network.
@icer5160 , like you did, I also go over the staples and seams with a wide/flat soldering iron tip to give a little more strength to the repair.
The oil cooler gasket should be here Wednesday or Thursday. I'll post what I find once I get behind the oil cooler.
That's a very common leak. Less common on the Z than on the trucks, but I still used to see quite a few when I was at Nissan. The 4.0 truck motors require new oil cooler seals often.
I'm trying to identify the source of a small leak that shows when the Z sits for a while.
While the oil cooler gasket was shipping to me, I left the Z to sit on the lift so I could try and confirm the path/source of the oil leak. I was already pretty confident that the main contributor is the seal for the oil cooler. I wiped down the oil pan and oil cooler area with some degreaser and then checked back on it every day or so. Last night it was apparent that the oil was gathering again, and it does seem very likely to be following a path from the oil cooler-to-block junction.
The seal should arrive tonight and I hope to have time yet after my daughter's band concert to get it installed.
The oil cooler seal arrived yesterday and I was able to install it and complete an oil/filter change. Here are some pics: This what the oil cooler seal mating surface at the block looked like. You can see all the coked oil around where the seal sits on the oil cooler's mating surface. The groove where the seal sits is relatively clean, but just outside of it is where the sludge built up as the oil weeped out. Although I didn't put a dial caliper to them, the old seal was obviously compressed/thinner than the new seal. I cleaned up the oil cooler with some degrease and a plastic-bristled brush. And finished cleaning the rest of the oil cooler housing. The rest of the parts on the car were wondering what they had to do to get the @icer5160 detail treatment And everything is back together and good for another 150k miles, hopefully!
BTW, am I the only one that thinks the oil filter is pretty small for a 3.5L V-6? The oil filter on my 2.8 V-6 Passat has to be double the size of this one!
Nice work Khnitz! Hope this permanently solves the issue for you!
Yeah, your poor baby has some rust issues. I had similar rust forming around the front engine/suspension crossmember and front brace. I wire wheeled, sanded it down, and sealed it up with Rustoleum rusty metal primer and Satin Black paint. Hoping that keeps the rust from growing further. But you know what they say, rust never sleeps.
Cheers!
-Icer
BTW, am I the only one that thinks the oil filter is pretty small for a 3.5L V-6? The oil filter on my 2.8 V-6 Passat has to be double the size of this one!
I actually run a VW / AUDI on my 240sx because its roughly double the size of the factory KA unit. Finding a filter with the same thread pitch, diameter, and BPV rating shouldn't be difficult in a larger capacity.
the 4 rear flange gasket had been leaking for a while now. Waiting on Z1 gaskets to get delivered. So decided to give my Greddy exhaust some TLC. Not bad for an old catback
Beware the Z1 metal (stamped steel) gaskets. The metal ones specifically don't seal well *if* there are any imperfections in the flanges. The multi-layer/material gasket they sell are good though, I'm using them between my cats and midpipe flanges. I hope these are the ones you ordered! Napa also has a Felpro gasket that is comparable and ideal for flanges with less surface area. The P/N is FPG 60831 (2.5" 2-bolt gasket).
Btw, your old exhaust shined up nicely! Looks good!
Cheers!
-Icer
Last edited by icer5160; Mar 20, 2023 at 11:38 AM.
Beware the Z1 metal (stamped steel) gaskets. The metal ones specifically don't seal well *if* there are any imperfections in the flanges. The multi-layer/material gasket they sell are good though, I'm using them between my cats and midpipe flanges. I hope these are the ones you ordered! Napa also has a Felpro gasket that is comparable and ideal for flanges with less surface area. The P/N is FPG 60831 (2.5" 2-bolt gasket).
Btw, your old exhaust shined up nicely! Looks good!
Cheers!
-Icer
Hey Icer thanks for the part # for the felpro gaskets. I was trying to find some at a local muffler shop and at parts stores but couldn't find any that matched. Good to know NAPA has them. As for the Z1 gaskets I purchased they are the multilayer ones so I hope these do just fine.
Been a minute since I gave an update on my Z project. In the last post I made, the Z was sent off to the Bodyshop for a front end repaint to fix old dings, rock chips, etc. I have since gotten the Z back and everything looks great except for the hood. Multiple things seem to have gone wrong during the hood paint process, there are multiple defects, some in the clear coat and some under the clear coat (base coat). I have already reached out to the shop to address my concerns and the owner has agreed to a re-do, I'm just waiting on these constant storms in CA to finish up before I bring the Z back in, hoping next week. The rest of the work looks fantastic (Bumper, fenders, Evo-R rear spoiler, and new mud guards). I consider this a fluke, this business came highly rated and they specialize in Nissans (classic Datsuns and late models). Pictures of the body work will also be on hold until I have a finished product to shoot, so hang tight!
So for the time being, I'm preparing for a full stereo/infotainment system upgrade. I'm still rolling with the bone stock speakers and dual din head unit (non-bose/navi being an enthusiast).
It's bonus and tax season, so I pulled the trigger and ordered the following from Crutchfield.
Kenwood DMX908S Head unit (media player, no discs)
Focal Auditor EVO ASE 165-S for the front (Component, S = shorter depth)
Focal Auditor EVO ACX 165 for the rear (Coaxial, standard depth)
SiriusXM 3.0 receiver
Metra Steering Wheel control adapter
All needed mounting & wiring adapters (included for free, love Crutchfield)
From Amazon I ordered...
Chinesium grade HDMEU 720p backup camera from Amazon (Integrated with lice plate bulb lens)
Scosche CPPDRLK-SP USB-C/USB-A adapter (Replace any 12V outlet)
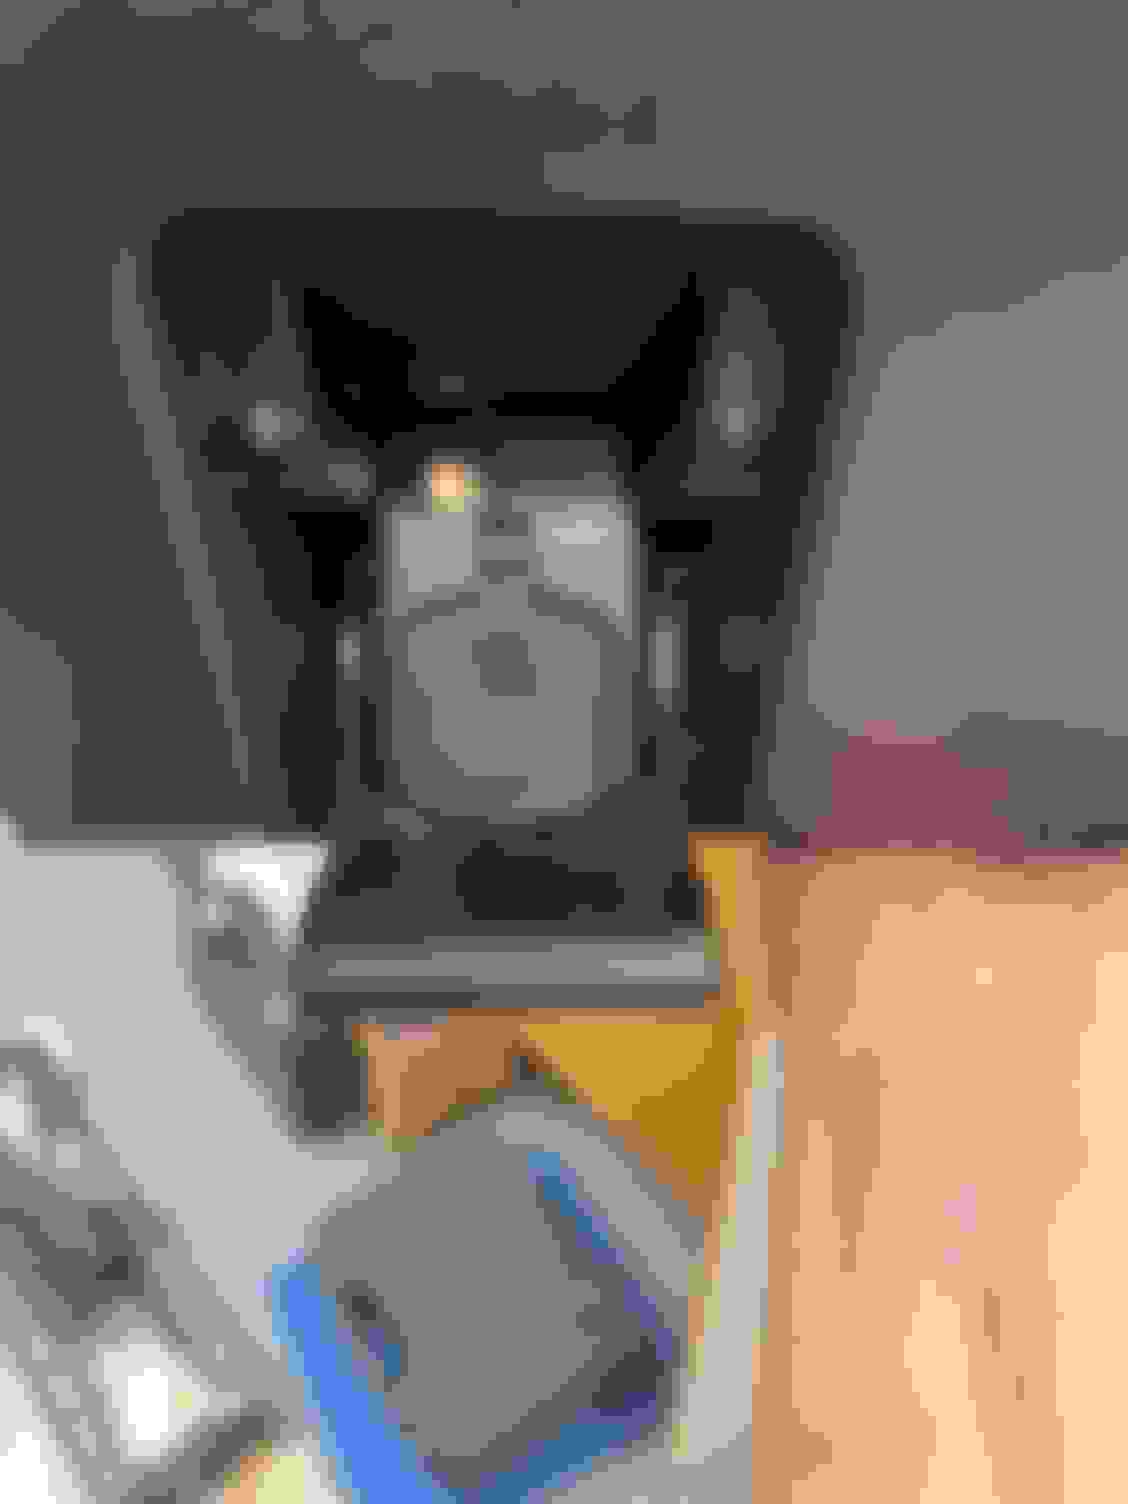
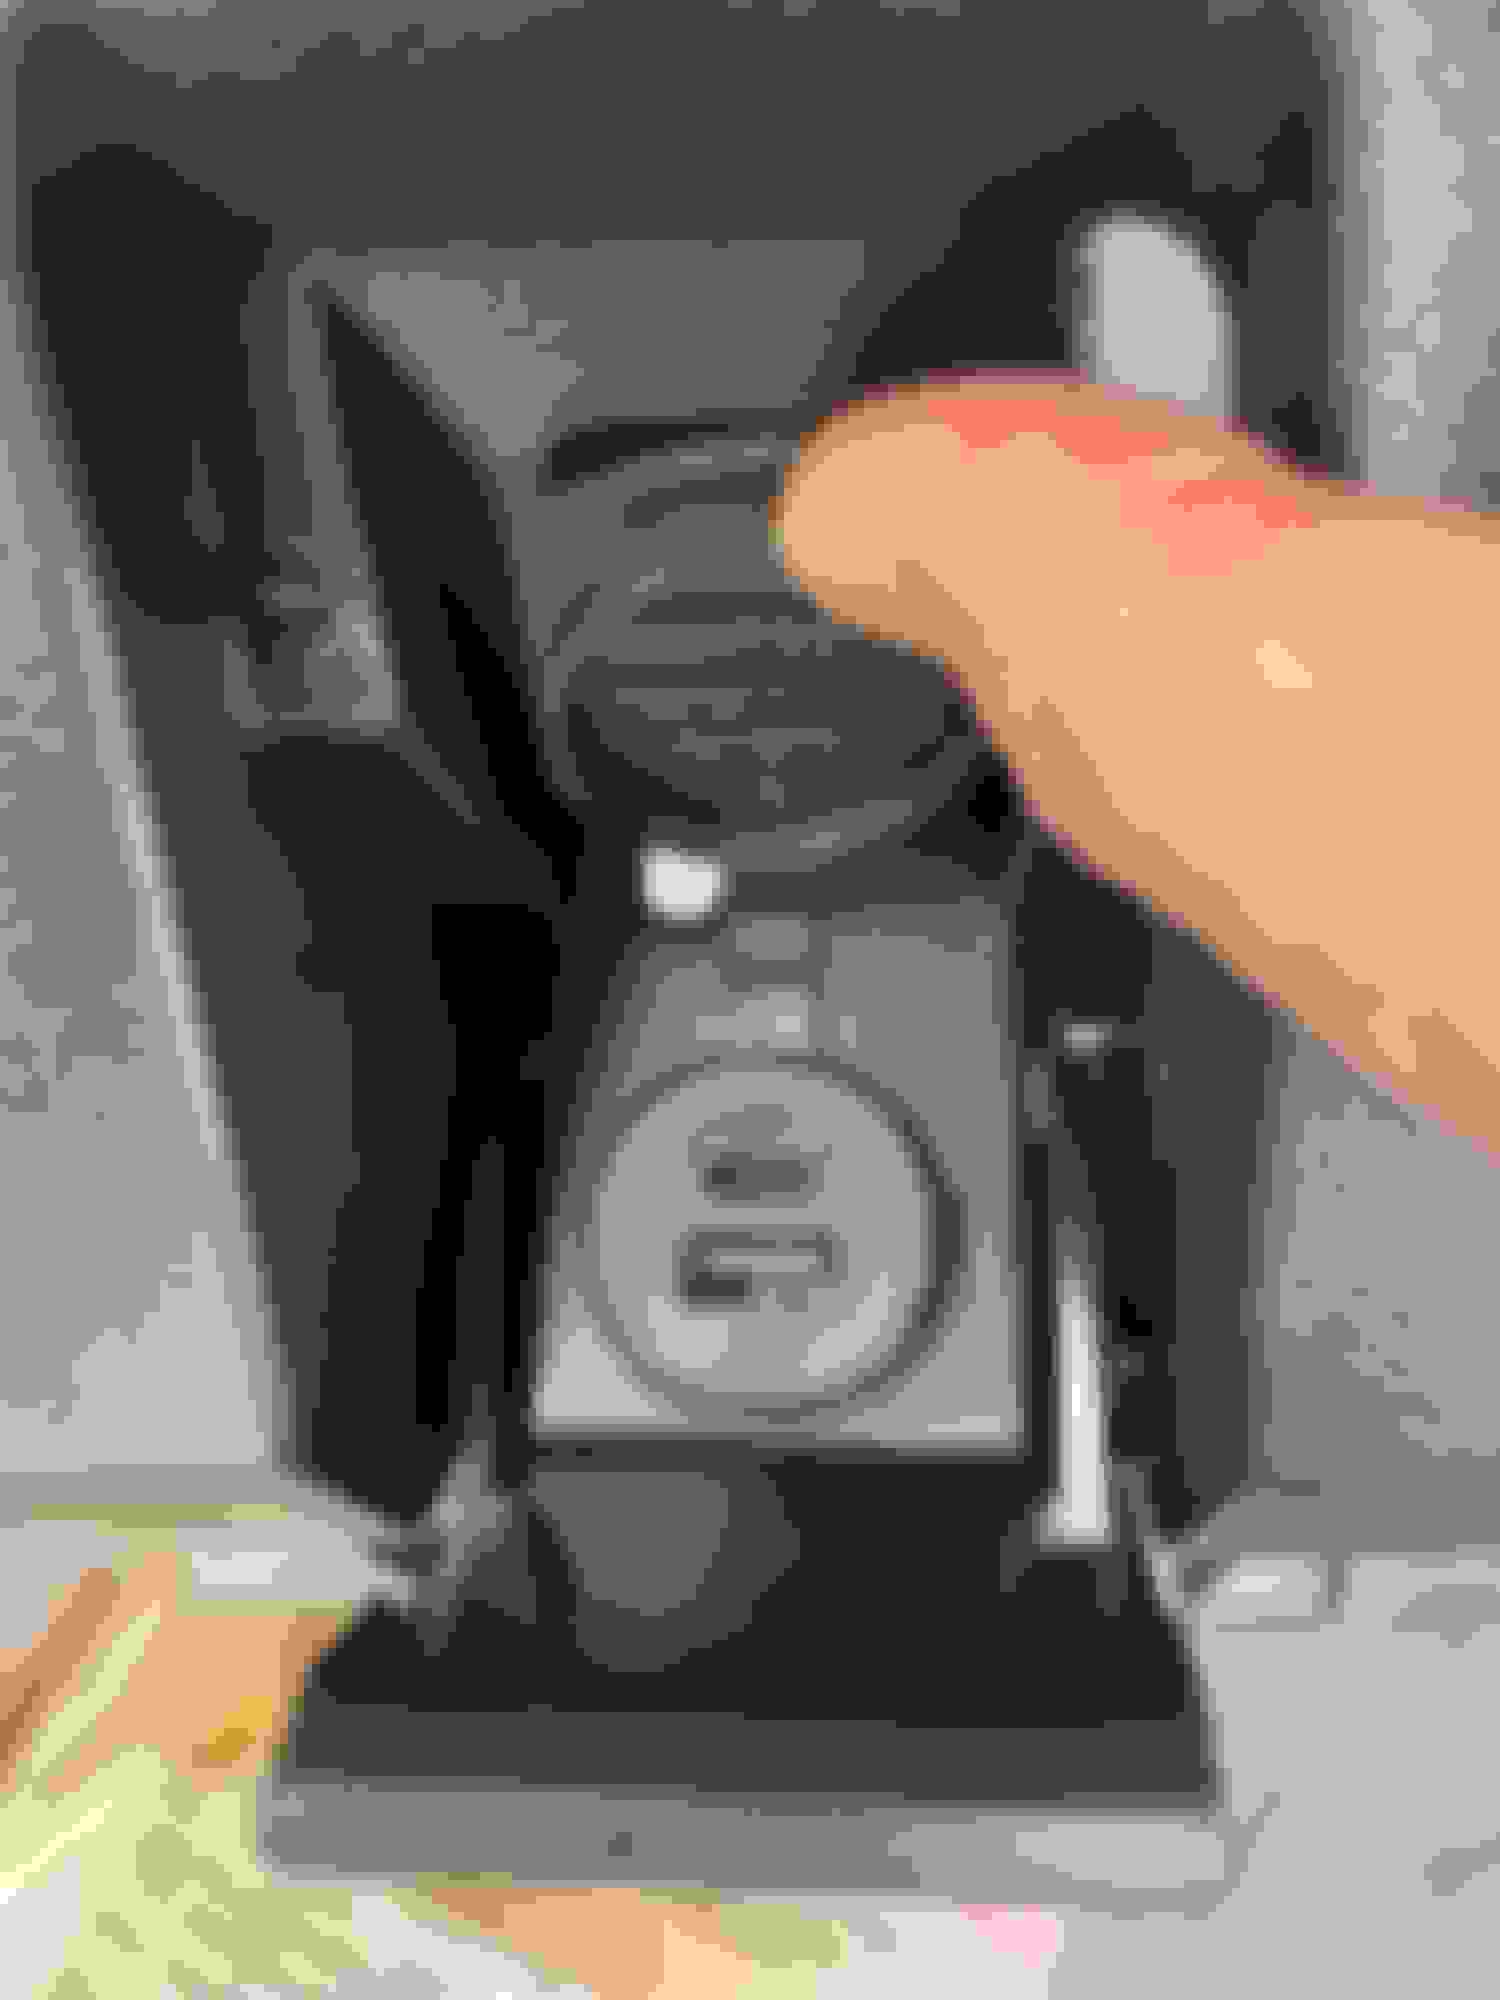
Many of the items from Crutchfield are on backorder, but I don't like sitting idle. I worked on what I could. I installed the Scosche adapter into the lower passenger dash panel, replacing the OEM 12V outlet. It fits like a glove! I'm excited about this thing. I absolutely despise needing to cut holes into the factory panels/plastics or cut factory wiring. This adapter doesn't require any of that! The USB-C port is strictly used for fast charging (up to 27W), no data. The USB-A port is for data, I'm guessing USB 2.0, but it's unclear. For my use case, USB 2.0 will work fine since I'm only going to be using this port for my thumbdrive music library and software updates. The Kenwood head unit I ordered supports wireless Carplay and Android Auto, coupled with the Magsafe charging mount and I'll never need to deal with plugging/unplugging cables to my phone again, at least in the Z (EPIC WIN!).
Install details...
1) Remove lower dash panel (plenty of vids covering this out there).
2) Remove OEM 12V outlet (remove the metal barrel 1st, then the plastic ring/barrel)
3) Install Scosche adapter into lower dash panel.
4) Unpin the female spades from the OEM harness plug that fed the OEM 12V outlet.
5) Apply some form of insulation on the +12V wire.
6) Connect power to the new Scosche adapter and link up the USB-A dongle to your Head unit.
7) Re-install the lower dash panel.
The hardest part of this install is unpinning the OEM harness plug and even that is pretty easy. As stated earlier, no permanent modification is required for this kit. The stock wiring can be re-used, the female spades are the perfect size. Also, the stock wiring is color coded correctly (I verified with a volt meter). Red is your +12V and black is your ground, simple enough. There's enough clearance behind the dash panel for the wiring to fit snug (Note: The Scosche adapter is slightly deeper).
I tested the charging capabilities with my MagSafe mount, works great. Can't wait to get the rest of the stereo components and finish the whole system. Rocking the stock radio is fine and dandy, but I have a long commute to work, so hands free calling and some good tunes is a must have! I'm super pumped to get the rest of the new infotainment system installed. Finger's crossed everything plays nice with each-other (backup cam + Scosche USB data port with the Kenwood head unit).
Stay tuned!
-Icer
How it looks installed. I like the flip up cover, wasn't sure if I should have it open up or down. Rear view. OEM harness un-pinned. Heat-shrink tubing applied to the +12V pin. Fast Charge wires connected. All re-installed (except for the USB passthrough, still waiting on the Kenwood) Here are the items it replaced (black harness plug on left, 12V outlet on right)
Last edited by icer5160; Mar 30, 2023 at 08:01 PM.
Been a minute since I gave an update on my Z project. In the last post I made, the Z was sent off to the Bodyshop for a front end repaint to fix old dings, rock chips, etc. I have since gotten the Z back and everything looks great except for the hood. Multiple things seem to have gone wrong during the hood paint process, there are multiple defects, some in the clear coat and some under the clear coat (base coat). I have already reached out to the shop to address my concerns and the owner has agreed to a re-do, I'm just waiting on these constant storms in CA to finish up before I bring the Z back in, hoping next week. The rest of the work looks fantastic (Bumper, fenders, Evo-R rear spoiler, and new mud guards). I consider this a fluke, this business came highly rated and they specialize in Nissans (classic Datsuns and late models). Pictures of the body work will also be on hold until I have a finished product to shoot, so hang tight!
So for the time being, I'm preparing for a full stereo/infotainment system upgrade. I'm still rolling with the bone stock speakers and dual din head unit (non-bose/navi being an enthusiast).
It's bonus and tax season, so I pulled the trigger and ordered the following from Crutchfield.
Kenwood DMX908S Head unit (media player, no discs)
Focal Evo Auditors ASE 165-S for the front
Focal Evo Auditors ACX 165 for the rear
SiriusXM 3.0 receiver
Metra Steering Wheel control adapter
All needed mounting & wiring adapters (included for free, love Crutchfield)
From Amazon I ordered...
Chinesium grade HDMEU 720p backup camera from Amazon (Integrated with lice plate bulb lens)
Scosche CPPDRLK-SP USB-C/USB-A adapter (Replace any 12V outlet)
Many of the items from Crutchfield are on backorder, but I don't like sitting idle. I worked on what I could. I installed the Scosche adapter into the lower passenger dash panel, replacing the OEM 12V outlet. It fits like a glove! I'm excited about this thing. I absolutely despise needing to cut holes into the factory panels/plastics or cut factory wiring. This adapter doesn't require any of that! The USB-C port is strictly used for fast charging (up to 27W), no data. The USB-A port is for data, I'm guessing USB 2.0, but it's unclear. For my use case, USB 2.0 will work fine since I'm only going to be using this port for my thumbdrive music library and software updates. The Kenwood head unit I ordered supports wireless Carplay and Android Auto, coupled with the Magsafe charging mount and I'll never need to deal with plugging/unplugging cables to my phone again, at least in the Z (EPIC WIN!).
Install details...
1) Remove lower dash panel (plenty of vids covering this out there).
2) Remove OEM 12V outlet (remove the metal barrel 1st, then the plastic ring/barrel)
3) Install Scosche adapter into lower dash panel.
4) Unpin the female spades from the OEM harness plug that fed the OEM 12V outlet.
5) Apply some form of insulation on the +12V wire.
6) Connect power to the new Scosche adapter and link up the USB-A dongle to your Head unit.
7) Re-install the lower dash panel.
The hardest part of this install is unpinning the OEM harness plug and even that is pretty easy. As stated earlier, no permanent modification is required for this kit. The stock wiring can be re-used, the female spades are the perfect size. Also, the stock wiring is color coded correctly (I verified with a volt meter). Red is your +12V and black is your ground, simple enough. There's enough clearance behind the dash panel for the wiring to fit snug (Note: The Scosche adapter is slightly deeper).
I tested the charging capabilities with my MagSafe mount, works great. Can't wait to get the rest of the stereo components and finish the whole system. Rocking the stock radio is fine and dandy, but I have a long commute to work, so hands free calling and some good tunes is a must have! I'm super pumped to get the rest of the new infotainment system installed. Finger's crossed everything plays nice with each-other (backup cam + Scosche USB data port with the Kenwood head unit).
Stay tuned!
-Icer
How it looks installed. I like the flip up cover, wasn't sure if I should have it open up or down. Rear view. OEM harness un-pinned. Heat-shrink tubing applied to the +12V pin. Fast Charge wires connected. All re-installed (except for the USB passthrough, still waiting on the Kenwood) Here are the items it replaced (black harness plug on left, 12V outlet on right)
Looks like Crutchfield got a large shipment in earlier than expected. All of my order is now in transit .
I also just placed an order for all the interior paint project materials. I'll be using all SEM products for re-painting the interior plastics (center waterfall, shifter bezel, door switch bezels, door handle bezels, and gauge cluster housing). Basically everything inside the Z interior with the craptastic factory paint. I have doubles for all of these parts, so I can take my time with the prep work, it's going to be a slow process, but I want this done right and I only want to do this once.
I'll be using SEM Landau Black #15013 for the color.
Ideally, I'll be able to finish the paint work before I install the stereo components since I'll be taking apart most of those areas anyway. But we shall see.
Cheers!
-Icer
for sure come back and update once you are done with the paint project. Curious to see how this comes out
Ideally, I'll be able to finish the paint work before I install the stereo components since I'll be taking apart most of those areas anyway. But we shall see.
Cheers!
-Icer


 .
.