When you click on links to various merchants on this site and make a purchase, this can result in this site earning a commission. Affiliate programs and affiliations include, but are not limited to, the eBay Partner Network.
Bought this Sony unit after my trusty Pioneer one died. Online says changeable color illumination but it turns out that isnt the case the blue lighting against all the oe orange kills me haha. Gonna see about swapping out this week.
That was my issue as well. Had to swap out for Pioneer - DMH, AVH can be color matches to OEM.
I've got a touchscreen Kenwood in my Z now, and I want to swap it out for something with an honest-to-god volume ****! I'll live with the smaller screen...
Volume **** would be nice, maybe my next Pioneer. I was about to swap in 370z steering wheel but it just looks out of place. Looking at universal volume controls that can be hidden behind the wheel.
Last edited by mr. sparco; Mar 26, 2023 at 07:52 PM.
Looking at universal volume controls that can be hidden behind the wheel.
I've thought about finding the 350Z SWC buttons to put on the steering wheel, and then trying to integrate the electronics for one of those universal remotes behind it. The tricky thing would be getting power to it, as they usually use a button cell battery to transmit RF for the commands to a receiver that then connects to the SWC input of the aftermarket headunit.
I found a few that requires hardwiring on Amazon and runs off 3.5 jack on back of Pioneer head units. One was adding a stalk that would just peak through at 7 o'clock. I was thinking of taking out the buttons and 3d printing something that would fly aesthetically for me.
Installed new CMC, CSC and SS clutch line along with a RJM pedal that I waited too long to install, does anyone know if you have to adjust the WHOLE pedal assembly everytime you move the AFP to 0% when performing a bleed on the system? Thanks!
I still want a volume **** Too many clicks, at times
Hey Knitz, there are bluetooth volume **** options for aftermarket head units now. They use a watch battery (CR2032 or similar). You can stick it anywhere you want in the dash for controlling volume. Not all head units support this feature though. So some research is required for your specific model Kenwood.
Cheers!
-Icer
...does anyone know if you have to adjust the WHOLE pedal assembly everytime you move the AFP to 0% when performing a bleed on the system? Thanks!
I just went through this process. The short answer is YES...you need to re-adjust the entire assembly if you're rocking the Rev4 of the RJM pedal. Changes to the AFP will also change your end point adjustments for your pedal sensors (Cruise and Start switches). It could also change the angle of the Master Cylinder rod.
Tedious process I know. But at least it only needs to be done once (until the next hydraulic work at least).
Cheers!
-Icer
Last edited by icer5160; Mar 27, 2023 at 02:19 PM.
I spent some time this past weekend working on the Focal Tweeter install into the sail panels (Speakers sets arrived Friday). I went into this not knowing exactly how well these would fit up. I was expecting the need to make custom back straps or cut out the plastic barrels in the sail panel. Surface mounting was another potential option, but the diameter of the included surface mount adapters would have left things looking out of proportion and slapped together. Luckily, none of that was necessary. The Focal Tweeters incorporate an M4 threaded mount hole in the back, very similar to the OEM tweeters (which I believe use M5). I was able to simply re-use the factory back strap/mounts. The only additional hardware required were the two M4x0.70 x 5mm screws and some matching washers (3/16" - 1/4" ID, 3/8" or 1/2" OD, about 0.75-1mm thick) to gap the tweeter from the plastic guide barrel. I didn't want the tweeter faces pushed up against the barrels as this might impact sound production or cause high-frequency vibration issues. I also made sure to use some blue Loctite on the M4 screw, can't have that coming loose!
I don't think it get's much better than this. If desired, the changes are completely reversible. The only tricky bit was safely removing the factory tweeters from the metal brackets. I used a hot-air solder station to soften up the glue. A bit of elbow grease with a Philips screw driver and the M5 fastener broke free with ease. There was also some glue bonding the bracket to the tweeter, a sharp flat-head screw driver was easily able to break the bond. Again, heat was needed to do this without causing damage. I had the hot-air set to 436 degrees F and the glue didn't melt, just made it a little soft. I feared to go any higher with the temp as the risk to damaging the OEM tweeter becomes a strong possibility. I'm not sure what kind of glue was used from the factory, it could be a form of epoxy or some kind of silicone RTV. It's hardened like a wax, but the melting point is very high.
Lastly, I started the process of breaking down all the interior plastic pieces I'll be re-painting. Both door switch bezels, the center waterfall and shifter bezel, door vent bezels, and gauge cluster furniture. By far the gauge cluster was the most difficult piece to break down. It's delicate and you need to do it in a very specific order, failure to do so will result in bits breaking. This wasn't my first time taking apart a 350Z gauge cluster, so I knew what to do. Luckily the Triple-Circle rear cover on the cluster does not have the same crappy paint. This piece would have been tricky to repaint without disrupting the silver accents.
I'll discuss the details of the interior plastics more in a future post. In short, it's a tedious process and to do things right, a plastic welding tool is a must have.
Onto the pictures.
Cheers!
-Icer
Focal Tweeter side-by-side with OEM. OEM bracket installed and wiring zip-tied in same fashion as OEM. Focal Tweeter installed in the sail panel. Also replaced the OEM dampening foam in bottom corner. Front face of the sail panel. Install complete on both sides.
I had cut mine out and had some jl tweets in that spot..
Hey Dboy, looks clean. I was planning on doing this until I saw the diameter of the Focal flush mount furniture. The bezel around the tweeter is about 1/4-3/8" thick. It would not have fit cleanly in the center of the sail panel and just look awkward. But I'm glad I was able to stealth mount them without the need to make permanent modifications. The quality of the Focal construction is very good, even though the Auditor series is considered their entry level product line for automotive, the woofers and tweeters are using high quality materials. Based on my research, their initial entry into the automotive audio market wasn't very successful, but their updated/latest product lines have greatly improved and get excellent reviews. They are also very efficient speakers, so they should sound great with the built-in amp (22W RMS) on the Kenwood Head Unit.
I chose Focal after my neighbor demonstrated his home theatre system (Huge sub cube in corner + wall and ceiling flush mounted speakers), it blew my mind, sounded better than IMAX. Also, and take this with a grain of salt, but more than one Crutchfield staff member recommended Focal to me based on the type of sound I'm aiming for. Until very recently, I haven't tinkered much with car audio stuff since the early 2000s, and back then it was all about Alpine, Infinity, and Kicker. A lot has changed since then. I did a minor upgrade in my daughter's 06 Honda Civic this past summer using Rockford Fosgate Prime Series (nothing fancy, entry level). Even these affordable entry level speakers sound great. Maybe I'm just getting old, but I don't fancy the idea of wiring up an external amplifier, sub boxes, or custom speaker mounts. I went through that phase many years ago and although the sound was fantastic, losing the trunk real estate and killing alternators kinda sucks!
Anyway, I can't give an honest opinion on my new sound system in the Z until after it's all up and running. This might take some weeks as I've done most of what I can to prep for the audio install. My focus has now shifted to getting the interior plastics reconditioned.
Paint work is all about the prep, and rather than simply clean & scuff the original crappy paint, I'm going to strip all that stuff off (at least where it matters). I want a nice solid substrate that won't flake or chip or show any obvious imperfections with the new paint (like cracks or line transitions from the old paint left behind). This is not quick or easy to accomplish because the factory plastics with this crappy paint are made from ABS. The standard paint stripping methods like Thinner, Mineral Spirits, and Acetone will all eat ABS. This leaves me with one chemical option...Denatured Alcohol. I've done some tests already with the Denatured Alcohol using a toothbrush for agitation. So far the results look very promising, zero damage to the plastic, zero damage to the toothbrush. The OEM black paint breaks down relatively fast, but not super fast, it's going to take me a while to get all the pieces done. Time to queue up an audio book or something to help pass the time with this project.
Well it looks like a short reply turned into me rambling! Doh!
Take care!
-Icer
Focal makes nice stuff, too expensive for my taste, simply because I don't pay too much attention to music in the car. It's a fun drive car only and I love to hear the exhaust and engine as much as the music.
-Replaced Dome, Cargo, and license plate lights with LEDs
-Adjusted the clutch pedal (Night and Day difference, still lacks feel IMO)
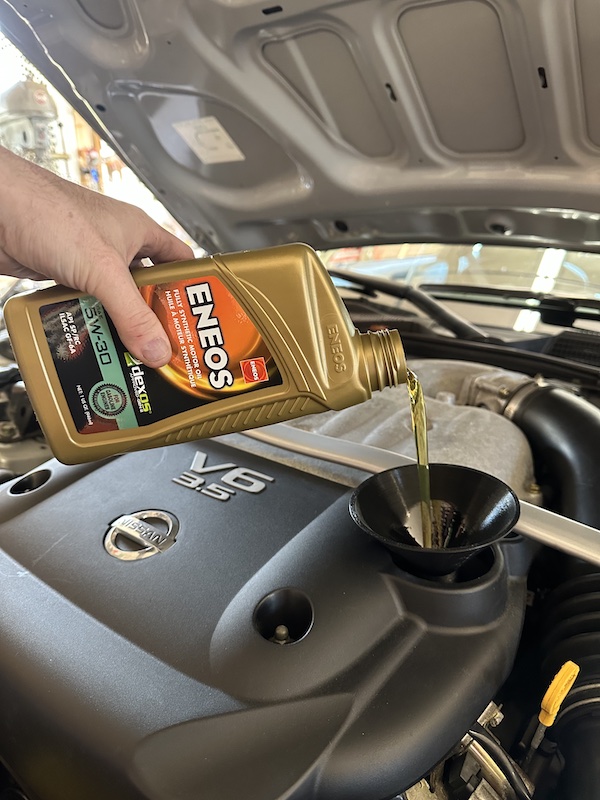
-Oil change to start the season.


 the blue lighting against all the oe orange kills me haha. Gonna see about swapping out this week.


 Too many clicks, at times