When you click on links to various merchants on this site and make a purchase, this can result in this site earning a commission. Affiliate programs and affiliations include, but are not limited to, the eBay Partner Network.
Looks good! Its a nismo juke... we have his and her Jukes lol
I had an SV stick shift in '12. Was going to get an RS stick shift, but went with a new Leaf in '15 instead. I worked at the dealer, so I got free charging at work. I still love the RS.
Every once in a while there's always that Troll who likes to park right next to you, even when you're out in the sticks.
Your Z is looking good! I'm still working on my interior project, but progress has slowed. Family activities these past few weeks and my Mother's car needed a timing belt/water pump service, trans service, power steering flush, and I still need to do the valve cover gaskets + spark plugs. It's a 2000 Acura RL 3.5 with 189k mi. It looks like a total POS on the outside (clear coat pealing, parking lot scars all over, but it runs/drives super cherry! It's an interesting vehicle, mix of 80s and 90s technology, sometimes makes troubleshooting and working on it a pain.
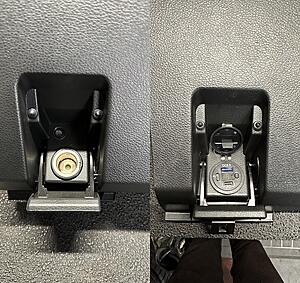
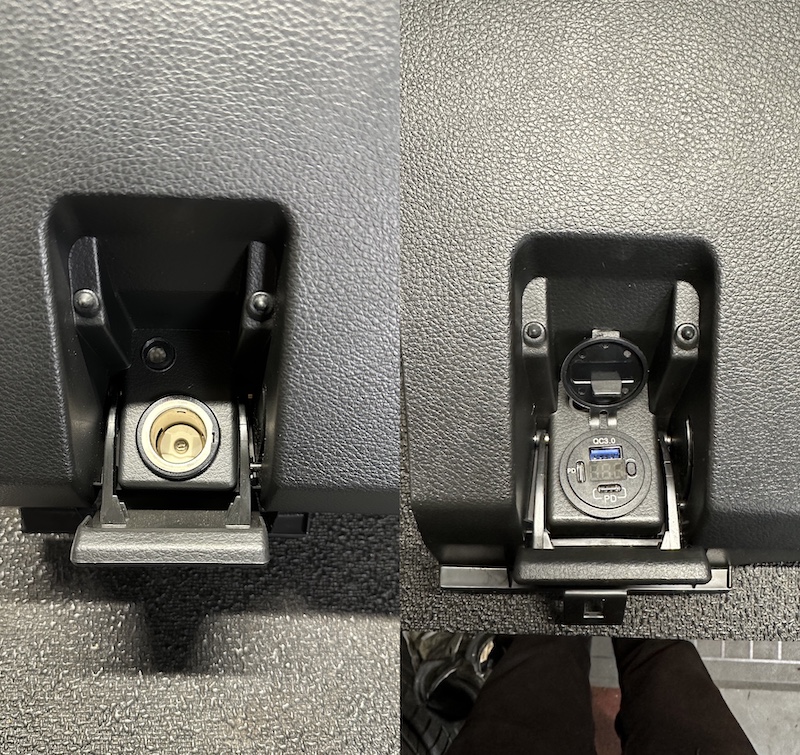
I really liked what icer5160 did with his, so I followed suit with a similar product that I felt suited my needs better.
This did require a slight amount of clearencing to the hole in the panel (I was able to do this using a deburring tool, I'd be surprised if I removed 0.050". I also had to trim down the threaded ring so I could keep the clip in for the spring. Very simple process, and able to use the factory power / ground wires.
Before / after:
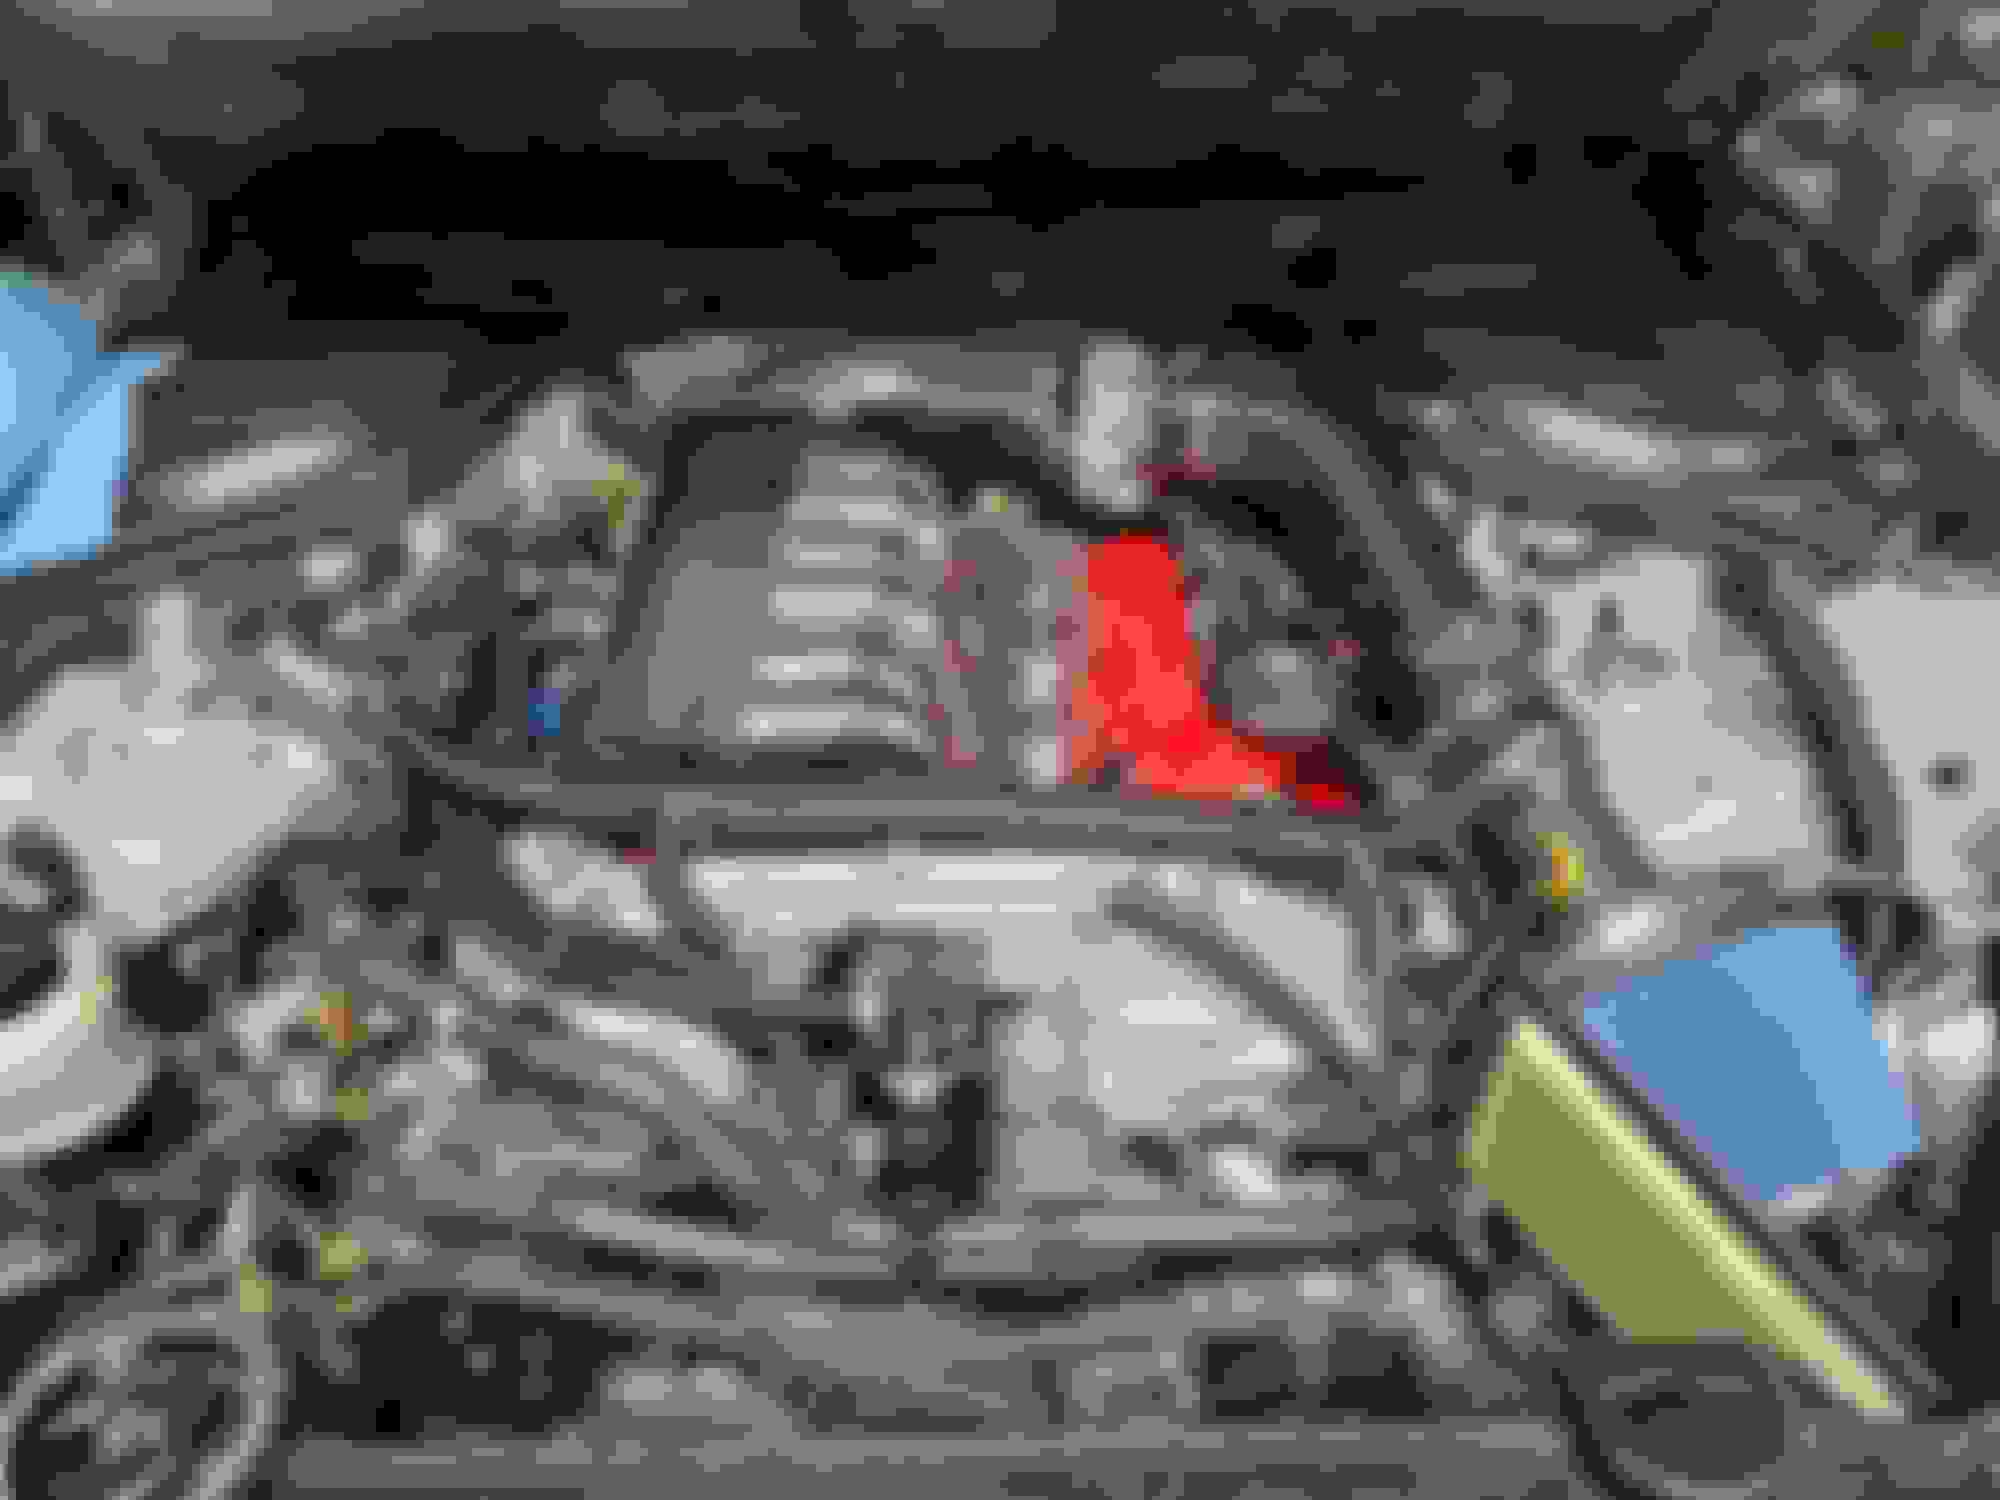
Replaced my upper oil pan, Swapped to a pop charger so I could fit the 25 row setrab/z-1 oil cooler without the filter being trapped in place, and I'm waiting on a new ac core because the 1st one leaked. The drip on the filter is from the power steering unit. I had the line disconnected So I could lift the engine off the subframe.
Last edited by StreetSports; May 3, 2023 at 08:51 AM.
Replaced my upper oil pan, Swapped to a pop charger so I could fit the 25 row setrab/z-1 oil cooler without the filter being trapped in place, and I'm waiting on a new ac core because the 1st one leaked. The drip on the filter is from the power steering unit. I had the line disconnected So I could lift the engine off the subframe.
How much time did it take you to do the upper oil pan? I know a lot has to be done to get it out when the motor is on the car. Just curious to know
How much time did it take you to do the upper oil pan? I know a lot has to be done to get it out when the motor is on the car. Just curious to know
I'd say a good 6 hours by myself. It could have went faster but I take alot of breaks for my lower back. I dropped the subframe but left it hanging on the lower arms. I dropped the rack off the subframe also because the lines were in the way.
Last edited by StreetSports; May 3, 2023 at 08:40 PM.
I'd say a good 6 hours by myself. It could have went faster but I take alot of breaks for my lower back. I dropped the subframe but left it hanging on the lower arms. I dropped the power rack off the subframe also because the lines were jn the way.
I fear that my upper oil pan has a crack since first time i had got the car i inspected it when i brought it home and noticed what seem like a leak underneath the car. I replaced valve covers and o rings on both cam sensors as one was leaking. I checked the car underneath again month after and noticed a litte bit of oil in the same spot (driver side upper oil pan) So im thinking maybe its the upper pan. So i think ill have to drop it to inspect it and i guess replace the rear main seal while im at it. Just been curious to see how long roughly itll take me to do this.
I fear that my upper oil pan has a crack since first time i had got the car i inspected it when i brought it home and noticed what seem like a leak underneath the car. I replaced valve covers and o rings on both cam sensors as one was leaking. I checked the car underneath again month after and noticed a litte bit of oil in the same spot (driver side upper oil pan) So im thinking maybe its the upper pan. So i think ill have to drop it to inspect it and i guess replace the rear main seal while im at it. Just been curious to see how long roughly itll take me to do this.
I cracked mine around the pressure sensor but after pulling it I found multiple hairline cracks across the backside of a few mounting points/bolt holes. If you're doing the main seal, I think you'll have to drop the transmission also. I would just pull the engine at that point because you don't want to mess it up. Doing it from underneath is iffy at best. Even without doing the rear main seal you're kinda hoping 2 seals and 2 o rings stay in place while you blindly cover them up.
Last edited by StreetSports; May 3, 2023 at 08:39 PM.
The mess I got into lately with the Z. I got new tires put on a little over a month ago by a local shop that has good reviews. Well yesterday when I went to remove the rear driver side wheel I had a hard time removing the lugs. Someone at the tire shop decided to over torque these lug nuts. I was finally able to get all 5 lug nuts off and I was thinking to myself dont tell me all the other wheels are gonna be the same... So I proceeded to check the other wheels and yep all the lug nuts were super on there. As i got to the last wheel and taking off the last lug nut off it freaken snapped off. I was then stuck with a broken lug nut and half of it was still on the stud holding the wheel. Ive seen this happen to others and I was always scared this would happen to me and of course it did.
After trying different methods to get this off and kinda scratching up the wheel I finally got it off. Im surprised they did not snap any of these off when they were torquing them down. These are aluminum lugs and im assuming they used a impact gun to do this. Luckly I had took off my RAYs lug nuts prior to getting the tires and slapped these Muteki ones. Anyway here is the end result
That sucks. I refuse to let tire shops mount my wheels since I know some moron with an impact is going to over-torque them to like 200 ft-lbs. I always drop off a loose set of wheels and tires and then pick them up later on.
The mess I got into lately with the Z. I got new tires put on a little over a month ago by a local shop that has good reviews. Well yesterday when I went to remove the rear driver side wheel I had a hard time removing the lugs. Someone at the tire shop decided to over torque these lug nuts. I was finally able to get all 5 lug nuts off and I was thinking to myself dont tell me all the other wheels are gonna be the same... So I proceeded to check the other wheels and yep all the lug nuts were super on there. As i got to the last wheel and taking off the last lug nut off it freaken snapped off. I was then stuck with a broken lug nut and half of it was still on the stud holding the wheel. Ive seen this happen to others and I was always scared this would happen to me and of course it did.
After trying different methods to get this off and kinda scratching up the wheel I finally got it off. Im surprised they did not snap any of these off when they were torquing them down. These are aluminum lugs and im assuming they used a impact gun to do this. Luckly I had took off my RAYs lug nuts prior to getting the tires and slapped these Muteki ones. Anyway here is the end result
Always use Never Seize, tell the bozos to be be easy with the impact and recheck yourself. Better yet, take your wheels to shop, get tires installed and mount yourself. There is a reason for 5 lug nuts.
Looks clean Mac! I need to get my Z project back on track. The month of May is always crazy for me, I have 6 birthdays in my family to celebrate. To add to the mayhem, I'm also getting more solar installed on my house to combat the insane energy costs here in CA and I just spent two back to back weekends doing major maintenance on my mother's 2000 Acura RL. Did the timing belt, water pump, valve cover gaskets + rear cam seals, new spark plugs, transmission service, power steering fluid flush, all new belts, coolant flush, new battery, new cabin filter, new front abs wheel speed sensors, new driver seat belt buckle (all started because thermostat housing developed a leak). This work resolved a bunch of idiot lights in the dash (SRS light, ABS & VSA lights). SRS light was from a faulty driver seat belt buckle, VSA/ABS was from the front wheel speed sensors. Now the car is solid, no dash lights, trans shifts smooth. The spark plugs looked original with 189k mi on them, engine has more pep and amazingly zero sludge under the valve covers (just some light varnish). Some follow-up work may be required, I'm still noticing a tiny amount of coolant disappearing from the reservoir every few days of use, but I can't detect any additional leaks! Very annoying, it's not the head gaskets, heater core, or any of the hoses and I replaced the radiator cap already. I'm thinking maybe a pin hole leak at the radiator behind the fan shroud, but again, no signs of coolant (no water marks, no smell, no drips). I would share the pics, but it's a Honda and I dare not waste valuable webserver storage on a Honda.
After this coming weekend I'll get back on the Z interior paint project, followed up with the new infotainment system. I was at least able to get my driver's seat pan cushion over to an upholstery shop and have the side foam/bolster repaired (reused the OEM cover). It came out great, very happy with the work considering the price the upholstery guy charged. If anyone in my area is interested, I'll share his contact info. Very communicative/friendly guy with honest pricing and solid work!
Cheers!
-Icer
I know most people will slap some better seats on their Z like Recaro or what not but I actually like the stock Z seats. And I need to find a upholstery place that can hopefully match the original fabric as close as possible. Icer shoot me the info on this guy. Post some pics of the upholstery work he did
In terms of replacing the fabric, the diamond pattern (center section) on the cloth seats is unicorn material. He told me you can't find the original pattern anywhere. The solid black fabric for the bolsters is easy to match/find though. I also really like the factory seats. They strike a good balance between comfort and spirited driving functionality. I didn't replace the covers since they are still in great shape, there's a tiny amount of fade in the black color, which I think I may have accelerated during a steam clean. My only gripe with the work done, which is minor, was the leading edge of the bolster didn't come out with a sharper, more pronounced corner (matching the center console side). I say minor because once it's mounted in the car, it really won't be noticeable and having that edge slightly rounded off will actually make getting in and out of the seat a little easier. I think my butt will approve, but I haven't swapped it in the car yet to know for sure. At the end of the day, I can't complain for the price charged. He reinforced the foam so this issue should not occur again, it's a solid repair, the seat covers may need replacing in the future.
The Business is called California Auto Upholstery, located in Redwood City, CA (There's also a business with the same name in So-Cal). The owner/operator is Omar Yalle.
Here's the pics, sorry about the angles/lighting. These were taken under non-ideal circumstances just prior and after the work.
Cheers!
-Icer
Before shot, notice the side bolster foam looking lumpy & uneven. Before shot, notice the foam sagging down towards my thumb. The foam was split down the middle around the support frame. Before shot, showing the bottom with the crappy netting. After the repair. The foam is no longer sagging and stronger material was added between the springs and foam to prevent future wear. After repair. Side by side comparison. The repaired section on the right side. The peak/corner isn't a perfect match with the left, but it's no longer sagging or torn underneath the cover.
Icer thanks for the info. For some reason i thought you were in Brentwood Los Angeles. My seats are still in ok condition. Driver side obviously has a little wear and tear but still in decent shape. At some point I want to get them redone. I just hope i can find something very similar to the OEM fabric.