When you click on links to various merchants on this site and make a purchase, this can result in this site earning a commission. Affiliate programs and affiliations include, but are not limited to, the eBay Partner Network.
The only way that brakes cool is with air flow. Air needs an entrance and an exit. Just blowing against a wall won't cool the other side of the wall. The good thing with the carbon part is that is directs the air into the center of the rotor (useless for non-vented rotors, but I think all the 350Z rotors are center vented.) and the air is pulled through the middle.
Not sure if the other photos showing the hose holder blowing air at the back side of the upright will do any good...
I had trouble making that bend out of the inlet too. Here are some pictures of the bracket I made that puts the flange forward so you gain 1 - 2 inches to make that bend. I did have to cut some of the grill from the back side to let the inlet move forward.
With the V2 front end I just moved the whole plastic piece the ducts mount onto forward. Sorry no picks, never installed the tubing, the smashed the front end. Will be back together soon.
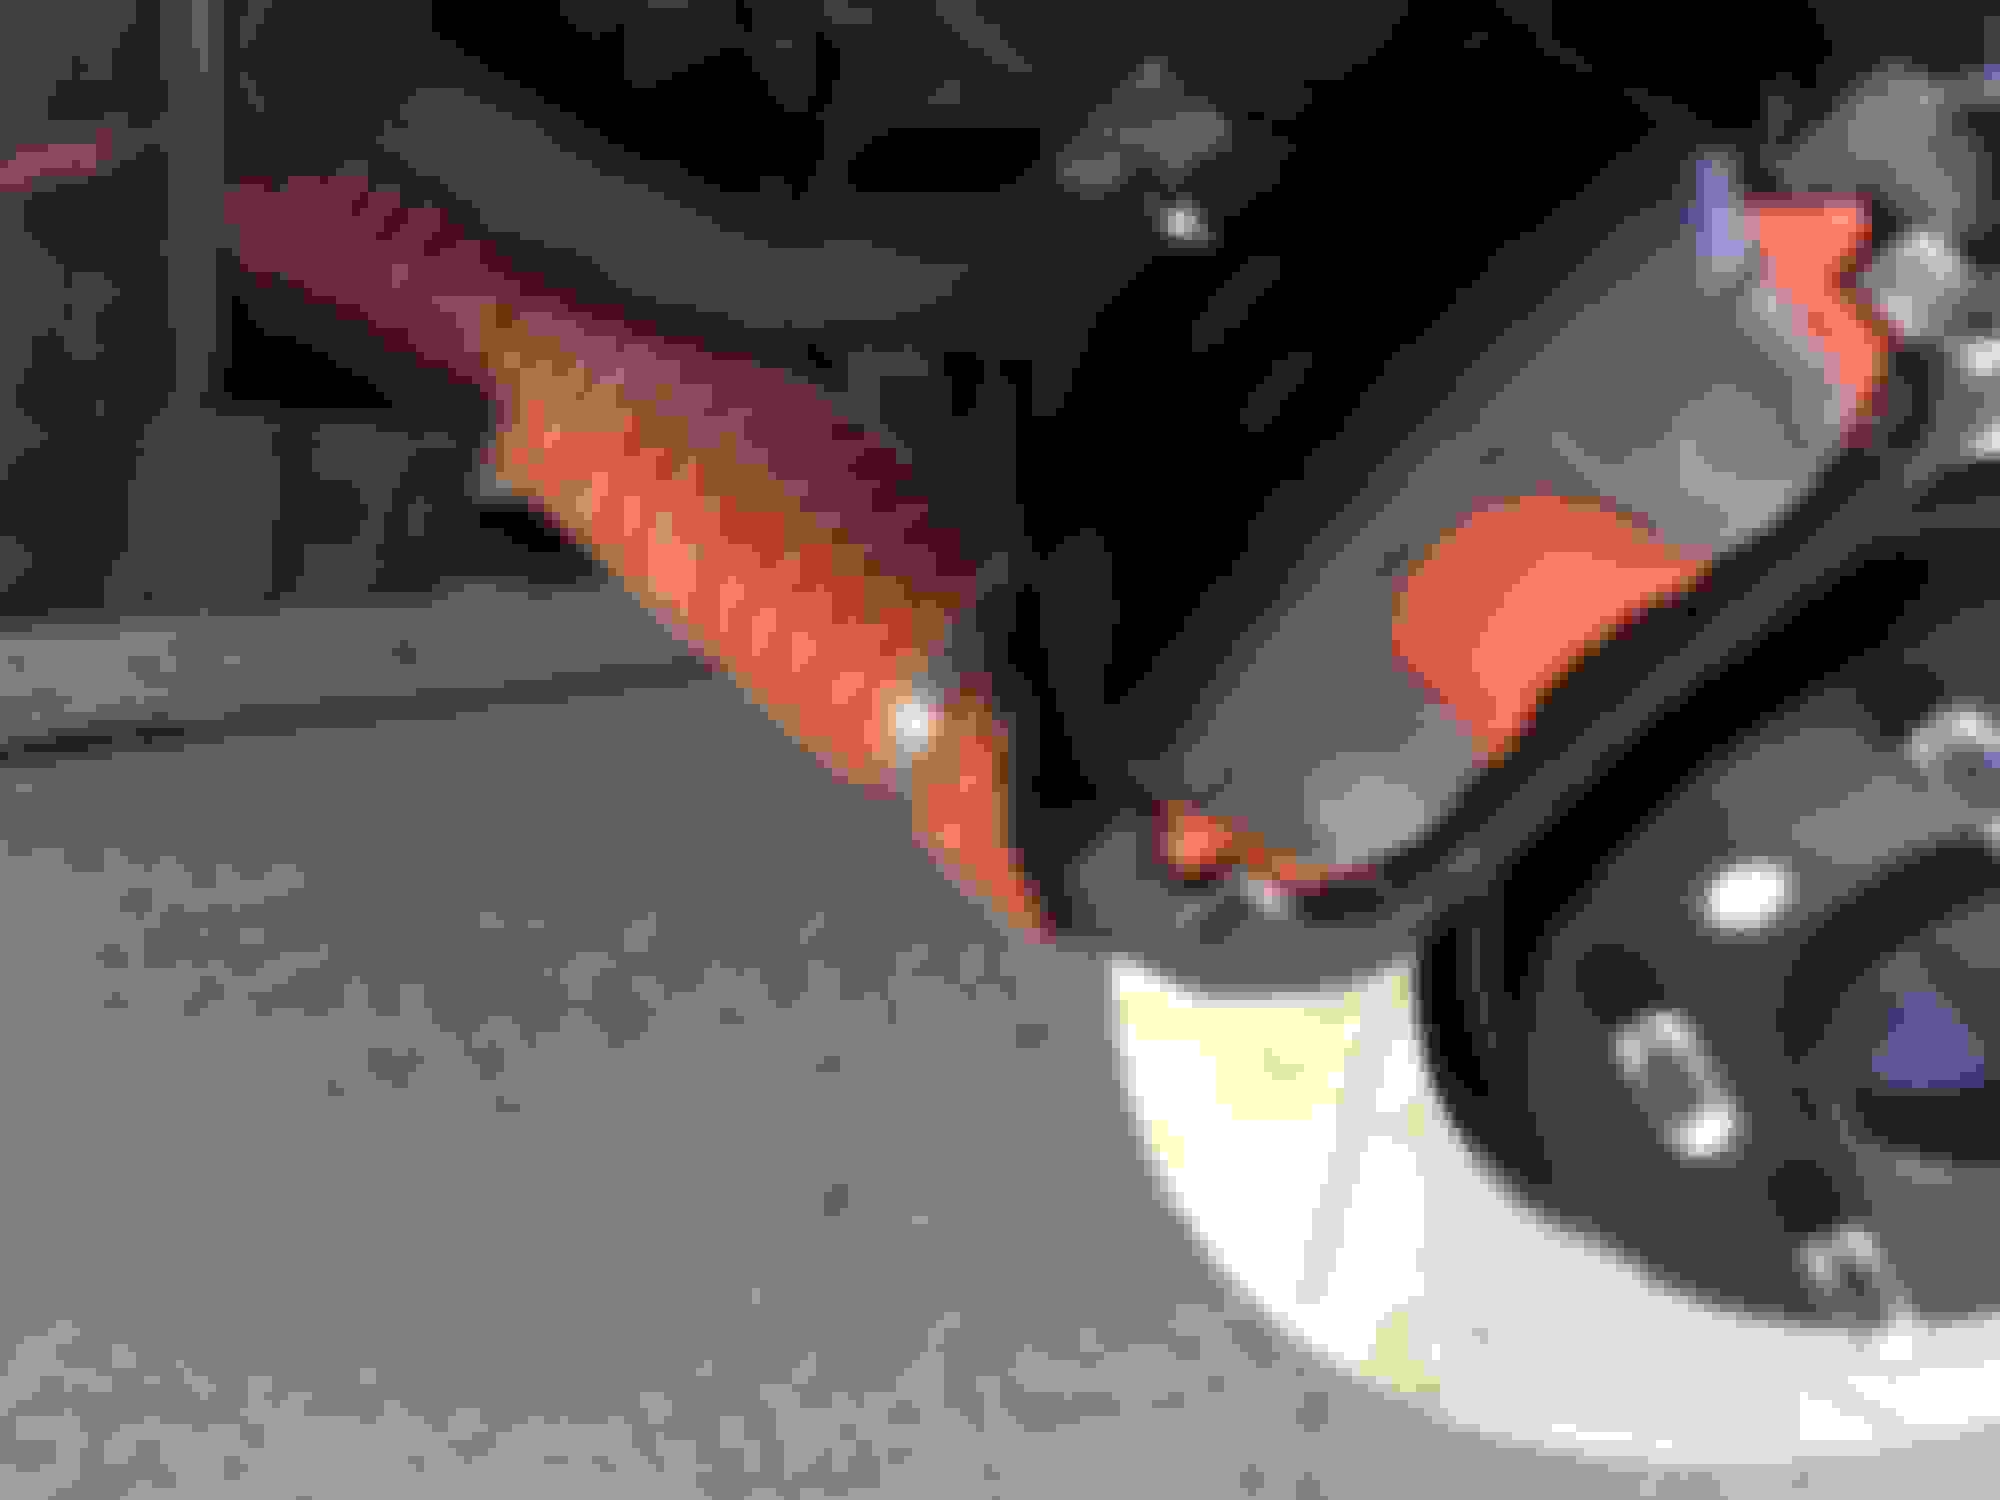
took forever and lost a lug nut, but its done. Duct flange isn't pointing anywhere close to the center of the rotor. Spindle arm is in the way. Sigh... Oh well. Something is better than nothing.
Anyone have before and after temperature readings? For those that have done track days after mod, how much noticeable difference was there in brake fade?
Either one will work. I'd say go with the cheaper one to start. You're tires are (most likely) going to rub against them and eventually wear a hole, so view them as a wear item. Once you figure out the best routing, then get the better stuff the second time.
I found this thread to be a very useful resource for building brake ducts on the 350z. After having just built my brake ducting system in my 2005 350z last week I figured I�d add to the discussion. This thread should really be a sticky.
These are PERFECT by the way. When you cut your hole in the front plastic piece where the ducting starts these can slide right through and then you can hose clamp the ducting down to the back of the flange. Super easy. I did use some J-B Weld to secure the flange to the plastic piece just so it didn't move around. This is probably optional depending on how snug you cut your hole in the plastic piece. I wish I would have taken some pictures of this (uninstalled), but I didn�t think of it at the time.
I used some aluminum gutter guards (that I cut down to size) that I got at Home Depot as a screen over the front of the flange to protect stones, etc from getting into the ducting. Since the aluminum flanges sit completely flush you can easily put a screen directly over it. I just screwed it into the plastic piece (i.e. I did not use pop rivets).
You can consult the other posts in this thread for fabricating the route that the ducting will run, but you basically have to cut some holes in some plastic pieces under the car to route it towards the rotor. I ended up removing some of the smaller worthless pieces of plastic instead of trying to cut a hole through them. You�re call on that.
PASSENGER SIDE ROUTING:
This side is the difficult side because of the washer fluid reservoir that everyone talks about being in the way, and it is. However, what no one really talks about is the power steering radiator/cooler that sits directly to the right of the washer fluid reservoir that is definitely also in the way. The very simple solution is to just unscrew the 2 screws that mount it to the front panel and relocate it several inches over to the right and screw it into the front panel again. That will give you enough room to make the bend. If you look at the picture with the washer fluid reservoir you will notice that the power steering radiator is dismounted and hanging there while I was figuring out the route. It eventually got mounted over several inches. Also notice that I added some duct tape to the ducting where the ducting gets pushed up between the washer fluid reservoir. Maybe that will help extend the life of the ducting in that location. All I did was jam it between there as best as I could and then added some zip ties to some applicable locations nearby to hold it in place.
As for pointing the ducting at the rotor I just aimed it right below the caliper where the rotor is exposed behind the dust (aka rock) shield. I choose not to remove or cut the dust shield. It�s probably safe to remove, and maybe one day I will remove it completely. I then cut a 4 inch piece of an aluminum strip that had some pre-drilled holes of various size in it that I randomly found at Home Depot. I screwed that into the lower control arm where there was a nut at a bend in the arm and then used a hose clamp to secure the ducting to the aluminum strip. I made sure to cut the length of the ducting short enough to not touch the rotor or the tire when it was fully turned. The picture below of this is of the driver�s side.
That�s it! Hopefully this will help me run cooler brakes/rotors at the track. Thanks to everyone who has contributed to this thread. It was very helpful.


