
And so it begins/full track car prep

Thread Starter
Registered User
iTrader: (51)
Joined: Oct 2006
Posts: 2,405
Likes: 5
From: cincinnati
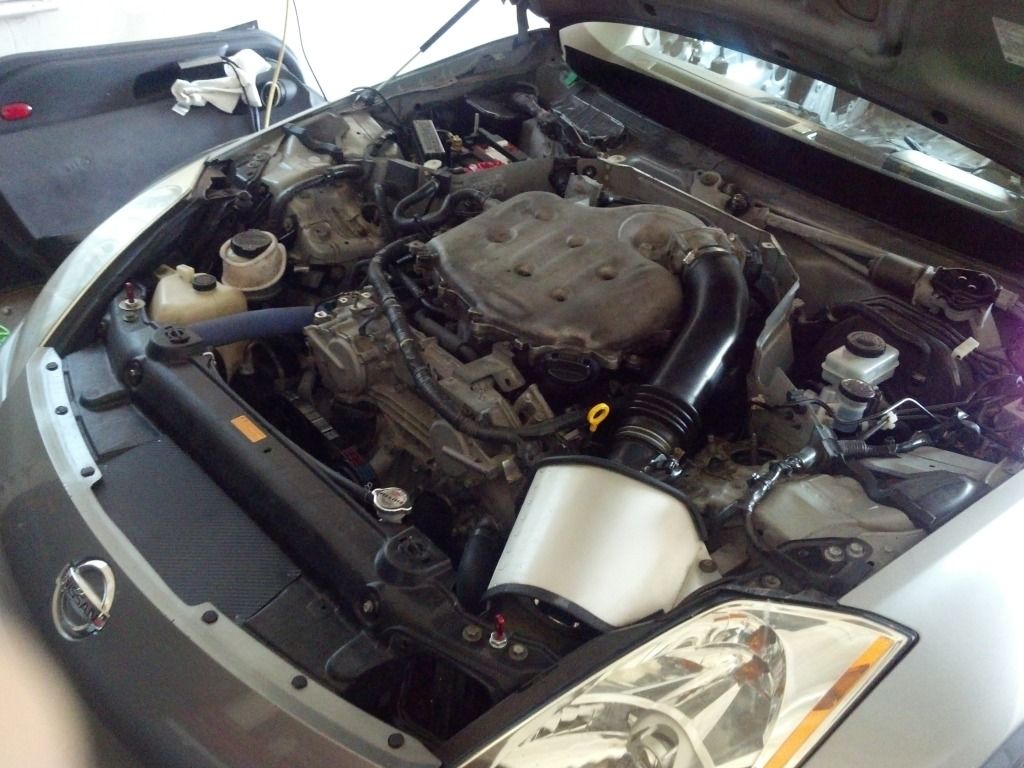
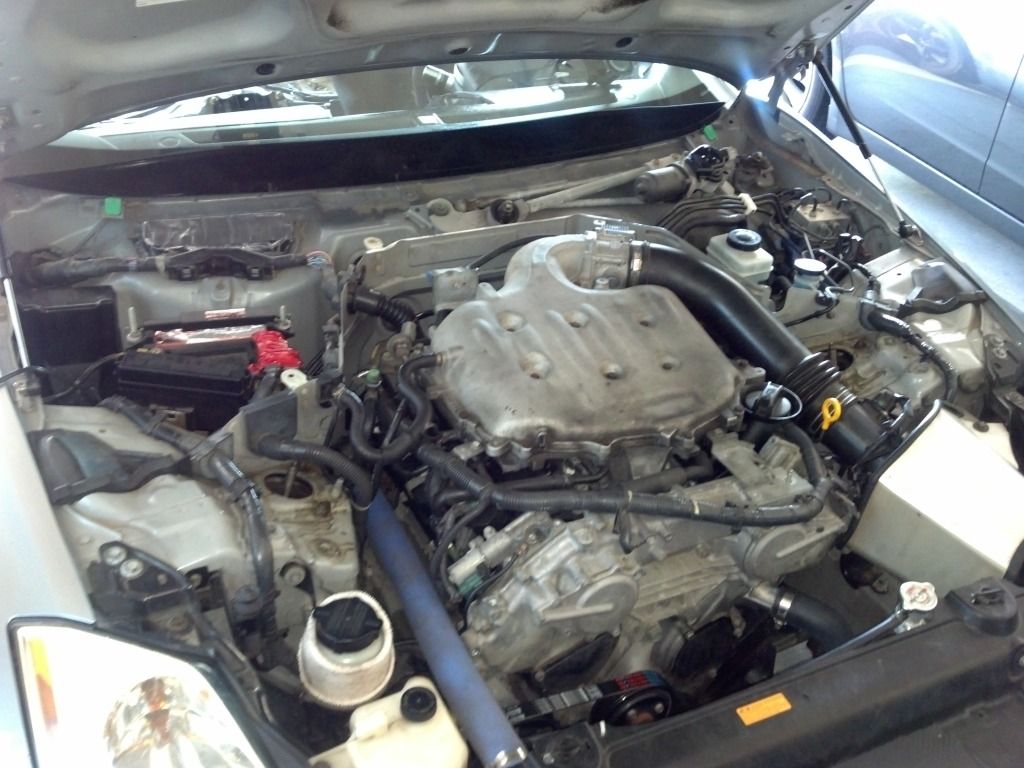
2003 DE motor
test pipes
Y-pipe
custom 3in exhaust
pop charger
5/16 plenum spacer
light crank pulley
AC delete
Path finder mod
new plugs
new coil packs
new Amsoil motor oil l
Aluminum radiator and fans
test pipes
Y-pipe
custom 3in exhaust
pop charger
5/16 plenum spacer
light crank pulley
AC delete
Path finder mod
new plugs
new coil packs
new Amsoil motor oil l
Aluminum radiator and fans

After reading Fixxxers thread and now this, has anyone determined whats best for all the gunk removal? Any products or just a lot of elbow grease and wire wheel?
I'm going to start on my G35 soon.
I'm going to start on my G35 soon.


Yes! Do it!! Or buy my Z and throw your motor in it

Wirewheel on a drill was the best. Did a lot with a scrapper too, helps when it was really cold as it turns to goo when its warm. The rear I actually did dry ice with but unless its next door its a pain to go get.

Thread Starter
Registered User
iTrader: (51)
Joined: Oct 2006
Posts: 2,405
Likes: 5
From: cincinnati
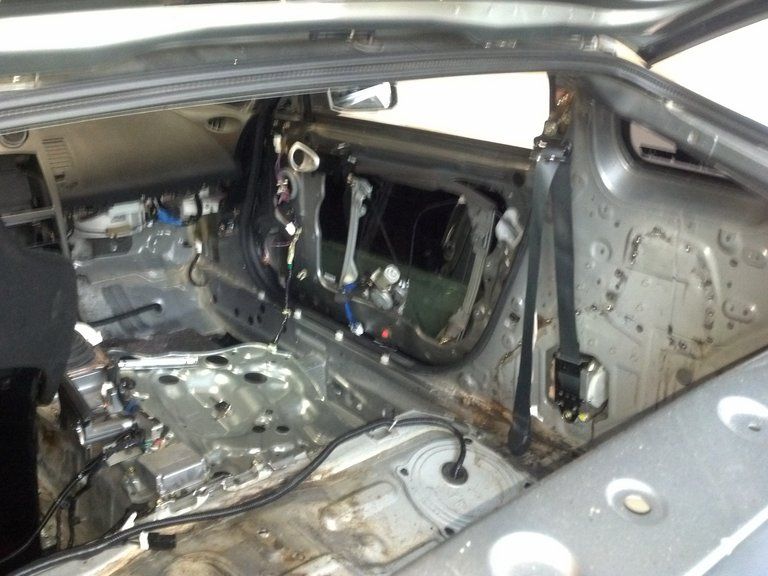
Not too much progress, been in an out of town with work. Alittle more sound deadening material left and want to get it prep for paint maybe, thinking about white. Have a good place down the street that will do it for cheap.
saw this over the weekend, have more pictures, if I get a chance I will put them up
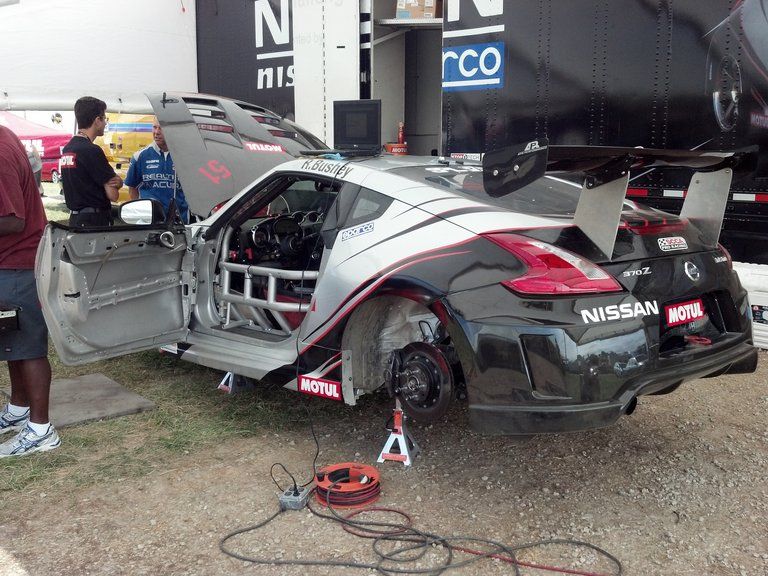
saw this over the weekend, have more pictures, if I get a chance I will put them up
Last edited by mw9; Aug 9, 2012 at 08:20 AM.


I have been dreading the day when I sort through all the wiring I don't need anymore. I have just secured them for now because I don't want to just cut and cap them.
Thread Starter
Registered User
iTrader: (51)
Joined: Oct 2006
Posts: 2,405
Likes: 5
From: cincinnati
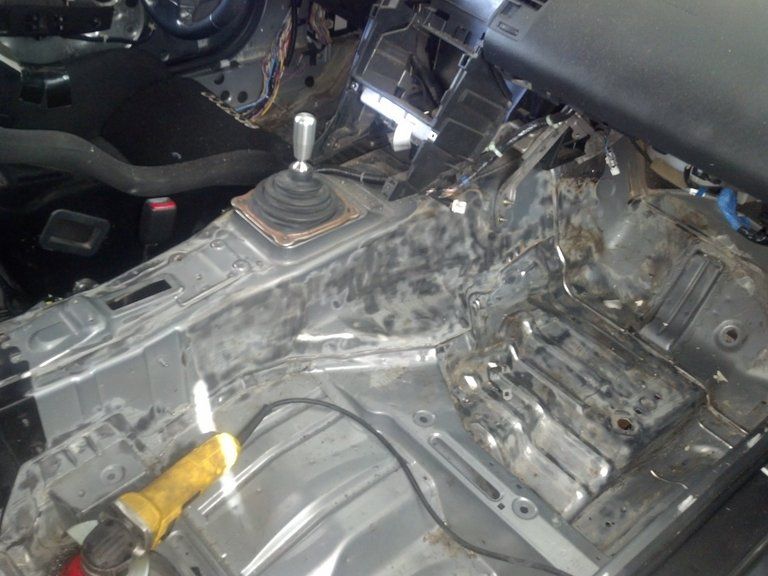
some are cut and heat shrink for now, this winter I will go through it completely and redo the wiring, a few more track days left, just work on it between events or when I am in town

Looking good!
Here is how I filled the dip in the floor.
https://my350z.com/forum/members/qua...8011525-36674/
Here is how I filled the dip in the floor.
https://my350z.com/forum/members/qua...8011525-36674/


Not bad power for a higher mileage stock Z for the most part and look like a very fun project  I am in the process of a build as well on one of my personal cars for a weekend warrior that will do some open track days as well as a local Time Attack series. Car is going on a diet and getting all the proper suspension upgrades as well.
A good way I have found for removing sound deadening that I have used on about 5 cars now is the Dry Ice method. Get a brick of Dry ice and brake it up into pieces and spread them out over the piece of sound deadening you are working on. Let them sit for about 5-10 min then remove the pieces and smack it with a hammer The piece should ether crack or come loose after a few tries and it comes off clean with no goo (Usually). I have had great success with this method and had very little left to clean up with a wire wheel in the end  Have fun and I'll watch this build as it progresses.
Thanks,
Dallin
I am in the process of a build as well on one of my personal cars for a weekend warrior that will do some open track days as well as a local Time Attack series. Car is going on a diet and getting all the proper suspension upgrades as well.A good way I have found for removing sound deadening that I have used on about 5 cars now is the Dry Ice method. Get a brick of Dry ice and brake it up into pieces and spread them out over the piece of sound deadening you are working on. Let them sit for about 5-10 min then remove the pieces and smack it with a hammer
The piece should ether crack or come loose after a few tries and it comes off clean with no goo (Usually). I have had great success with this method and had very little left to clean up with a wire wheel in the end Have fun and I'll watch this build as it progresses. Thanks,
Dallin