
DIY: Tail Light Tinting


Me and my buddies had nothing to do the last couple of days (turkey day) so we decided to tint the tail lights on my z using 35% film.
Heres what your going to need.
1. A squiggie
2. A lint free cloth
3. Film aplicator spray
4. Film 35% or darker depending on what you want
5. A precision cutting tool (a hobbie knife)
6. A heat gun or a blow dryer
7. Some beer
The kit to apply the film can be bought at autozone for 10 bucks and the film, it can be puchased online from tons of vendors, or you can just go to a place where they specialize in window tinting and tailight tinting and buy it for 3 buck per foot. If your thinking that window film can be used for tail lights well, it cant. Tail light film is used externaly so its designed the outer enviorment. Make sure to ask specifically for this type of film.
Well here we go:
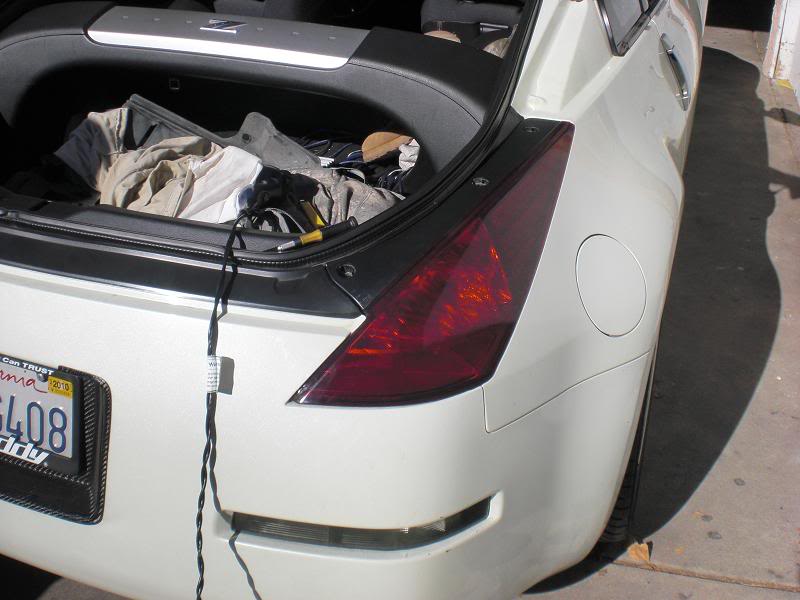
Begin by spraying the film applicator spray on the tail light and around the area where the film might touch. Use the lint free cloth to clean the area very well. this is really important. you do not want any contaminets to be present while applying the film. if its not done properly you will get bubbles and the film will lift.
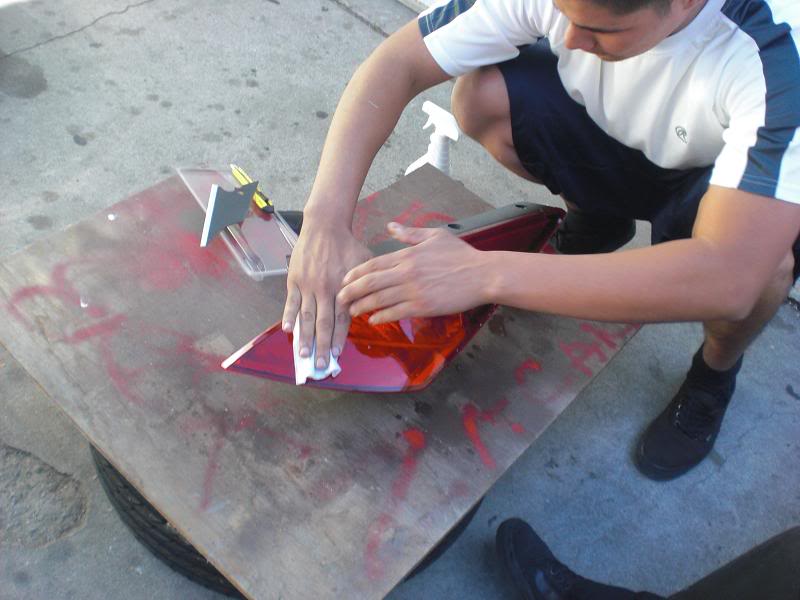
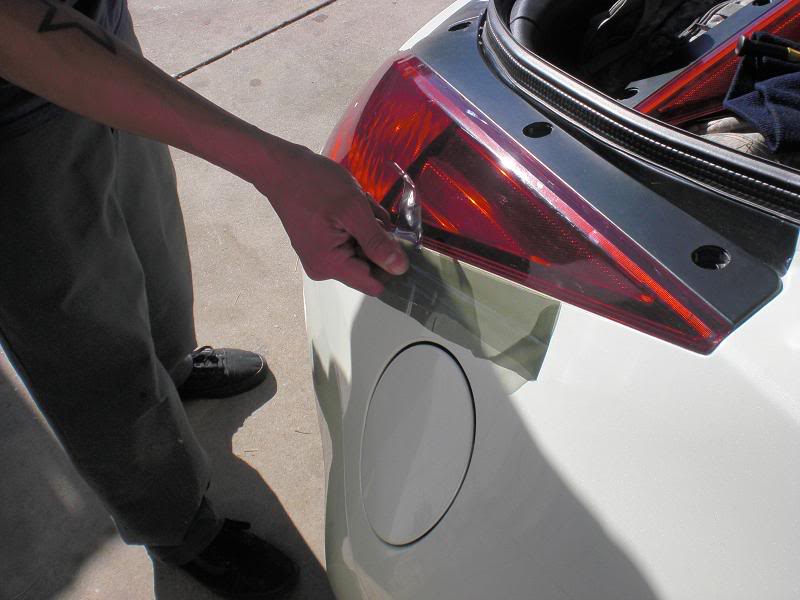
Next measure the amount that is going to be needed to cover the tail light. Make sure to leave a little excess film.
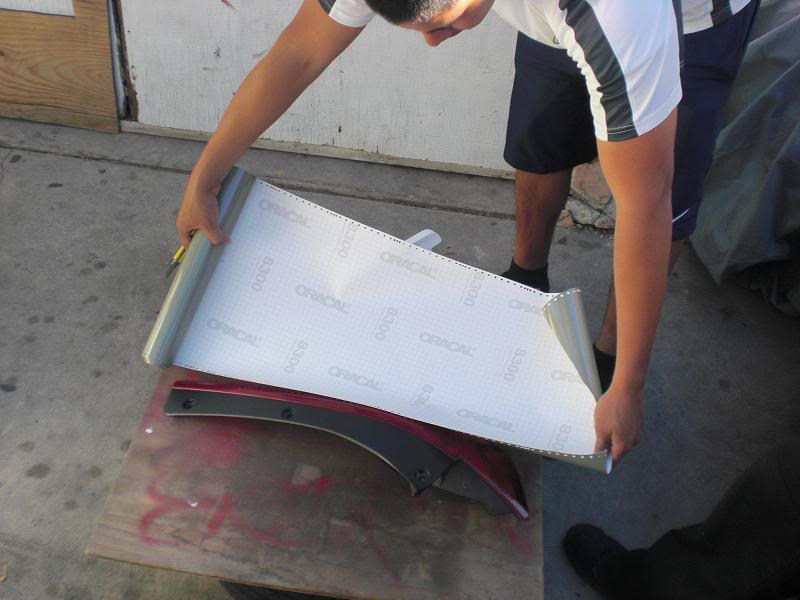
Once the previous steps are done, apply the film spray on the tail light and on the film as your removing it from its paper.
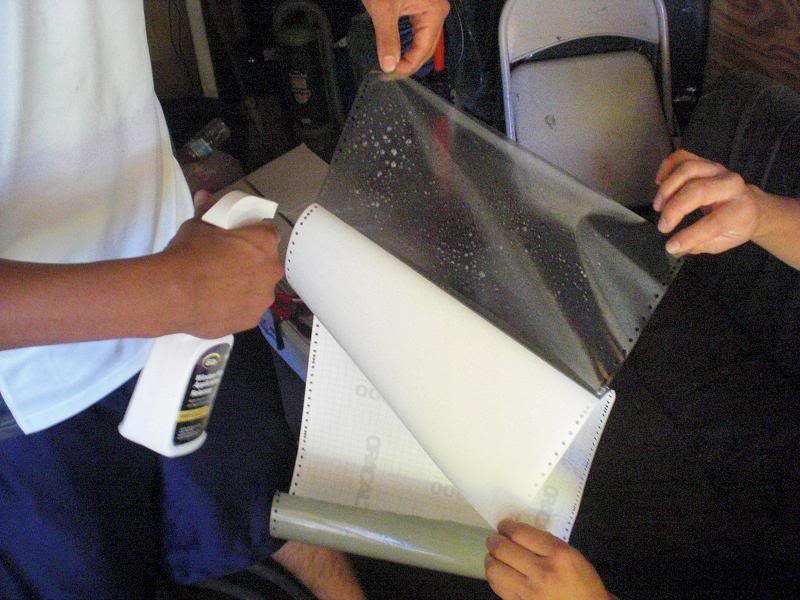
Apply the film on the tailight. At this point dont worry about the curve on the tail light.


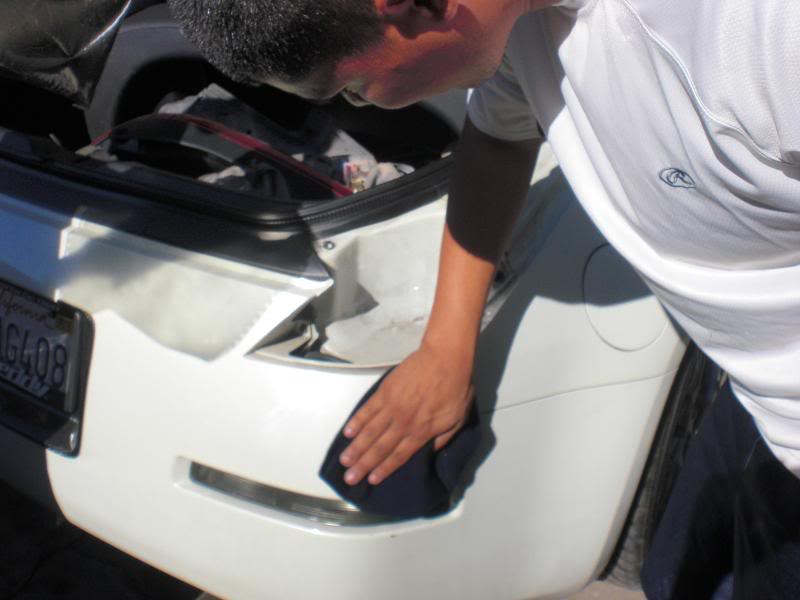
Spray the exterior of the film and use your squiggie to remove the excess solution form the tail light and film.
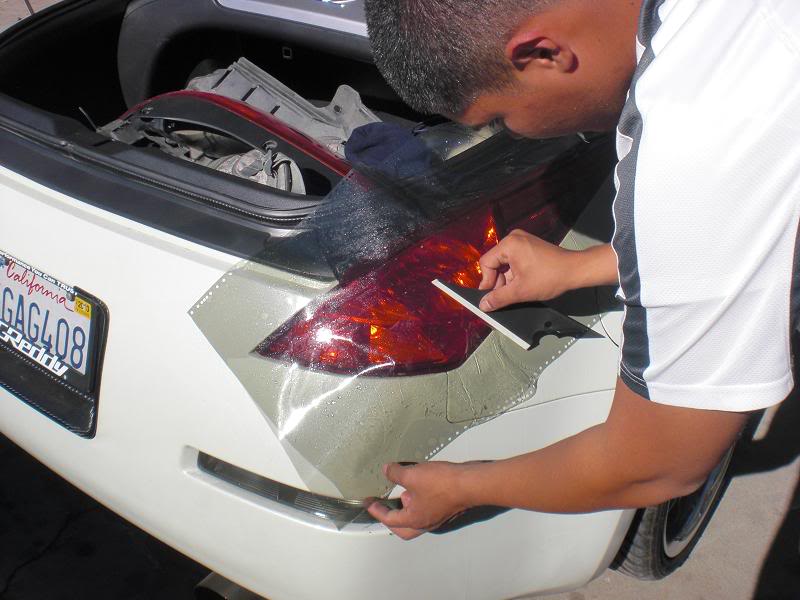
The film should begin to stick. At this point cut the excess amount that will not be necessary.

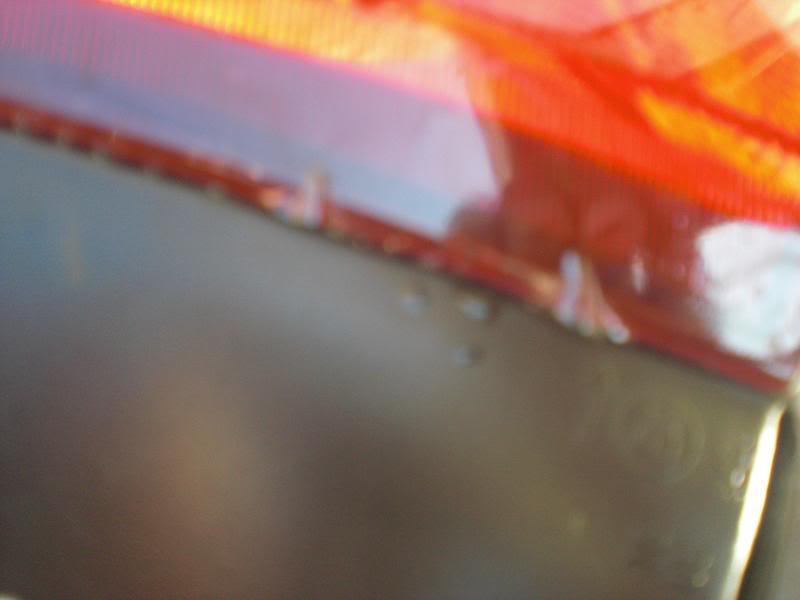
Remove as many air bubbles and liquid from the under the film while still applying solution to the exterior of the tint. This is used so that you wont tare through the film.
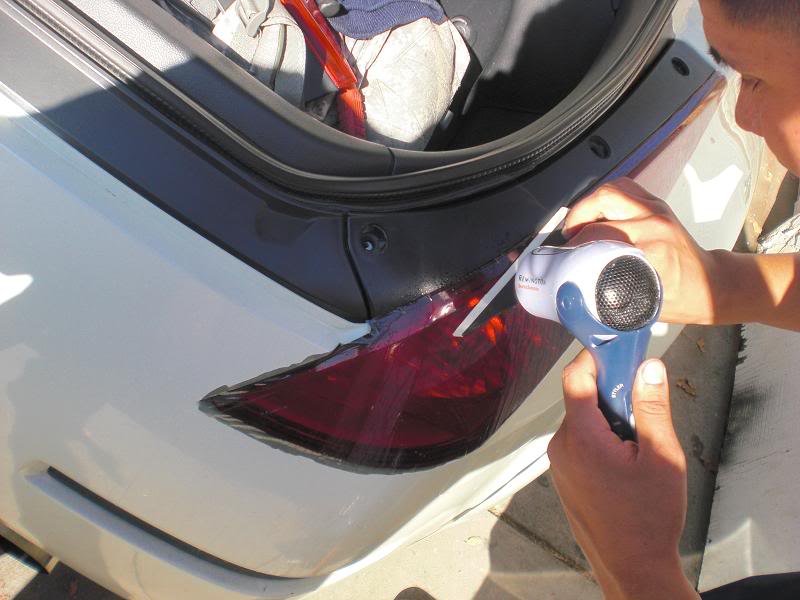
I had a bit of a problem during the next step i couldnt take pictures of myself using the heat gun (blow dryer to work around the curve of the tail light, thus the sequence of pic are off) because my buddy had left so there was nothing i sould do. During the process of using the heat gun be very careful when strecting the film. count to about 6 or 7 secounds at low heat and the film should begin to stretch. use your squiggied as it streches around the curve and simply wrap it around. youll begin to notice that the excess film that was left in the prior steps at this time is useful for pulling the filmtp wrap around the curve of the tail light. (I will do my best to find another z to demonstrate this step in the future).
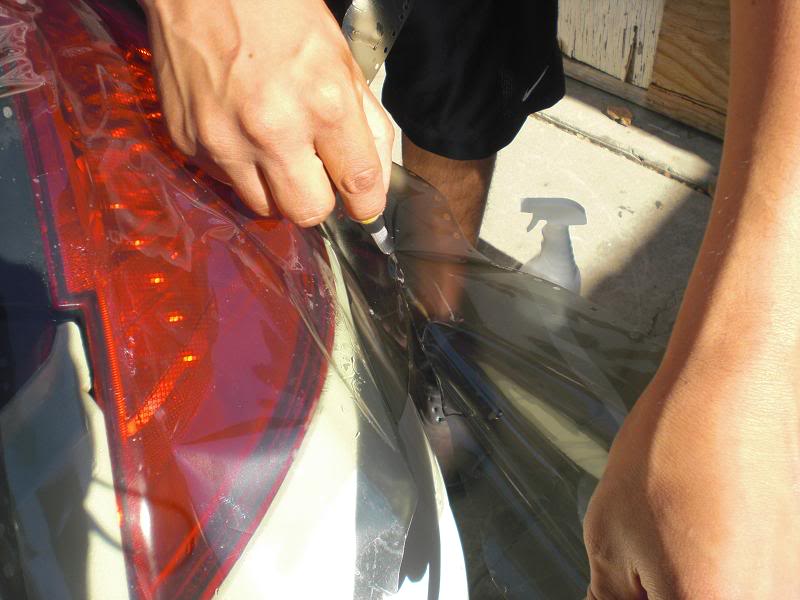
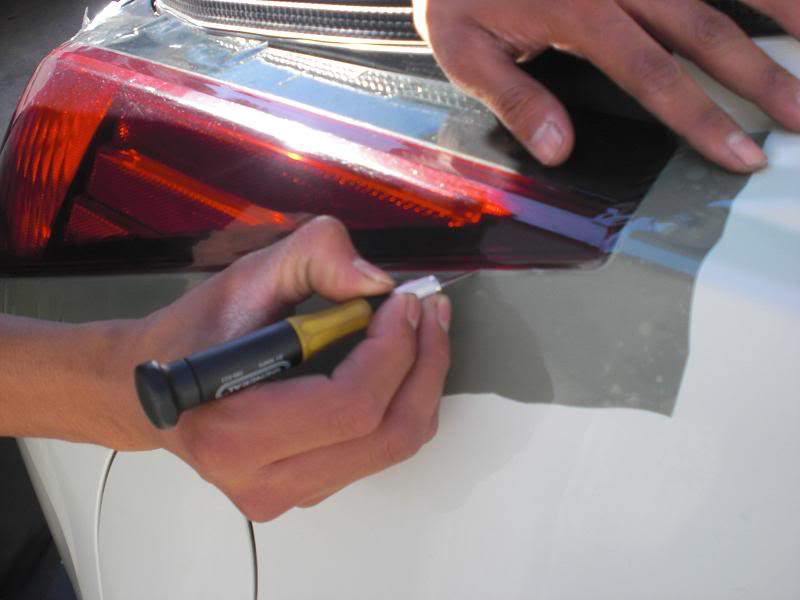
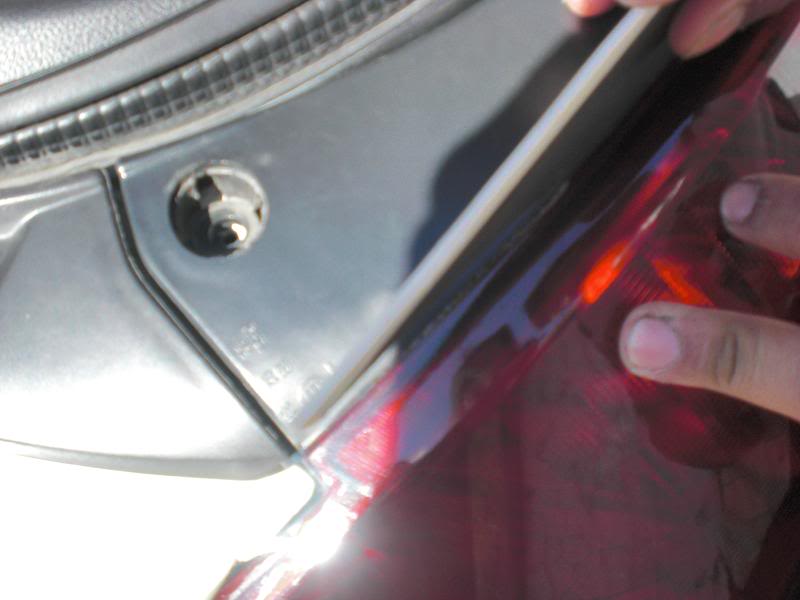
make sure to keep applying the solution when your going over the tail light. Be generous with the solution and make sure no bubbles appear under the film. once your sure there are no bubbles and the film is stcuk to the tail light (give it a couple of min) beging to work your hobby knife to cut all the excess film.
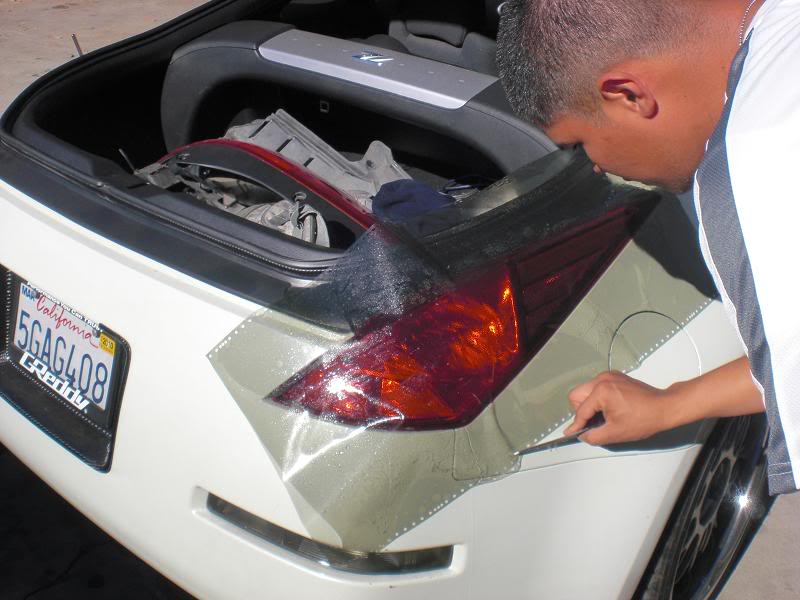
Next remove the excess film.
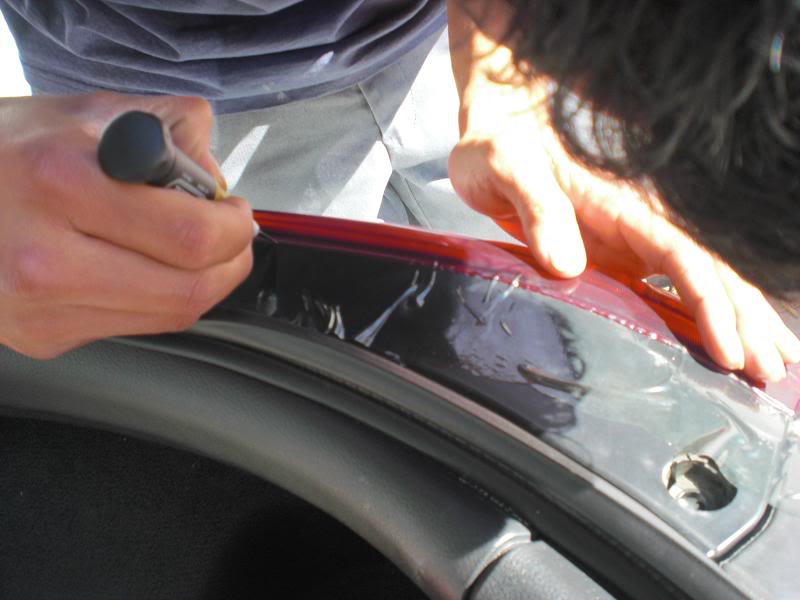
at this point your almost done. there should be a bit of excess film around the edges of the tail light. if you bought the kit from aouto zone youll notice that you can use the opposite side of the squiggie to tuck it in around the edges.

If it bubbles up around the edges, just use your heat gun and remove them as you tuck the film underneath.
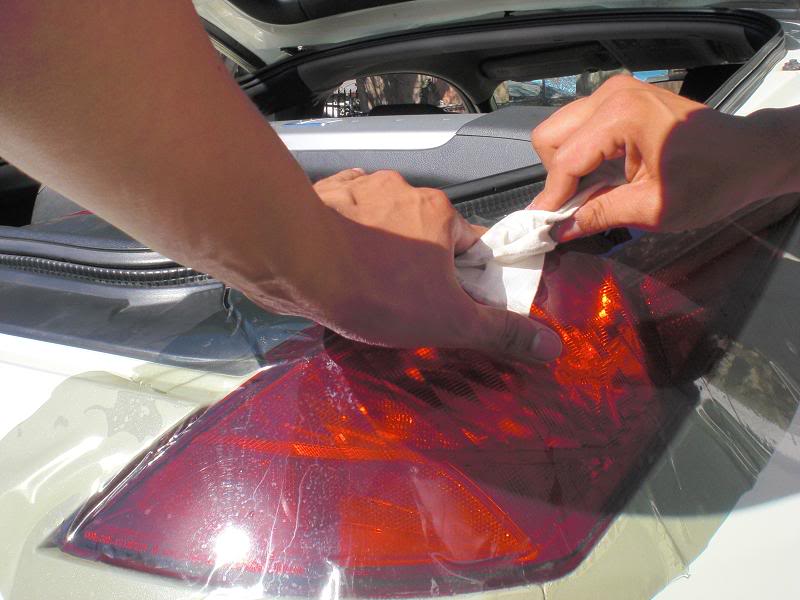
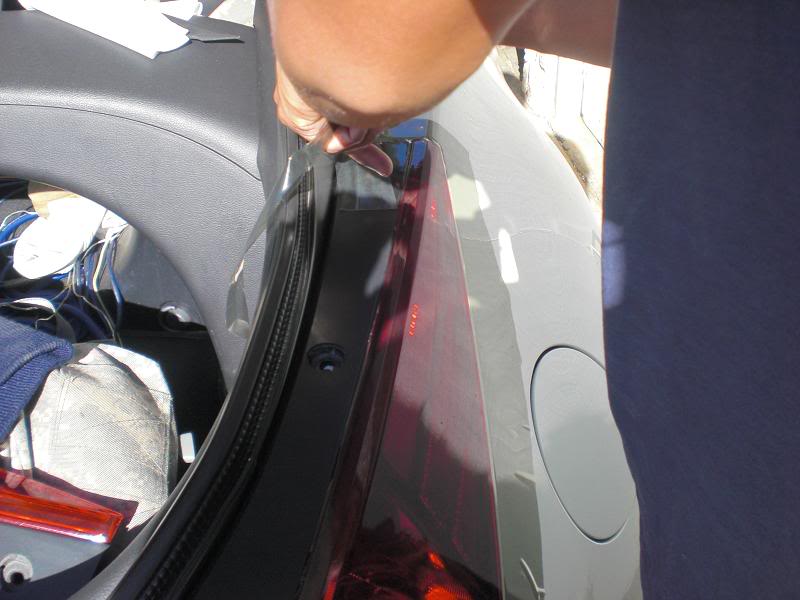
And now your done .congradulations you have just tinted your tail lights! Do the same to the other tail light and your complete.
before
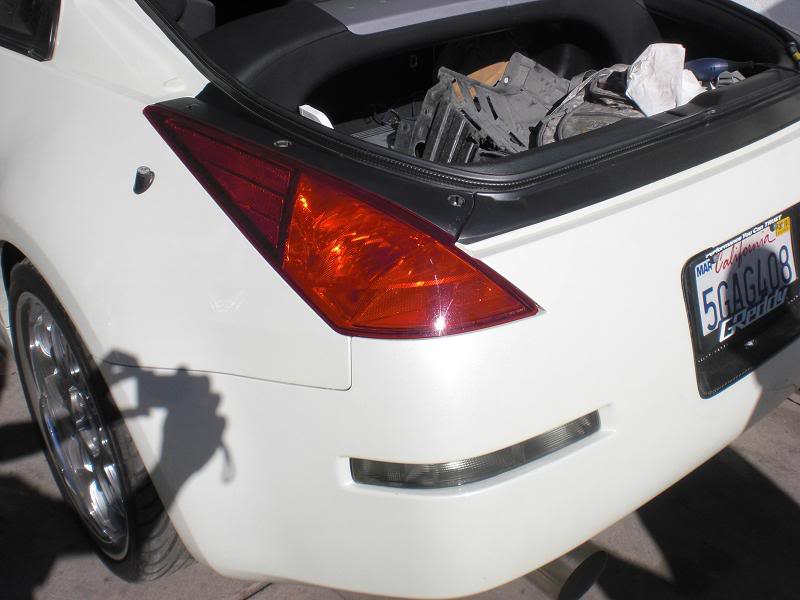
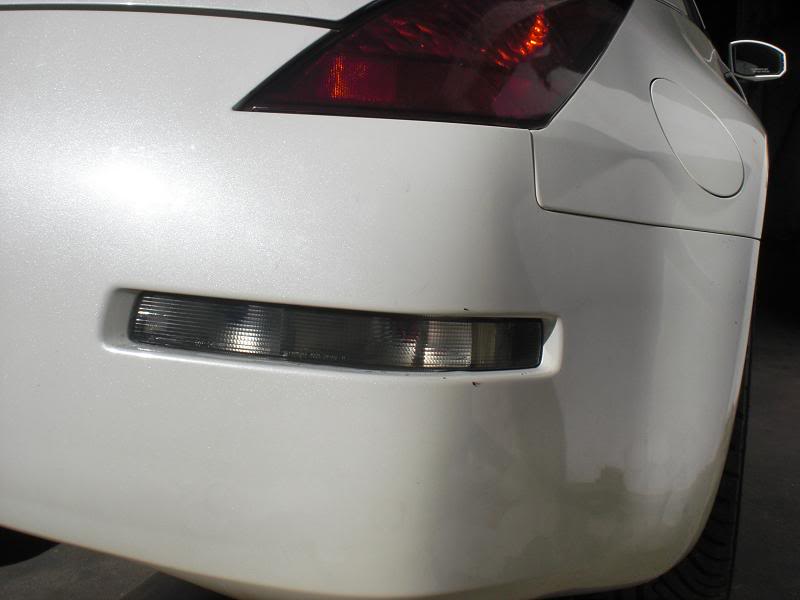
after
i also filmed my back up lights.
If you have any questions or concerns jut hit me up through a pm and ill gladly help you out. if all goes well, ill soon do a DIY on the application of film to the head lights.
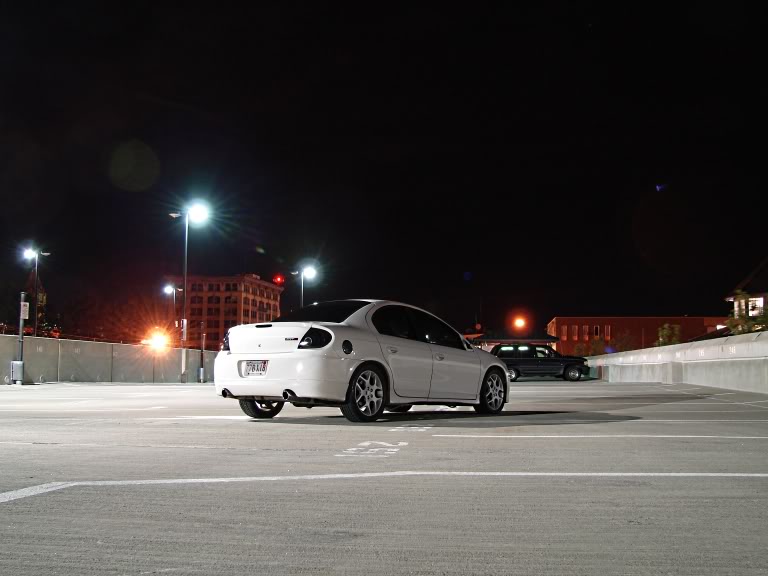
My Baby just for fun.

Heres what your going to need.
1. A squiggie
2. A lint free cloth
3. Film aplicator spray
4. Film 35% or darker depending on what you want
5. A precision cutting tool (a hobbie knife)
6. A heat gun or a blow dryer
7. Some beer
The kit to apply the film can be bought at autozone for 10 bucks and the film, it can be puchased online from tons of vendors, or you can just go to a place where they specialize in window tinting and tailight tinting and buy it for 3 buck per foot. If your thinking that window film can be used for tail lights well, it cant. Tail light film is used externaly so its designed the outer enviorment. Make sure to ask specifically for this type of film.
Well here we go:
Begin by spraying the film applicator spray on the tail light and around the area where the film might touch. Use the lint free cloth to clean the area very well. this is really important. you do not want any contaminets to be present while applying the film. if its not done properly you will get bubbles and the film will lift.
Next measure the amount that is going to be needed to cover the tail light. Make sure to leave a little excess film.
Once the previous steps are done, apply the film spray on the tail light and on the film as your removing it from its paper.
Apply the film on the tailight. At this point dont worry about the curve on the tail light.
Spray the exterior of the film and use your squiggie to remove the excess solution form the tail light and film.
The film should begin to stick. At this point cut the excess amount that will not be necessary.
Remove as many air bubbles and liquid from the under the film while still applying solution to the exterior of the tint. This is used so that you wont tare through the film.
I had a bit of a problem during the next step i couldnt take pictures of myself using the heat gun (blow dryer to work around the curve of the tail light, thus the sequence of pic are off) because my buddy had left so there was nothing i sould do. During the process of using the heat gun be very careful when strecting the film. count to about 6 or 7 secounds at low heat and the film should begin to stretch. use your squiggied as it streches around the curve and simply wrap it around. youll begin to notice that the excess film that was left in the prior steps at this time is useful for pulling the filmtp wrap around the curve of the tail light. (I will do my best to find another z to demonstrate this step in the future).
make sure to keep applying the solution when your going over the tail light. Be generous with the solution and make sure no bubbles appear under the film. once your sure there are no bubbles and the film is stcuk to the tail light (give it a couple of min) beging to work your hobby knife to cut all the excess film.
Next remove the excess film.
at this point your almost done. there should be a bit of excess film around the edges of the tail light. if you bought the kit from aouto zone youll notice that you can use the opposite side of the squiggie to tuck it in around the edges.
If it bubbles up around the edges, just use your heat gun and remove them as you tuck the film underneath.
And now your done
.congradulations you have just tinted your tail lights! Do the same to the other tail light and your complete.before
after
i also filmed my back up lights.
If you have any questions or concerns jut hit me up through a pm and ill gladly help you out. if all goes well, ill soon do a DIY on the application of film to the head lights.
My Baby just for fun.
Last edited by pacheco310; Nov 27, 2009 at 07:46 PM.

thanks. well youll be surprised, it took me about 45 min to film the tail light while taking pics, 25min to 30min to do the other one.
Last edited by pacheco310; Nov 28, 2009 at 12:50 AM.


sorry to get back to you so late. well i havnt looked for any vendors that sell it online by the foot. im assuming you might be able to get it on ebay but im not to sure. your best bet is to go to a local spot. they usually give you deals.
Trending Topics


id highly not recommend this had a friend who did this to his truck and a guy slammed into him since his taillights/headlights were tinted cops gave him a ticket and insurance favored the other driver since he had done an illegal modification to his car
not worth it
not worth it
id highly not recommend this had a friend who did this to his truck and a guy slammed into him since his taillights/headlights were tinted cops gave him a ticket and insurance favored the other driver since he had done an illegal modification to his car
not worth it
not worth it

Registered User
Joined: Sep 2008
Posts: 908
Likes: 28
From: Winnipeg, MB
That being said, I love tinted tails. We don't get hassled for them up here, so I'm doing mine once the snow melts. Probably go 25%, the 35% on your car doesn't quite look dark enough for me

id highly not recommend this had a friend who did this to his truck and a guy slammed into him since his taillights/headlights were tinted cops gave him a ticket and insurance favored the other driver since he had done an illegal modification to his car
not worth it
not worth it


Just to jump into this old thread with some insight.
If you have LED tails tinted, tails will not give you any brightness issues as the led's have a very direct beam. I had 3 layers of Nightshades on my srt4 led tails and never had a problem. I did notice when I tried to do the same on incandescent tails I almost couldn't see the running lights.

If you have LED tails tinted, tails will not give you any brightness issues as the led's have a very direct beam. I had 3 layers of Nightshades on my srt4 led tails and never had a problem. I did notice when I tried to do the same on incandescent tails I almost couldn't see the running lights.

Thread
Thread Starter
Forum
Replies
Last Post