
My SIKKY LS2 install thread
 08-21-2011, 05:04 AM
#181

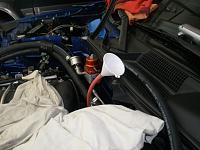
Filled the trans with fluid. It takes ~4 quarts of Dextron III, but you can use the Dex VI too - I used this from Castrol. I had to fab my own filler system since the filler I bought at Harbor freight didn't have a long enough hose to make it useful at all. I just butchered a small diameter garden hose I had lying around and a small funnel. Just make sure the hose is ~4' long and it will be solid.
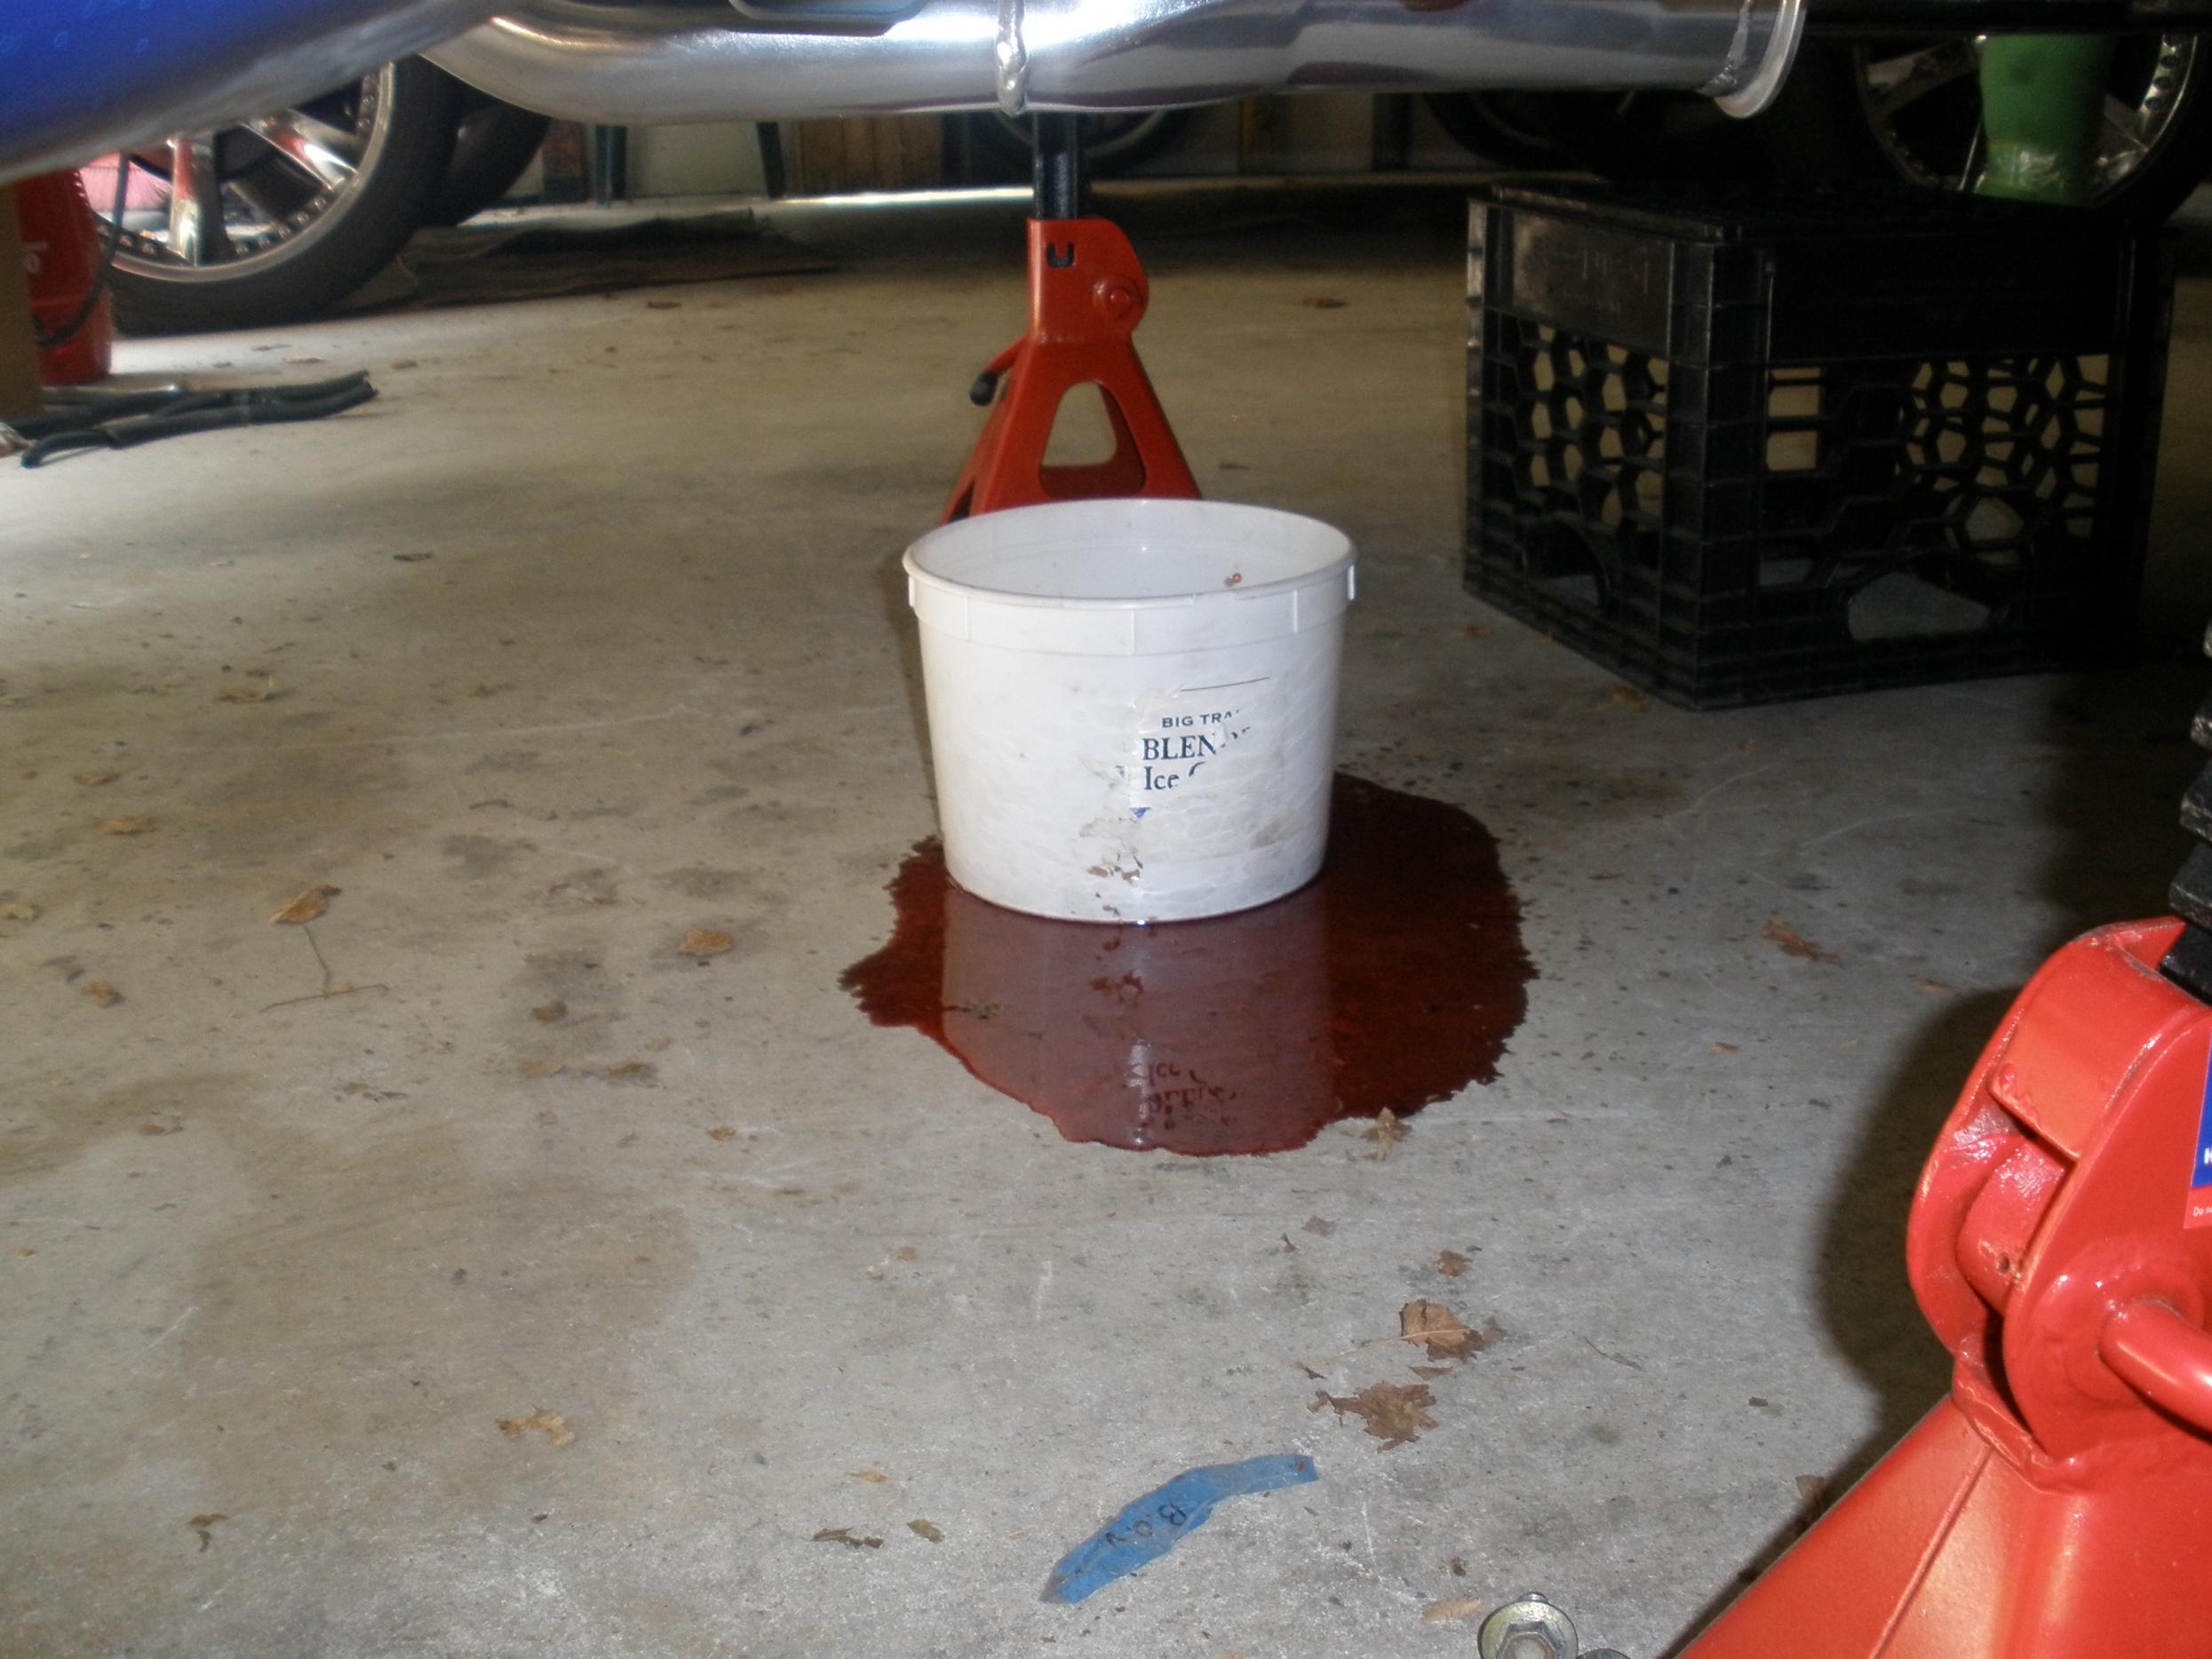
I read up on fill procedure on LS1tech and everyone says fill till you spill. This is what you get when you ask your wife to keep an eye on the bucket")
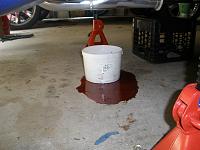

I read up on fill procedure on LS1tech and everyone says fill till you spill. This is what you get when you ask your wife to keep an eye on the bucket
 08-21-2011, 05:11 AM
#182
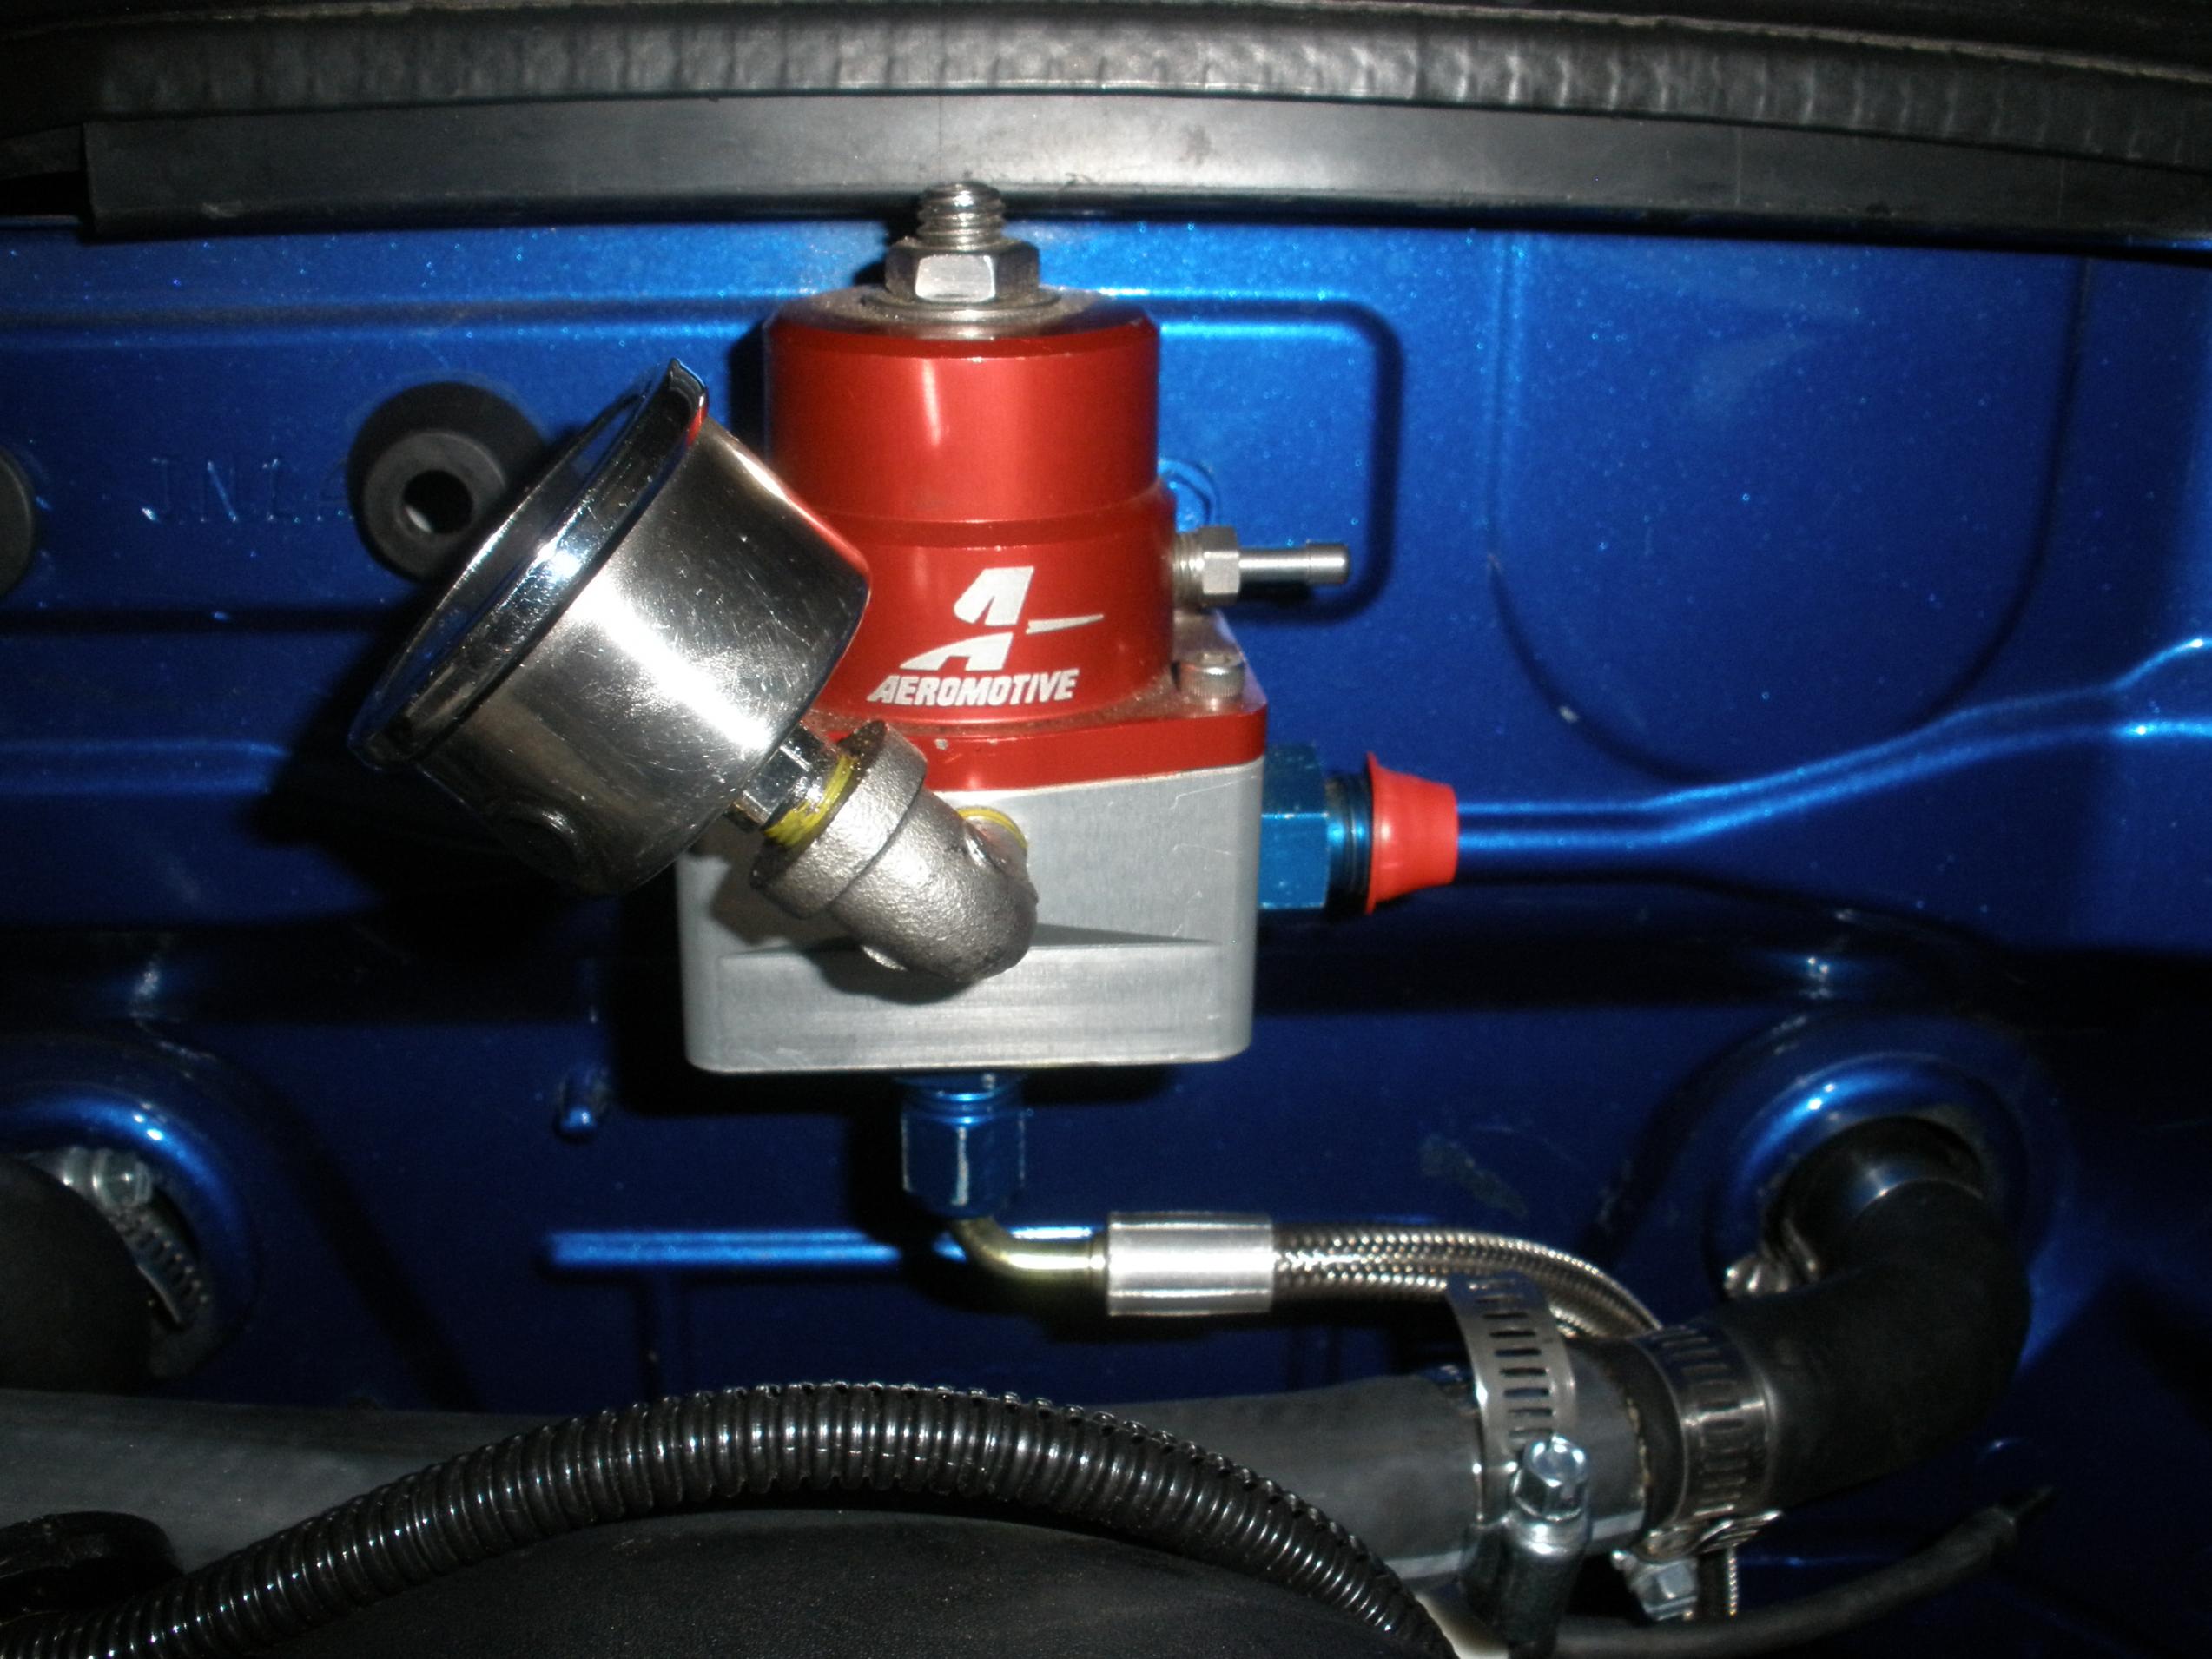
After speaking with Franz last week he informed me that the fuel system needs to be set up differently. The main supply line needs to go in to one side of the regulator, the supply to the stock LS rail fitting out the opposite side and the return down the bottom. Most of us have this Aeromotive unit and it uses -6AN fittings, but the also make a -8AN version.

 08-21-2011, 05:39 AM
#183
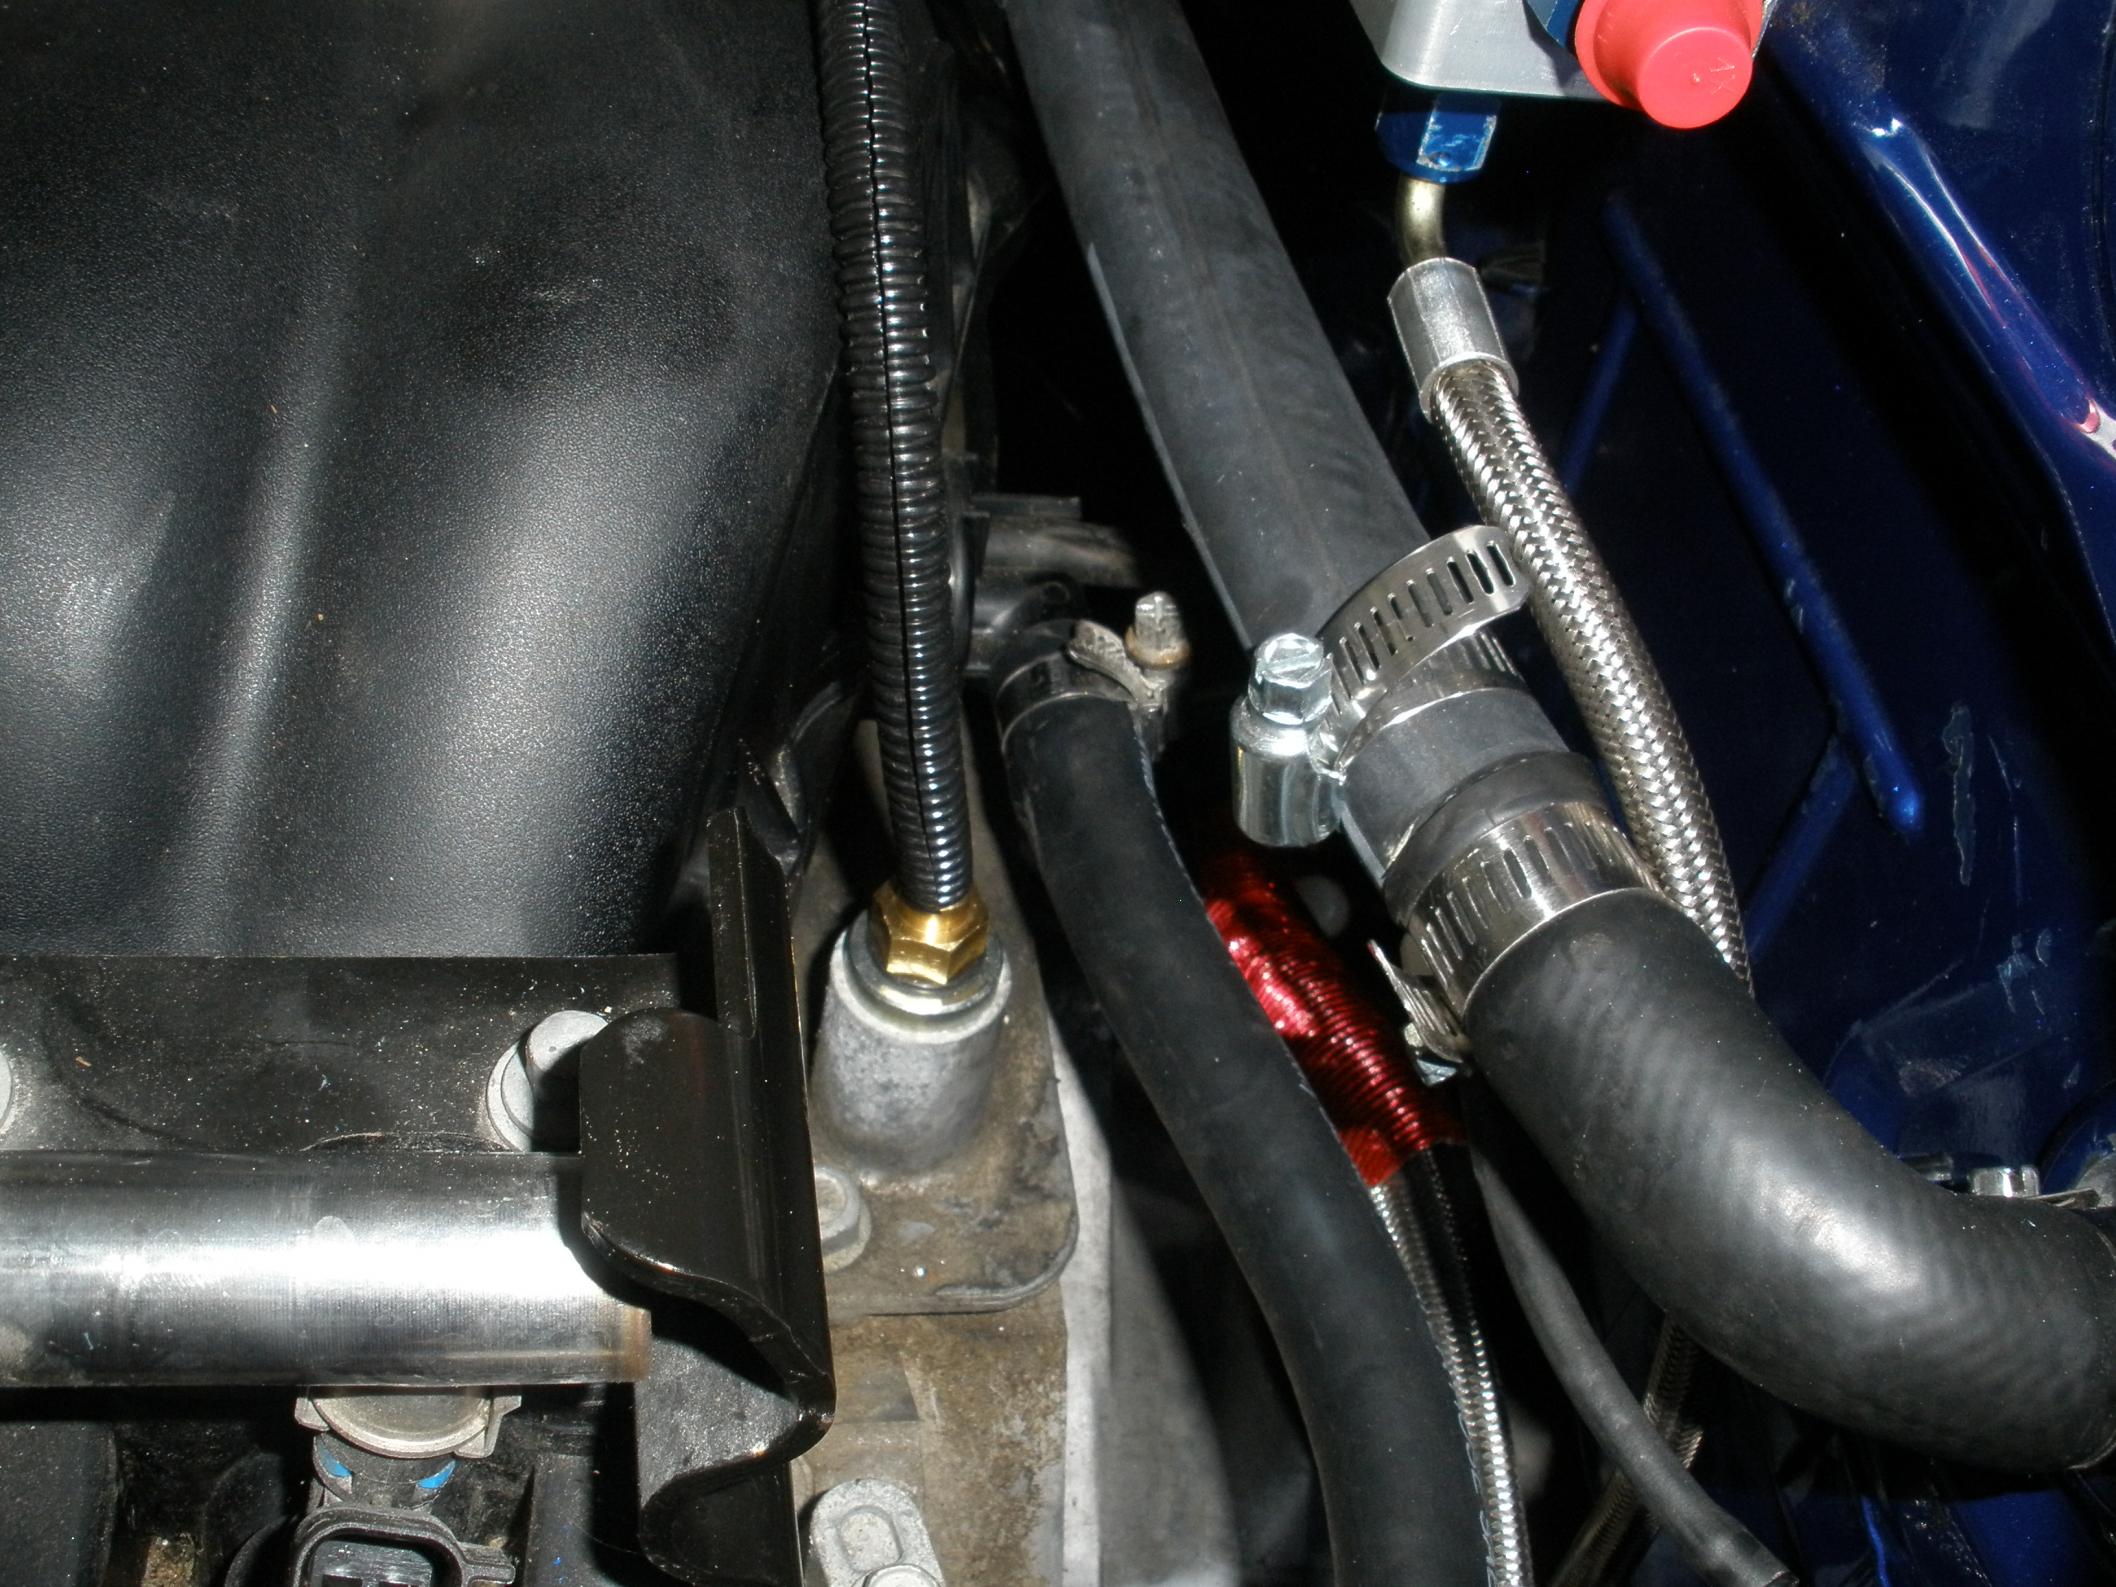
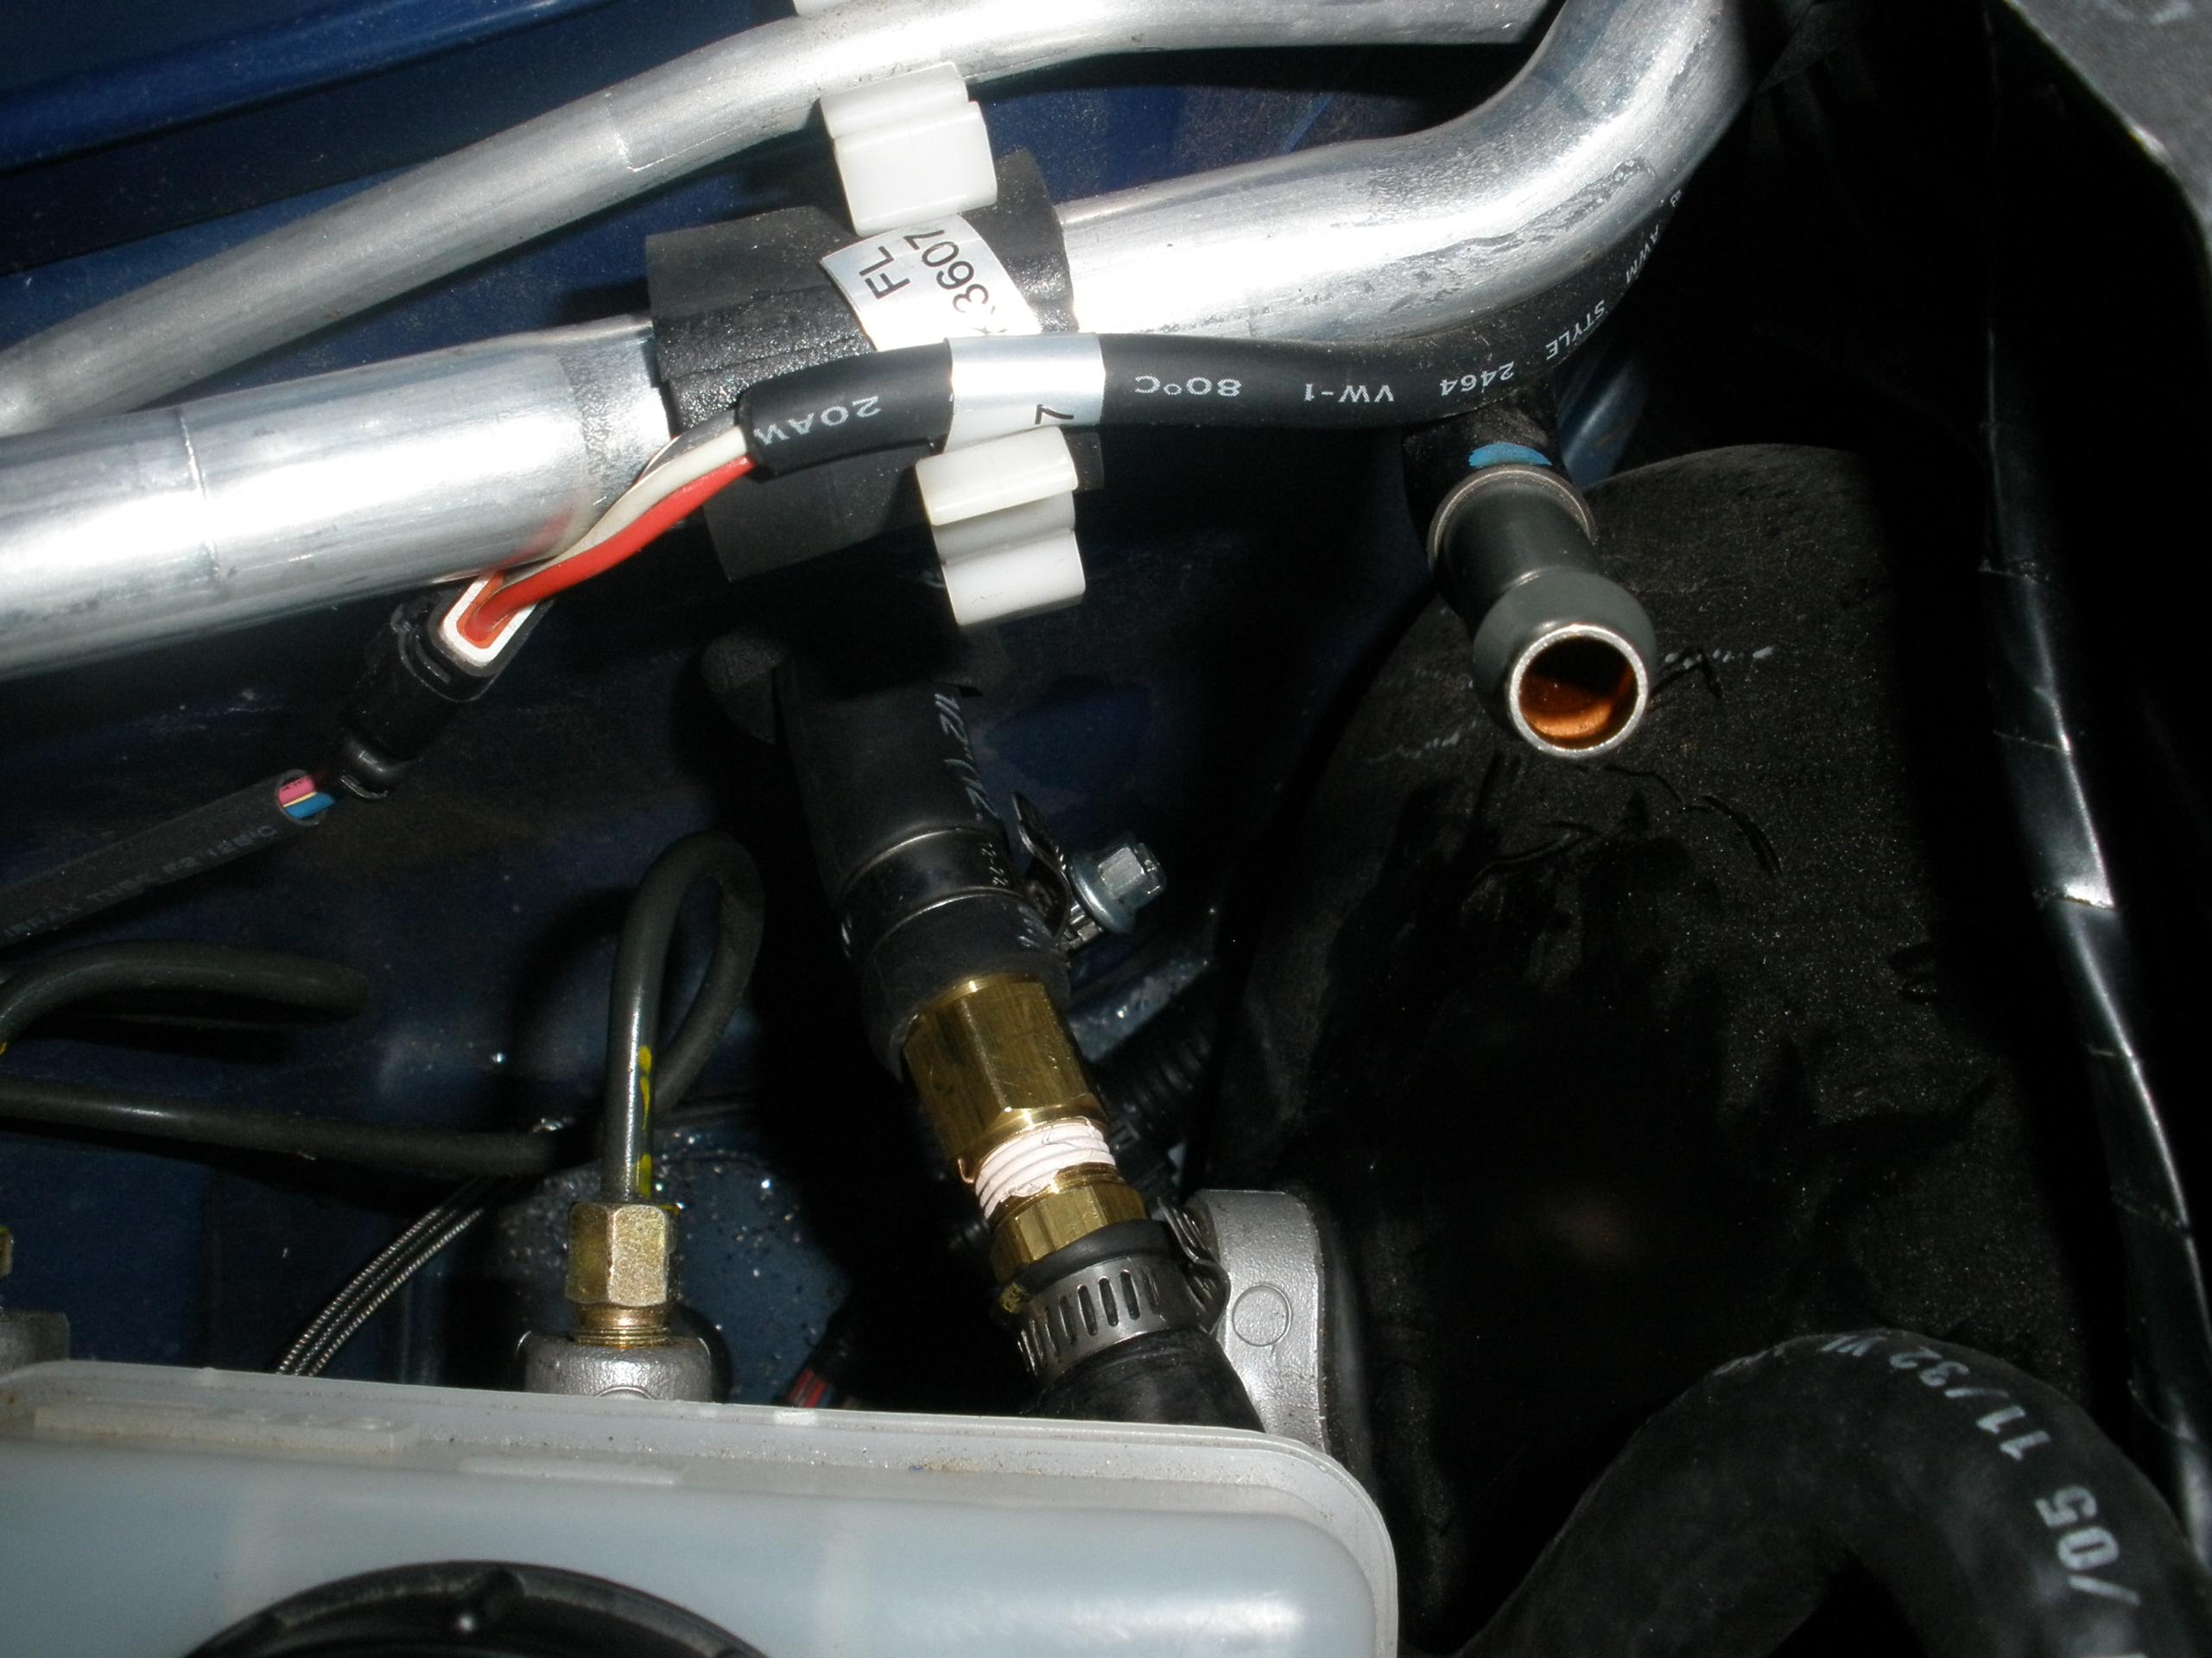
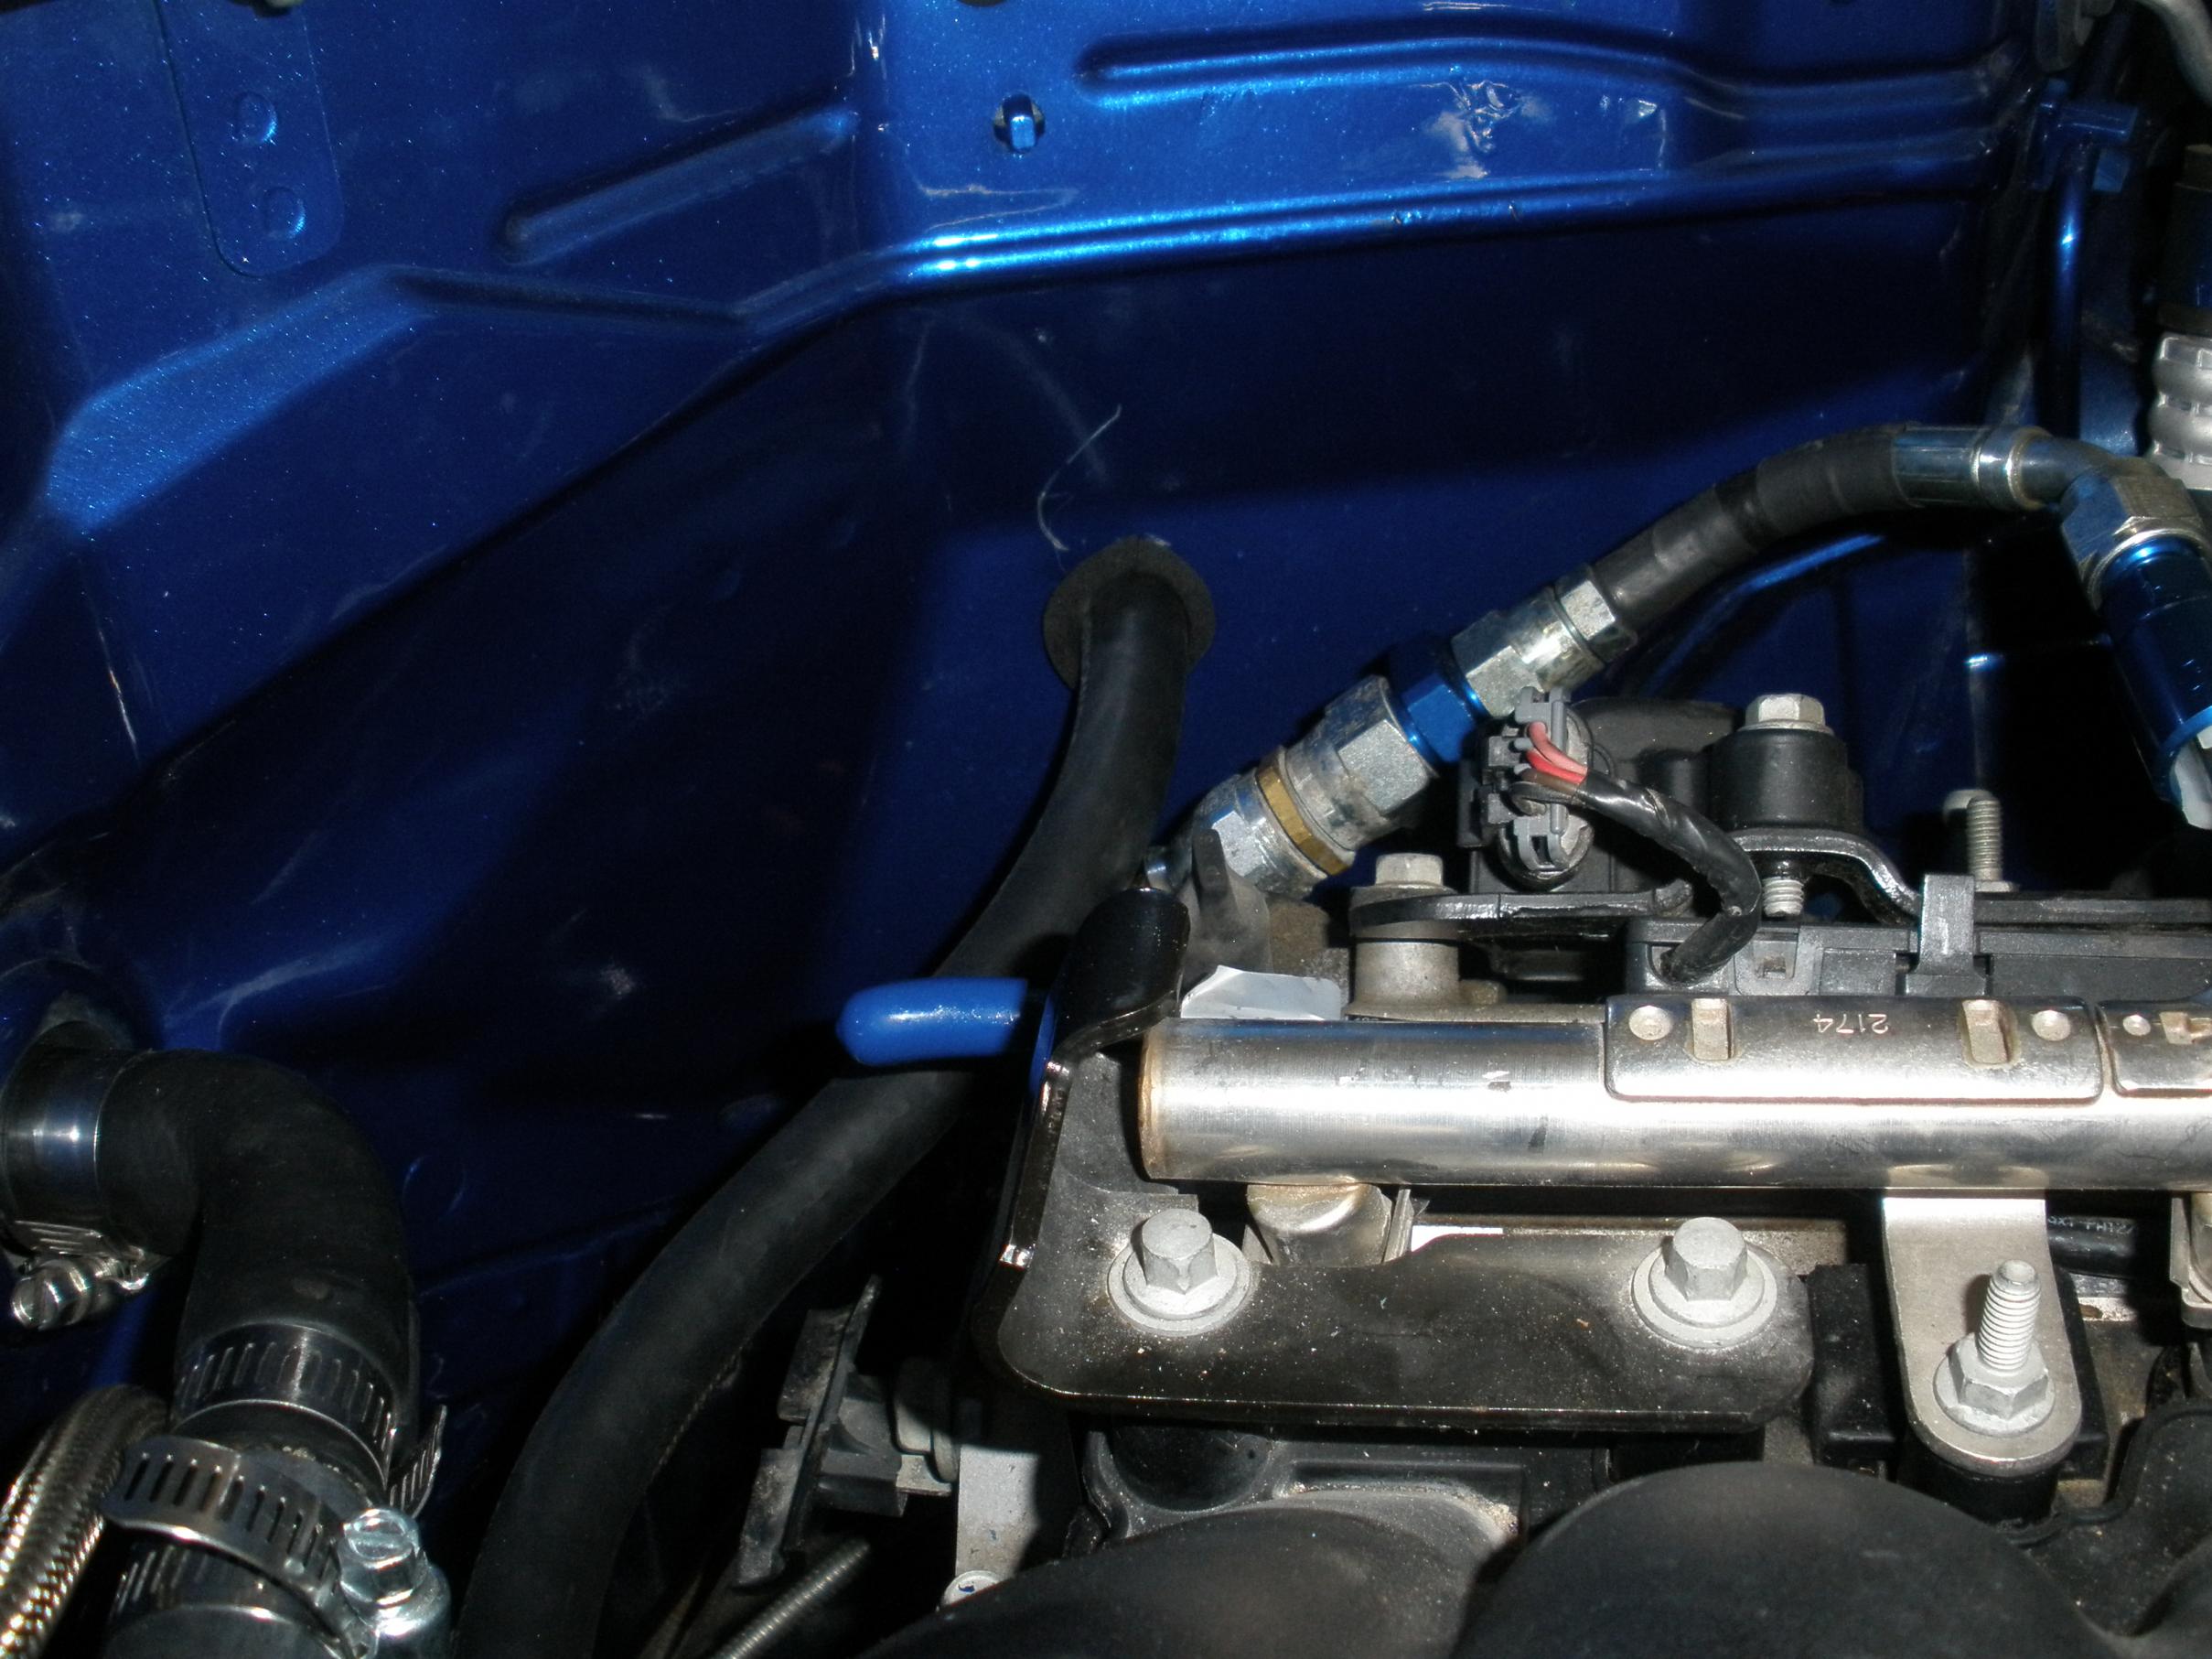
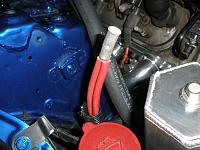
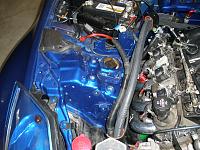
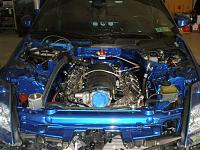
The big step was setting up the main vacuum line. The LS2 port is at the rear of the plenum and orients straight towards the drivers side of the car. The stock VQ fitting is the nipple on the pass side near the battery compartment. The LS fitting is 1/2" and the VQ is 3/8", so I used two barbed fittings that threaded together to make the conversion.
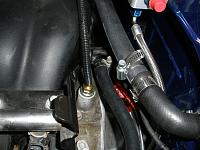


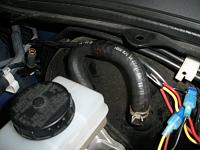
After much time thinking and a few calls for parts and fittings to see what my options were I just bit the bullet and drilled a hole in the firewall into the brake compartment. You can see the awesome scratch I put in the paint when the button on the drill reversed and the bit took a walk
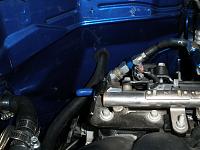
Anyway, ran the 1/2" line into the brake compartment and then joined to the reducer fitting. Then took the stock Nissan hose that has the check valve built into it and attached the end that goes to the nipple straight to the brake booster fitting. I trimmed one bend off this side of the hose to get the proper orientation and bend inside of the compartment. Hook up the other side of the Nissan hose to the reducer fitting and its all done with the proper check valve in place

After much time thinking and a few calls for parts and fittings to see what my options were I just bit the bullet and drilled a hole in the firewall into the brake compartment. You can see the awesome scratch I put in the paint when the button on the drill reversed and the bit took a walk
Anyway, ran the 1/2" line into the brake compartment and then joined to the reducer fitting. Then took the stock Nissan hose that has the check valve built into it and attached the end that goes to the nipple straight to the brake booster fitting. I trimmed one bend off this side of the hose to get the proper orientation and bend inside of the compartment. Hook up the other side of the Nissan hose to the reducer fitting and its all done with the proper check valve in place
 08-21-2011, 06:03 AM
#184
I read up on fill procedure on LS1tech and everyone says fill till you spill. This is what you get when you ask your wife to keep an eye on the bucket
Attachment 320473

 08-23-2011, 03:20 PM
#188
Mega Fail today... I was bleeding the clutch and the fluid began pouring out of the bottom of the trans. I either put something together incorrectly or the slave took a crap. Either way, the car is getting shipped out for service on this issue... I JUST WANT THIS BISH ON THE ROAD NOW!!!
Thanks to JE Imports for making room for me on the schedule on a moments notice
Thanks to JE Imports for making room for me on the schedule on a moments notice
08-23-2011, 03:43 PM
#189
Mega Fail today... I was bleeding the clutch and the fluid began pouring out of the bottom of the trans. I either put something together incorrectly or the slave took a crap. Either way, the car is getting shipped out for service on this issue... I JUST WANT THIS BISH ON THE ROAD NOW!!!
Thanks to JE Imports for making room for me on the schedule on a moments notice
Thanks to JE Imports for making room for me on the schedule on a moments notice
08-23-2011, 04:12 PM
#190
Never met him, but I called SIKKy and they share a building, plus they have two shop cars with the swap and time is is major factor now. I've saved plenty on the install, its time to spend a few bucks and let the pros do what they do.
It took over an hour to get the car off the jack stands... its so low in the front that the race jack gets caught and won't pull out when I use the front cross member as the jack point. Thanks to my brother-in-law for his race ramps. Even putting the rear down had to be done in two stages.
Just for fun, we had a 5.9 earthquake today and I was under the car when it happened. My kid came out to the garage and said the house was shaking and I told him to knock it off... classic. Glad the jack stands held!!!
Last edited by Cass007; 08-23-2011 at 04:17 PM.
08-23-2011, 07:50 PM
#191
Never met him, but I called SIKKy and they share a building, plus they have two shop cars with the swap and time is is major factor now. I've saved plenty on the install, its time to spend a few bucks and let the pros do what they do.
It took over an hour to get the car off the jack stands... its so low in the front that the race jack gets caught and won't pull out when I use the front cross member as the jack point. Thanks to my brother-in-law for his race ramps. Even putting the rear down had to be done in two stages.
Just for fun, we had a 5.9 earthquake today and I was under the car when it happened. My kid came out to the garage and said the house was shaking and I told him to knock it off... classic. Glad the jack stands held!!!
It took over an hour to get the car off the jack stands... its so low in the front that the race jack gets caught and won't pull out when I use the front cross member as the jack point. Thanks to my brother-in-law for his race ramps. Even putting the rear down had to be done in two stages.
Just for fun, we had a 5.9 earthquake today and I was under the car when it happened. My kid came out to the garage and said the house was shaking and I told him to knock it off... classic. Glad the jack stands held!!!
 08-24-2011, 06:06 PM
#196
So here is the last of the mods before the car leaves to have the slave cylinder replaced.
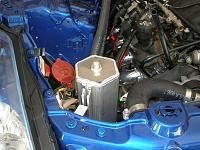
I got the fittings in and finish plumed the fuel line.
Before:

After:

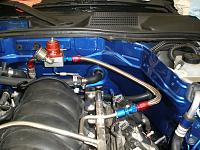
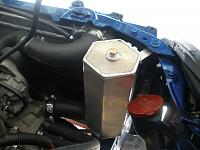
Bought a recirculating overflow can from Jegs for $39 and a piece of aluminum flat stock from Lowes to fab a mounting bracket. Used a rubber clamp to attach the overflow line to the radiator. I believe this is the 1 quart can and it just barely fits with the fitting on the bottom. I just hope it clears the hood when shut.
I got the fittings in and finish plumed the fuel line.
Before:

After:


Bought a recirculating overflow can from Jegs for $39 and a piece of aluminum flat stock from Lowes to fab a mounting bracket. Used a rubber clamp to attach the overflow line to the radiator. I believe this is the 1 quart can and it just barely fits with the fitting on the bottom. I just hope it clears the hood when shut.

 08-24-2011, 06:17 PM
#197
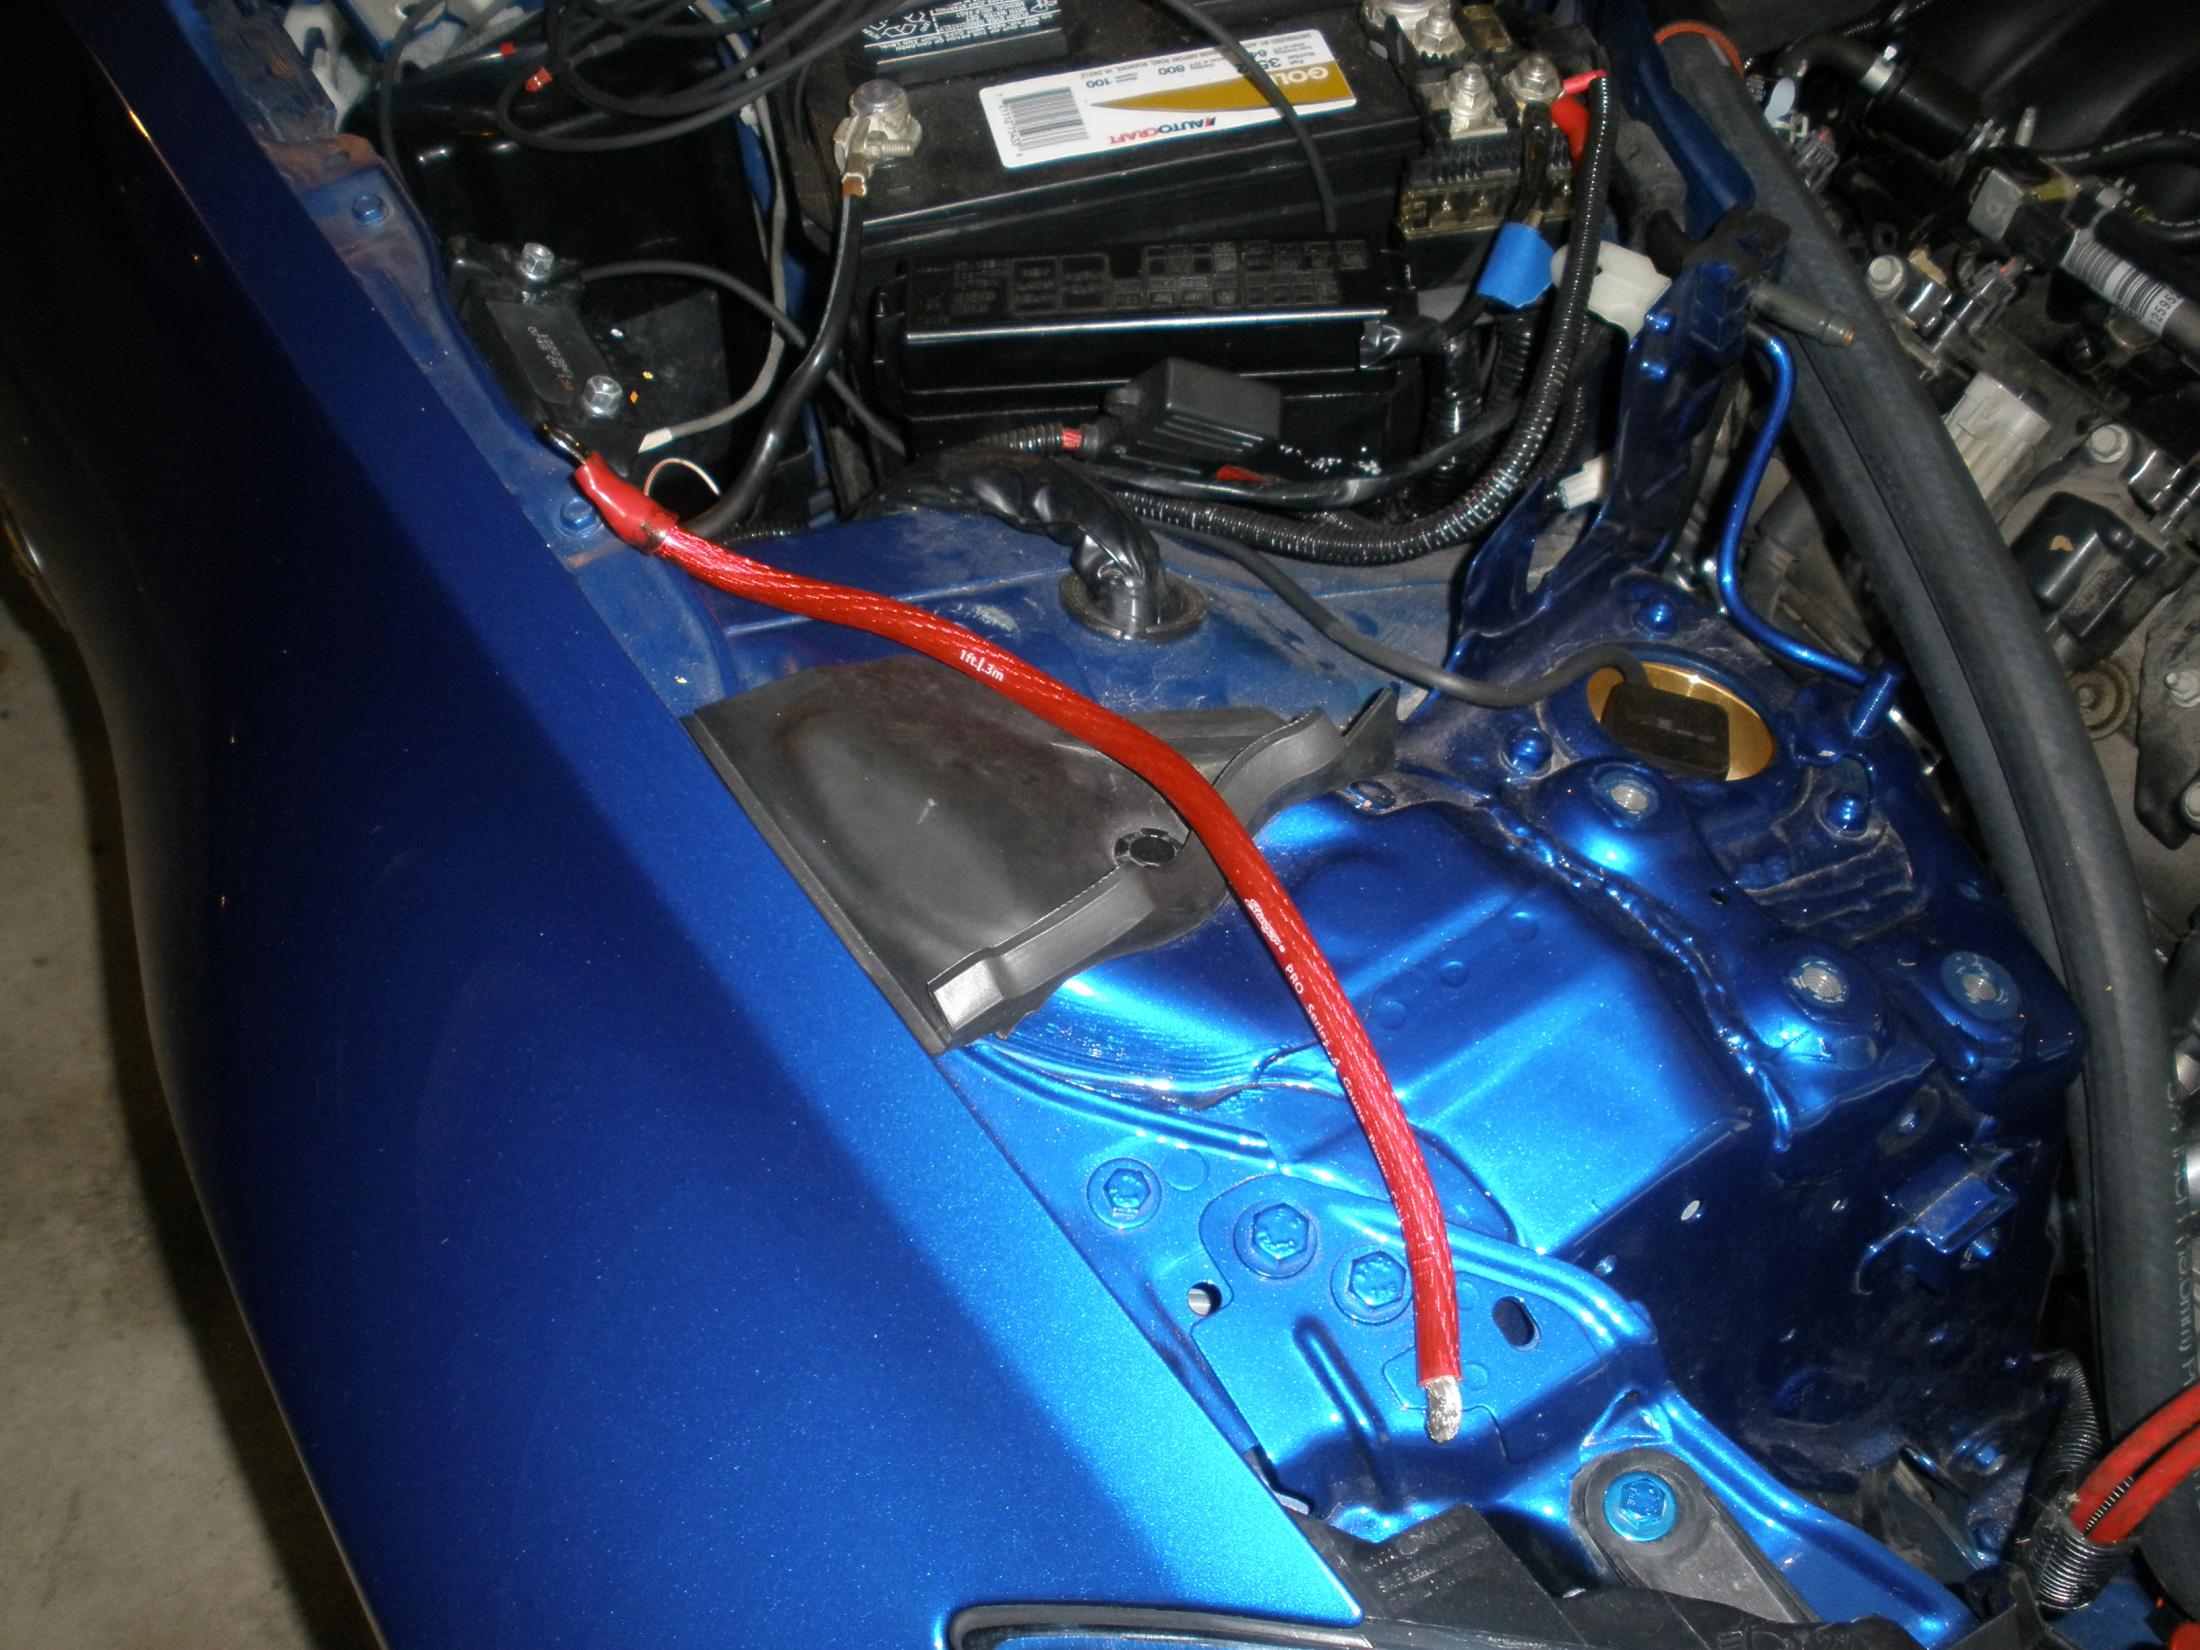
Last thing I can do here is extend the positive side of the LS sub-harness that goes to the starter and alternator. I cut off the battery terminal head first. I had ordered a one gauge connector from NAPA to make the join since the LS side has two fairly thick wires coming into it.
Trim the insulation down, then use a dremmel cutting blade to make a T cut in one side of the connector. I did this to make sure I could get both wires in securely and then wrap the connector around it tightly.

Then get some nice thick insulated wire to make the extension to the battery and diesel the connector onto that wire. I used some 4 gauge amp wire I had lying around.
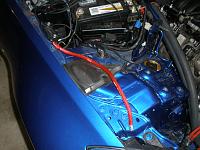
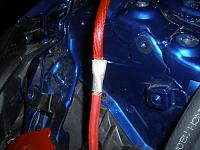
Here is how it finished up.
Trim the insulation down, then use a dremmel cutting blade to make a T cut in one side of the connector. I did this to make sure I could get both wires in securely and then wrap the connector around it tightly.


Then get some nice thick insulated wire to make the extension to the battery and diesel the connector onto that wire. I used some 4 gauge amp wire I had lying around.

Here is how it finished up.
 08-24-2011, 06:24 PM
#198
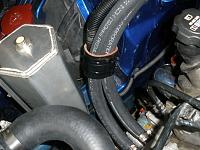
I secured the LS sub-harness to the heater hoses using an old piece of coupler.
Then I put the passenger side and rear hatch plastics back together so it looks more like a car again.
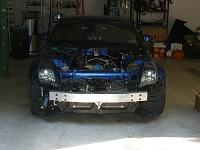
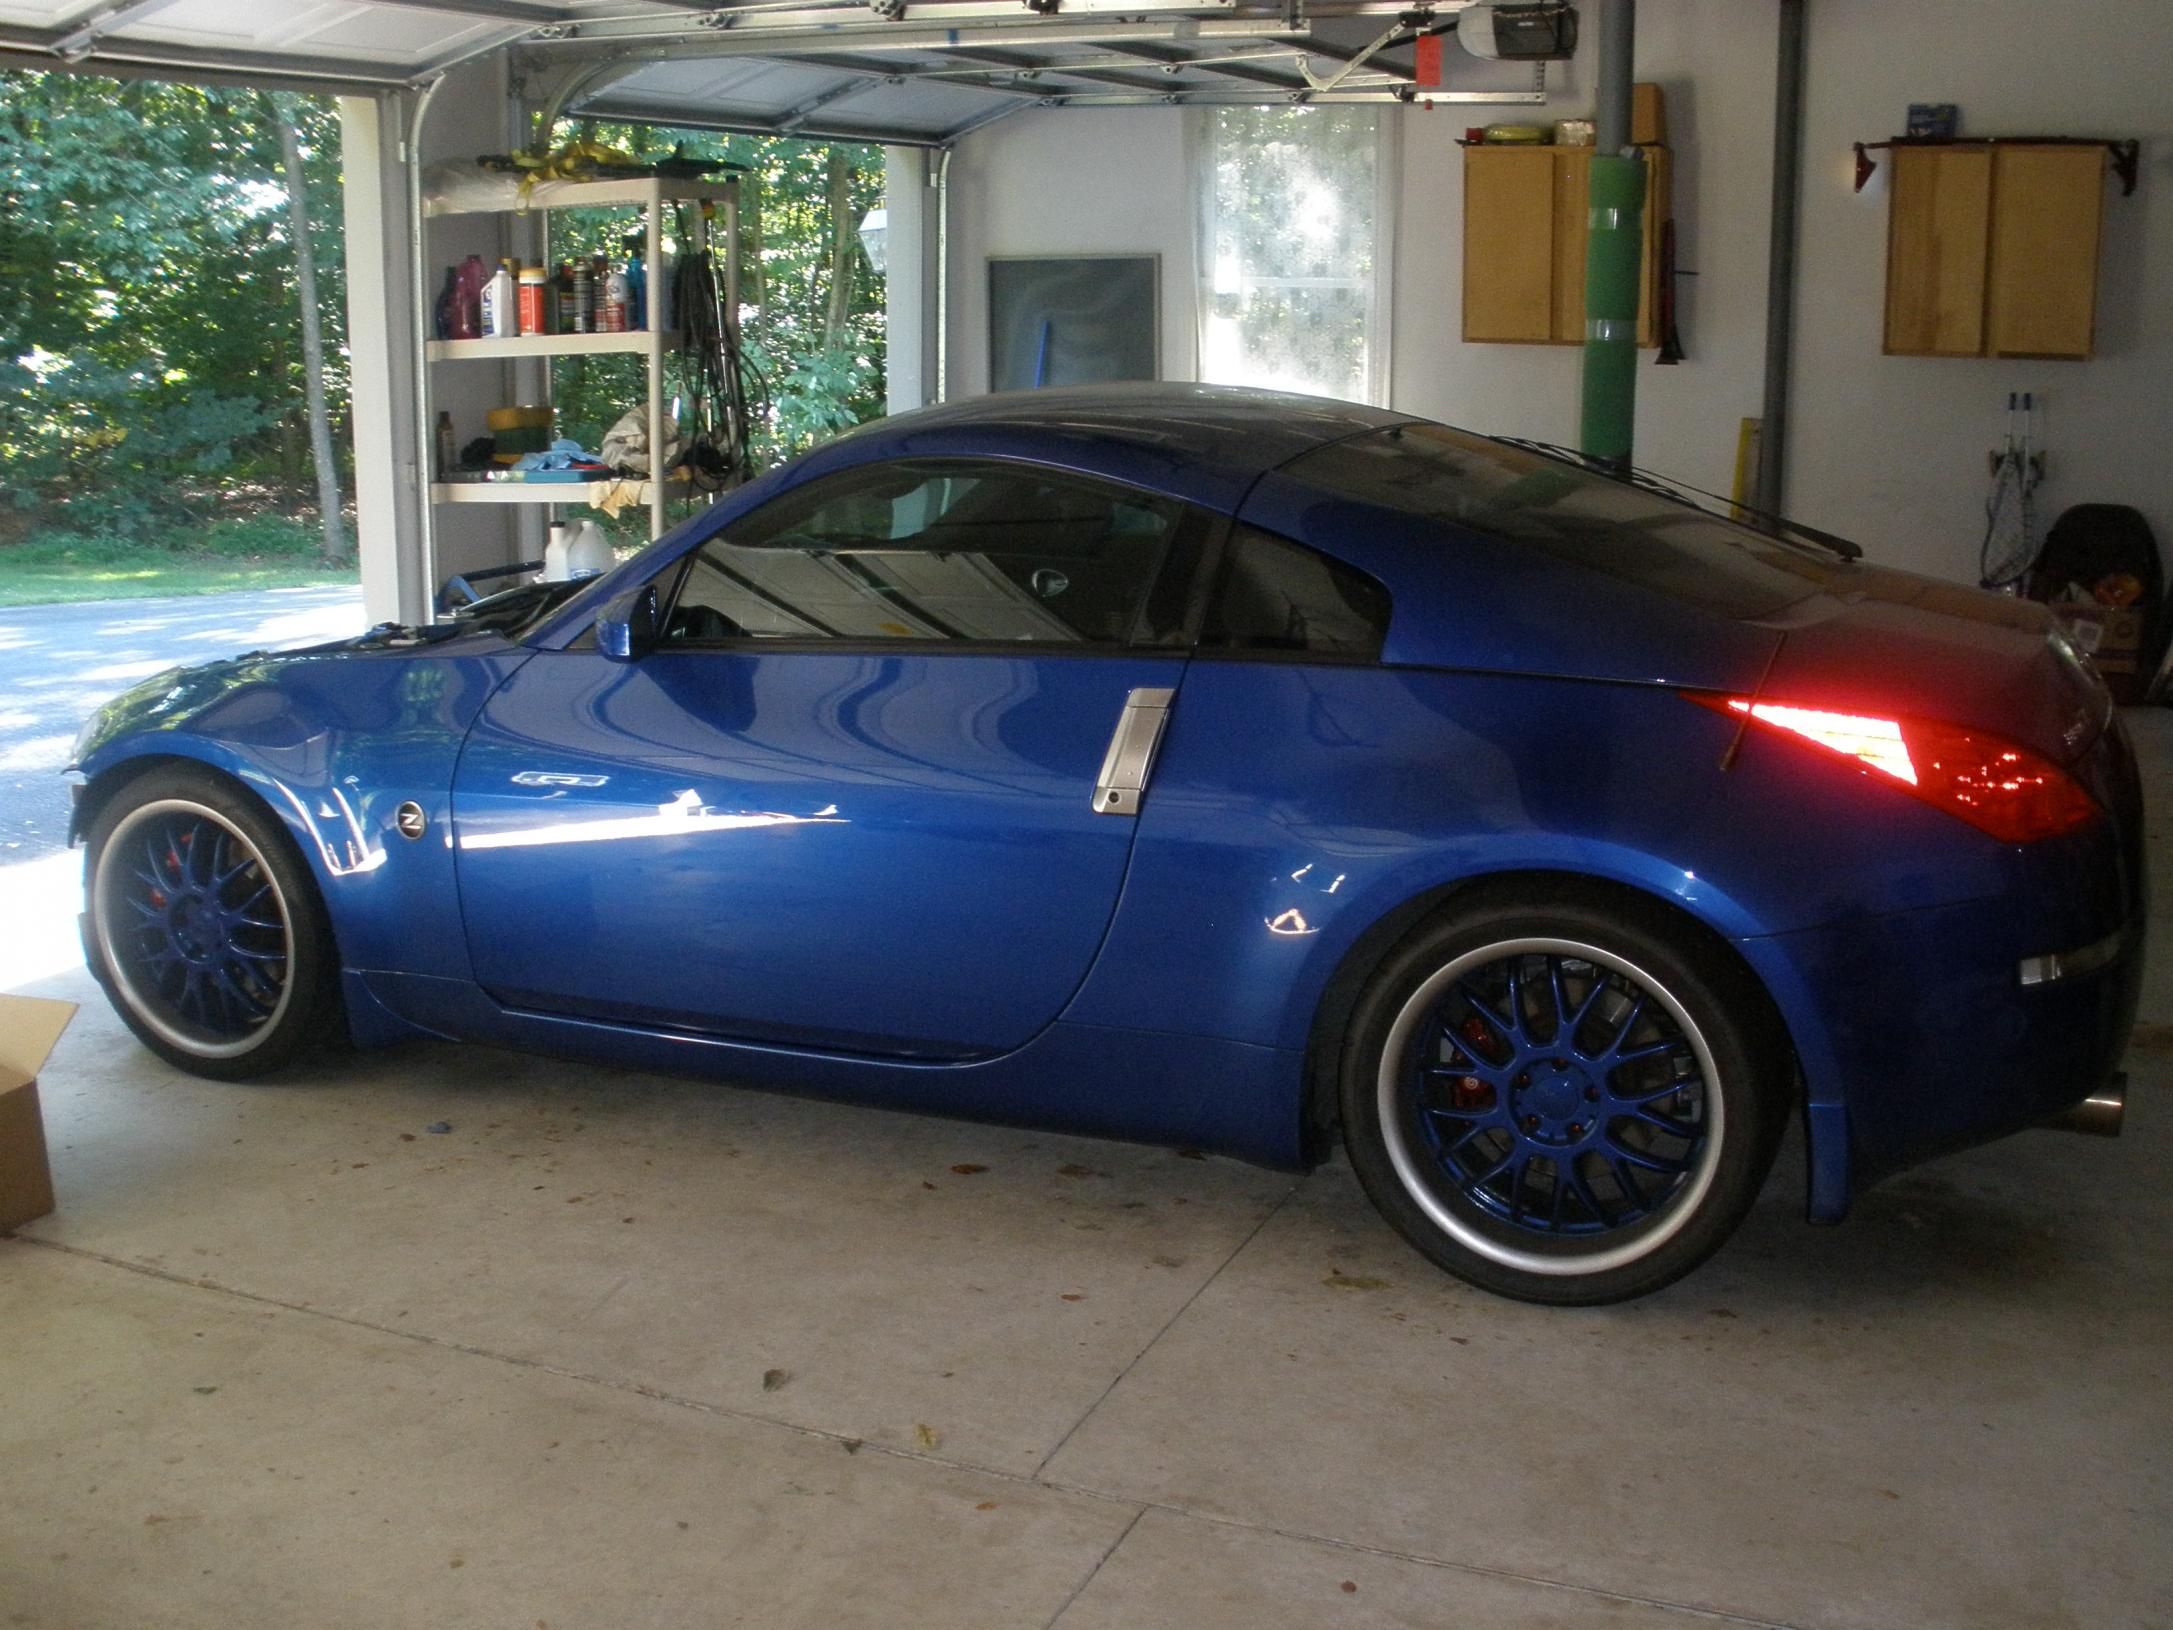
Just a couple of random shots of the car on the ground. Now all I need to do is put the strut brace and hood back on.


Then I put the passenger side and rear hatch plastics back together so it looks more like a car again.
Just a couple of random shots of the car on the ground. Now all I need to do is put the strut brace and hood back on.

 08-25-2011, 05:06 AM
#200
