When you click on links to various merchants on this site and make a purchase, this can result in this site earning a commission. Affiliate programs and affiliations include, but are not limited to, the eBay Partner Network.
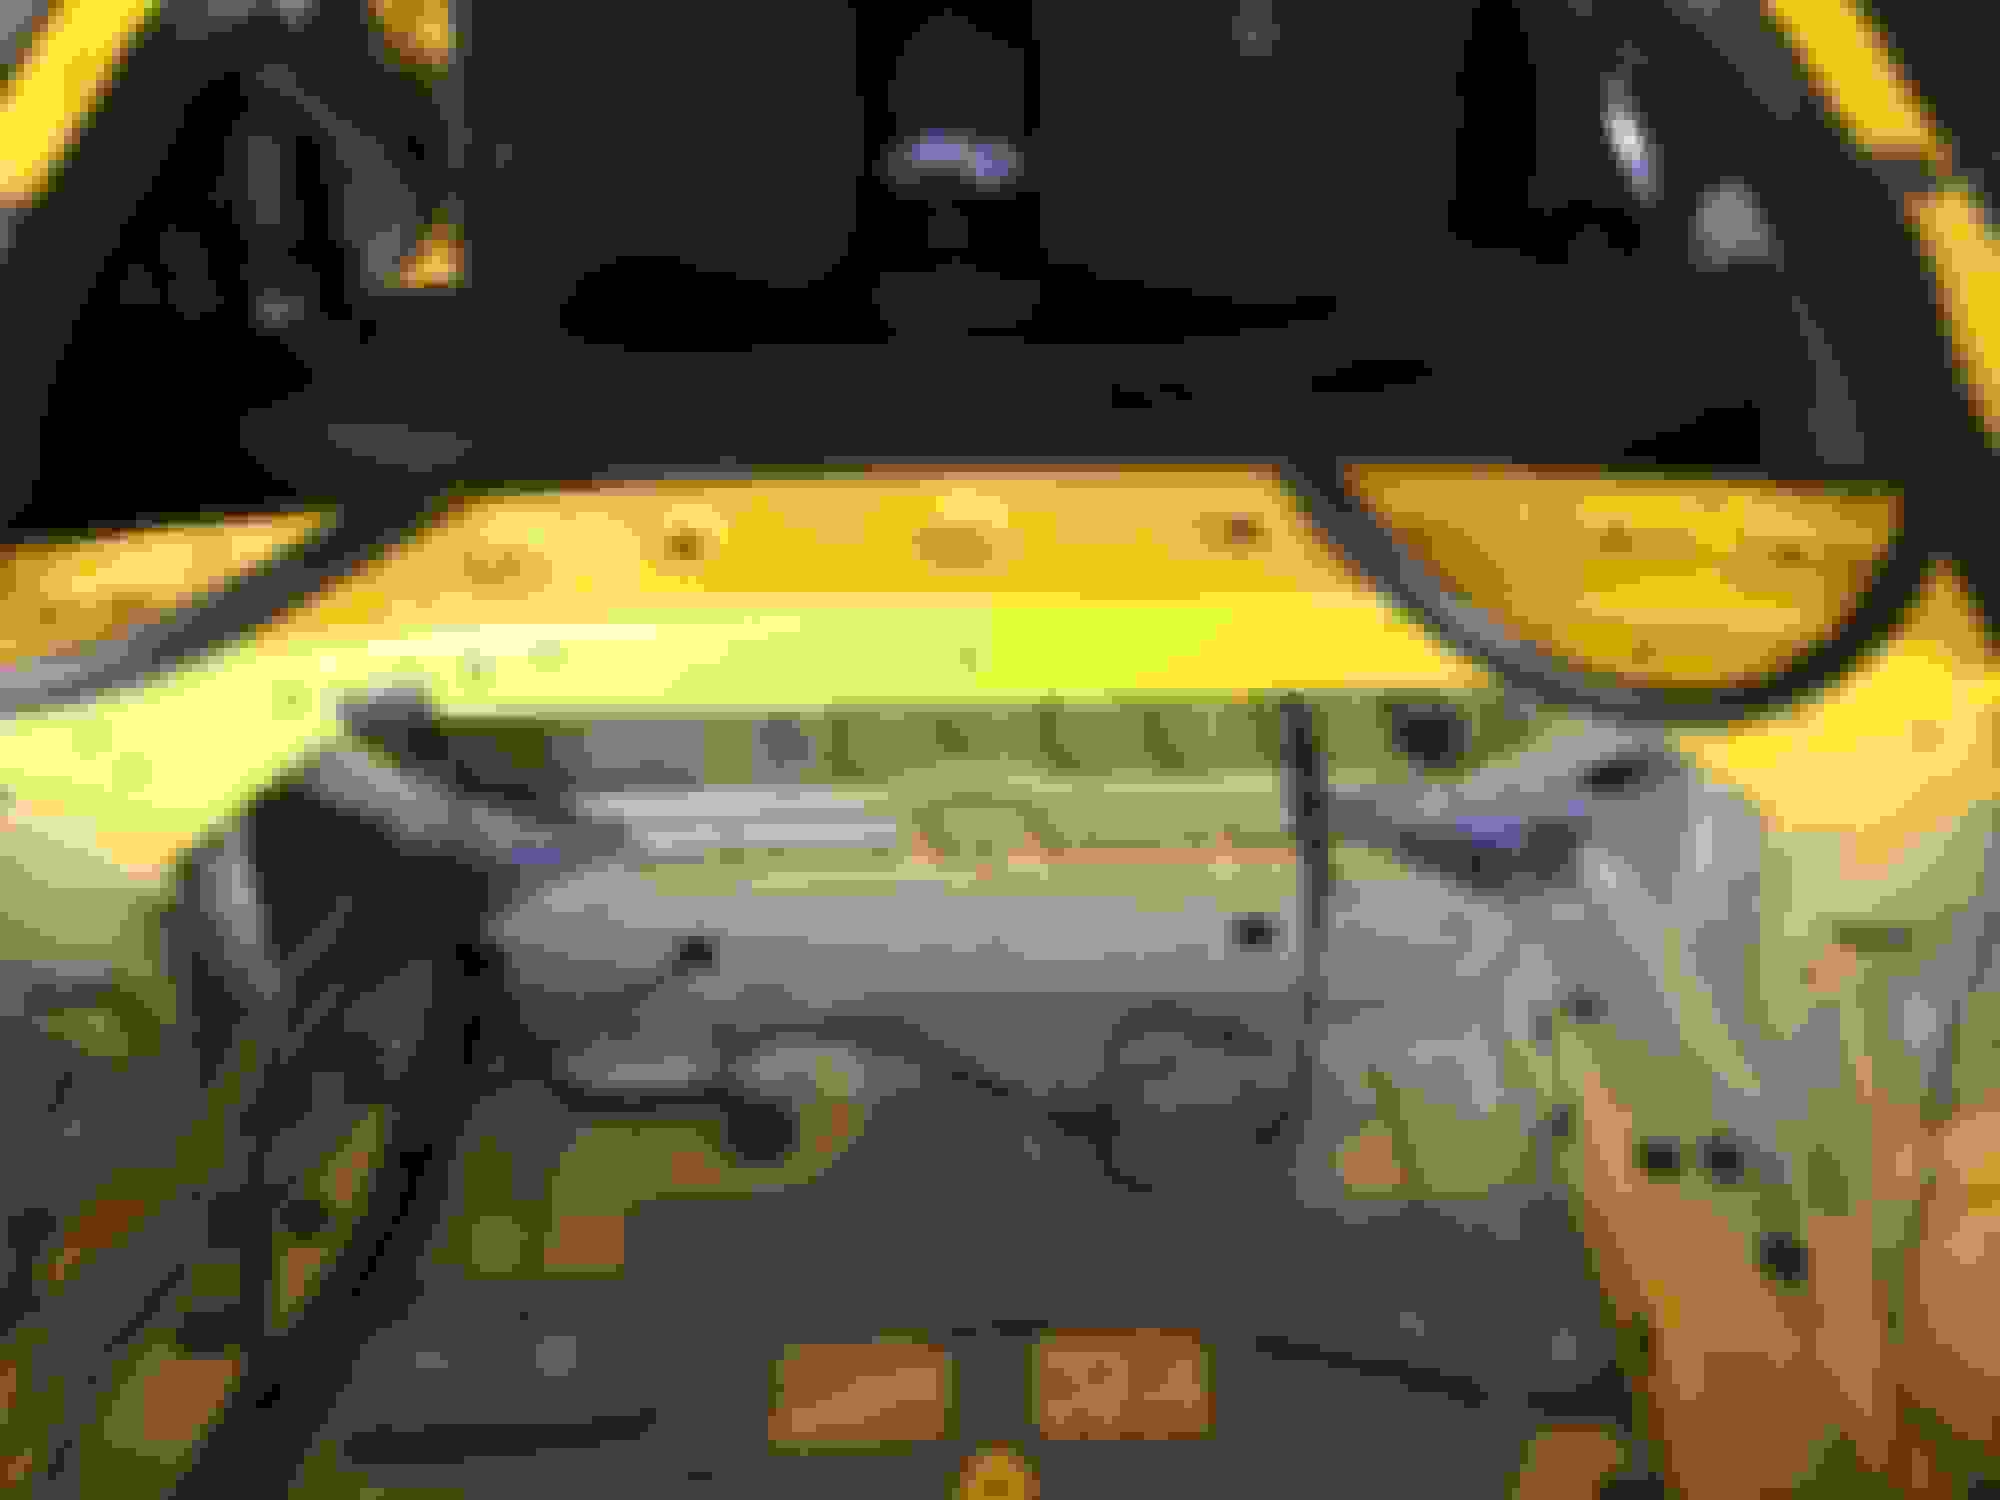
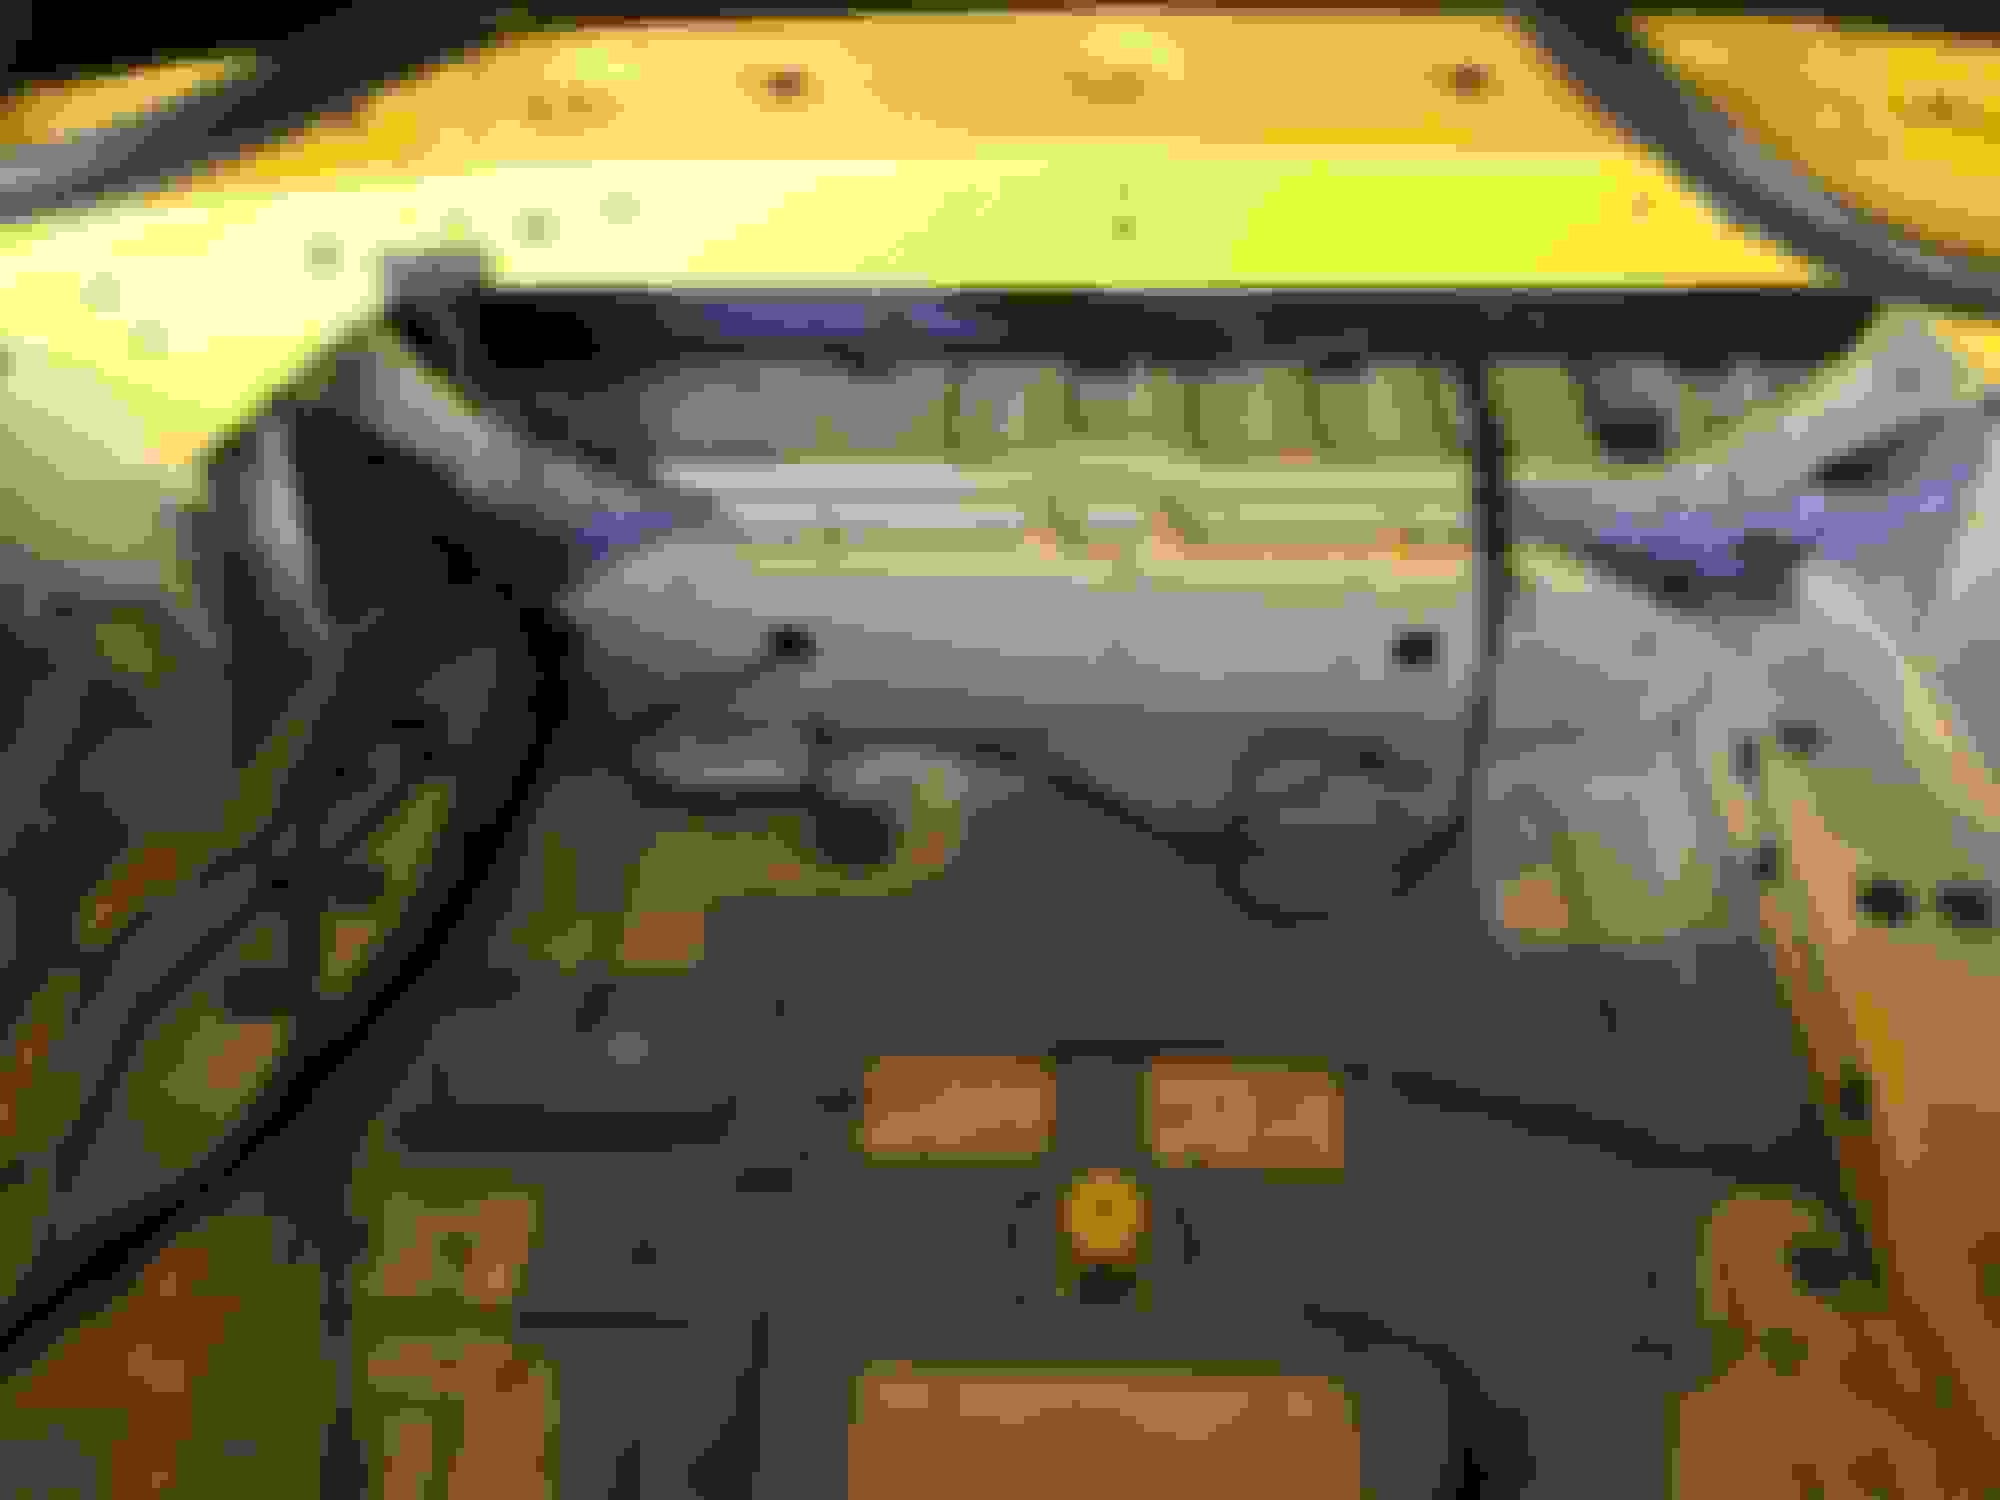
So, this is what happens when you are bored. I pulled out the entire back interior yesterday to fix a number of small things. First, the subwoofer was poorly installed and because of that the rear plastic panel on the arch would never click in place properly and rattled. I removed the sub-woofer box and found that they had sanded one side down quite a bit to get to fit, but not enough and apparently gave up. I actually had to get in there with a power tool to cut an 1/8" of wood away on the side of the back cabinet to get it out. Then I sanded it down and re-attached the fabric. After some back and fourth I got it right. The other items on the list were installing Dynamat in the rear of the car. I found that stuff to be easy to work with and a bit therapeutic. Just cut, peel and stick. The last thing I am improving is the rear deck where the speakers mount. That piece of plastic has some bad gouges on the top that bugged me every time I opened the hatch and looked at it.
I thought, well if I am in there, why not install some new speakers and use some of that dynamat where they mount. So, today I will be doing that project. I am waiting on the rear deck to arrive from Ebay and it will hopefully be installed and back together mid-week. While I was in there, I discovered that it appears he put an amp in for the speakers, but only powered up the rear speakers, not the doors. So, going to see if I can get that improved. There is a second huge amp that powers the sub woofers.
I only replaced the tint on the driver windows and front window last time to make the car legal, but I do not like the super dark and purplish color of the cheap tint that was used on the car. I have a guy coming to the house to put in the matching ceramic tint for the side windows and back hatch. Will make that less dark than the current tint.
Other items that were installed were a new under shroud. My son and I went back and forth on this one. I wanted the aluminum one from Z1 he wanted to stay OEM. In the end, I went with what he wanted on that one as it really is something you do not see. I also wondered if all that aluminum under there would rattle? Guess not, as most all seem very happy with it. We also installed a carbon fiber cover under the hood for the front bumper gap, shiny oil cap and a few other dress up items.
The last thing I did was compound the car with with an orbital polisher and then finished with Griot's ceramic finish. This made a HUGE improvement. The car was covered in 15 years of micro scratches from wear and tear and now they are all gone and the paint really has that shiny new car finish look once again. Will get some pictures of that today and some other pics of the work done. This is the first time I have tried the ceramic finish and I must say it works really well. I think the only downside is when you wax you actually tend to rub on it more and thus smooth out the finish a little. If you don't first compound out the scratches, you probably will not be happy with the results of the spray on ceramic.
I do have the rear Nismo coils coming inbound, so I can now install the Nismo springs at some point as I now have a set, but not rushing on that. So, today speaker install and check out the wiring situation for the front speakers possibly.
Last edited by Jim Stephens; Apr 26, 2020 at 06:09 AM.
Dynomat, or. any sound deadening material works best if heat and stuck to all the curves. What ceramic did you use. On my first Corvette I used optigloss, and I was going to use cquartz on current one but it's already coated come to find out. Went ahead and laid a coat of Glanz dow , then a couple months later I put on Beadmaker
Dynomat, or. any sound deadening material works best if heat and stuck to all the curves. What ceramic did you use. On my first Corvette I used optigloss, and I was going to use cquartz on current one but it's already coated come to find out. Went ahead and laid a coat of Glanz dow , then a couple months later I put on
Beadmaker
Yes, I actually used a tennis ball with some heat and that worked great for all the curves in the metal. The roller worked fine for the flat spots, but there are more curves than flat. The tint I am putting on is called Suntec CIR Ceramic Film. He also applied a "almost clear" ceramic tint to the front windshield just for the heat and UV reduction benefits. Very cool how a tap on the metal goes from a "tink" to a "thud" after applying the dynamat. Last time we AutoX'd in the parking lot, there was a lot of "tink" as the rocks came off of the rear wheels. That is some expensive, but pretty cool stuff.
Last edited by Jim Stephens; Apr 26, 2020 at 06:42 AM.
Hey Jim, way back when, I upgraded my front speakers to 6.5" MB Quart separates (with dynomat installed in limited fashion in the door skins) and used a USX-2100 amp to give them some clean power. That simple change really made a significant difference to my ear! I've loved listening to high-quality music in my Z ever since and will be interested if you notice the same thing.
Since then, I also replaced the OEM rear speakers with MB Quart coax and last year the OEM headunit finally gave up the ghost. Crutchfield sold me on a Panasonic Excelon headunit and wiring harness, but I've never felt the need to put a sub in. Interesting how the path you're taking to restore your Z reminds many of us of the one we've taken in the past.
Installed the new rear speakers. These are kicker speakers that handle 100 watt continuous and are 6 3/4�. With the dynamat and speakers they sound great. Nice improvement.
Good news is I was able to establish the front speakers work. Bad news is he has the wiring all messed up, but at least it means the wiring to the door is good. If you turn the fade to the rear no sound, to the front and all four speakers work. I will get a it sorted out. Been doing car strereo�s since I was 15.
I am going to look at a stronger amp and some better quality speakers for the front. I see you can get component speakers for the front with a separate tweeter.
I tried to talk my son into de-installing the sub. No luck there.
Took the car out for a drive in the country with my son. I drove out, he drove back. The paint looks so much better words do not describe it well. This paint has a lot of metal flake in it and with the clear coat polished it is sparkling like crazy. The car is quite literally a little bit different in color.
The sound proofing made a big difference. Still road noise, but it took it down a whole notch where it is not fatiguing when you are at highway speeds. Very happy with it.
The weather is warm here in Texas and he and I agreed we are ready to AutoX the car again.
Last edited by Jim Stephens; Apr 26, 2020 at 04:43 PM.
Hey Jim, way back when, I upgraded my front speakers to 6.5" MB Quart separates (with dynomat installed in limited fashion in the door skins) and used a USX-2100 amp to give them some clean power. That simple change really made a significant difference to my ear! I've loved listening to high-quality music in my Z ever since and will be interested if you notice the same thing.
Since then, I also replaced the OEM rear speakers with MB Quart coax and last year the OEM headunit finally gave up the ghost. Crutchfield sold me on a Panasonic Excelon headunit and wiring harness, but I've never felt the need to put a sub in. Interesting how the path you're taking to restore your Z reminds many of us of the one we've taken in the past.
I am going to check out those speakers for the front. Thanks.
Car is looking great, can't wait to wrap up some of my house renovations so i can install a few parts i have waiting. Really making me want to start detailing my car even though i need to fix some damage at some point as well.
I knew at some point I would have to dig into this wiring job that was done by the previous owner. So, it looks like he took 2 channels (front left and front right) and then split that into four channels for the speaker amp. Then he took the other 2 channels ( Back left and Back right) and connected them to the sub. The result is a non-functional speaker control in the car.
So, now how to fix this. I can route all four input lines for each speaker to the speaker amp correctly. Then, I guess I could splice into one of those four input wires to get a signal to the sub. I was hoping the sub amp had some type of pass through, but it appears to not have such a thing. Just input and output to the sub speakers. I also do not have a separate line out for the sub from the receiver, but I need to double check that, but not keen on digging the radio back out to find a sub out and then running it through the car to the sub, well maybe.
Any suggestions? I could look for an upgraded speaker amp that may have a sub out line if there is such a thing.
UPDATE: Dang, I knew it, this receiver has 6 RCA jacks on the be back. Four are for the speakers(line out) and the other two are for the subwoofers. He did not run the subwoofer line out from the back of the receiver to the sub-woofer, which means I will be pulling that radio out again to get the wire from the radio to the sub. At least this will make it all correct and operate well. Need to dig around and see if I got a long RCA jack for the sub wiring in my pile of wires. I will go ahead and wire up the speakers correctly today and have no sub for a few days until I can get in and run the wire for the sub.
Update2: Rather than posting another entry, just updating. It's all corrected and working right. Sure enough, when I pulled the radio out he had the Front Left and Right going to the 4 speaker amp and then split each side into two at the amp to get all four speakers working, then the other wire was running from the sub line outs and wired to the sub. If he knew enough to do that why did he not just get one more line and run the other two wires for the rear speakers? Who knows. I ran the additional wire needed and now I can control all four speakers and the sub separately. I actually have the tools to balance out the sound for my home theater, so at some point I will mic it and get it set up reasonably well. Just by ear, I needed a bit more juice to the fronts to balance it out. Now I can move forward with a better amp and speakers for the front when I am ready and it will all work. Not to difficult to fix once I got the wiring figured out and what the receiver was capable of. Another interesting note is the amp he bought is rated the same as the receiver power. LOL. While they are not the "same" I bet they are pretty close, so it was kinda pointless for him put in such a low powered amp.
Last edited by Jim Stephens; Apr 28, 2020 at 04:52 AM.
Do you remember who you got your front bumper lip from?
The one I got from ebay was trash 🗑 . Sent it back, it was so poorly made.
The lip was MagicDrift. I bought it for two reasons. One, it did NOT come folded up in a box. Two it had a review on it on youtube and seemed pretty good. It fit well, but was a fraction of an inch a bit short getting wrapped around the fender well, so not perfect. It was close enough though that I could drive a couple of black screws in to hold it to the fendor well inside the fender. I will find the video for you. I think with summer coming, you let it sit in the sun and get warm and it should go pretty easy. Knowing your car and what you are looking for in quality, not sure you will like it 50/50 chance.
I love those wheels, or at least that design. Looks a lot like my wheels on the Z. Also, the paint looks amazing. Try to get rid of that sub!
Until my 15 year old leaves for college I am stuck with the sub. I am all for big sub-woofers for home theater, not so much into it for music at all. I find them very hard to dial in and blend with the other speakers so you get a nice smooth sound. Luckily, the previous owner mounted a dial just on the left side bottom of the driver dash so you can dial out the sub with the turn of the ****. My 18 year old daughter loves the sub cranked. I took her to a LOT of concerts when she was younger and the live bands they listen to have super heavy deep bass to the point it drowns out most everything else. Hence, the reason they like the subs, sounds like what they are hearing live. Such is the state of their music.
So, ordered some front splash guards that come in black plastic. Many layers of paint here. Adhesion promoter, yellow base, metal flake paint, gloss clear. I literally set a timer on my phone for 15 minutes to keep myself from going to fast between coats. It came out near perfect except I bumped the can on one of the guards and put a slight nick in it on the left guard. Figures. The clear went on nicely though. Finally have gotten the skill over the year to "see" when the clear paint is thick enough to get that smooth finish, but not have runs. The good news though is that I can touch up the nick AND that will face downward once mounted and it will not be seen, so kinda lucked out. The other lucky thing is how well the color is matching the car! I will let them sit a week before I put them on.
The other good news with this experiment. My rear splash guards were purchased used and the right paint color match, BUT they are way more faded than my car and I am really not happy with their condition. So, now I will buy some new rear guards and paint them as well. Hey, I looked at a few video's where people are mounting the G35 rear splash guards on the Z. At first, I thought it was an improvement, but I was looking at it again today and I am not so sure I like them still. Also the fitment seems just a bit off. Thinking that one over.
Painting is my nemesis. I have painted all types of things with spray guns, home made paint booths, rattle cans (this was done that way), and I never quite achieve perfection and in some case I have had some outright disasters occur. Don't think I will EVER paint a car or maybe some day...LOL
Last edited by Jim Stephens; Apr 29, 2020 at 04:55 AM.