When you click on links to various merchants on this site and make a purchase, this can result in this site earning a commission. Affiliate programs and affiliations include, but are not limited to, the eBay Partner Network.
Back with another update , been busy , seems there aren't enough hours in the day .
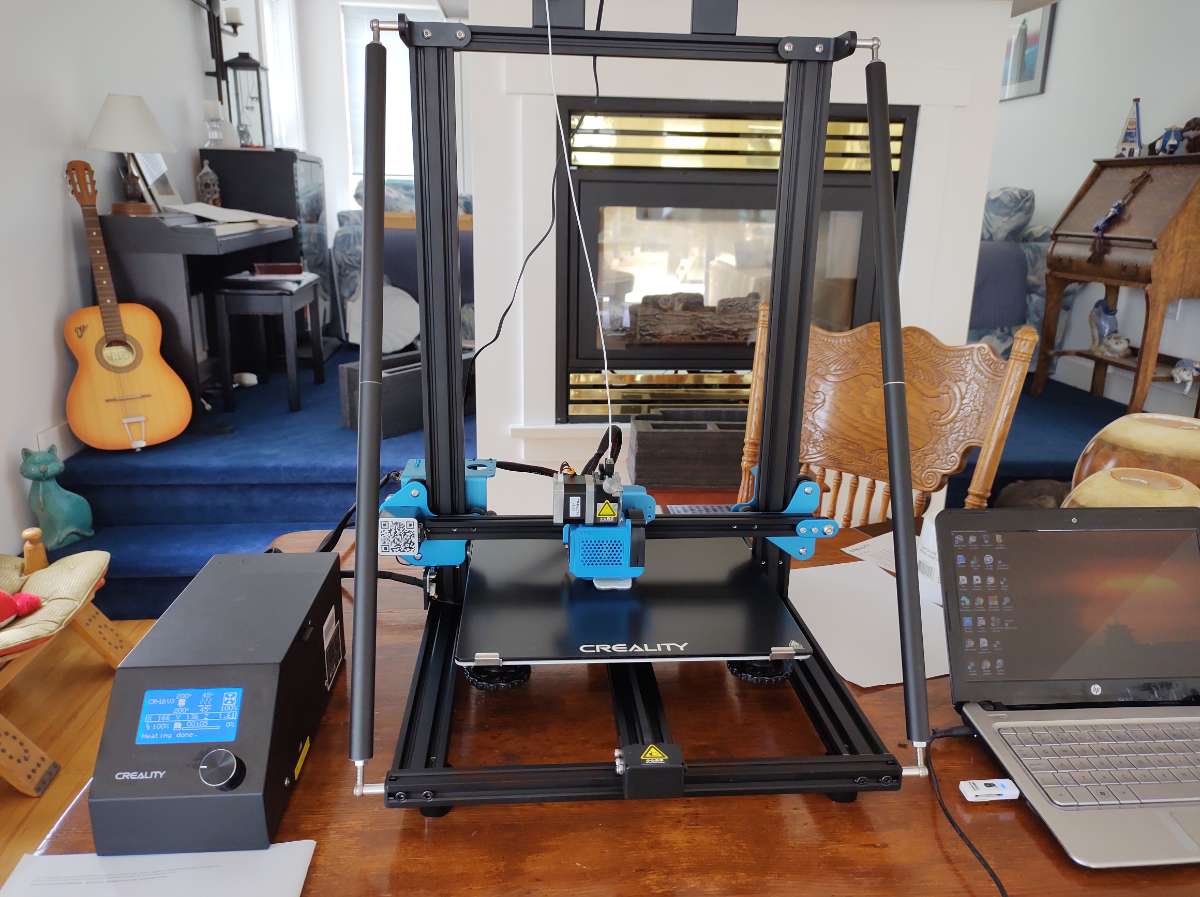
I bought a 3D printer a Creality CR10 V3 , extremely cool printer a few little things to get it setup . going to use it to make the molds for the front signal lights and a few other things , the more i see what it can do the more things i know I can make for the car .
I have to relearn CAD .....been almost twenty years at least .
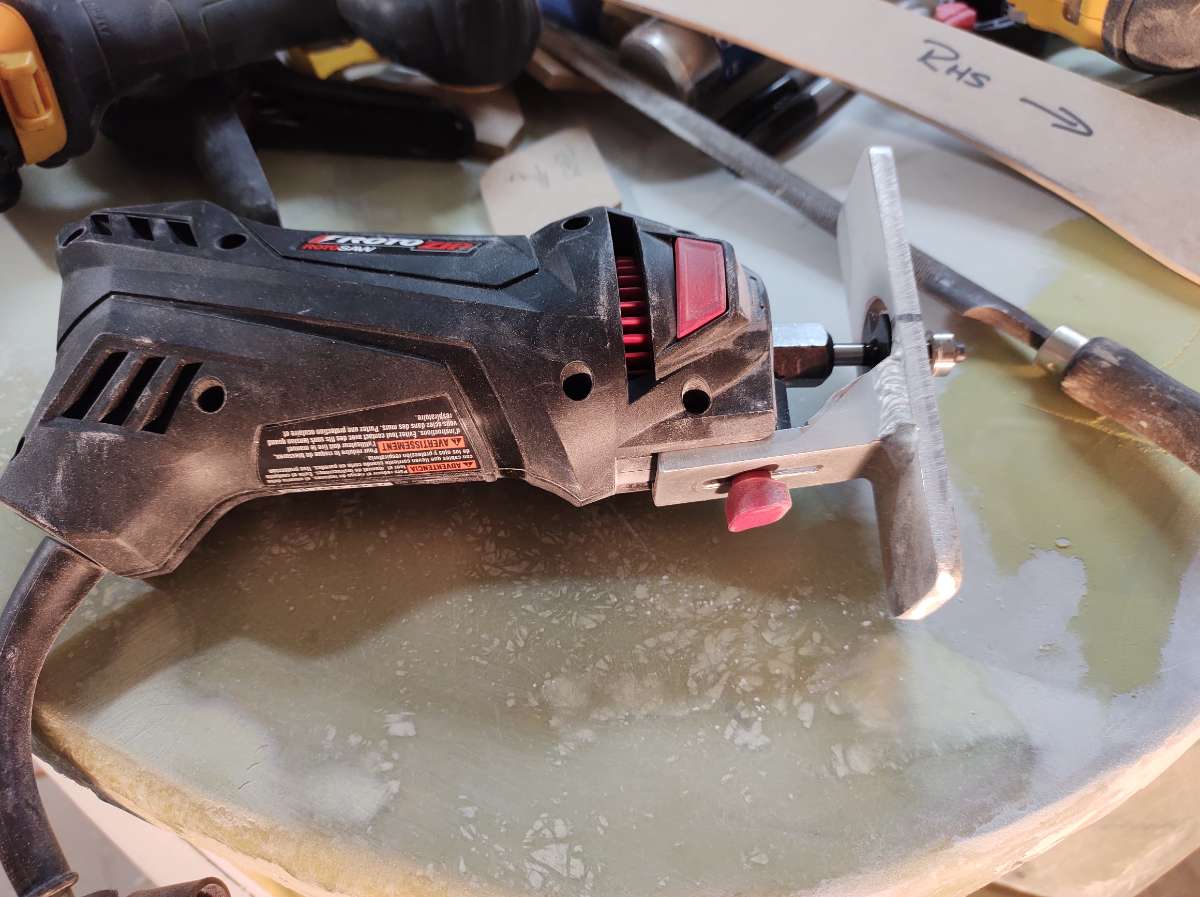
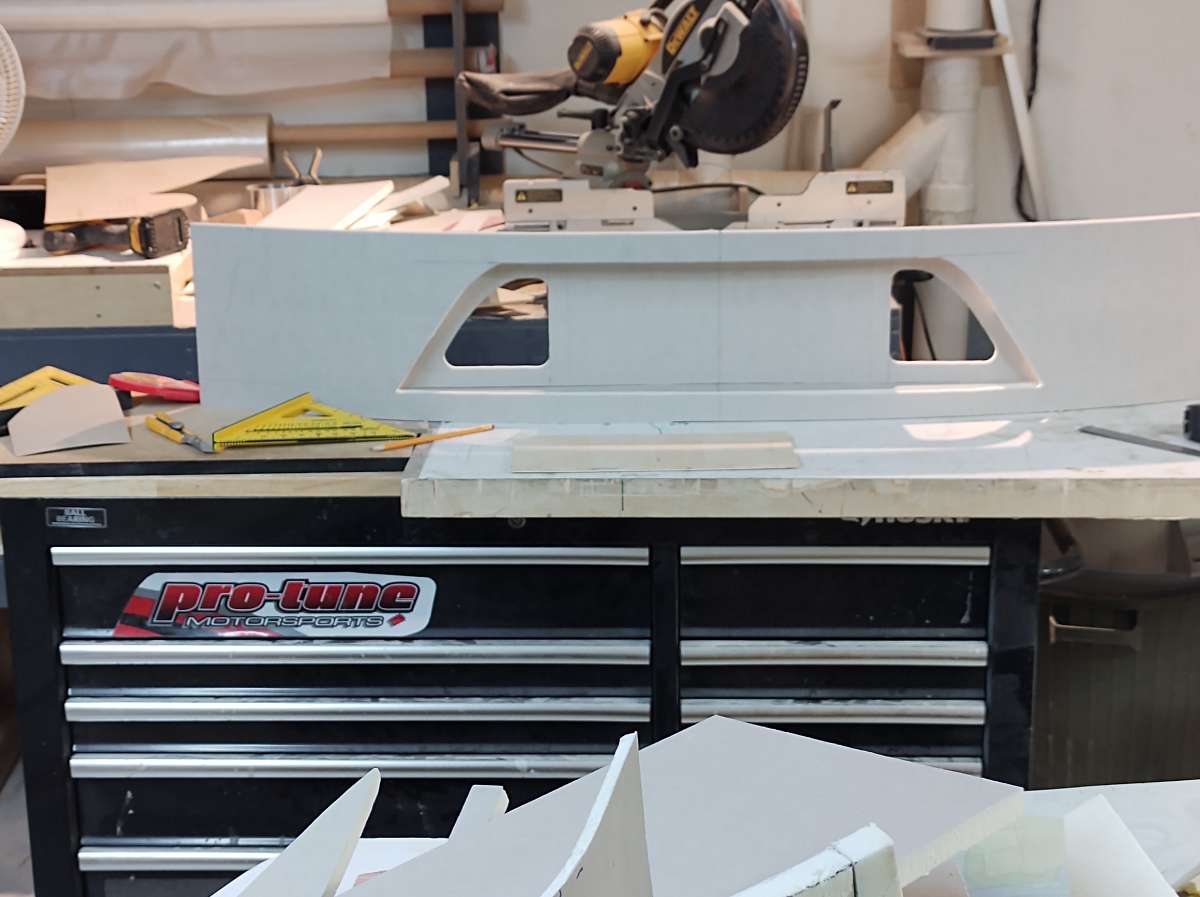
also got the trunk lid glassed and off the back of the car and rough trimmed . Here are the louvers glassed and the lid opening cut Here I am carefully using wedges to get the lid off the car finally got it broken free , I had used masking tape everywhere I glued the structure to hold the foam . Also had to cut a couple of screws with the air reciprocating saw now to clean up the mess the lid will need to be trimmed and body worked
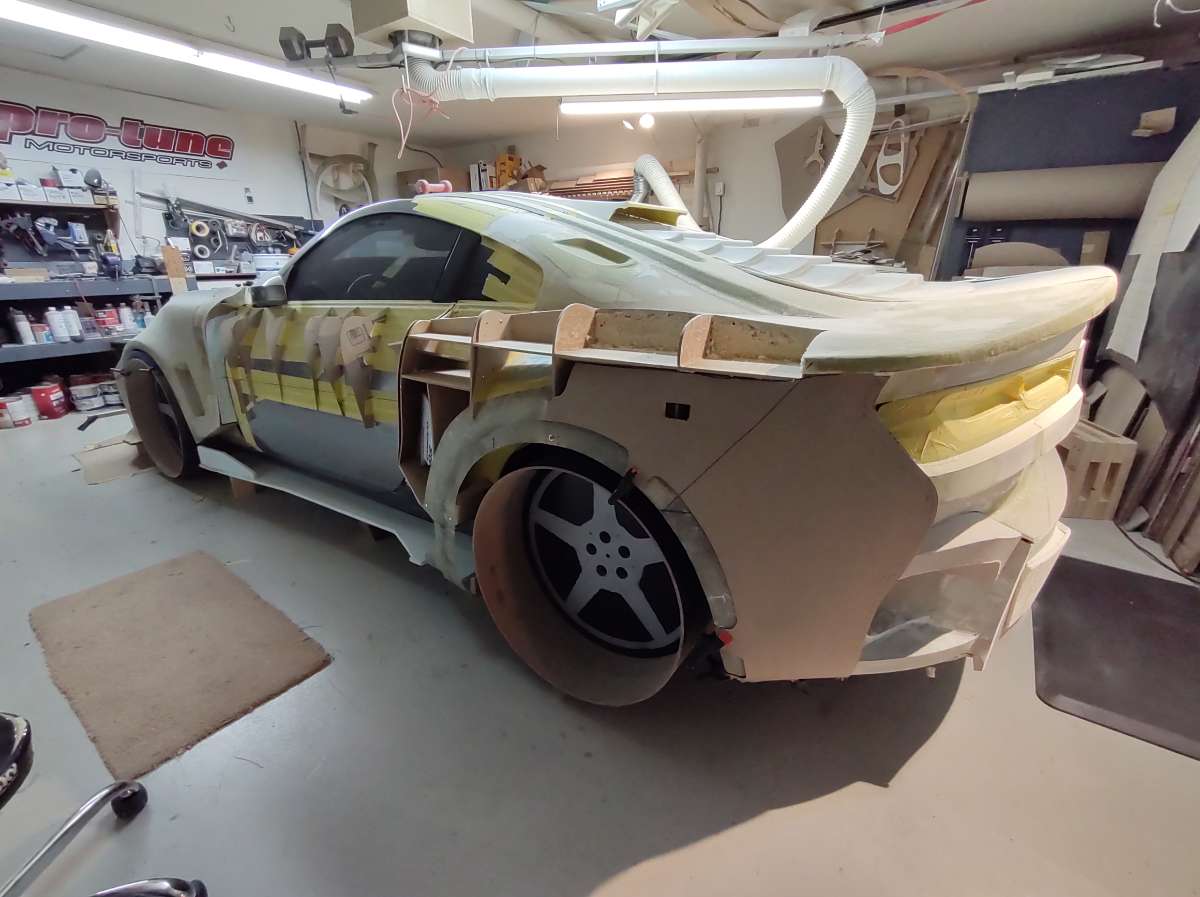
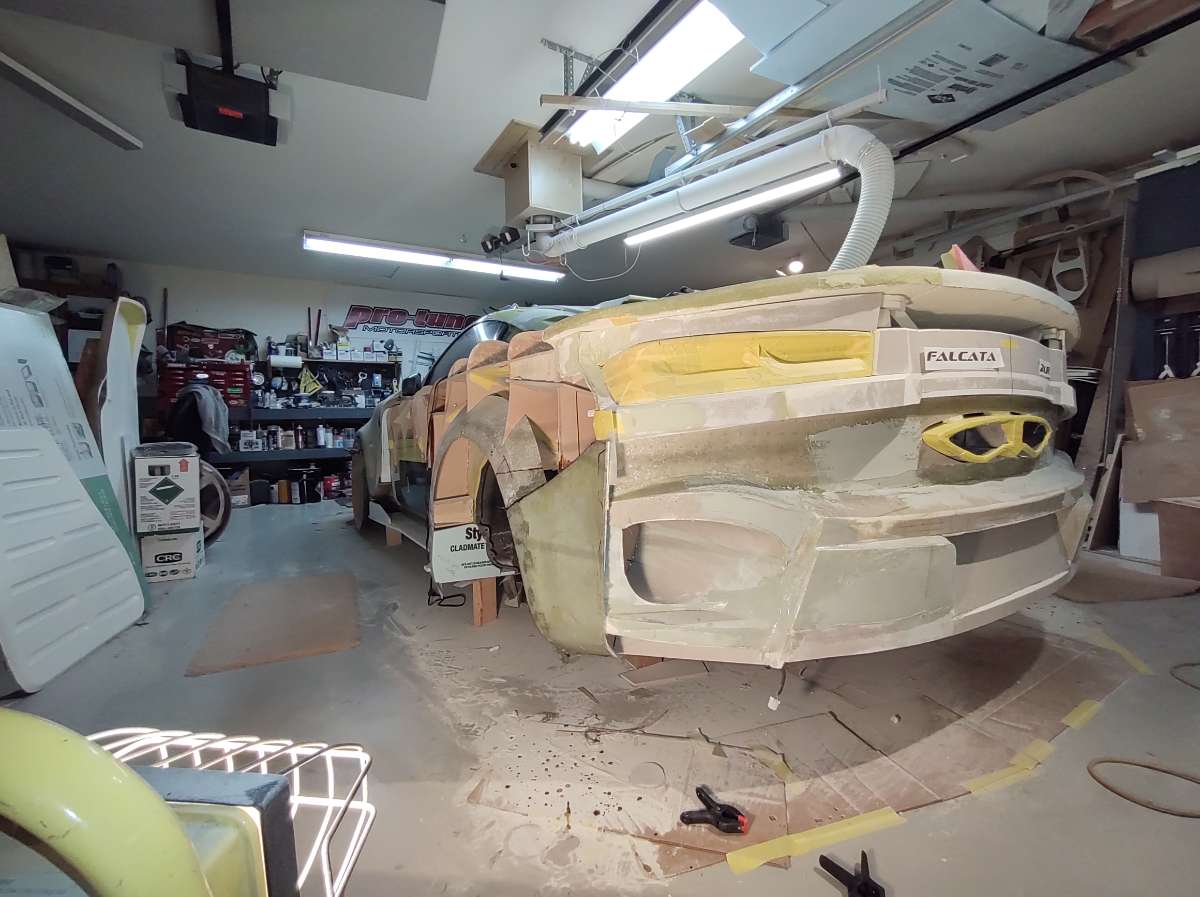
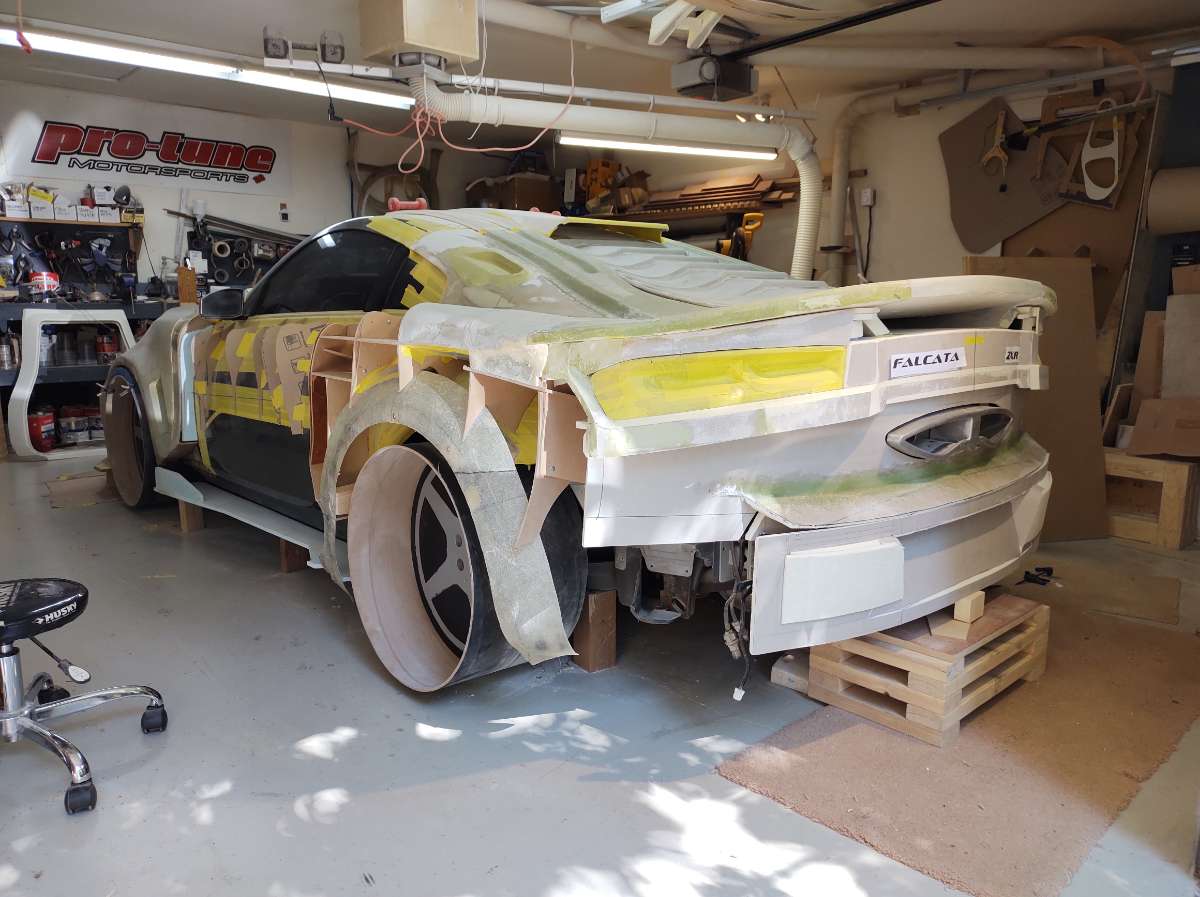
So I got it roughly trimmed and the back of the car cleaned up . here it's rough trimmed and back on just to see how it looks this will give you an idea of what it will look like open the wing will be attached to the lid , down both sides and fastened underneath
Thanks everyone for fallowing along and the fantastic positive feedback .
Been busy as usual , had some crazy heatwave here last weekend , 4 days with temps in the high 30's .
Also did something nasty to my knee , that's slowed me down a bit can only do stuff standing , it's getting better ... very slowly , 30 years of racing motorcycles didn't help .
been working on the trunk lid and the hood ,
will start with the hood . This bottom of the hood started out as just a test in the new shop to test the waters , I had a couple of gallons of resin that were really old and had probably been below the 45 degree limit . so i did a copy of the bottom of the stock hood , this would give me a look at where i could make more room for goodies . I had to trim a bunch for the fenders , so as time went along I decided to use it .
Now I need to extend the back of the hood ,these pieces are just to support the the part for the fiberglass .
I don't want to see the wipers , they are just not nice to look at .
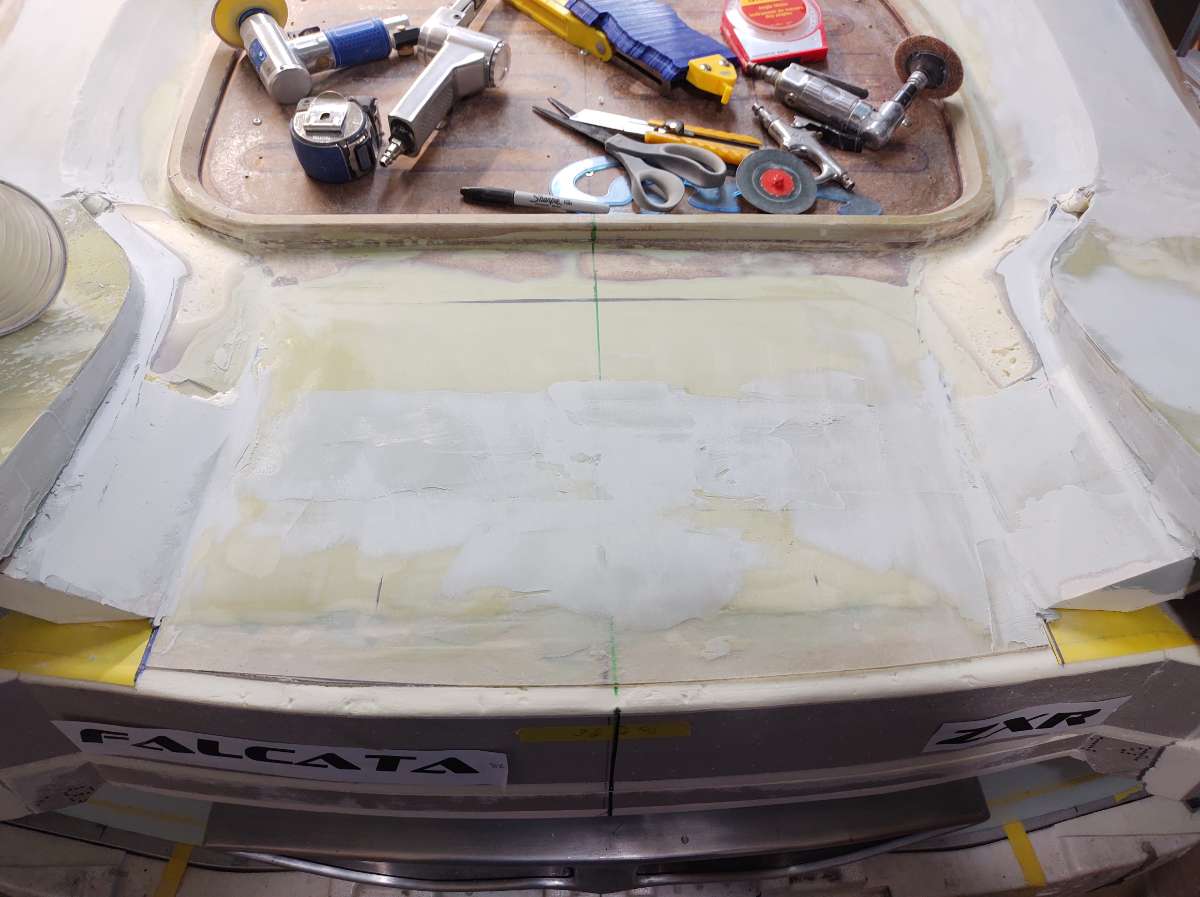
So here is how the hood extension came out , a little wavy at the back in the middle . but that will be cut off .
and now adding the rise in the hood to allow the wipers to go under
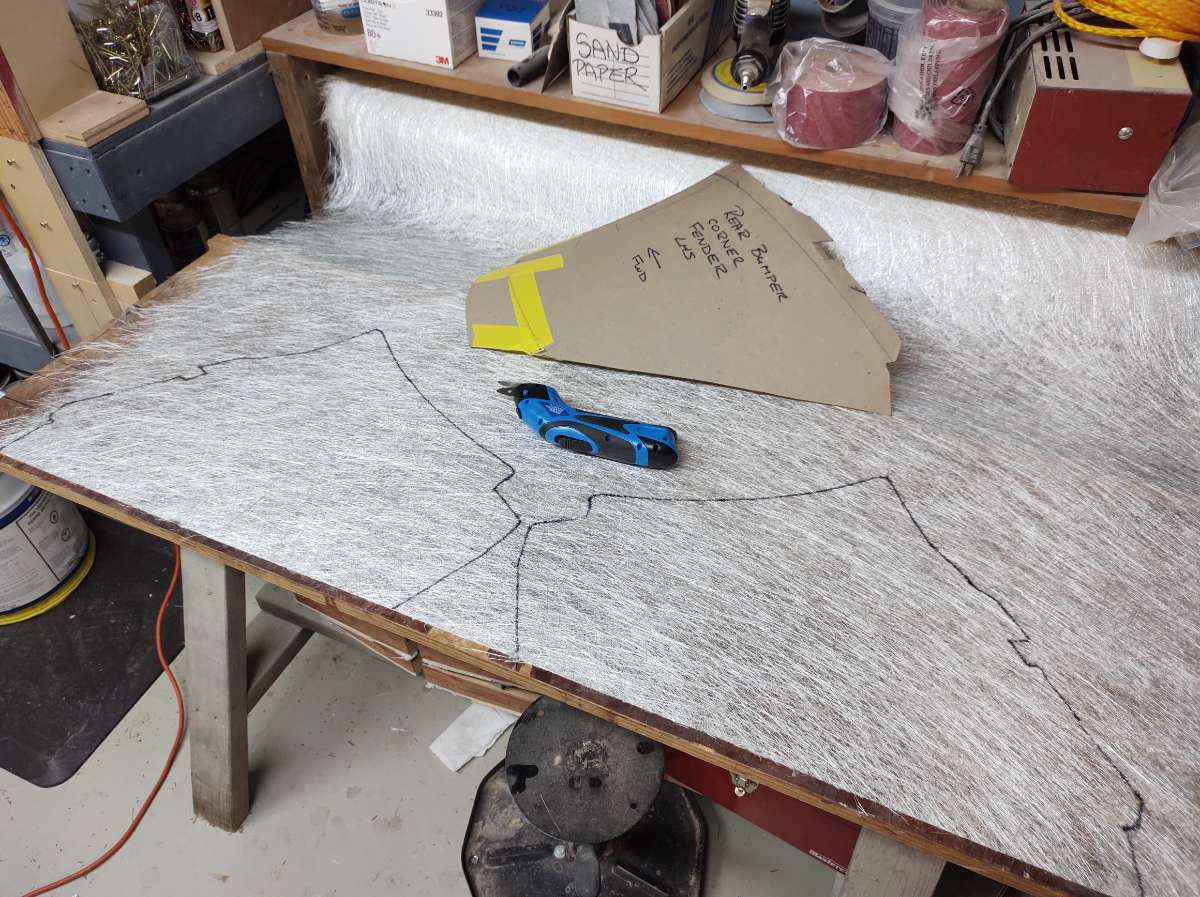
sometimes I use masking tape on the roving ( the weaved fiberglass ) makes it easier to cut and holds it in place while putting it on , I start wetting it out , then carefully pull the tape off .
I was really tired when I glassed the hood rise and make way too much resin , so instead of wasting it I tossed in a few scoops of filler and painted it on the fenders , nice to see something shinny lol
here is the rise glassed
trimming the bottom away to make room for those pesky wipers
Oh the other thing I should mention is I bought a 3D printer to make some parts for the car , oh course i have have to learn how to use it first , ( more time , later nights )
So I bought a Creality CR10 V3
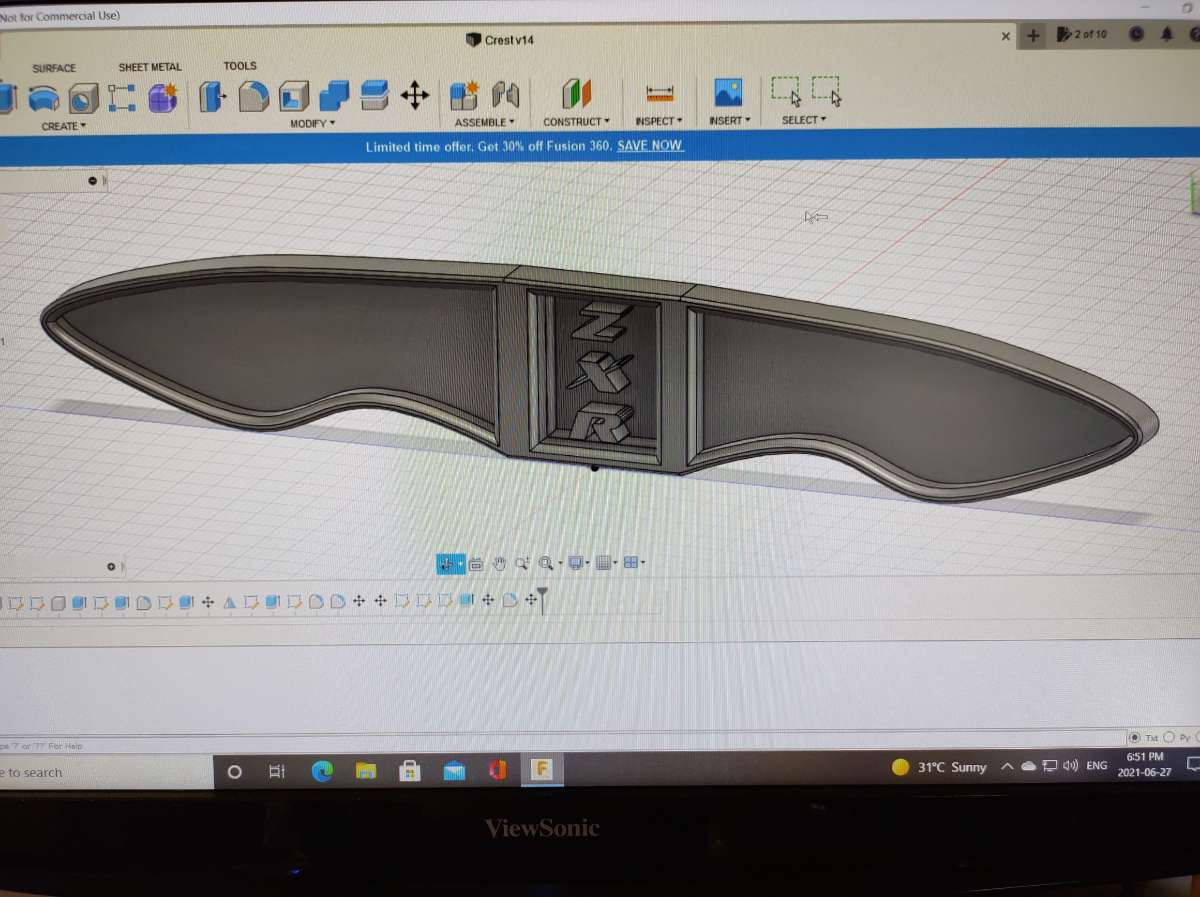
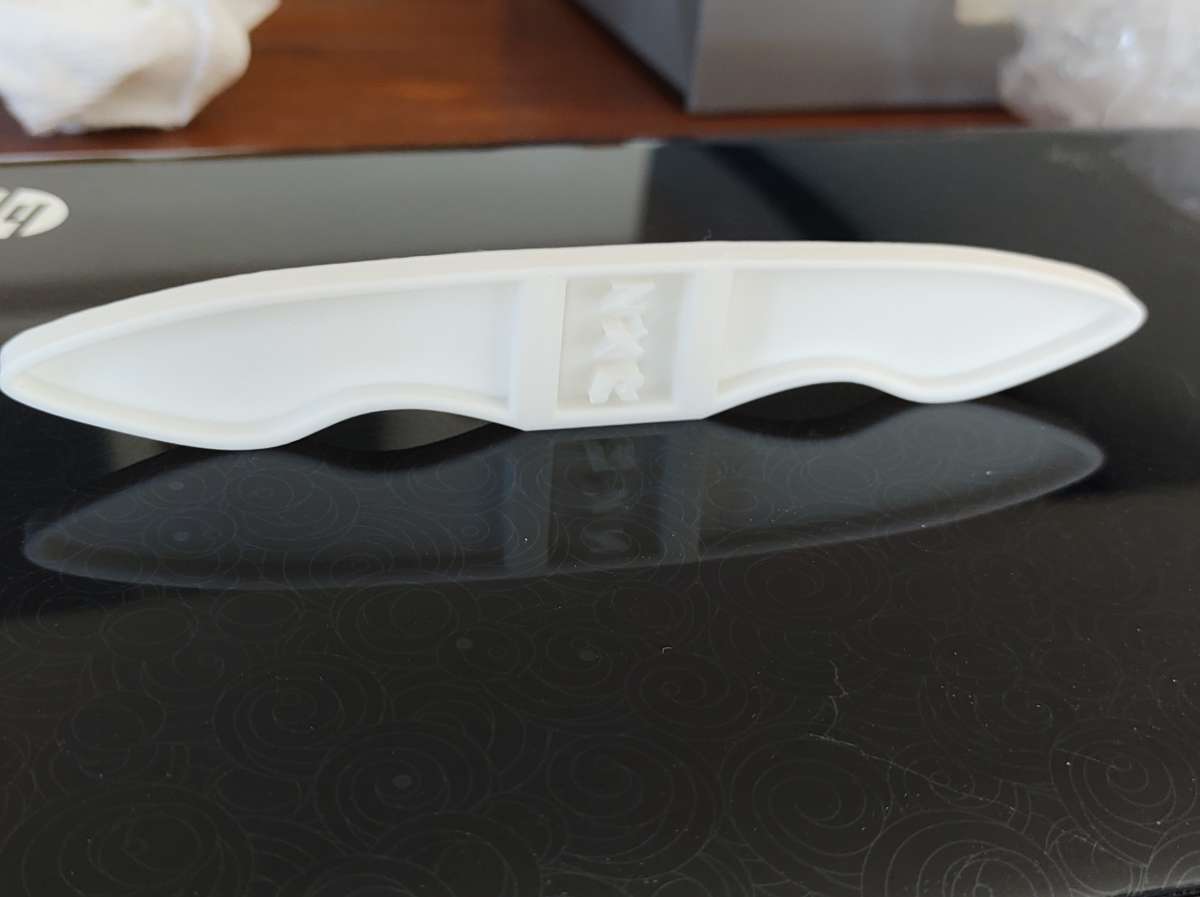
I have been working on drawings for the emblems and a Crest ( badges )
Back to the trunk lid , made a small change , I thought the curves were too tight , so I cut them out and re foamed them .
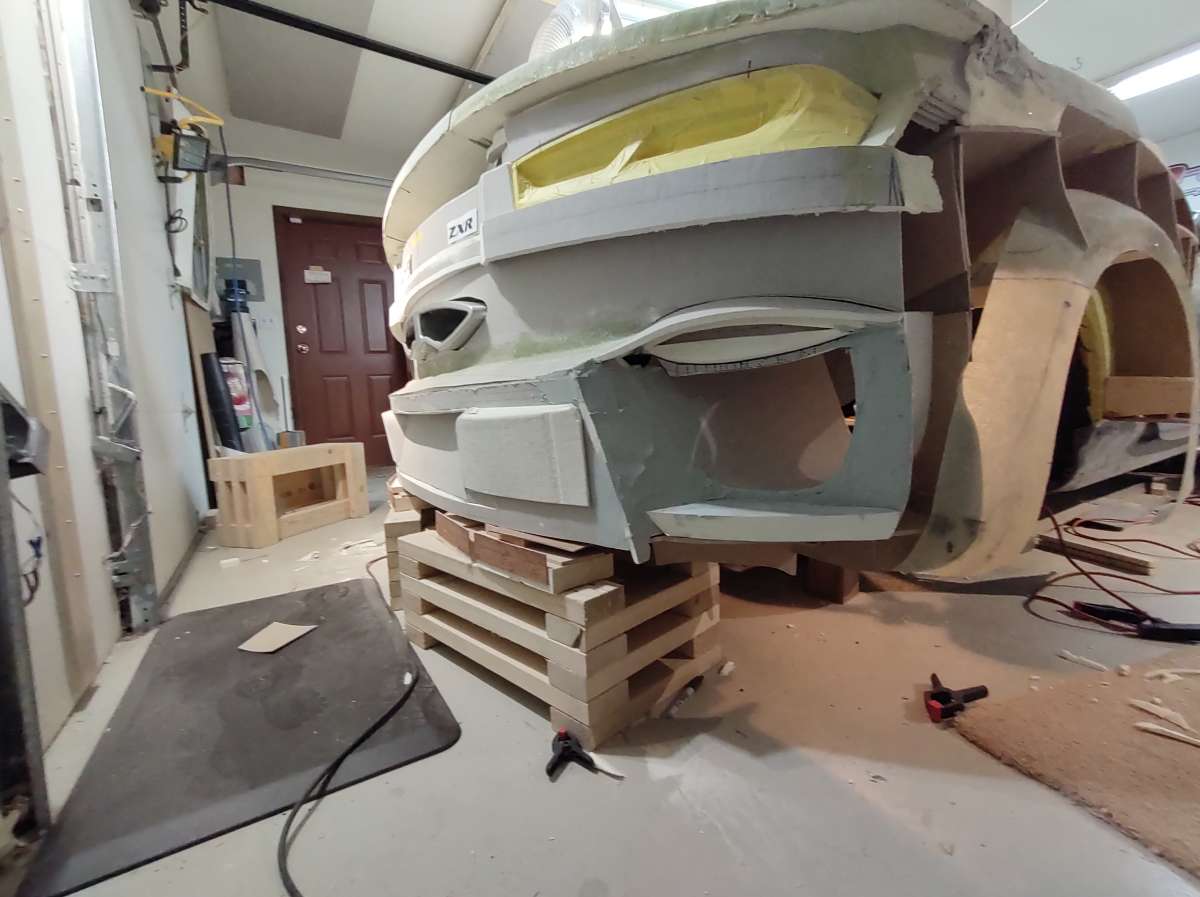
started body working in the batman humps glued a couple of the wooden bucks back on and laid some tape down to have a look Going to be one nasty car !!!! Stay tuned in and stay safe !!!!
Hi everyone time for another update .Oh the other thing I should mention is I bought a 3D printer to make some parts for the car , oh course i have have to learn how to use it first , ( more time , later nights )
So I bought a Creality CR10 V3
I have been working on drawings for the emblems and a Crest ( badges )
so far so good . I have to learn CAD , used it 20 years ago , and learn the 3D printer , it coming along ....
Still some tweaking to do .....
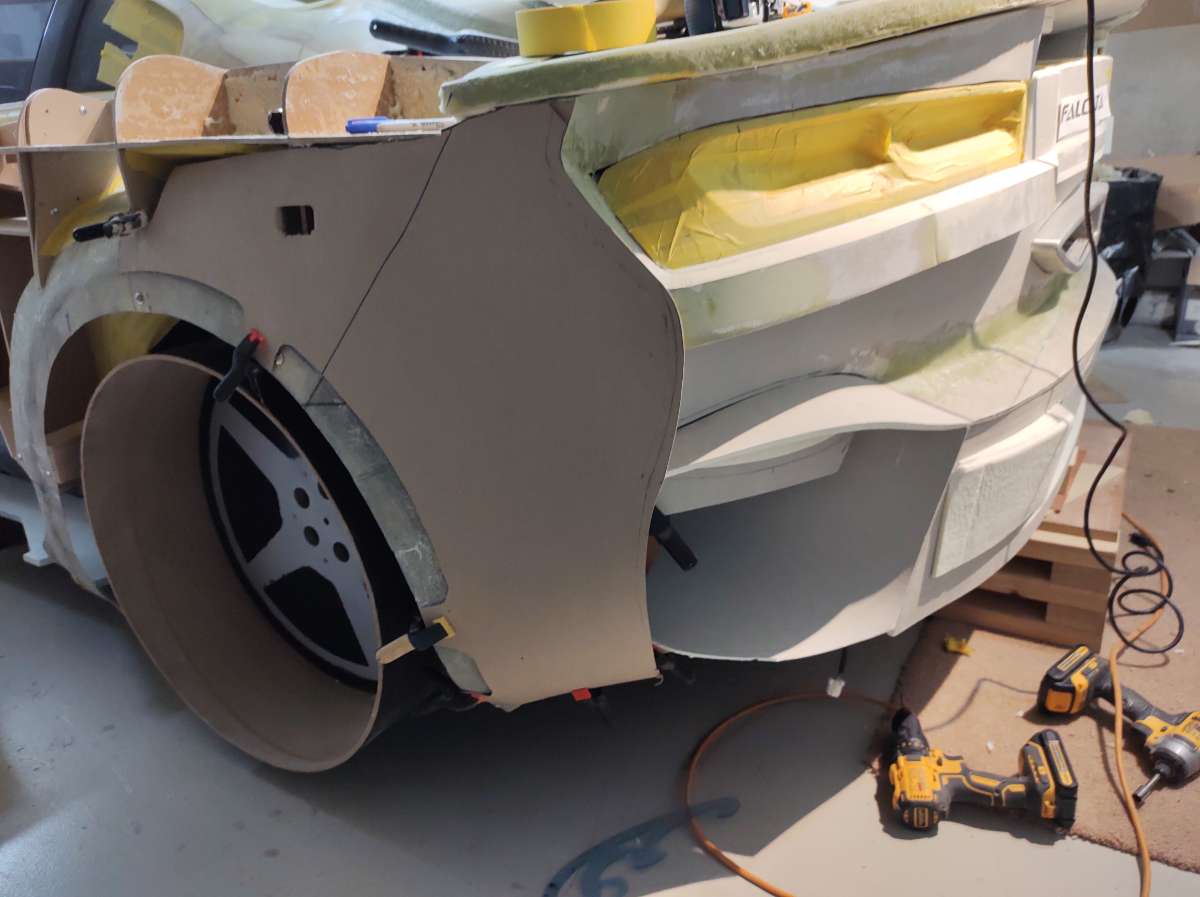
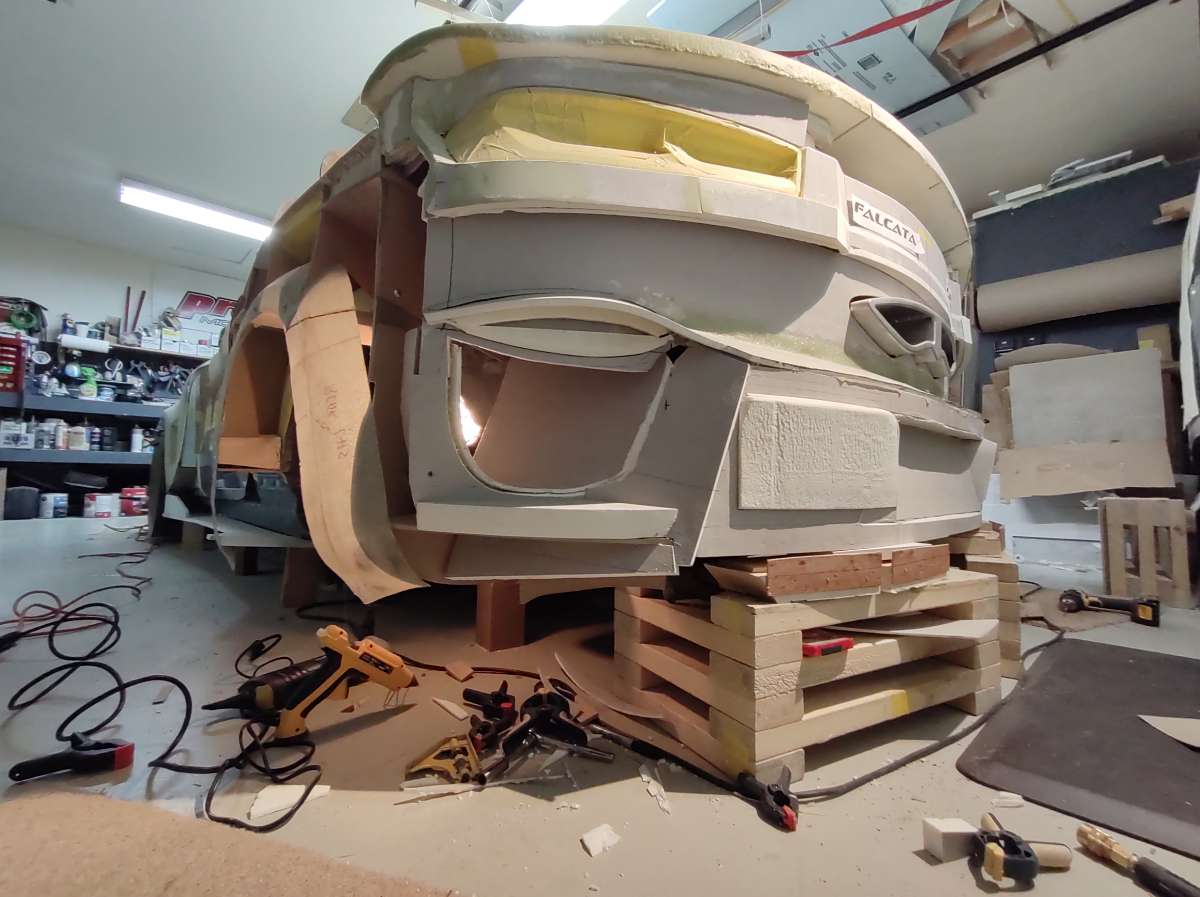
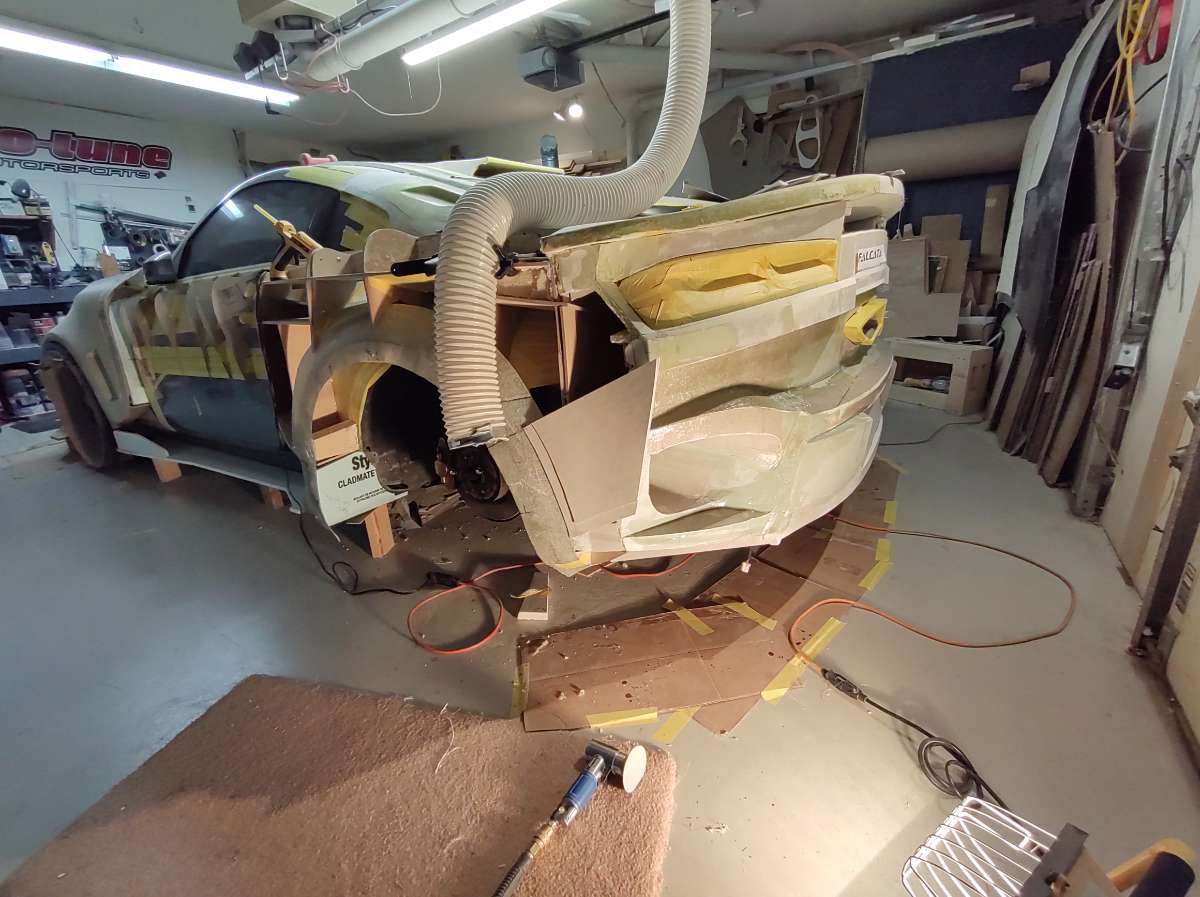
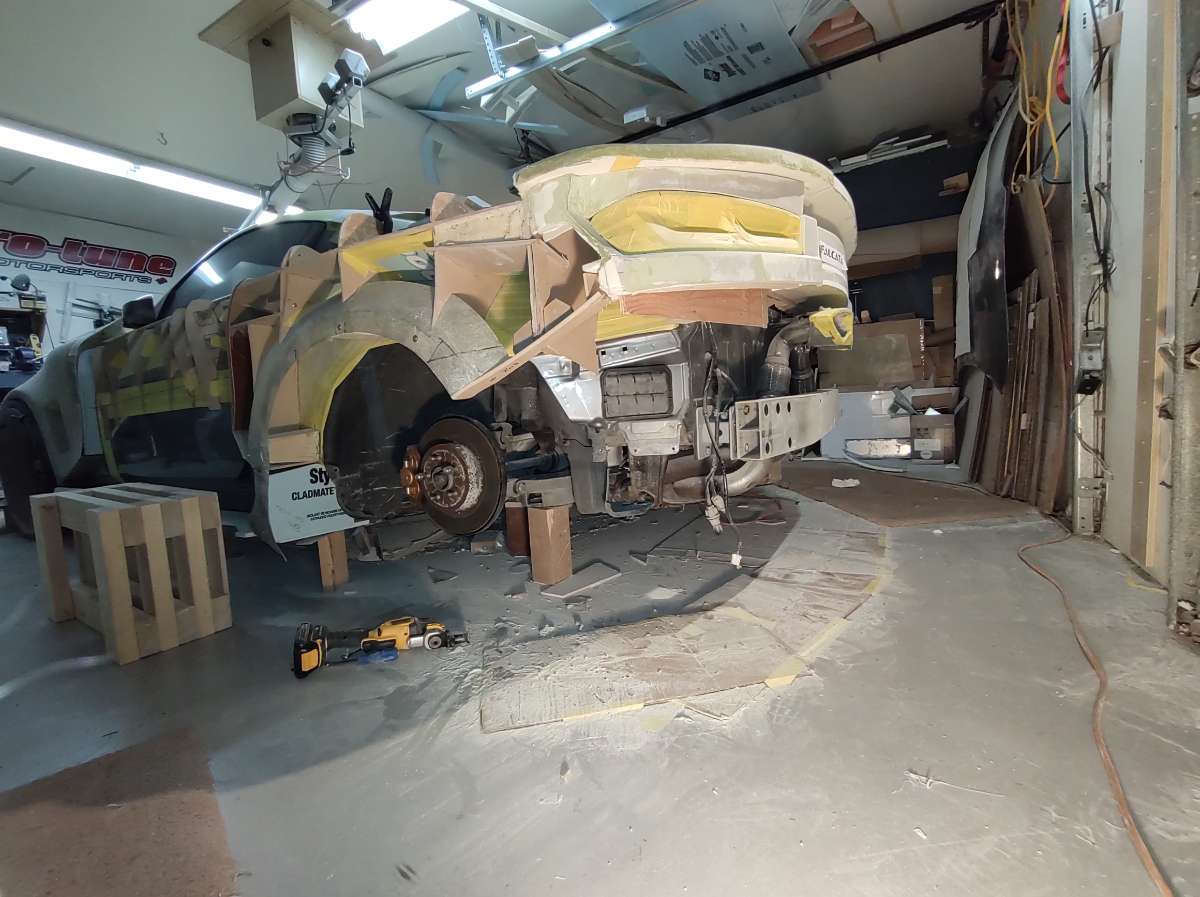
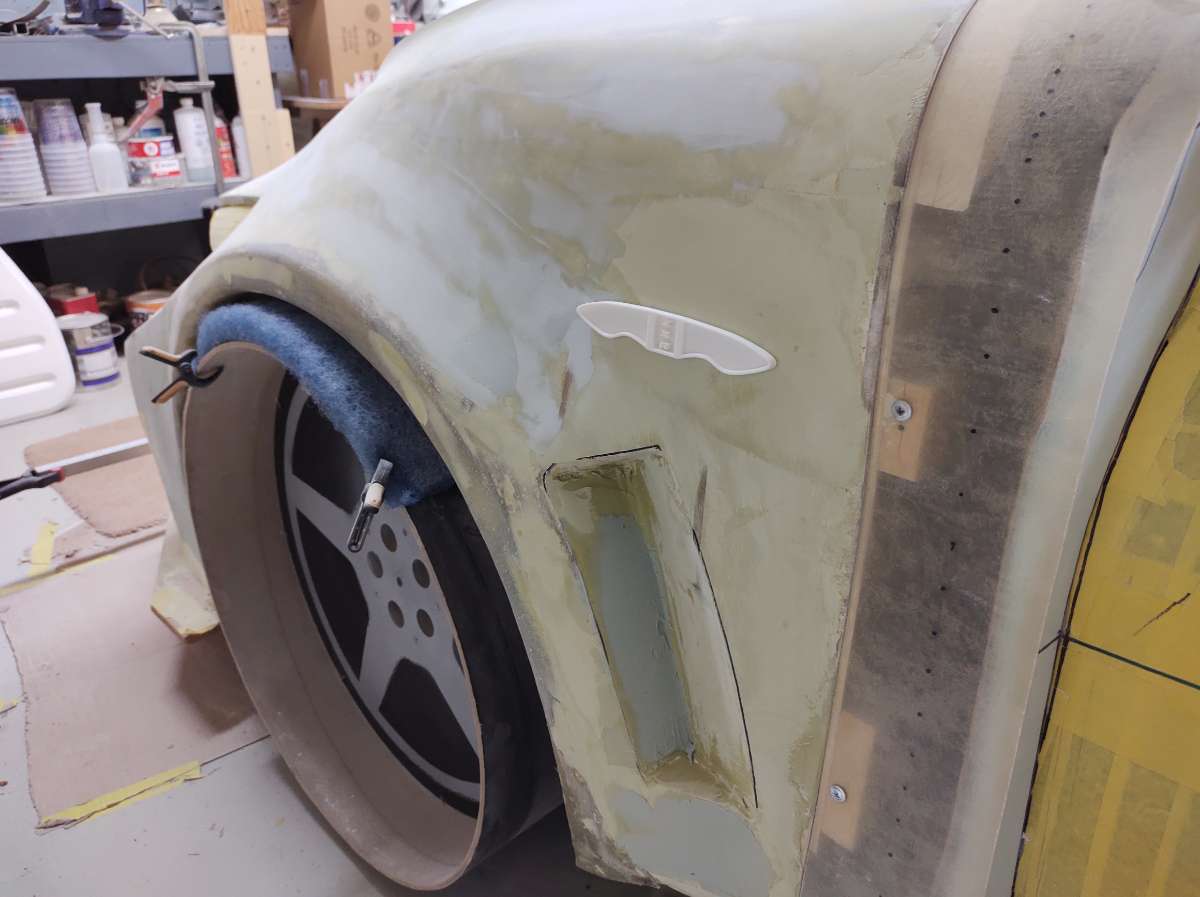
Some more on the back of the car , the quarter panel , jumping ahead a little but I can't wait any longer ...
Putting the bucks on the quarters
everything gets checked along the way
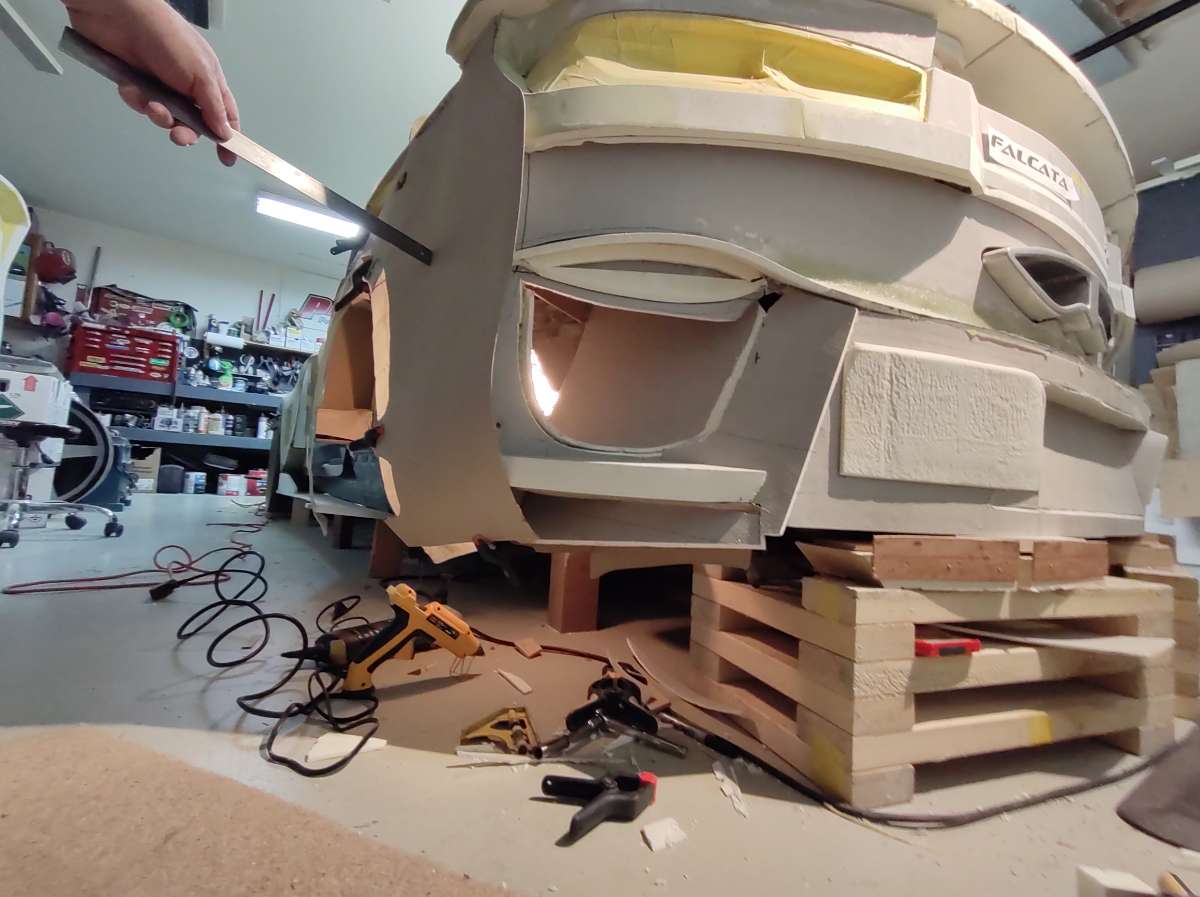
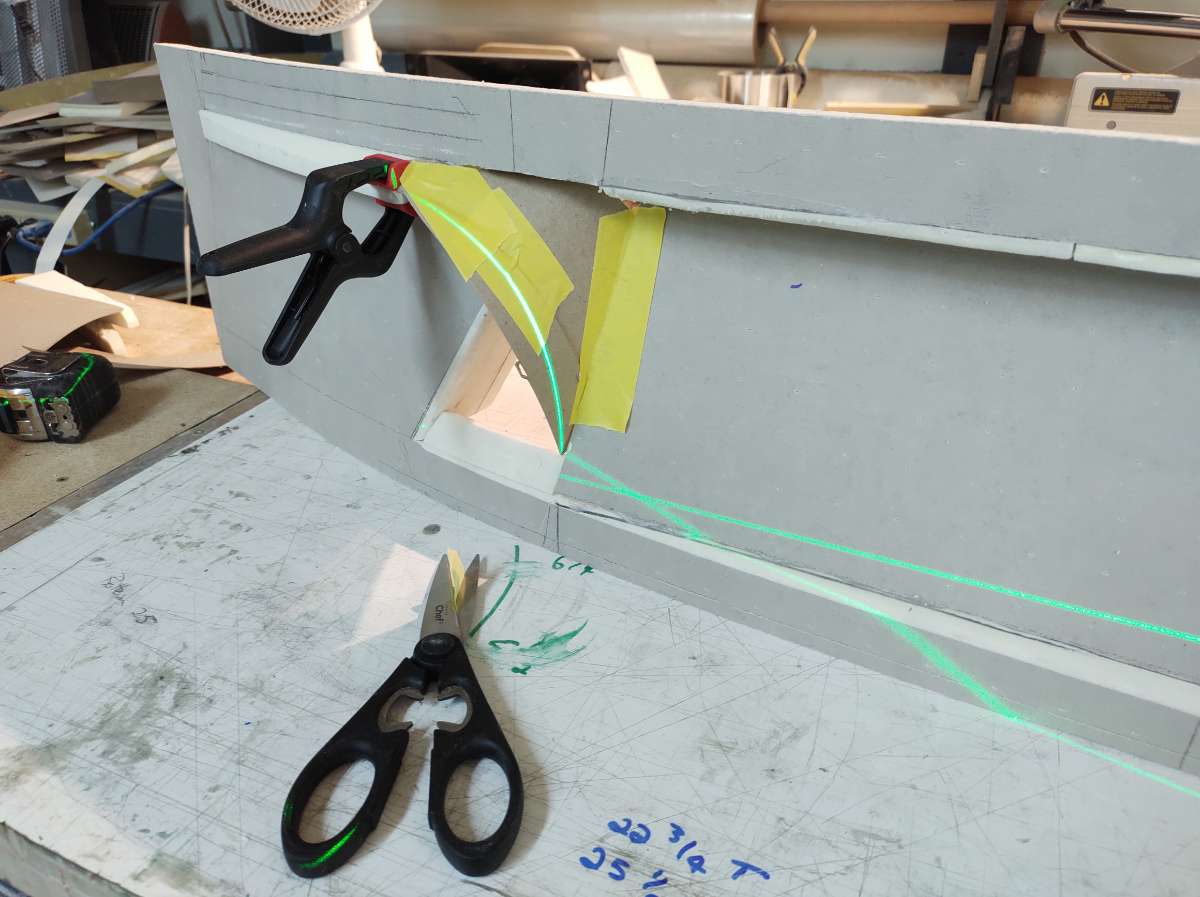
here shooting a line with the laser to cut the slots for the horizontal bucks
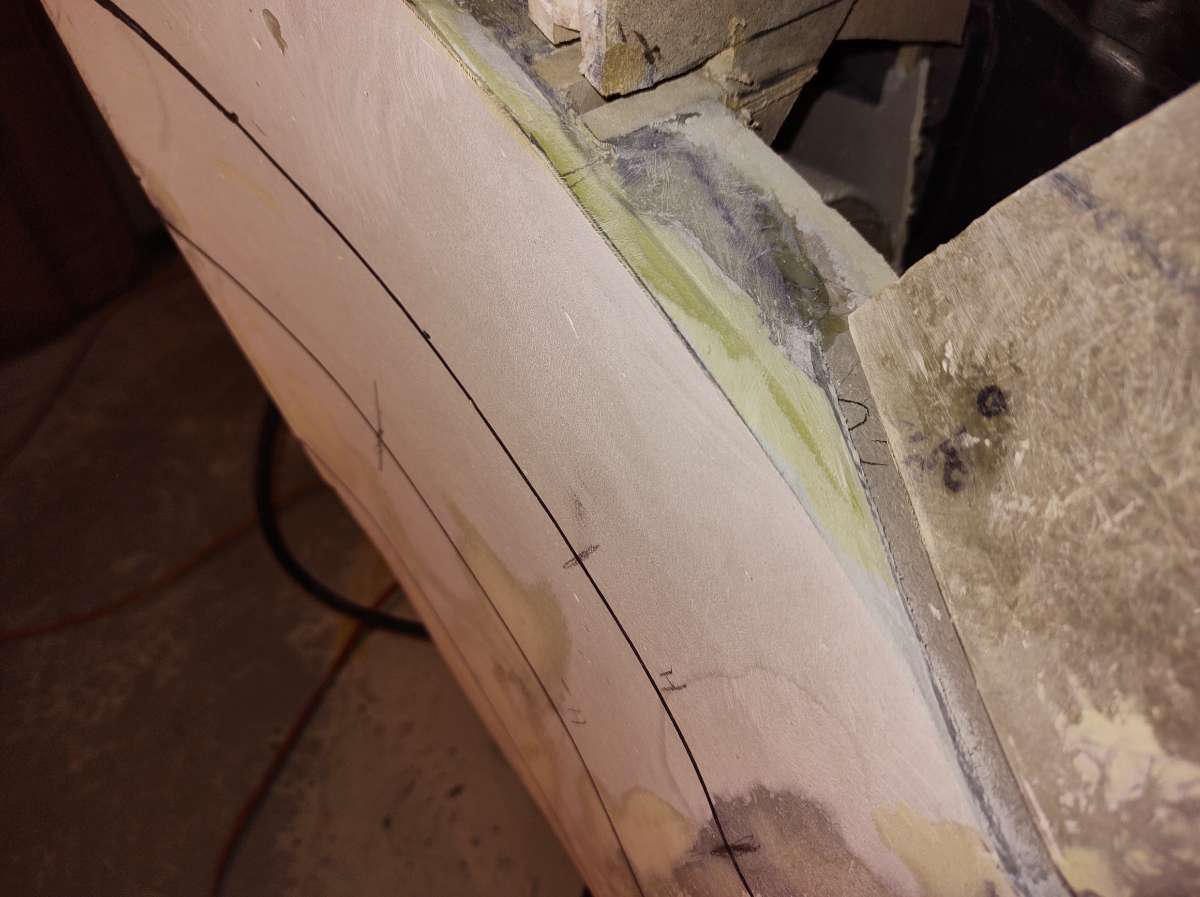
marking the edge to be trimmed with a baton
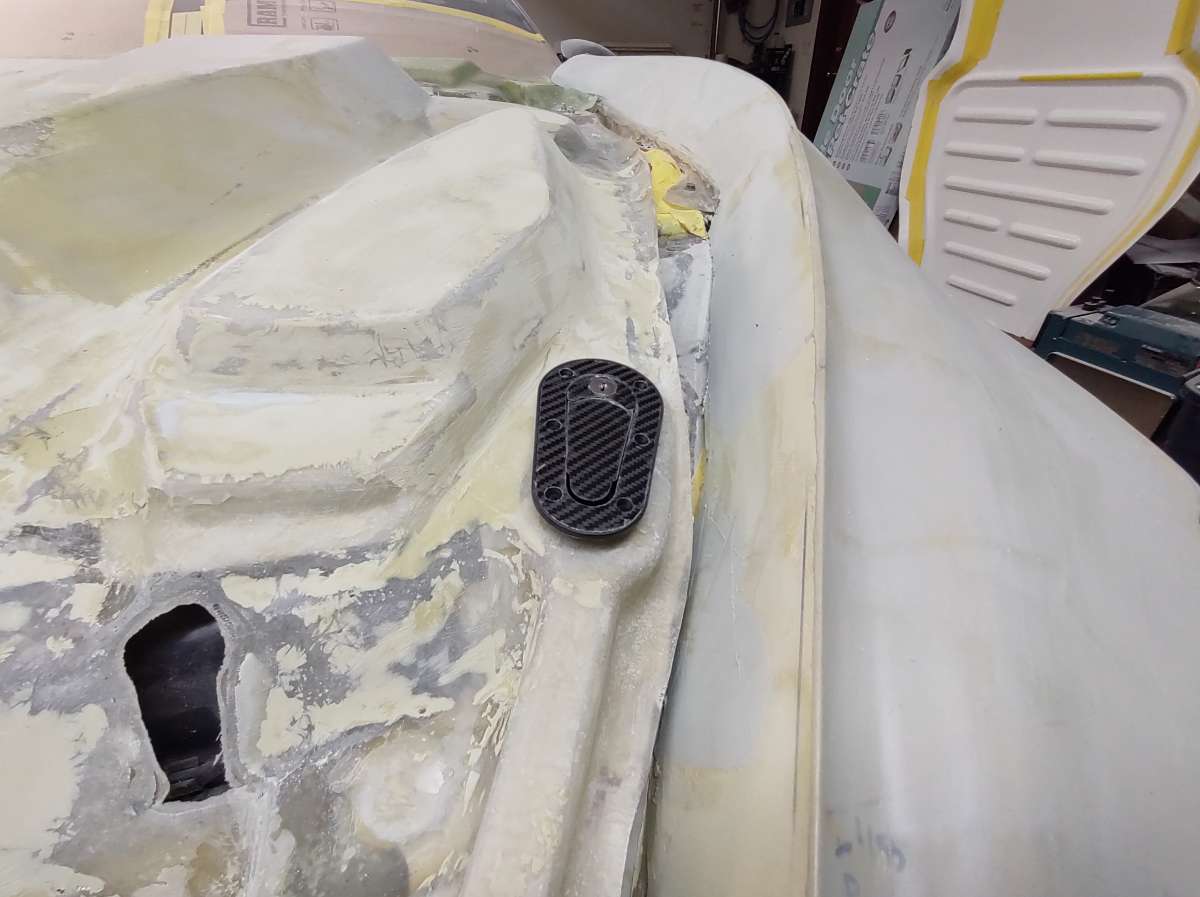
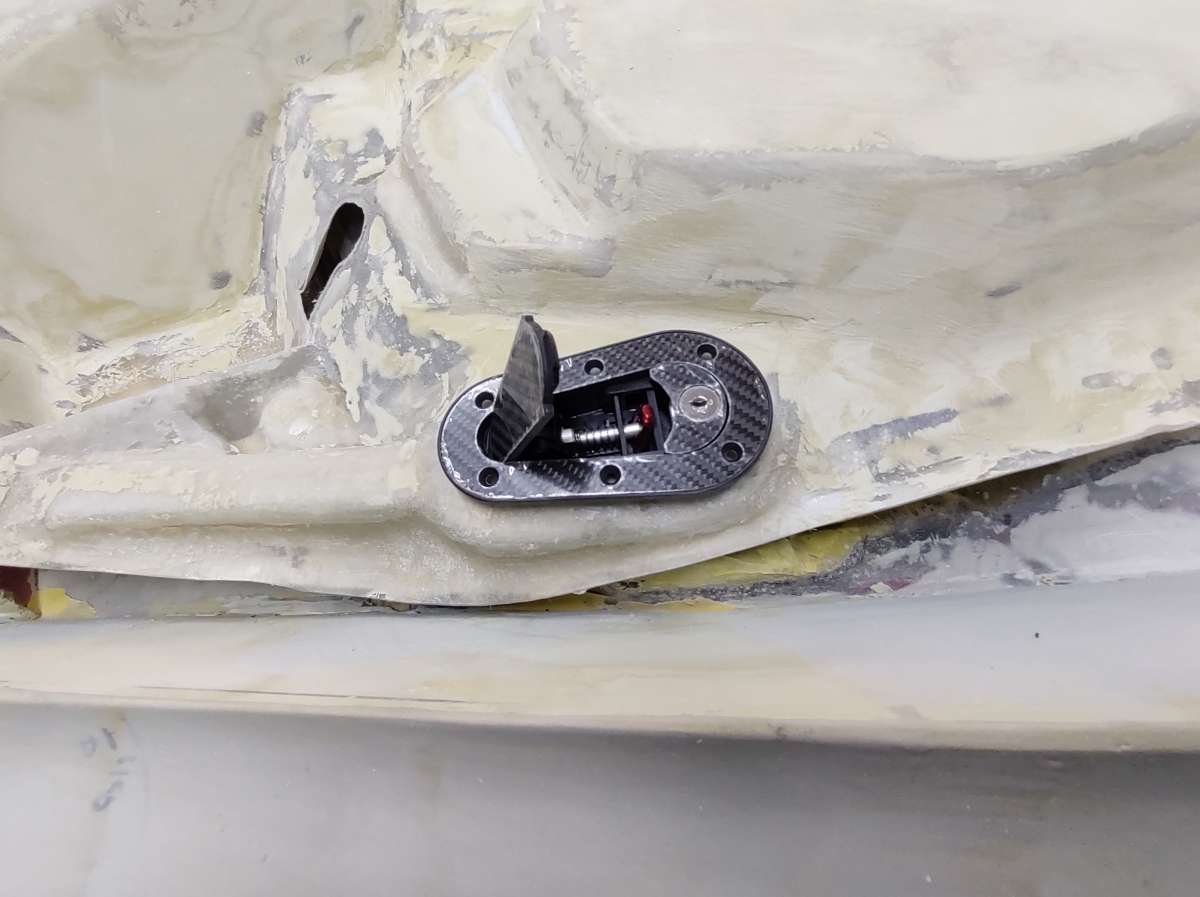
the gas filler , i designed the fender to use the factory cap , one less thing to have to make
it's almost right over the existing location , should make it easy to connect the two with a custom fitting
the trunk lid still needs to be finished , just had to get something big happening to get me fueled up , been rough couple of weeks , too much other stuff going on .
Hi
Vancouver Island is a long way from Ottawa , are you already planing to come out to the west coast ? . let me know maybe I could arrange for a visit .
It shouldn't be too long and I will be making the molds .
Hi everyone time for another update .
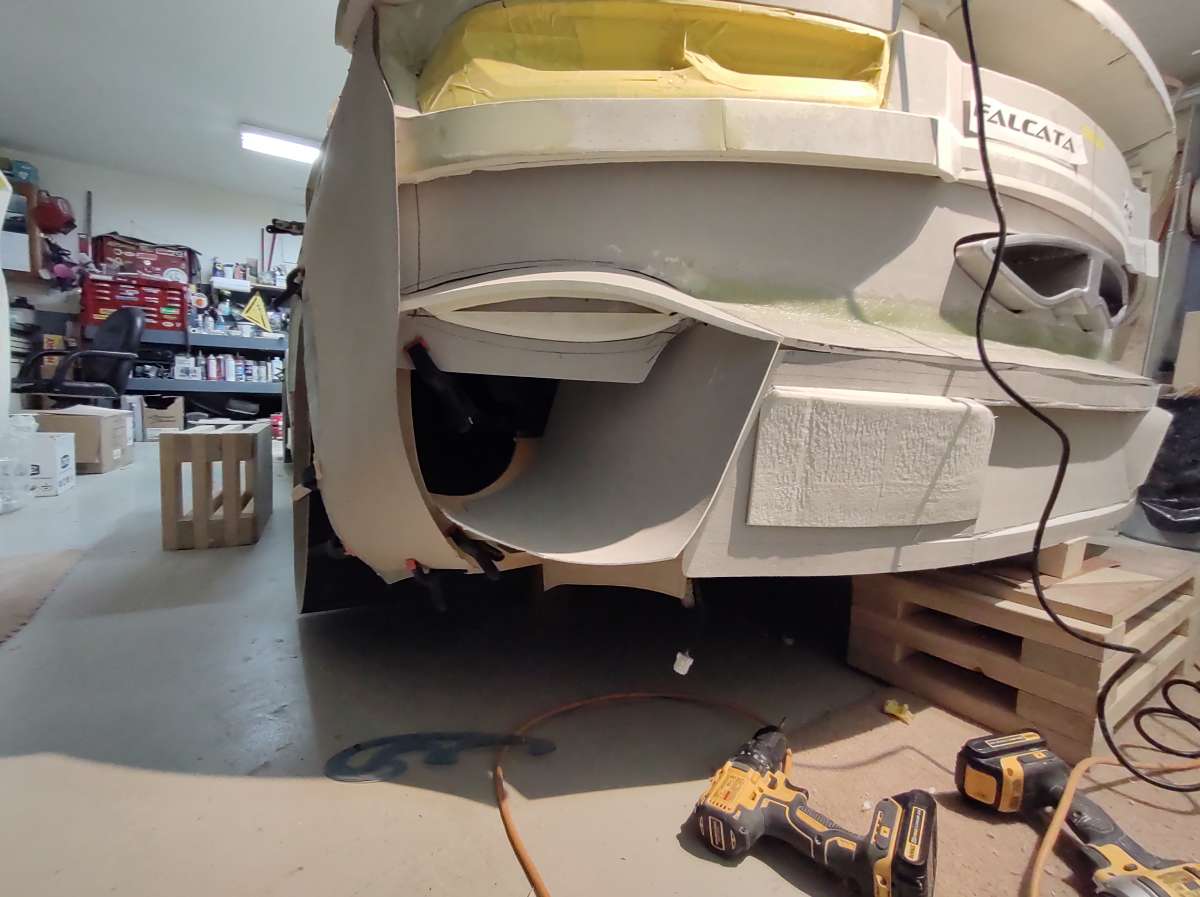
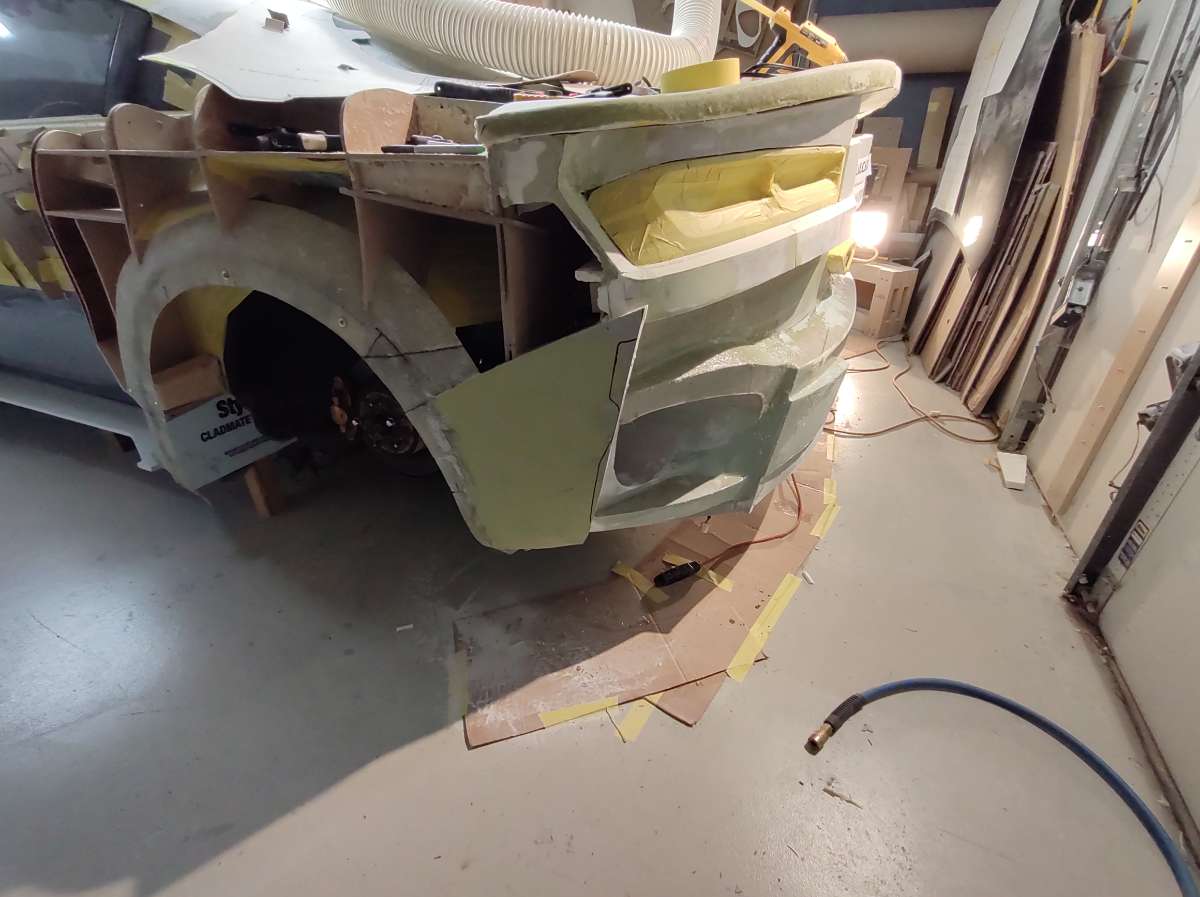
More on the back of the car , trying to get the quarters filled in , but in order to do that I need to finish some of the back to find out where I am going to end up .
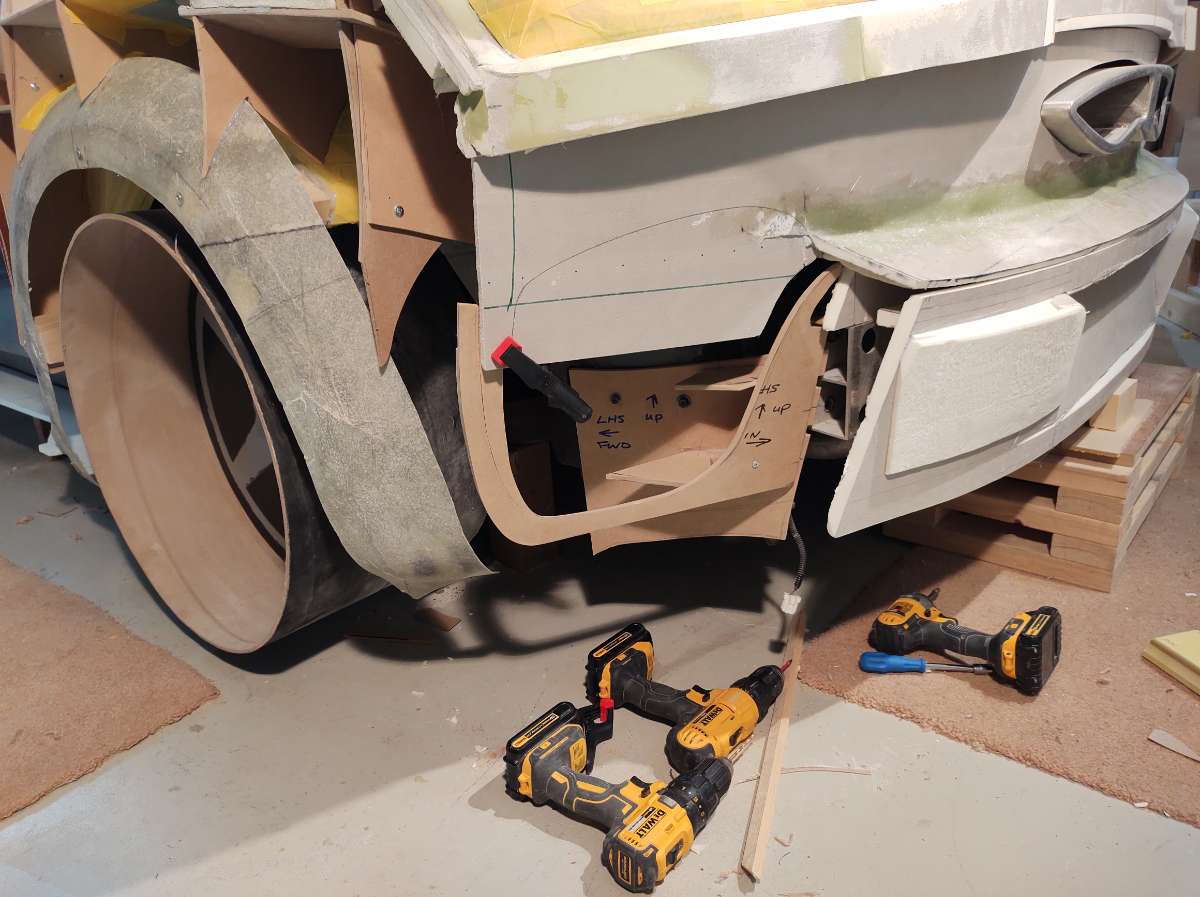
These pieces will go under the light tray to hold the new large panel around the exhaust
here they are installed
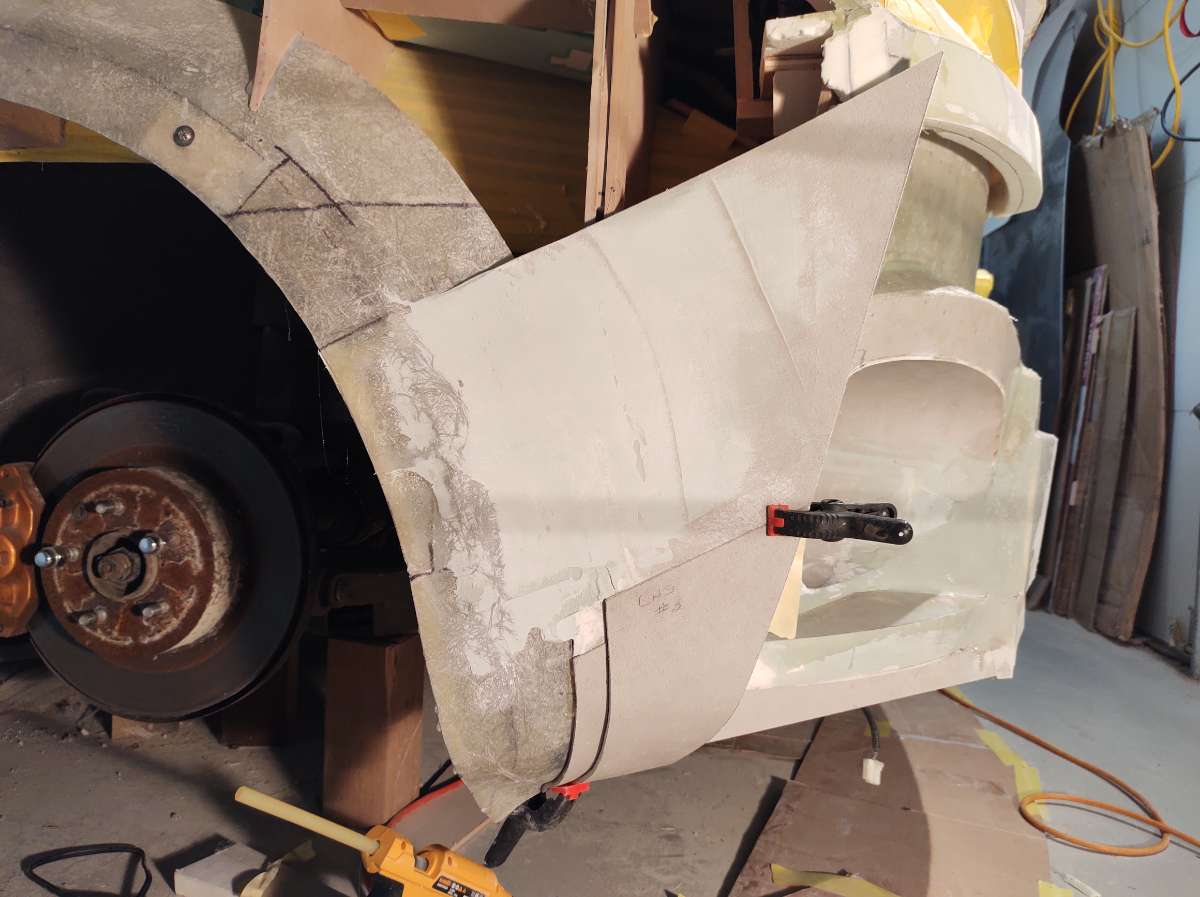
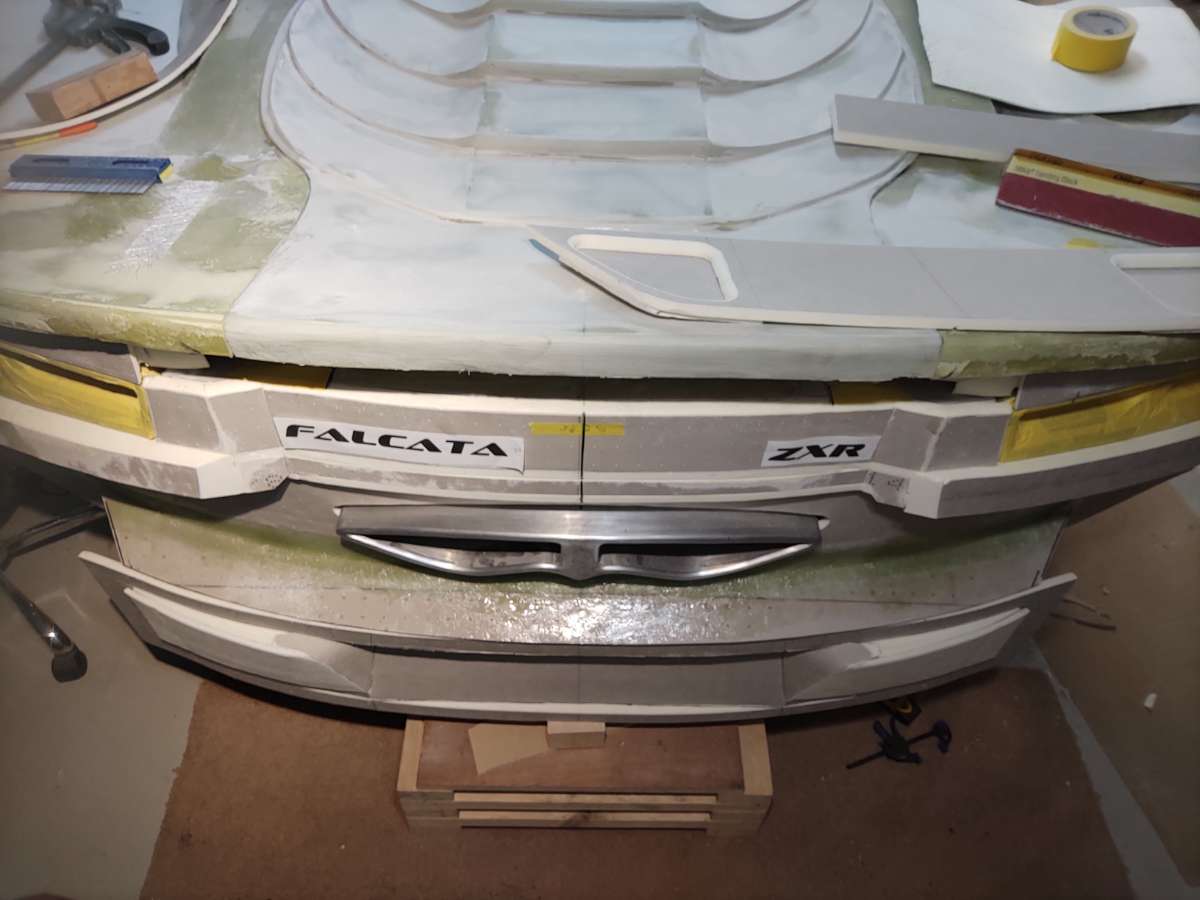
the new panel ready for a test fit
I came up with this technic of slotting the parts to help hold then in place , I only have two hands ......unfortunately
not too bad a fit if I say so myself
the next part to slot in still a bit to trim
this will cover the licence plate and house the licence plate lights
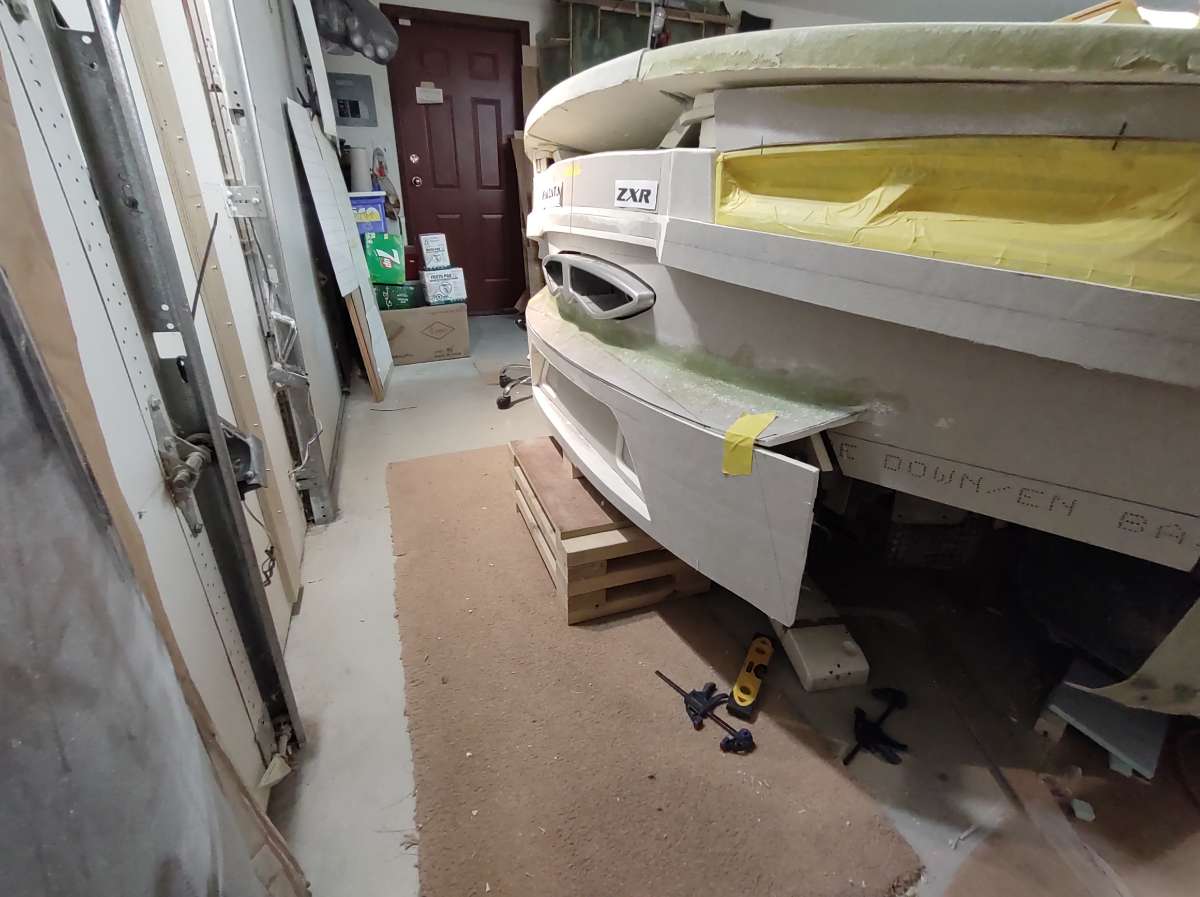
A quick check for distance of overhang from the trunk lid
a skim of filler to hold it for now
next is onto the licence plate surround layout
cutting the parts out
Routeing slots in the parts to hold everything
glued together
this is much wider so it can be trimmed to the contour of the back later
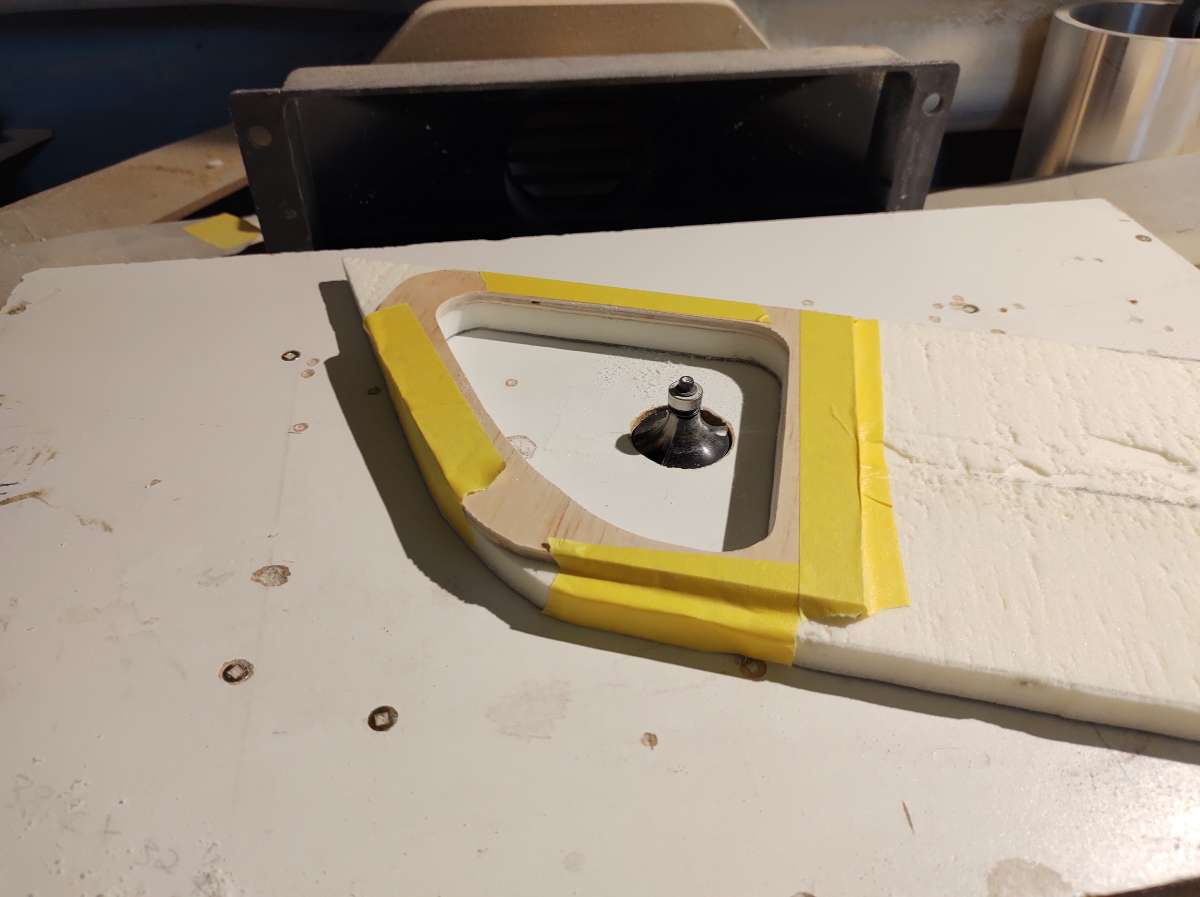
this is it right side up , this will get fiber glassed on the bench , going to 3D print the part for the light cut outs
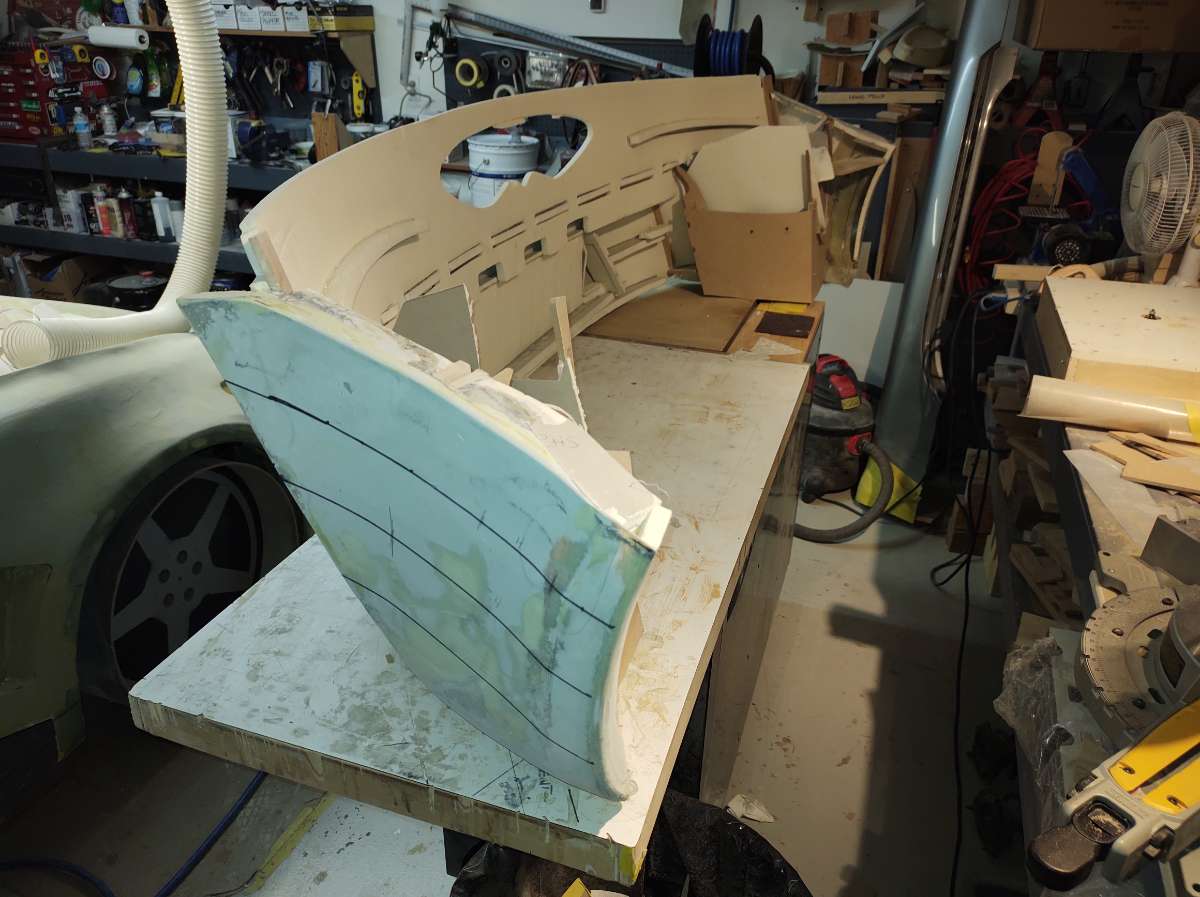
Ok licence plate area ............this is like version 3 now .
The first one just didn't flow with the rest of the car
Will show you version 2 ...........just was ugly
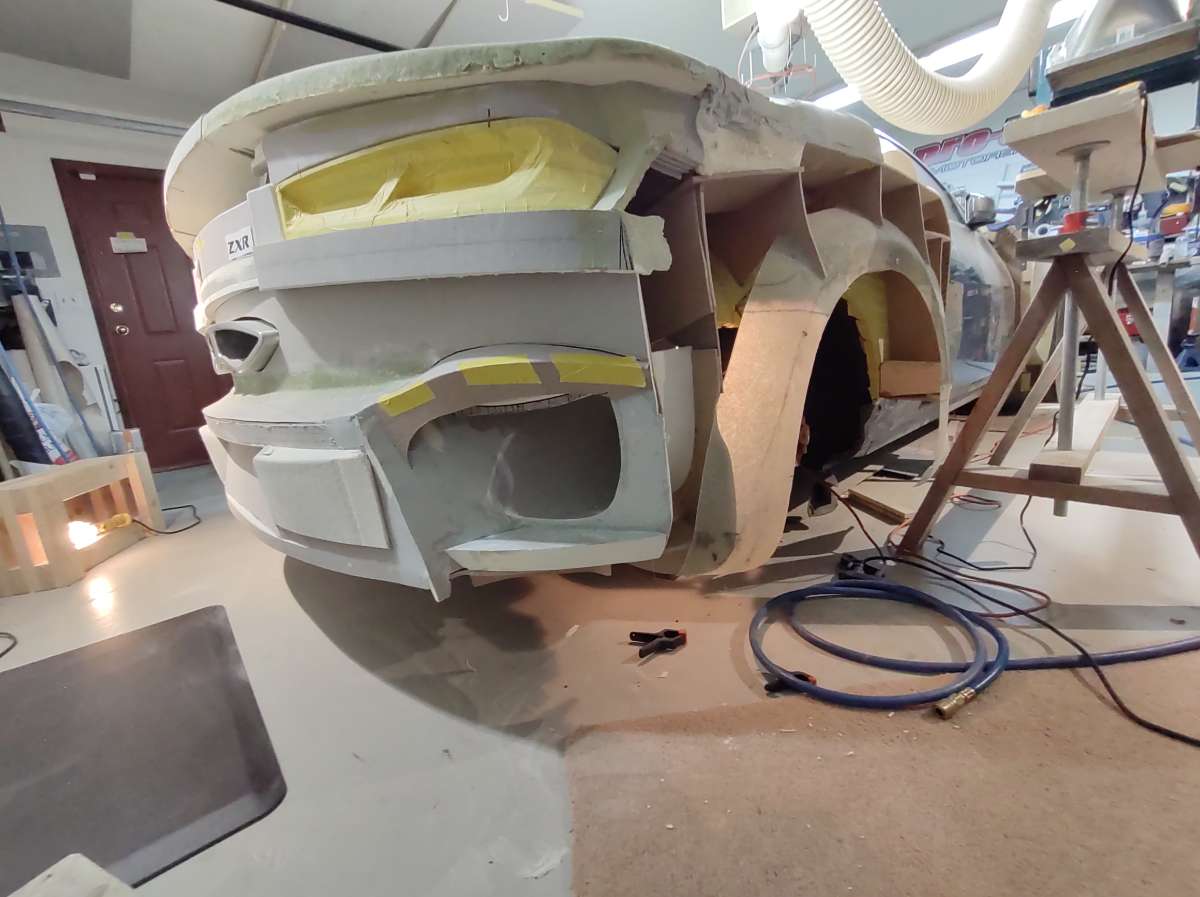
This is the back of course .
It just didn't flow so it had to go ......
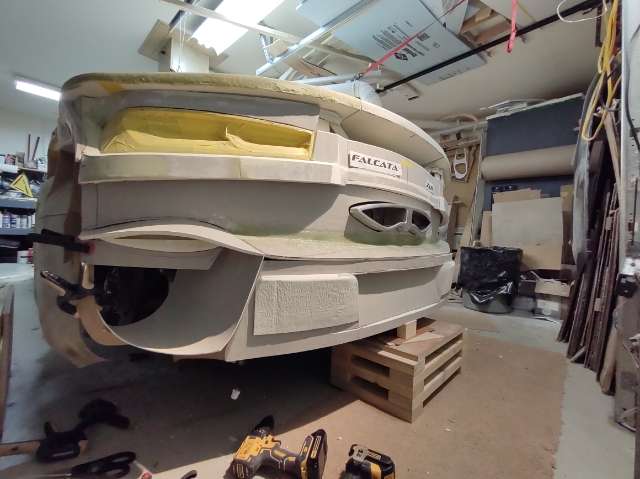
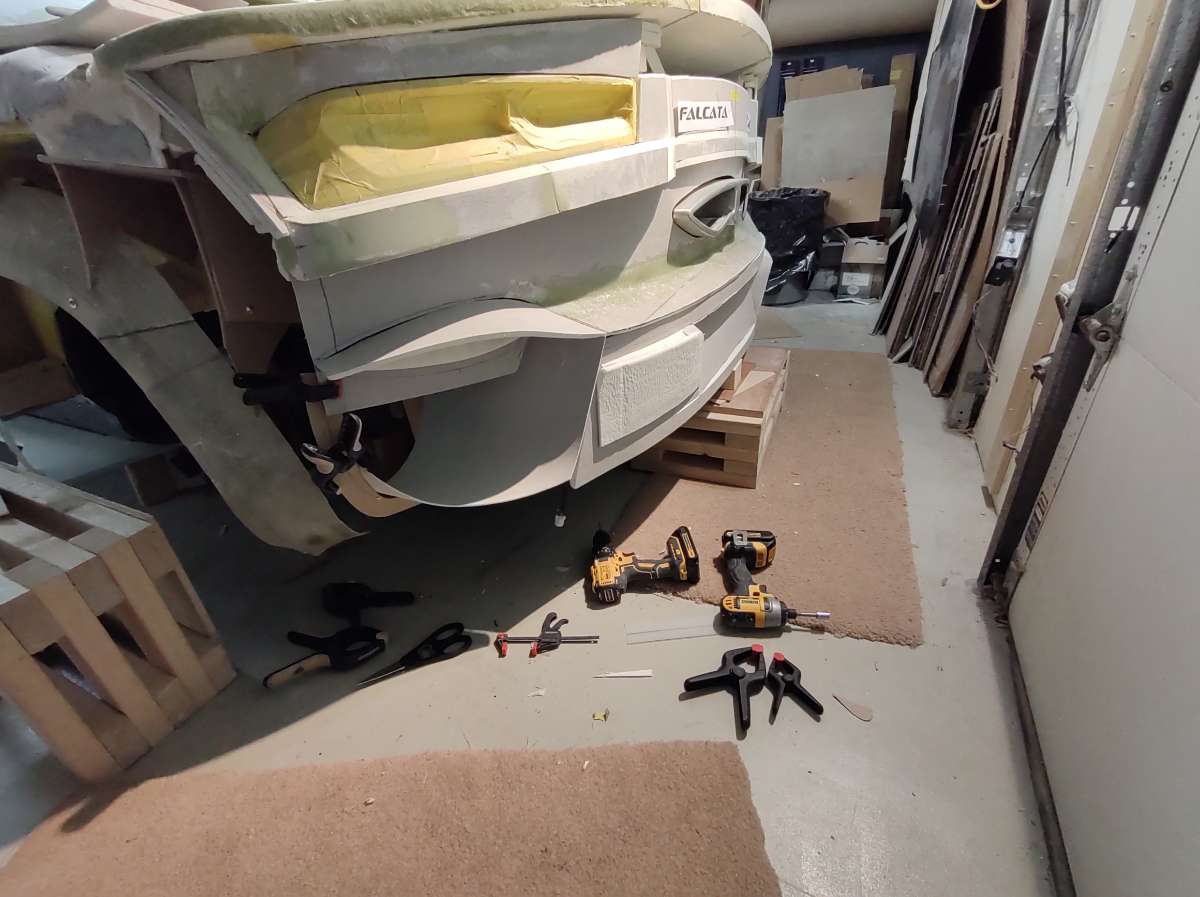
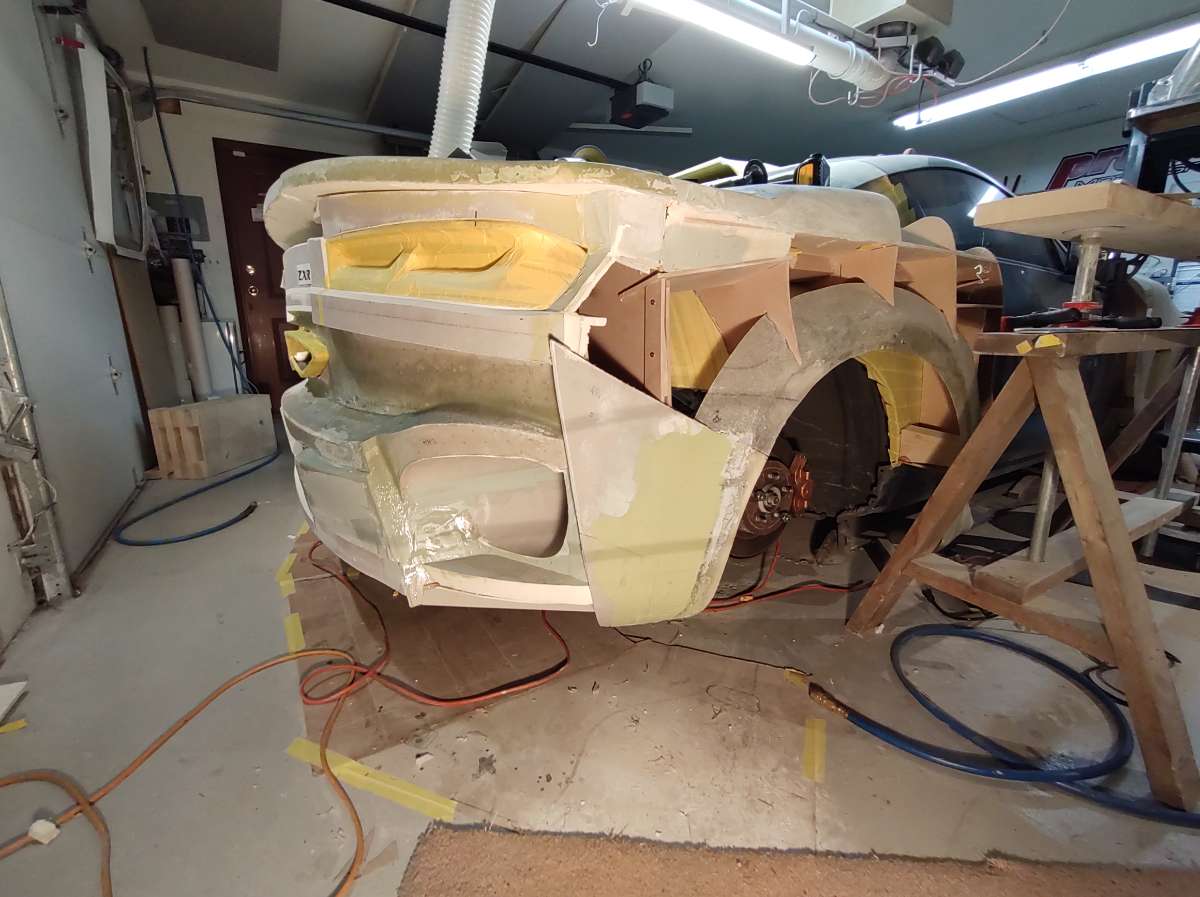
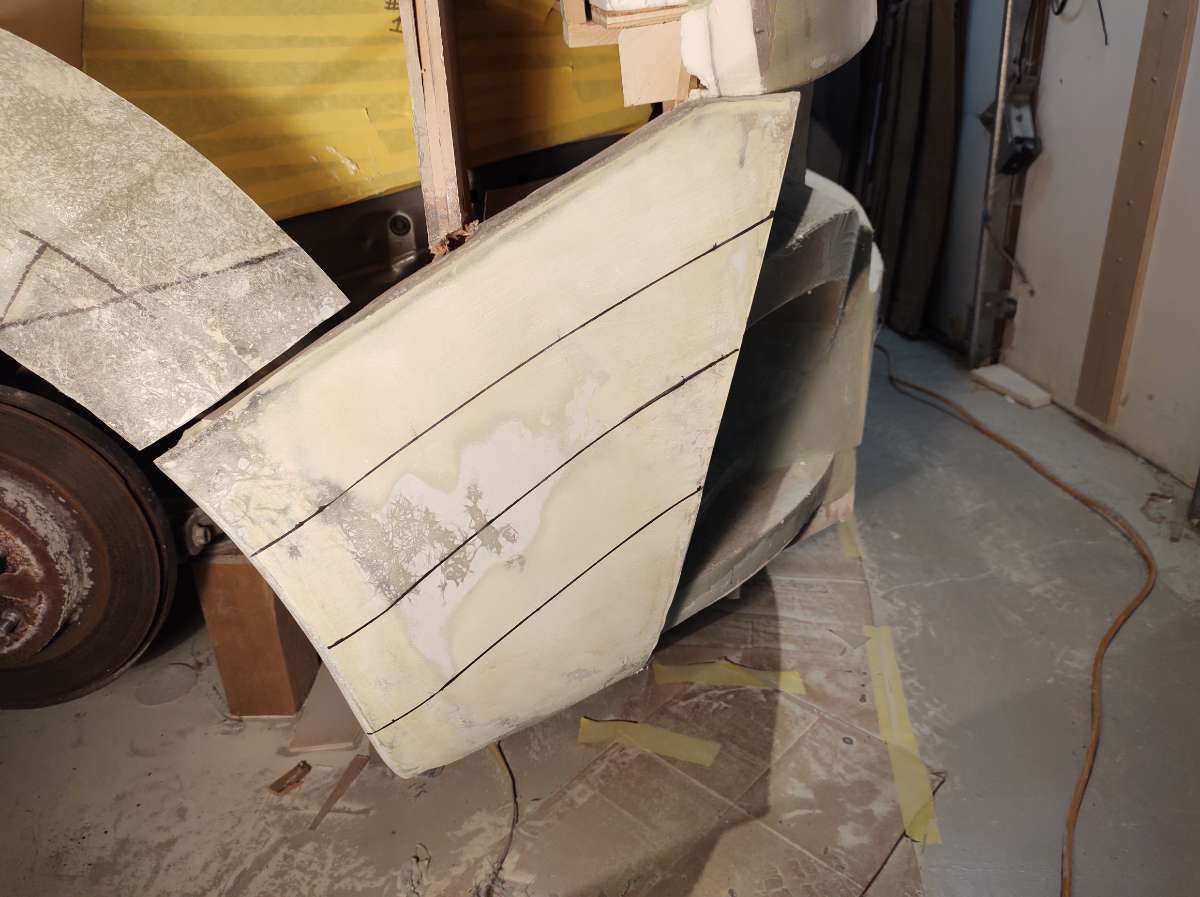
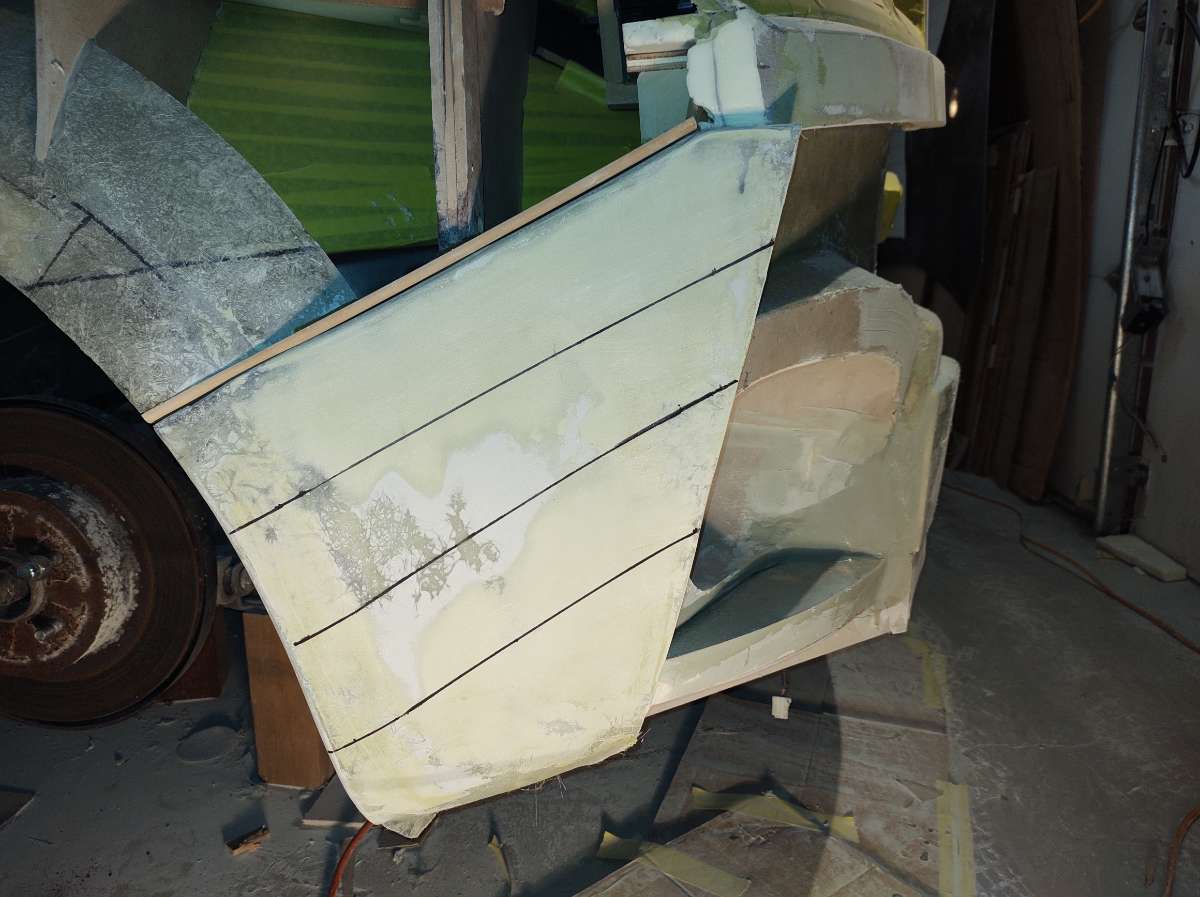
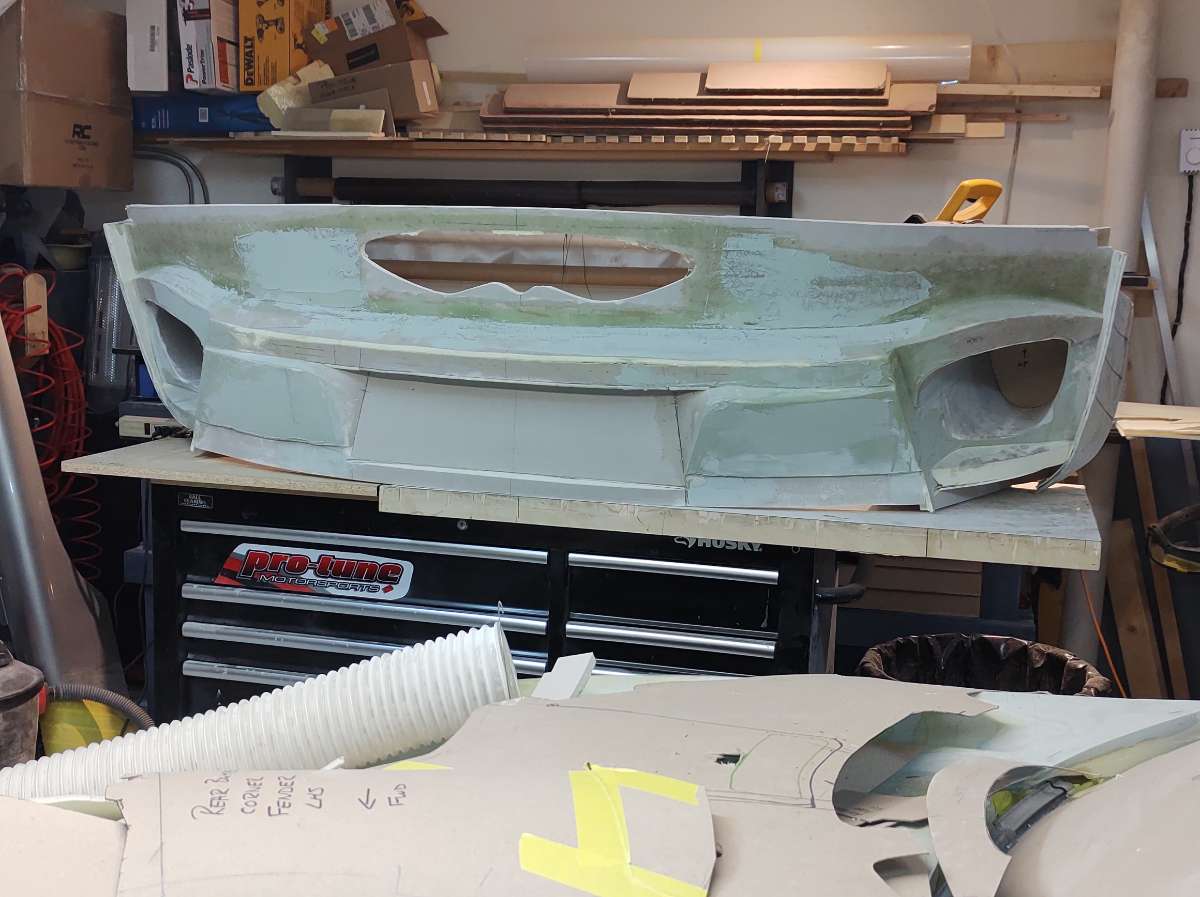
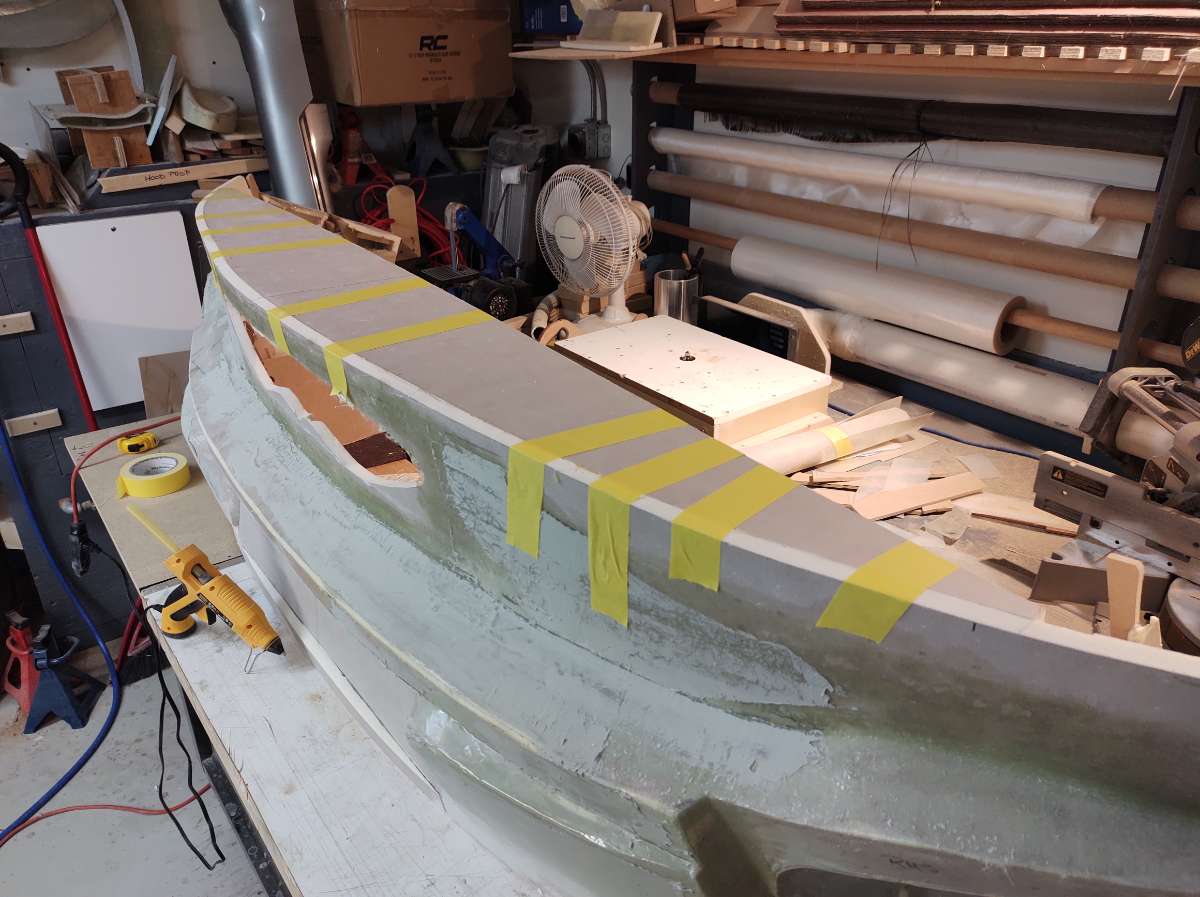
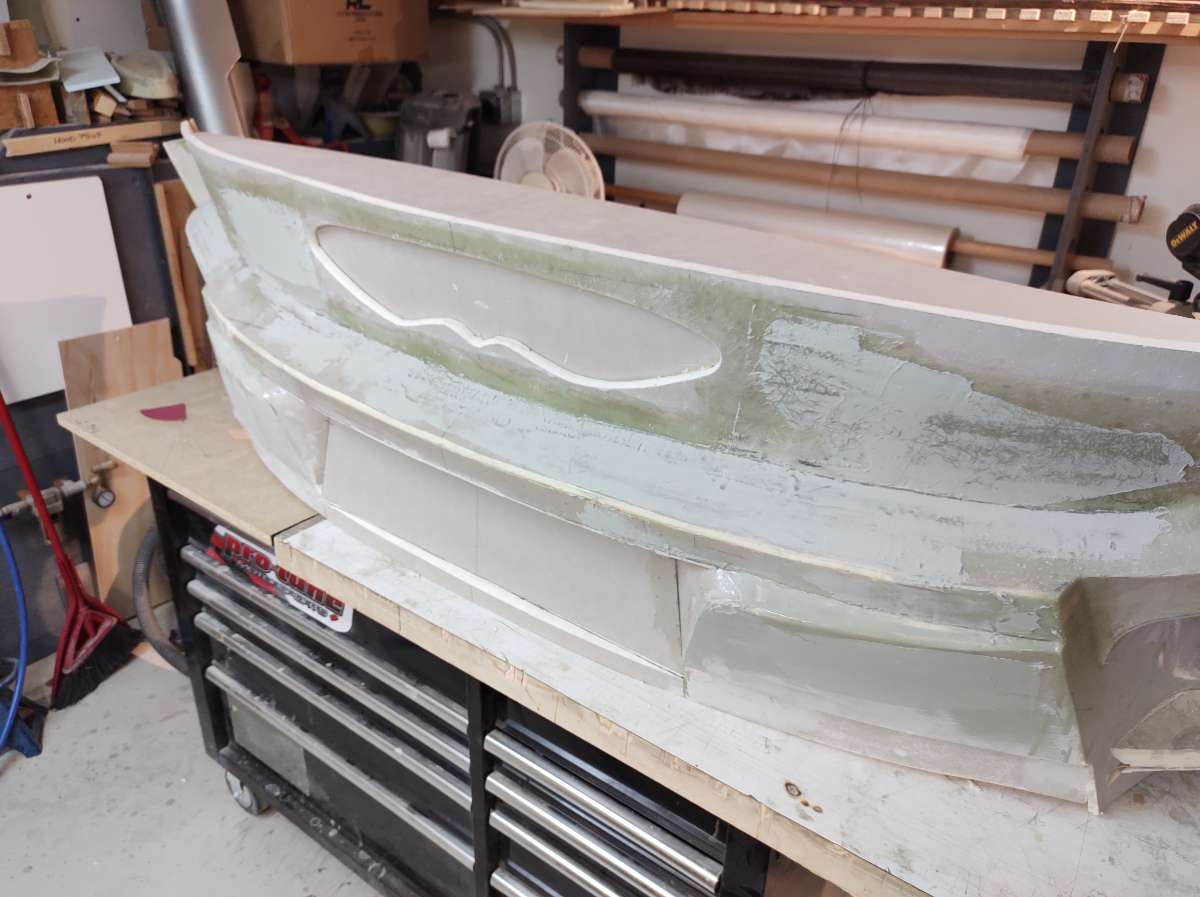
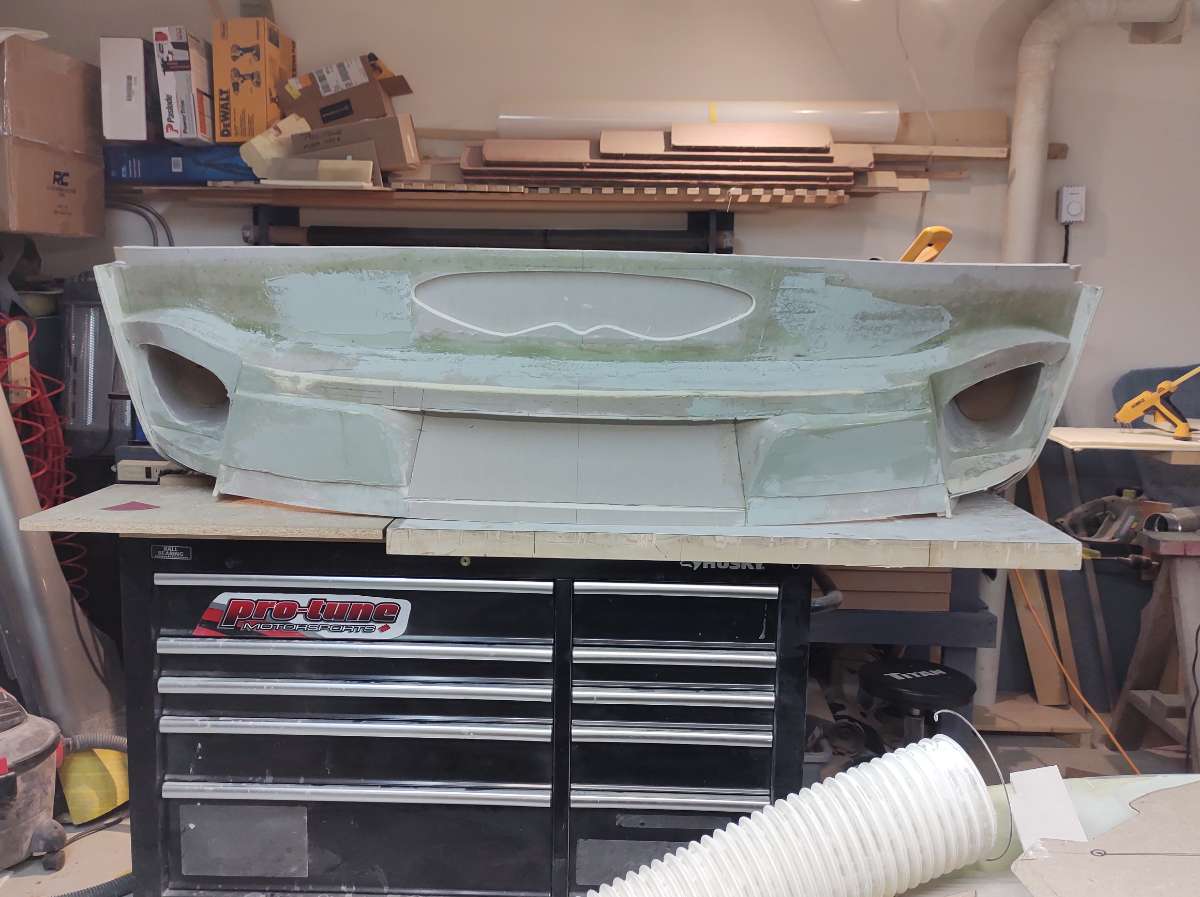
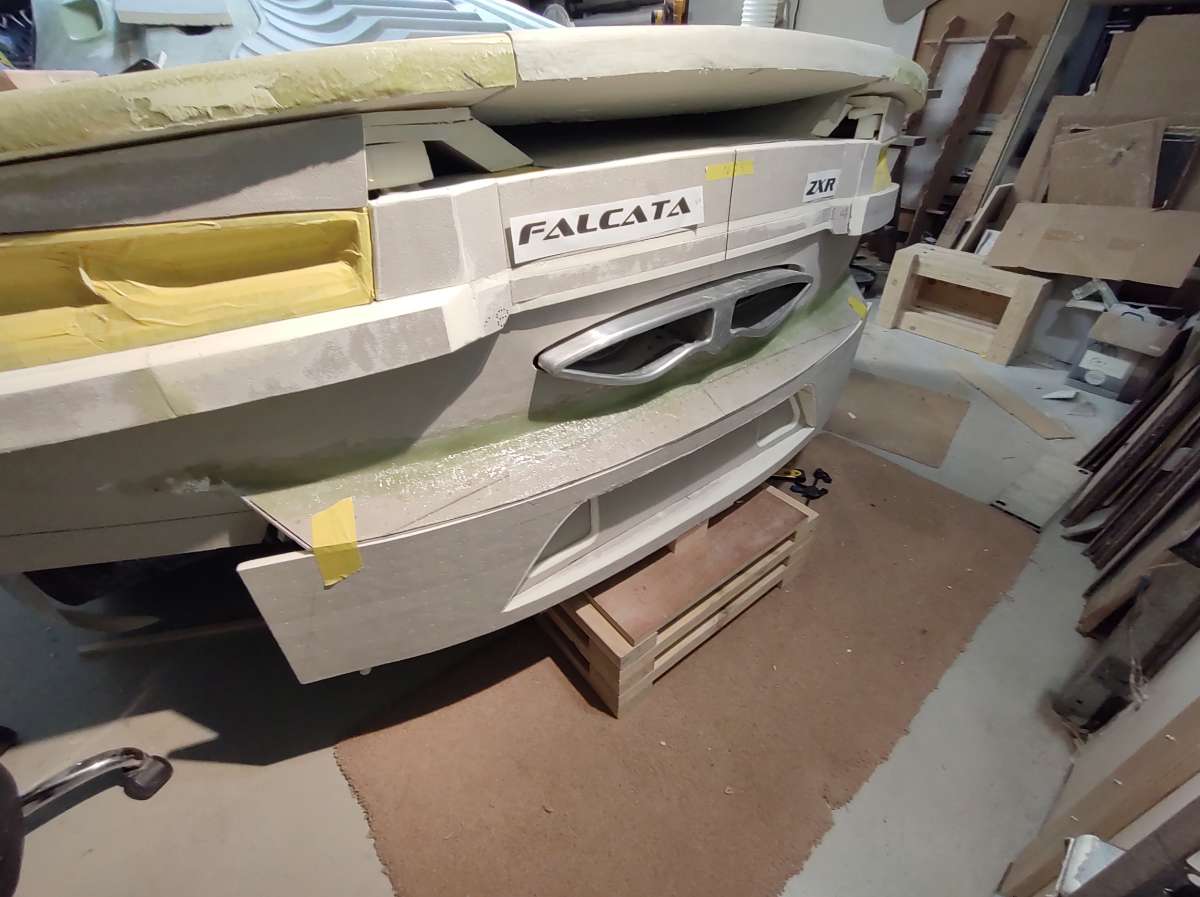
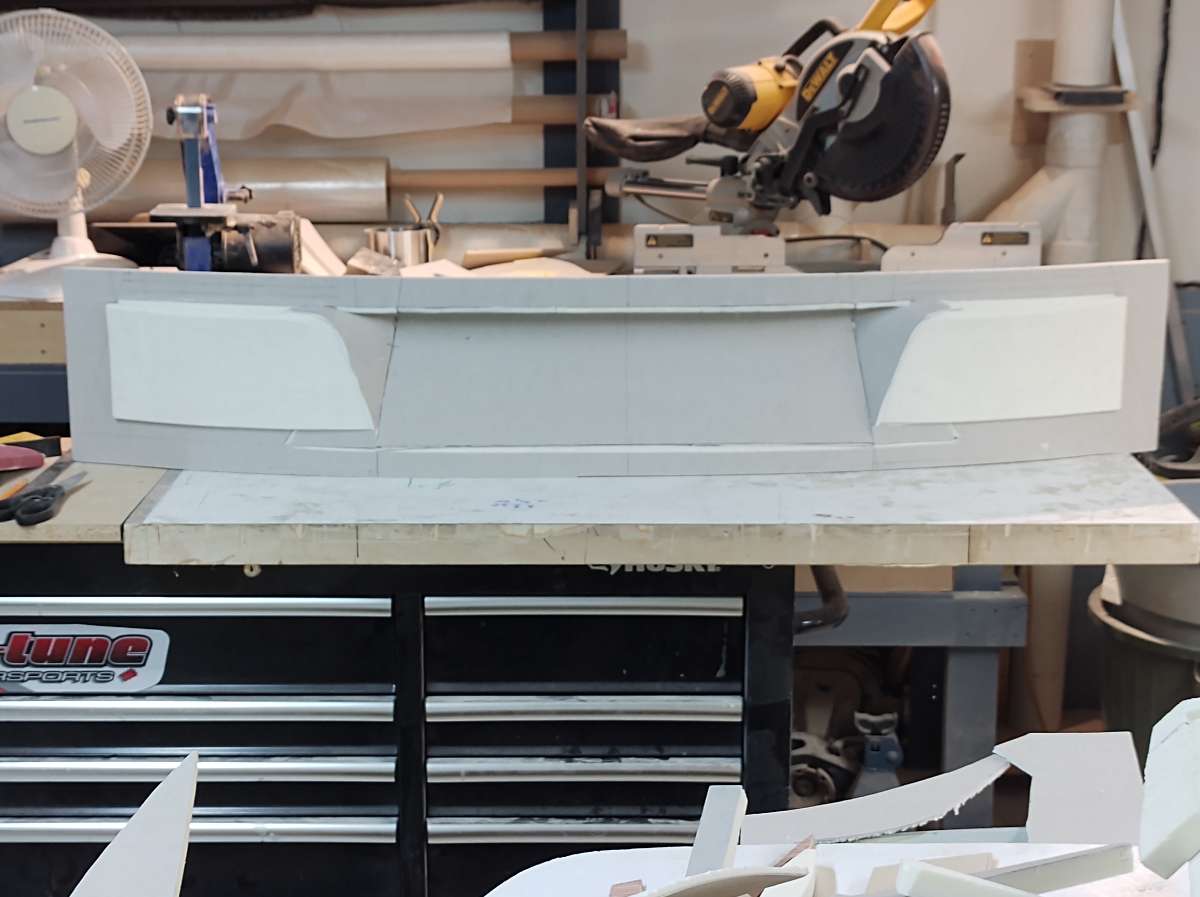
So this is what I came up with version 3
I kept the main body but changed the middle , first cut out he center and made a new one , with the same angle as the inside line of the tail lights then added some strips to bring out the feature line to flow with the exhaust tip .
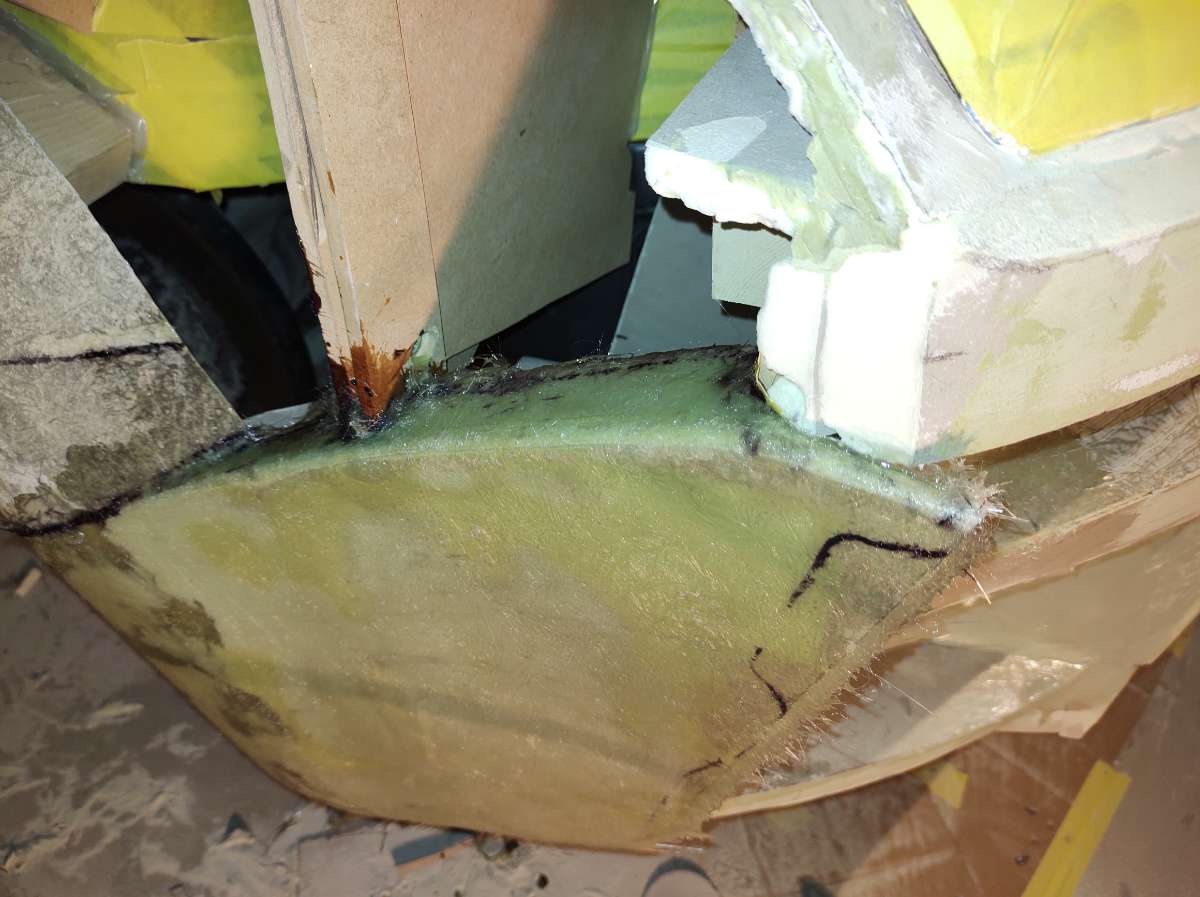
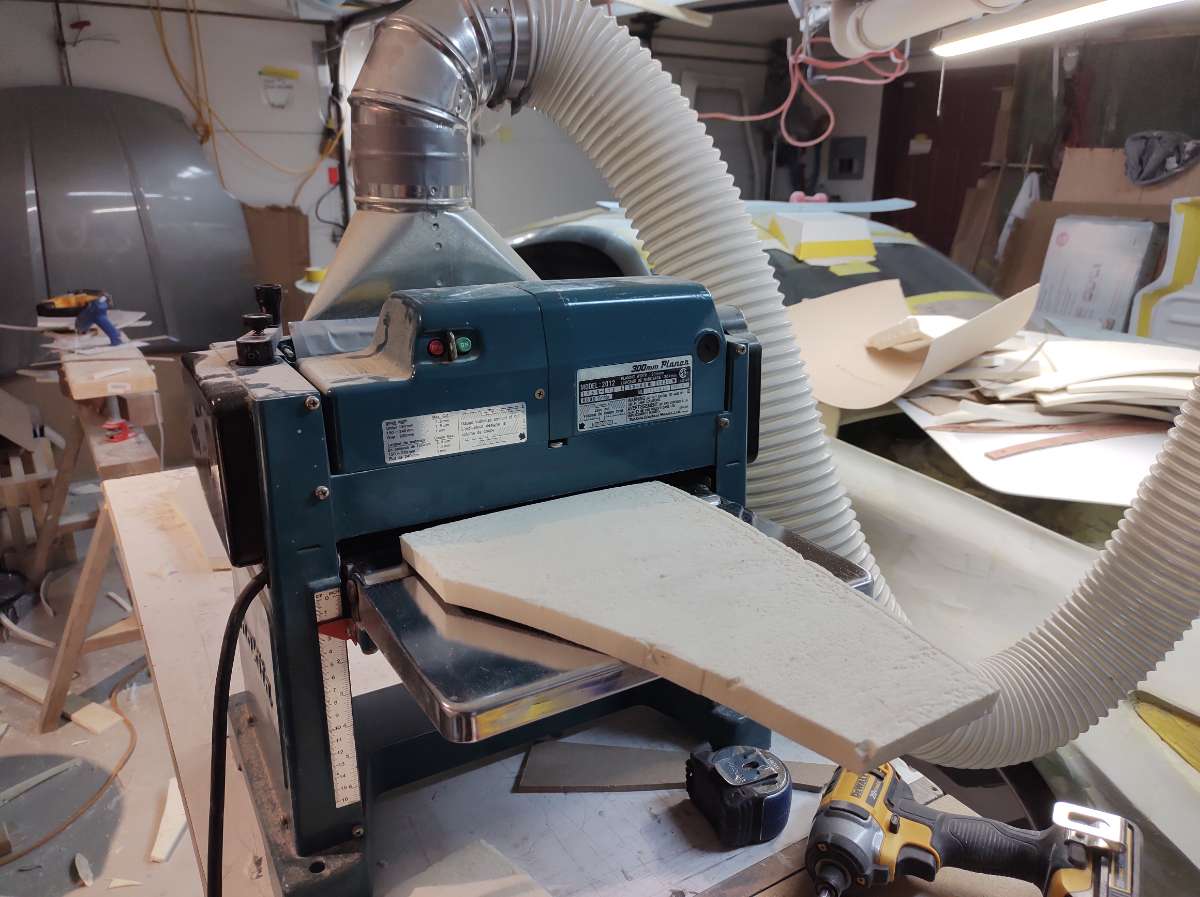
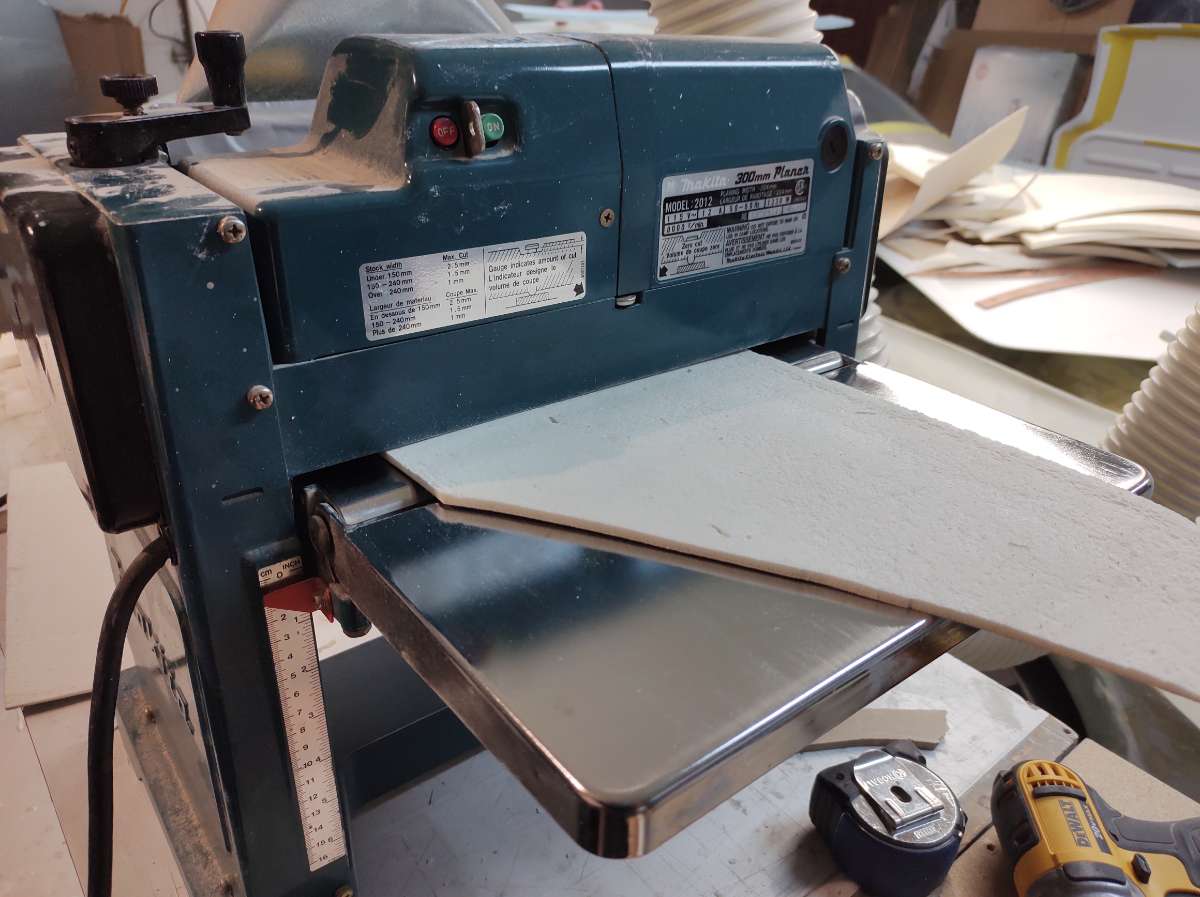
Planed down some foam to make the compound curve
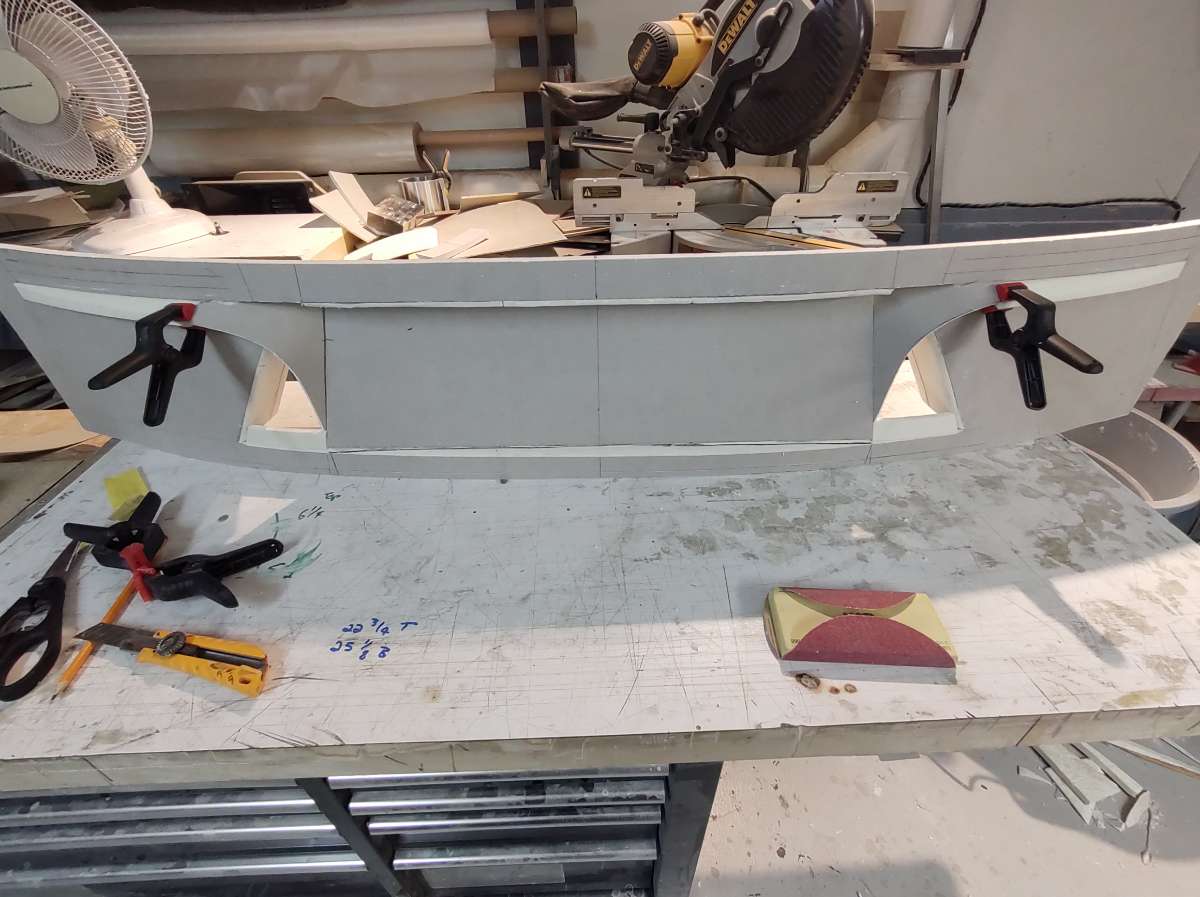
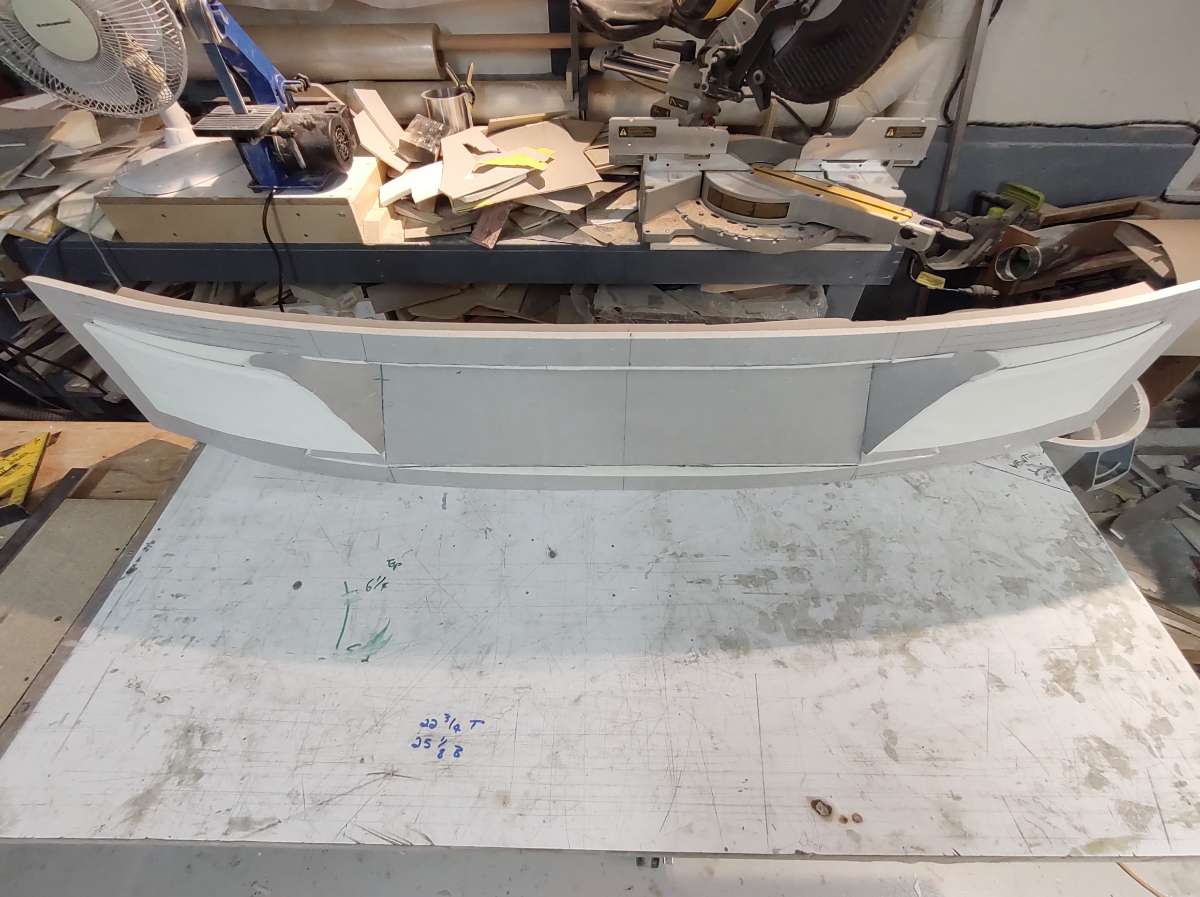
Still tons of bodywork ahead ..... here you can see the symmetry is much better now , with the angle of the inside of the tail light and the part right below to the inside edge of the licence plate area , now it flows ,
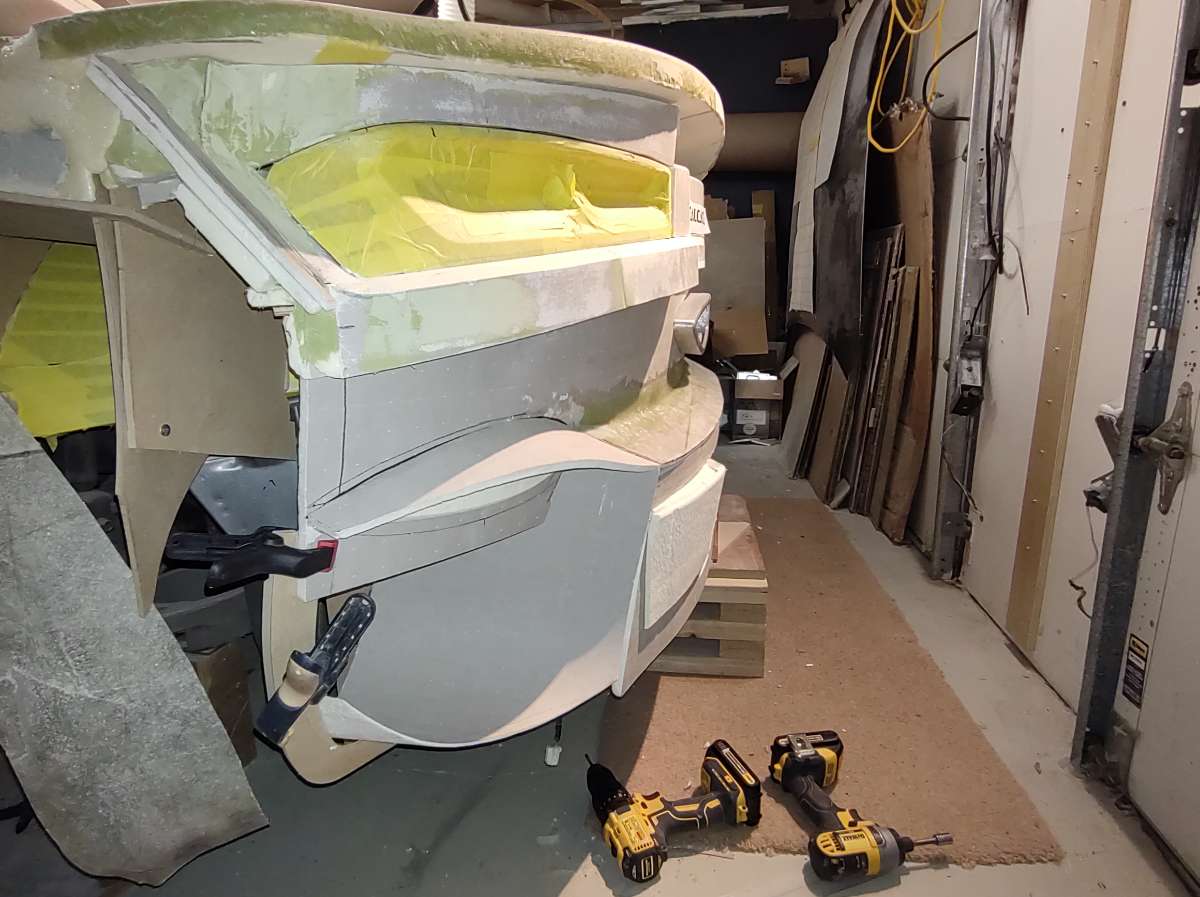
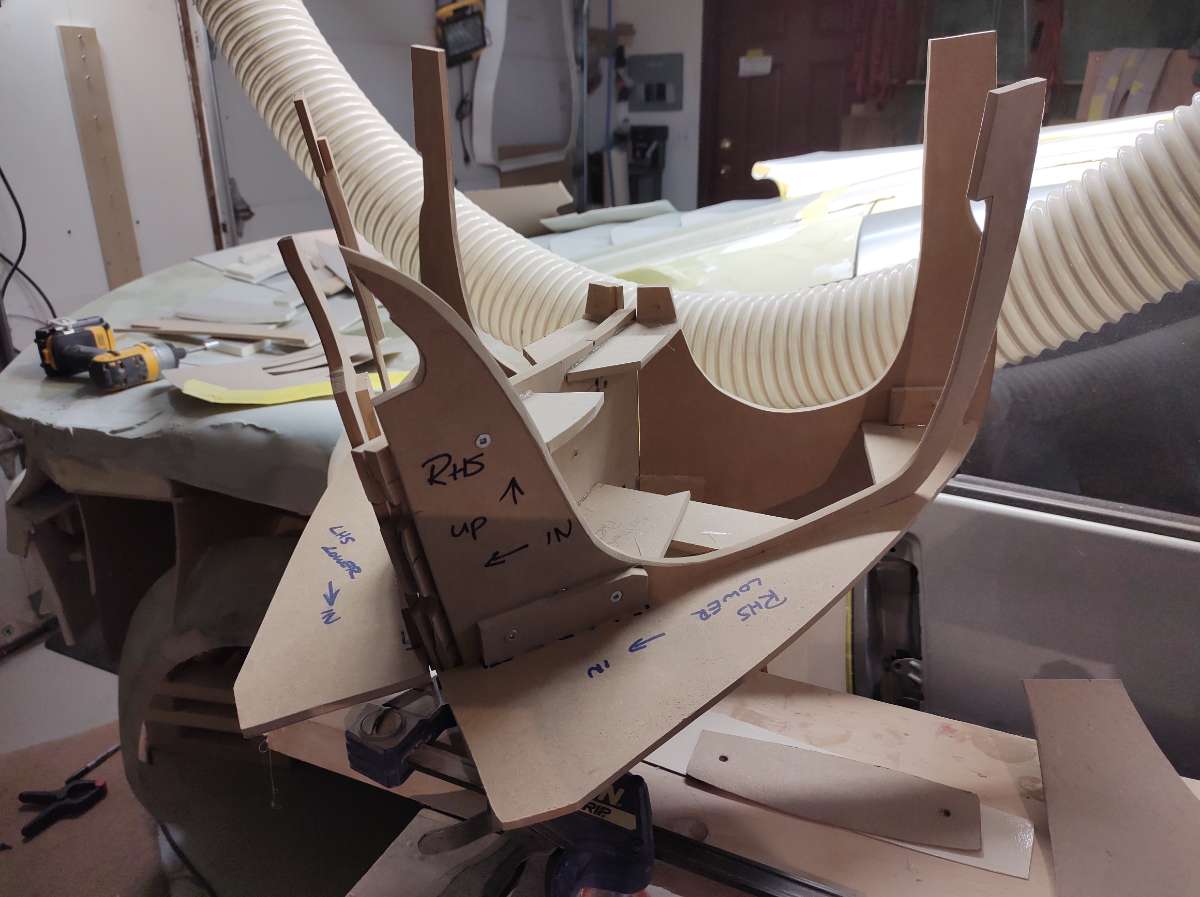
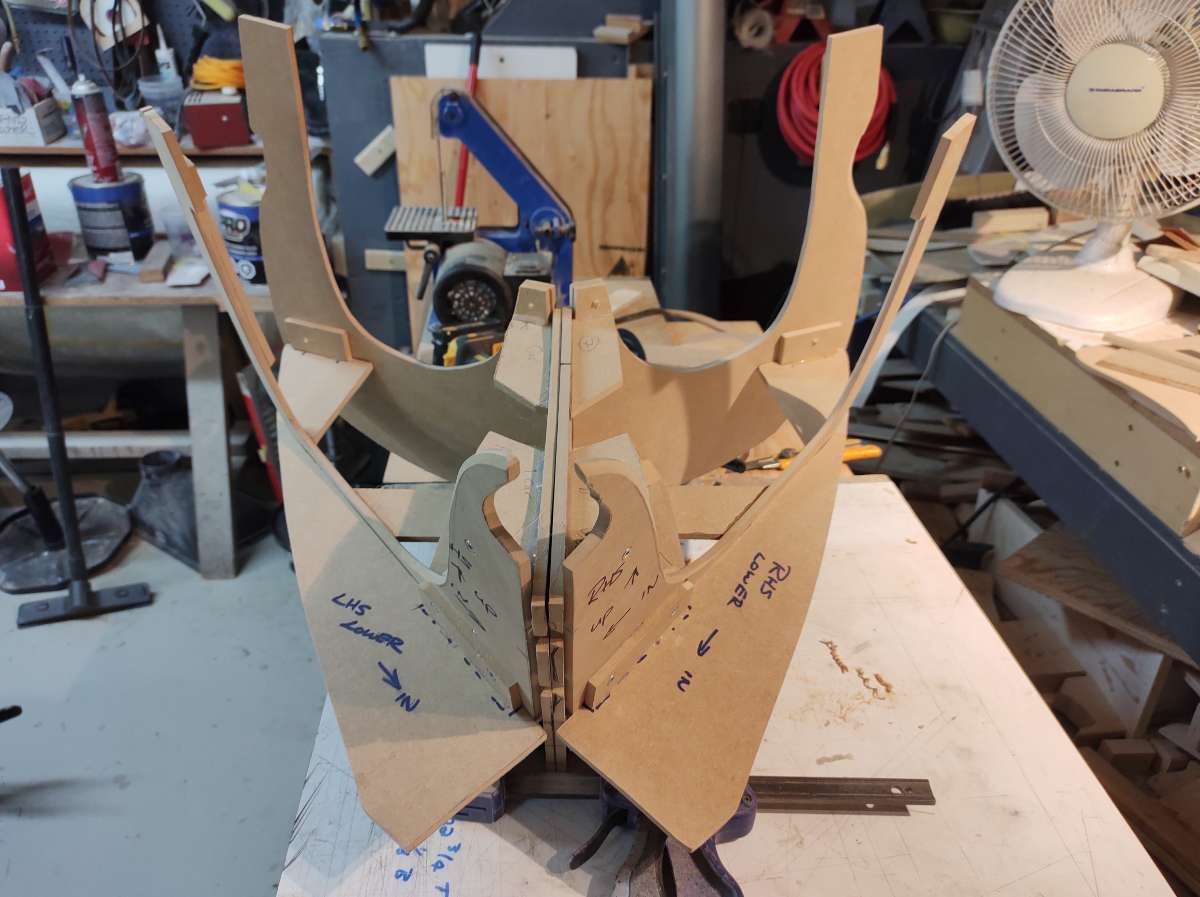
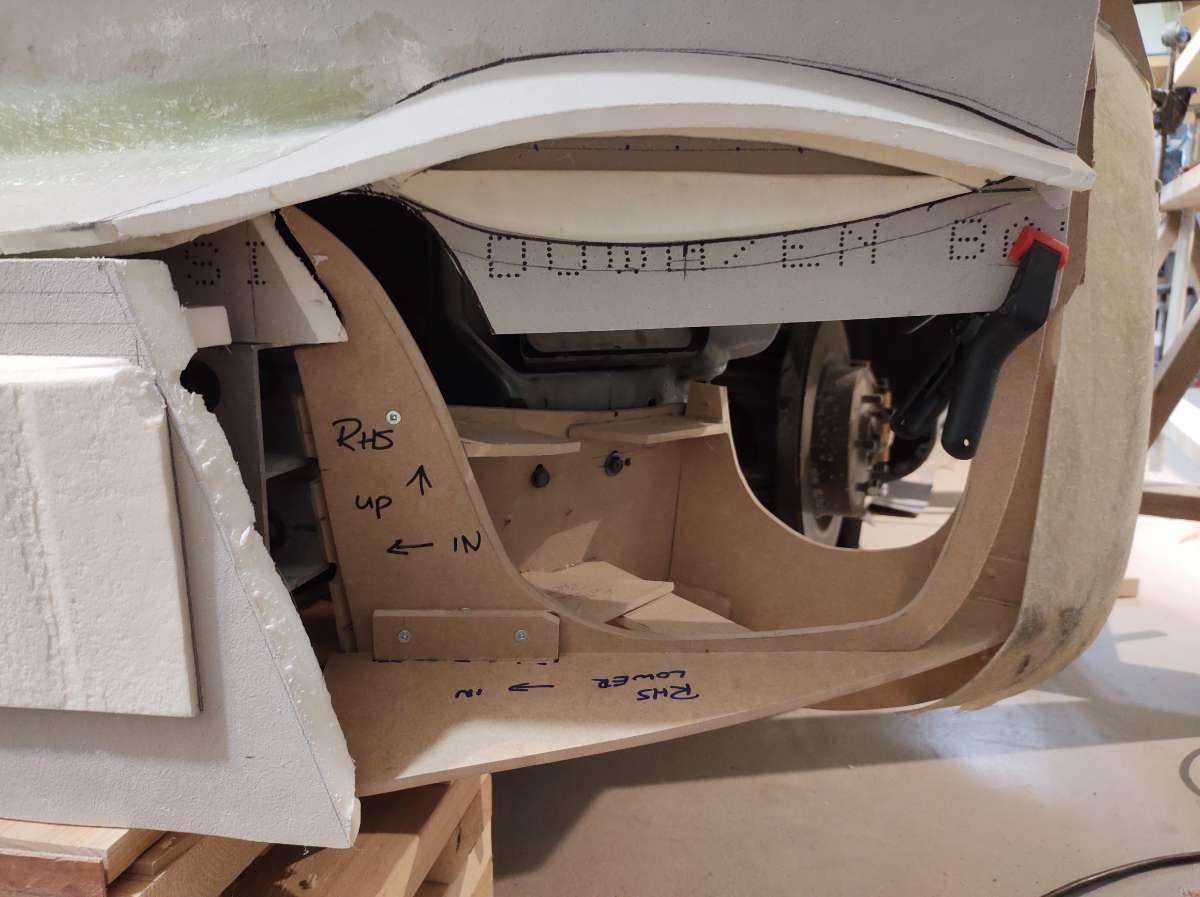
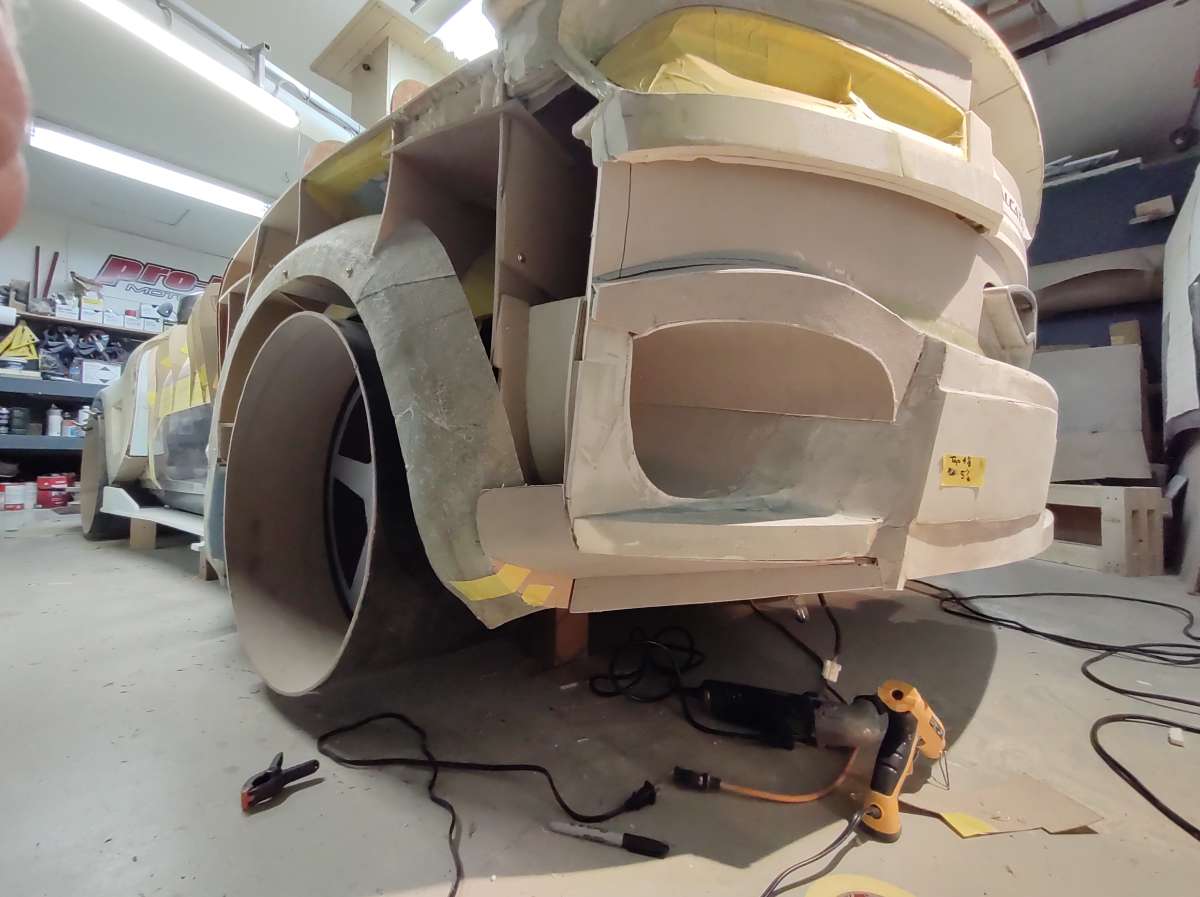
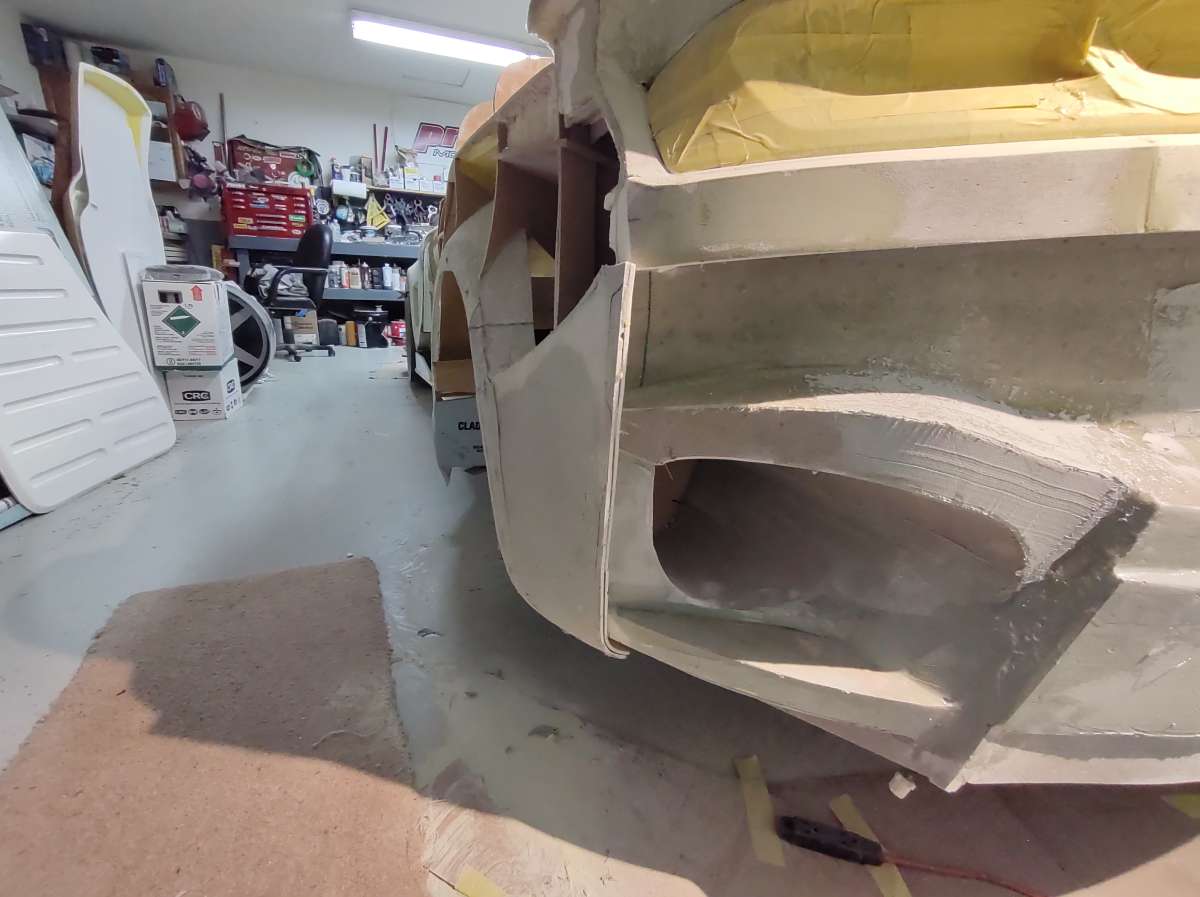
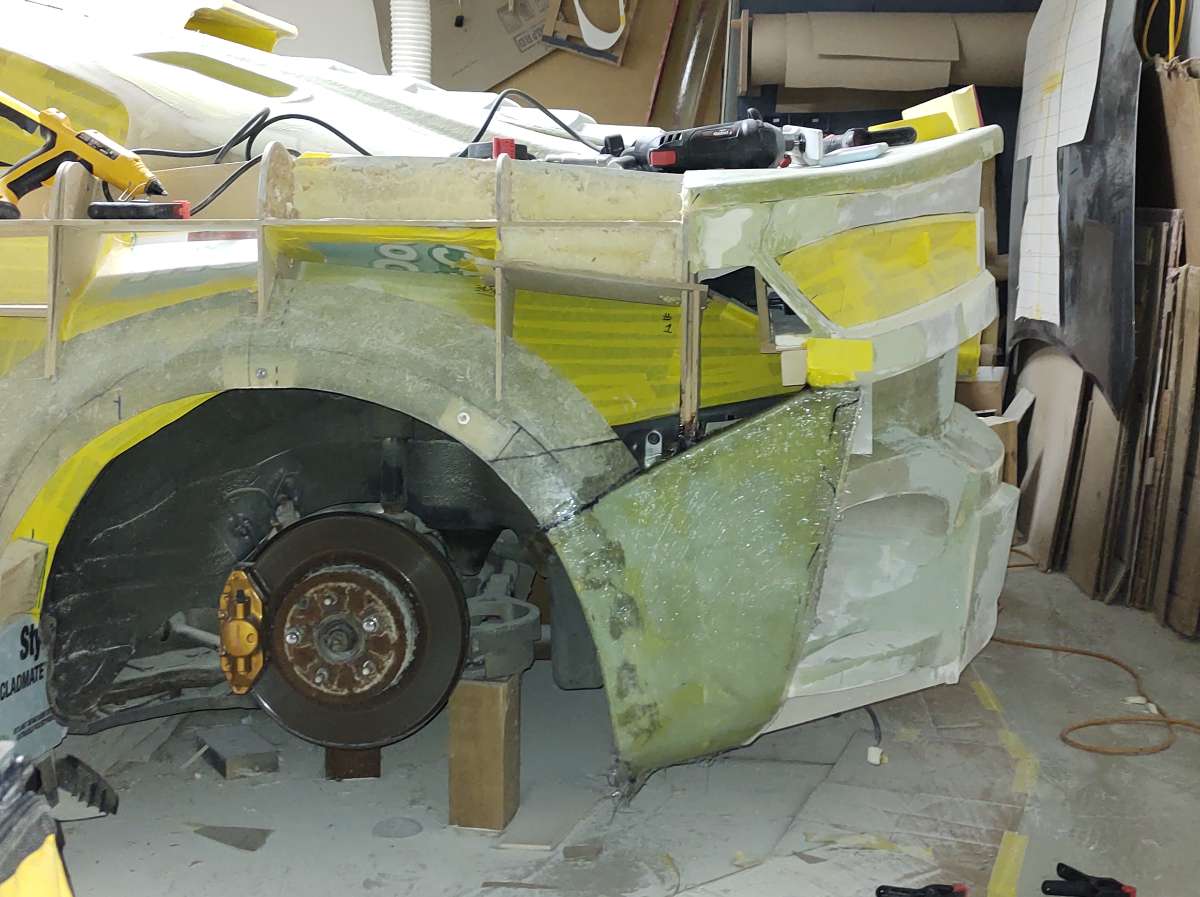
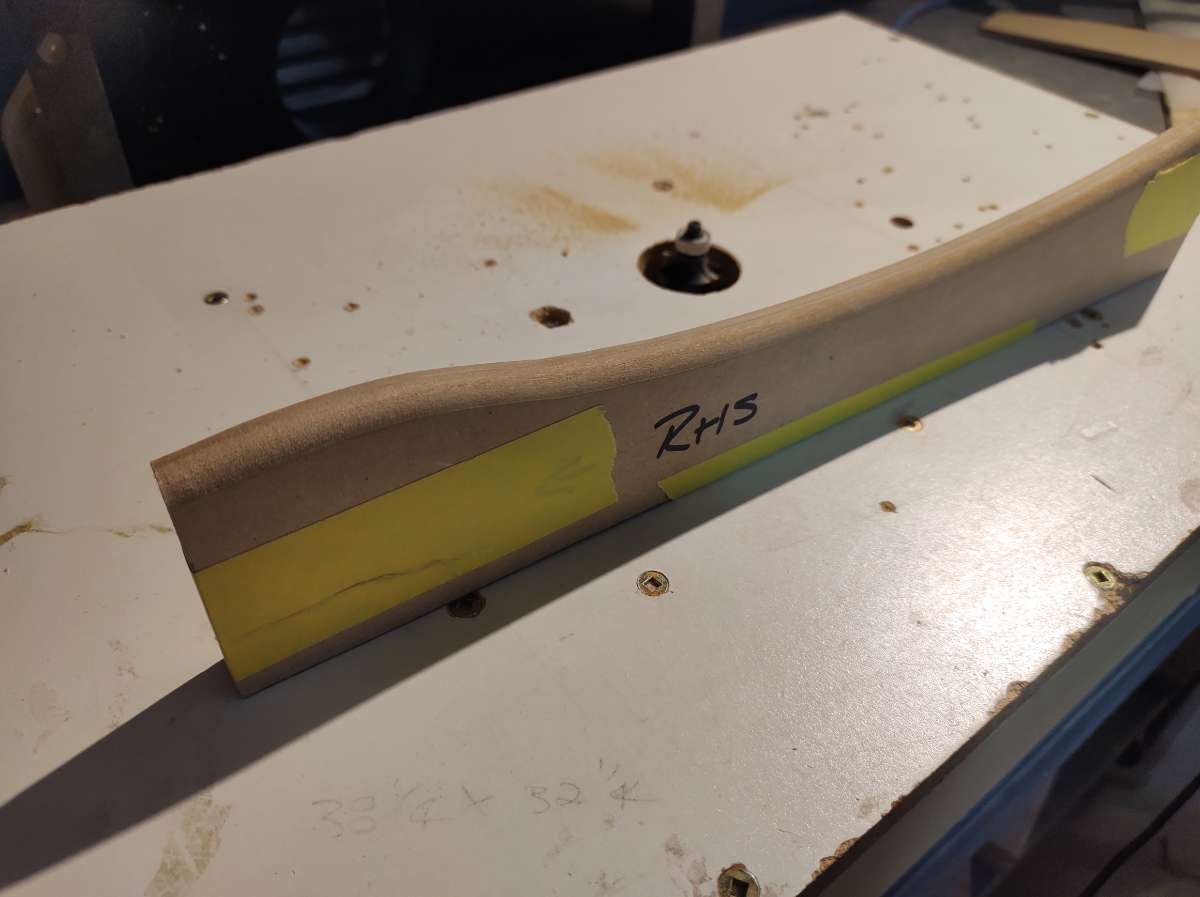
a sneak peek at the back corner buck
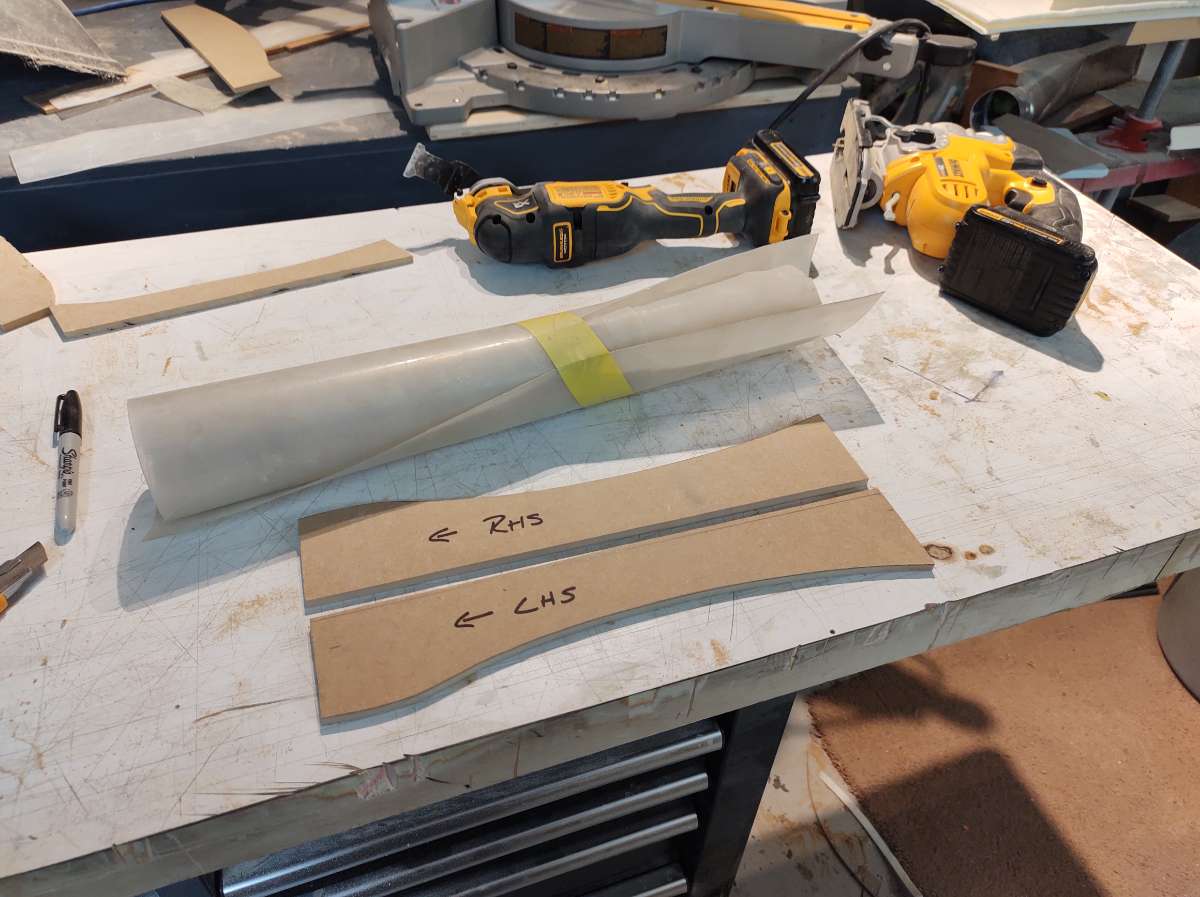
these are the wooden bucks to go in the back corners they are back to back so I can make sure the are the same .
like my buddy tells me if it was easy everyone would be doing this ..
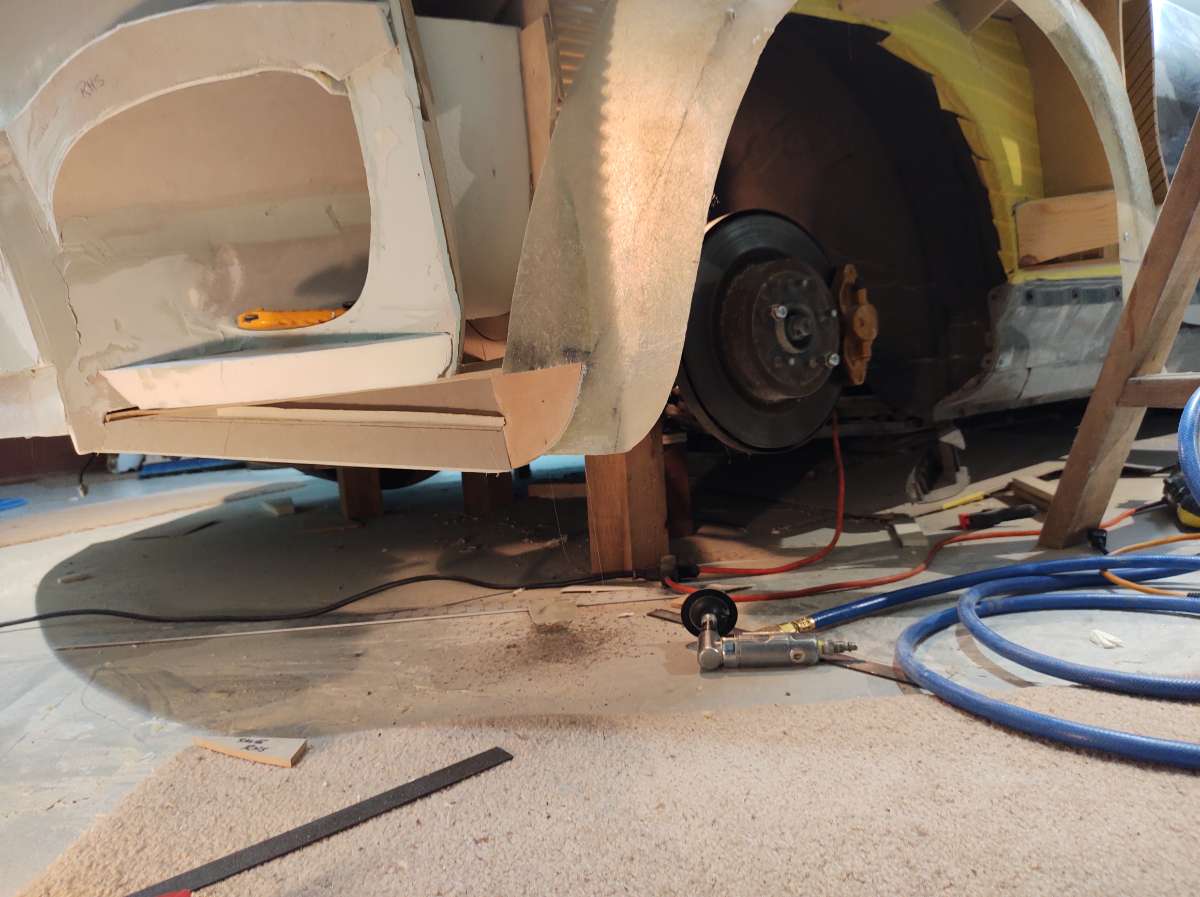
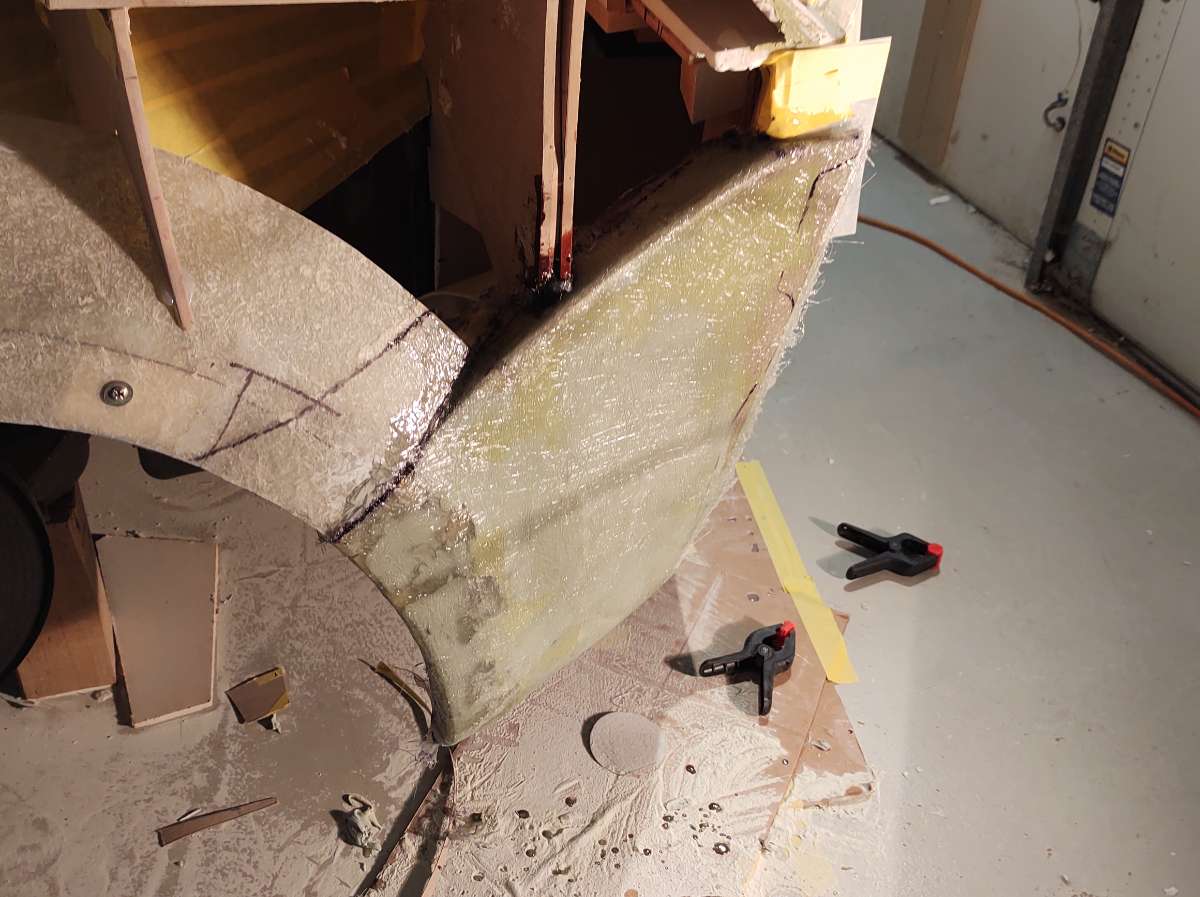
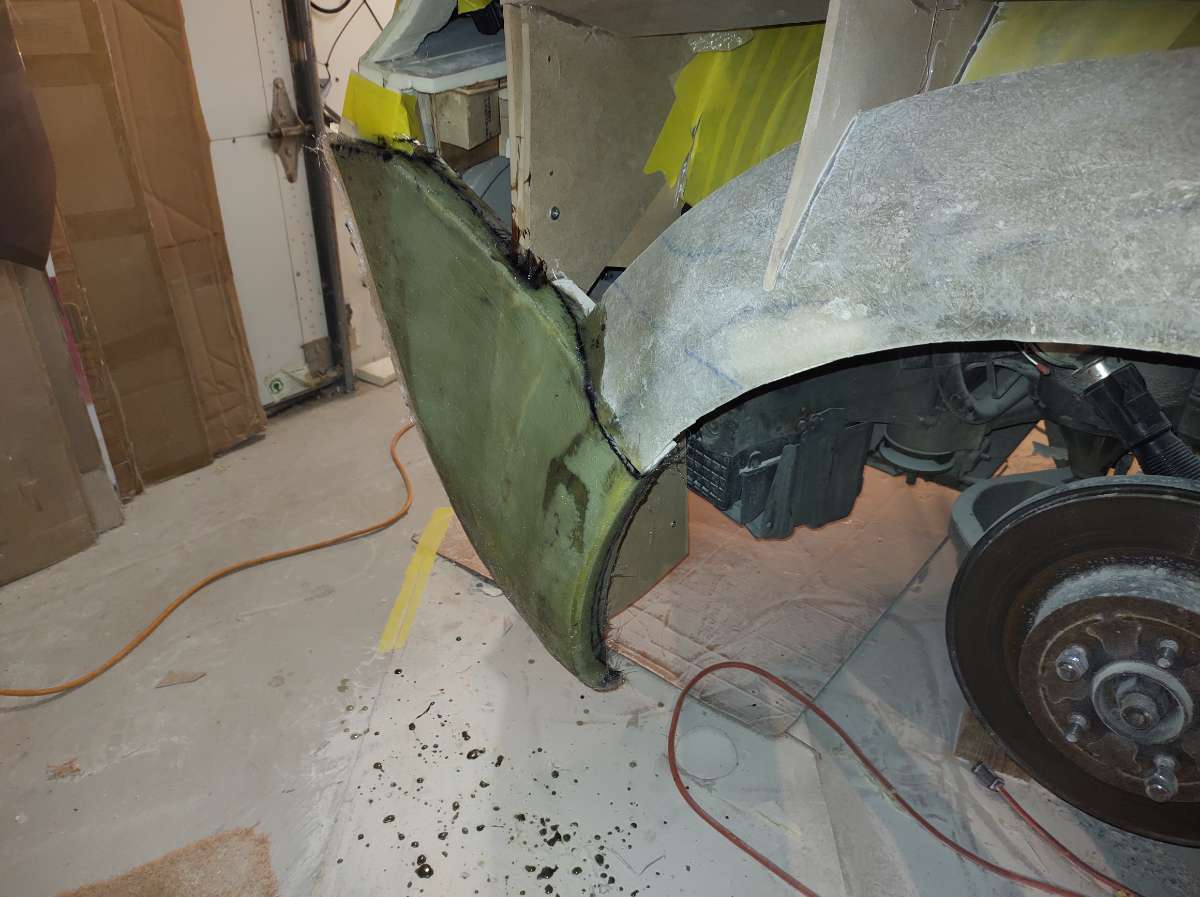
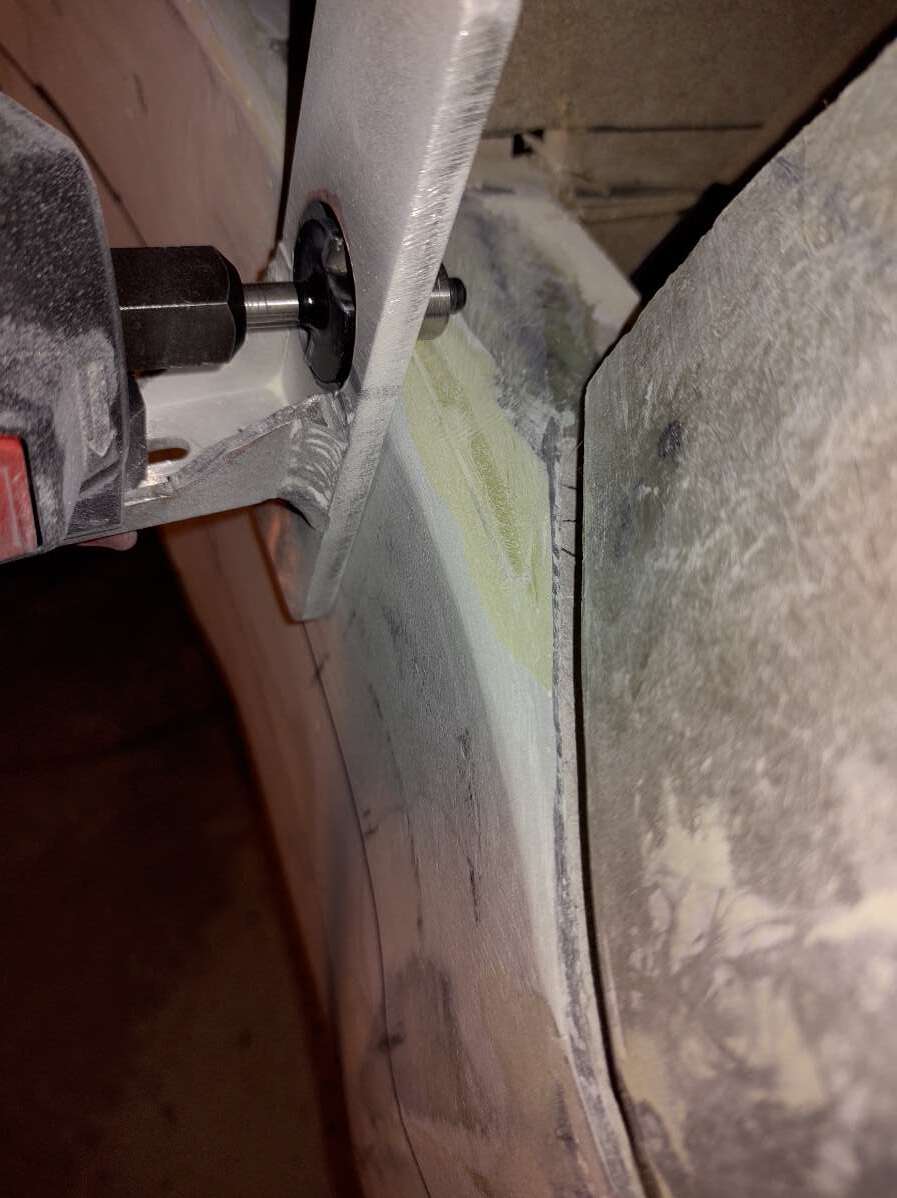
and the right hand side , next is to install the foam , these have to be removable because I really don't want to glass these and do the bodywork on the floor .
So i have to be able to reach up inside and remove the bolts, so the back panel including the corners can come off .
More tonight or tomorrow , lots still to show everyone .
I had a Revell model of a Z that I cut fender flares for and molded them in place from scratch. I was so proud of it! And now, I feel wholly inadequate. Laff...
As said from the beginning of this thread. "Holy modified Z, Batman, this is freakin' awesome!!!"


 It just didn't flow so it had to go ......
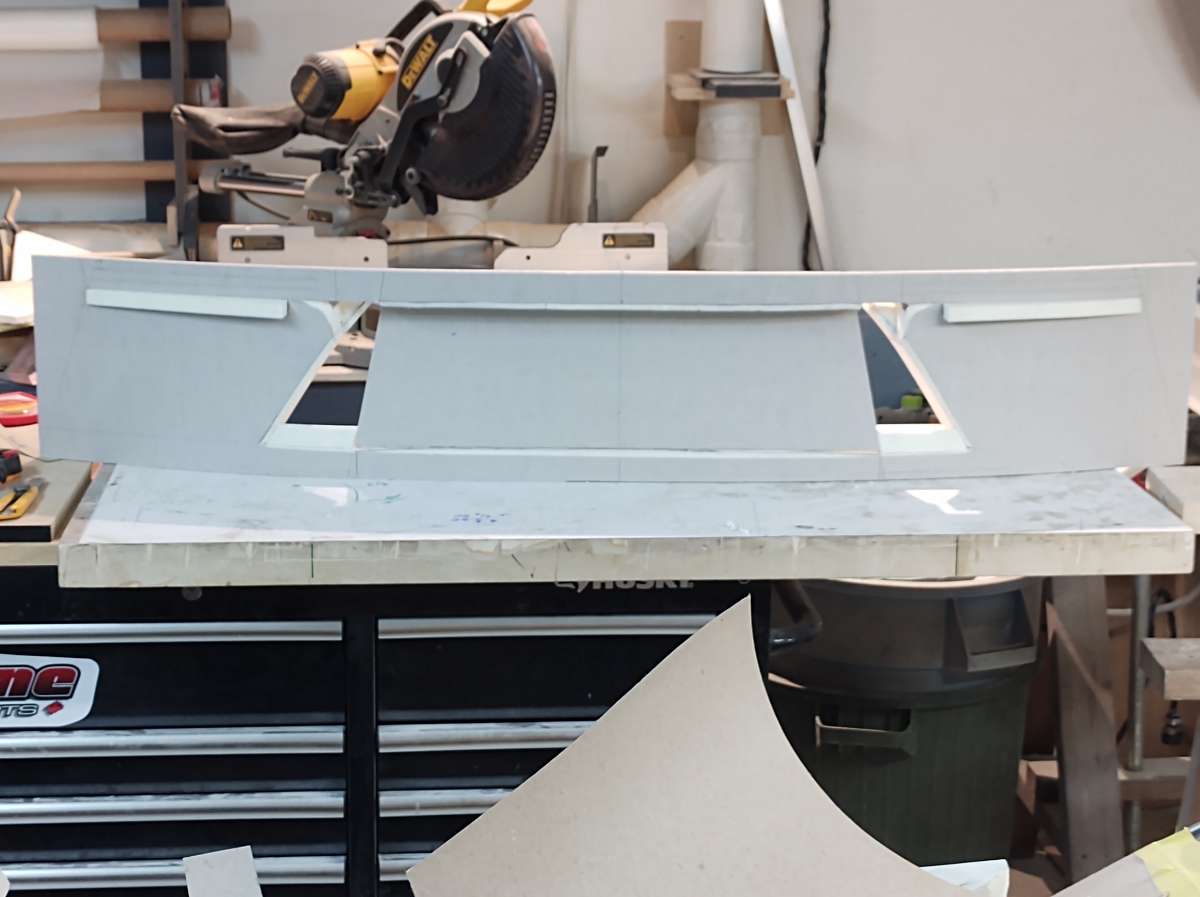
.jpg.320bdc9439da1194603f19ca035e4153.jpg)
.jpg.83f794ad430cbf9eae288a2a0cf3645f.jpg)