
Oil cooler/warmer removal.............

Registered User
Joined: Jun 2007
Posts: 266
Likes: 0
From: Pasadena, MD
Originally Posted by QuadCam
Check this out!!!! Looks like Nissan has put an end to the debate over whether the stock oil cooler/warmer is necessary on the VQ35DE........ Here's a pic, from the service manual, from a VQ35HR.......NO OIL COOLER! What I really like is that I can now buy a factory piece of threaded rod to connect my oil filter to the block. I just ordered the part that I have highlighted with a red box. Hopefully, I'll have it next week, and I'll post up the part number when I get it.
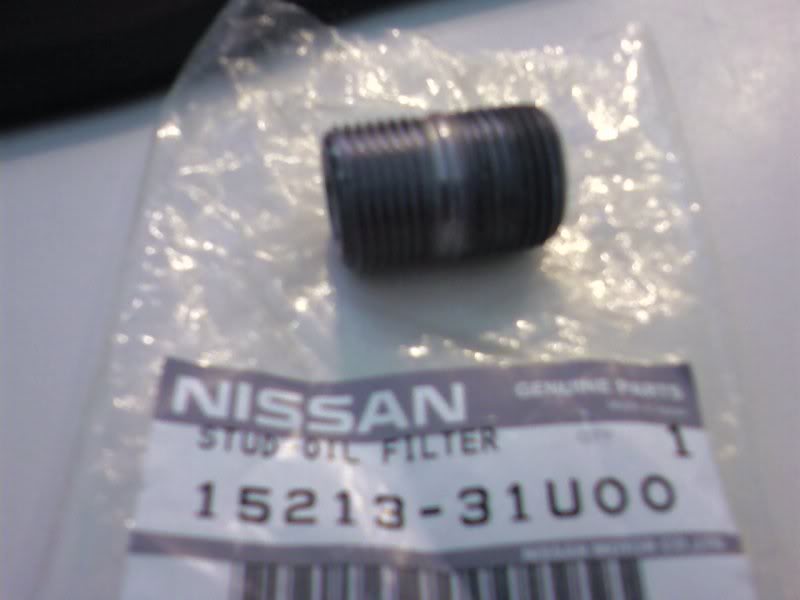
Part number is 15213-31U00, shows to be $6.75 through Courtesy Nissan.
How much did you end up spending on yours, if you don't mind me asking?
That plug, number 7 in your diagram looks an awful lot like it's in the same position as the relief valve in the VQ35DE. Looked into that at all, to plug off the relief valve for your oil cooler removal?


Thread Starter
Registered User
iTrader: (8)
Joined: Apr 2003
Posts: 3,869
Likes: 4
From: Vero Beach, Florida
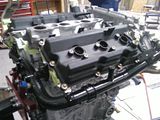
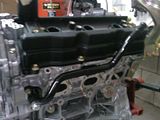
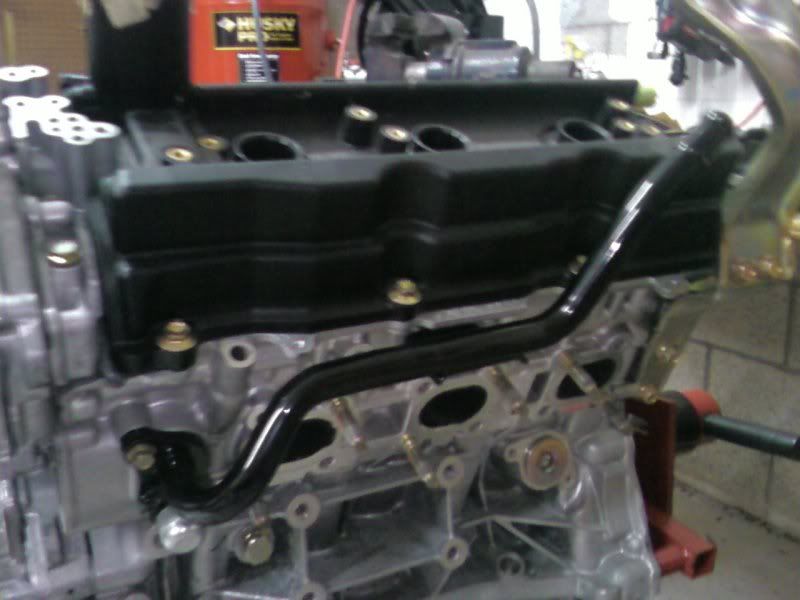
got some quick pics of the water/heater/t-stat pipes back from the powdercoater. It seems that whenever I want to take pics I never have my camera......thus the crappy camera-phone pics AGAIN!


Last edited by QuadCam; May 3, 2008 at 07:40 AM.
just wanted to chime in on this thread. We recently just removed the cooler/warmer on a vortech install. We are running a sandwich plate that is feeding an oil cooler. We removed the cooler/warmer plate and reused the oem piece to hold the aftermarket sandwich plate. I then bought about 2.5 ft of heater hose and connected the feed from the front of the motor to the feed off the passenger side hard pipe. Very easy and simple

Thread Starter
Registered User
iTrader: (8)
Joined: Apr 2003
Posts: 3,869
Likes: 4
From: Vero Beach, Florida
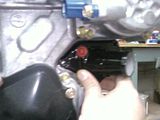
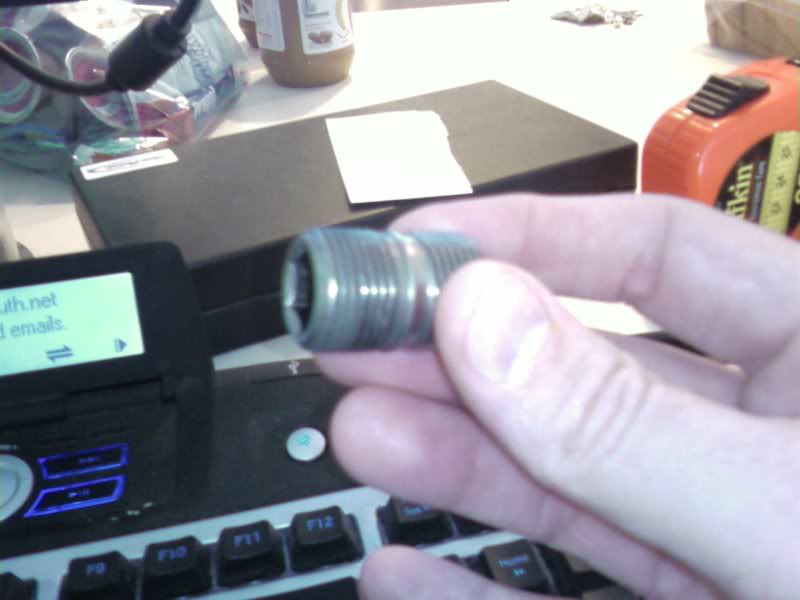
after some delays with the local nissan dealer, I finally received the Oil filter stud, part number 15213-31U00.
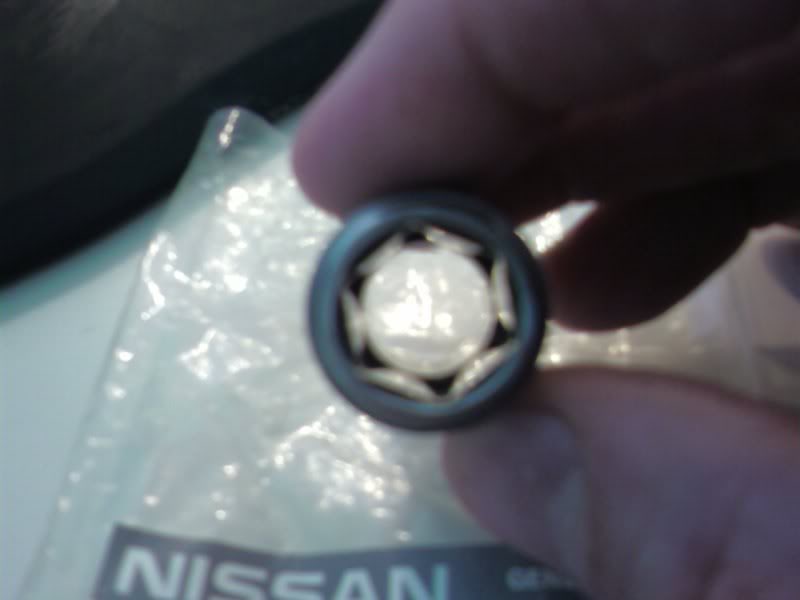
I threaded it into an extra oil pan I have, and it's perfect. you need a 12mm allen wrench to tighten it down.
I threaded it into an extra oil pan I have, and it's perfect. you need a 12mm allen wrench to tighten it down.
Thread Starter
Registered User
iTrader: (8)
Joined: Apr 2003
Posts: 3,869
Likes: 4
From: Vero Beach, Florida
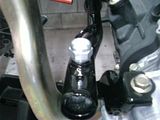
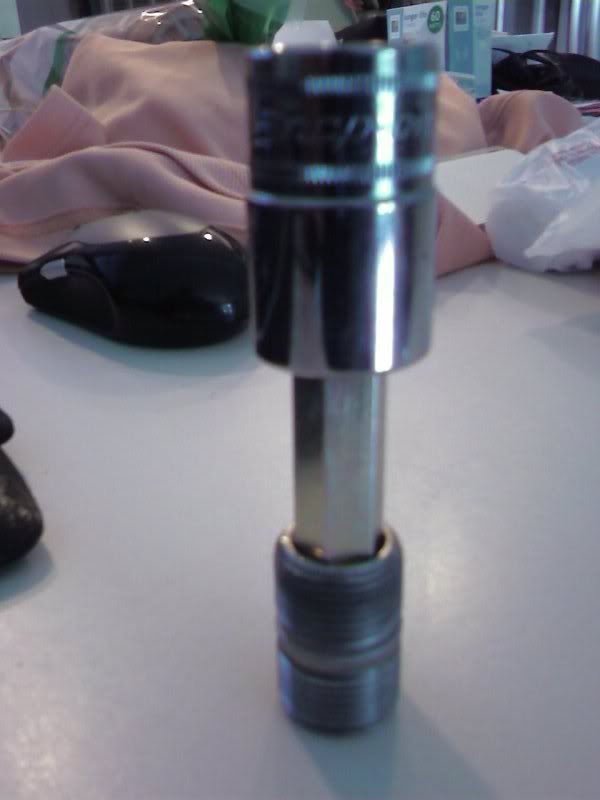
here are the pics of the oil filter stud and the $25 Snap-On 12mm Allen Head socket.  Unfortunately, a 12mm socket is not the easiest to find and never comes inthe usual set of allen wrenches. Since, the Service manual calls for this to installed with 25 ft-lbs of torque, I bought the 12mm in a socket style so I could use it with my torque wrench.
Unfortunately, a 12mm socket is not the easiest to find and never comes inthe usual set of allen wrenches. Since, the Service manual calls for this to installed with 25 ft-lbs of torque, I bought the 12mm in a socket style so I could use it with my torque wrench.
Last edited by QuadCam; Mar 1, 2008 at 11:07 AM.

Thread Starter
Registered User
iTrader: (8)
Joined: Apr 2003
Posts: 3,869
Likes: 4
From: Vero Beach, Florida
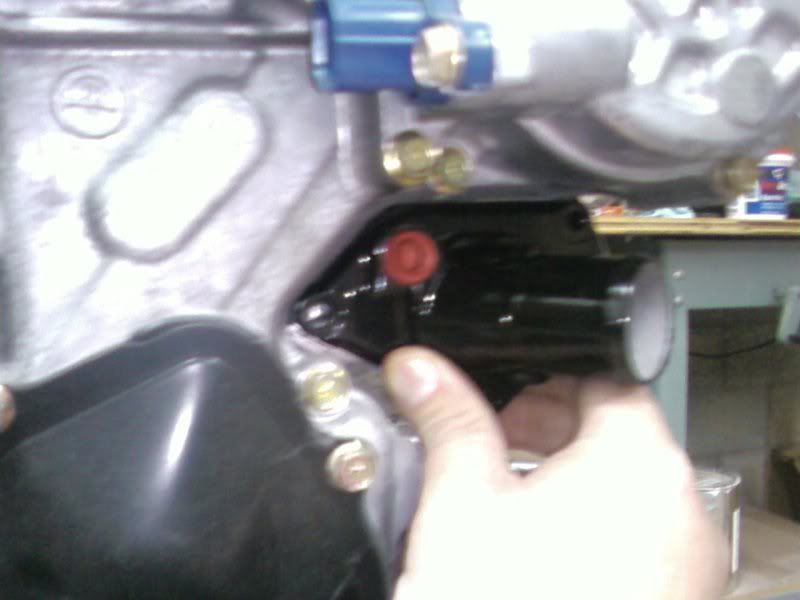
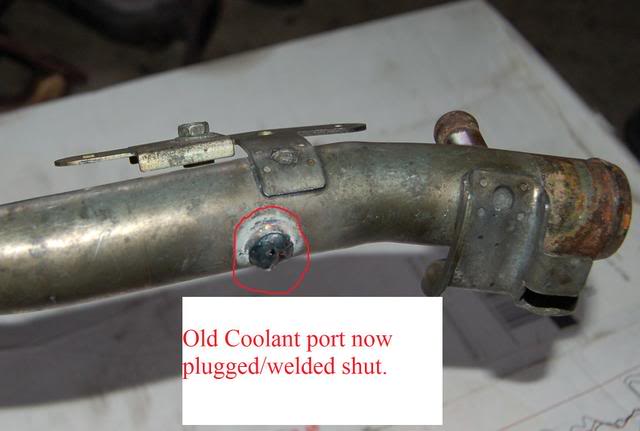
I ended up having issues with that coolant pipe. the welder I used didn't do a very good job. I had several pin hole leaks.
MY final solution was to cut that coolant pipe in half....eliminating the section that had the leaks, and then I bought a longer length of coolant hose to run to the radiator. I, also, bypassed the coolant hose that runs across the front of the motor.....so it wasn't a problem.
MY final solution was to cut that coolant pipe in half....eliminating the section that had the leaks, and then I bought a longer length of coolant hose to run to the radiator. I, also, bypassed the coolant hose that runs across the front of the motor.....so it wasn't a problem.
Last edited by QuadCam; May 3, 2008 at 07:45 AM.


For those that have been having pin hole issues on welds... was it TIG'd or MIG'd?
I had a ton of stuff TIG'd on my coolant system and not a single one leaked. My guy was just an engineer friend who knew how to weld decent but not someone who does it frequently.
When i asked him, he said that one of the key parts of getting those pipes to weld properly was preheating them.
I had a ton of stuff TIG'd on my coolant system and not a single one leaked. My guy was just an engineer friend who knew how to weld decent but not someone who does it frequently.
When i asked him, he said that one of the key parts of getting those pipes to weld properly was preheating them.
heres mine from a couple years ago. as i originally posted in this thread, we just machined a sleeve that pressed into the mocal sandwich to give it the same I.D. as the stock cooler and that was that.
Note other things done for the sake of cleanup would be my turbo oil lines tapped directly into the upper pan, and removed AC with relocated powersteering. The powersteering cleaned up a lot as the pressure hose is only maybe 12" long going straight from the bottom of the pump to the rack... and the cooler is now in the driver side front bumper area... so there are not PS lines snaking around anymore. With the PS there and a little trimming I did to the motor mount brackets, I can also run full 3" intakes to both turbos with tons of room to spare.
Next I am thinking of going to evans cooland and eliminating the coolant bypass hose across the front of the engine. Also considering running the coolant pipe under the intake manifold like the HR. As soon as my car is out of the body shop I am going to build a new engine harness that doesnt look so shitty also.
Last edited by phunk; Nov 4, 2009 at 11:33 PM.
Thread Starter
Registered User
iTrader: (8)
Joined: Apr 2003
Posts: 3,869
Likes: 4
From: Vero Beach, Florida
charles,
I like what you did with your oil feed lines and it looks like you drilled/tapped a new spot for the oil pressure sending unit.
BTW, if any of you are looking for the new little nipple that nissan uses for the oil filters......Nissan sends them in the VQ35De blocks that are issued for the revup replacement engines. One of the mechanics at the INfiniti dealer had a couple of them in his tool box from engine swaps.......he gave me one of them.
That is some really nice work Charles. I didn't know you could drill and tap the upper oil pan like that for an additional turbo feed line...or even from the side for the oil pressure sending unit. Any tricks to accomplishing this we little people should know???
Details...
Details...
Originally Posted by phunk
heres mine from a couple years ago. as i originally posted in this thread, we just machined a sleeve that pressed into the mocal sandwich to give it the same I.D. as the stock cooler and that was that.
Note other things done for the sake of cleanup would be my turbo oil lines tapped directly into the upper pan, and removed AC with relocated powersteering. The powersteering cleaned up a lot as the pressure hose is only maybe 12" long going straight from the bottom of the pump to the rack... and the cooler is now in the driver side front bumper area... so there are not PS lines snaking around anymore. With the PS there and a little trimming I did to the motor mount brackets, I can also run full 3" intakes to both turbos with tons of room to spare.
Next I am thinking of going to evans cooland and eliminating the coolant bypass hose across the front of the engine. Also considering running the coolant pipe under the intake manifold like the HR. As soon as my car is out of the body shop I am going to build a new engine harness that doesnt look so shitty also.

Note other things done for the sake of cleanup would be my turbo oil lines tapped directly into the upper pan, and removed AC with relocated powersteering. The powersteering cleaned up a lot as the pressure hose is only maybe 12" long going straight from the bottom of the pump to the rack... and the cooler is now in the driver side front bumper area... so there are not PS lines snaking around anymore. With the PS there and a little trimming I did to the motor mount brackets, I can also run full 3" intakes to both turbos with tons of room to spare.
Next I am thinking of going to evans cooland and eliminating the coolant bypass hose across the front of the engine. Also considering running the coolant pipe under the intake manifold like the HR. As soon as my car is out of the body shop I am going to build a new engine harness that doesnt look so shitty also.