
greddy twin build...


Thread Starter


Joined: Apr 2010
Posts: 6,509
Likes: 1,326
From: North Denver
were you talking about this?
not sure how I feel about the extra coupler added to the charge side of the IC , I think the blue greddy couplers are played-out but welding a few joints can be done down the road.


not sure how I feel about the extra coupler added to the charge side of the IC , I think the blue greddy couplers are played-out but welding a few joints can be done down the road.
Last edited by bealljk; Jun 20, 2013 at 08:09 PM.
Thread Starter
Joined: Apr 2010
Posts: 6,509
Likes: 1,326
From: North Denver

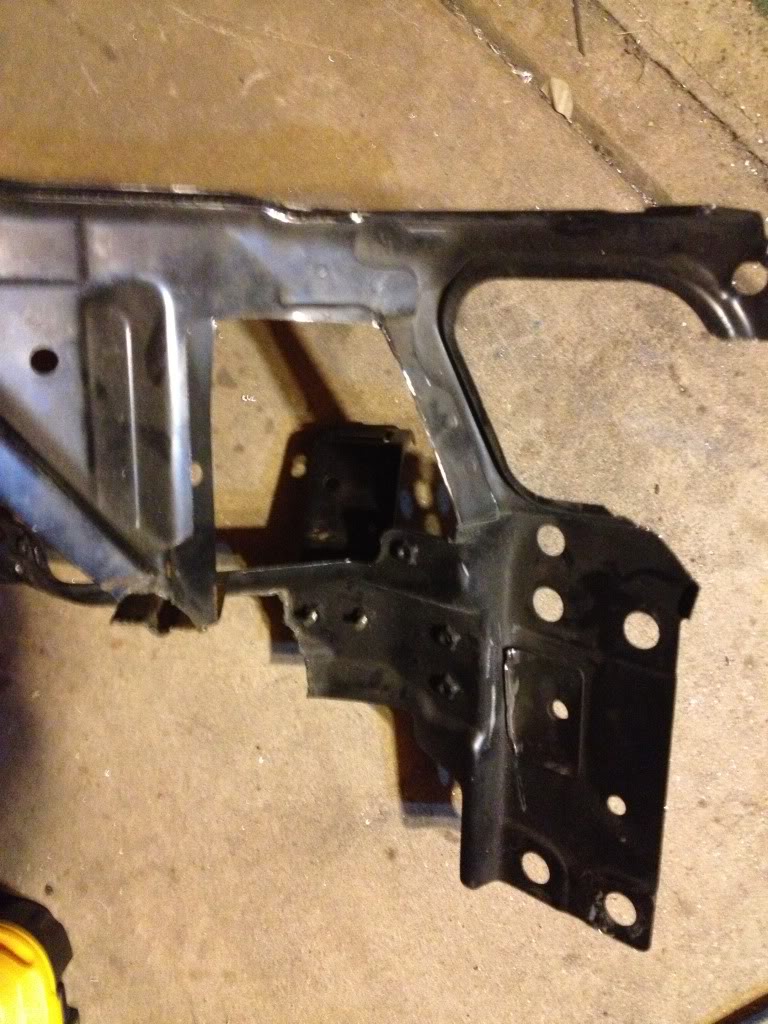
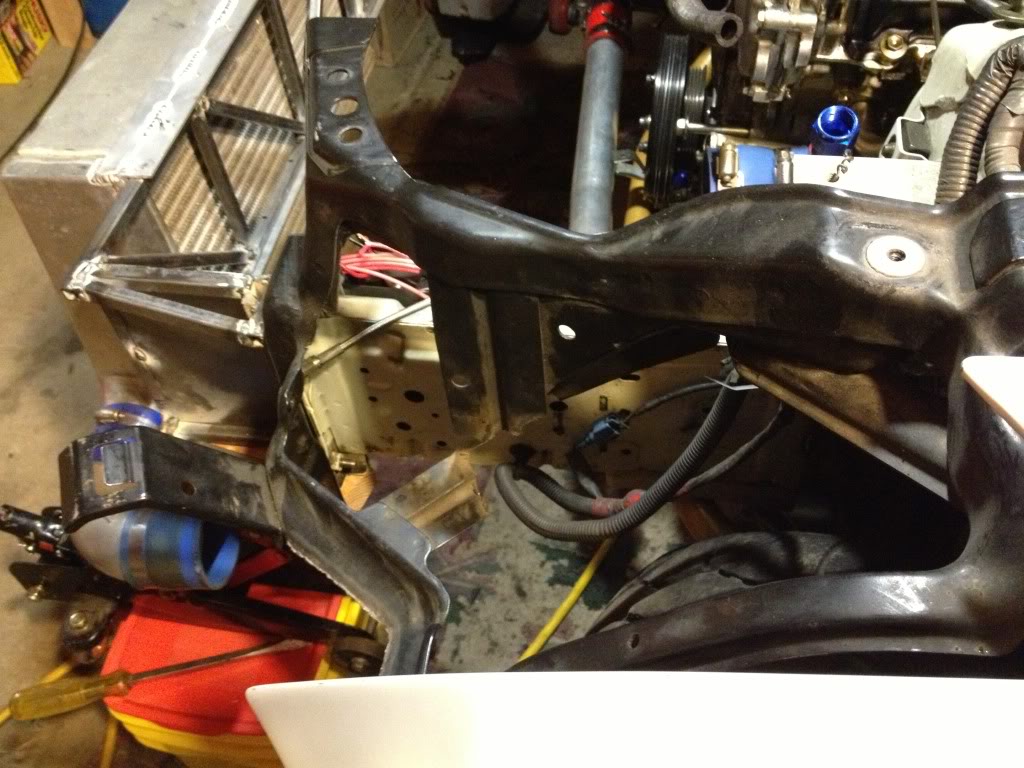
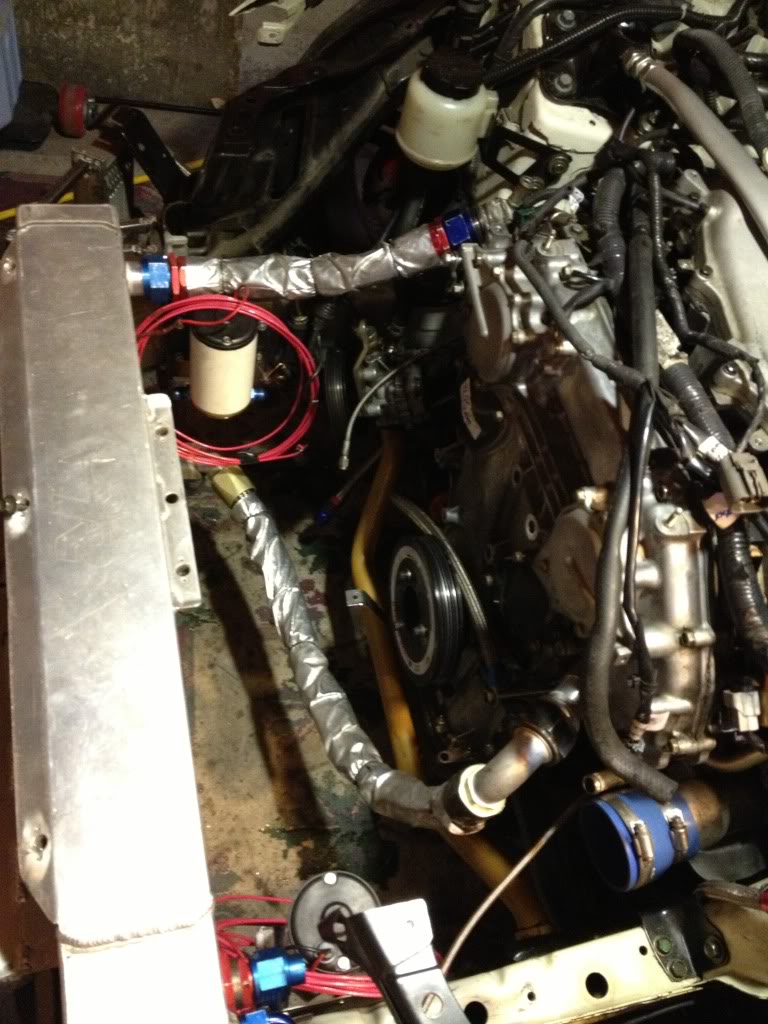
made a bracket for the power steering cooler…came out alright but I may have to lower it if I want it in the passive air stream…shouldnt be hard to modify the attaching sheet metal…


doing something similar on the drivers side for the oil cooler…a little more fab work to avoid the IC charge pipe…
OEM thermostat housing and discharge pipe are at the shop have the AN20 bungs welded on and I guess they werent busy bc my contact said he'd have them done this afternoon.
Also bought the proper hardware to mount the IC, radiator and oil cooler…it's crazy hot outside and the garage is a greenhouse so I wont do any work until it cools down later today…instead - I'm gonna drink & drive…

yes, I'm still on Forza 2, about 85% complete with the game...
Last edited by bealljk; Jun 22, 2013 at 11:04 AM.


Thread Starter
Joined: Apr 2010
Posts: 6,509
Likes: 1,326
From: North Denver
Yeah, you gotta point … Wasnt sure how the cooler was going to be situated when I had that work done. My default plan was to hang in between the maybe I can have a similar aluminum angle welded on the other end…it would really help with running the hose back to the sandwich plate.
Got my AN20 hose trimmed to size for the thermo-housing and coolant pipe…
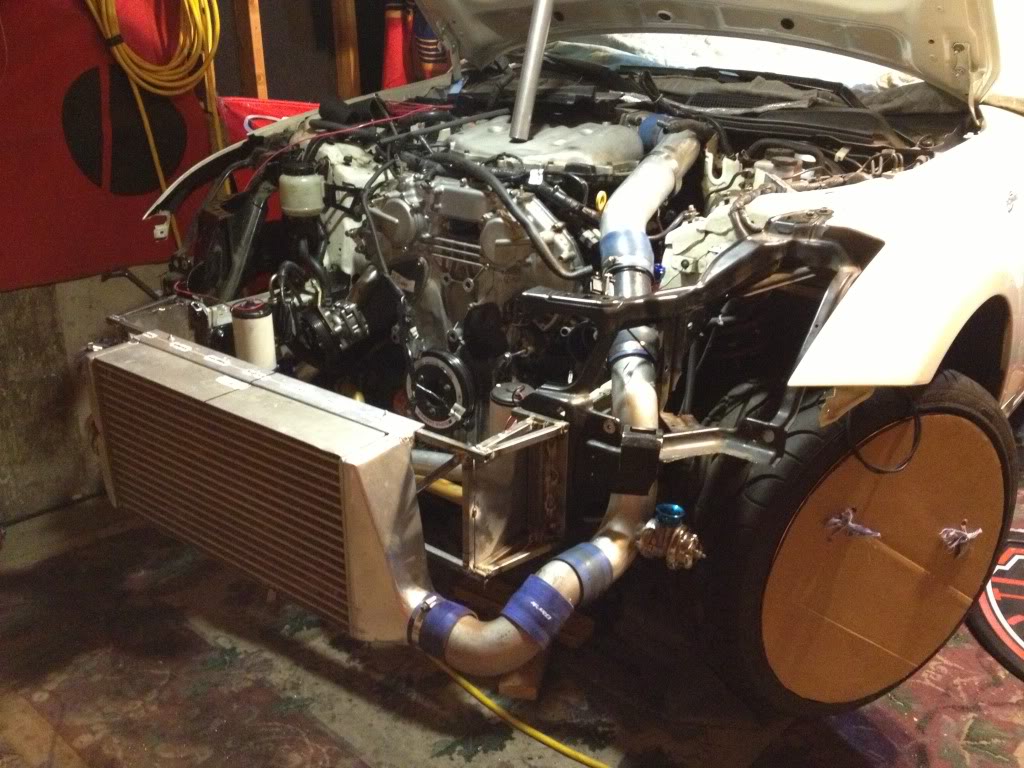
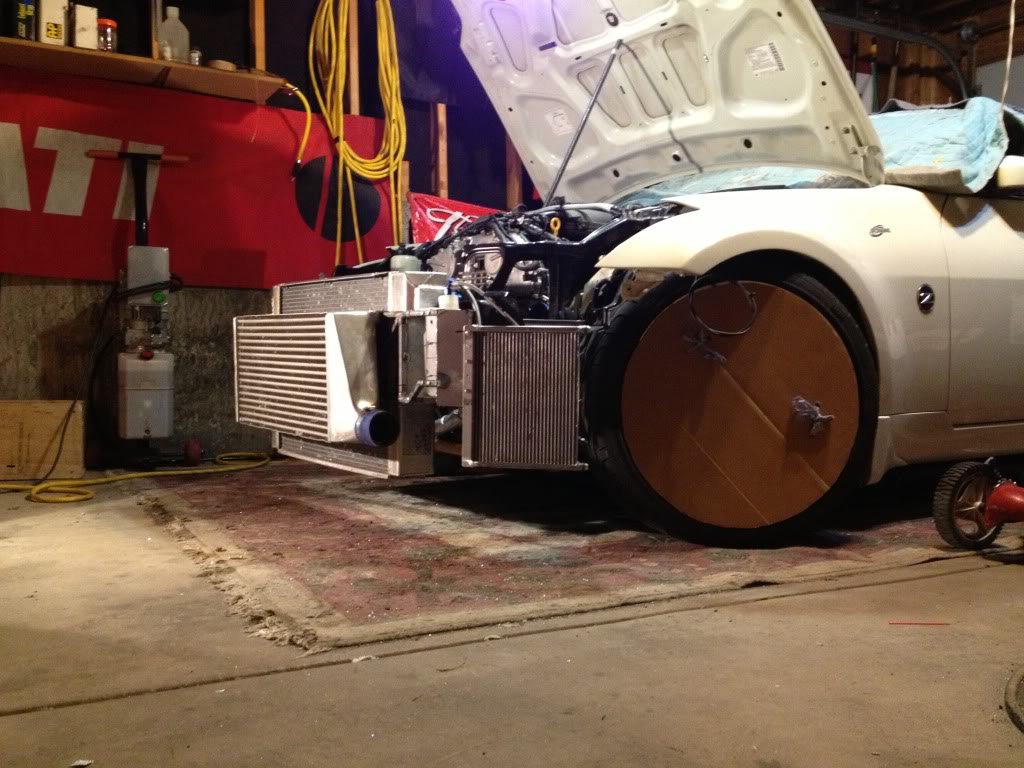
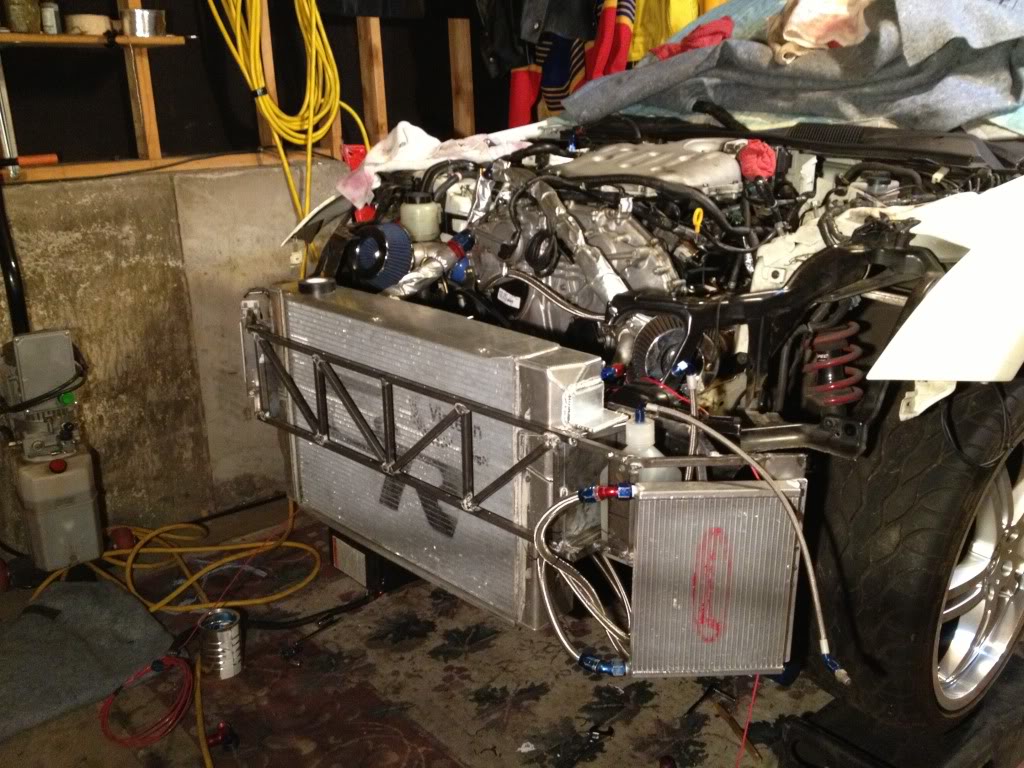
First time in 6 months that the car has been off the lift…I love how low the radiator and IC sit…
going to attempt to wrap my (headers) o2 sensor, not a big task but I'll have to remove the pins from the harness to fit…I have a few rolls of thermo-wrap coming and want to wrap a few things before I re-fluid and turn the key...
Got my AN20 hose trimmed to size for the thermo-housing and coolant pipe…

First time in 6 months that the car has been off the lift…I love how low the radiator and IC sit…

going to attempt to wrap my (headers) o2 sensor, not a big task but I'll have to remove the pins from the harness to fit…I have a few rolls of thermo-wrap coming and want to wrap a few things before I re-fluid and turn the key...
Last edited by bealljk; Jun 23, 2013 at 08:36 PM.

Thread Starter
Joined: Apr 2010
Posts: 6,509
Likes: 1,326
From: North Denver
relinked, thank you…
any help on this would be appreciated -
https://my350z.com/forum/maintenance...lors-help.html
any help on this would be appreciated -
https://my350z.com/forum/maintenance...lors-help.html
Thread Starter
Joined: Apr 2010
Posts: 6,509
Likes: 1,326
From: North Denver
I agree with you here - most this car is function(go) and very little form(show) but probably not gonna happen�would look out of place�nothing else is polished in the engine bay, my welding isnt art and ultimately a portion of that piping will be covered with reflective wrap...


Thread Starter
Joined: Apr 2010
Posts: 6,509
Likes: 1,326
From: North Denver

Thread Starter
Joined: Apr 2010
Posts: 6,509
Likes: 1,326
From: North Denver
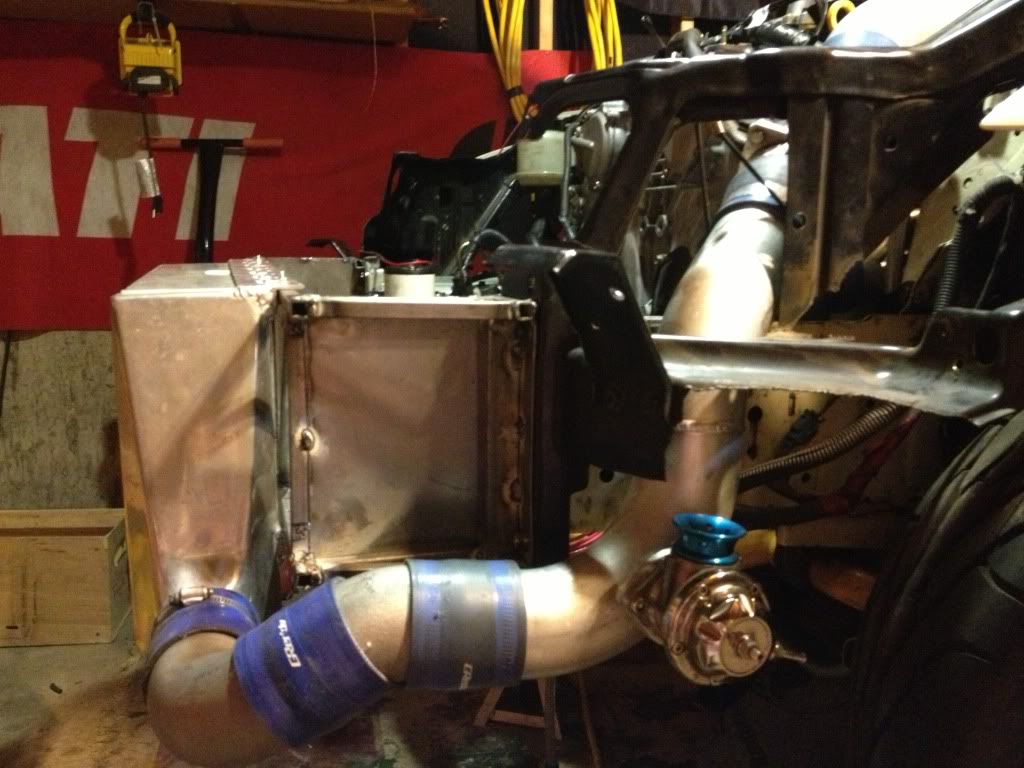
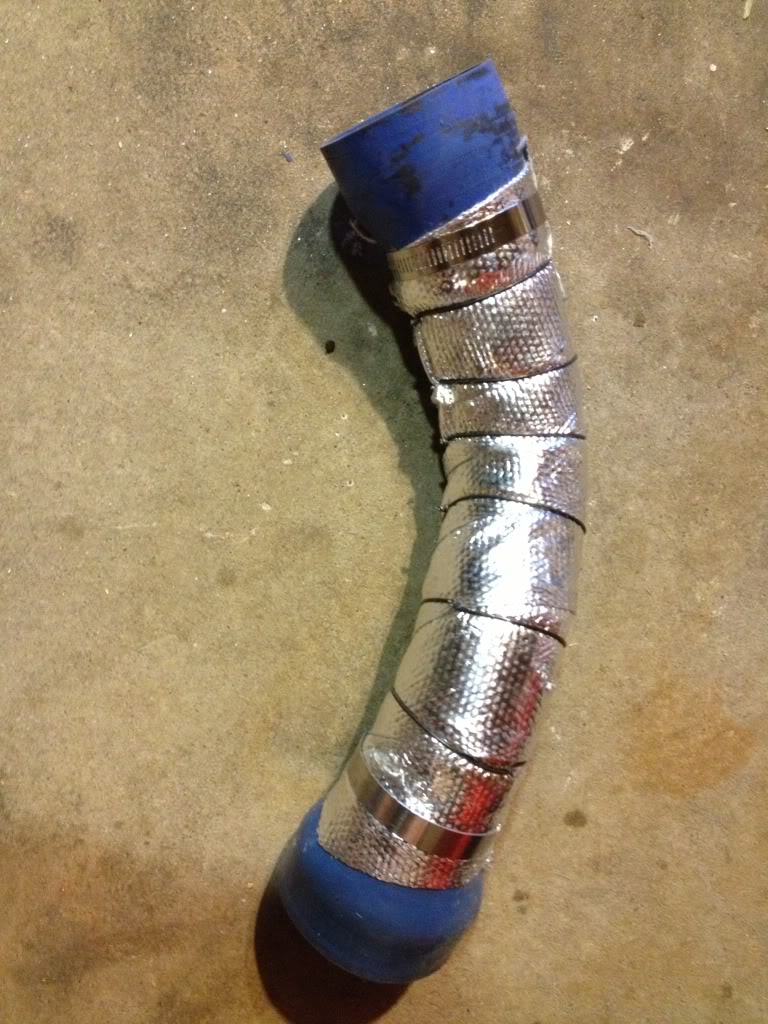
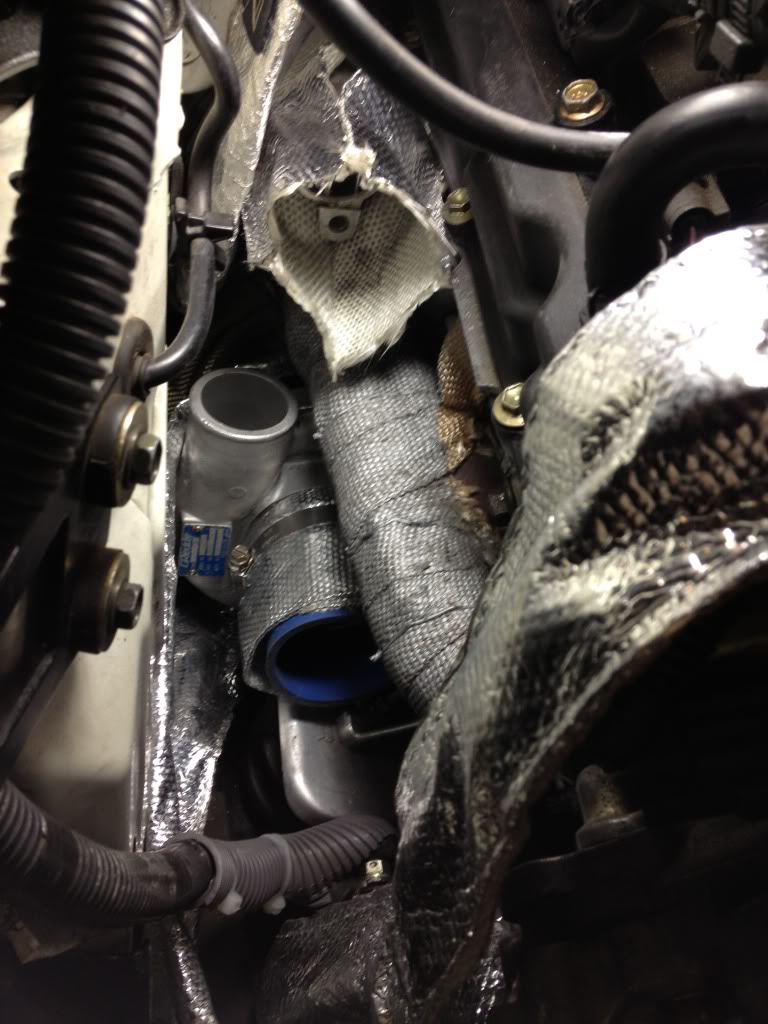
back on it…reflective heat wrap came in and I started wrapping pipes.

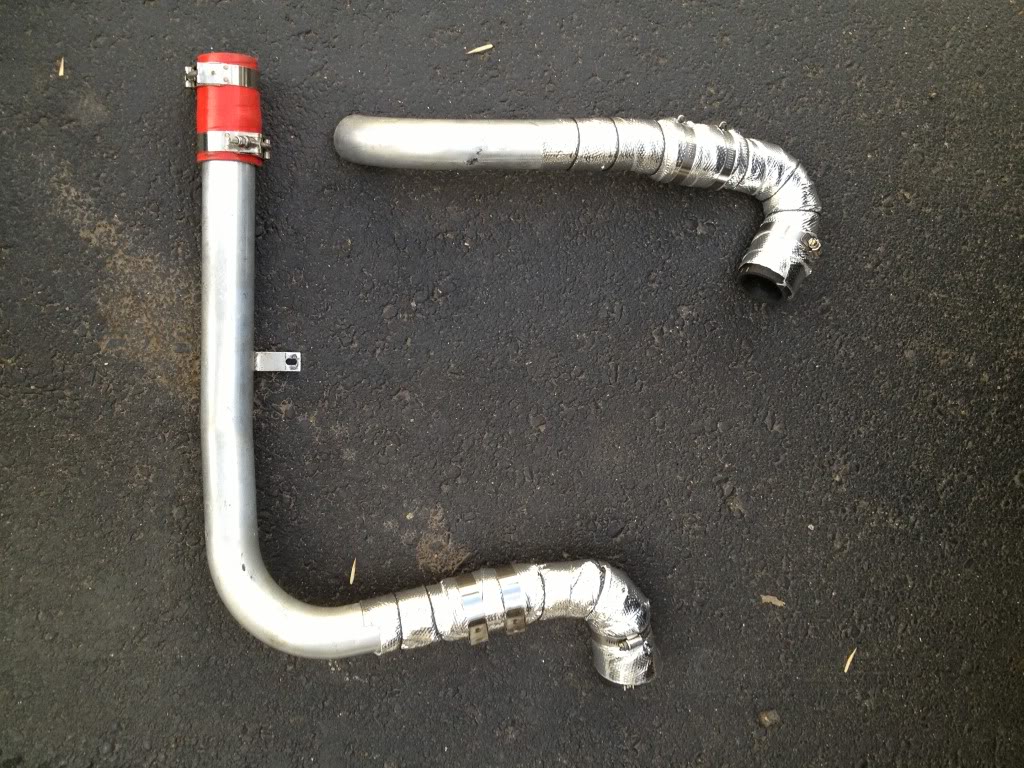
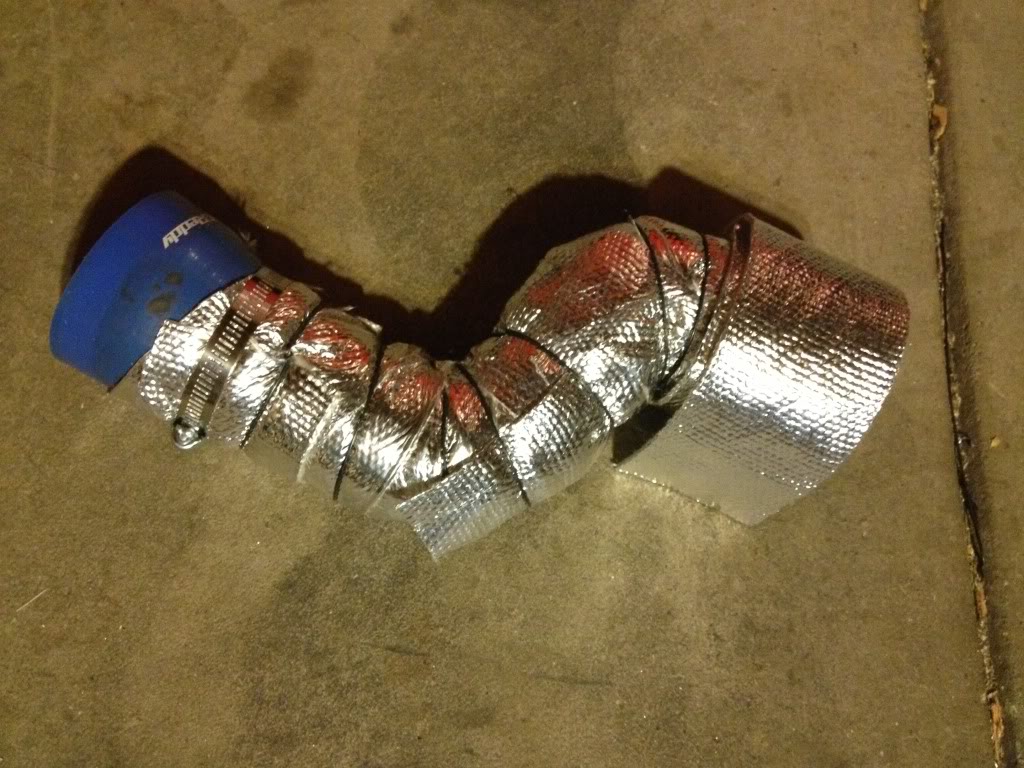
got the passenger side bank complete, still need to put the coolant pipe back on but that's not too bad. Felt like I had to remove hours worth of work to get the intake pipe on... The driver side should be incredibly easy considering my AC comp is gone.
Hoping to make progress this weekend...


got the passenger side bank complete, still need to put the coolant pipe back on but that's not too bad. Felt like I had to remove hours worth of work to get the intake pipe on... The driver side should be incredibly easy considering my AC comp is gone.
Hoping to make progress this weekend...

the way I have my piping done, and how I recommend yours as mine is almost identical on the driver side is cut where you have that weld, and weld the rest of the piping to the intercooler (leave a coupler connecting it to the fmic). We found this makes it easy to put together/take apart, but reduces the couplers needed.
 [/URL]
Thread Starter
Joined: Apr 2010
Posts: 6,509
Likes: 1,326
From: North Denver
the way I have my piping done, and how I recommend yours as mine is almost identical on the driver side is cut where you have that weld, and weld the rest of the piping to the intercooler (leave a coupler connecting it to the fmic). We found this makes it easy to put together/take apart, but reduces the couplers needed.
Thread Starter
Joined: Apr 2010
Posts: 6,509
Likes: 1,326
From: North Denver
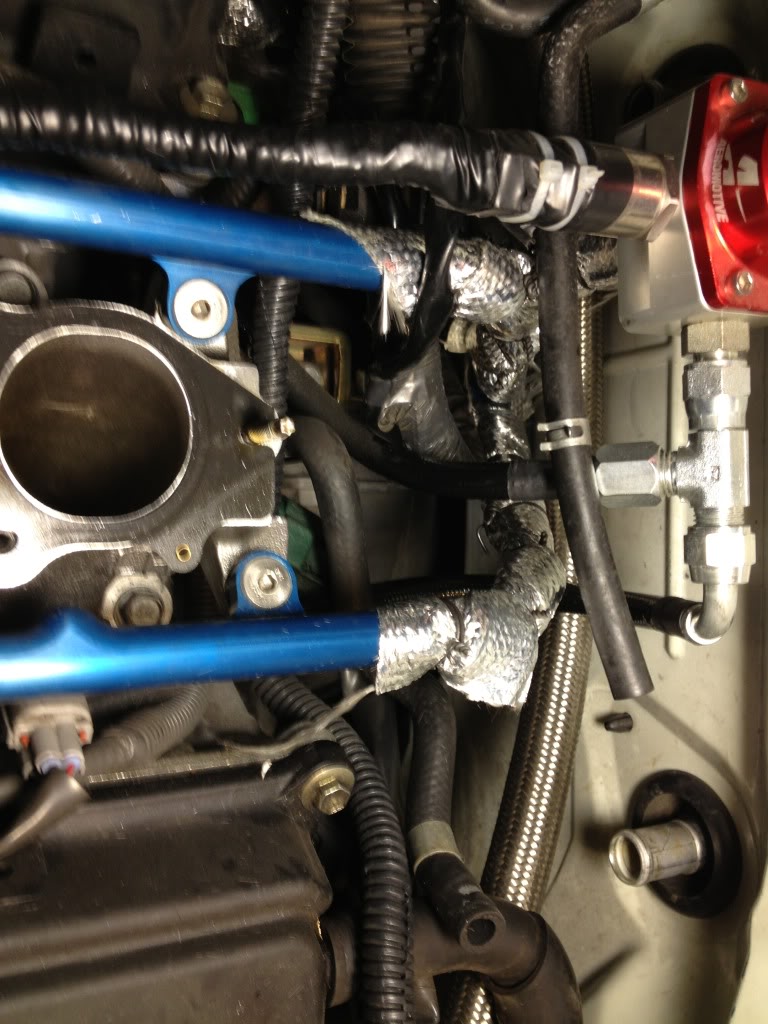
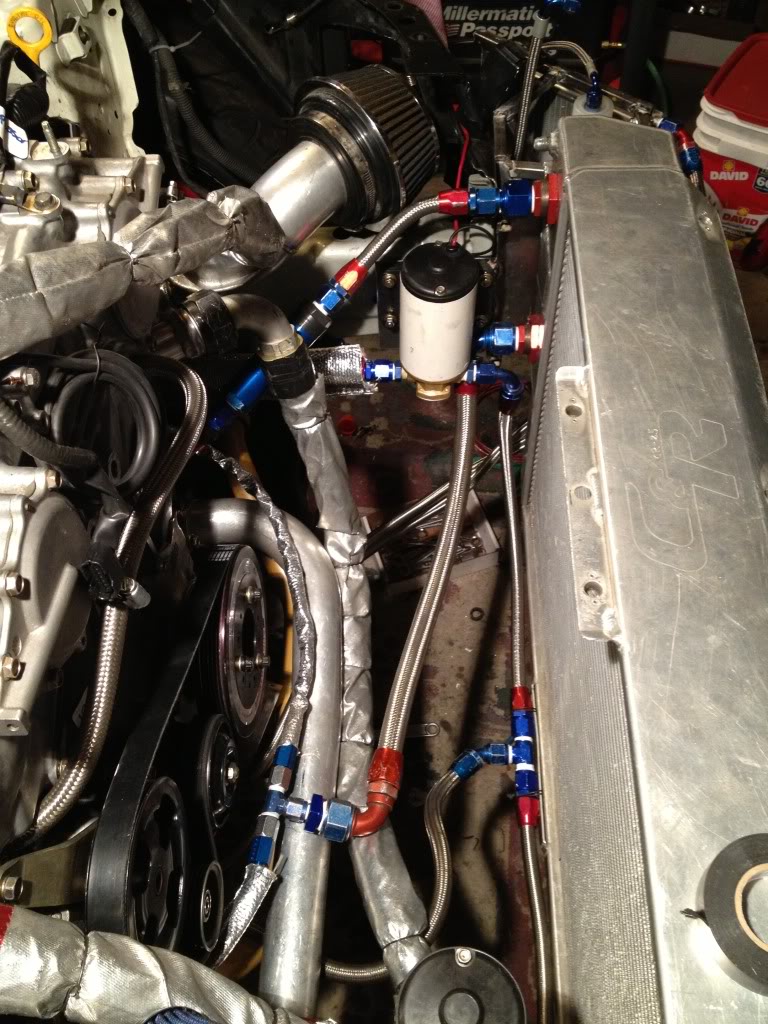
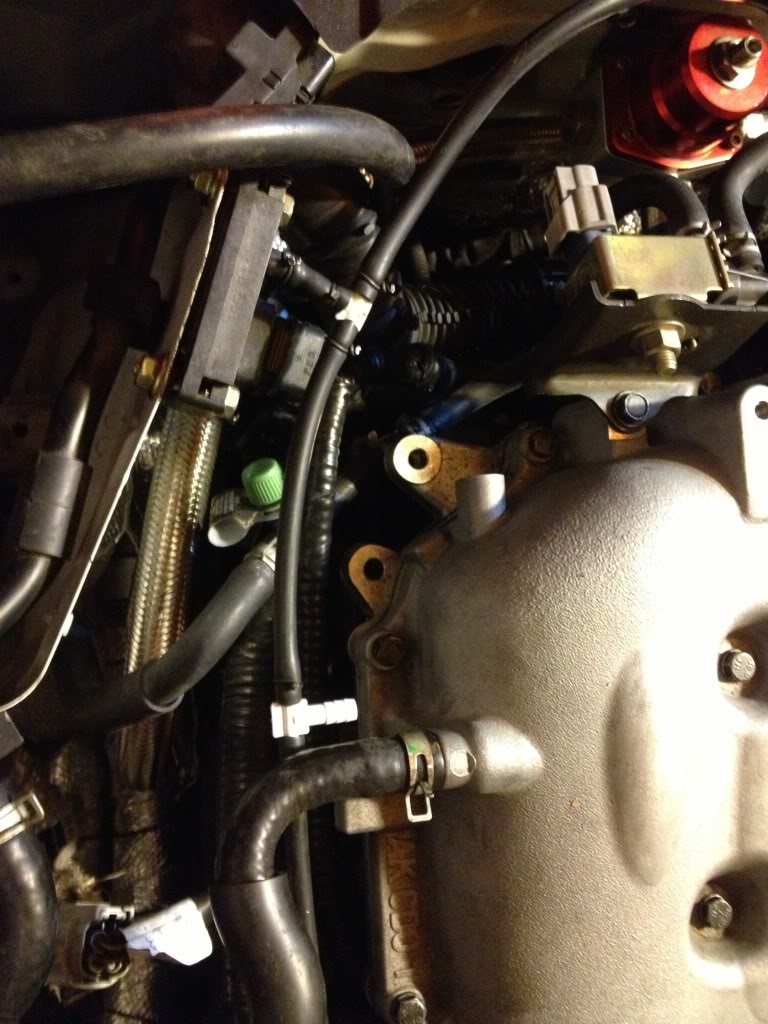
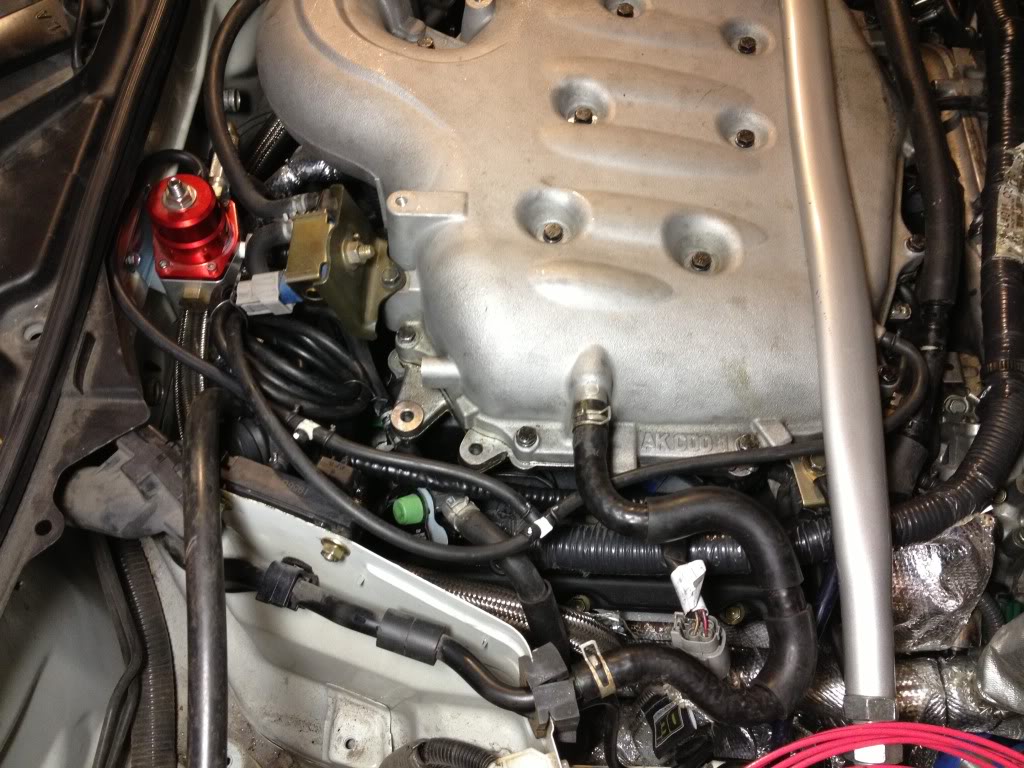
Finished wrapping the coolant pipes and the fuel lines. Strung a new fan belt and spent about an hour last night just looking over, checking/torquing down bolts/hose clamps, reviewed my 'dont forget list', modified/ran a few pneumatic lines for the system and bov/WG. Did a quick volume check on my oil coolers and as it sits I have an additional 25-30 ounces of capacity in the 2 coolers. I did pick up another cooler that would add another 10 ounces but I'm not sure if I'm going to add it.
Will put the front end together today/tonight.
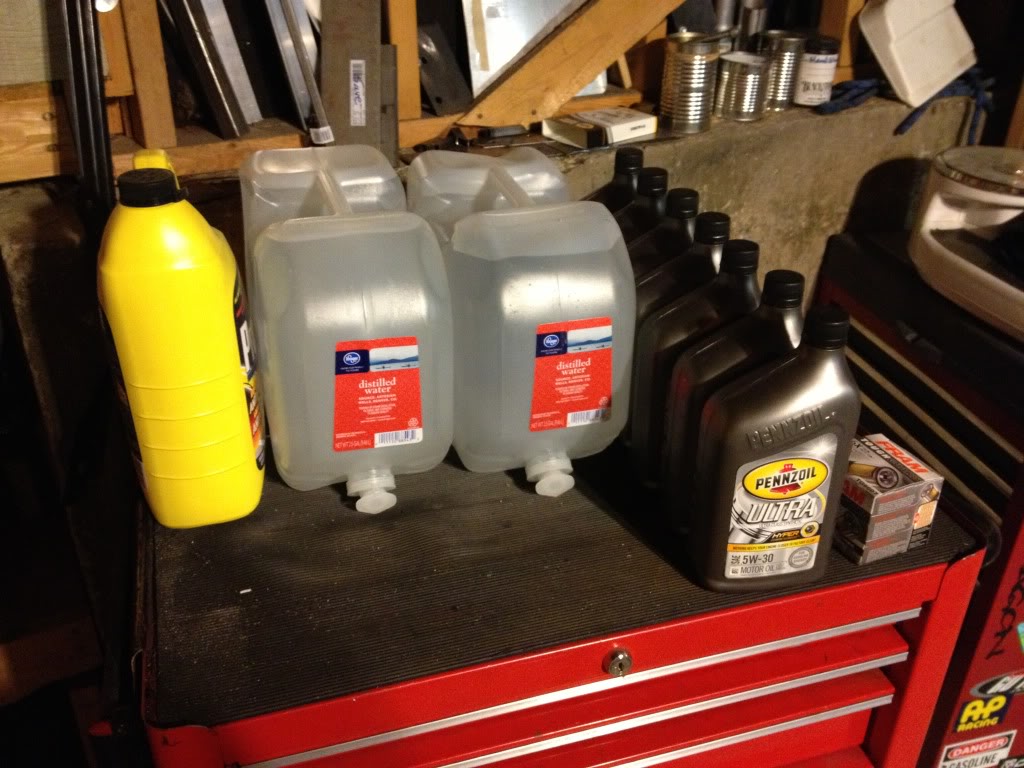
Fluids tomorrow or next week…
Will put the front end together today/tonight.


Fluids tomorrow or next week…

Last edited by bealljk; Jul 27, 2013 at 09:44 AM.
Thread Starter
Joined: Apr 2010
Posts: 6,509
Likes: 1,326
From: North Denver
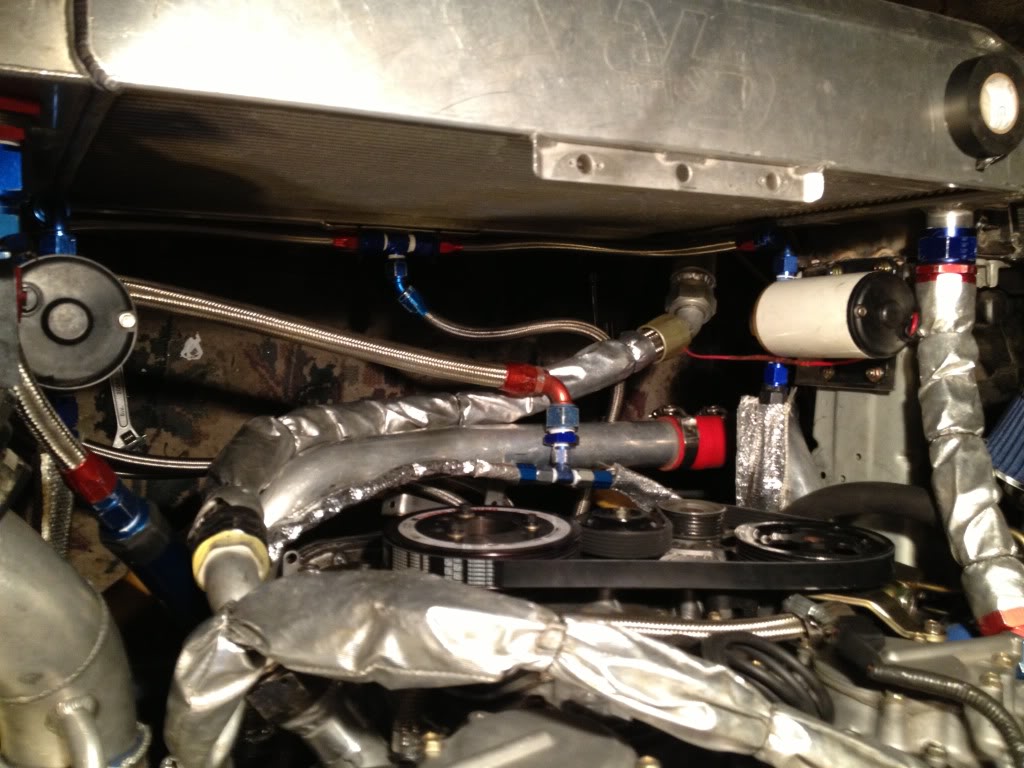
making steps…got the radiator and oil coolers hooked and half the lines where I want them. going to be busy this week so I doubt I will be back on it until next weekend.


Thread Starter
Joined: Apr 2010
Posts: 6,509
Likes: 1,326
From: North Denver
Fluids went well - nothing scary happened…I have one small leak from my make-shift over flow tank where it's not sealing up…but I'll cross that bridge when I get there.
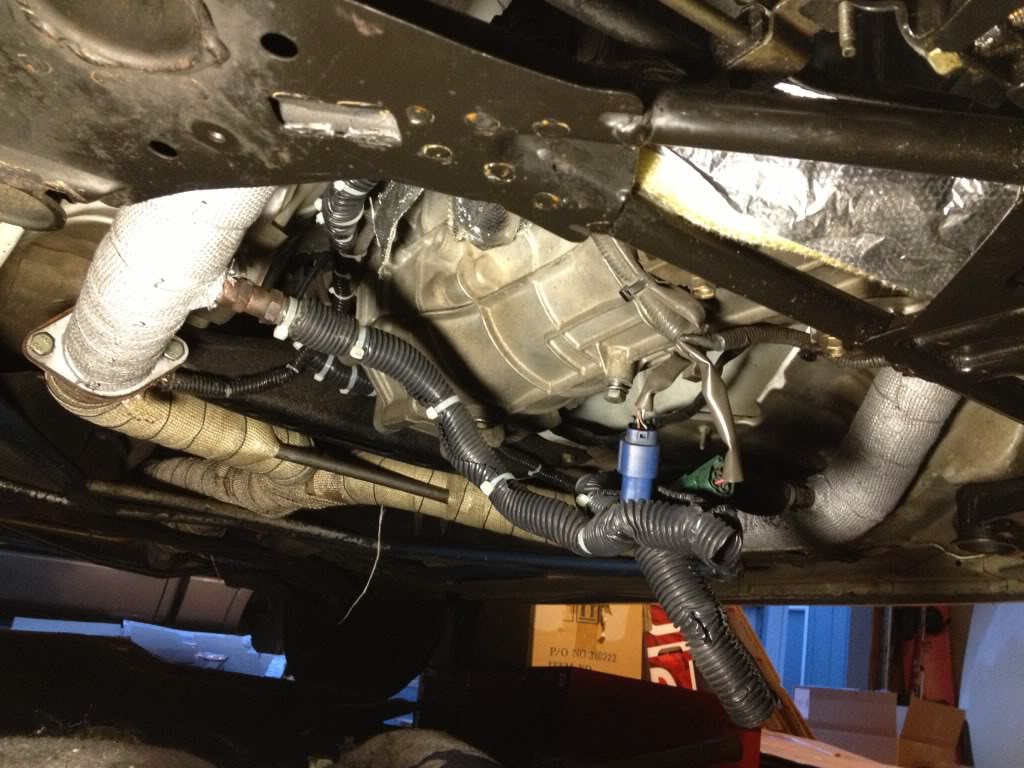
Started over the weekend and wrapped it up tonight getting the test pipes on and bolted down…nothing special but had a busy weekend so I couldnt dedicate too much time to it.
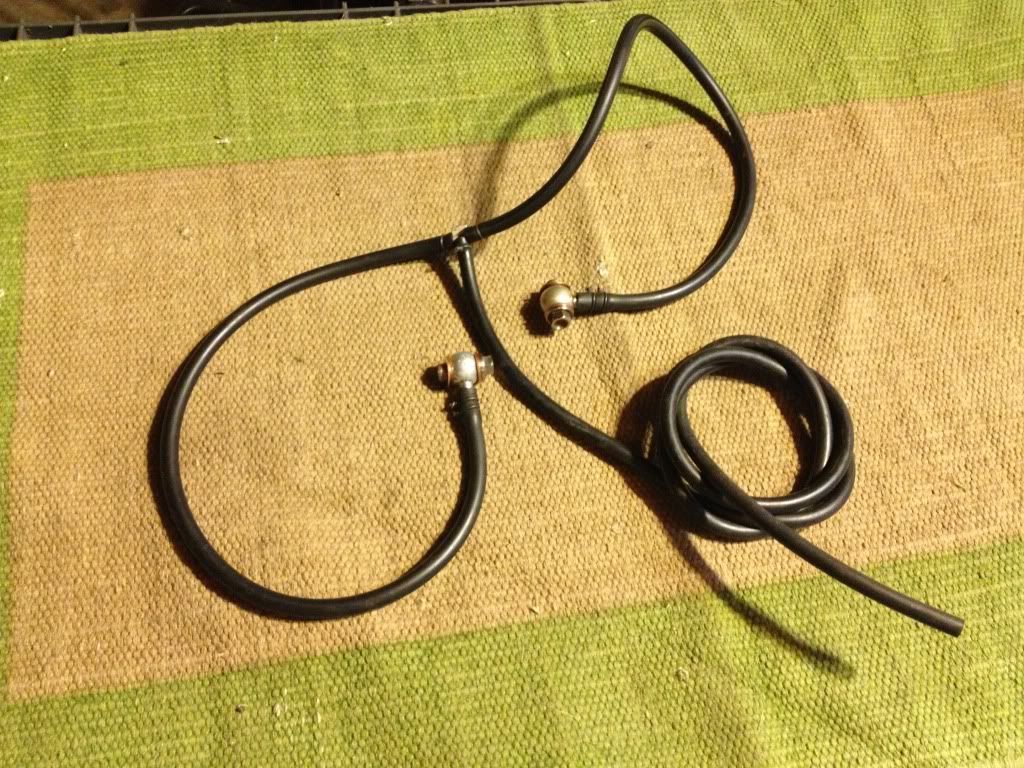
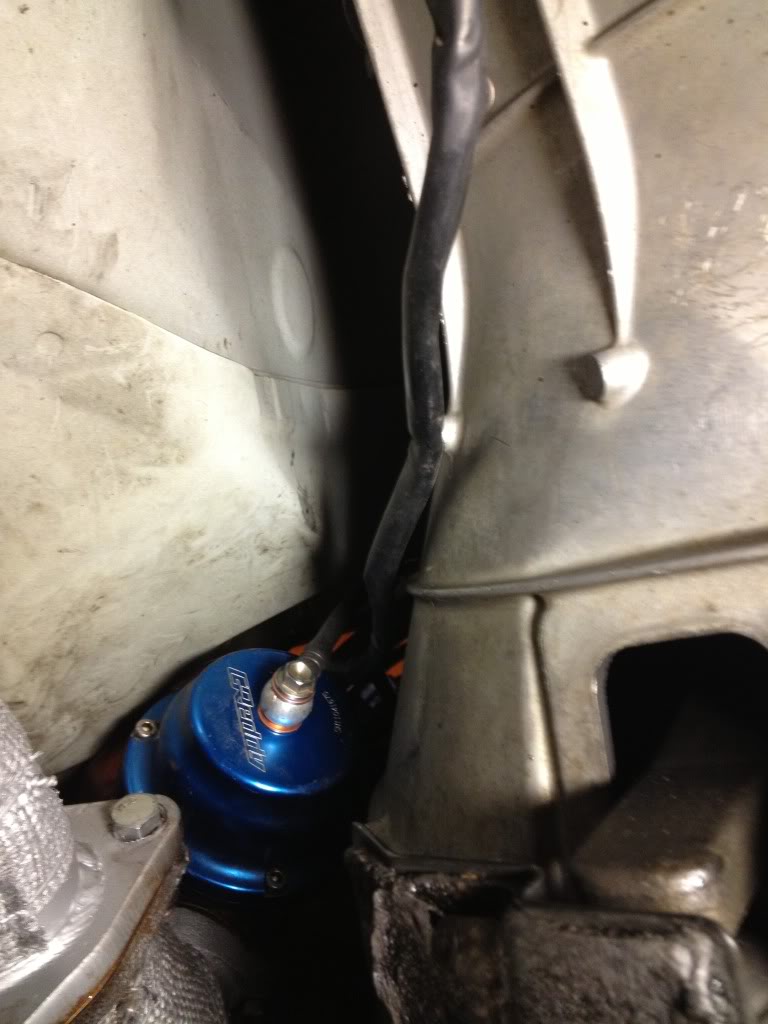
today I ran around and found new crush washers for the waste gates and needed a vacuum tee to splice the waste gates into my existing vacuum line. I think once I get my boost solenoid I will be upgrading to the brass tees…I don't have much faith in these plastic ones...
Started over the weekend and wrapped it up tonight getting the test pipes on and bolted down…nothing special but had a busy weekend so I couldnt dedicate too much time to it.

today I ran around and found new crush washers for the waste gates and needed a vacuum tee to splice the waste gates into my existing vacuum line. I think once I get my boost solenoid I will be upgrading to the brass tees…I don't have much faith in these plastic ones...


Last edited by bealljk; Aug 12, 2013 at 08:43 PM.
