When you click on links to various merchants on this site and make a purchase, this can result in this site earning a commission. Affiliate programs and affiliations include, but are not limited to, the eBay Partner Network.
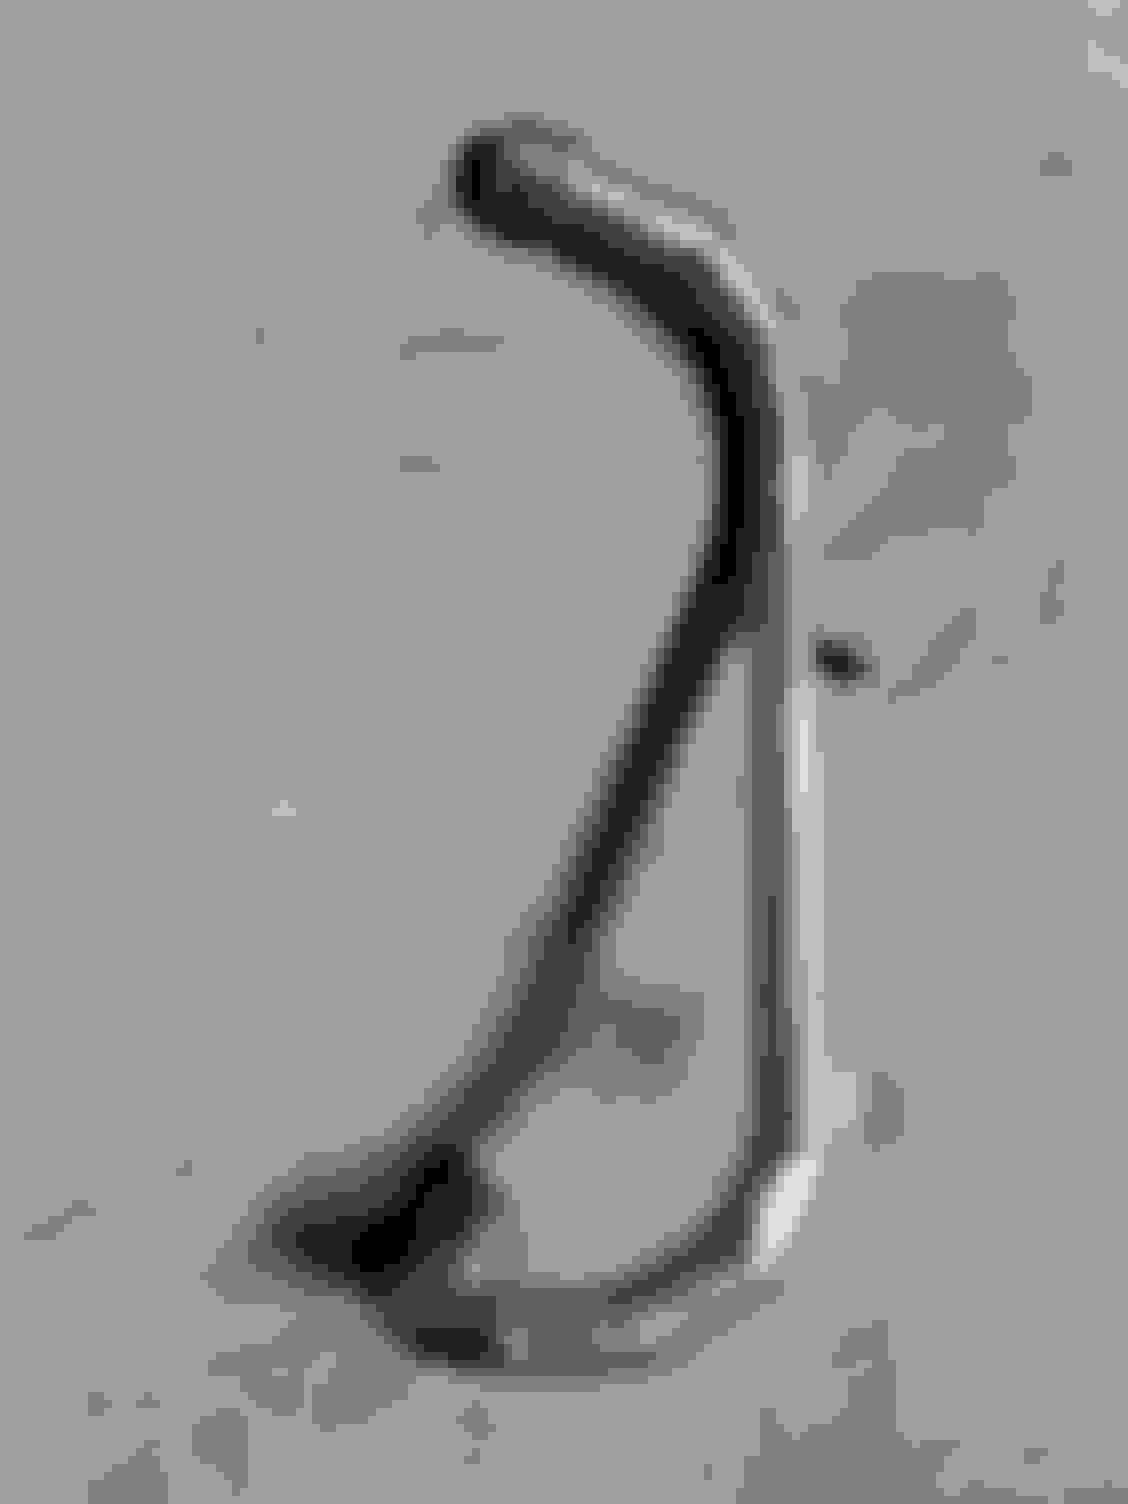
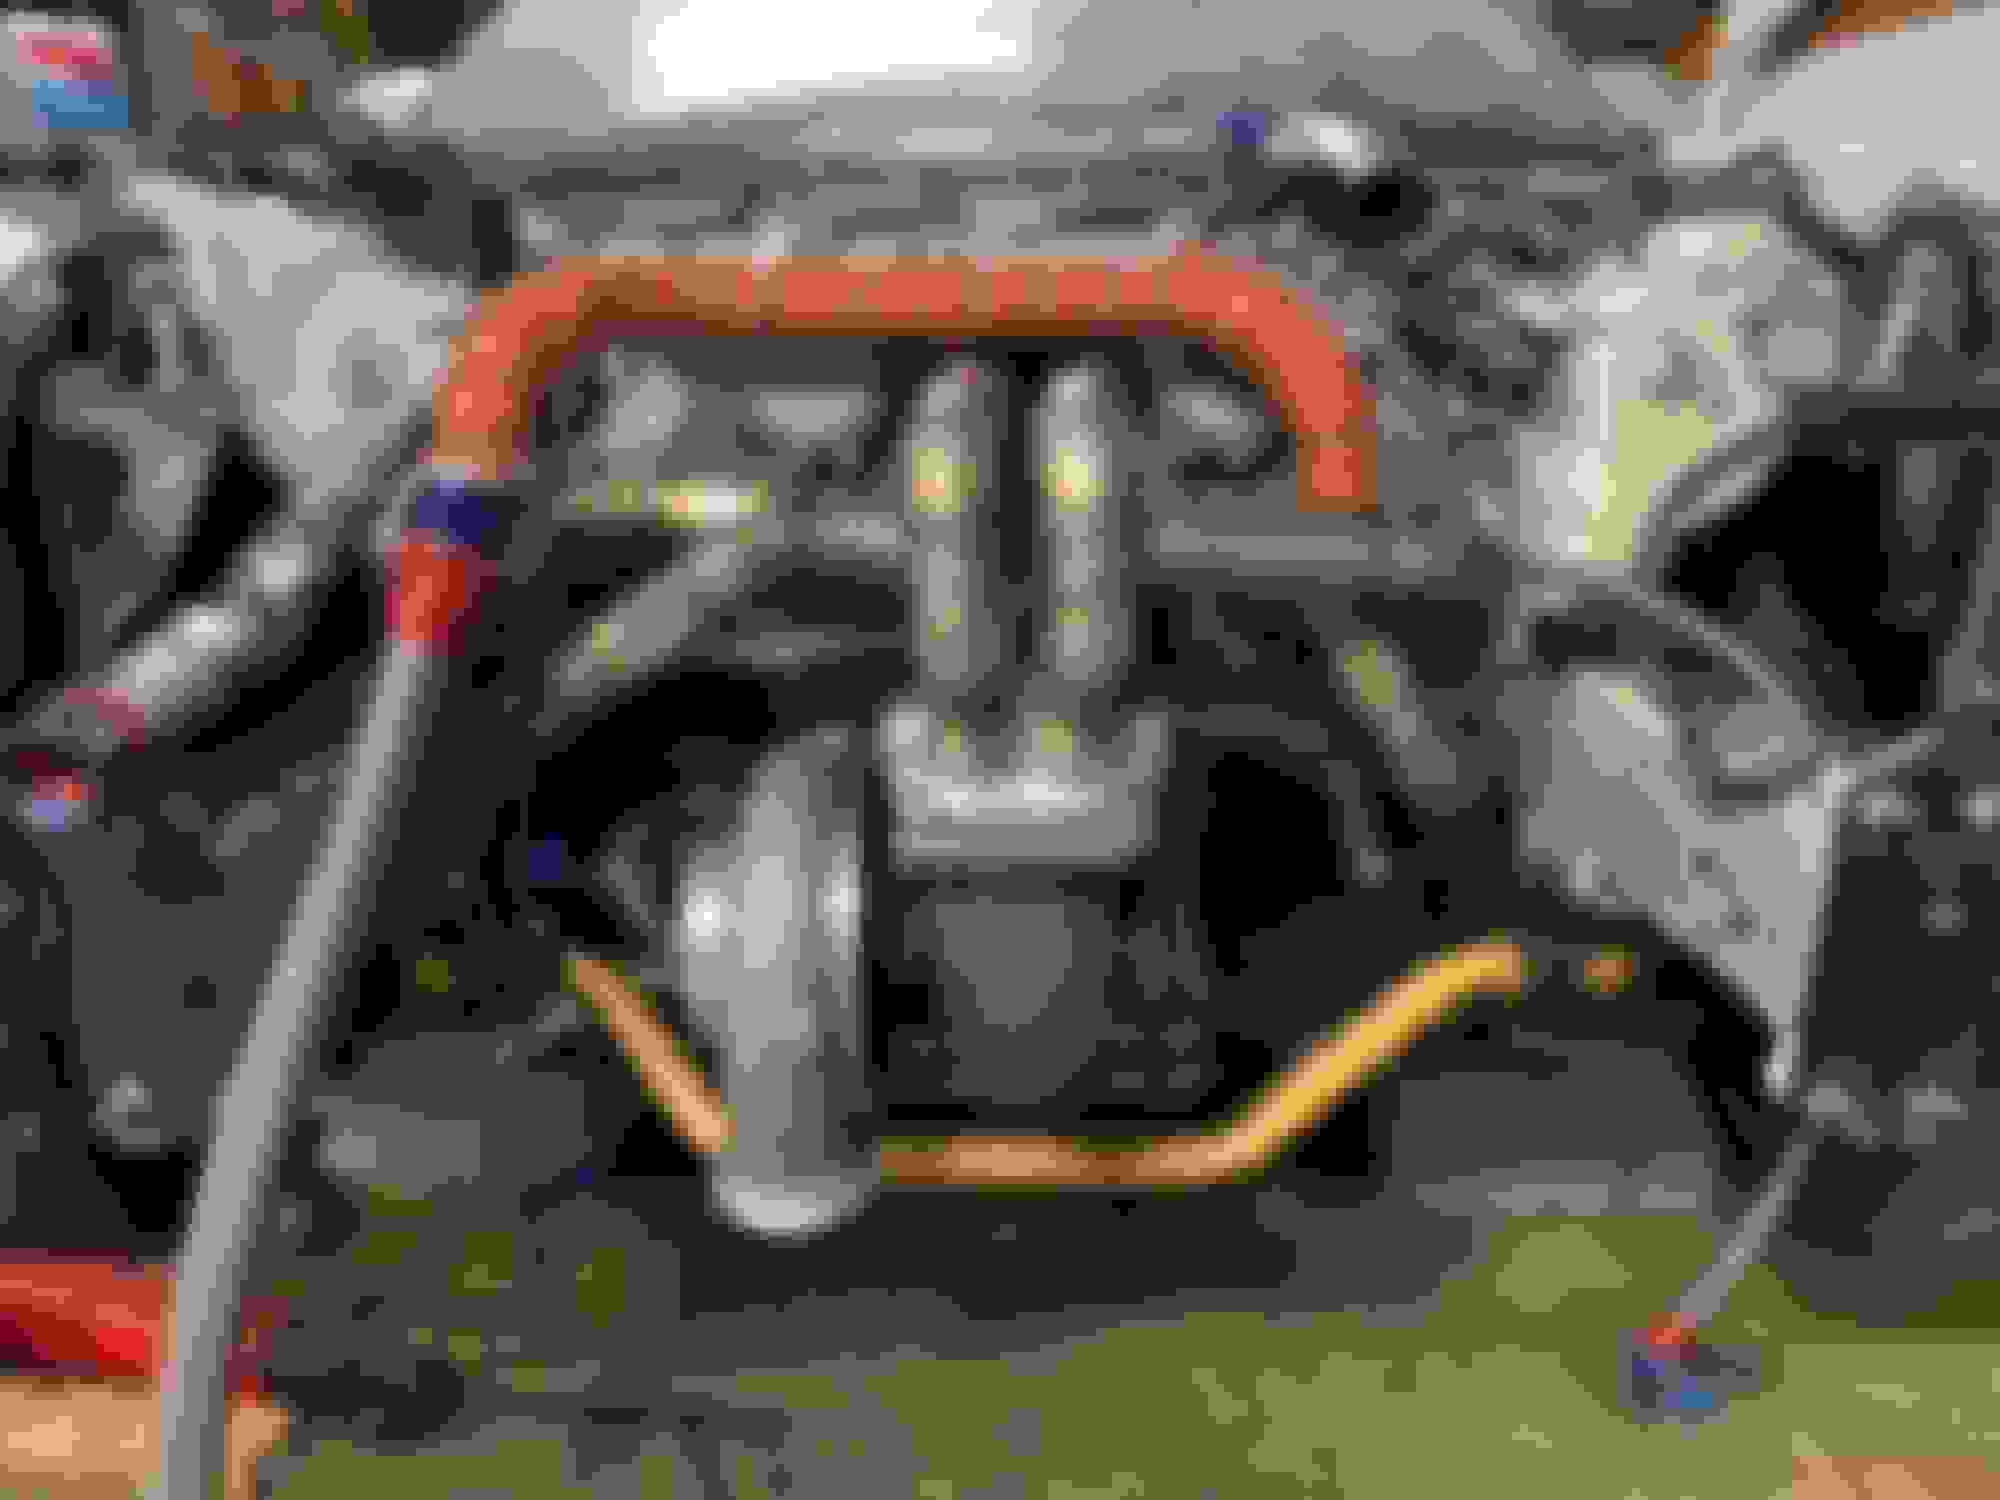
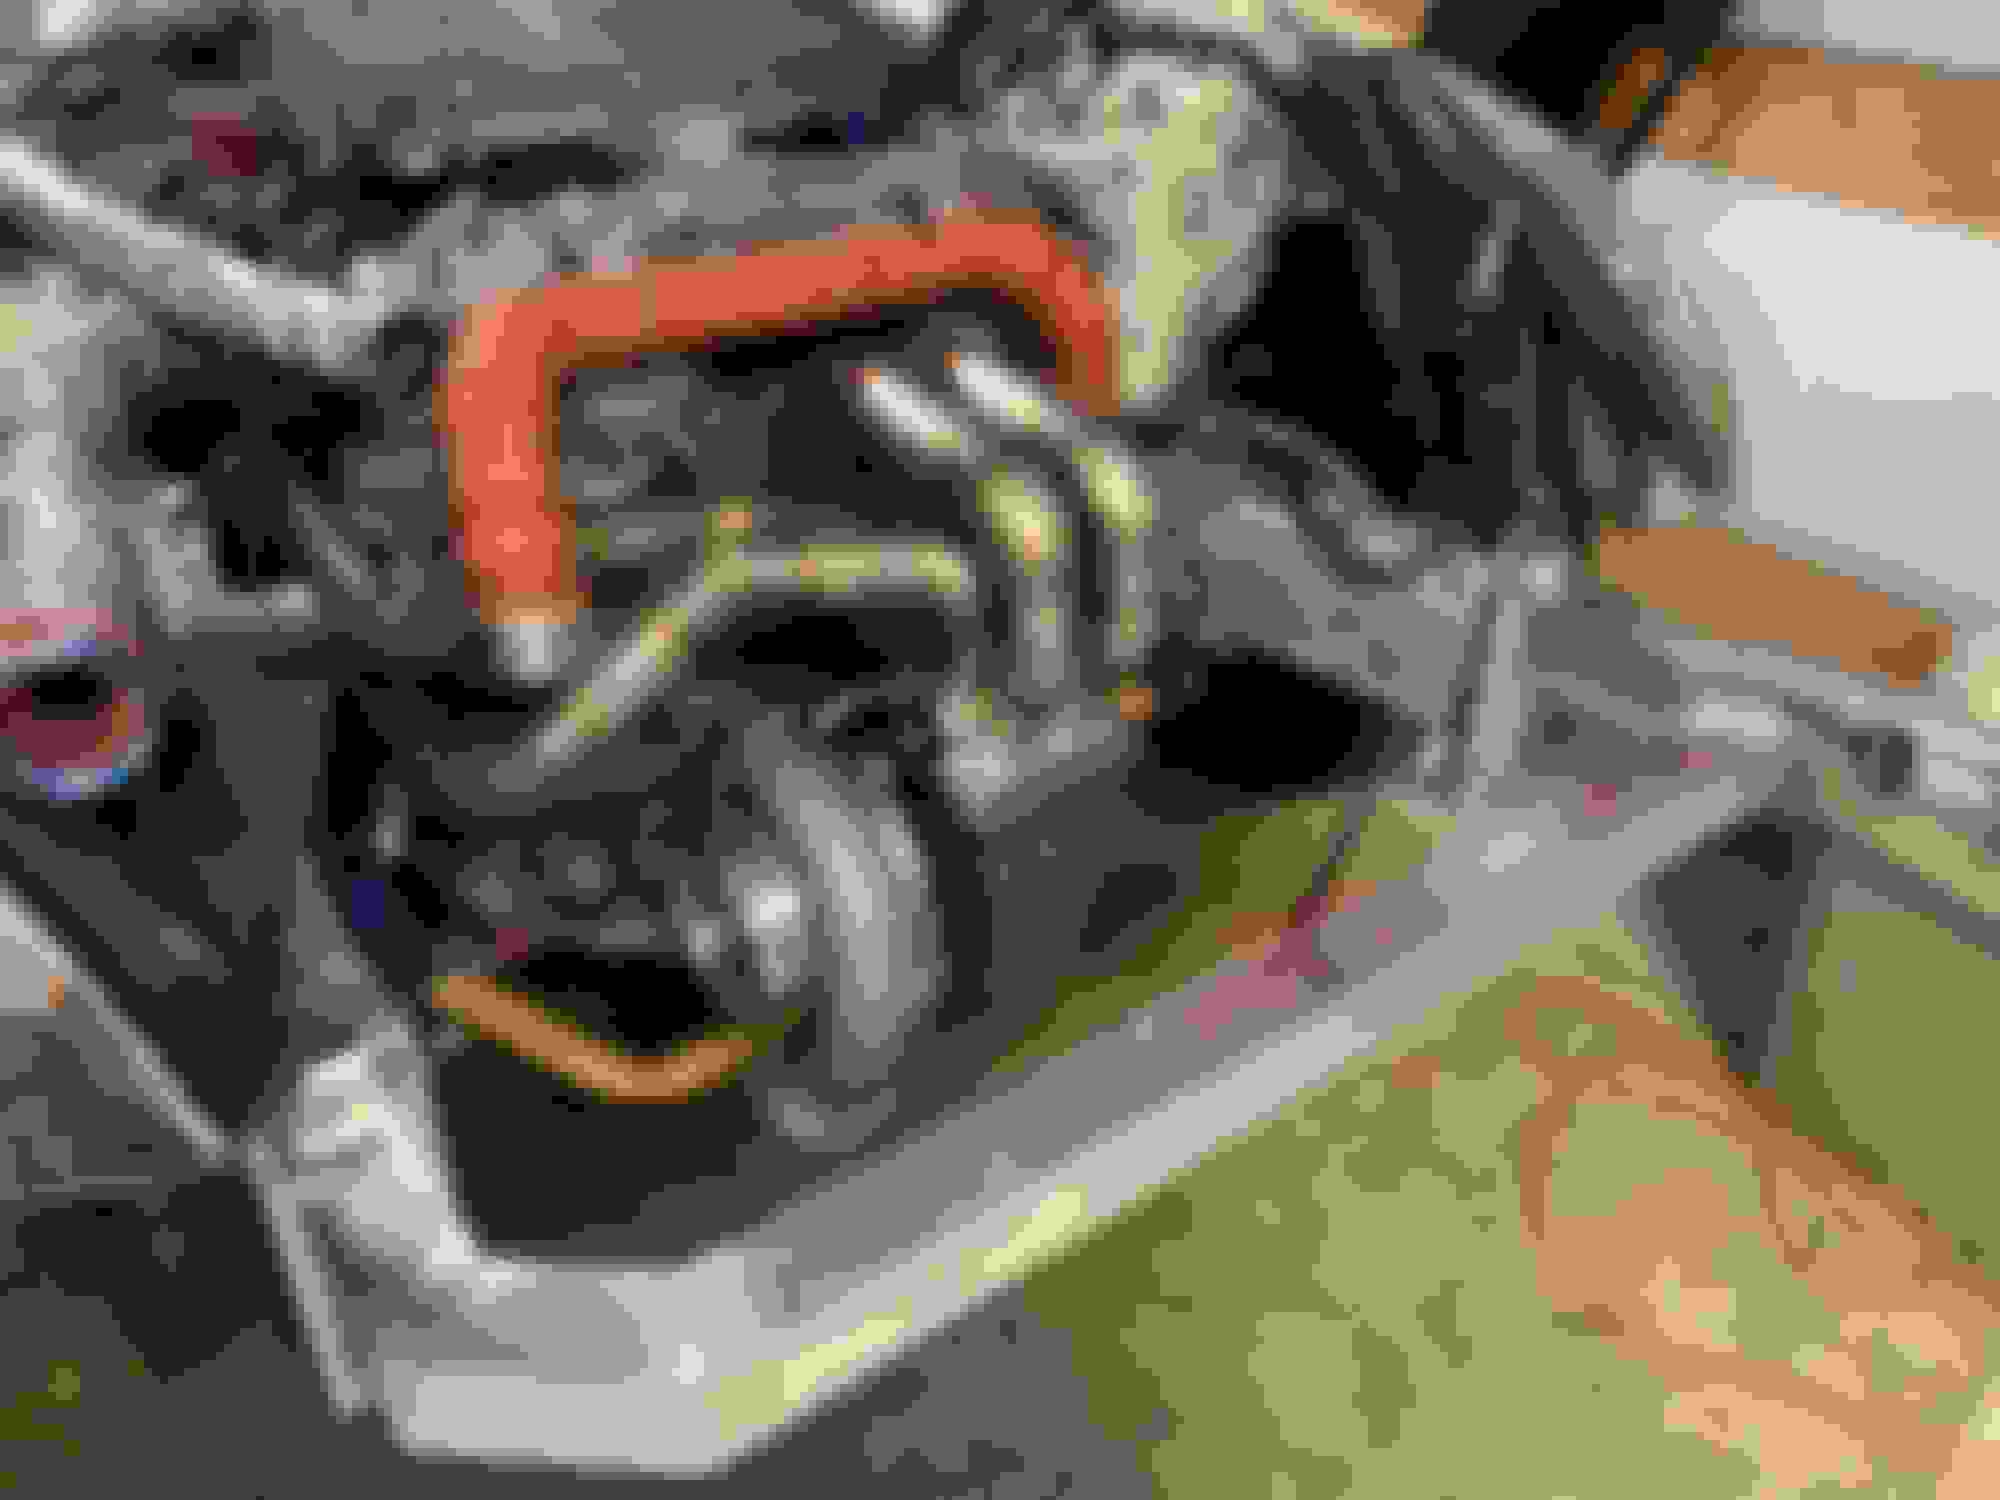
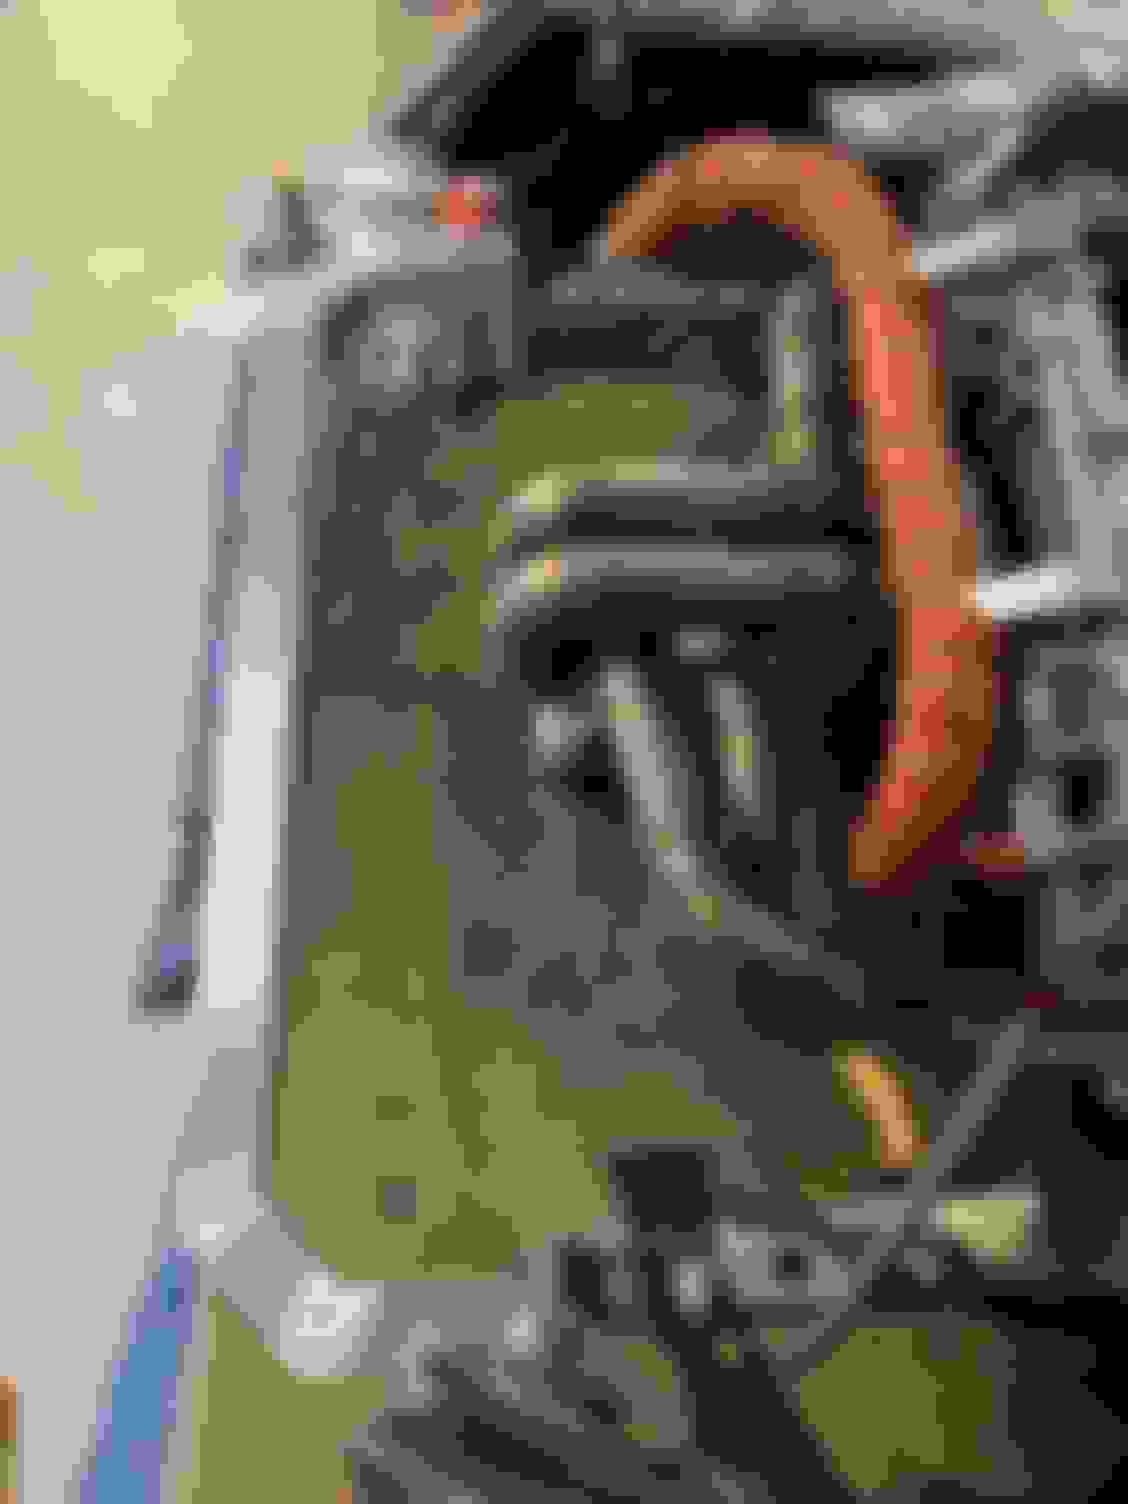
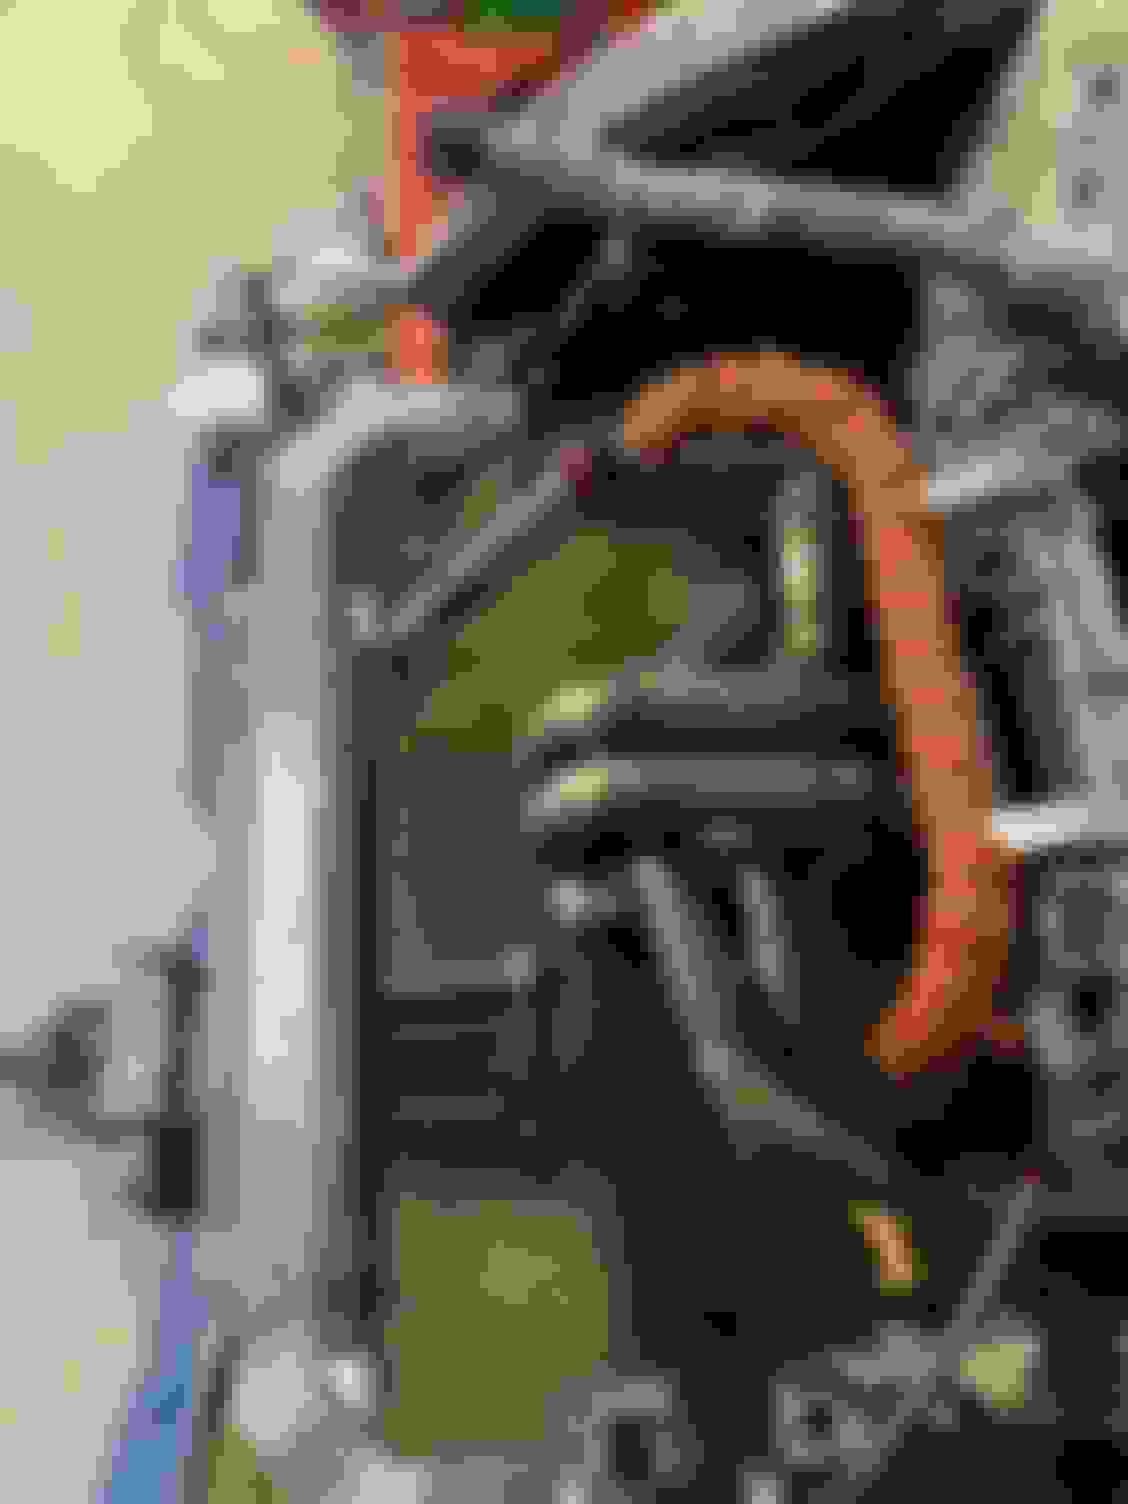
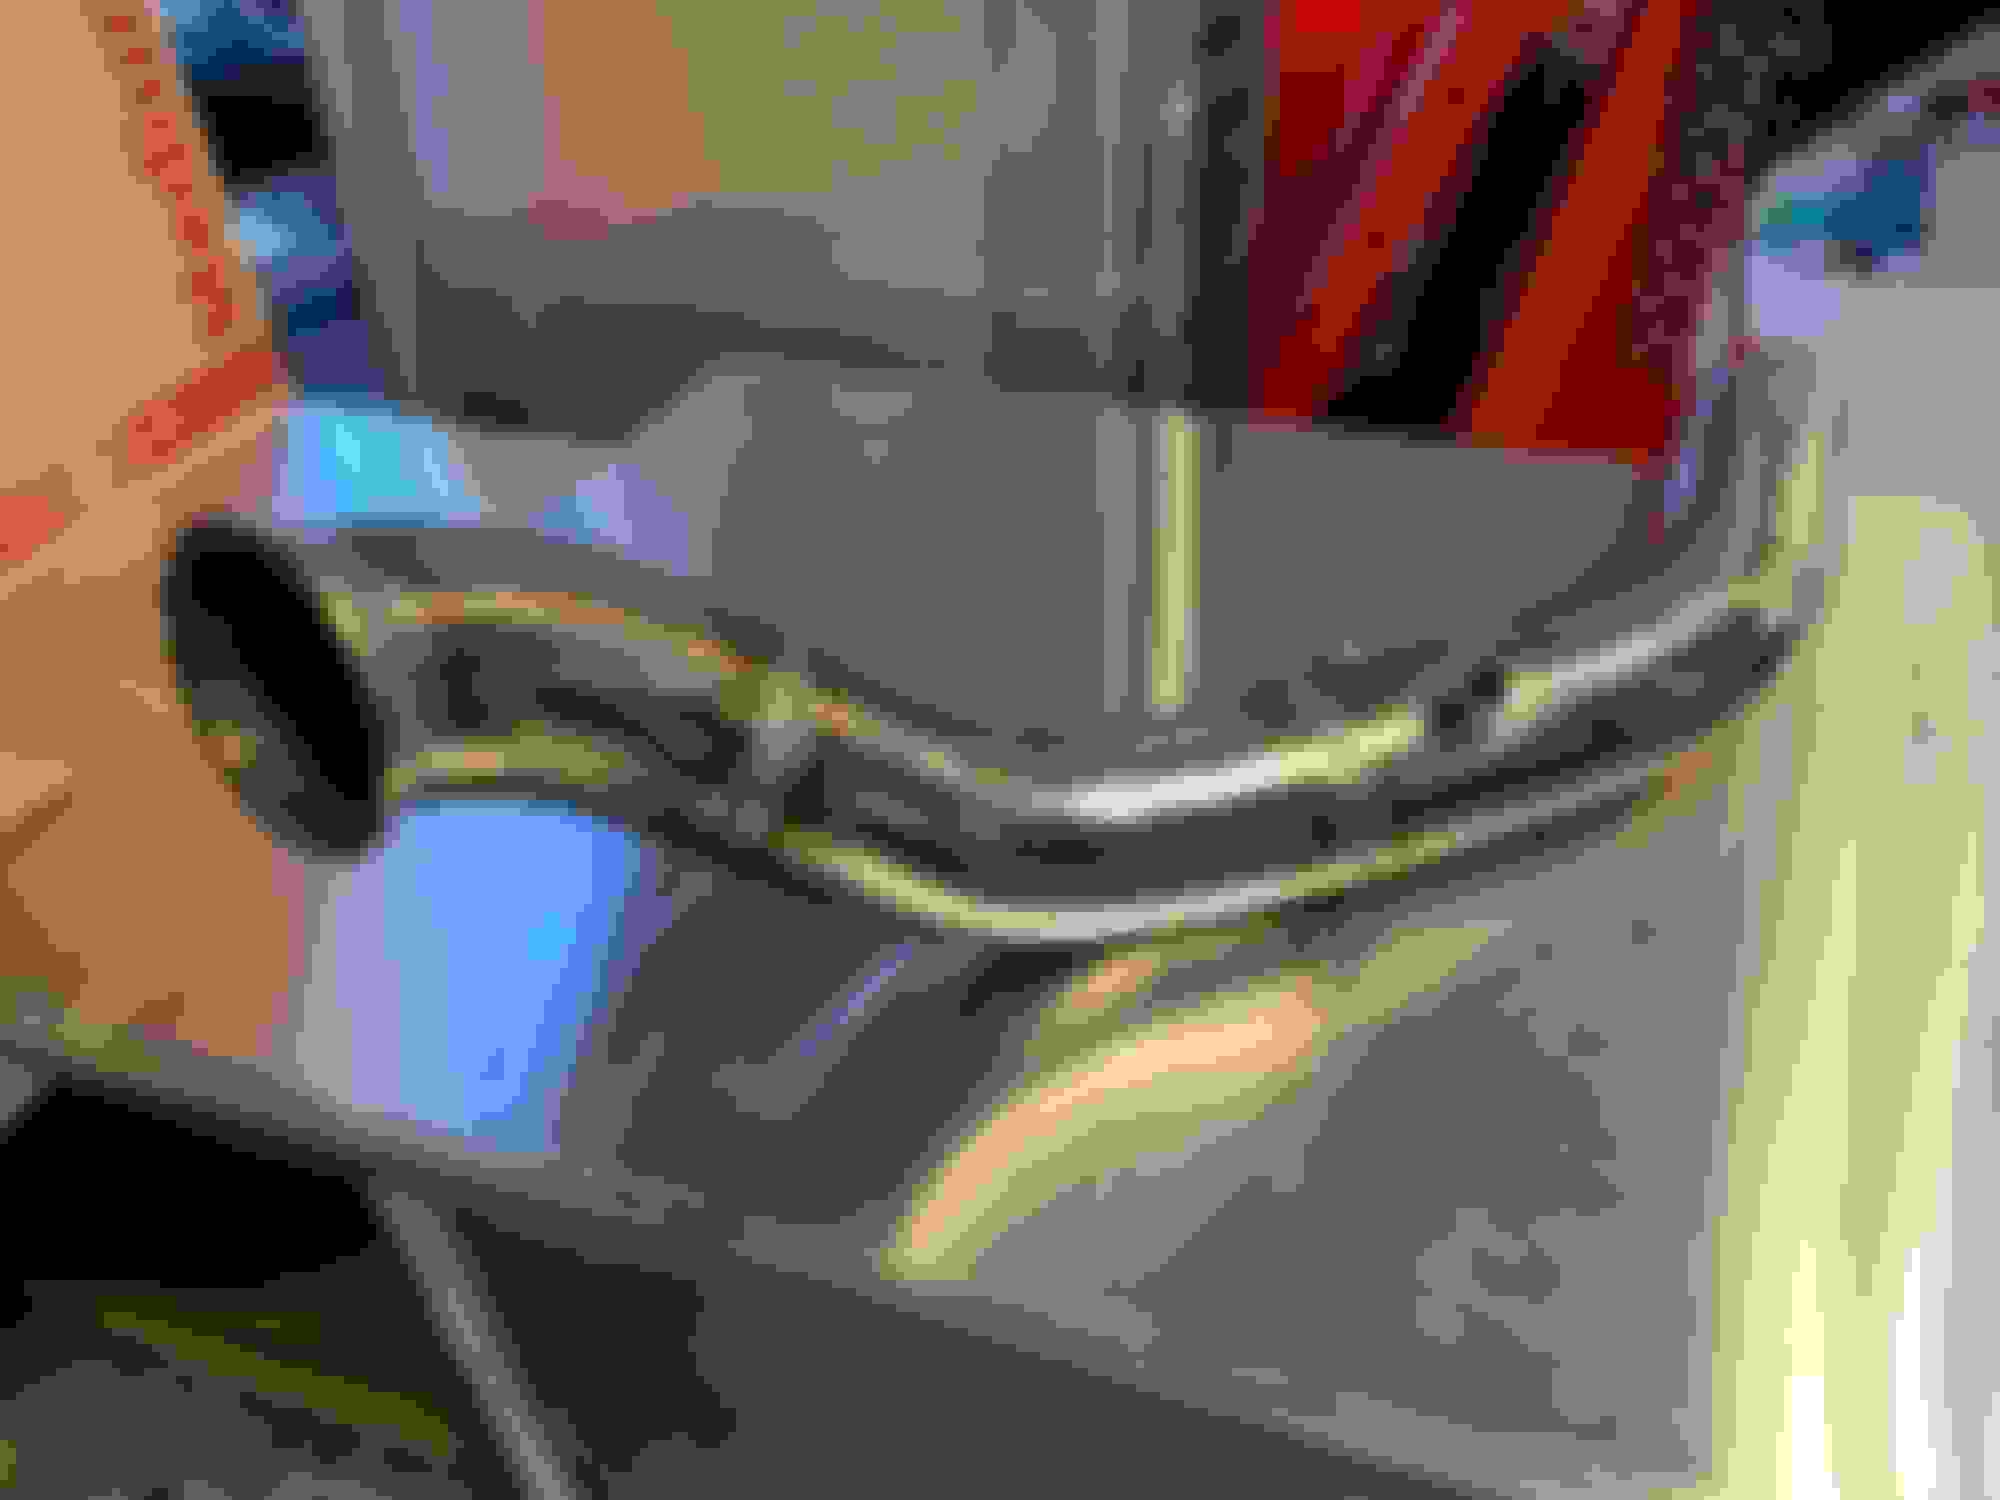
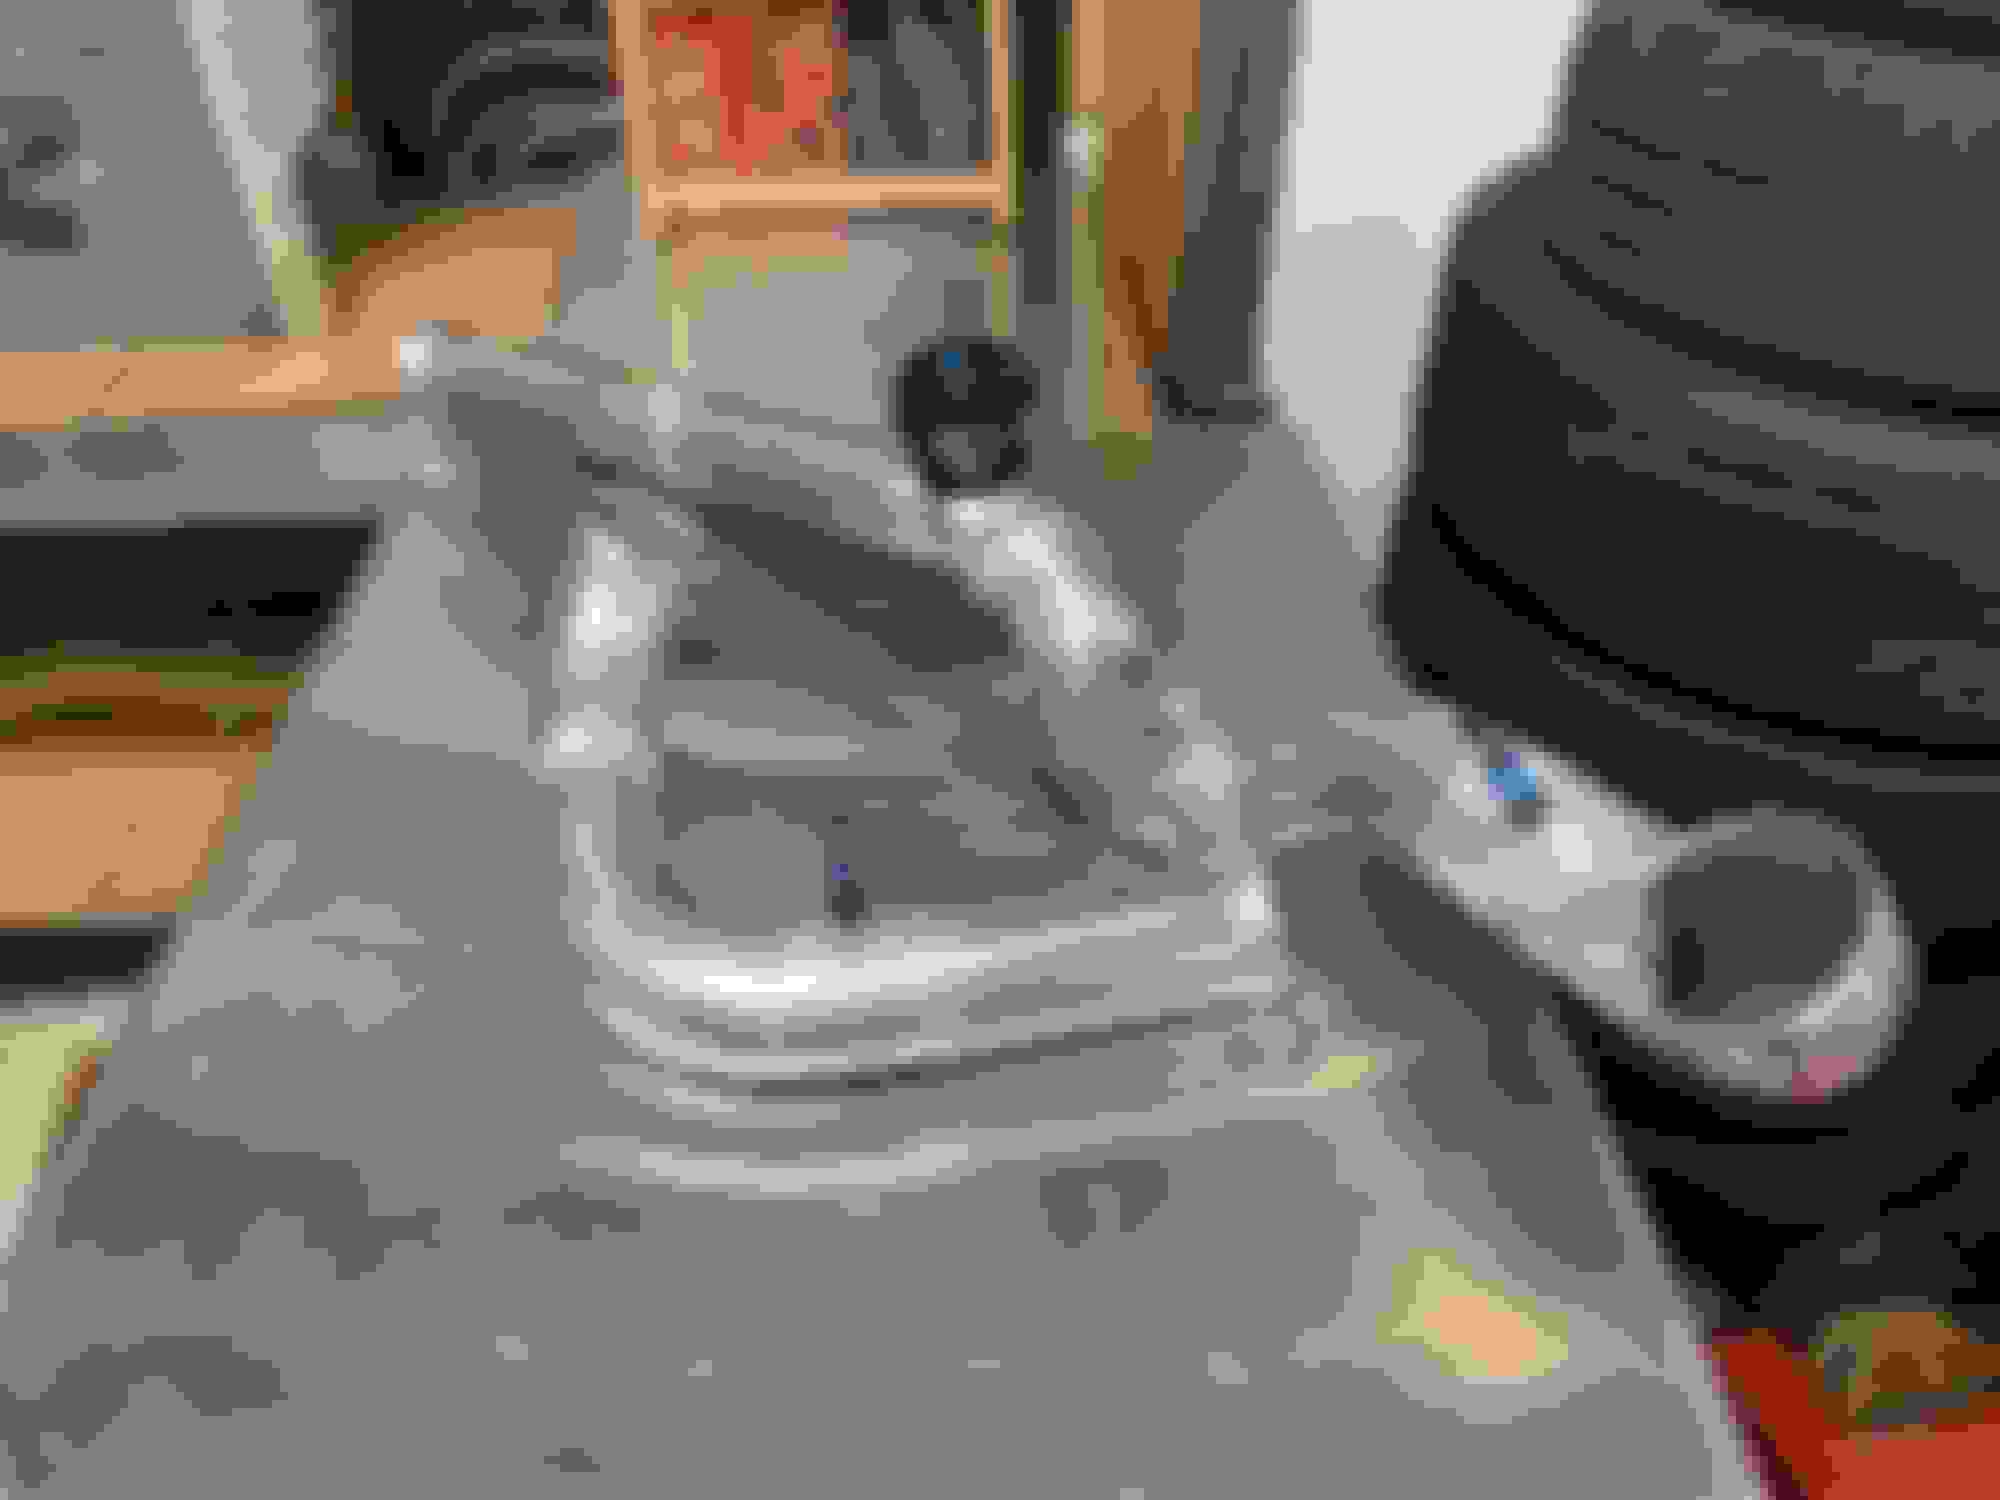
with the headers cutting off my coolant feed access I needed to re-route the coolant line. This welded up less than decent but the welds will be covered up with heat-wrap so it sorta doesnt matter - not gonna freak-out about it.
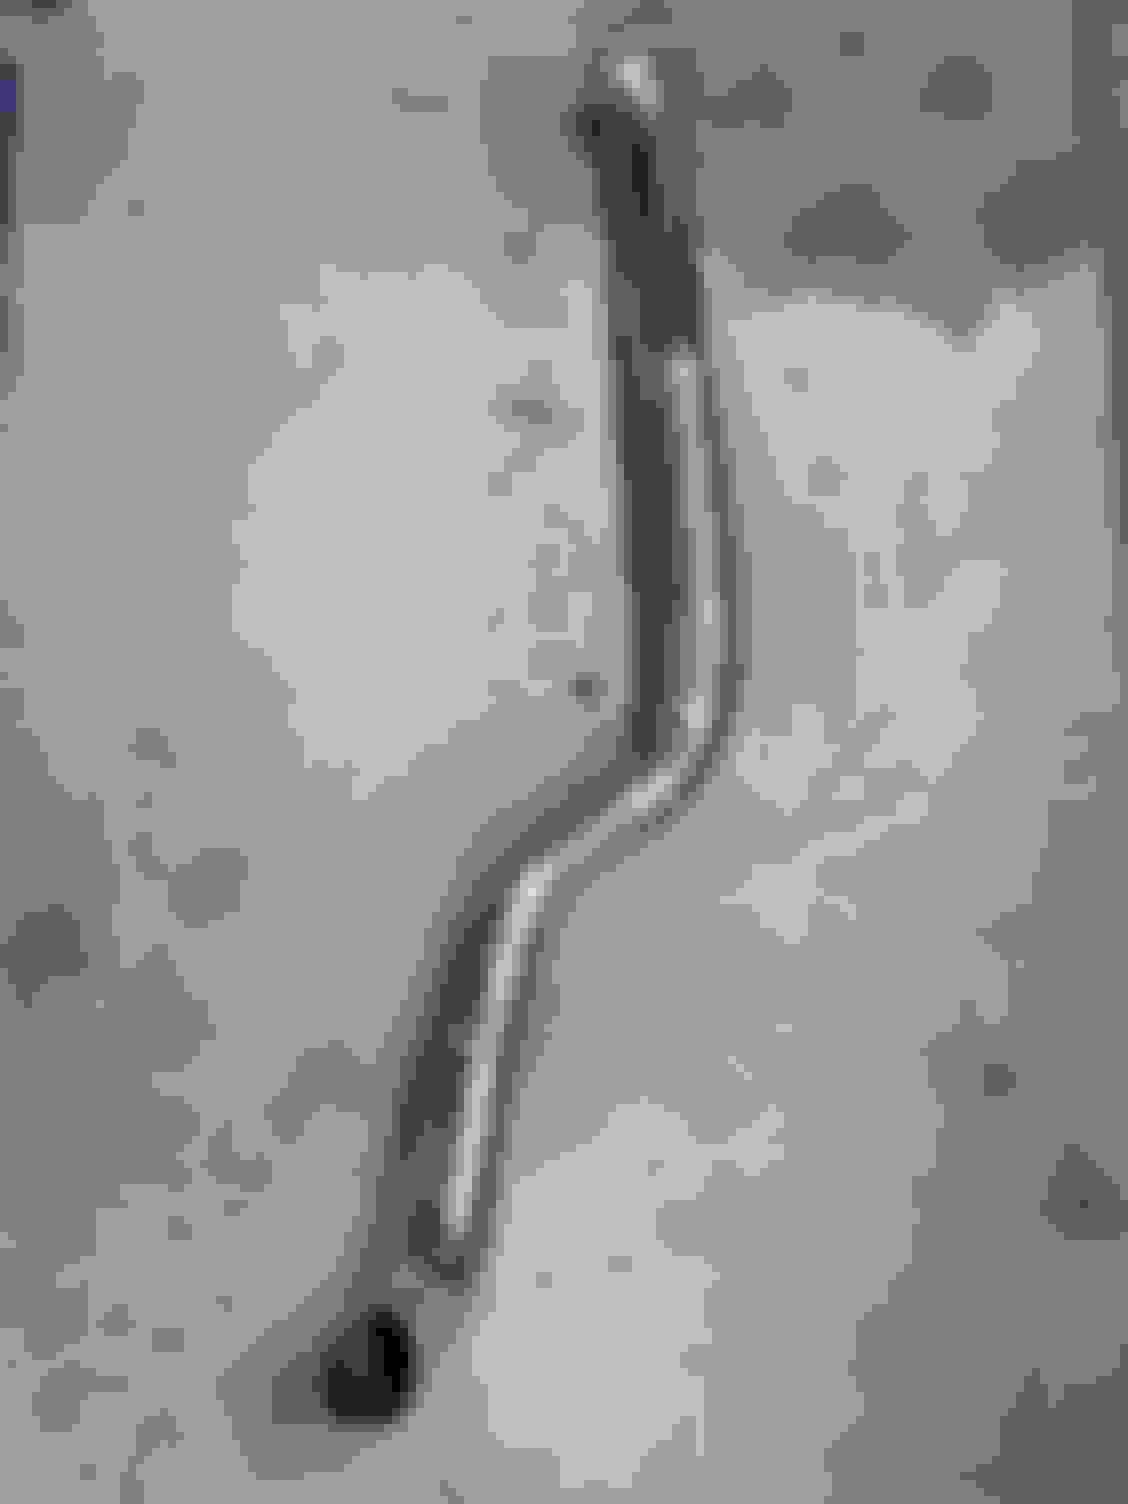
To this effect:
It'll shoot down and I'll shorten the hose with a new fitting.
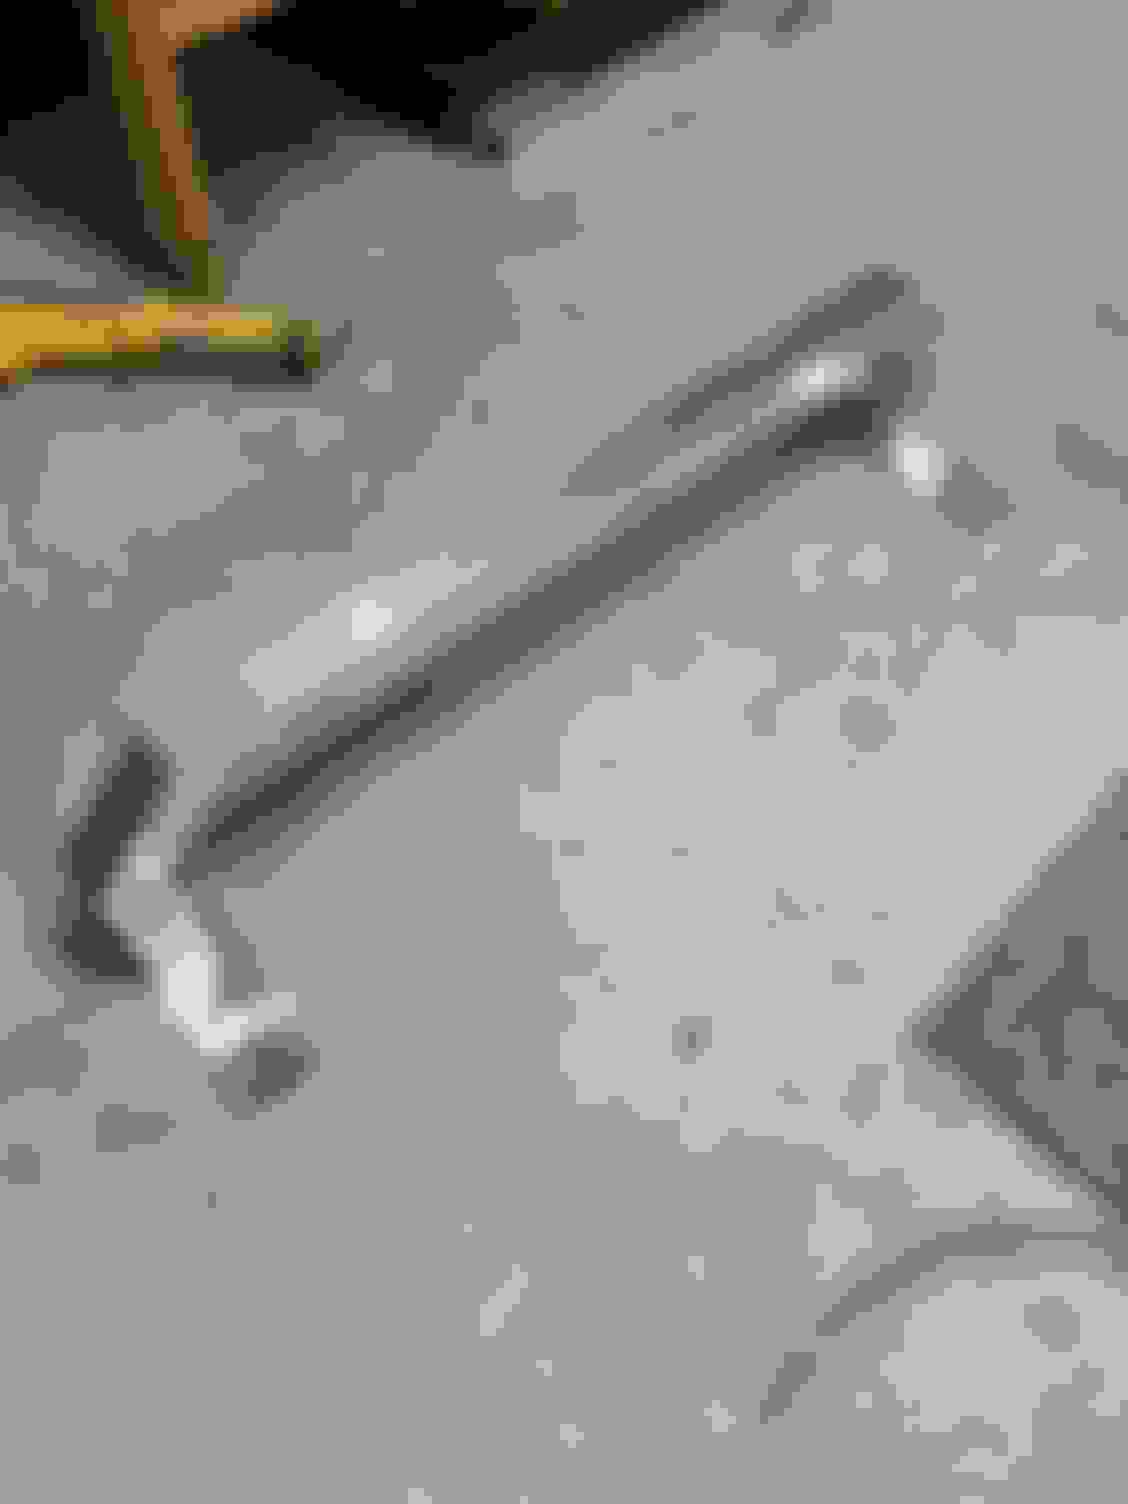
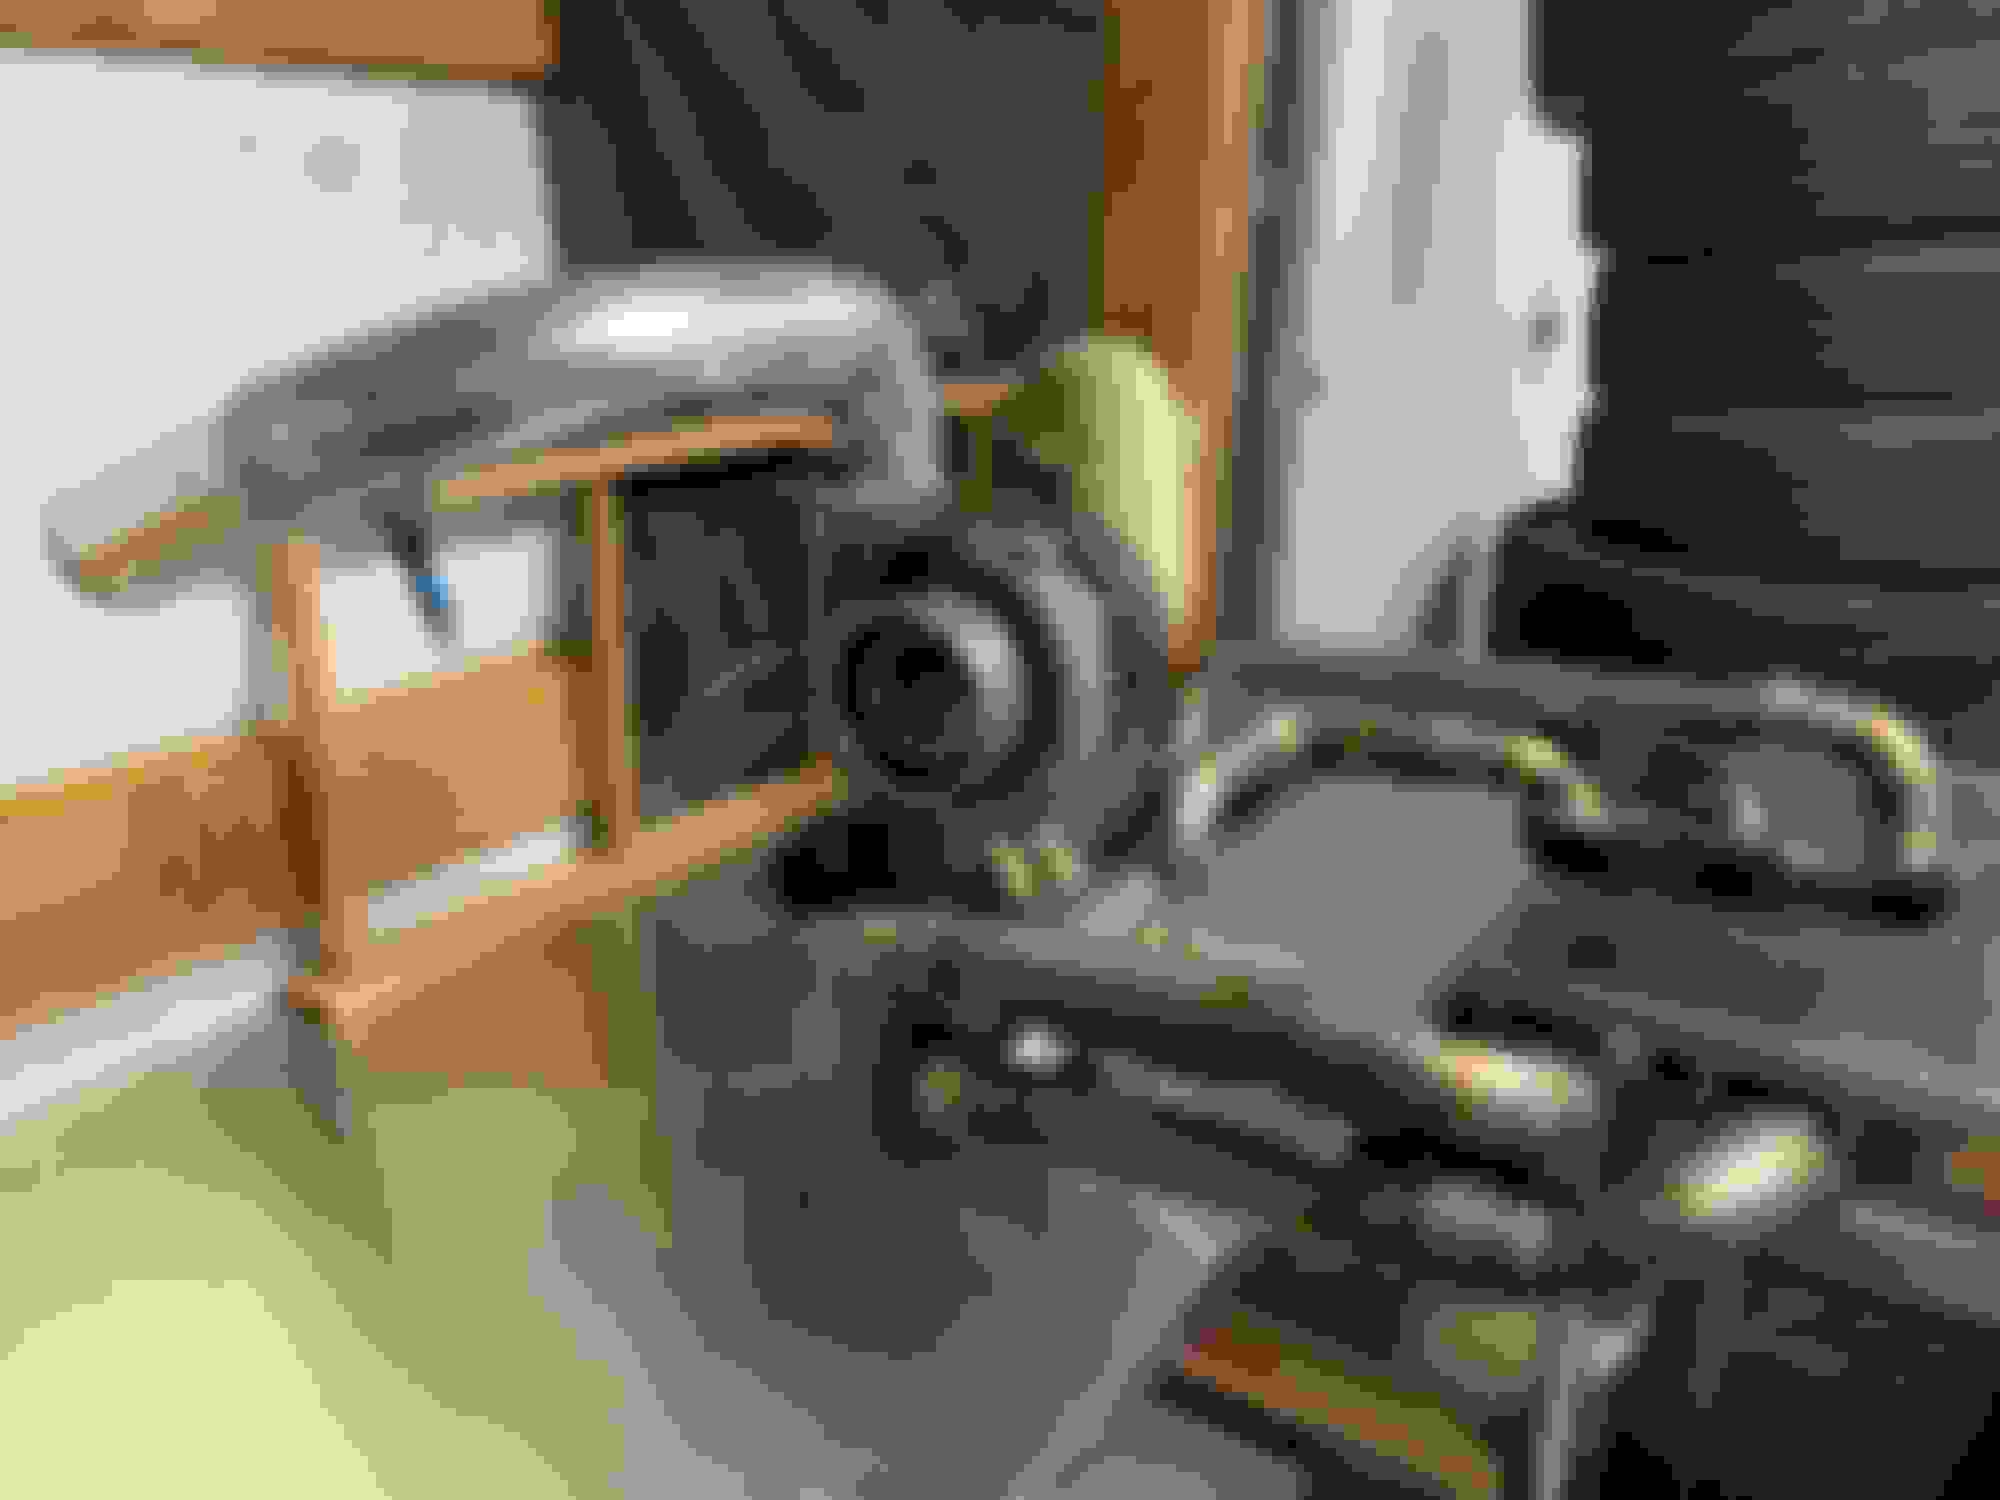
Had this floating in my head to hang the turbo from. I didnt have a solid bar of aluminum and used a piece of tube I had in stock. This may be a problem and I may have to replace it with a solid as the tube is bending-in when I cinch the turbo down.
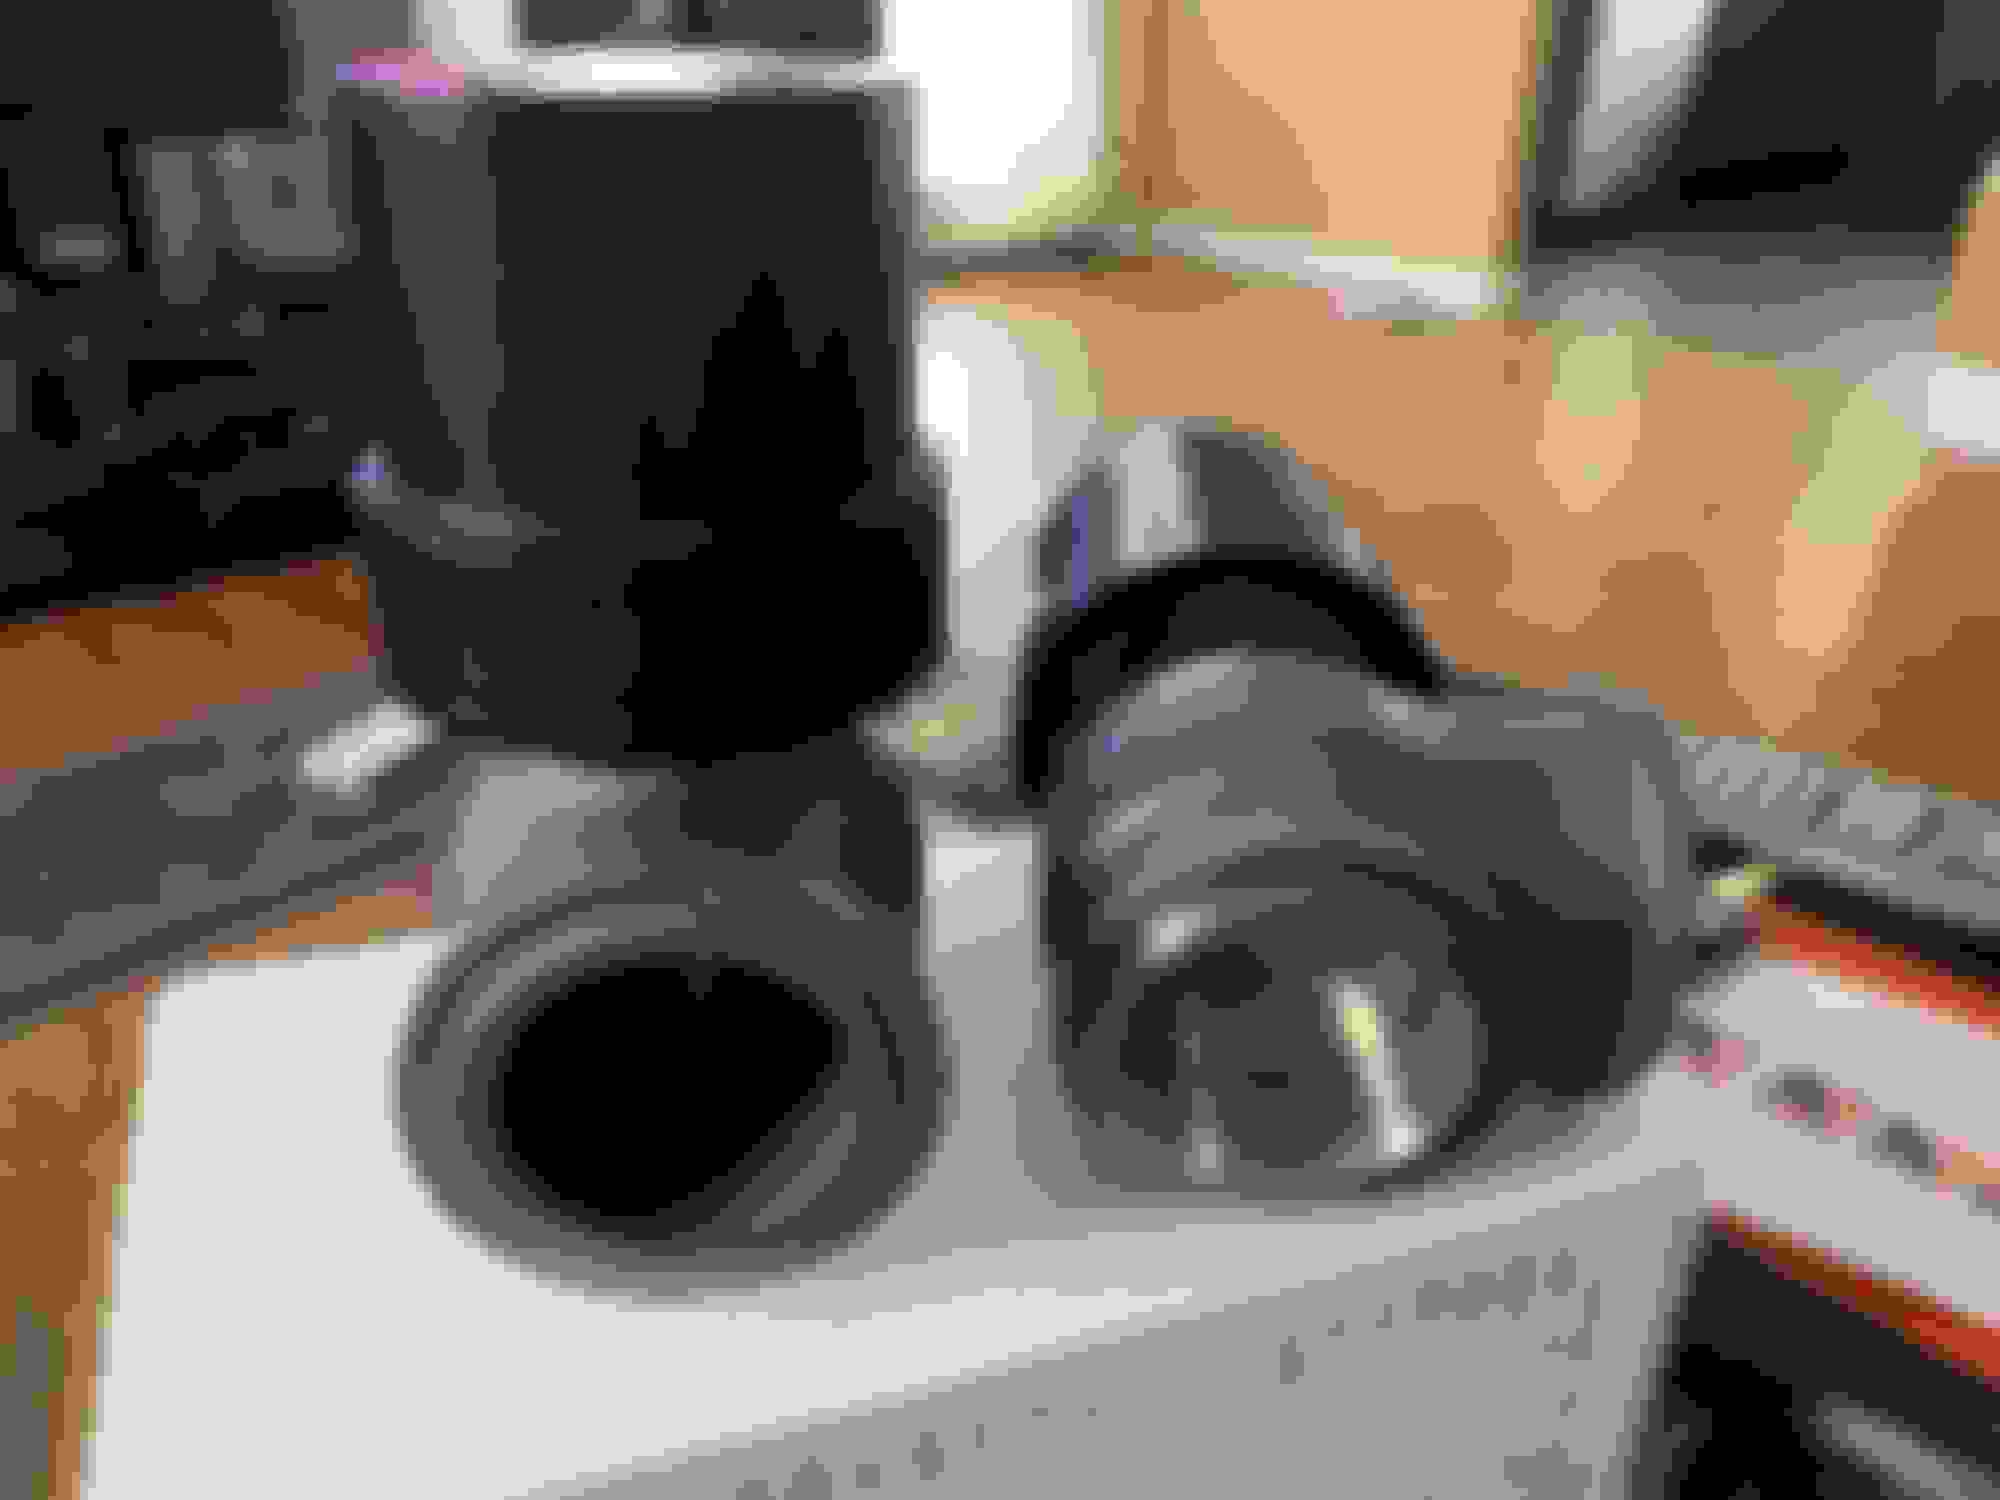
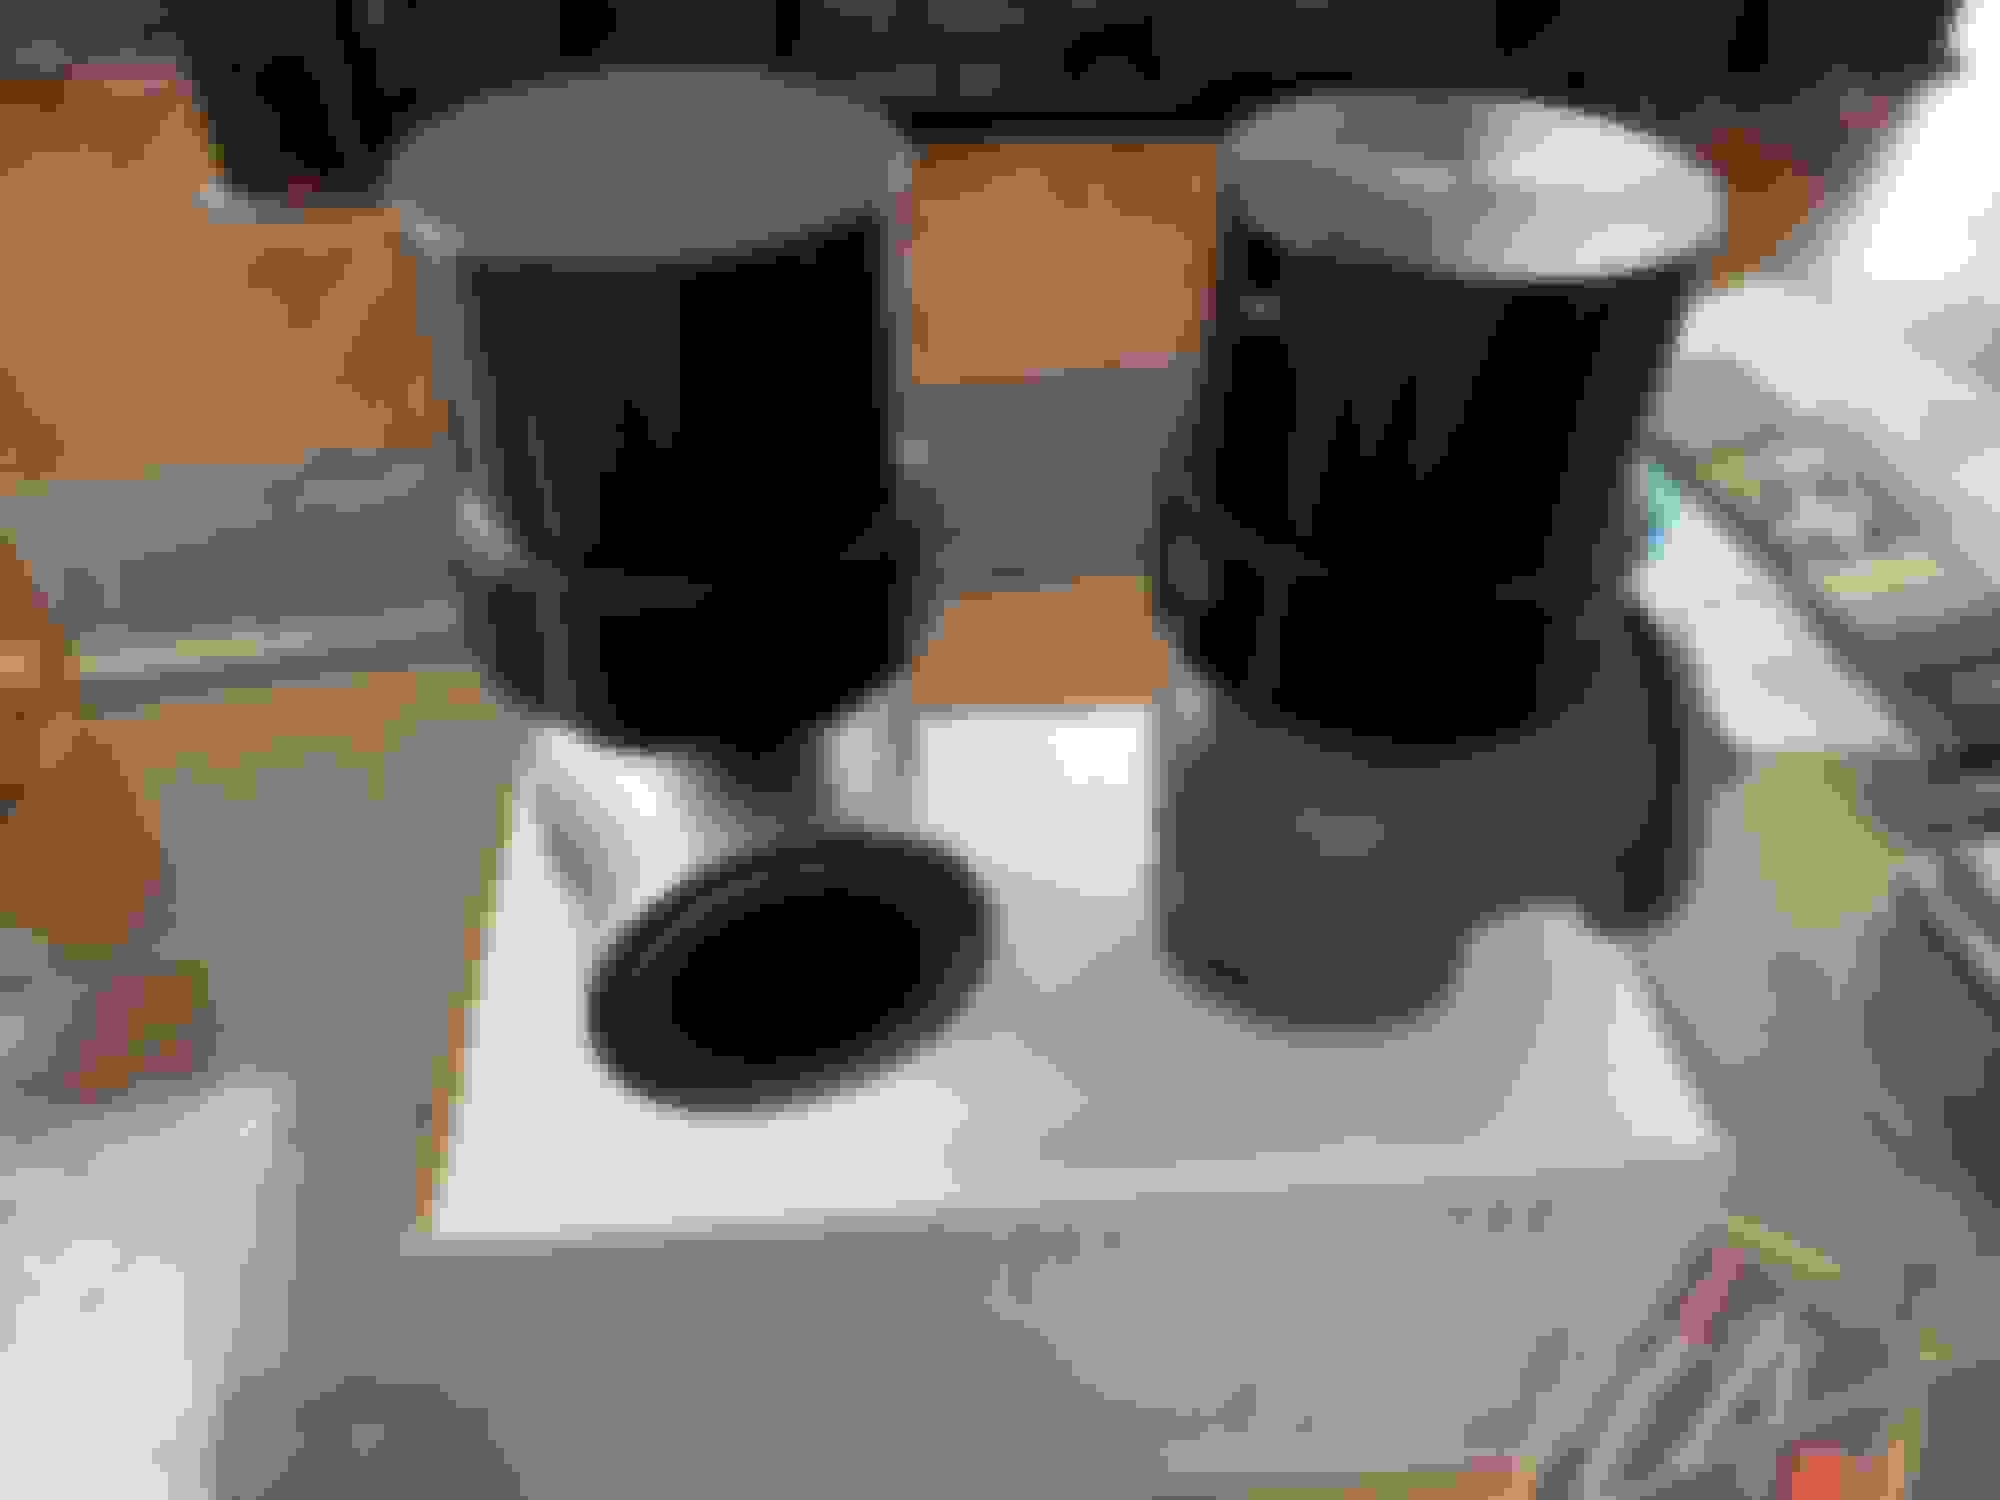
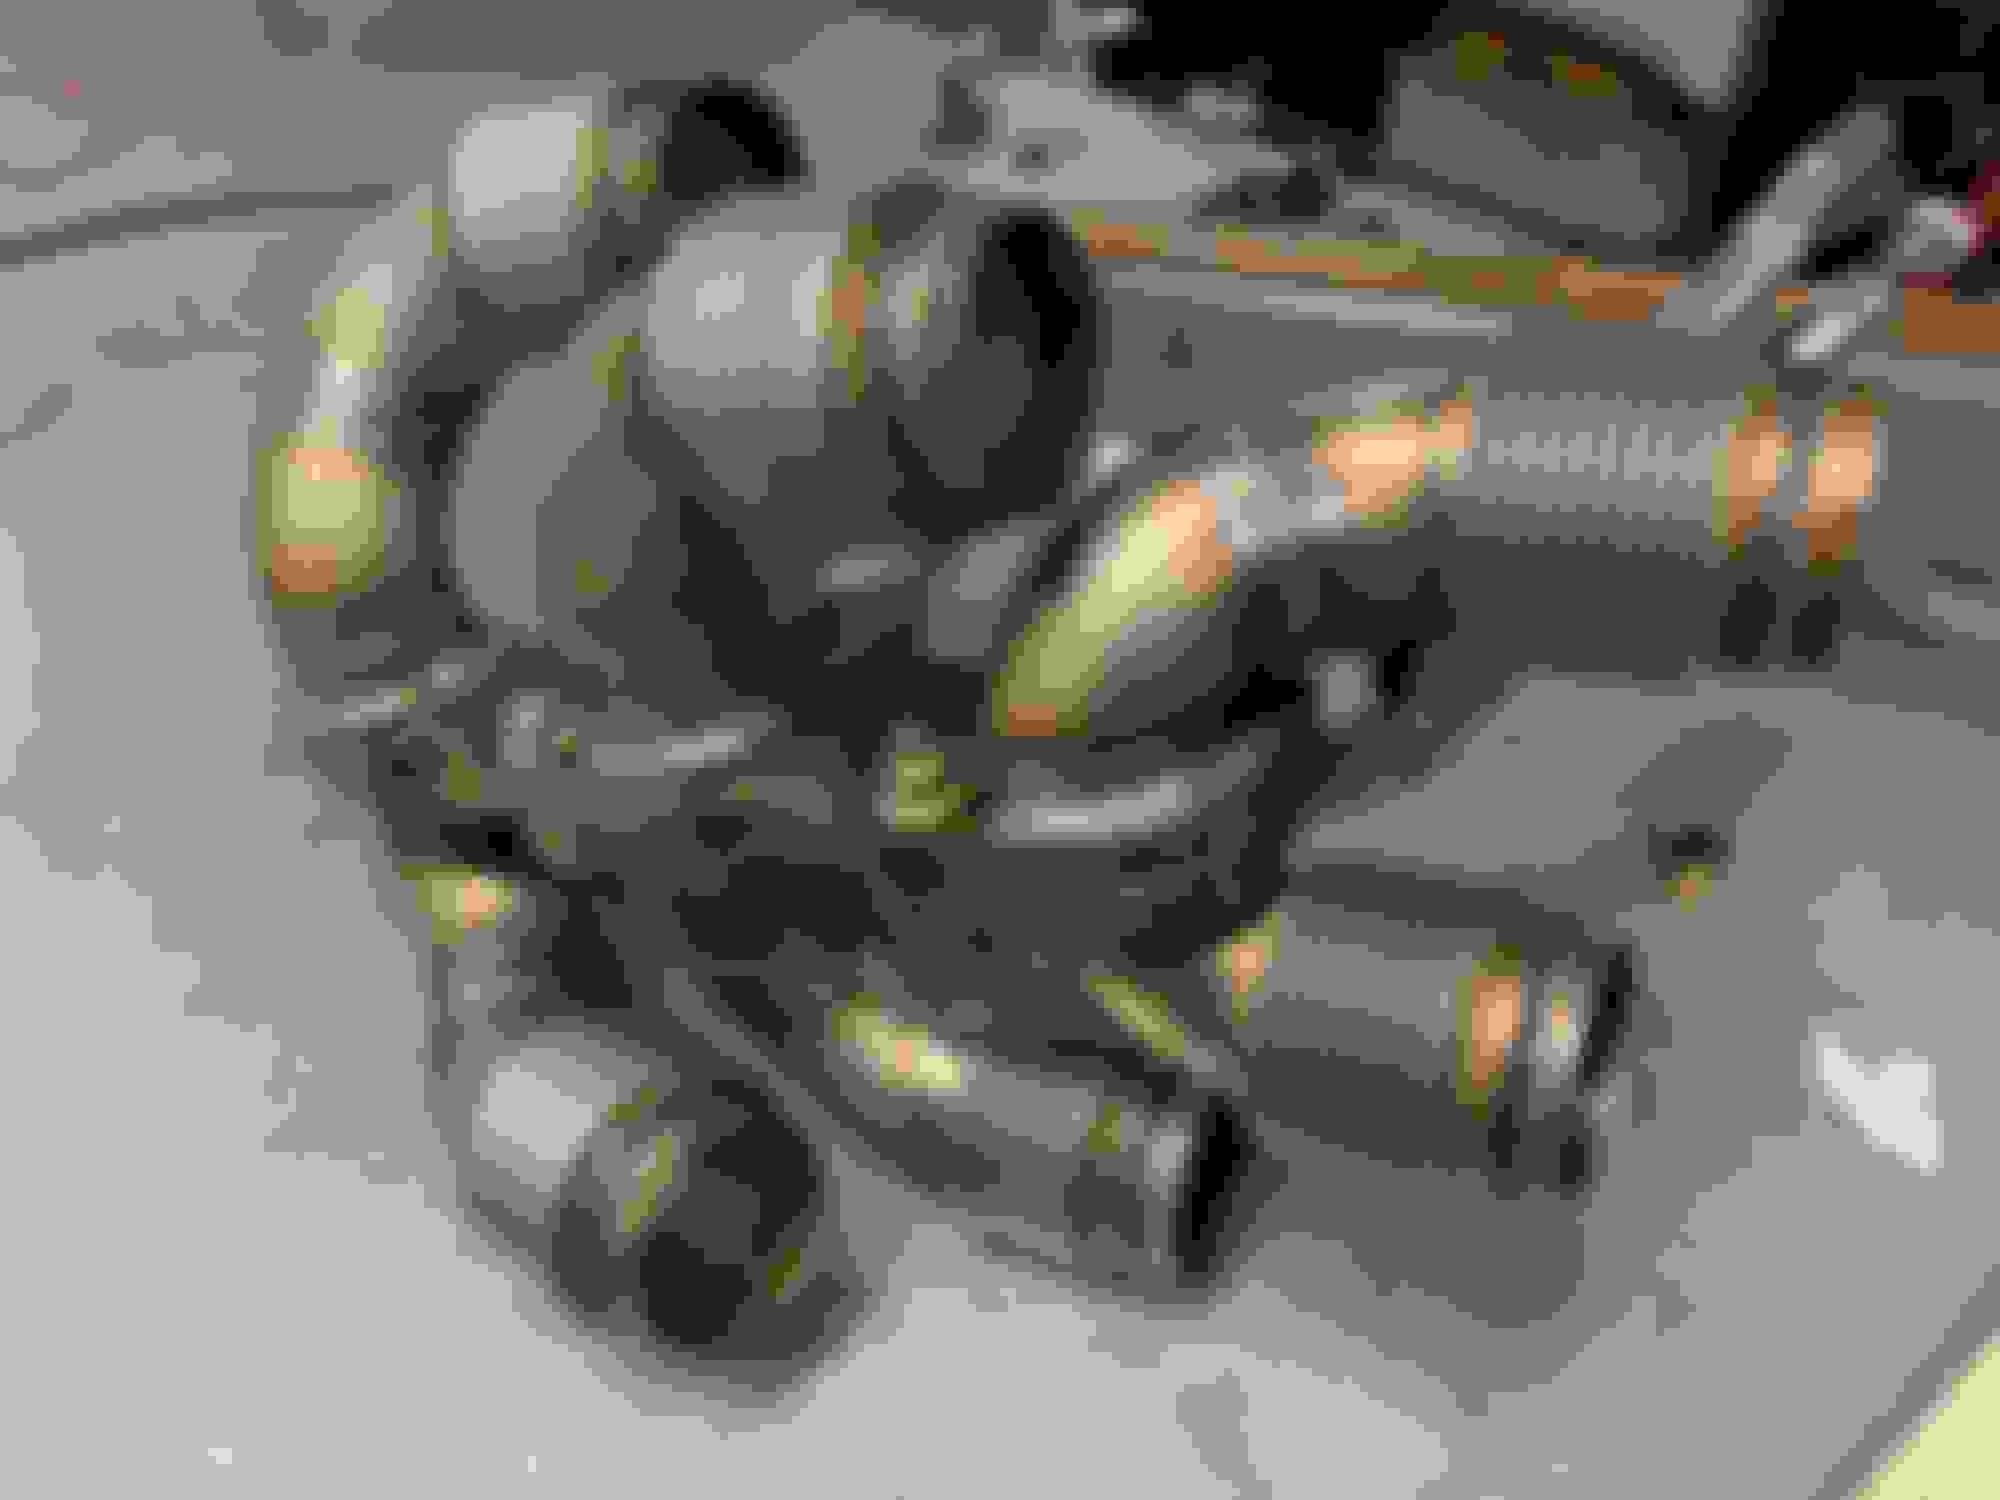
Was pretty much only looking at Tial and Turbo Smart when a fellow member (Tony / JaxsonFab on IG) said look into JGS Wastegates. JGS is pretty well known in the old-school domestic market but not-so-much in our world. Read a bunch of reviews / experiences and decided to run with them.
A few selling points of these were -
1. Their alternate design - they dont use a traditional diaphragm design ... rather a piston & twin ring design.
2. Size - more cylindrical and will work well with my setup versus a bubblier design.
3. Price point - spent about $300 less on these than I would have on Tial.
4. Reputation - many many people running them with no issues.
On the horizon - will be re-fabricating my front end to lower my radiator about 1/2" and push in further towards the engine about 1". I think I'm gonna put my big-boy pants on and run a front bumper like an adult...
My plan is to run a similar 1/4" plate, bolted to the chassis and running a 2"x 2" tube, running it forward 5" (to clear the radiator), a short 45degree bend, and then a front section that the IC and coolers will hang off of.
The **** thing - my bandsaw broke and looking at either a replacement band-saw or a chop-saw.
I think I scared my boss today when I requested the next 5 fridays off to ensure the car is ready to run in Pikes Peak Airstrip Attack...
Furthermore - the exhaust is looking to be a pain in the nuts - clearing the steering rack and that BS block-out plate is turning out to be very difficult. I'm too far in right now to send the exhaust past the passenger side (plus I'd like to NOT cross the exhaust & fuel lines).
When winter leaves and then comes back, I may dismount the trans, remove the blockout plate & cut the bellhousing and re-weld it closed as this will help immensely to run a 4" from turbo to tail-pipe.
... As of right now I am doing a 4" side exit and a big can of "fnckk-it"
g'd today was productive...I'm secretly fearing of running out of time so I'm doing my best to make a worklist of everything that needs to get done (how every small of a task) and check things off as I go.
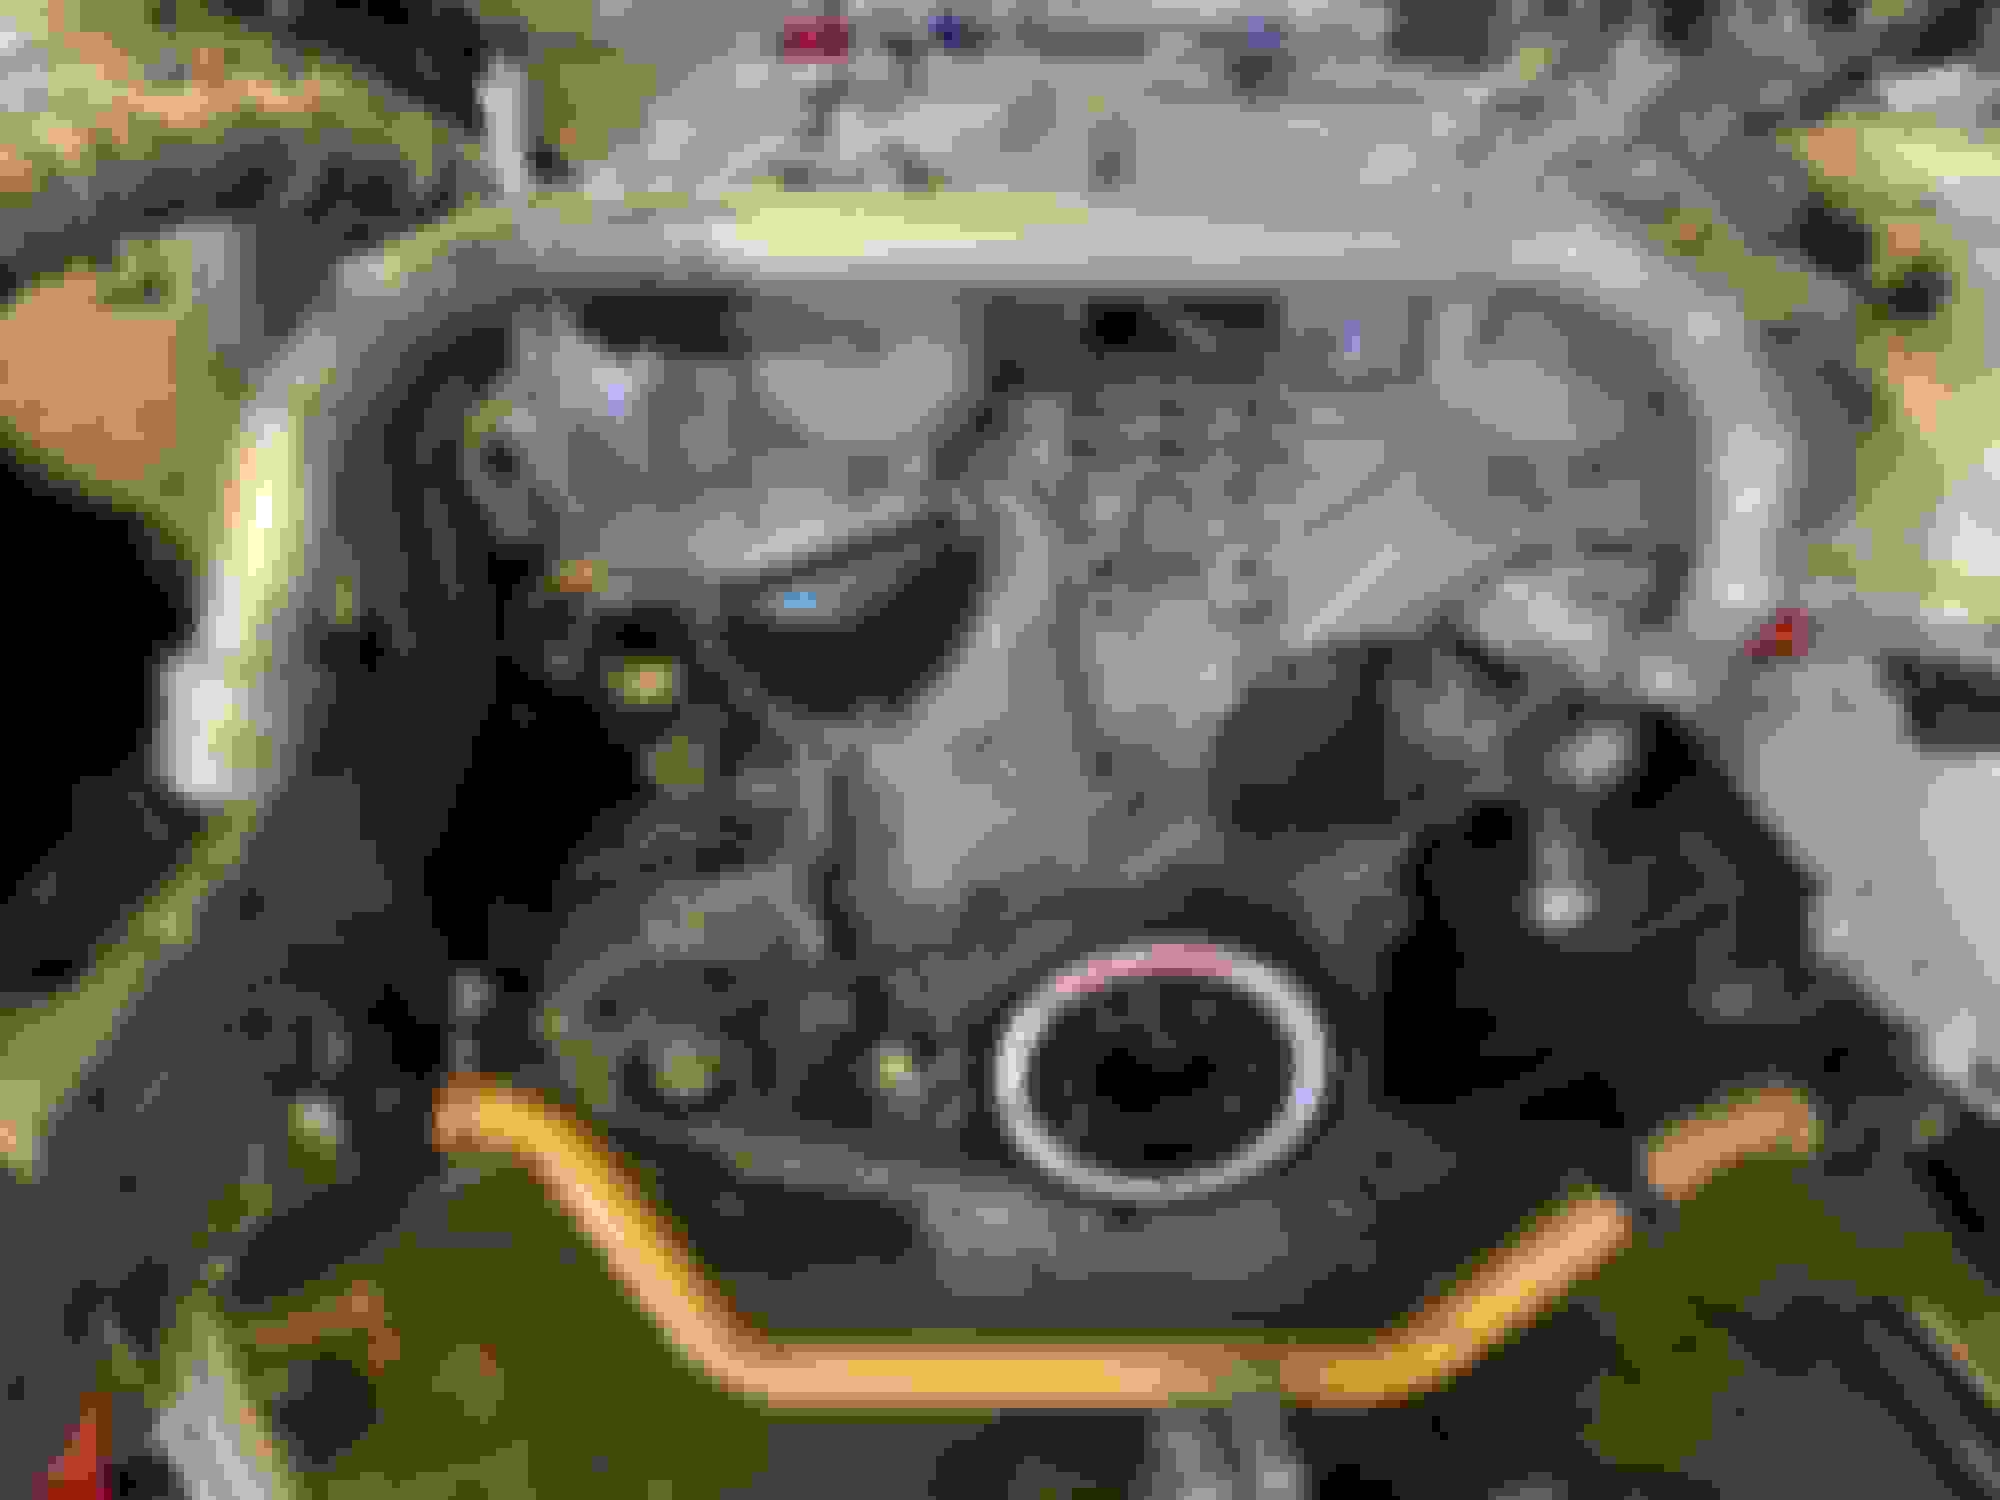
wrapped the coolant hose and will trim and install the new 45* fitting.
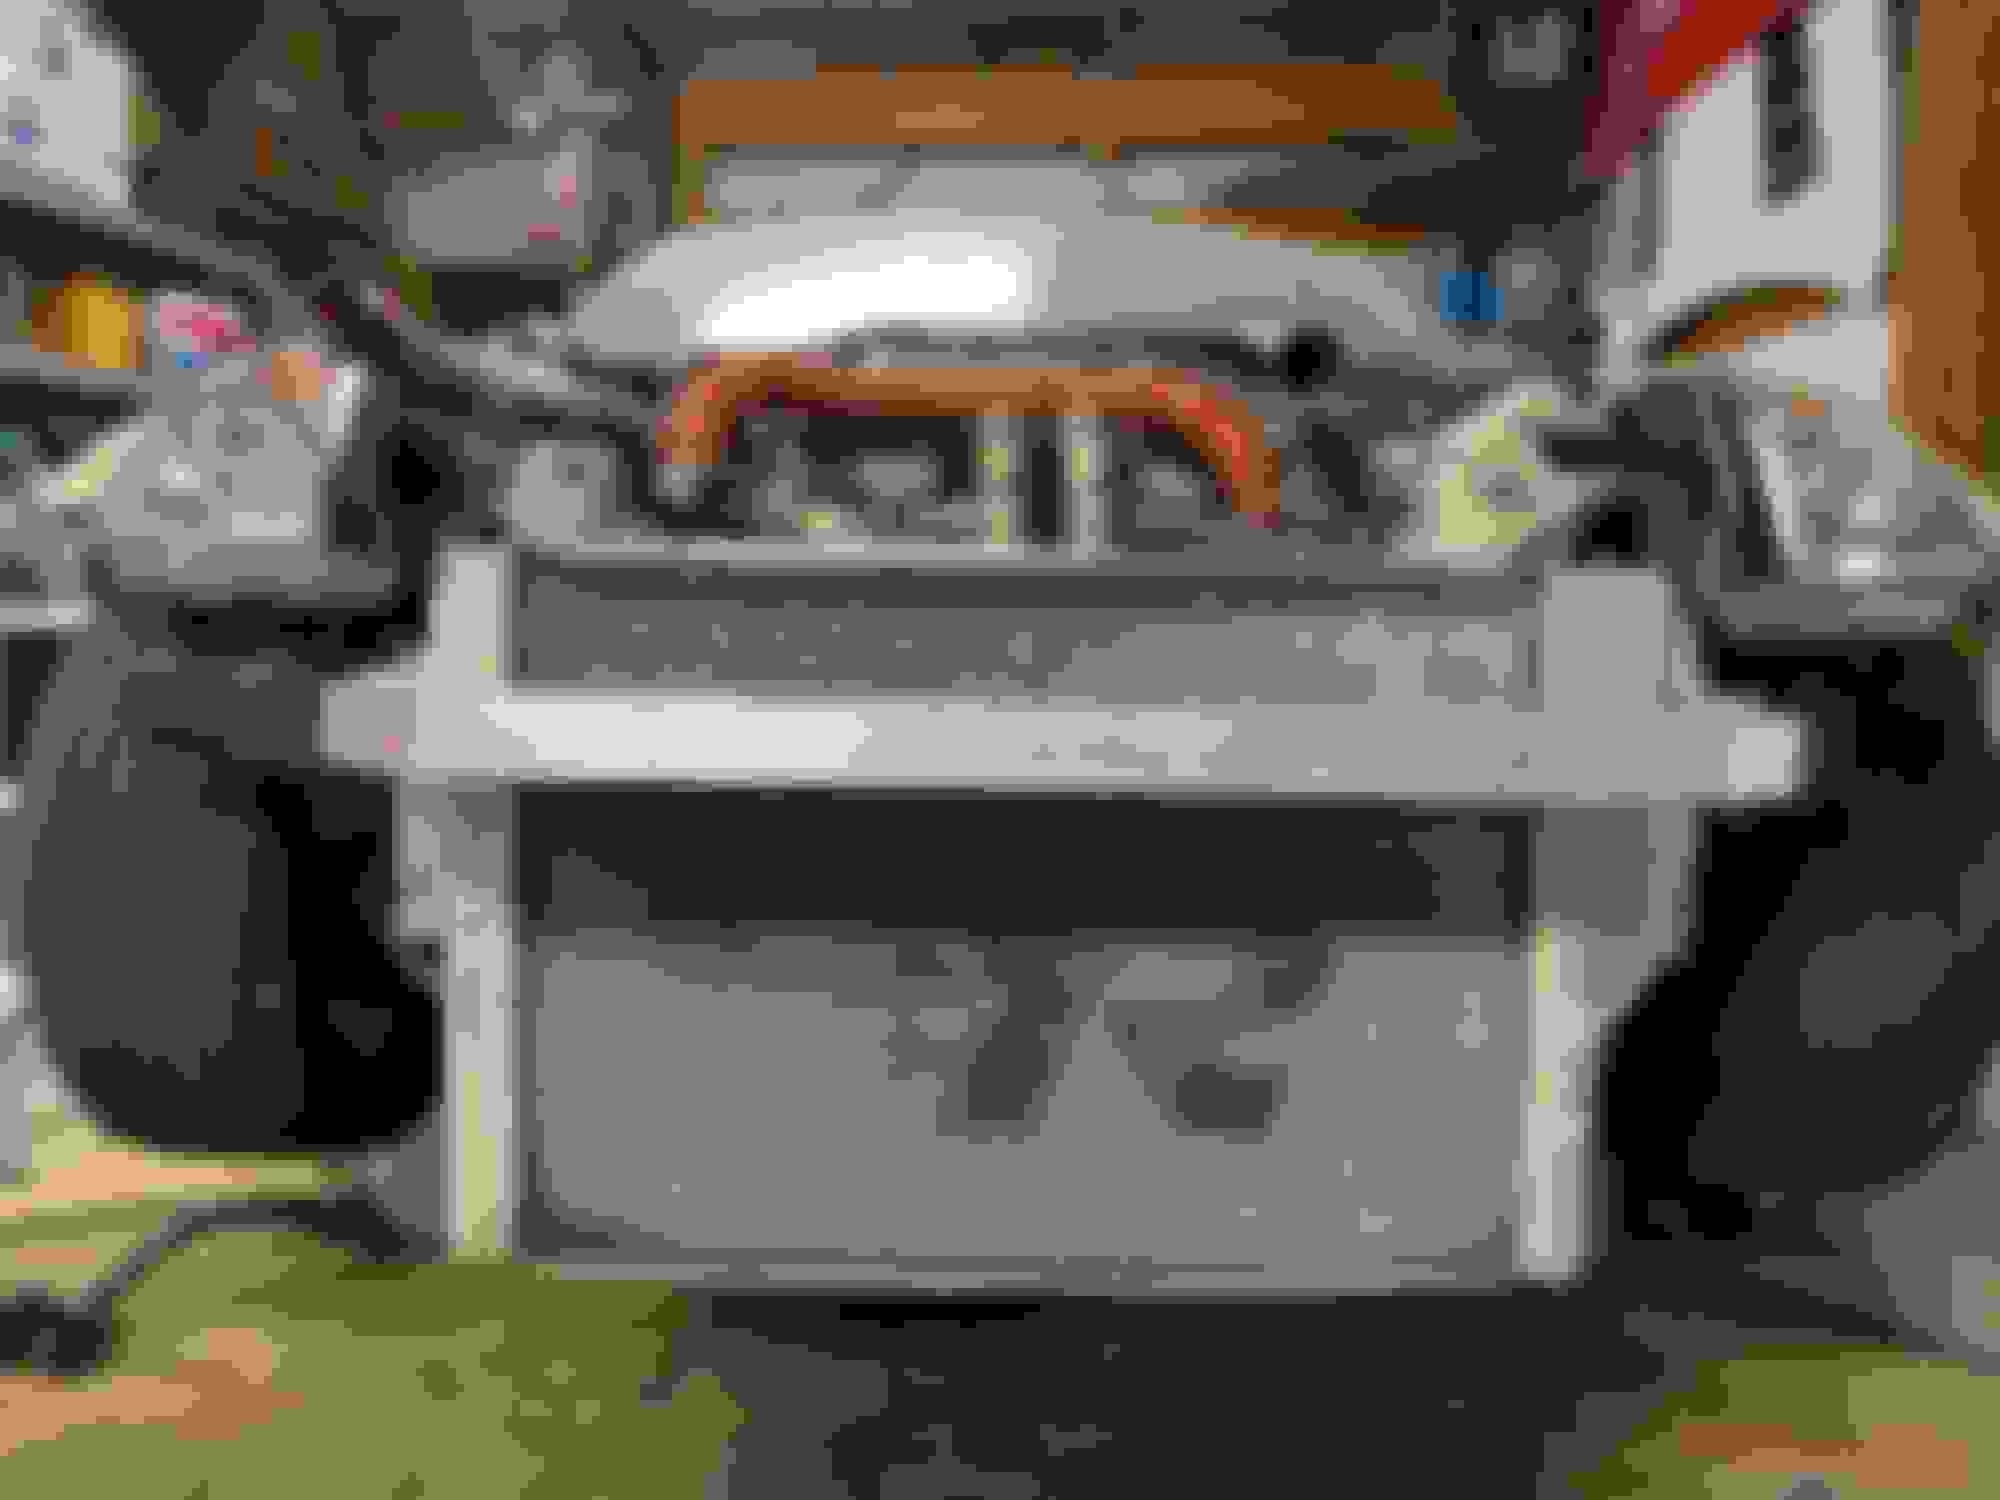
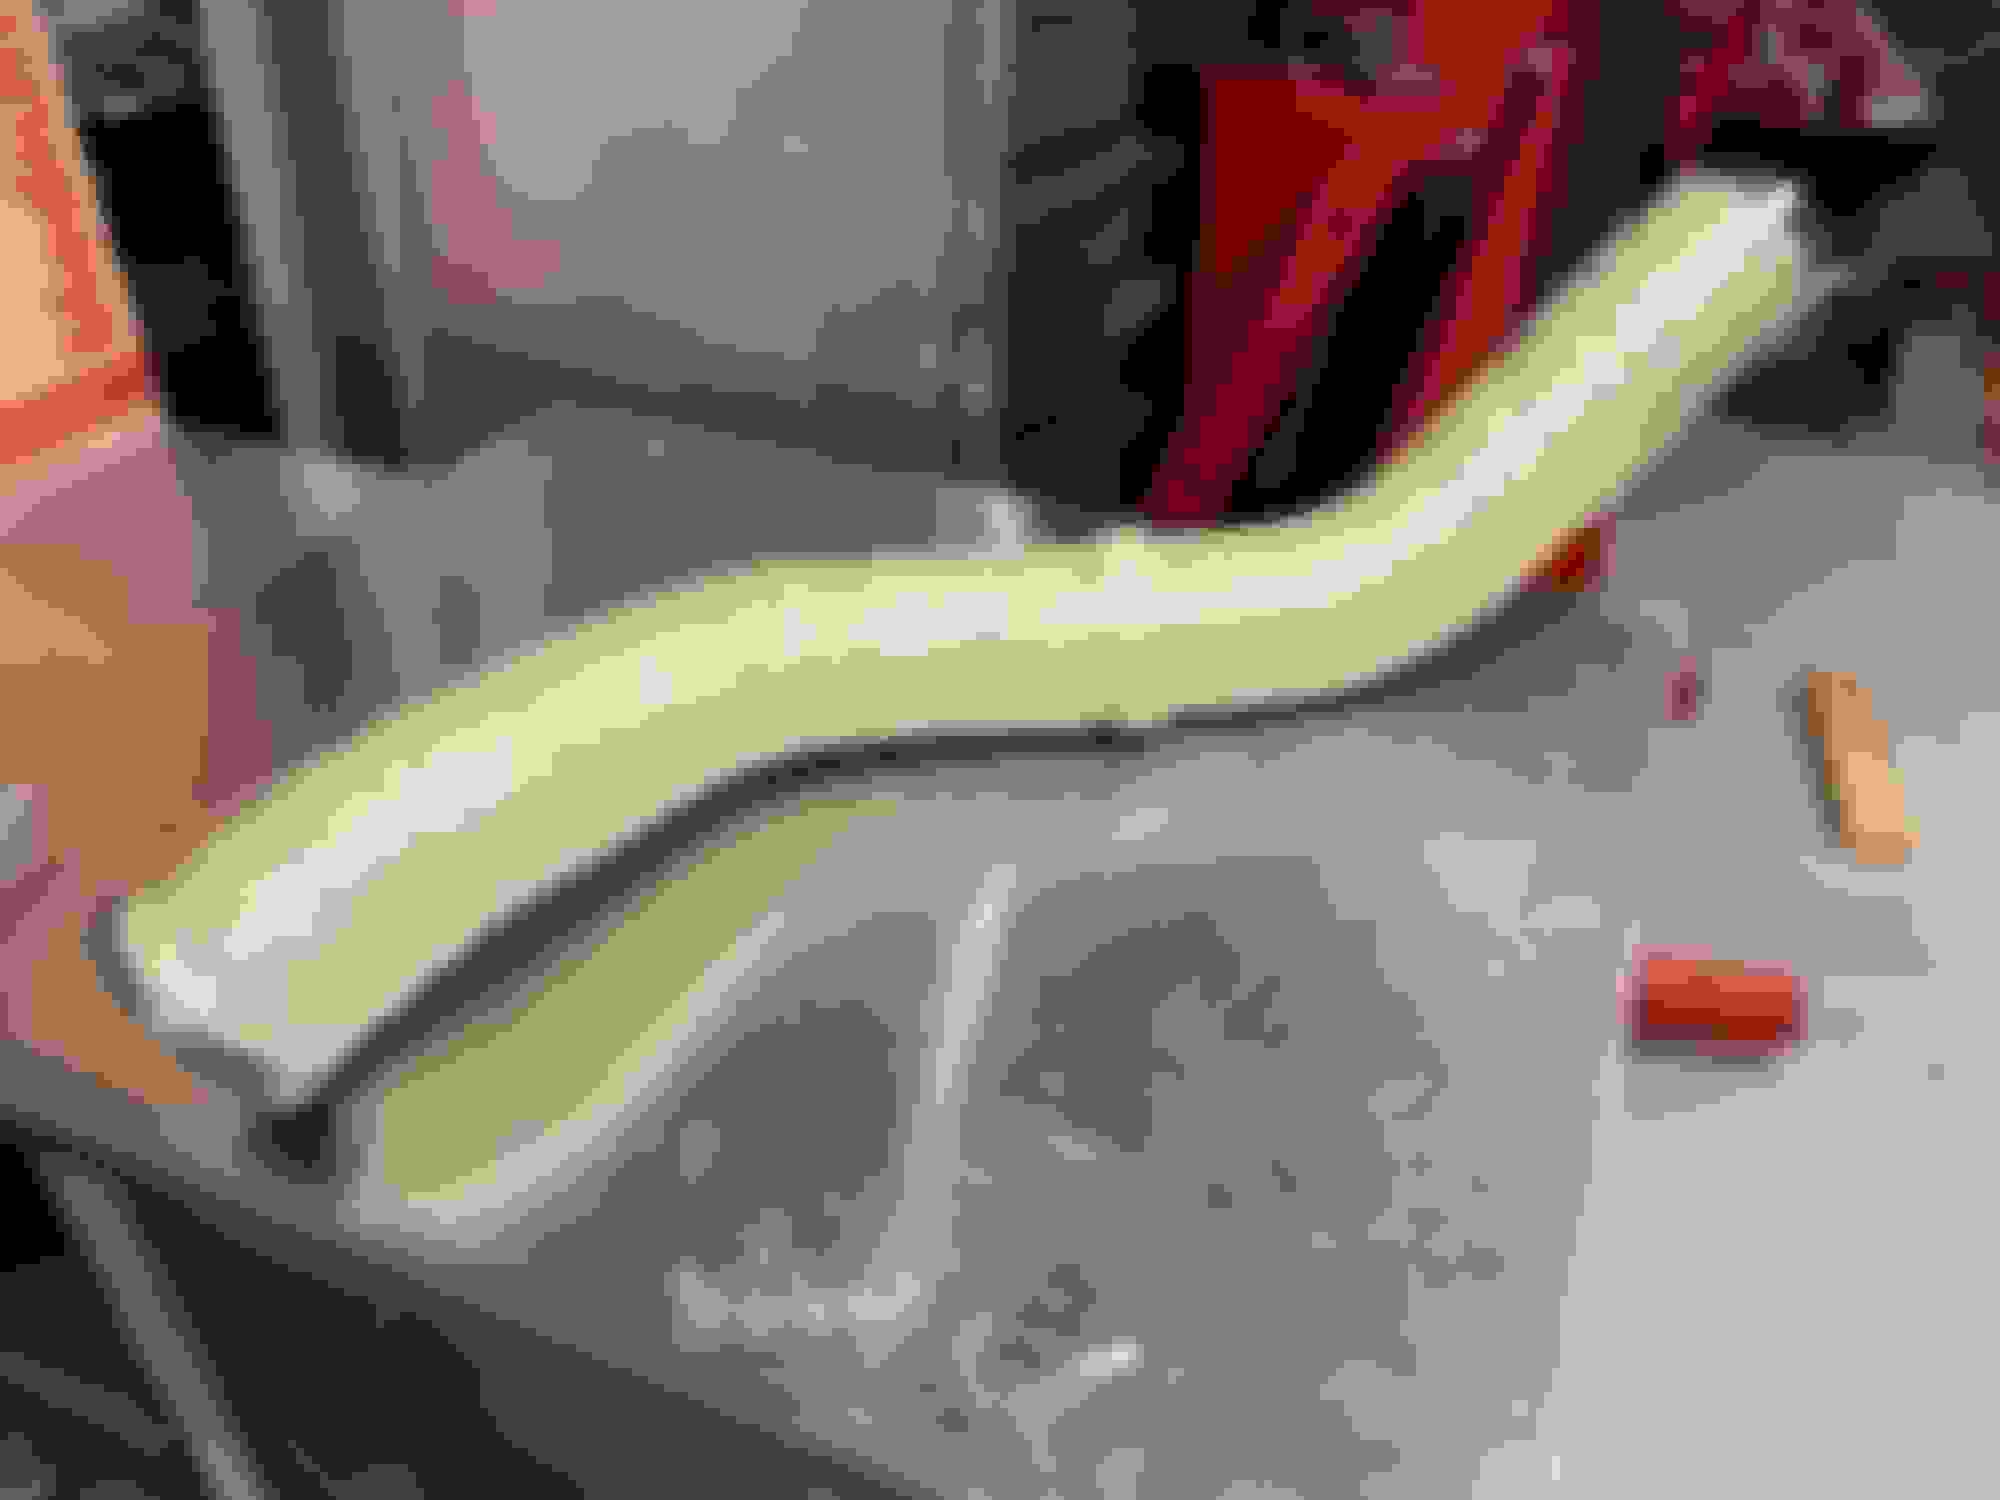
Ugly photo of the front bar ... dont even know why I uploaded it...
Bar tacked & installed
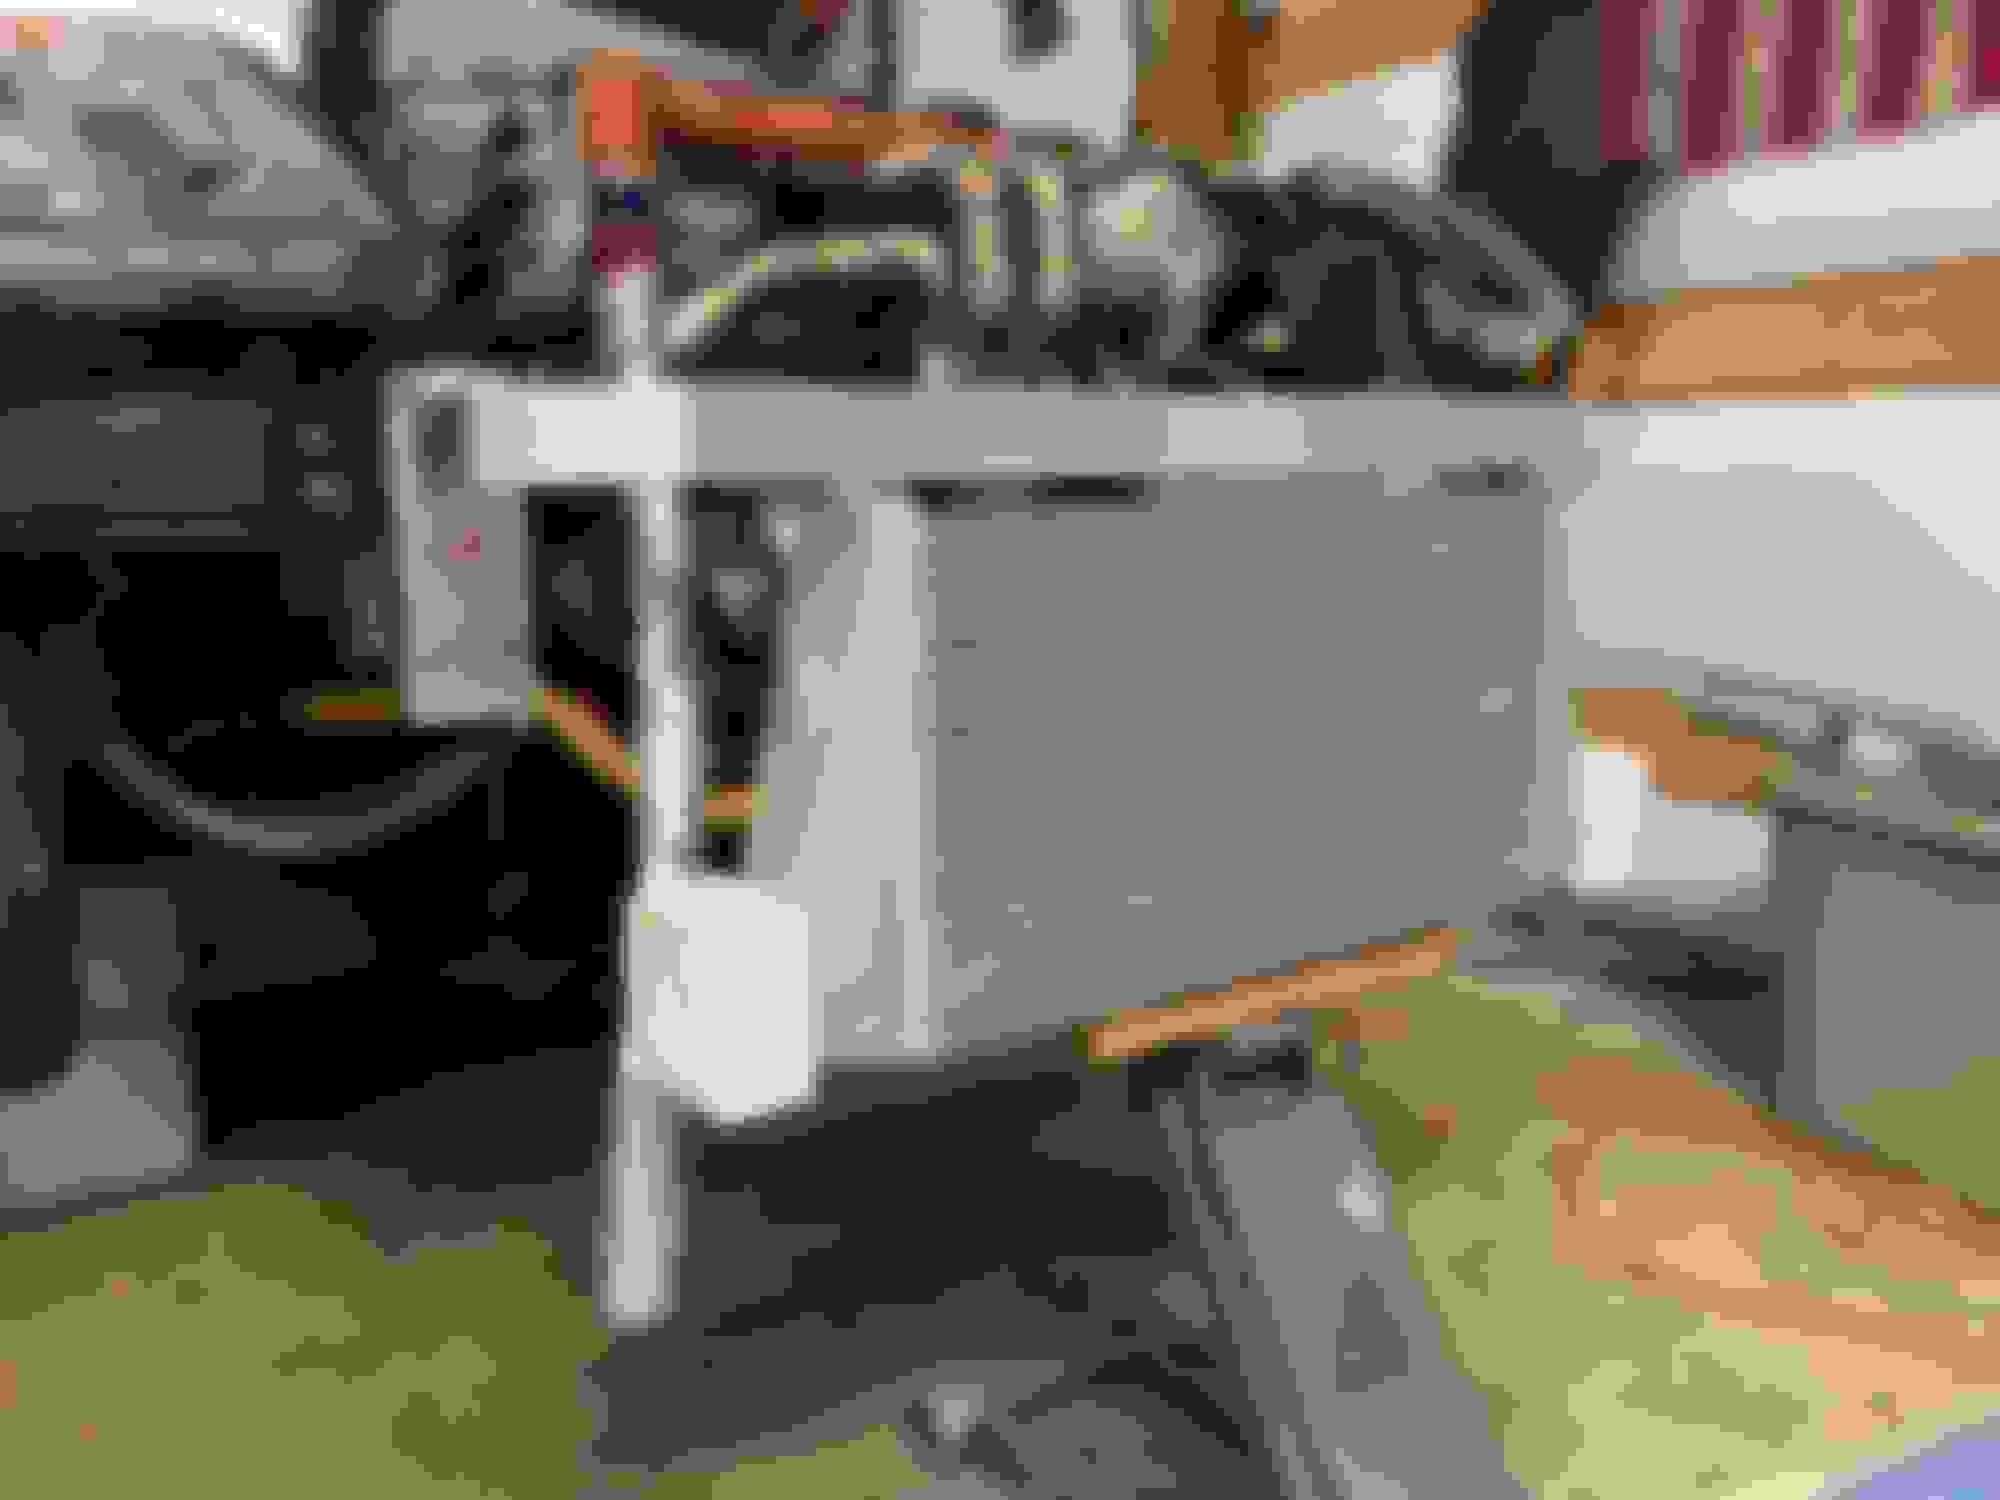
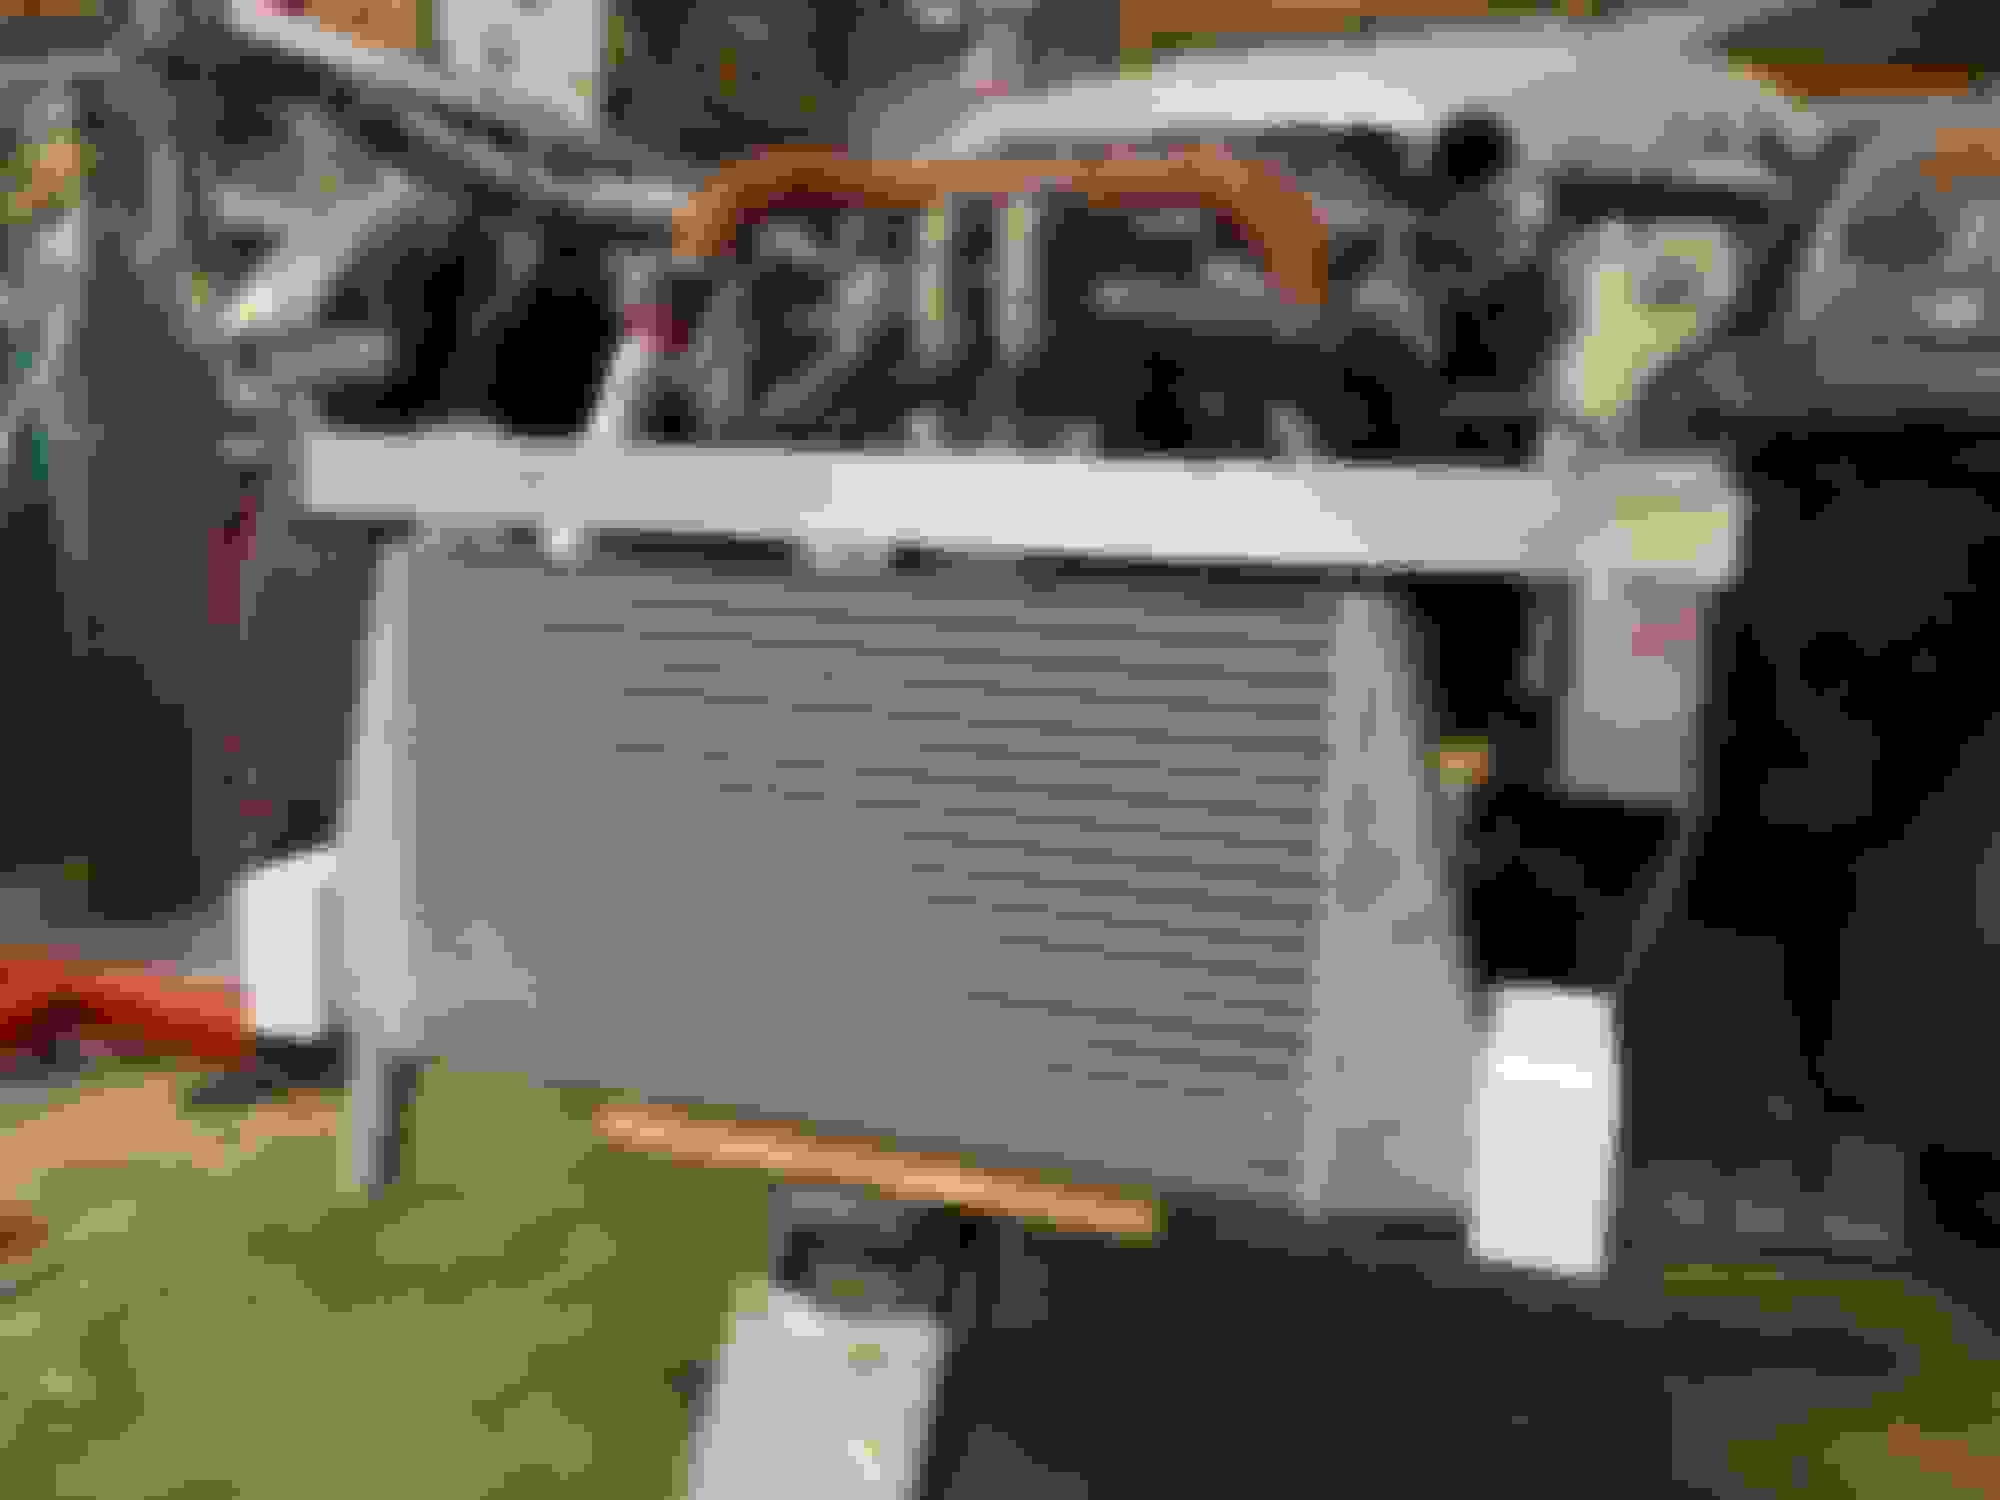
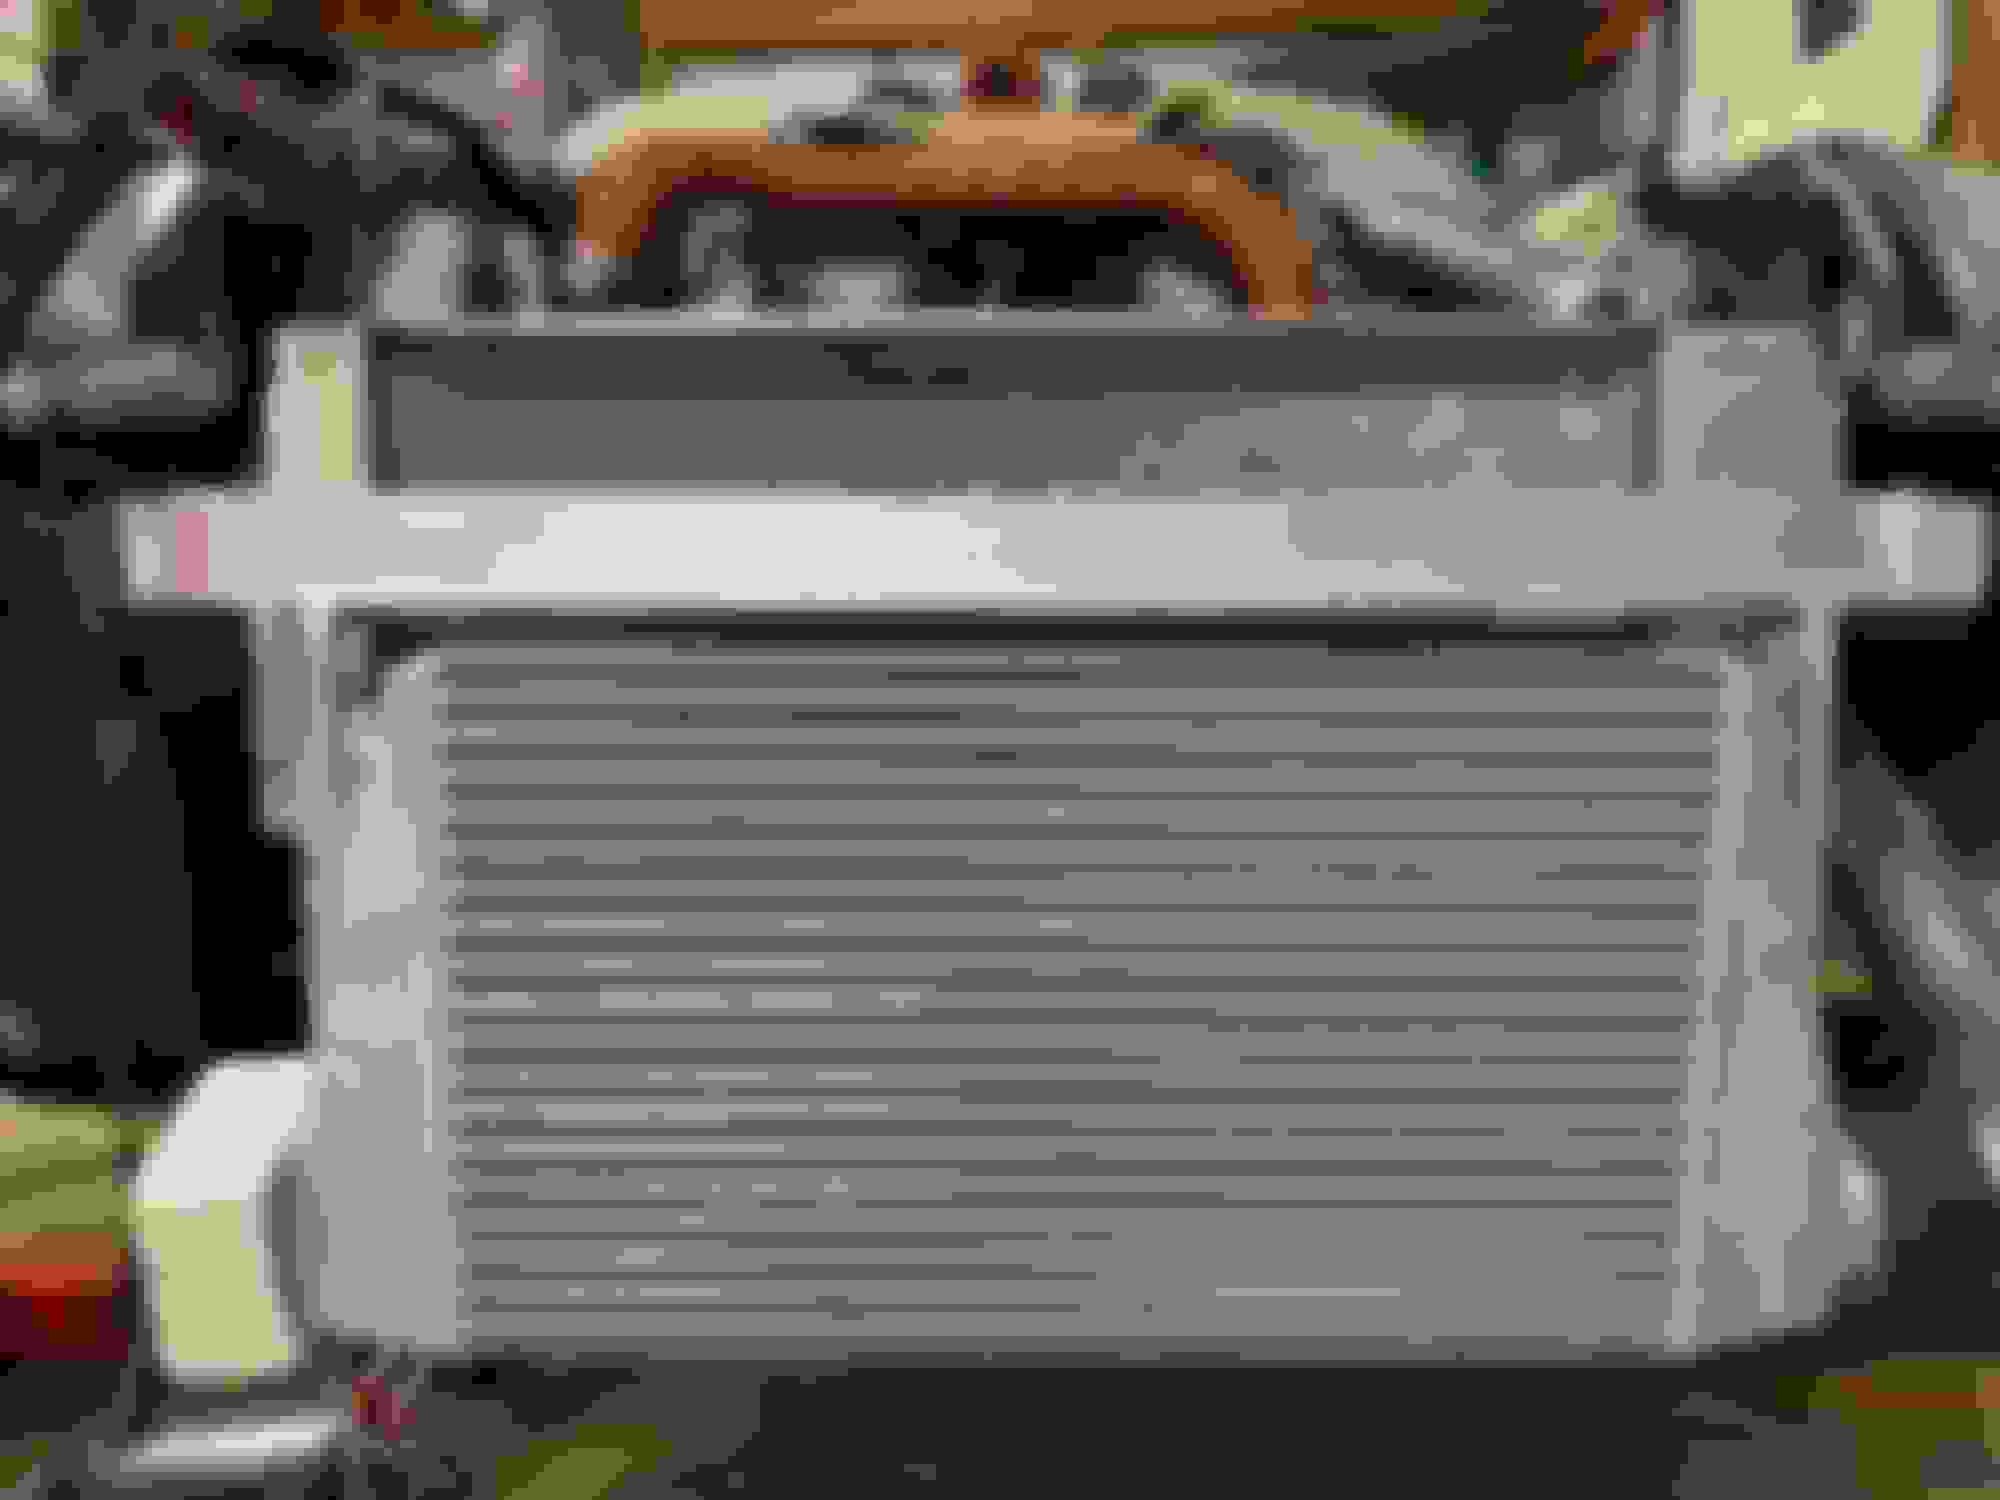
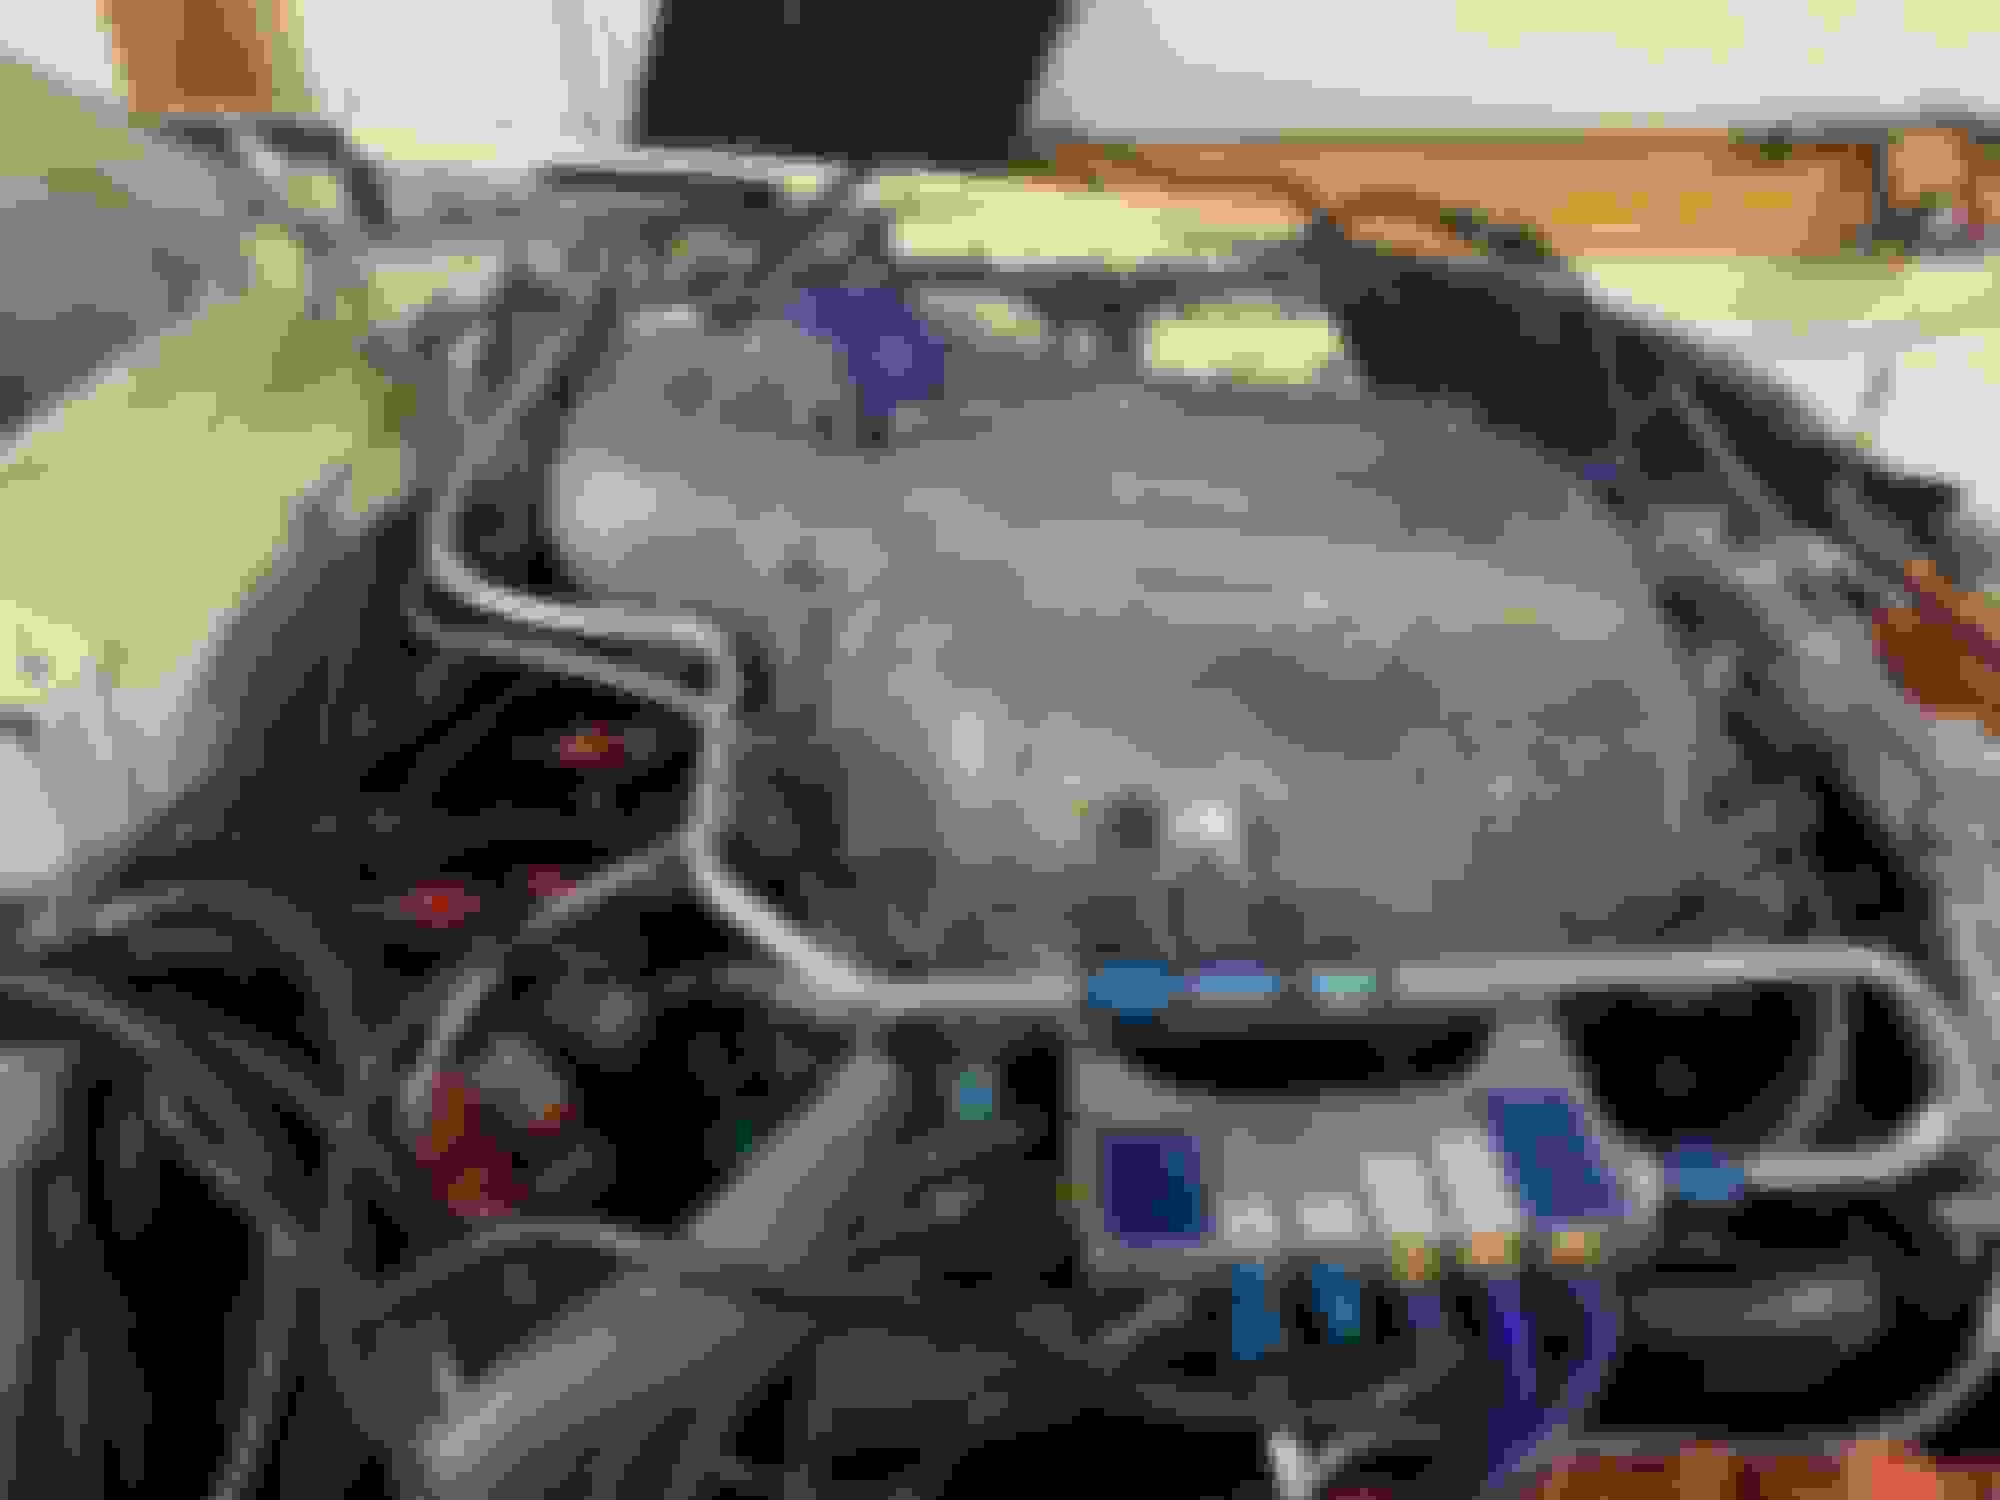
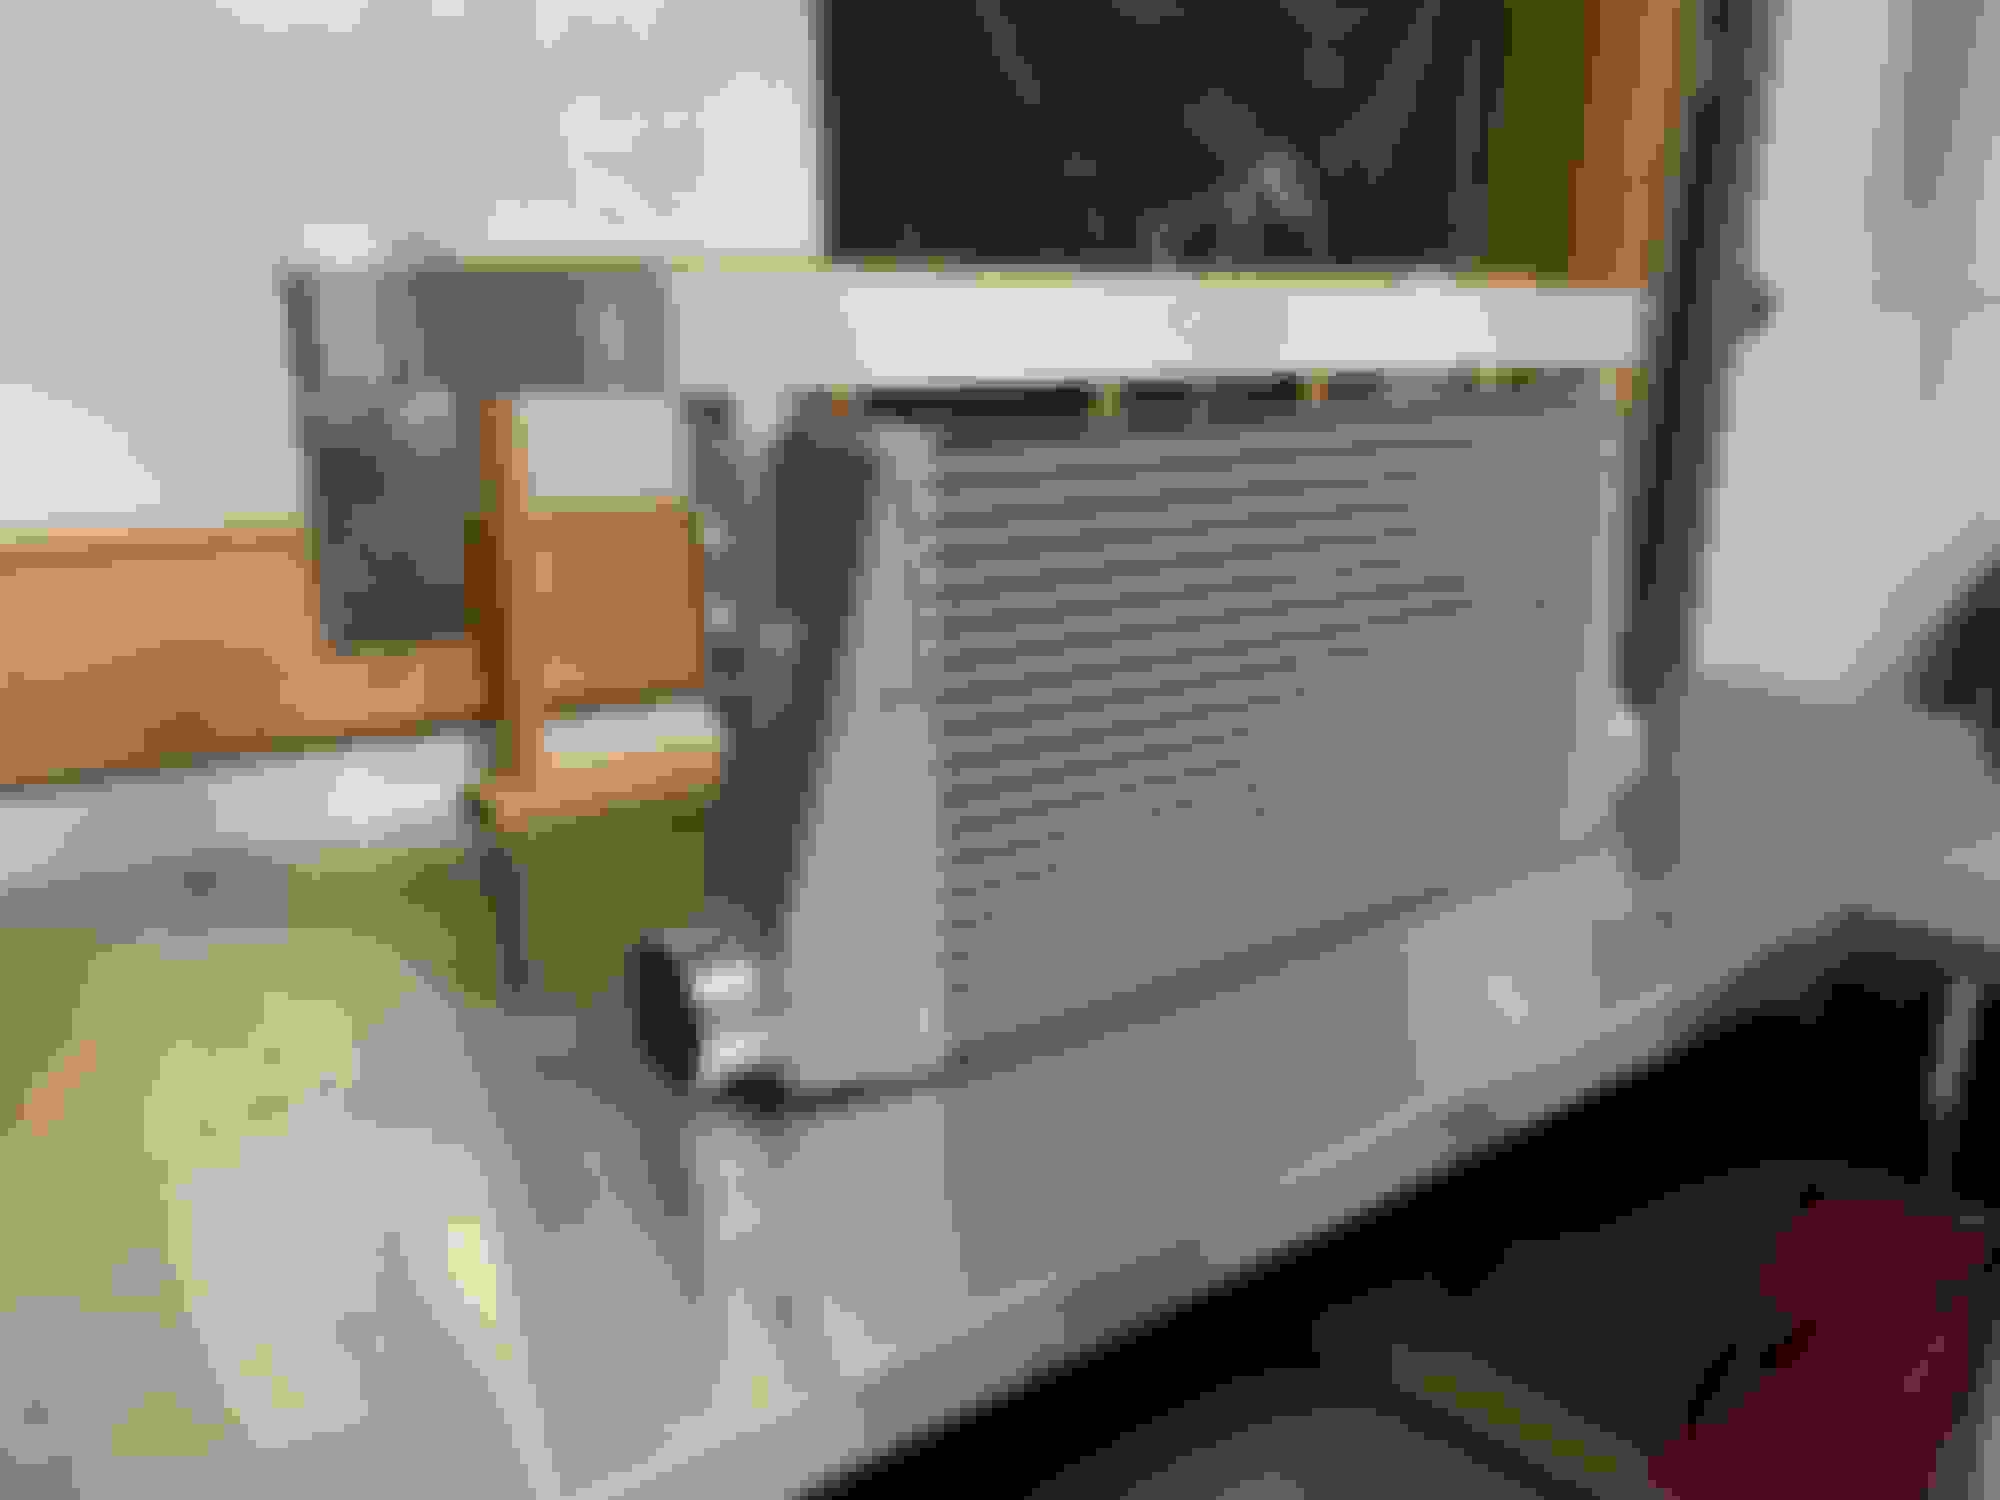
Dropped the radiator in the bar ... aside from the radiator hitting the runners it dropped like I was hoping.
giggling at myself ... this WHOLE time I thought the turbo hot or cold side would be my limiting factor...turns out it's the runners ... it's all good I was able to still bring the radiator down the 1/2" I wanted and still about 1/2" back.
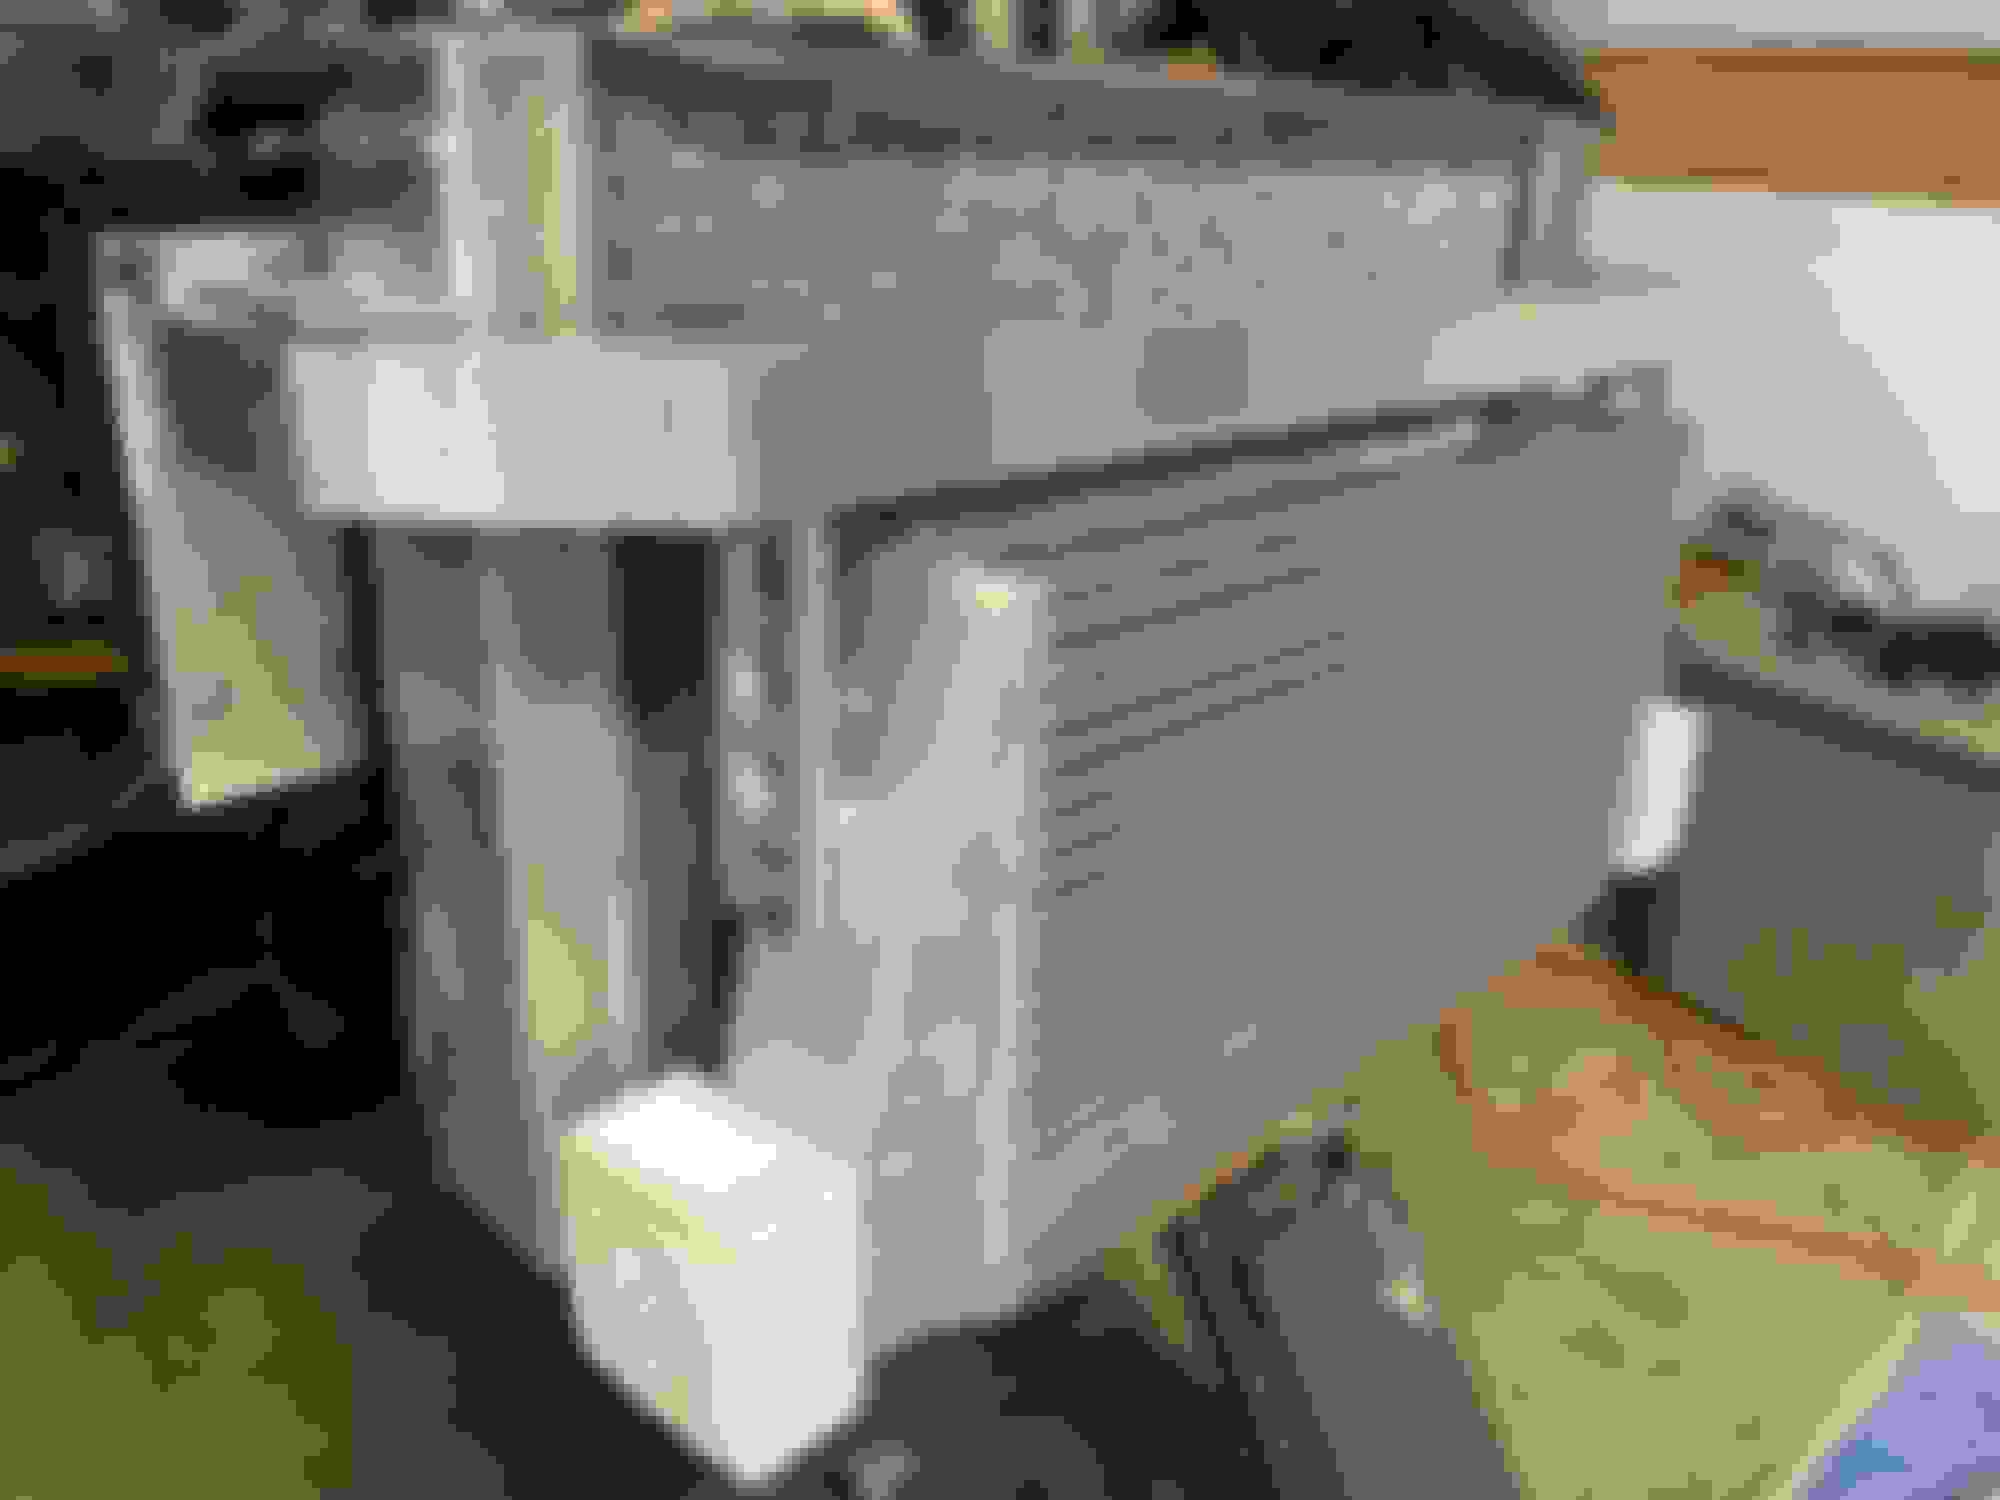
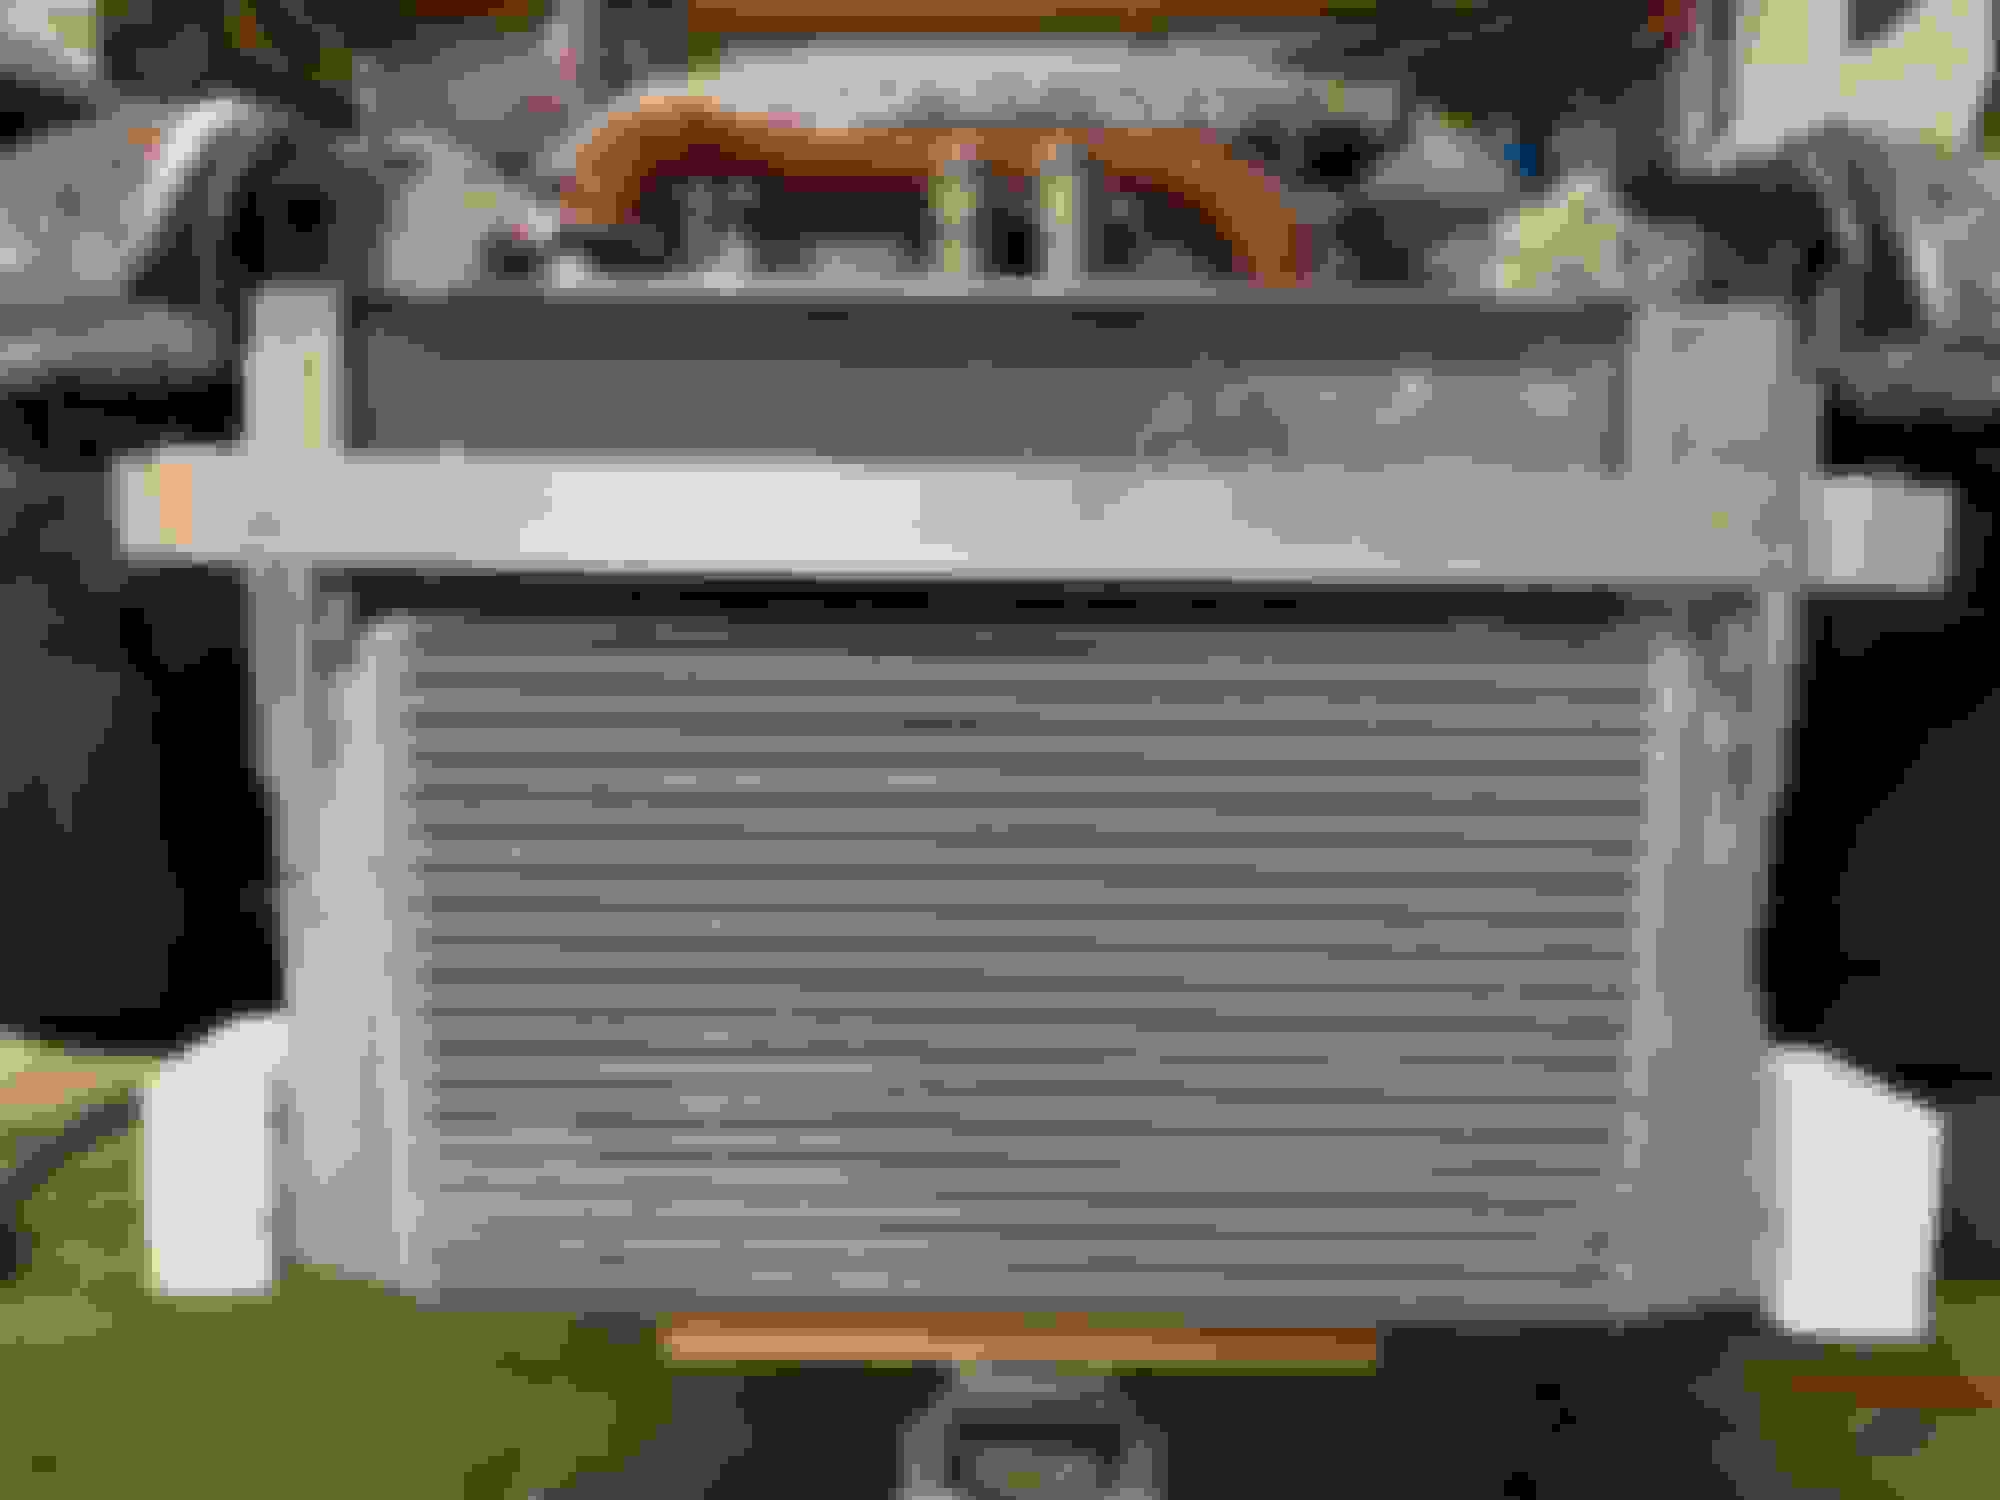
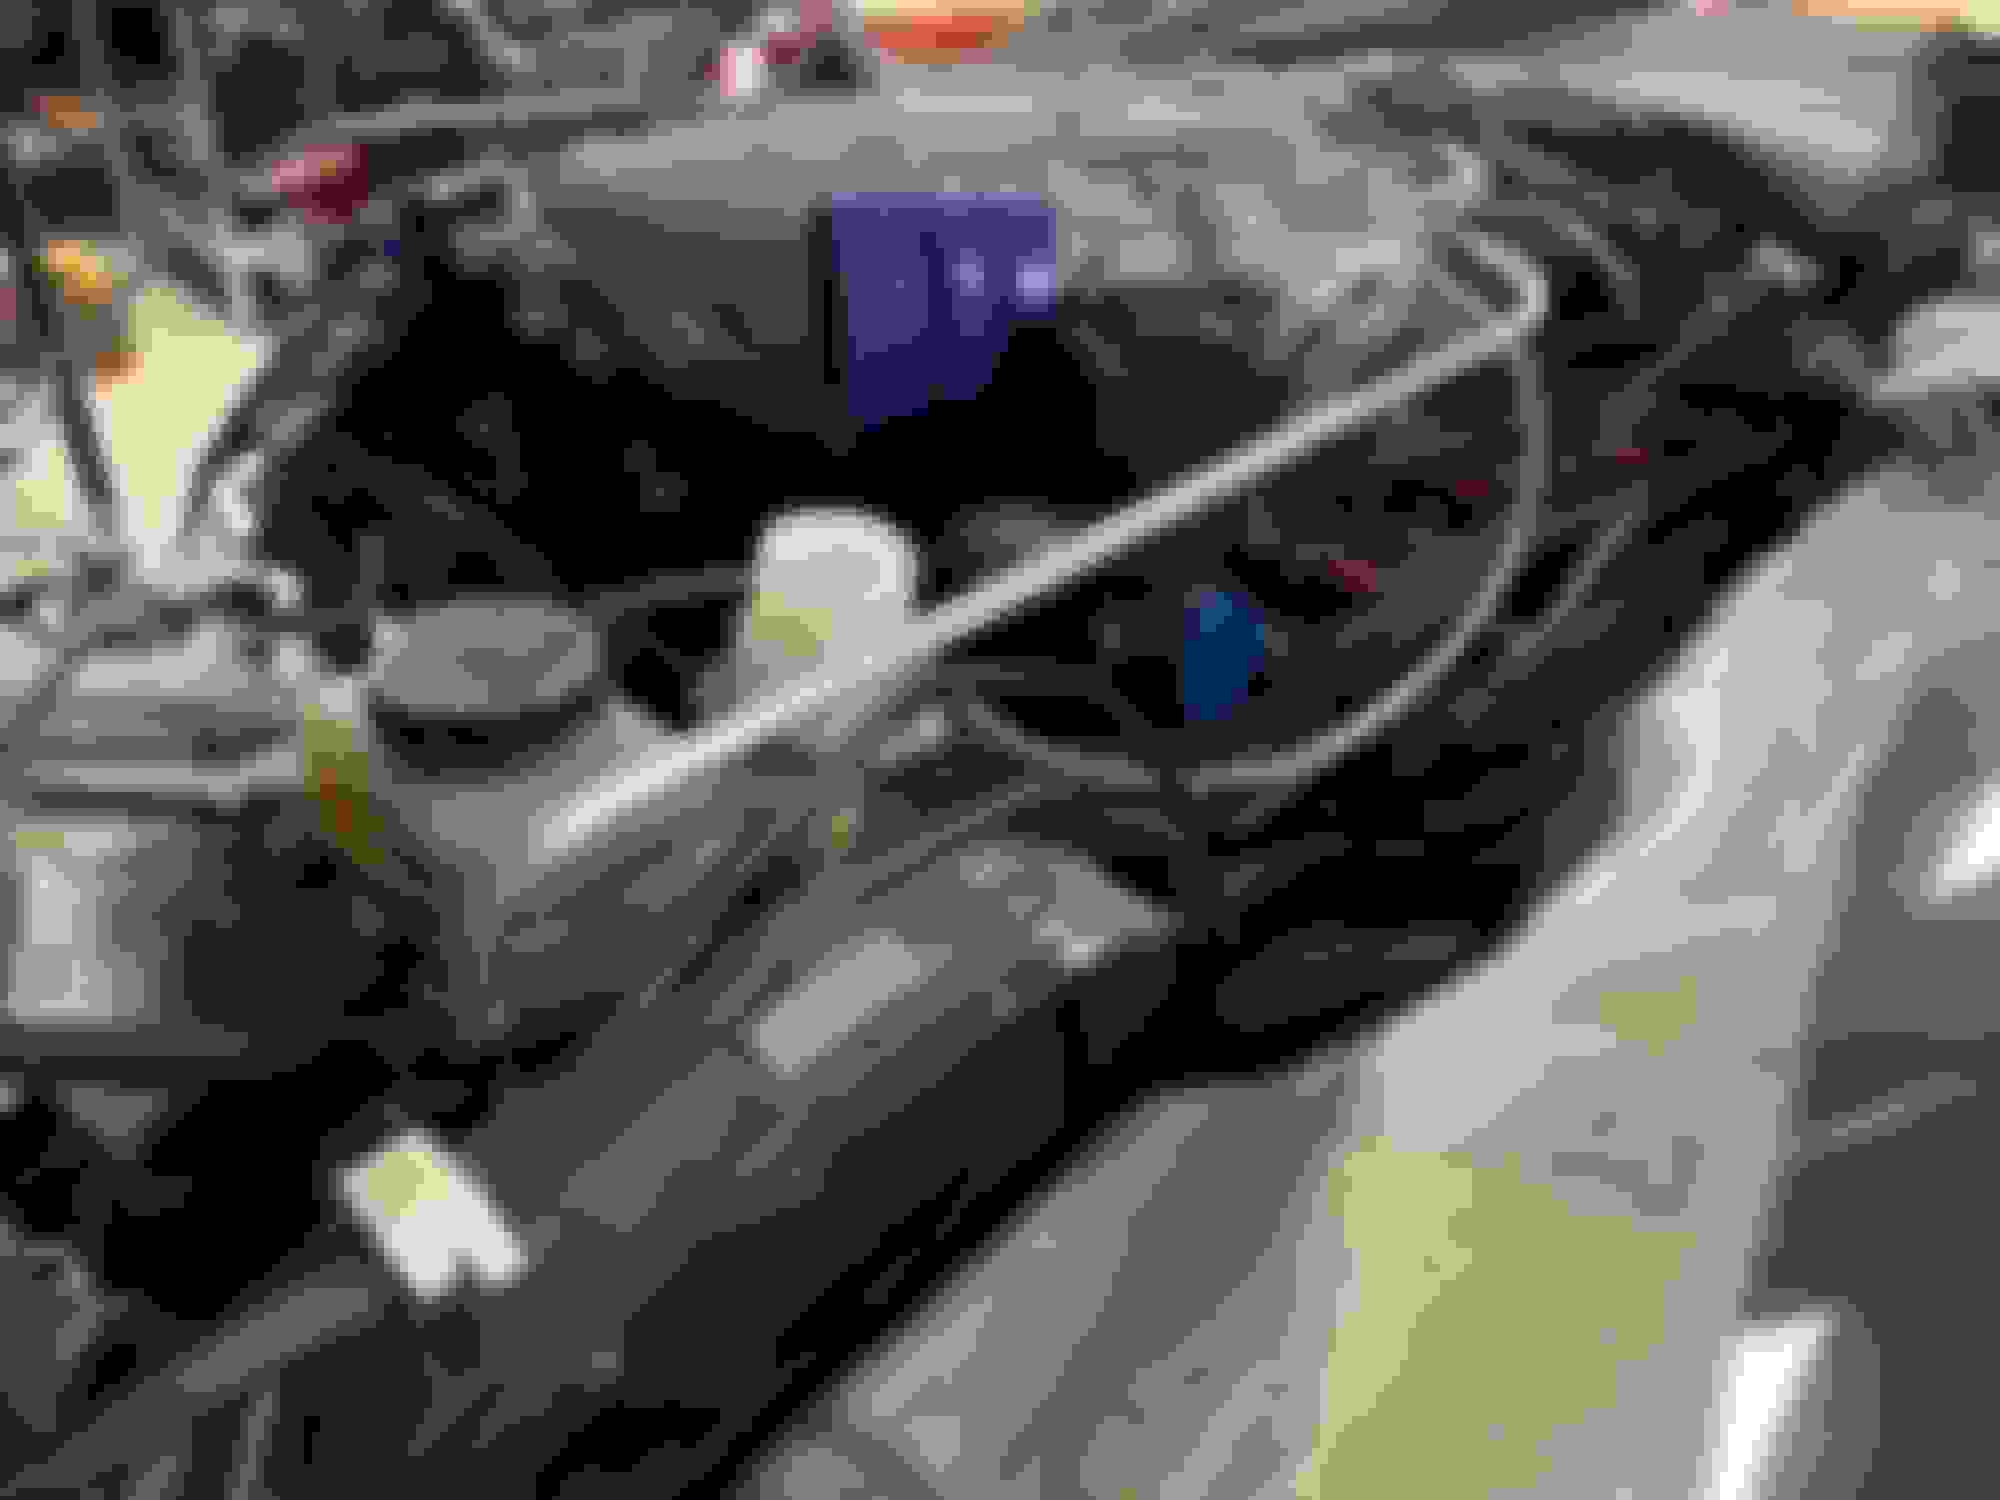
a few mock-ups of the IC. The IC will have to be tightly sucked-up to the 2"x2" tube as it hangs low - but I think it'll be fine.
fully welded the 2"x2" bar tonight. Experienced a small amount of shrinkage on the aluminum and I might drill out my chassis-mount points one bit size bigger to account for this.
Measured out the radiator exit hose but did not cut it as it appears it'll interfere with the air filter and a very small chance it may touch the waste gate.
started cutting the aluminum stock that'll hang the IC ... created a template in autocad but I think I need to slightly revise it tomorrow at work.
I'll upload some pics tomorrow...
Remainder of the week - look to finish the radiator/IC mounting and then start routing turbo-to-IC and IC-to-TB charge pipes, weld on a BOV flange, a boost control reference port, and water/methanol bungs.
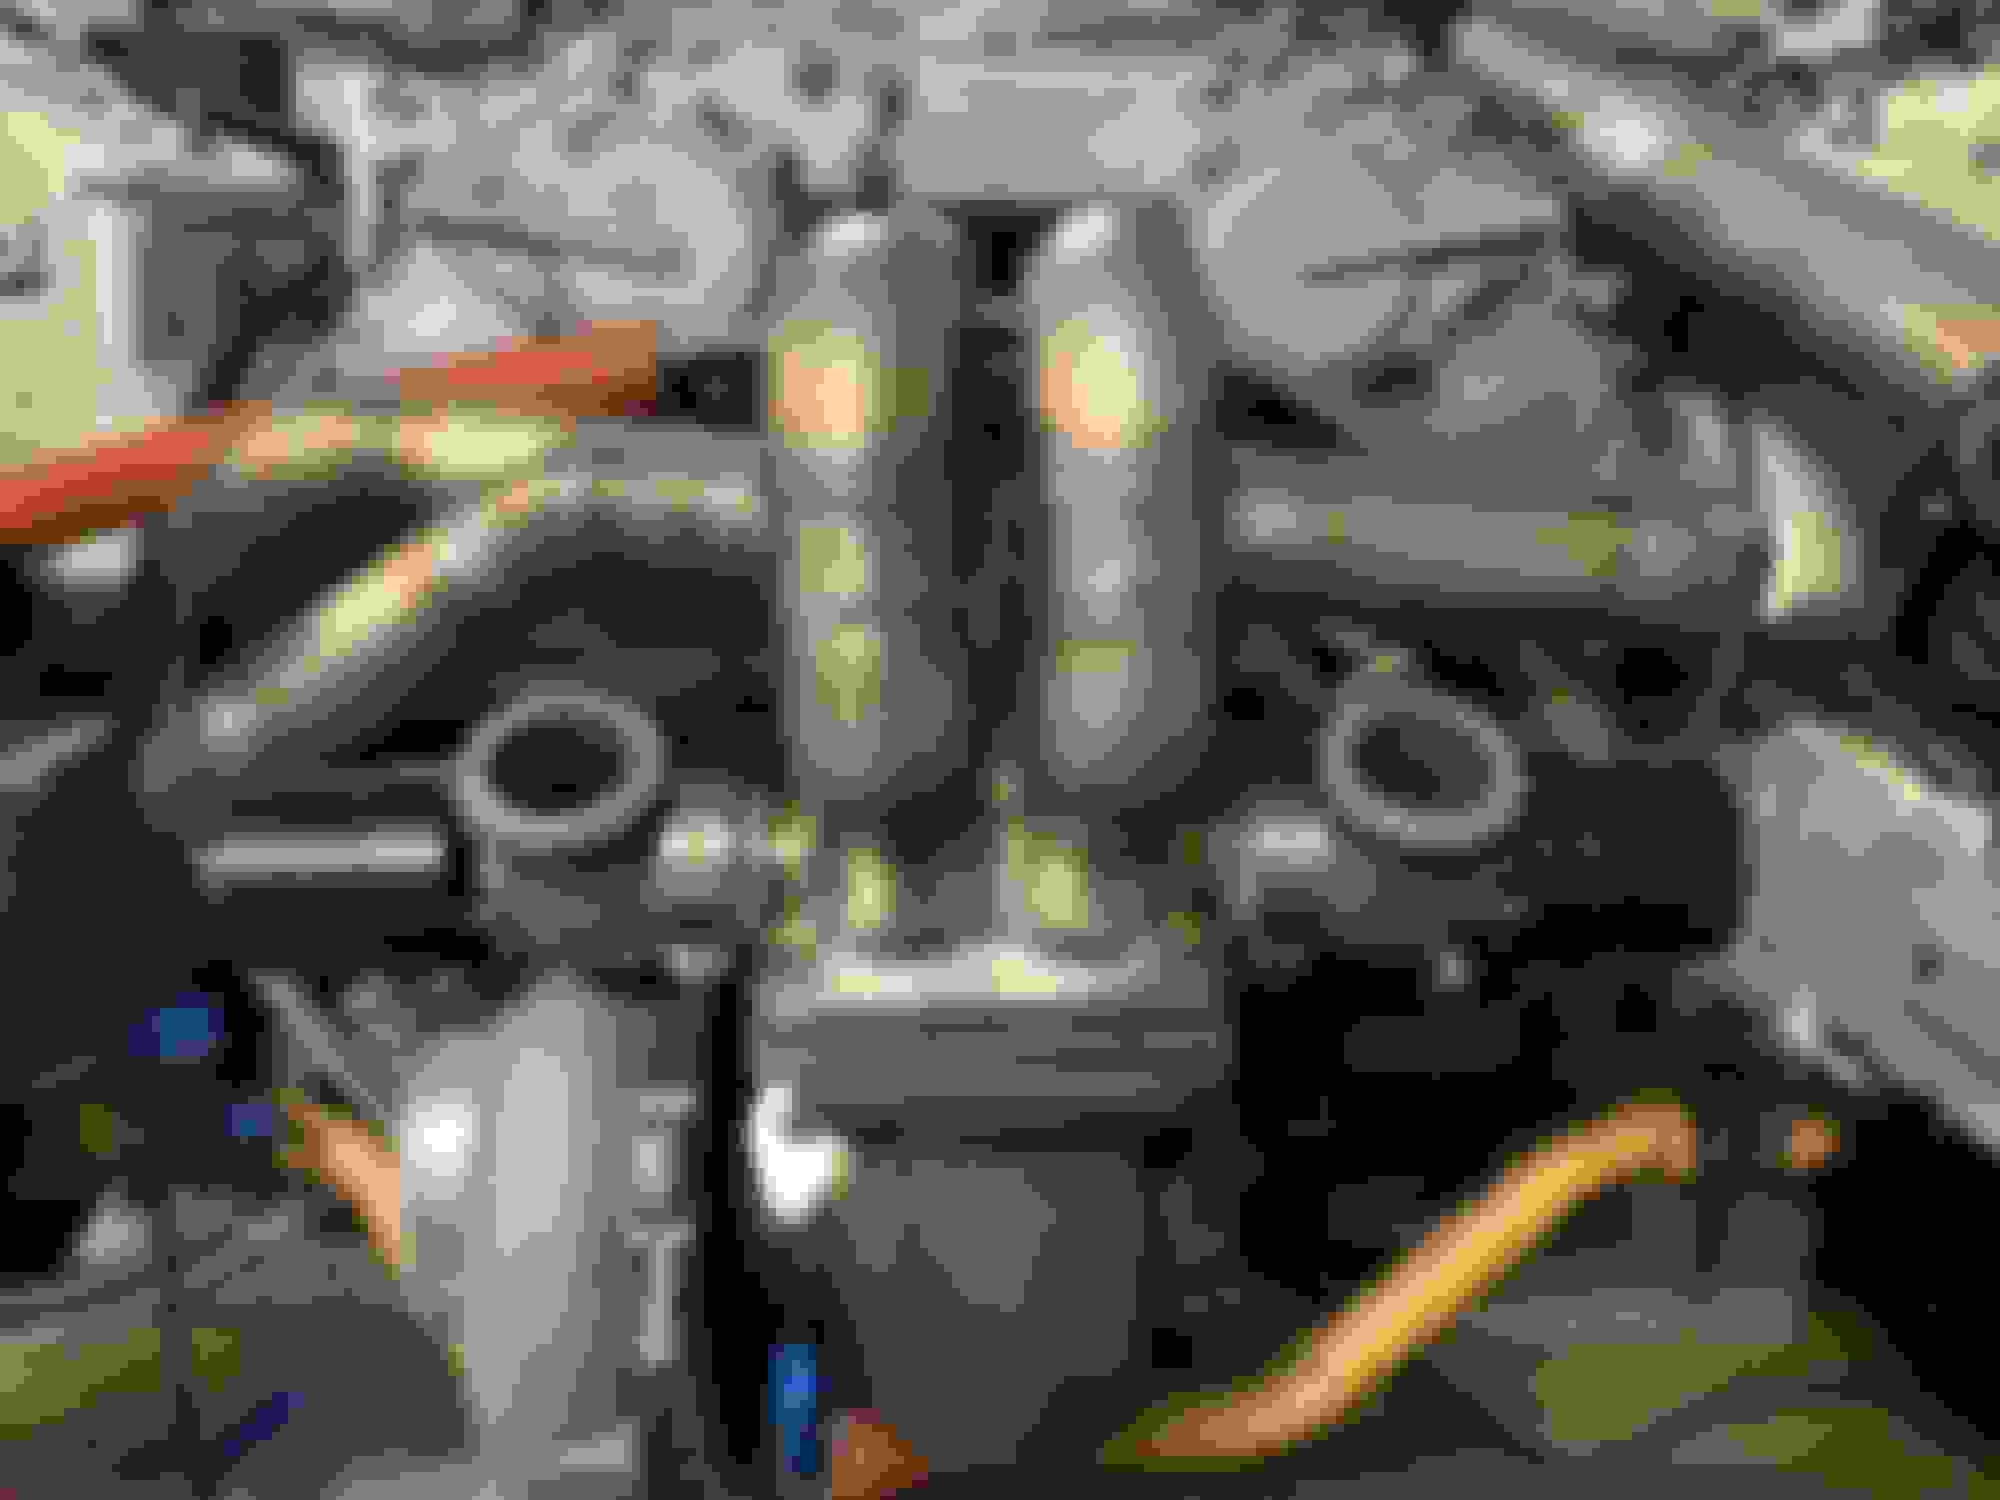
fab waste gate stubs and mount the waste gates to the collector.
Also highly considering splicing in a water to air IC some how / some way.
Bealljk, looking good! The only thing that you may want to consider is how difficult will it be to get the VVT quick access panels off if they start leak being so close to the water pipe.
The only thing that you may want to consider is how difficult will it be to get the VVT quick access panels off if they start leak being so close to the water pipe.
Didnt even think about that...Ive never taken the plates off but it may be wise to re-rtv them while I have the chance.
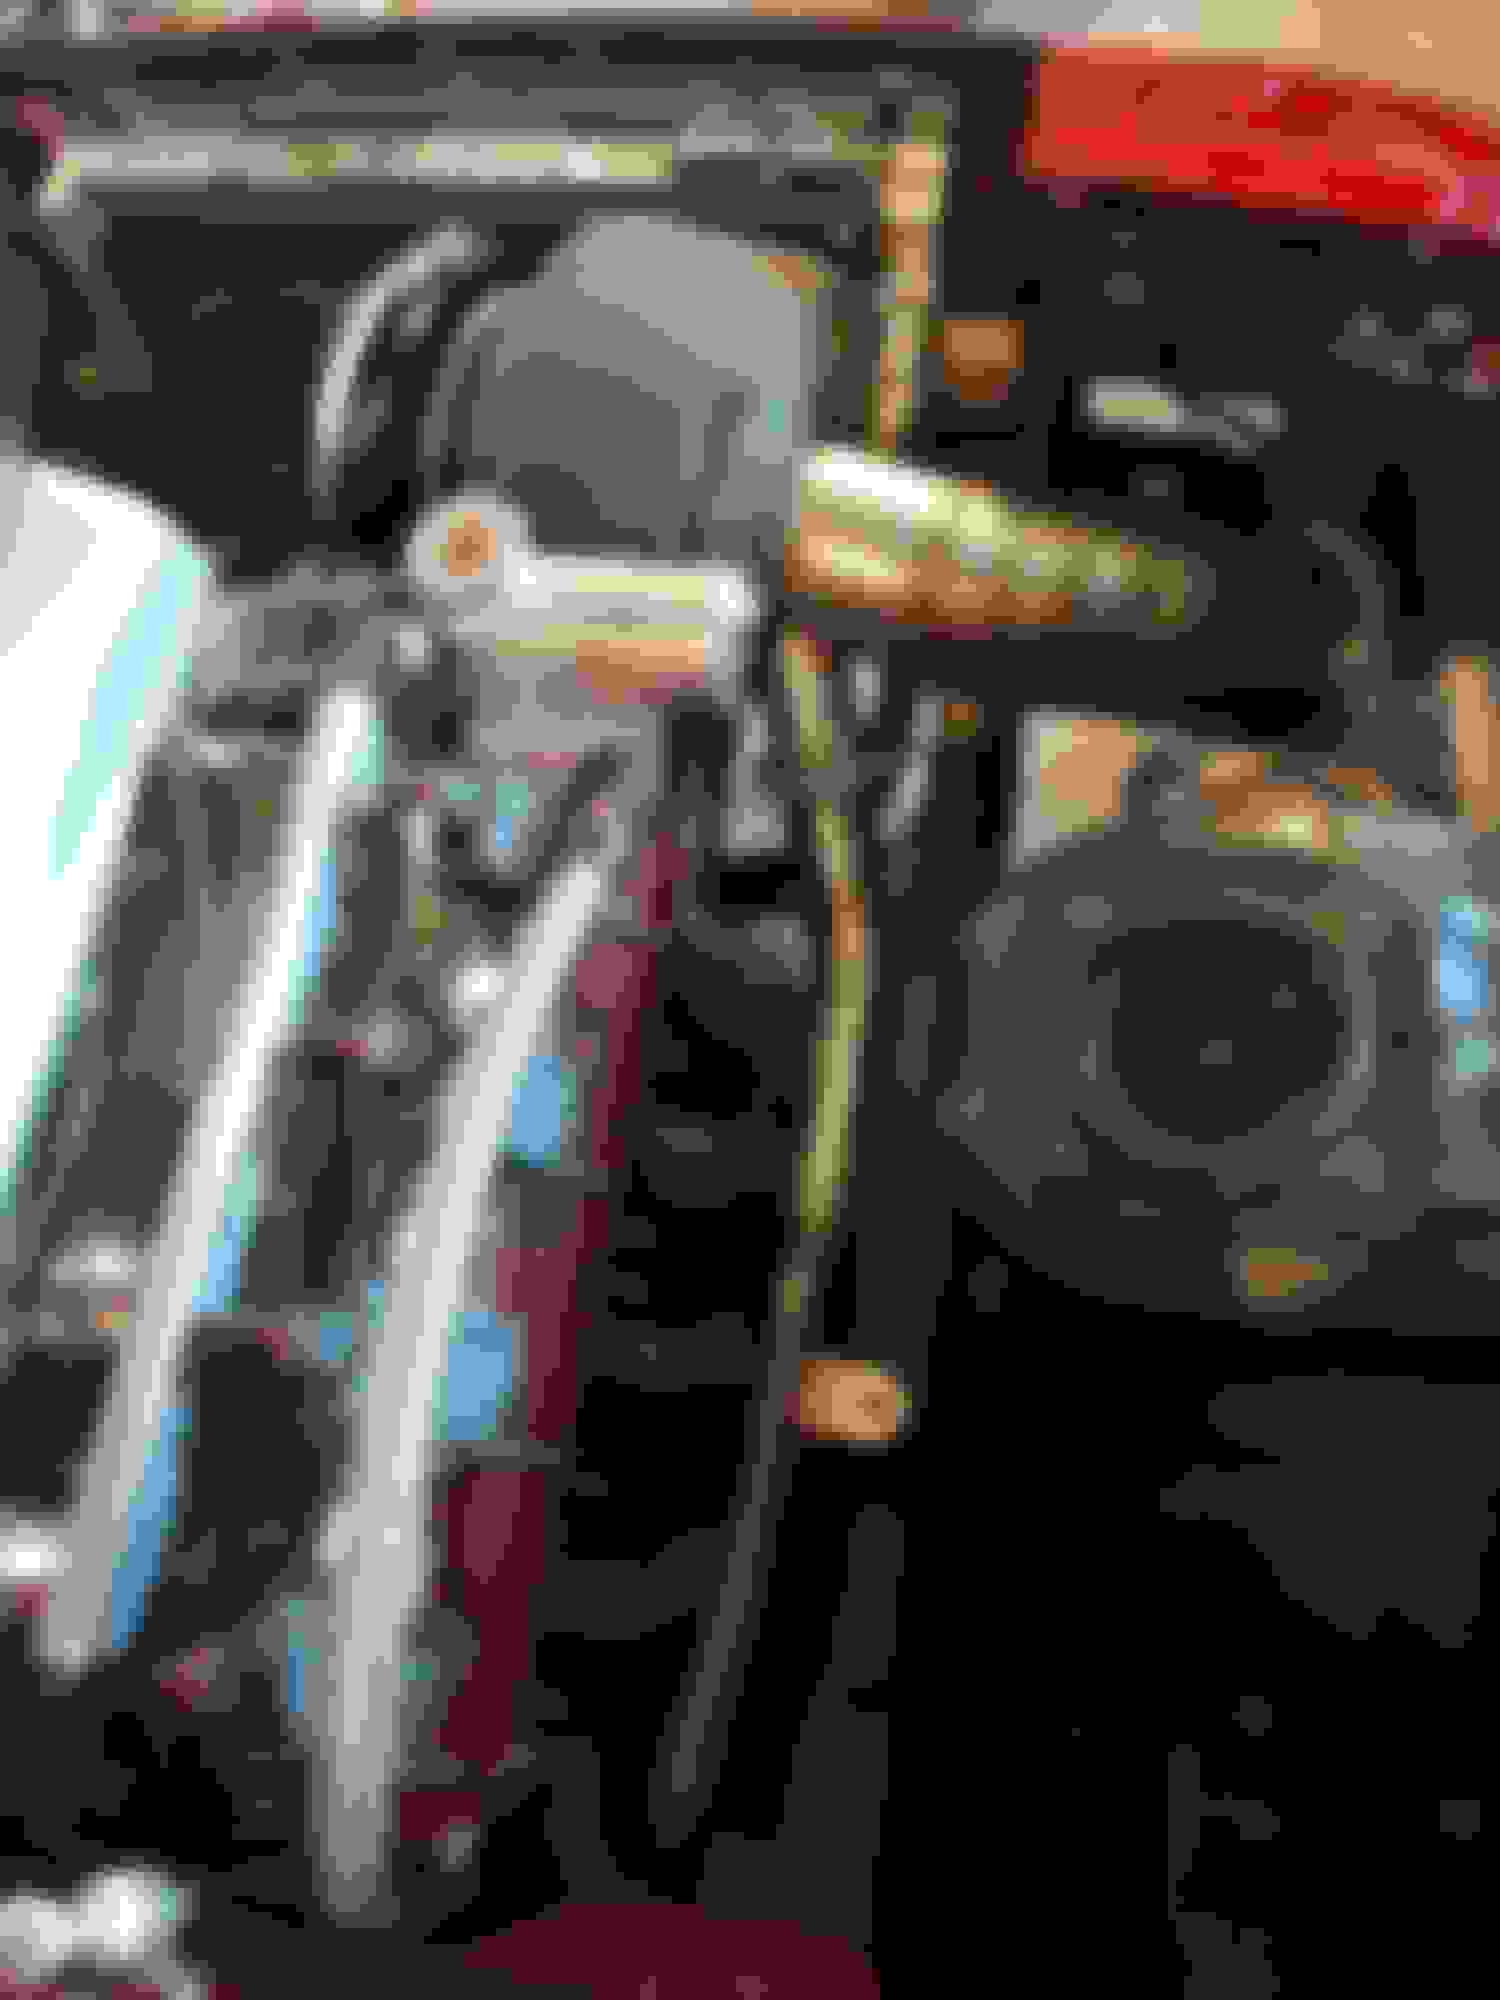
Had a few hours to work on the IC mounts today. Took 1/2" x 2" x 6.25" solid bar and drilled my mounting holes and then cored out 3 holes ... self-admitingly for looks ... but I do need a few plugs (bungs) to weld to my charge pipe (water methanol injector bungs, IAT bung, boost reference bung) and these will work well.
Not 100% in love with how close the IC is to the radiator ... maybe 1/2" of clearance. Probably just fine but I was think there'd be a little more...It's probably fine. Marked centers and will tack it next time I've got the welder fired up. Heres the mock-up.
Wrapped up the IC bracket. I had some bad out-of-tolerance and it was about 1/4 crooked ... so I adjusted it and I over did it - now it's roughly 3/16" crooked the other way. Gonna take it down and fix the one end.
Got the IC charge pipes fab'd ... I think the turbo to IC is too long in length (likely due to it having to make a 90* to check into the IC). I'm going to run a 90* coupler off the IC which should shorten up the pipe.
I got the IC to TB fab'd but it may need modified to allow my exhaust to pass under it.
Got the waste gates installed ... much easier than I anticipated - just welded the flange to the collector and v-band'd them on.
Need to modify the charge pipe a bit to add clearance to the exhaust. Not sure how much clearance between the side exit and the front tire.
Started the welding on the final phase of the headers - have an hour or so left.
picked up a 5gallon tank ... I'd like to run a water-air IC at some point.
Other smaller stuff - Got the boost control solenoid hooked up and sleeved the wires with nylon braid. Made a small addition to my fuel pressure regulator bracket so it'll mount right next to the FPR. I put on order a handful of -4 1/8" NPT fittings to plumb the waste gates, BCS, and vac block.
Fab'd & Mounted my secondary oil filter. Will need to mount the oil cooler at some point but it's all good.
Sorted my widebands and welded in bungs to the exhaust.
Since your going to dump exhaust in front of the tire not sure if there is any benefits to recirculating the dumps to the exhaust to help reduce noise.
Or is your plans to do like Zac's RX7 and tap off of your exhaust and run a quite exhaust for normal driving?
had a shitty fab night ... the flex bellows completely **** the bed. My bends/elbows/pipe are relatively thick (sch 10, .11") and require some amps and bellows just wittle away under the amount of heat needed.
contemplated not running flex at all but the high temps is going to stress the components if I dont.
I slightly re-routed the side exit exhaust to push forward about 12-15" in front of the front tire. Which also requires a little mod on the charge pipe. Struggled with the aluminum welding. I finally ran a decent aluminum bead but its not pretty and I'm fairly sure I'm gonna grind it down/out and/or cut it out and re-do it. Will still have two rings of welding on the charge pipe to complete it.
Also fixed the IC bracket/mount still about 1/32" to 1/16" off but I'm not gonna chase it.
Originally Posted by Conway_160
Plans for waste gate dumps?
Likely going to punch them through the hood - but I'm open to ideas!
Originally Posted by Conway_160
Or is your plans to do like Zac's RX7 and tap off of your exhaust and run a quite exhaust for normal driving?
I think for normal driving I've gotta run a 3" or 3.5" pipe to pass the engine.
a left field idea / If I get bored over the winter I can remove the block-out plate and slice into the trans housing, weld-on a plate and this should give me room to run a 3.5" or 4" past the engine.
Didnt even think about that...Ive never taken the plates off but it may be wise to re-rtv them while I have the chance.
Had a few hours to work on the IC mounts today. Took 1/2" x 2" x 6.25" solid bar and drilled my mounting holes and then cored out 3 holes ... self-admitingly for looks ... but I do need a few plugs (bungs) to weld to my charge pipe (water methanol injector bungs, IAT bung, boost reference bung) and these will work well.
Not 100% in love with how close the IC is to the radiator ... maybe 1/2" of clearance. Probably just fine but I was think there'd be a little more...It's probably fine. Marked centers and will tack it next time I've got the welder fired up. Heres the mock-up.
fab'd up a side exhaust … not my first choice for the exhaust and I'm gonna **** some people off but I'll do a traditional exhaust once I have more time. Will need to fabricate a quick bracket so the weight of the exhaust isn't hanging on the blower.
Running 1/4" aluminum hardlines rather than steel braided lines. The tubing is stupid cheap and I have a plethora of AN fittings to complete the task.
and 3/8" from the plenum to the vac block and brake booster line.
Finalizing the headers … not going perfectly but moving along. my original bellows weren't that great and took far less heat than runners (the runners are schedule 10 - .11" while the original bellows are schedule 16). I had 3 bellows installed and finally gave up on them because they took way too much filler and looked like complete dog-****. I ordered a different brand and they are better but not perfect.
Further - I am making my final welds with the headers installed on my donor engine … so getting a decent looking bead is hit or miss - I'm sorta under the gun and am running out of time so I am doing my best to give myself a little grace on these welds. The passenger side needed about 1/4" stretching out to fit and I was able to pull it out. Two of the three driver side runners sucked while the third was dead on. I welded the good runner in place and cut out the two bad runners out, cleaned up and cut new runners.
Intercooler pipe is good to go … turbo to IC was trimmed down and I added a water meth nozzle port. IC to TB was modified to allow the exhaust to go underneath. BOV flange, IAT sensor, boost reference, and water methanol bungs installed.
Also put nylon sheathing on my o2 sensor harness, BSC harness, Fuel Pressure Regulator harness and made the connections to the Link.
Much appreciated! Although these are raw/unfiltered/unedited pics, the camera makes it look better. Someone should invent a camera filter that perfects welds! If chicks can do it why cant we?!?!?!
Originally Posted by rustyschopshop
I am loving all the custom fab work, beautiful.
Thank you kindly -
Originally Posted by onecoolee
Insane amount of work and money... love it. Subscribed.
One question, wouldn't you be able to afford a Bugatti (or some other supercar) with all these upgrades and rebuilds by now?
Great work... how's the Husky doing? I have a 7 year old, my 3rd husky and they are great dogs.
Yea - I've been dumping money into this - no one said this would be cheap! I sold the previous greddy kit to offset the cost.
Sch10 runners $80(off craigslist awhile back)
$1400 for the garrett
$200 deep in bends/elbow
$100 in flanges
$480 for the collector
$300 in 4" ss pipe/V-bands,
Aluminum charge pipe was re-used from my last build
$100 in aluminum stock,
$250 in argon & filler
$400 for the IC
$600 for waste gates
BOV is reused from previous build
Lil Nugg passed away July 31, 2016 - likely due to complications with a tumor removal. She is missed and passed relatively painlessly in her sleep the early early morning of the 31st.
I've been looking at another pup and gave myself 'permission' to get another husky or black-lab if I pass the PE exam (which I did) so its just a matter of finding the right dog!