When you click on links to various merchants on this site and make a purchase, this can result in this site earning a commission. Affiliate programs and affiliations include, but are not limited to, the eBay Partner Network.
At first, I wanted to save up and just buy the boosted performance single turbo kit, but there were small things that I didn't like about it just out of personal preference. The biggest reason being that the BP kit routes the hot side charge pipe over the driver side control arms and doesn't allow you to keep the factory strut tower bar. Wheel clearance and handling are a priority for drifting in my opinion so I'd have to modify those. Other than that, Sasha makes probably the best single turbo kit for the Z's and I have nothing but respect for his kits. With that said, my kit is very much inspired by his and will be a one off kit solely for myself.
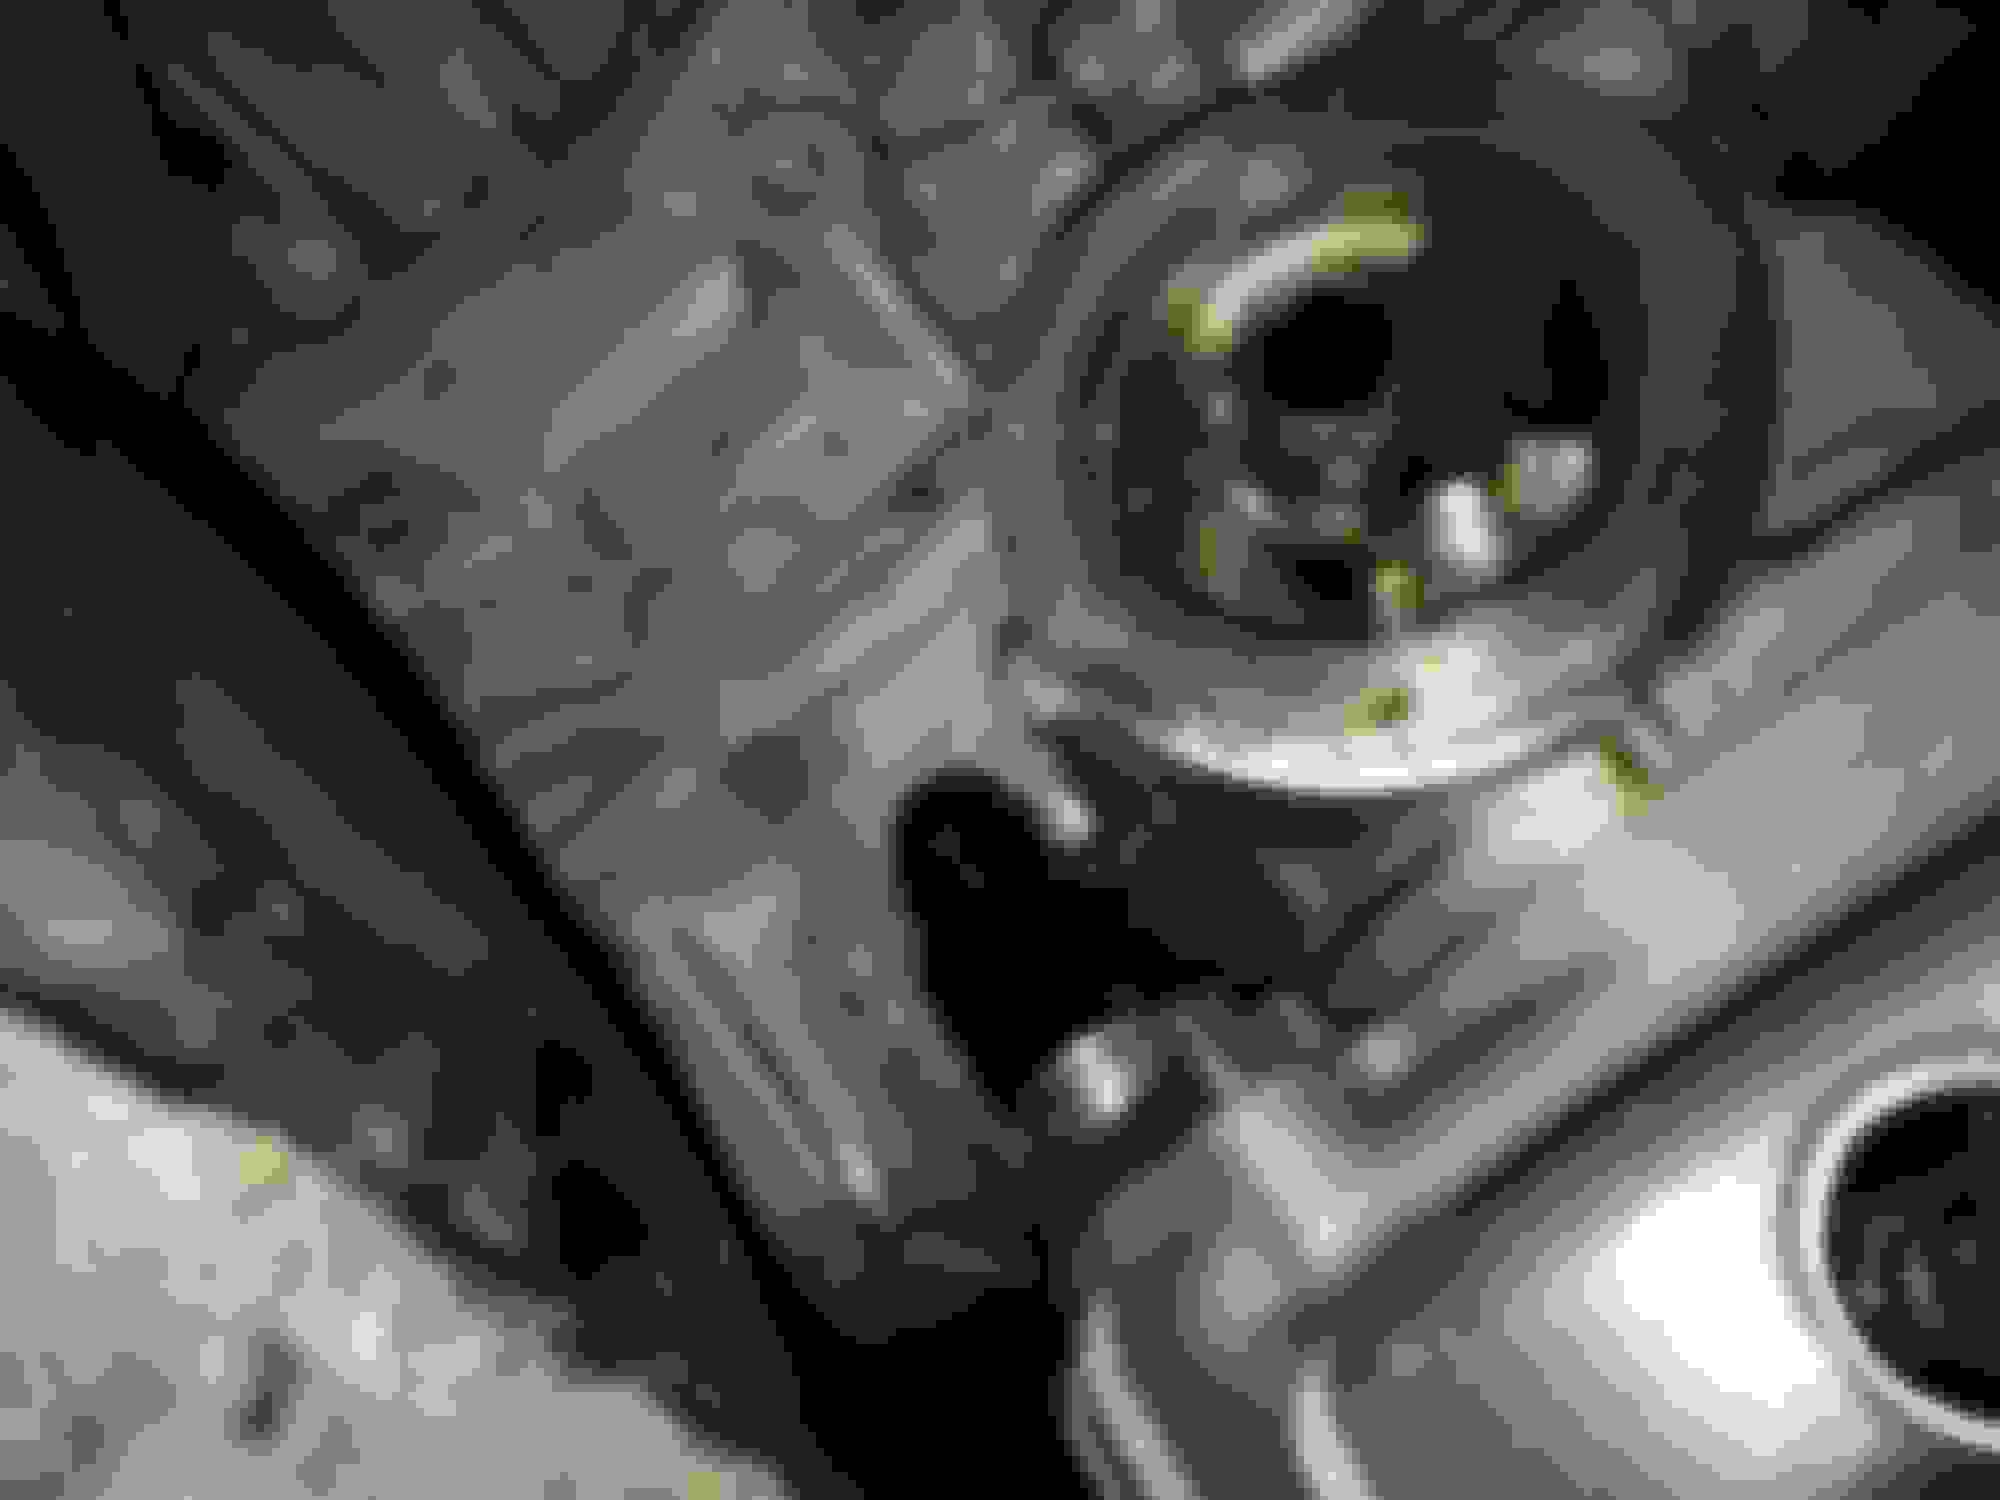
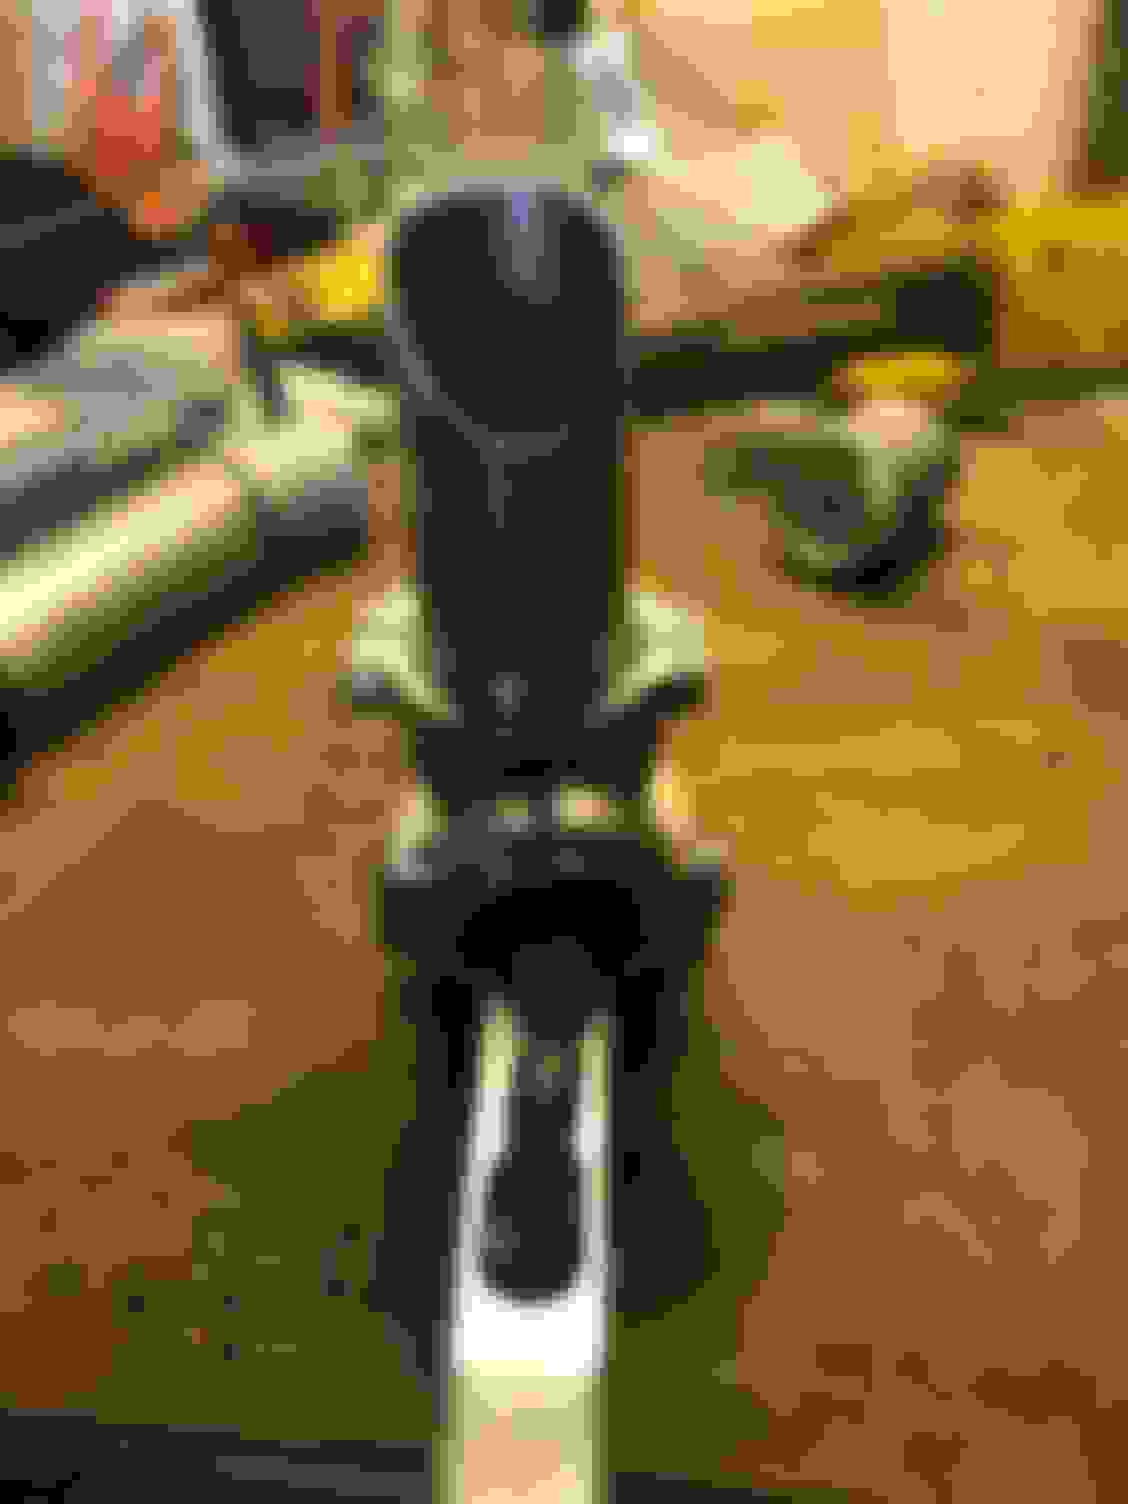
The turbo. Precision 6776 journal bearing with a 0.96 A/R
Turbo is practically new as it was re-manufactured by Precision. Got it for a hell of a deal from a friend who decided to go with a bigger turbo for his 2jz is300 build. I searched the interwebz for flanges and finally found one I liked over the typical divided T4 flanges. I can't remember all too well but it was on some diesel performance website. Fully CNC'd stainless steel flange with 2" transitioned holes that's about 5/8" thick! Awesooooooome
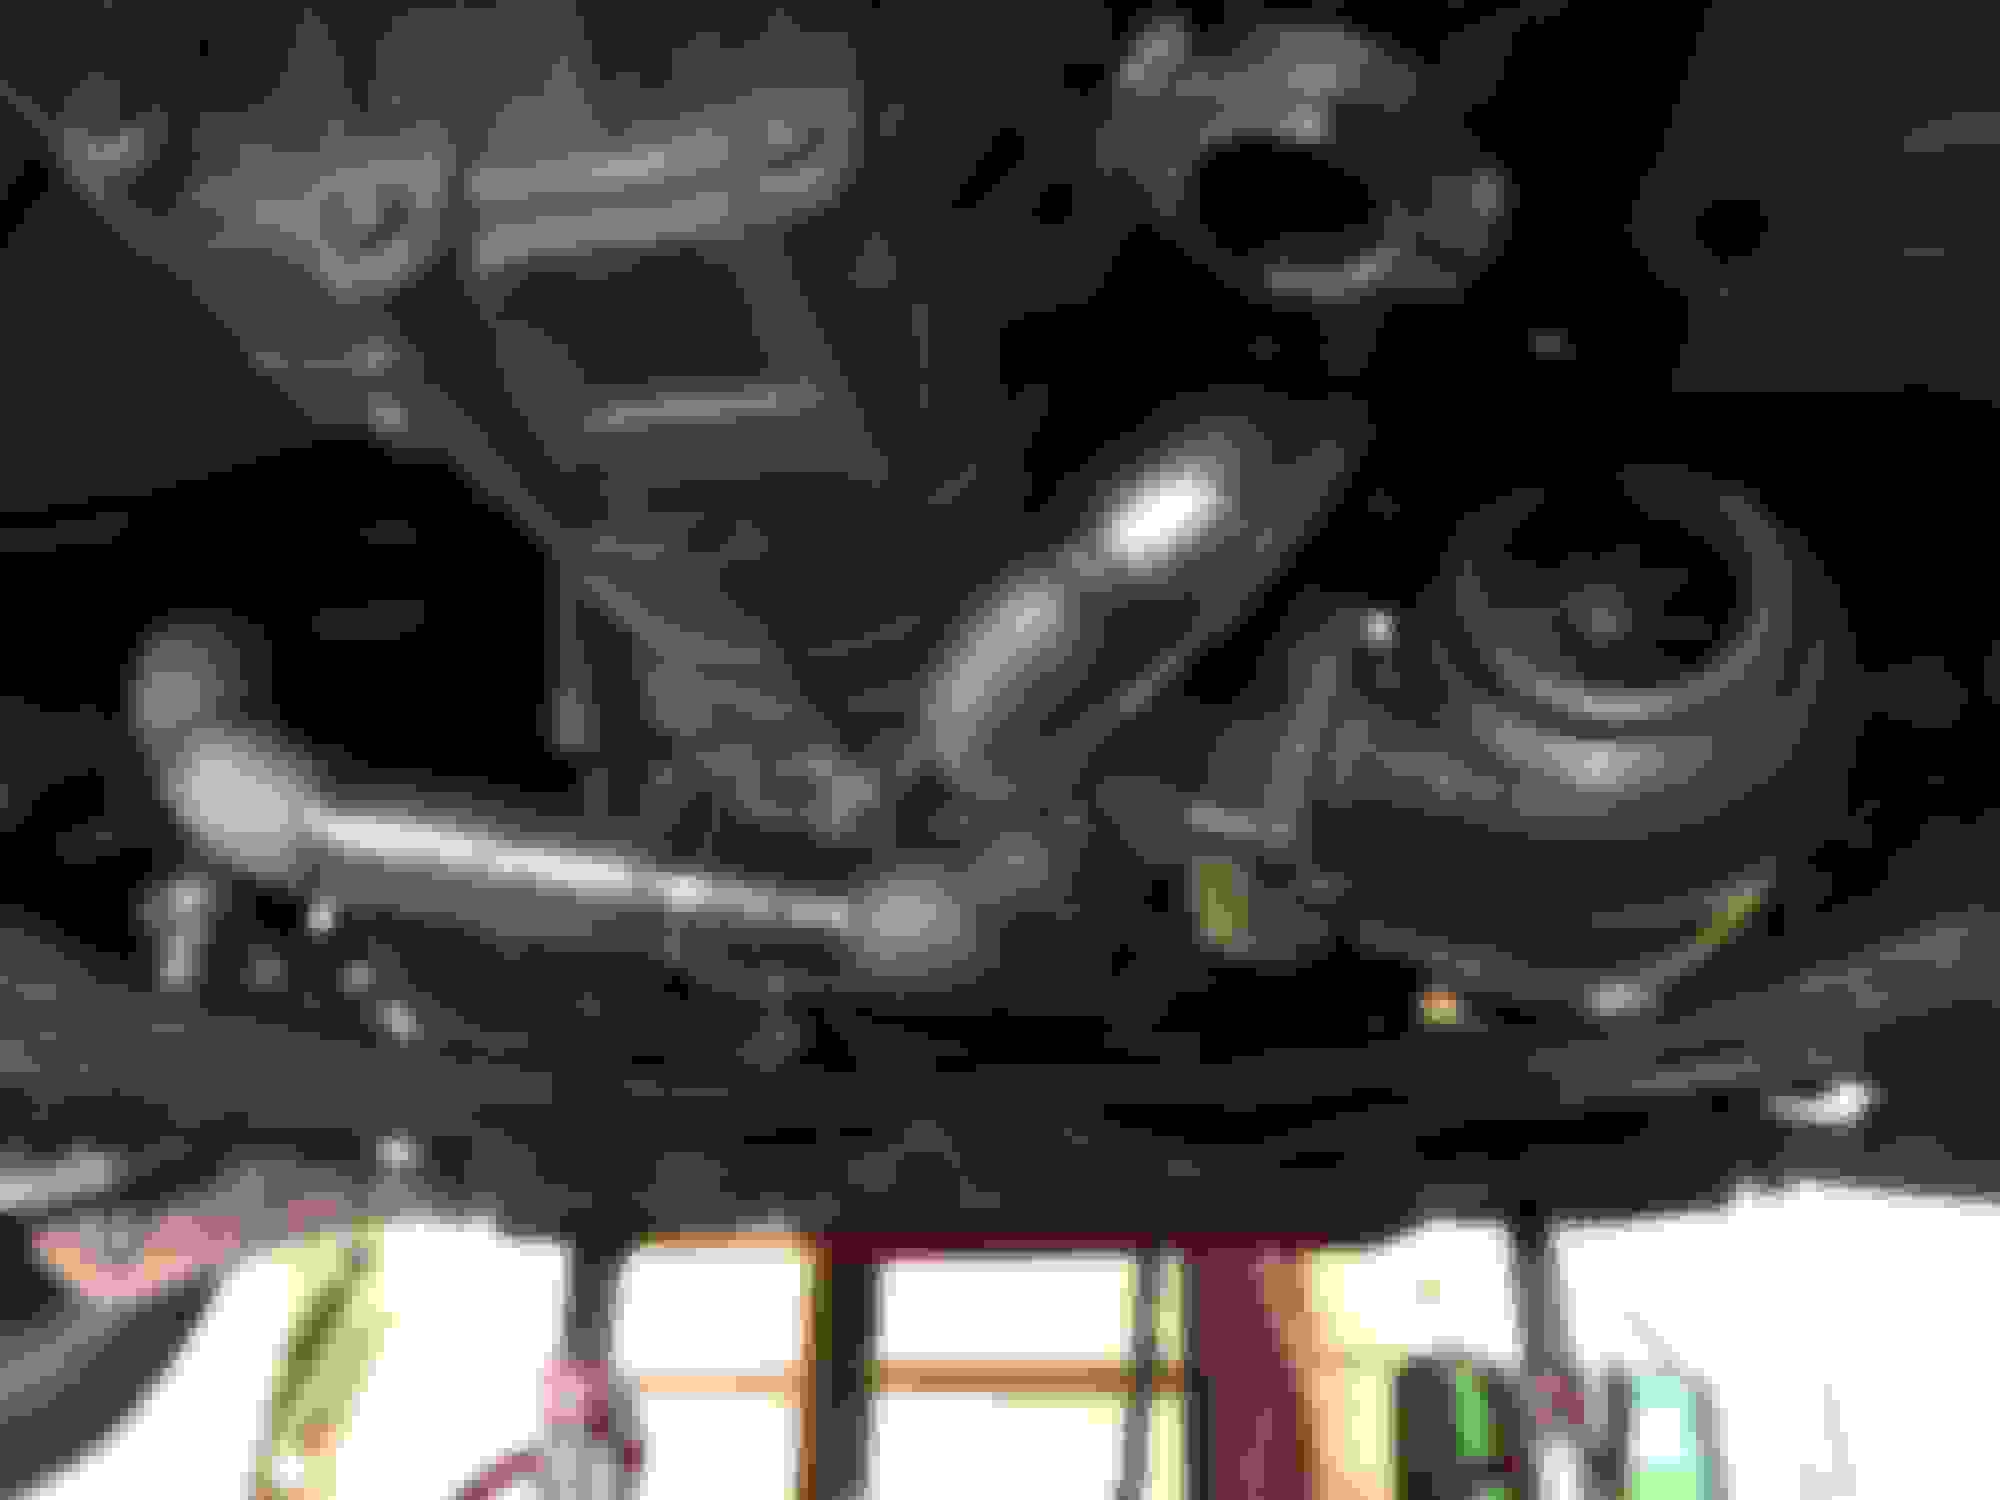
Clamped a plate to the subframe and ended up stuffing some wood pieces under the turbo so that it sits above the subframe and is thus safe from running over something (just like the BP kit)
Another reason I'm fabbing this all by myself is because I want absolutely perfect fitment and clearance. My car was originally a DE revup and for some reason, things just feel a lot tighter now with an HR compared to actual 07-08 350z's
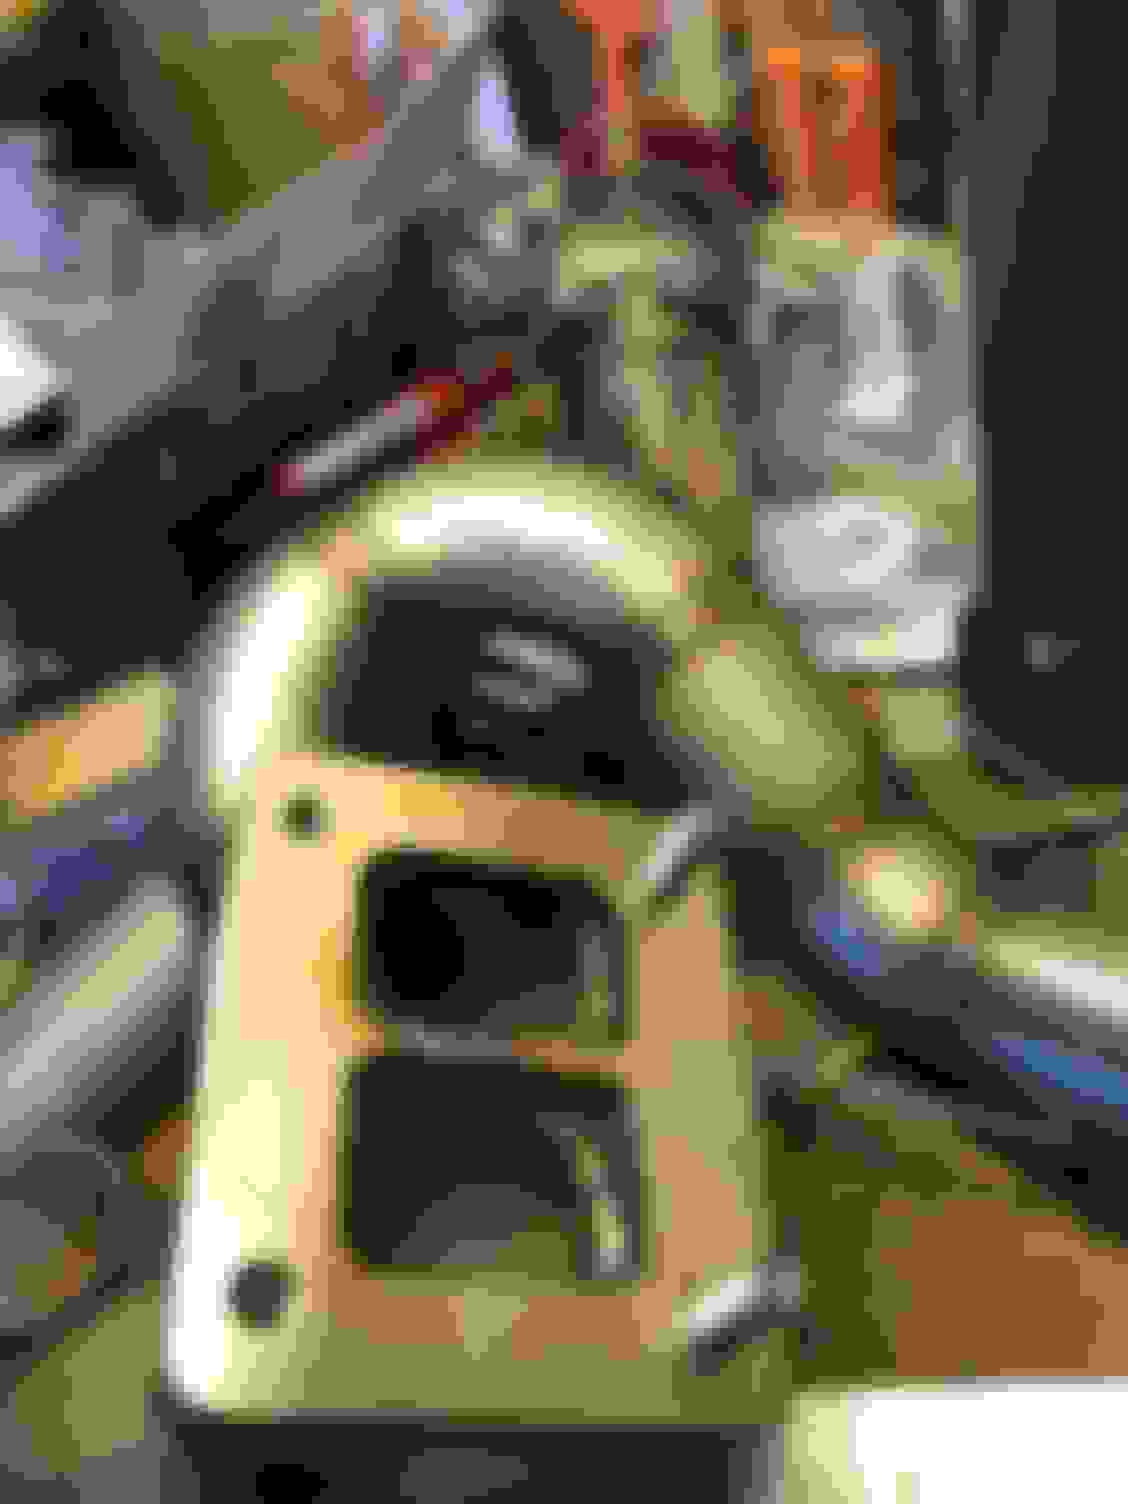
I got the header flanges from concept Z thinking they were stainless because the material wasn't specified and end up with some mild steel flanges... kinda salty about that but oh well. They're welded on and I used 309L filler metal as it's need for joining stainless to mild steel. Probably with be fine. The 2.25" flange hole is reduced with an eccentric sch10 stainless reducer (2" to 1.5")
I still have a long way to go on TIG welding thick stainless but it's at least back purged and built up as needed.
I done goofed
Down to my last cup now
Here's the driver side part of the manifold with a solid root weld
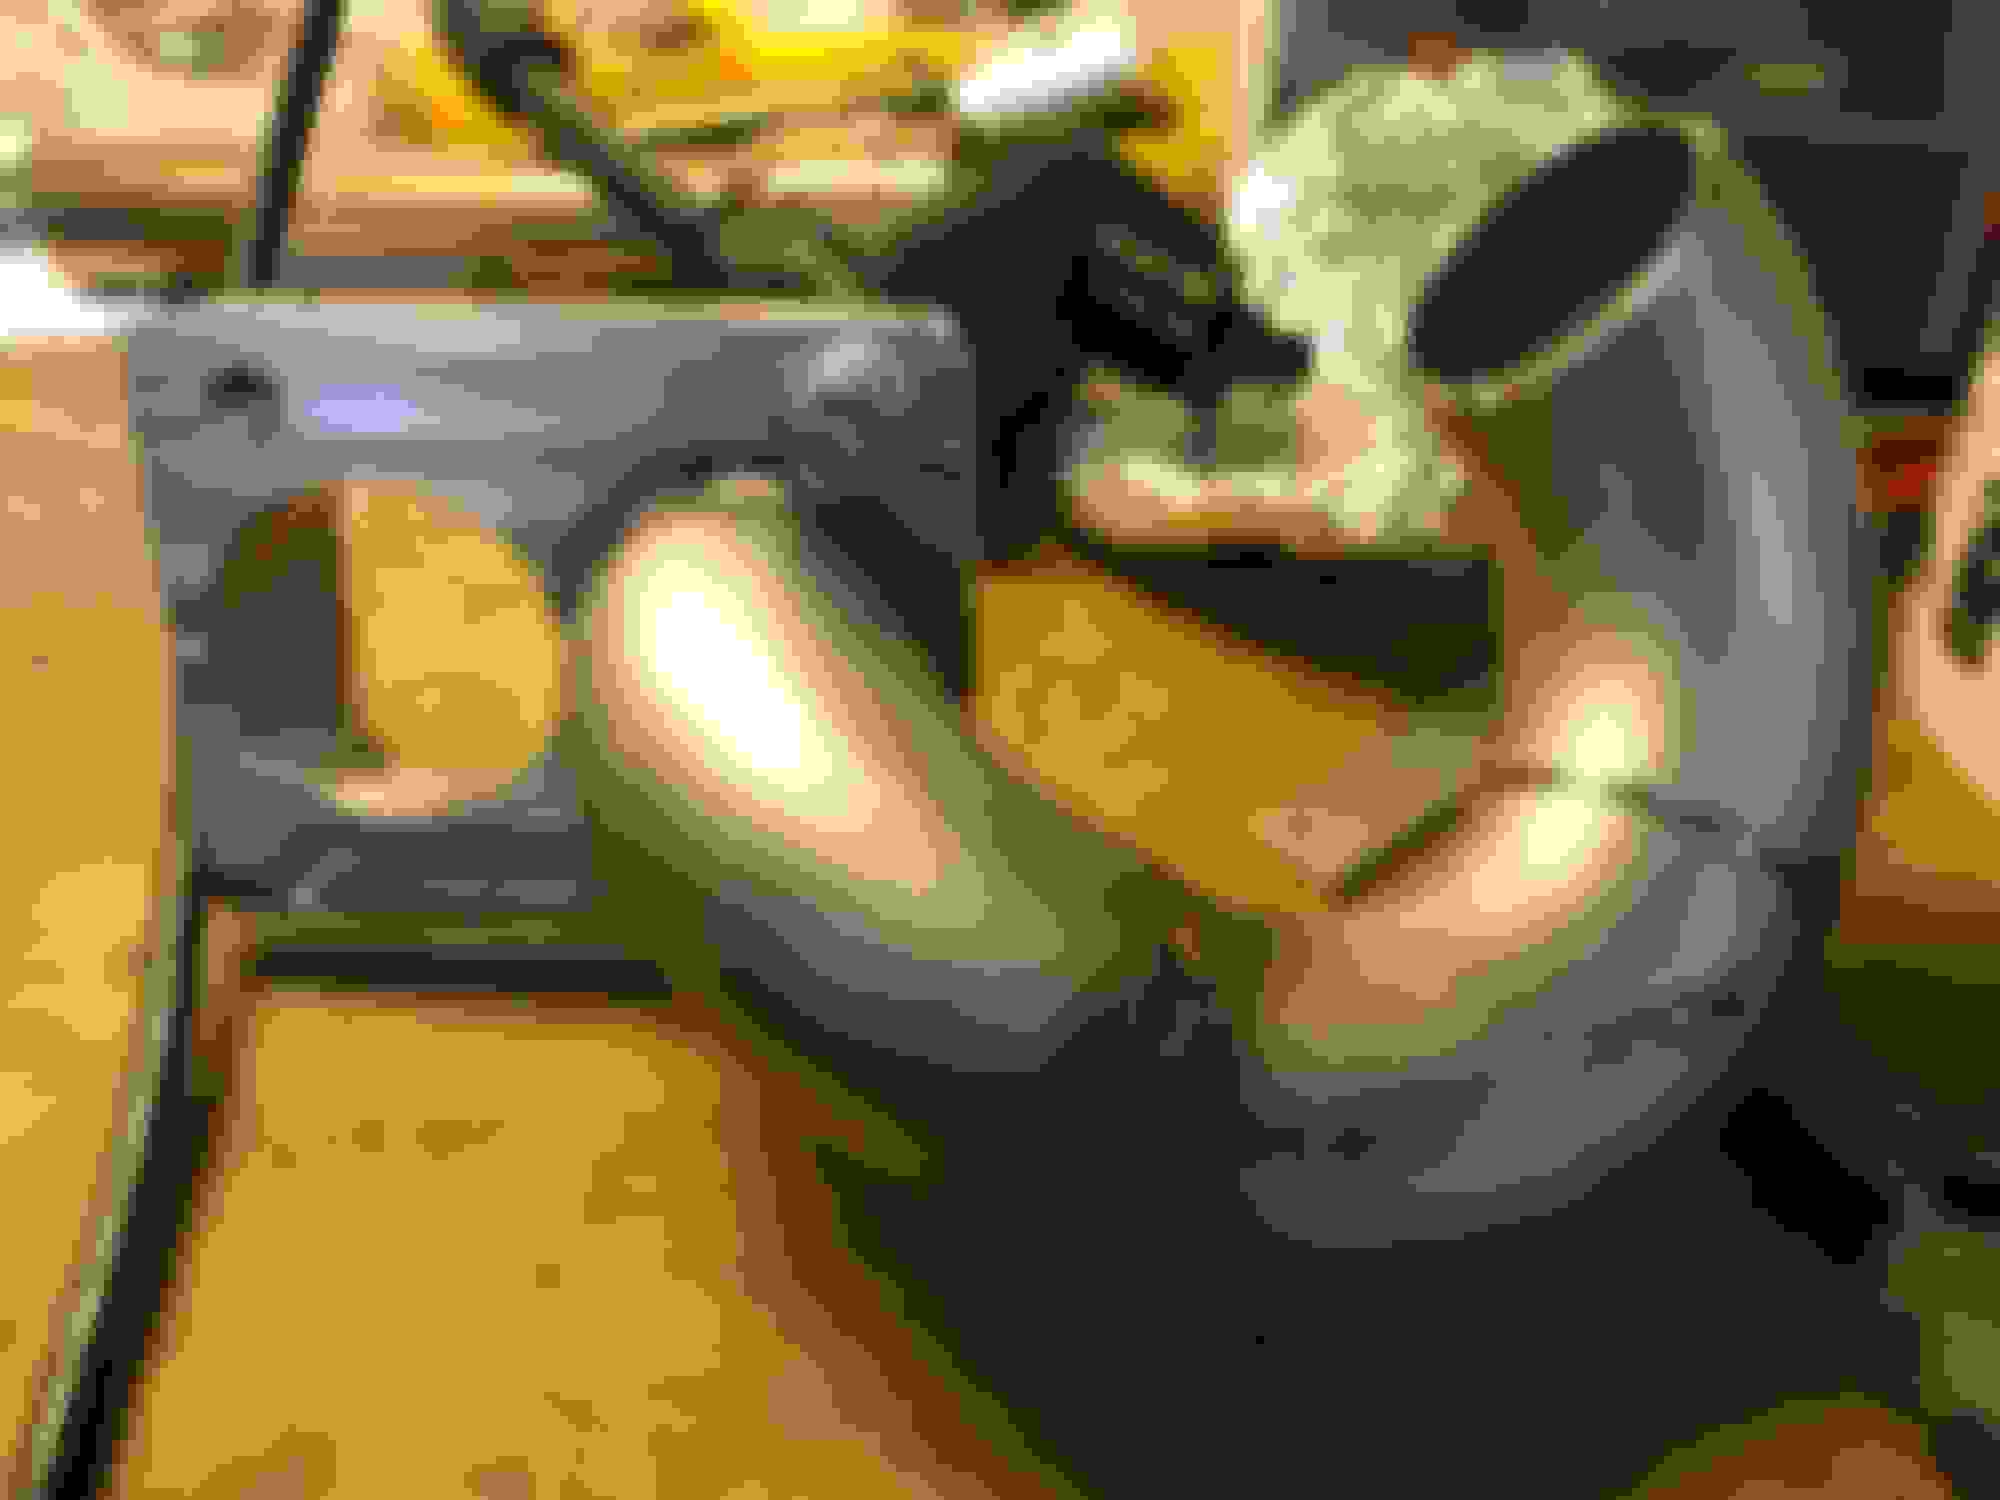
And booooooom, turbo is mounted
Wastegate hole. doesn't have to be beautiful since a tube will cover it lol
Driver side waste gate notched and ready to get welded on to the mani
At about a 45* angle to the flow of the piping to provide optimal waste gate flow
Very happy with how this came out!
The start of the exhaust
Showing off a little that I can still throw down on thin wall stainless
Waste gate dumps gonna look goooood
All the hot stuff is just about done aside finishing the exhaust. Planning to use a GReddy RS muffler again since they sound so amazing
What all that jazz looks like off the car
Fortunately, I have some really awesome friends that are willing to let me use their welders since mine can't weld AC for aluminum. This intercooler is actually this first real aluminum project I've ever had. I've only done a hand full of AL beads prior to this and I was truly amazed at how much the machine makes the difference compared what I tried to practice on in the past.
Those everlast welders are no joke
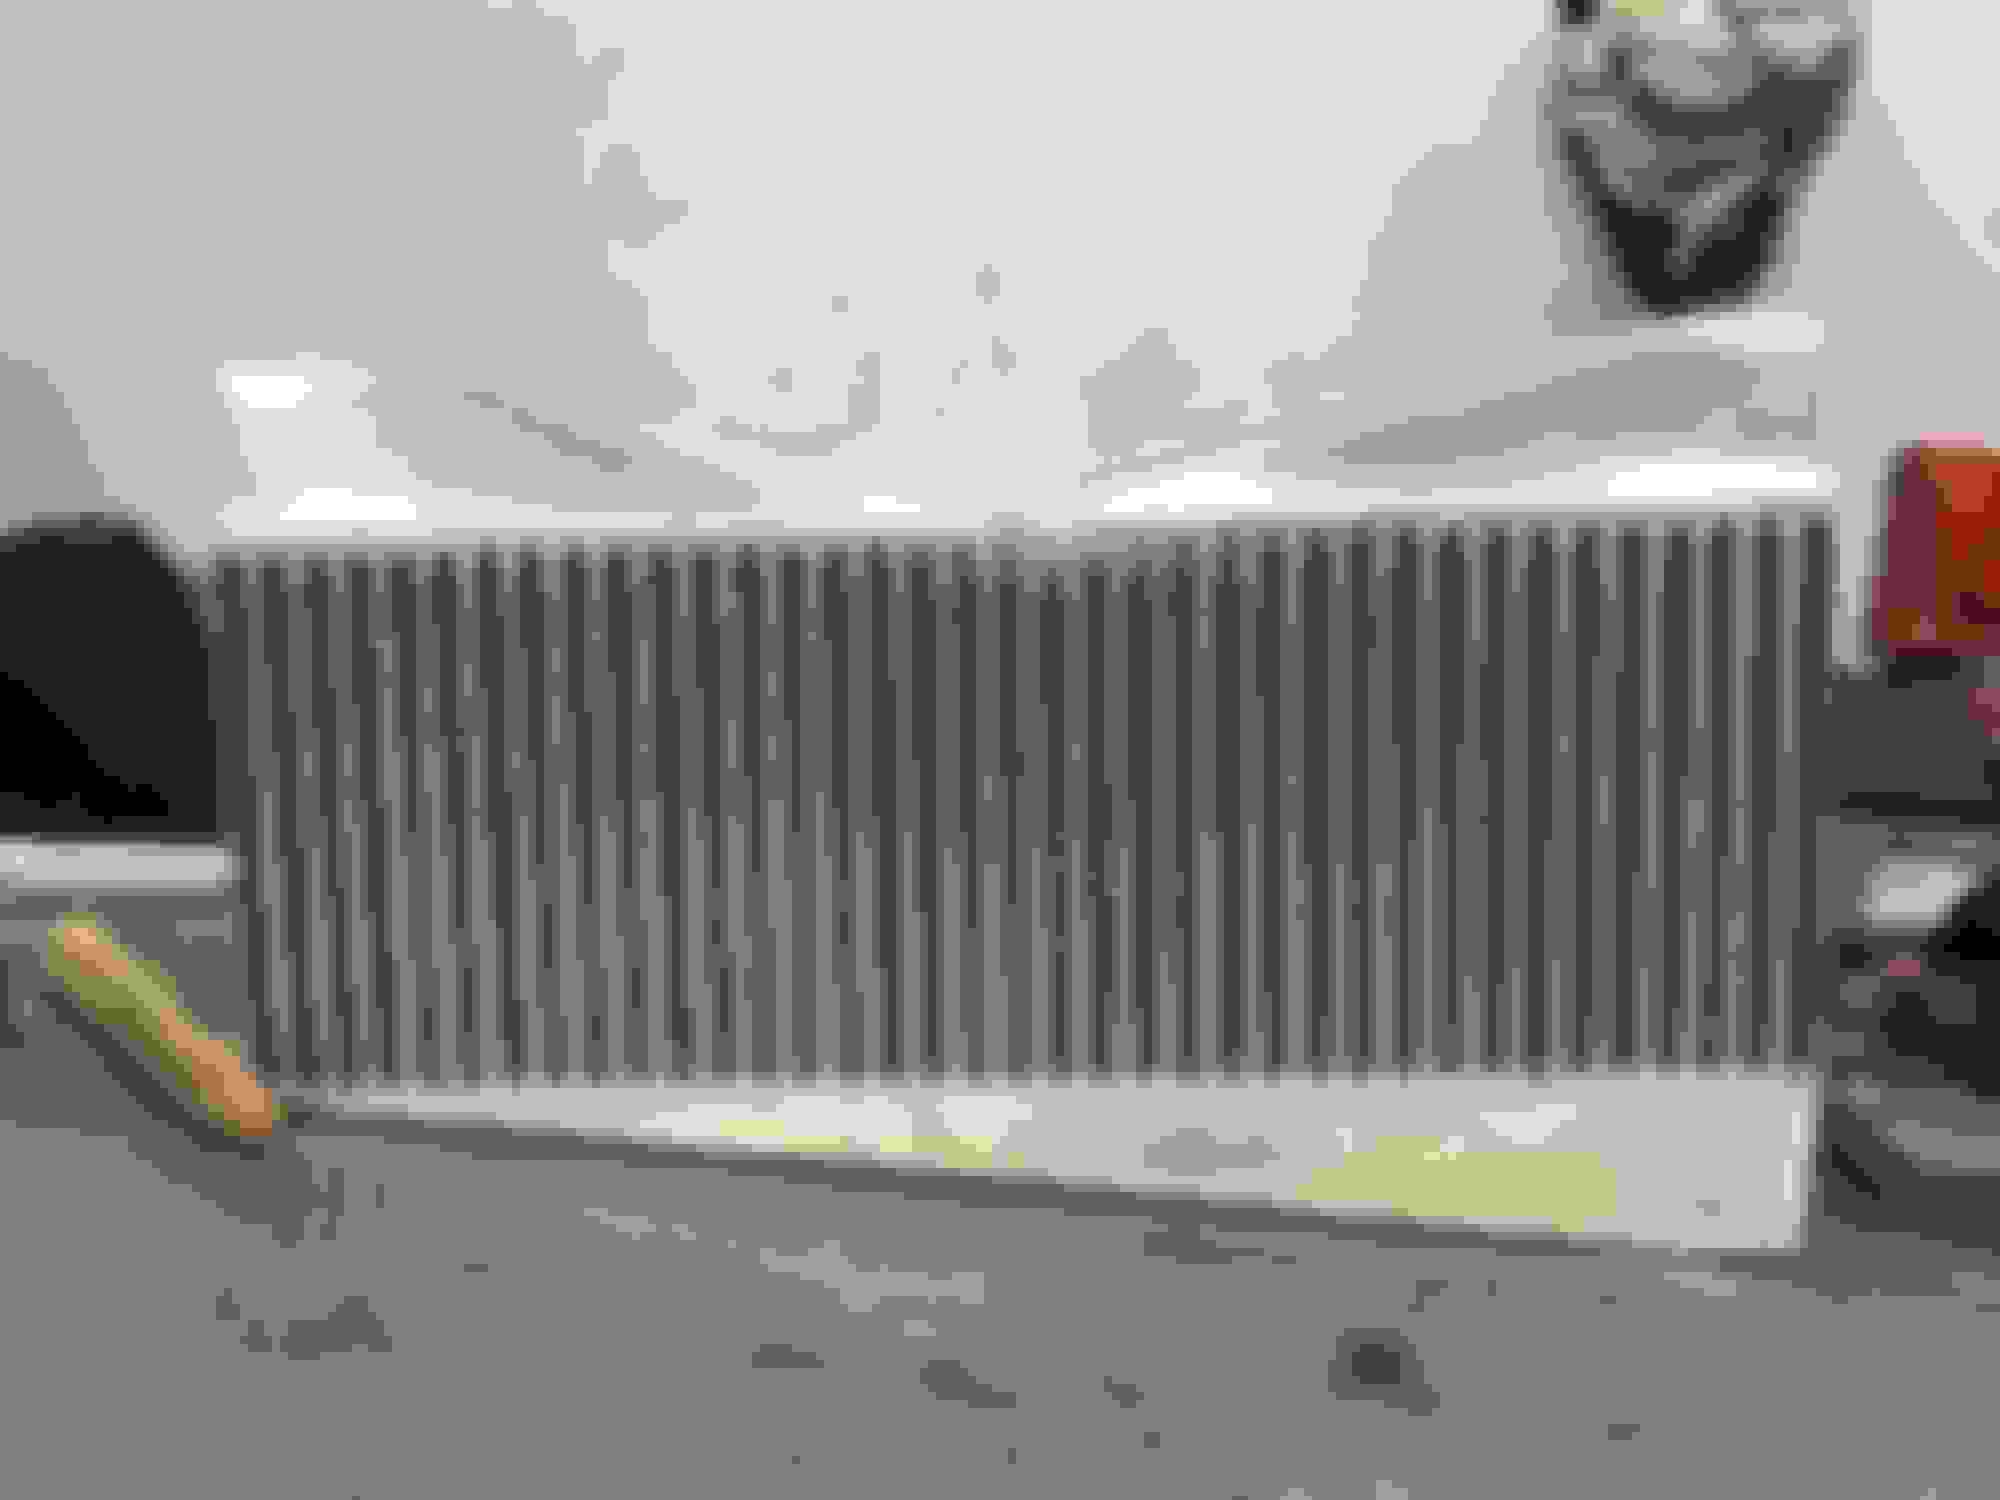
Complete intercooler. Only thing missing is beads on the ends of the tubes to give the couplers something to grip on and not slip off under boost
Last edited by venture210; 12-05-2017 at 06:53 PM.
Really simple mounts. Just bent plates with holes drilled accordingly
Getting close!
Things currently on the to list fabrication wise:
-2.75" aluminum intake charge pipes with MAF flanges welded on
-2" hot side stainless steel charge pipe with tial Q BOV flange welded on in a safe accessible spot
-3" exhaust
Things to do that are not fabrication related:
-install barbs and vaccuum hoses to waste gates and BOV
-install 1000cc injectors (got some Bosch ones from a fb friend for a solid deal)
-install 485 walbro fuel pump with relay and all that jazz (stock fuel lines, no return)
-replace rear axles (worn out and clicking from drifting)
-fill up the tank with E85 and get on the dyno!
going to do a mild and safe tune until I can save up enough for the JWT heavy duty clutch, BC sportsman rods, electronic boost controller, and AFR/Boost gauges.
Should be able to put down around 400hp and about 360tq safely until then.
End goal is 550 to 600hp and 400-450tq with the torque curve being as flat as possible and carrying that power to the top
Last edited by venture210; 12-05-2017 at 07:14 PM.
I see posts and stuff like this on TV shows like Bitchin' Rides and such and feel wholly inadequate thinking about the condition of the cookie cutters I made in metal shop.
Bishin' fab skills, dude! I thought your exhaust sys was boss but this? Wow.
More aluminum! I really need to save up and upgrade to an AC/DC TIG welder.
Tall MAF flanges and 2.75" intake pipes should provide all the sensor resolution I'll need when tuning
Tial Q BOV on a 2" stainless tube. Decided to keep the entire charge pipe between the compressor and intercooler 2" for slightly quicker throttle response
2 of the 3 hot side charge pipes. The third is just a simple 45* pipe that goes under the transmission and towards the steering column
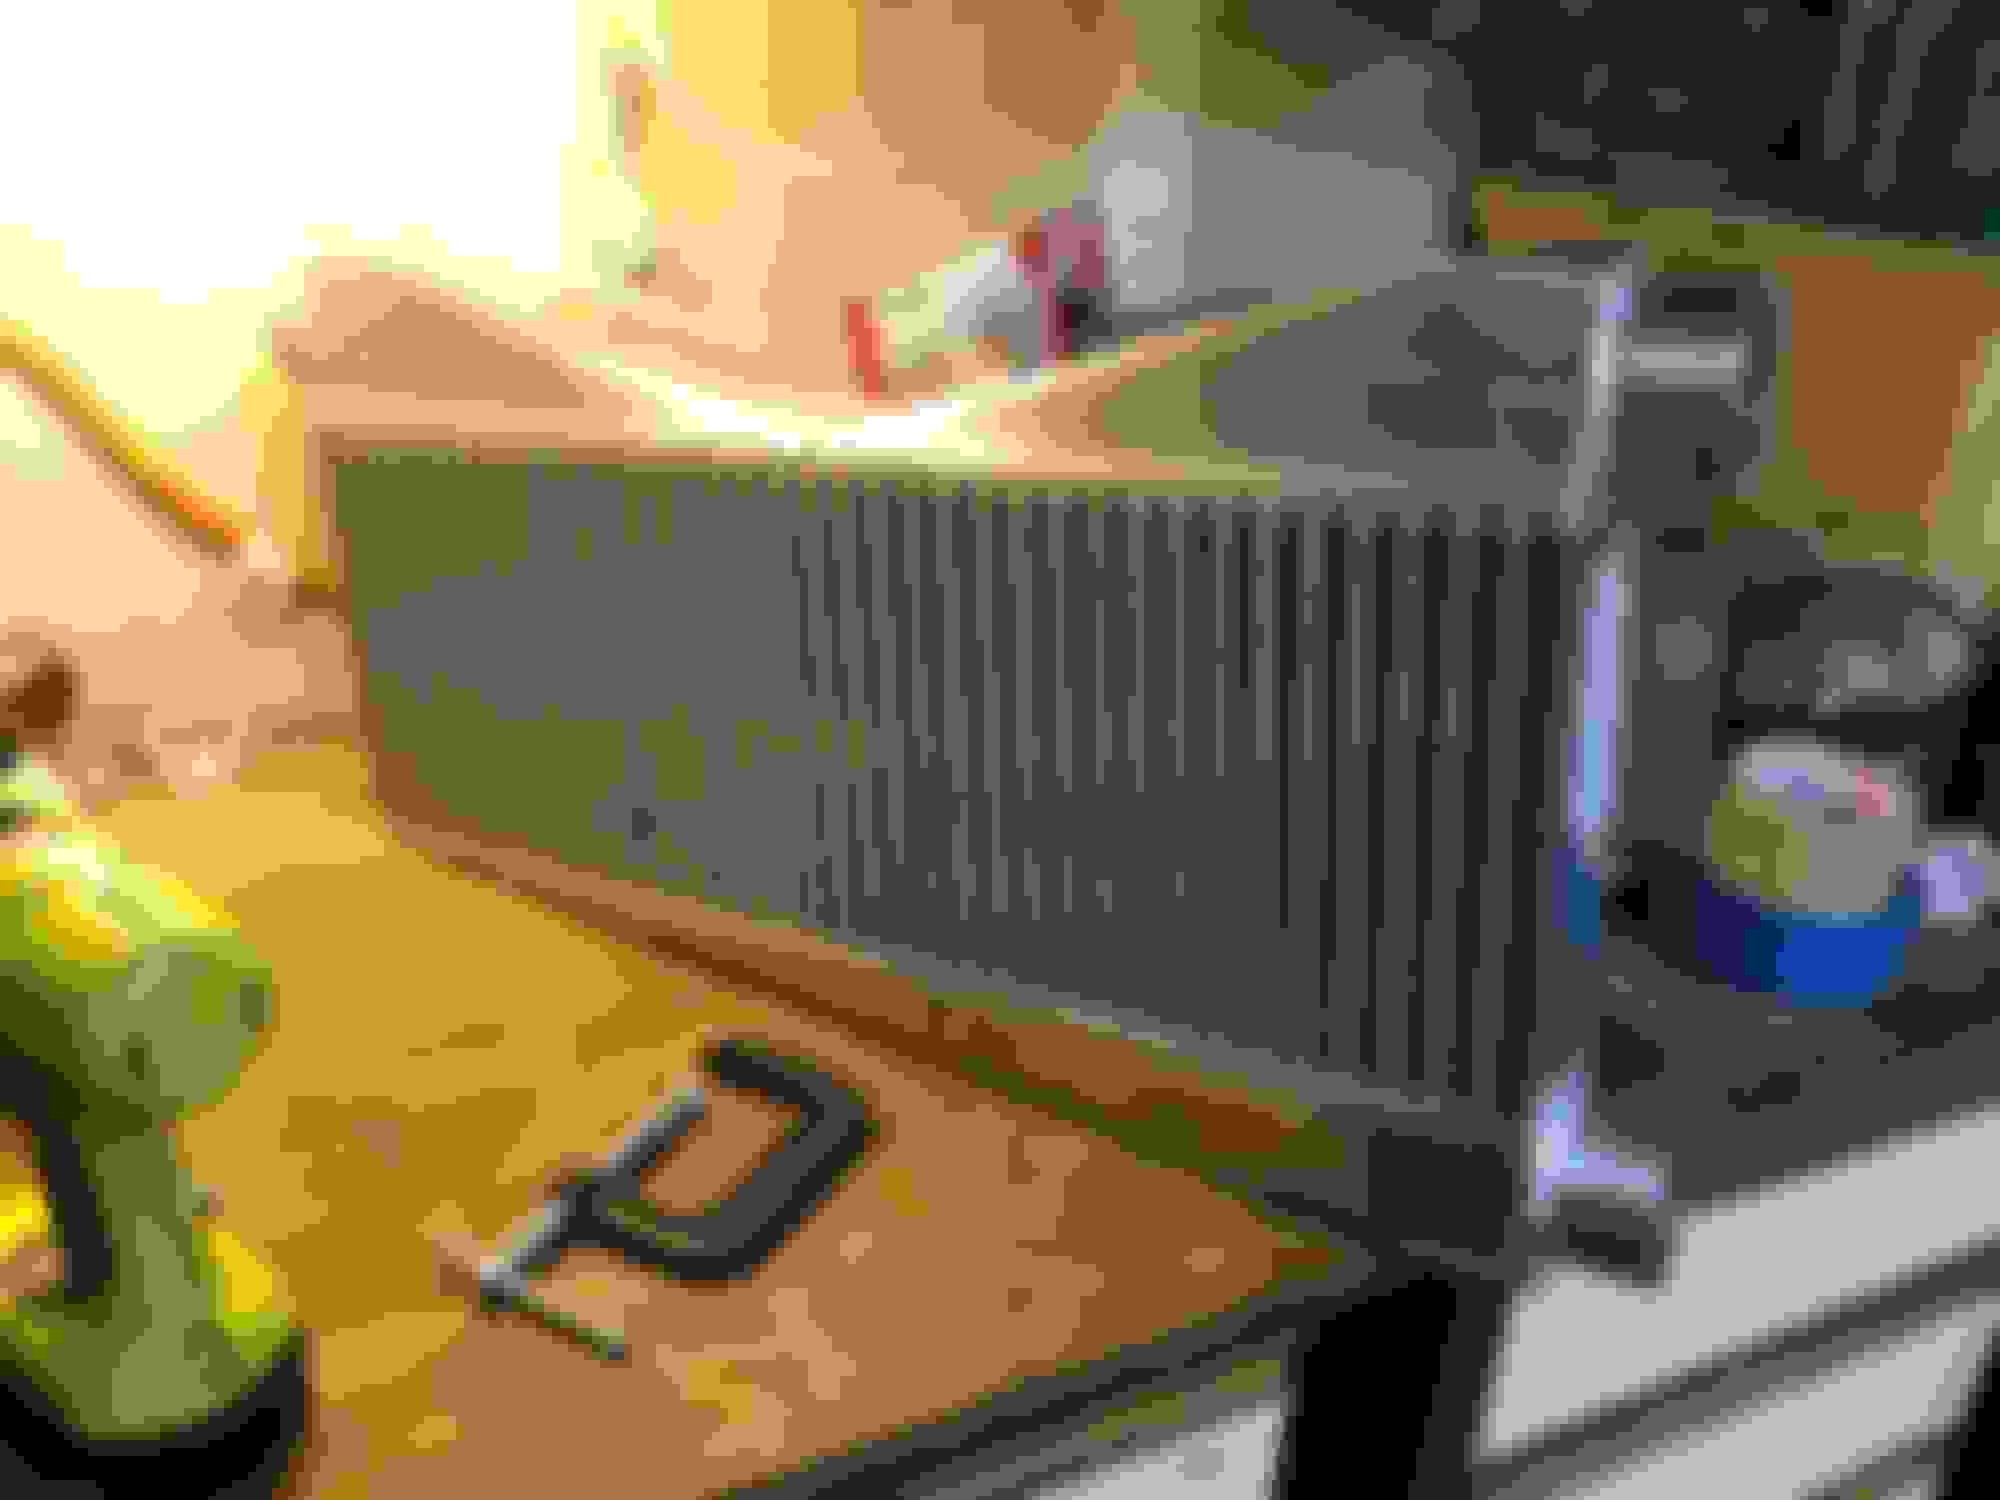
Fits and looks just how I want it to
I'm still trying to find our where I'm going to mount the scavenge pump. Not a whole lot space on the passenger side of the front end with the bash bar in place
And last on the update, my boost controller came in! Displays AFR, boost, and allows a percentage gain. Hopefully that let's me add the torque I want at high engine speeds. We shall see though!
This looks REALLY similar to Sasha's boosted Preformance HR kit lol
lolol my kit is inspired by his. It's only little things that are different. One of the biggest changes I wanted to make was routing the hot side charge pipe up and over the subframe right next to the engine mount and then down under the sway bar mount so that my wheel doesn't rub the pipe at full lock in a slide. Another difference is that I had to fabricate my own intercooler from scratch to get the look and fit I want considering that I have a bash bar to work around. Another one is just sending the wastegate exhaust gases straight to the ground. Much less fab work to do and it looks more aggressive to me. Also Sasha's charge pipes go from 2.5 to 3" and don't allow the strut bar to fit. I have 2.75" pipes that clear everything perfectly fine.
So in the end, I seriously thought about buying Sasha's kit but the amount of things I would've had to modify would shot the price up by maybe 2k. By making it myself, I save that 2k and now my cost becomes only materials, parts and personal time so I save that much more financially. Tons of reasons why I'm going the route I am but I'll stop there haha
Have you put that on the ground yet? Your under trans pipes look REALLY low.
Sasha's are really tight against the trans, and even then it's close to rubbing in bumps. You might want to hook those tight to the trans.
Would you be down to fab me those gate ports for cheap? I'm looking to open dump my gates in the future too. Similar to yours but shorter.
They hang RIGHT at the level the subframe is at. I even had to cut a part off the trans housing to make it fit better. I plan to make some 1/8" spacers to push the engine up a hair and thus give me more clearance though. hopefully that works.
As for the wastegate dumps, yeah man I'm down. PM me
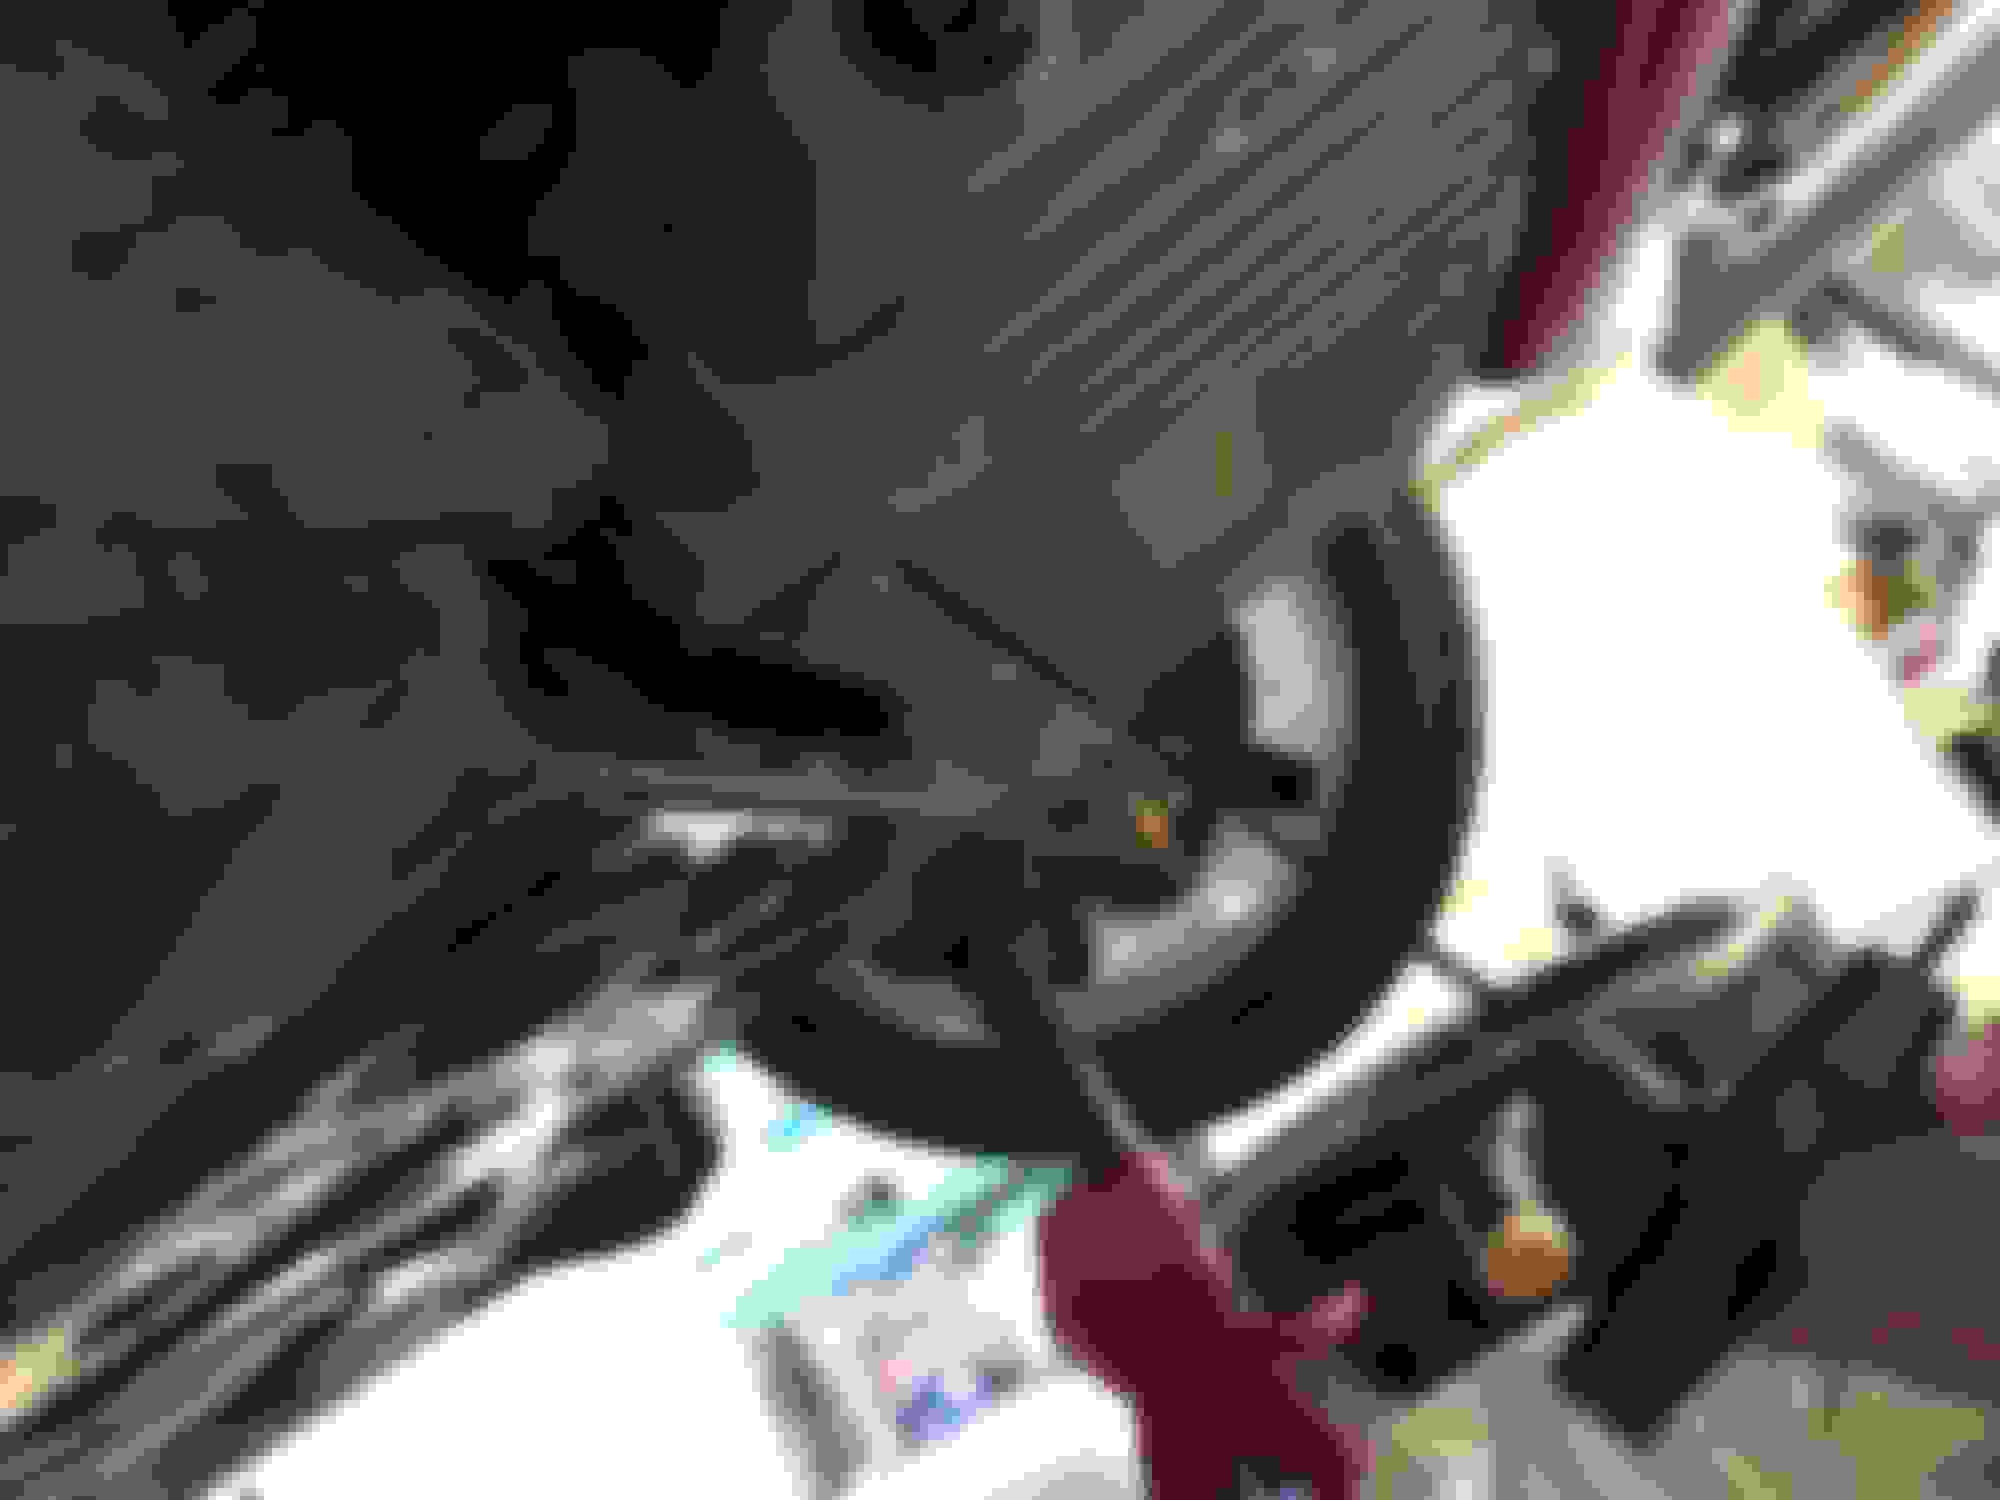
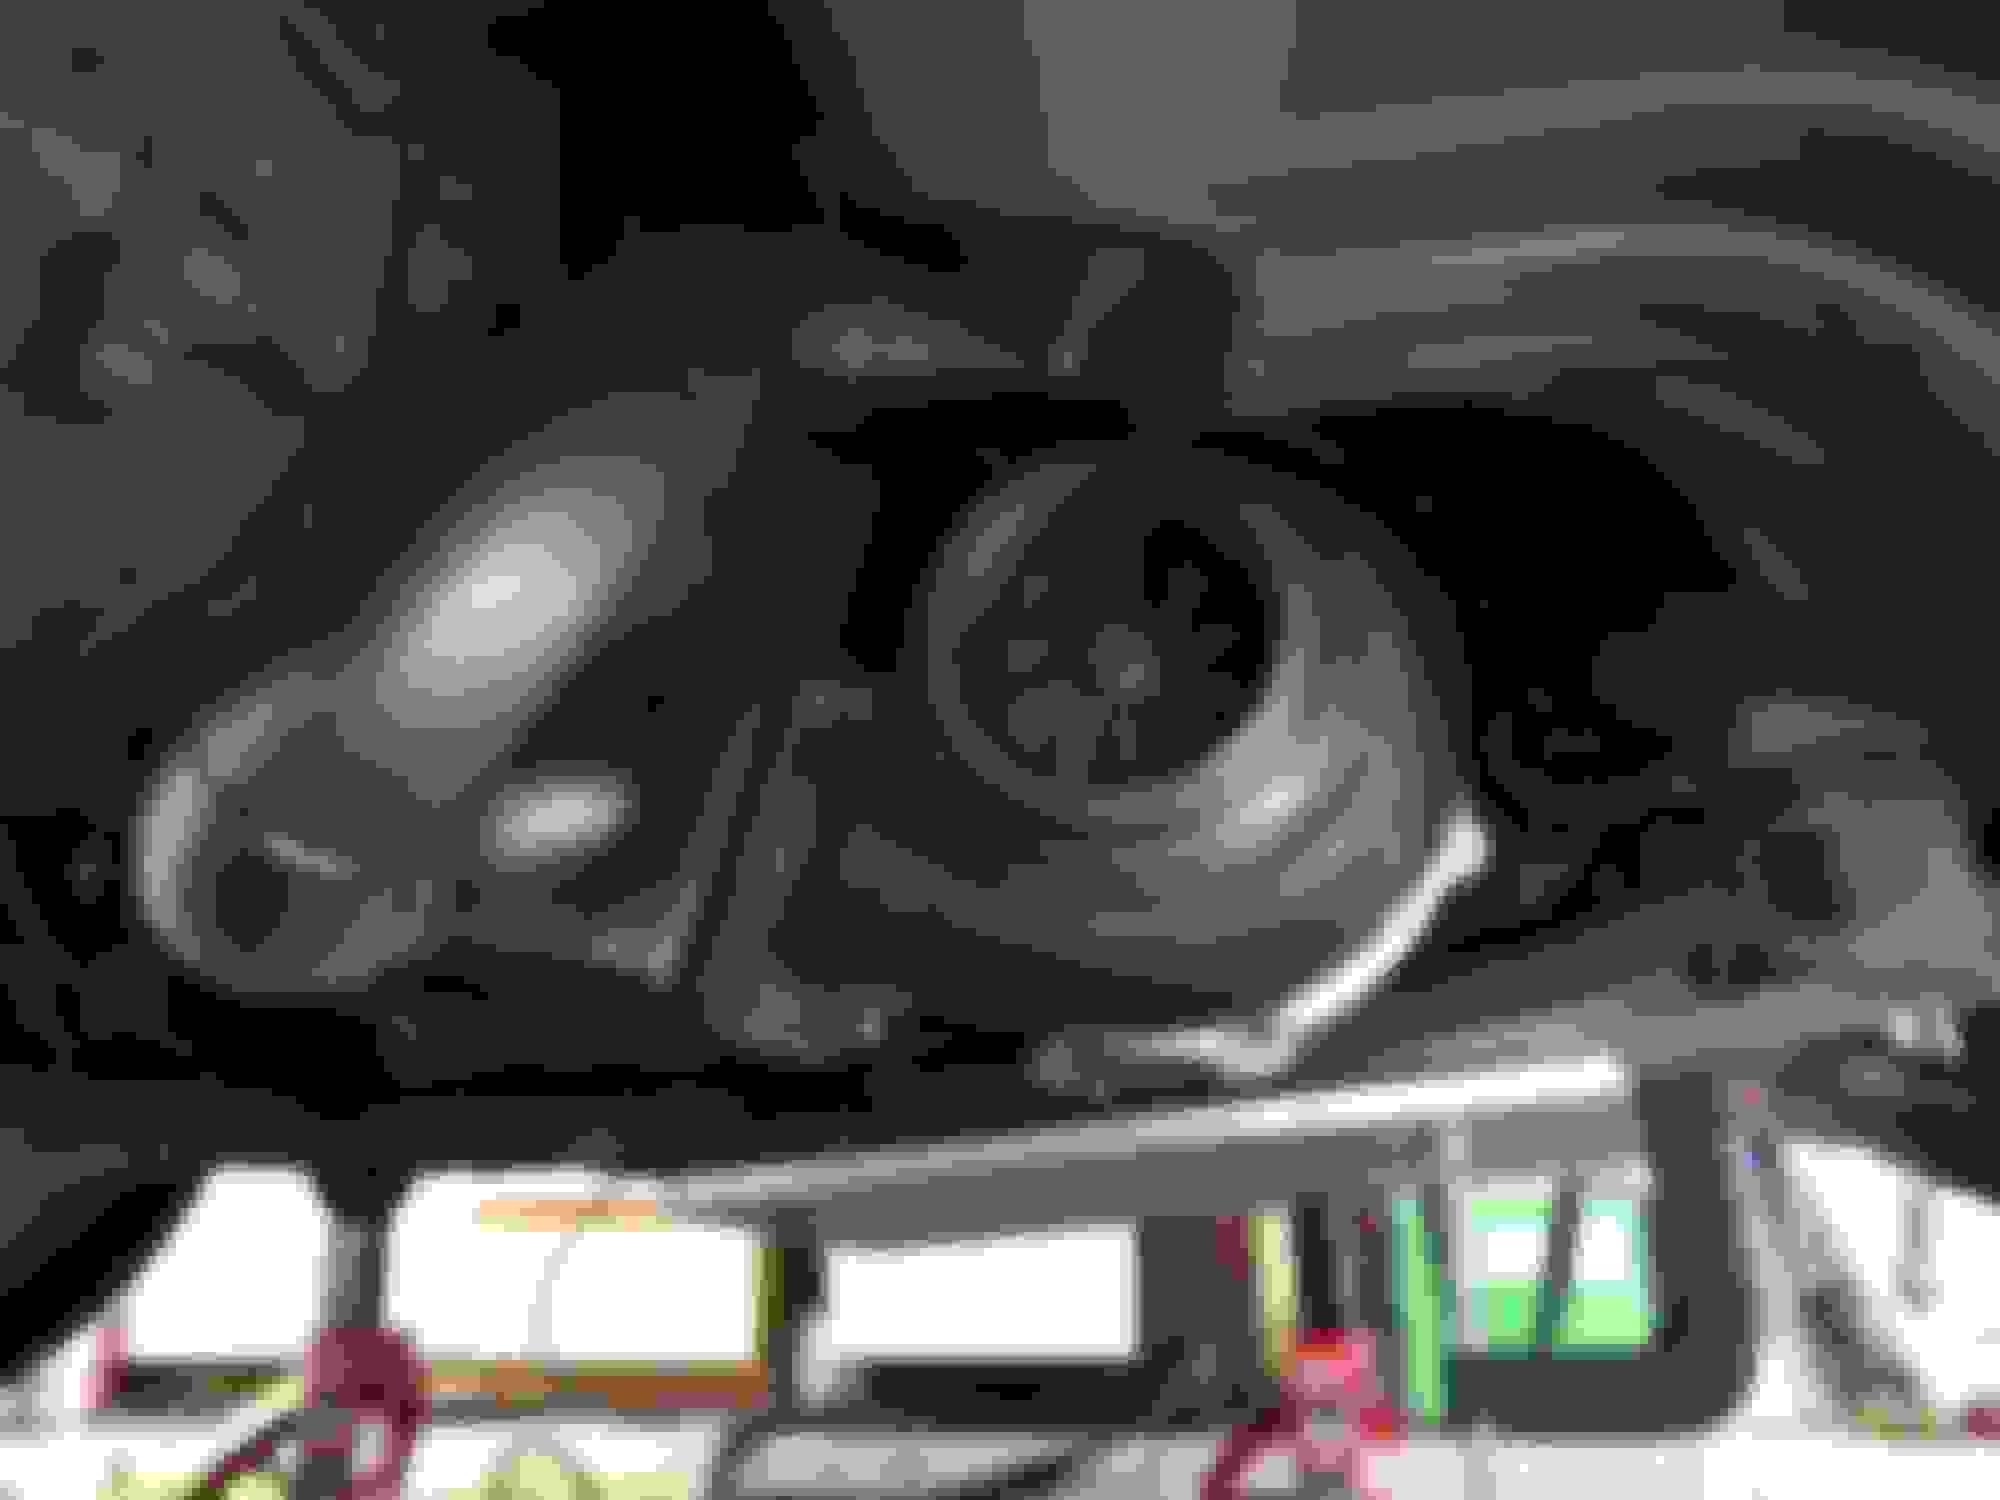
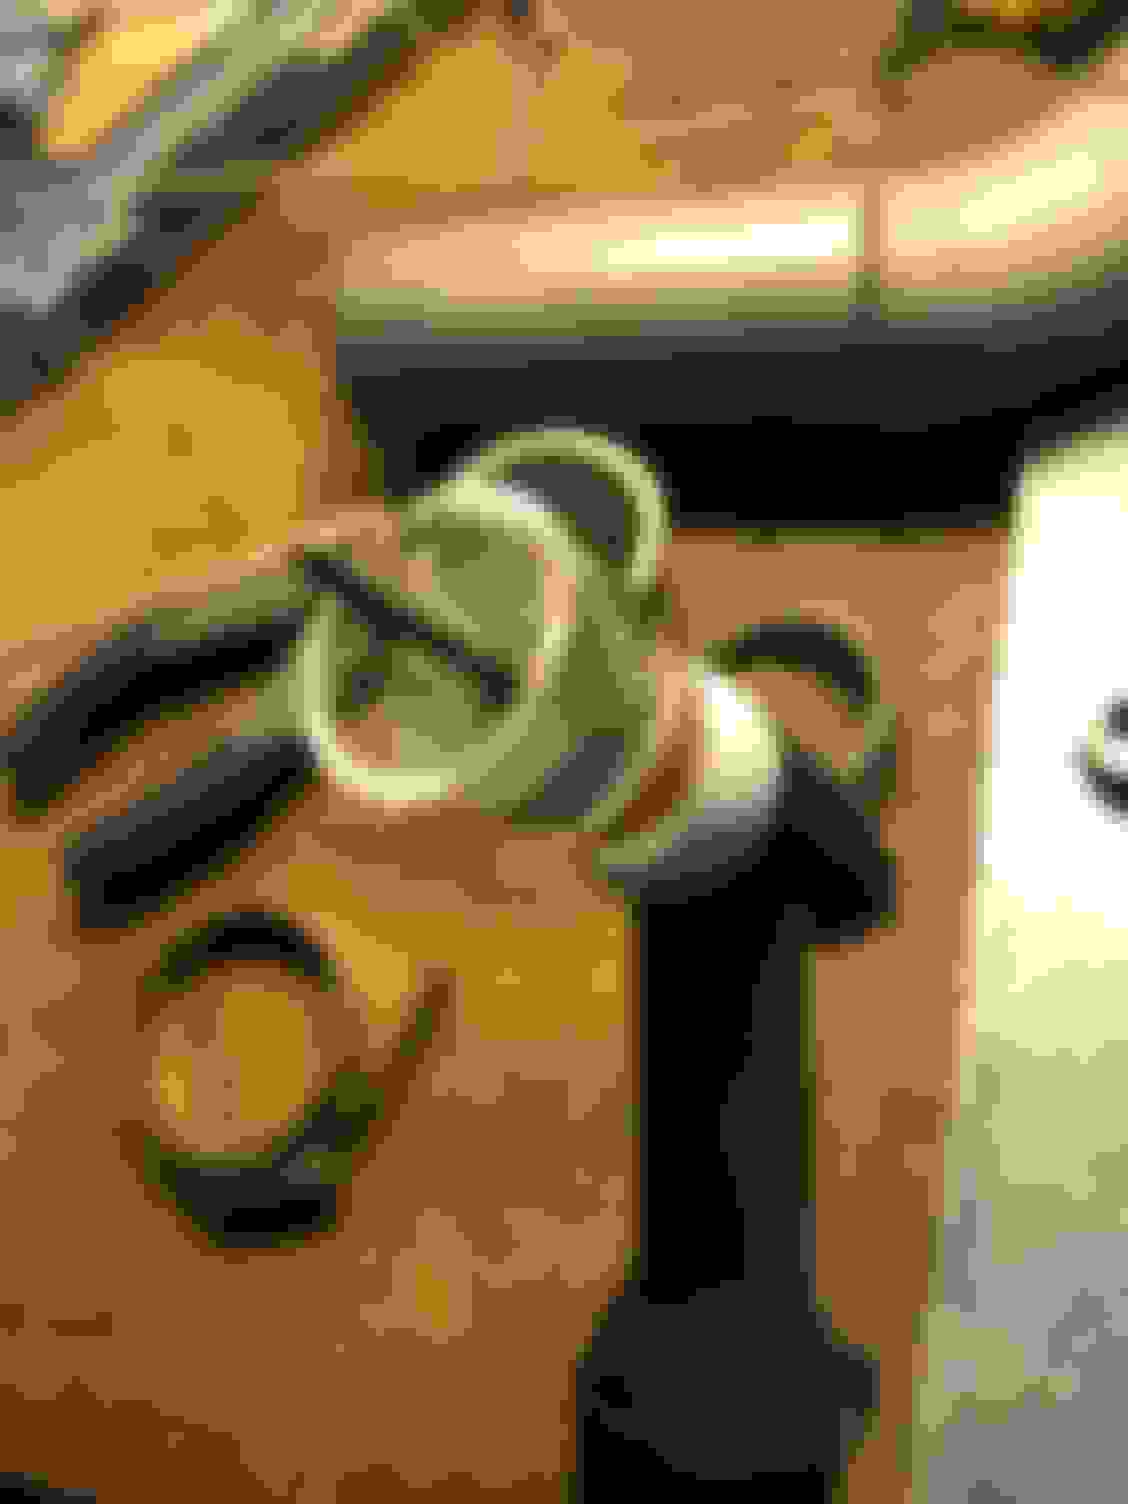
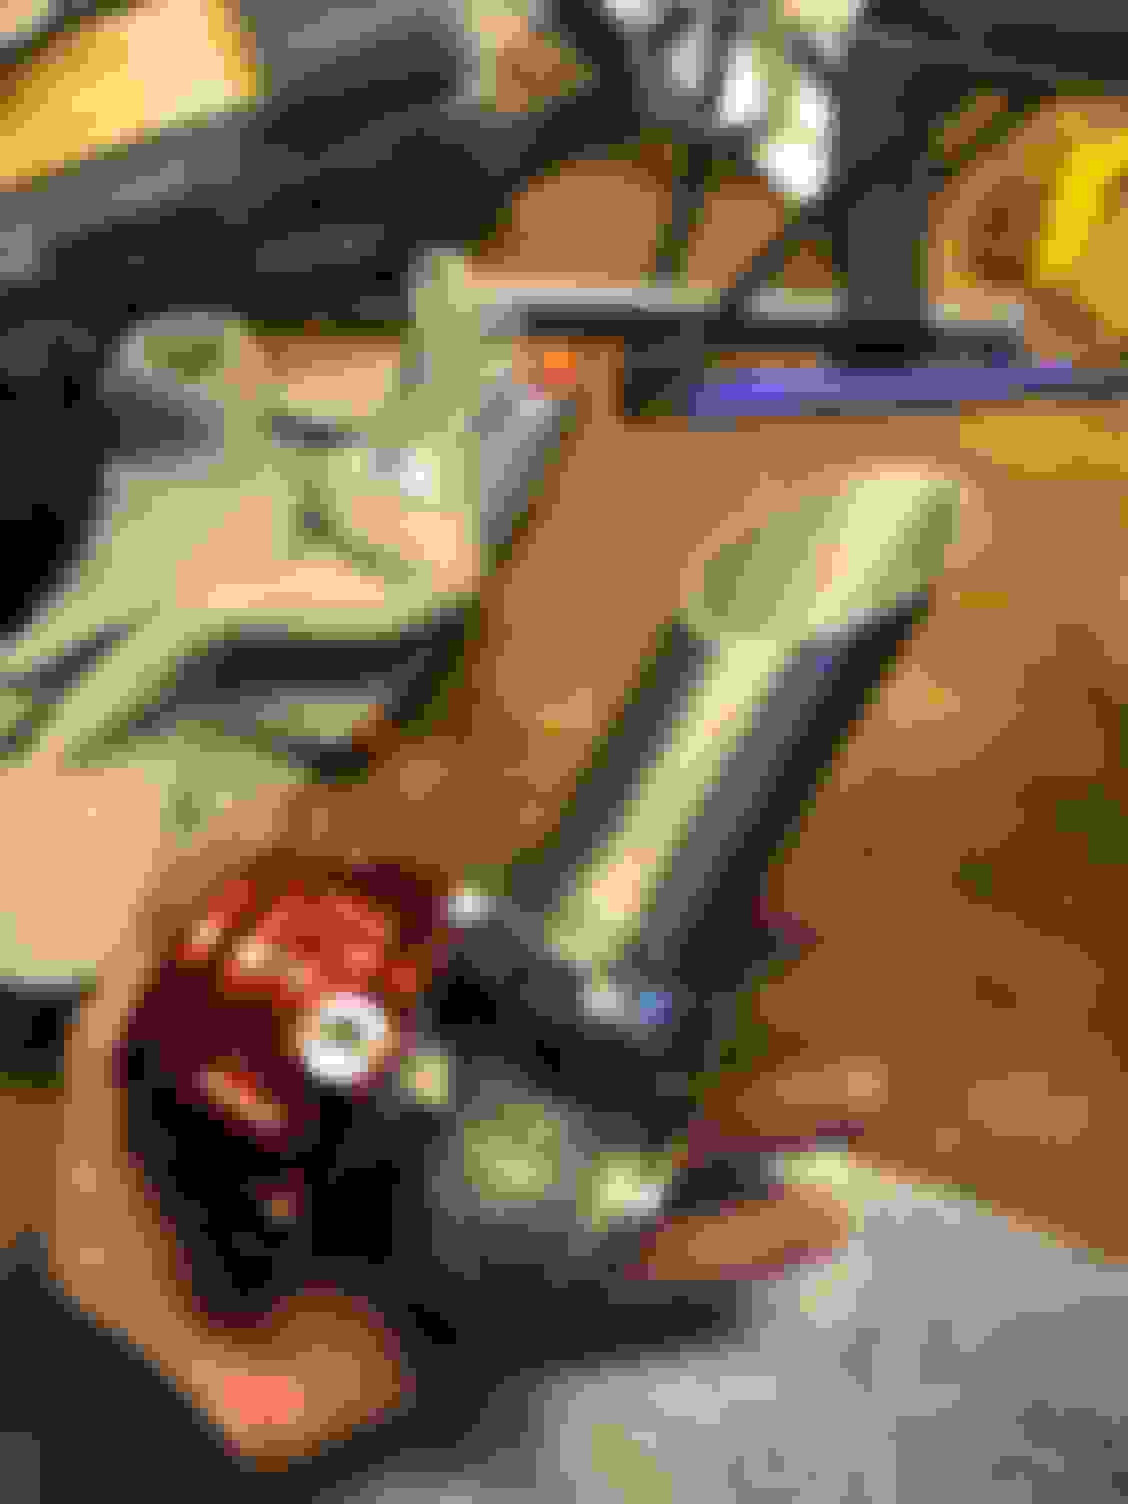
Took 2 of the 4 turbo bolts and turned them into studs since the top 2 bolts can't physically go on
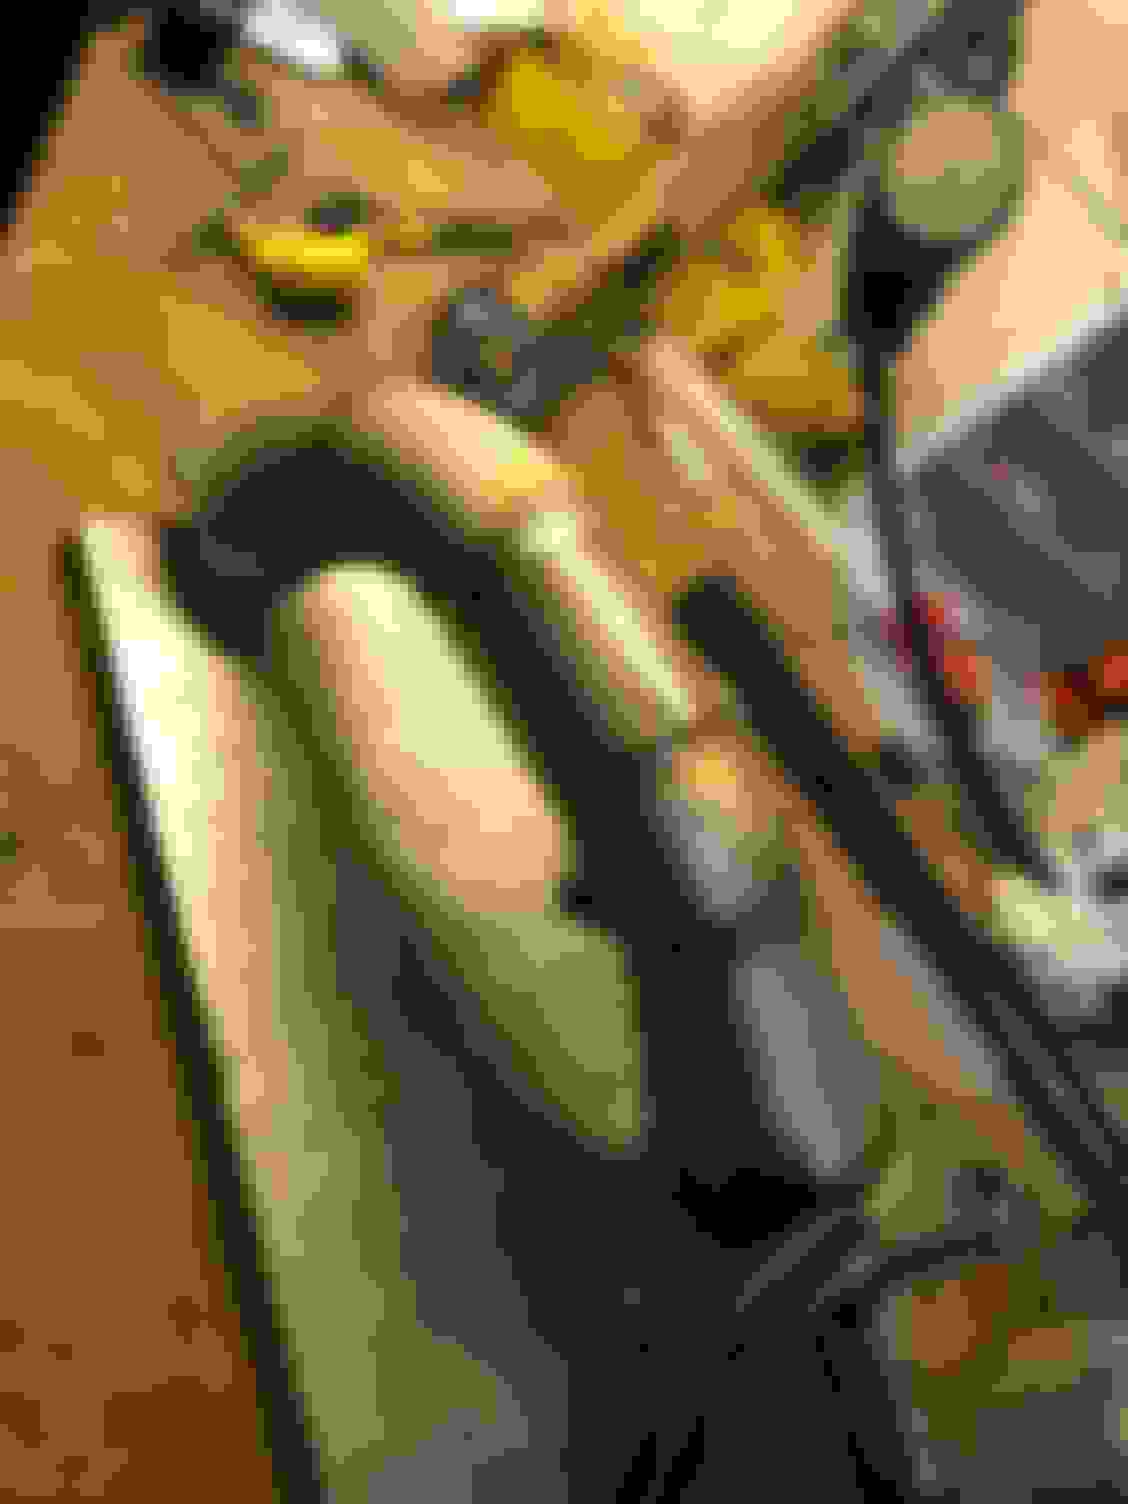
Sadly, the new greddy oil pan hits the sway bar so I shortened my links and it STILL hits the sway bar... I'm planning to build a small bracket that bolts to the end of the sway bar and has a hole at the top for the link. Hopefully I can rotate the bar enough to give pan clearance. The sway bar makes one of the most noticeable differences when drifting
This is how you bend sheet metal on a budget haha
After thinking for weeks about how and where I was going to mount the scavenge pump, I finally found a spot and a simple way to get it done!
Pump has to be bolted to the mounting plate first. Otherwise you won't be able to get to 2 of the bolts
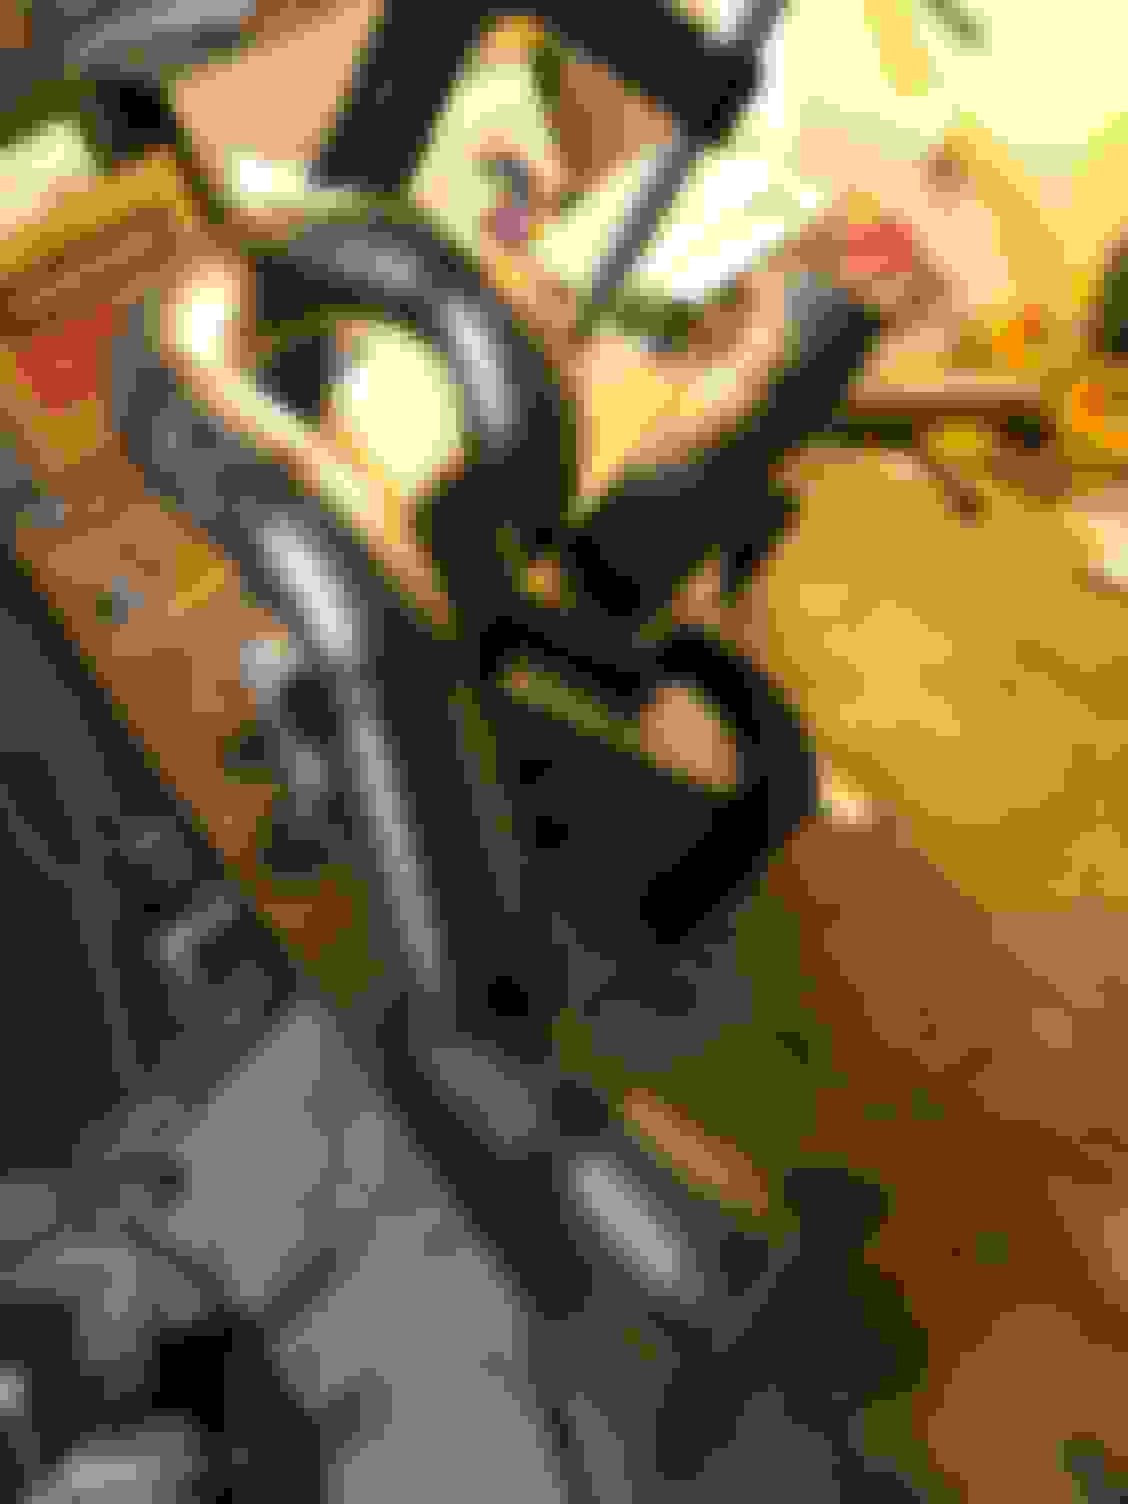
This is my first time making my own AN lines. Super simple and easy! Will definitely make use of AN lines for other stuff since it makes everything look cool as hell
This one goes from the the turbo drain to the pump inlet
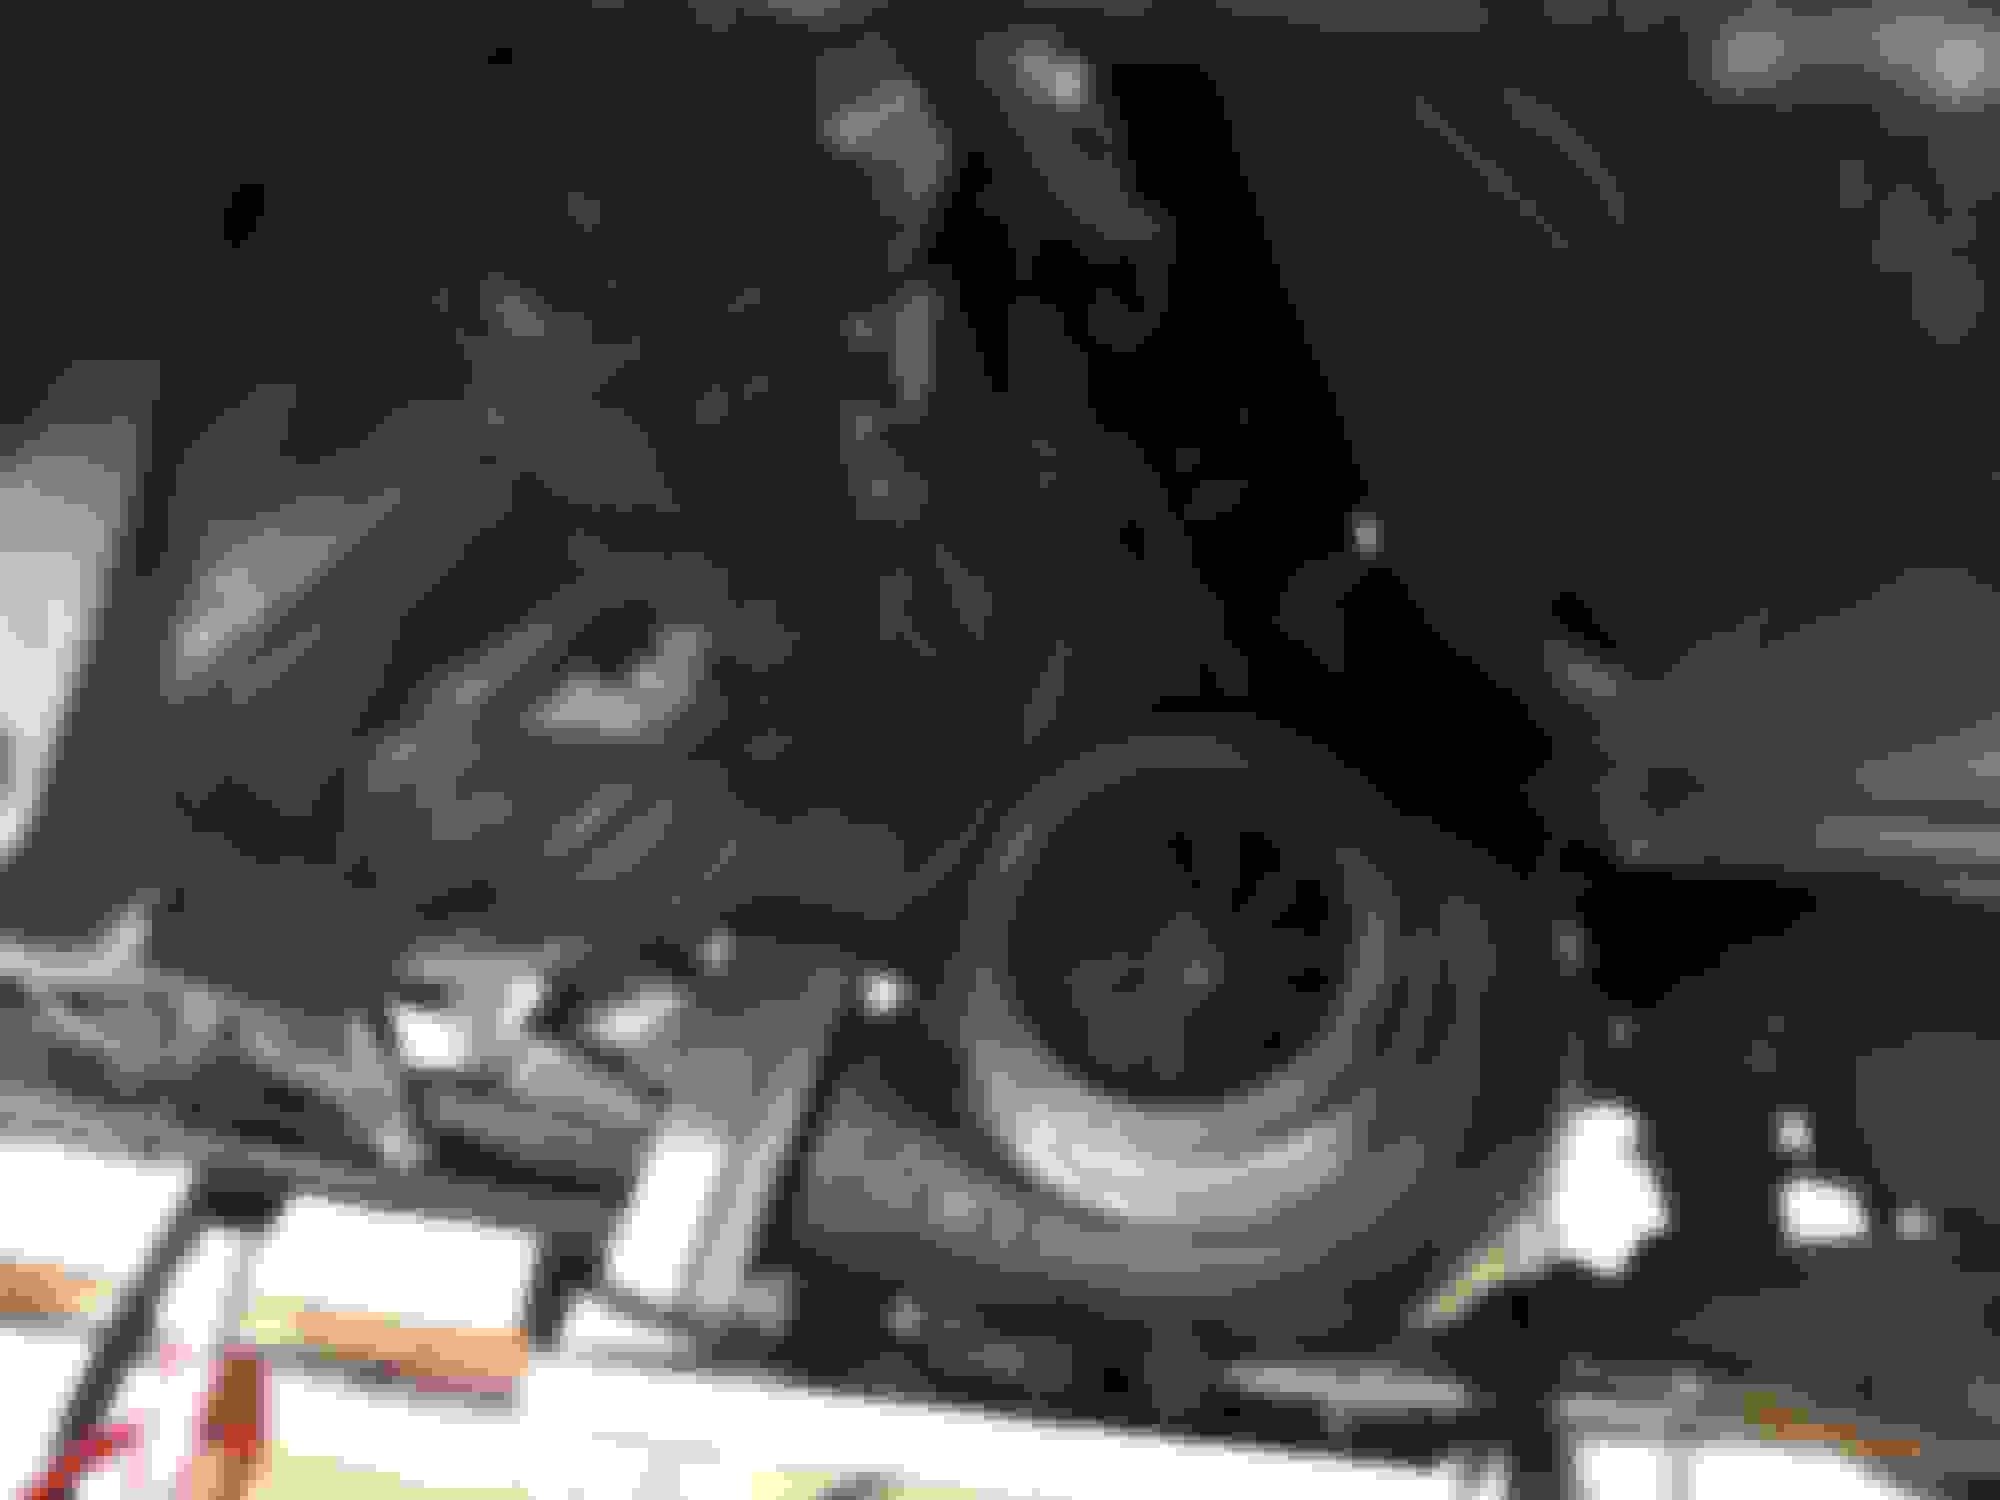
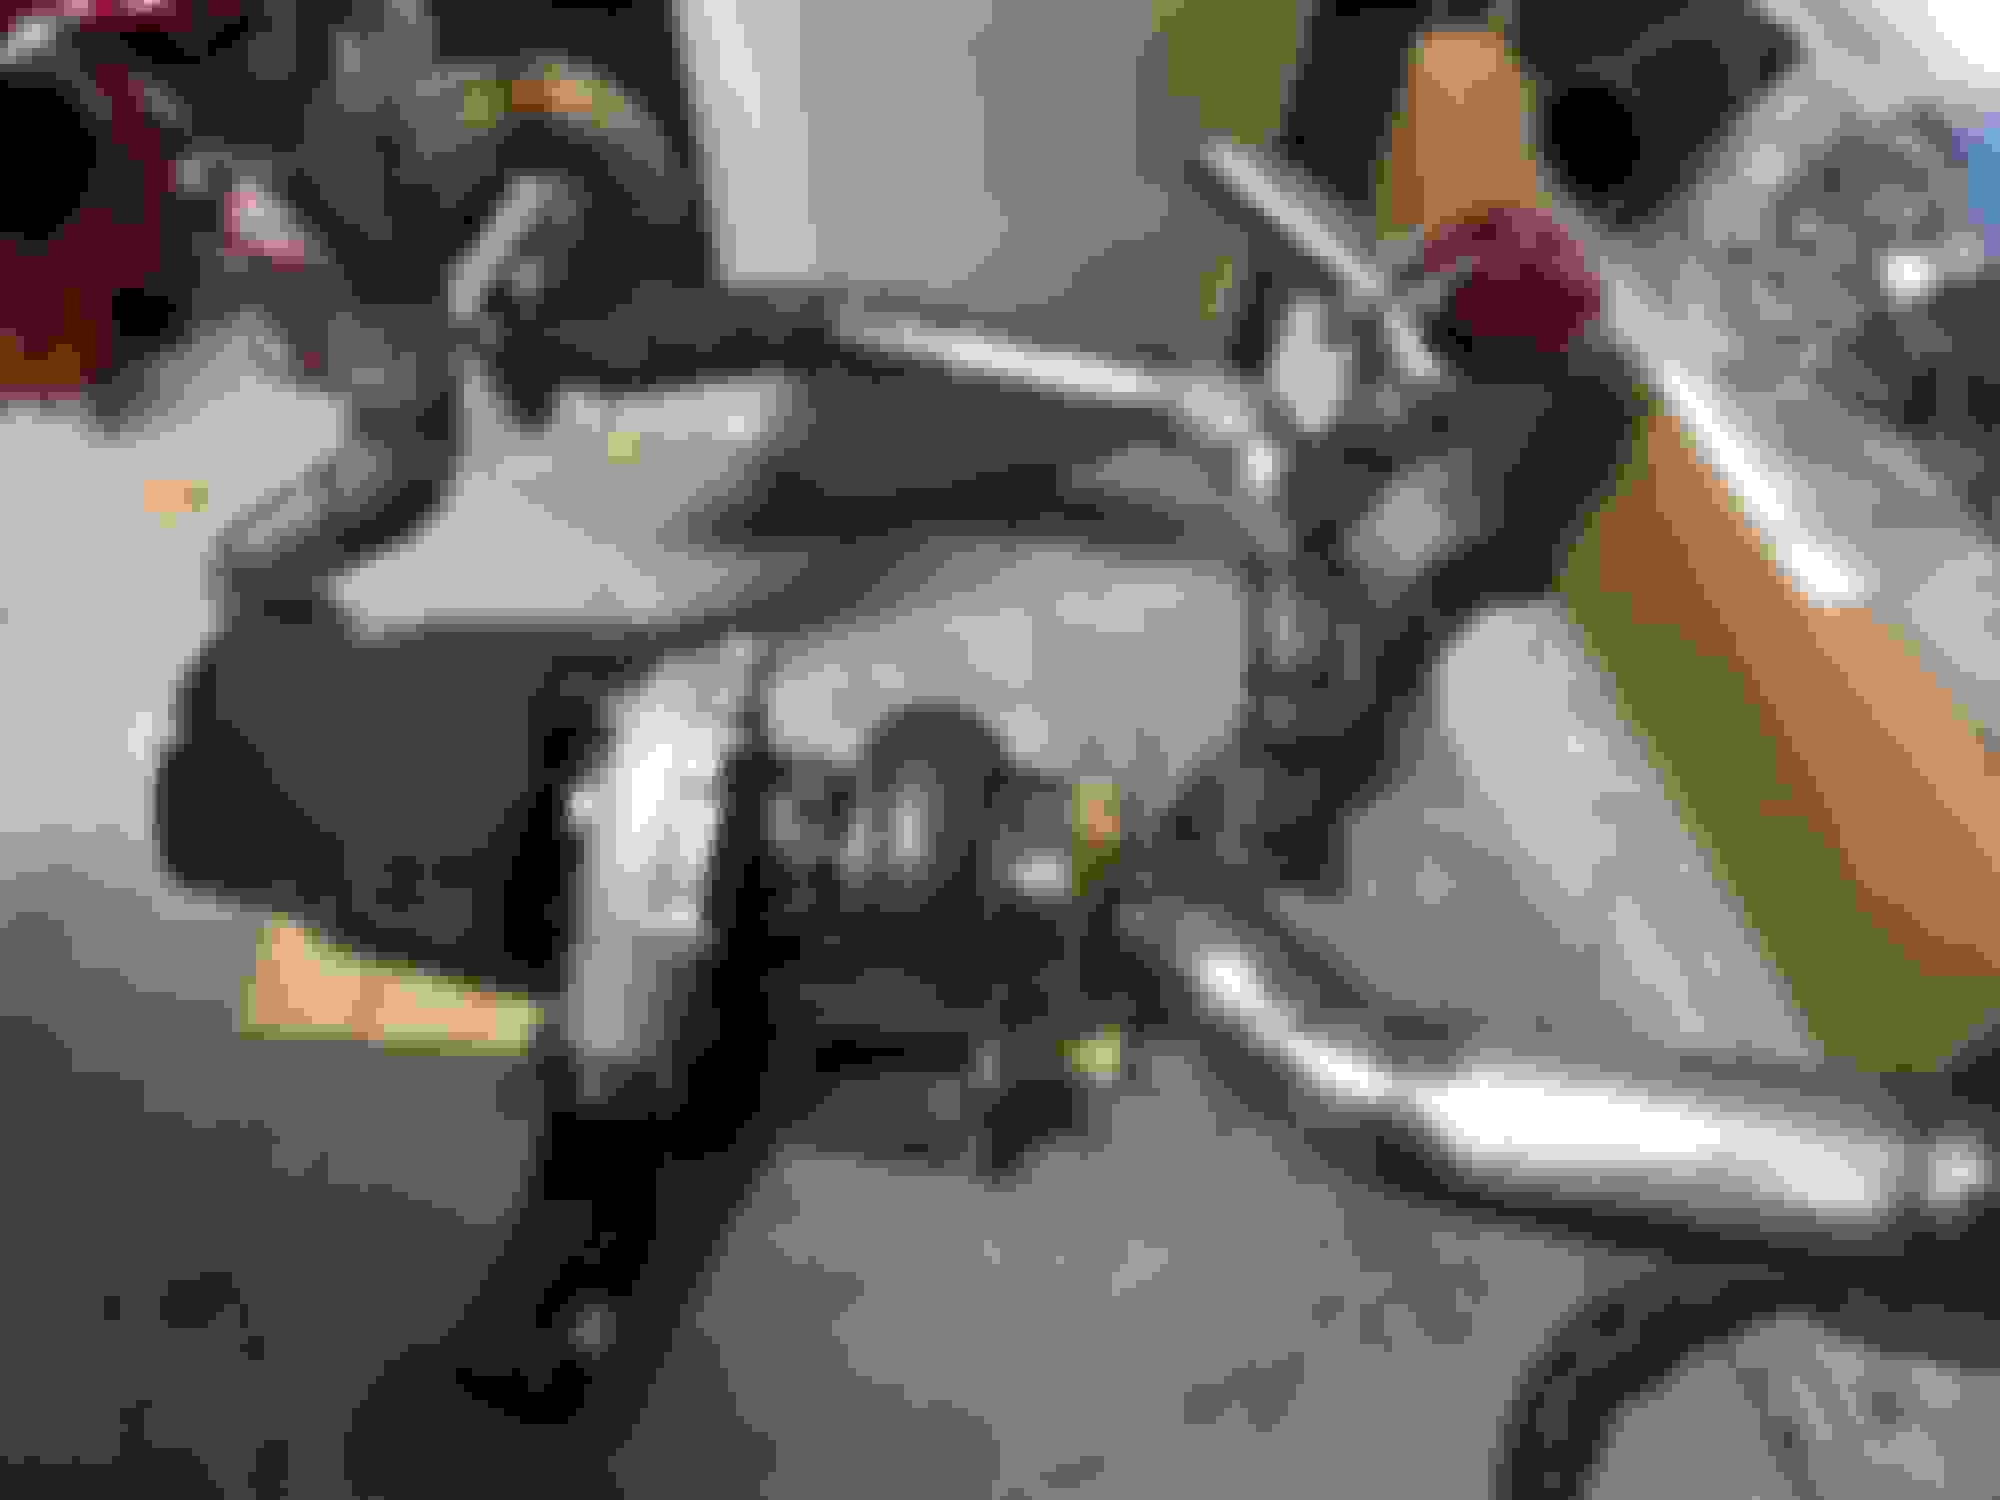
Pump is mounted to the frame in that little pocket next to the radiator
This one will go from the pump outlet to the pan
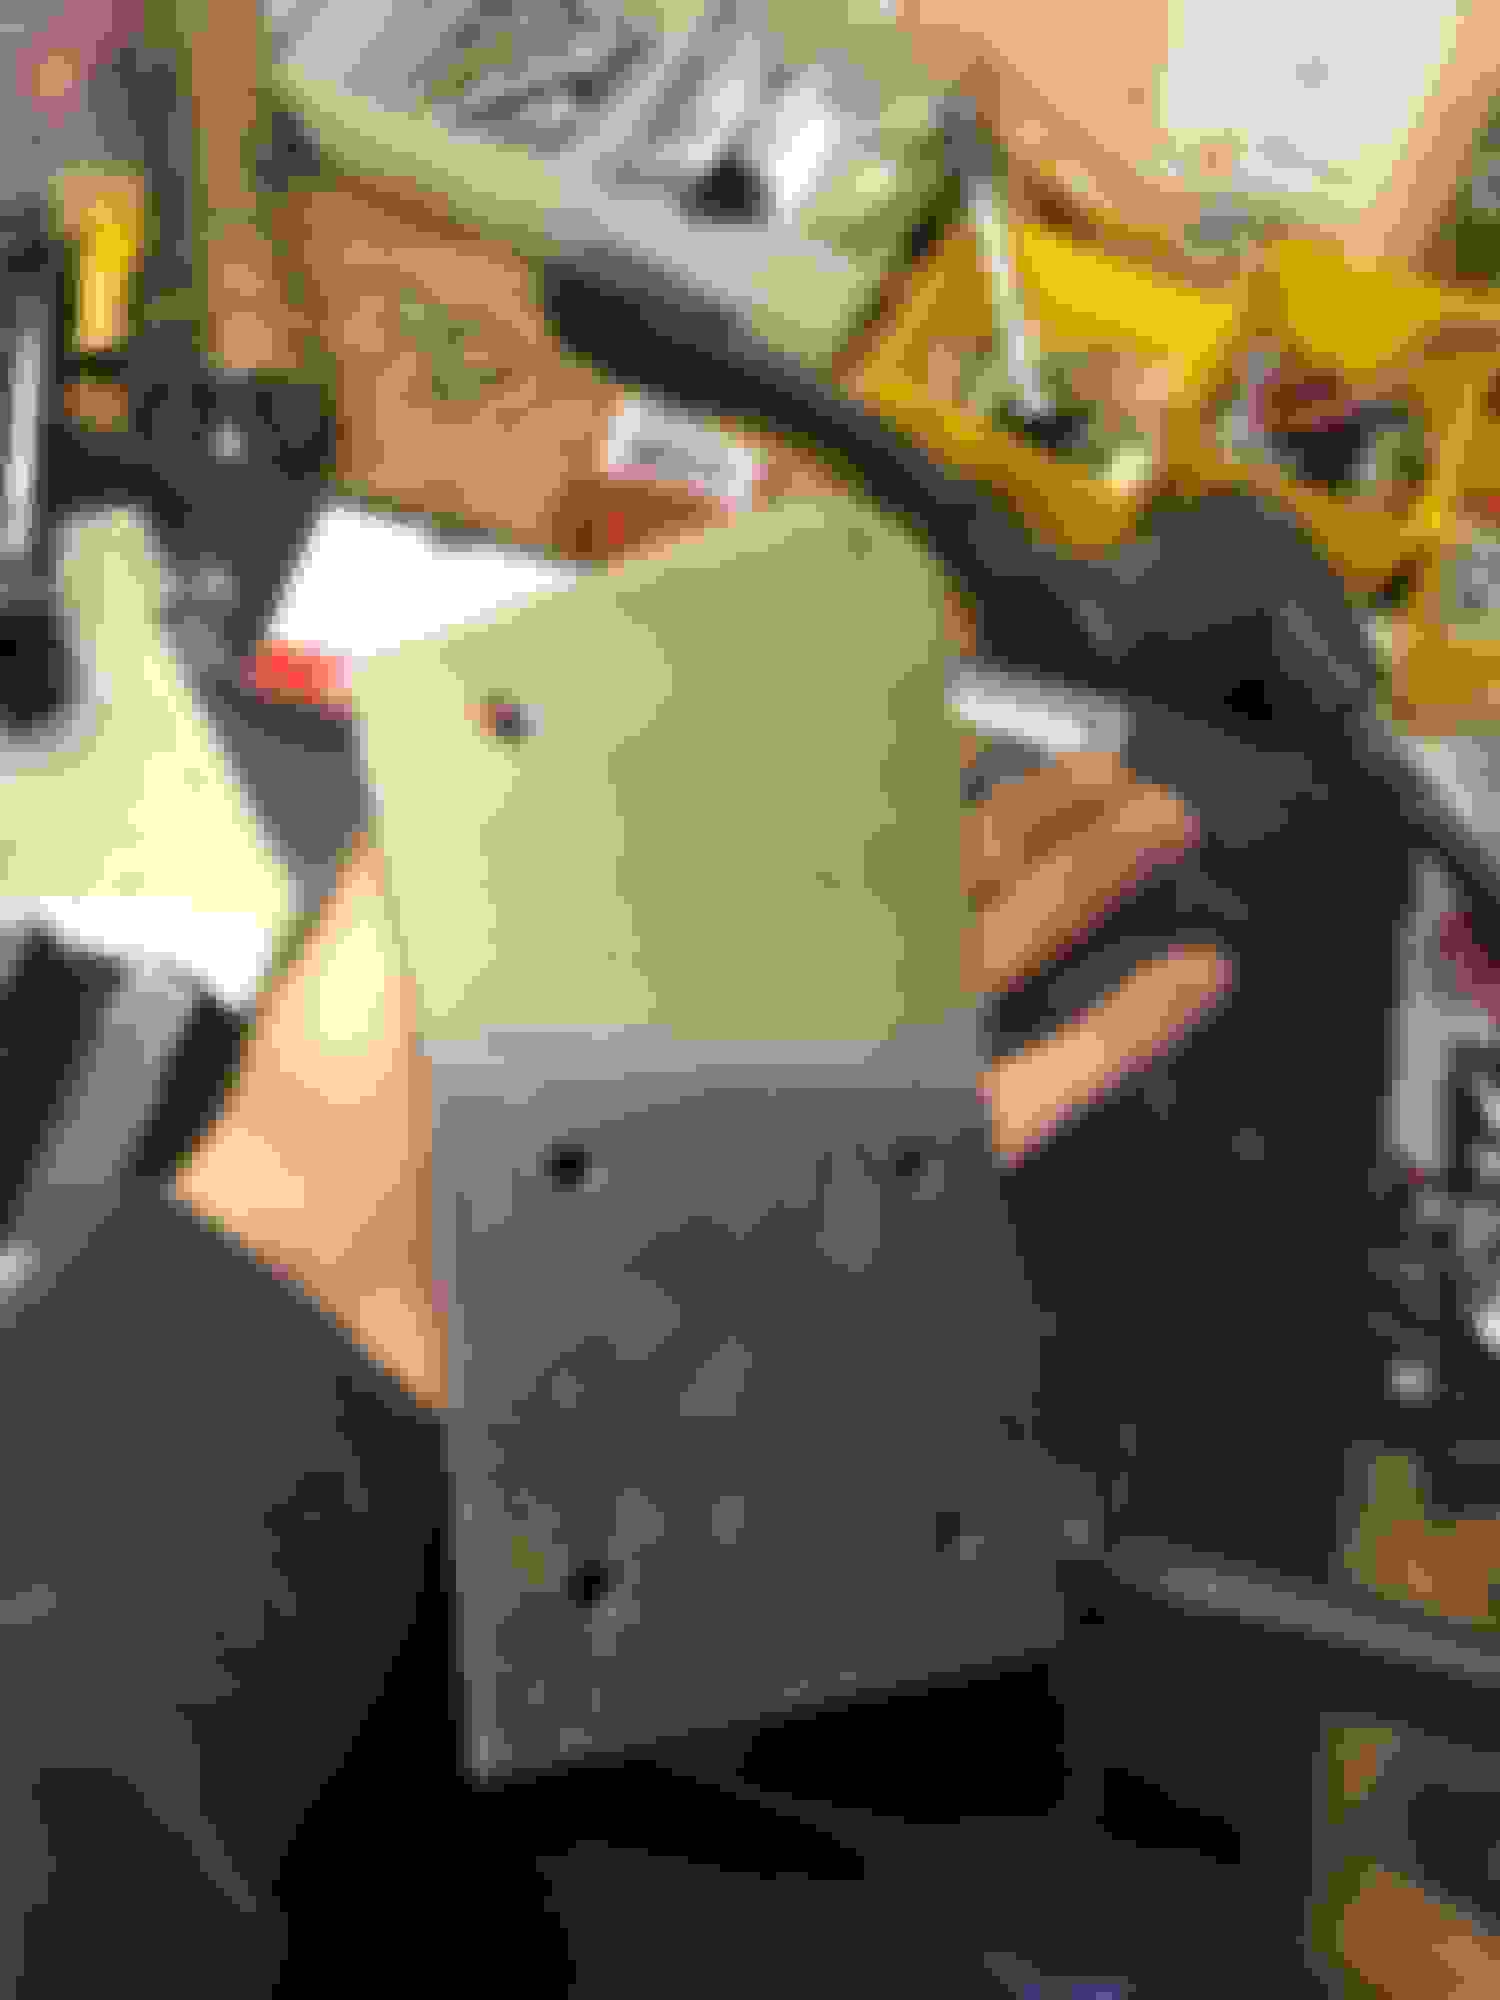
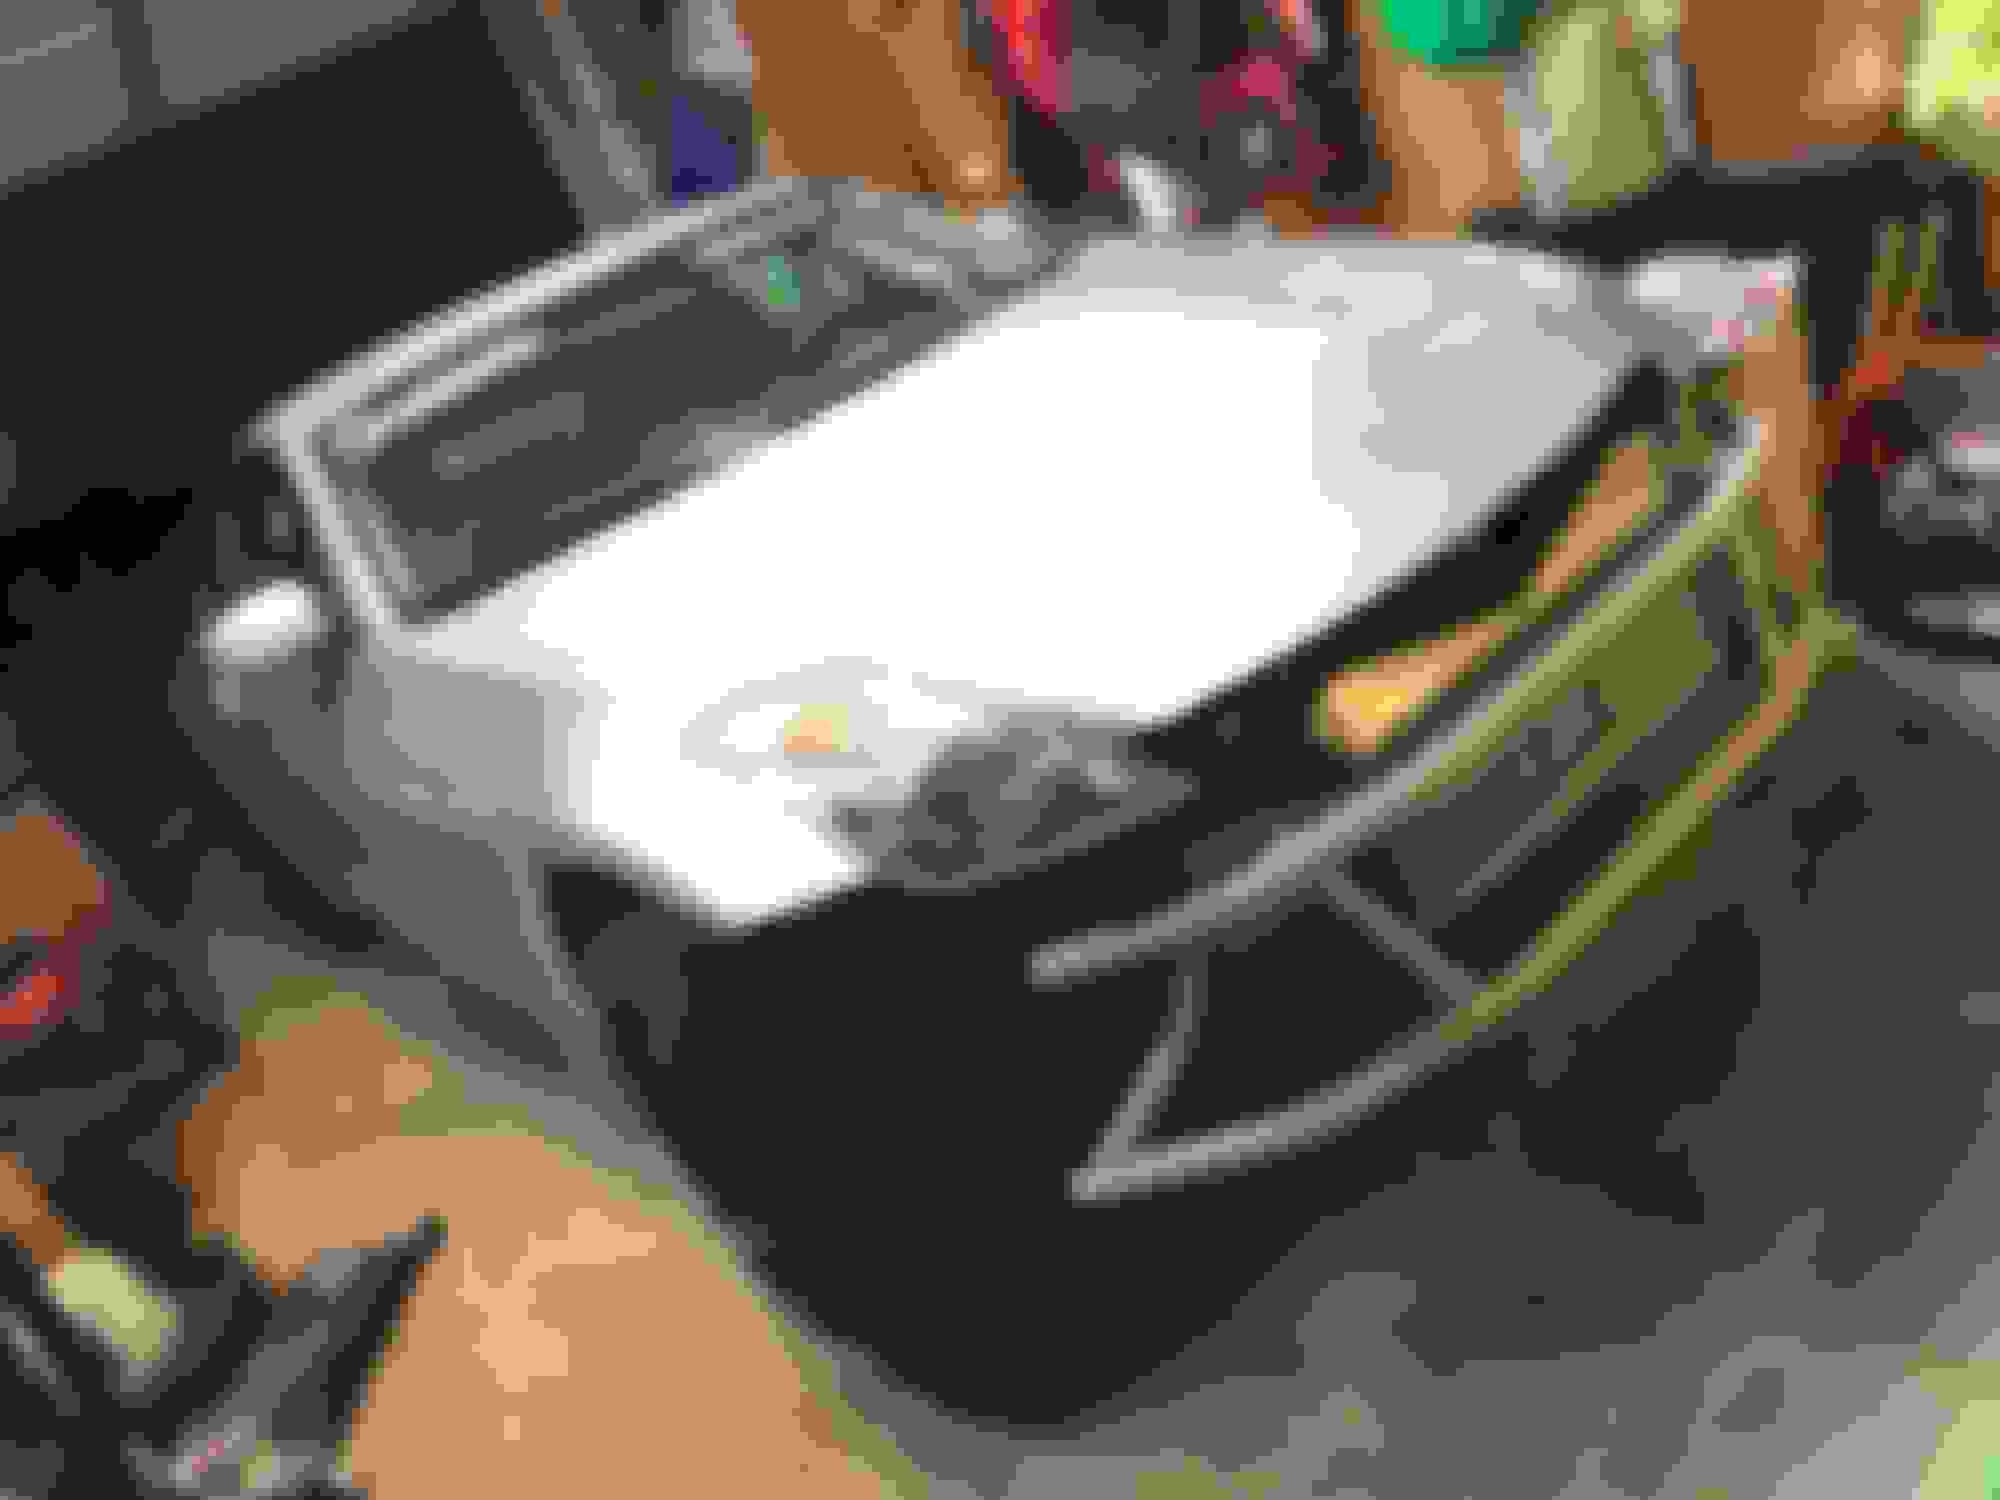
GReddy oil pan!
Got lucky here. Couldn't find the plug with the right thread at the auto parts stores. Got a 1/4" NPT square head plug just in case since it was cheap. Realized that I accidentally ordered an adapter fitting that I ended up not needing for the turbo feed line... combined the two and got a win hahaha
RTV'd the -10AN flange and installed the -10 to -8 adapter
There's a webbing on the oil filter mounting deal that was making my life hell for the pump return line... I refused to take the pan off because of how much I hate cleaning RTV off lol Used a mini hack saw, drill, and hammer to remove that sucker. NOT FUN
Not sure why GReddy can't just include 5 bucks worth of socket cap bolts for the pan. Whatever though. A relatively cheap fix
Alright so fast forward to filling the motor with oil. One of the bolts was leaking! The threaded holes are sealed on the inside so I started thinking I didn't seal the pan right. I take the bolt out and down comes a steady stream of oil. What the heeeeell haha So I drain the oil and get something to check the depth of the threads.
WELP! Since the tool goes into the crankcase, I have to actually seal the bolt hole
I still refuse to take the pan off and seal it from the inside.
subscribed - very nice work and great pictures! envious of your tig skills!
Did you weld your IC tanks yourself?
Keep up the good work!
Thanks buddy! I've been lurking your TT thread a little bit as well.
For the intercooler, yep! I bent and welded the sheet metal on all on my own. Welding aluminum was actually a lot easier than I thought it would be. Literally all the fabrication work was done with my own two hands
Thanks buddy! I've been lurking your TT thread a little bit as well.
to see how NOT to do it? Impressed with your work! tip of the hat for sure!
Originally Posted by venture210
For the intercooler, yep! I bent and welded the sheet metal on all on my own. Welding aluminum was actually a lot easier than I thought it would be. Literally all the fabrication work was done with my own two hands
as stated above - your aluminum tig is impressive ... I'm getting better myself but youre lightyears ahead of me - how long have you been tig'ing?
Lolol not at all! I�m interested in people�s builds who aren�t afraid to try things themselves. I started to welding less than 2 years ago and even then, my experience is VERY limited. I made about 3 exhausts total. 1 for my car and 2 for some friends I made here on the forum. Then I went about a solid year with barely even touching a tig torch until a shop called Henderson performance had me help out fabricating vette headers. I couldn�t tell you how nervous I was man haha but that was the best experience I could�ve asked for. After making my first header, I gained a lot of confidence tig welding. It�s been a year since I did all that work for them and here I am trying to piece together my own turbo kit. Most of what I learned was from the internet and mimicking how pros weld. Welding is 90% prep and 10% actually welding. If you want to literally step your game up over night, invest in a few things like comfortable gloves, proper tig cups, and ALWAYS be comfortable and focused when your foots on the pedal.
Right on! I'm def a newb ... a handful of aluminum pieces and doing a downpipe and Y pipe now...
very true about cleaning prep - something a bud got me going on was to wire brush, clean with acetone, then crank up the balance and run the torch(at the first pedal click) to pull out impurities, go back and wire brush and wipe clean with acetone.
I tend to only wear latex gloves which has def helped. I also try to dial down my amperage so my pedal has more resolution - but yea, good pedal control has helped me quite a bit.
I use miller's welding calculator to pinpoint my settings.
 12-05-2017, 06:40 PM


 so I shortened my links and it STILL hits the sway bar... I'm planning to build a small bracket that bolts to the end of the sway bar and has a hole at the top for the link. Hopefully I can rotate the bar enough to give pan clearance. The sway bar makes one of the most noticeable differences when drifting