Interior Scratches - Repair Discussion


Registered User
Joined: May 2010
Posts: 60
Likes: 0
From: SUN DIEGO
Got it thanks it was not as easy as i thought since i could easly broke the plastic holder thing. you need to remove all center cubby to paint the door and latch but how do i do it for an auto since the tut. is for man.


replacement pieces is more of a temporary solution. They will be painted with the same crappy paint that is on your original pieces and so they'll more than likely get scratched up just the same way.
I highly recommend repainting the pieces you have instead.
I highly recommend repainting the pieces you have instead.


Joined: Feb 2008
Posts: 13,406
Likes: 130
From: MexiCali dodging potholes
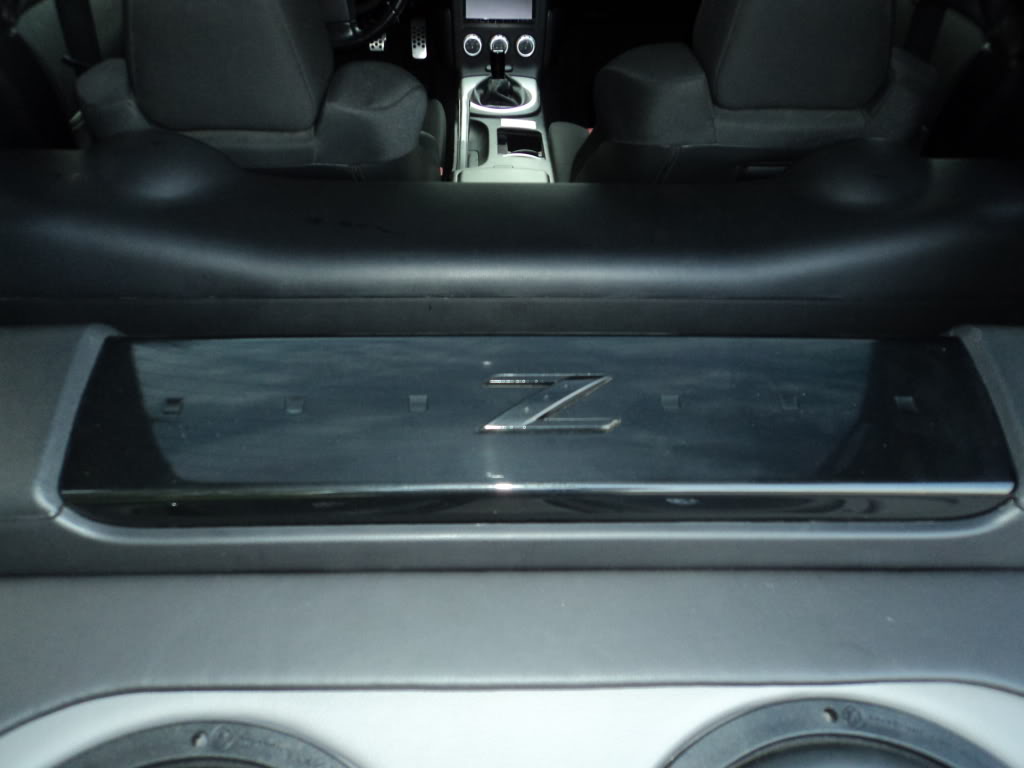
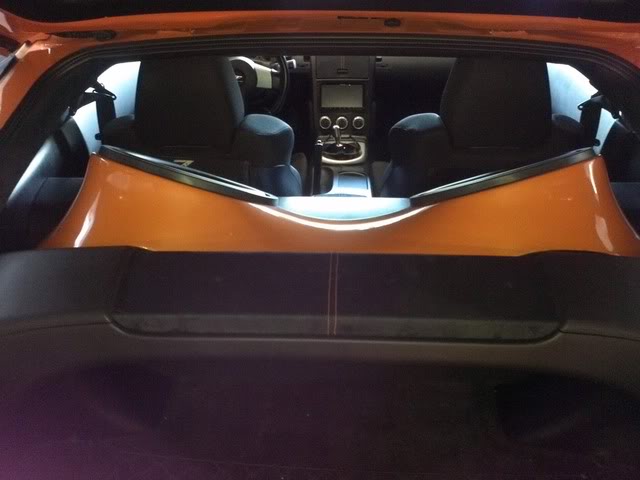
I haven't professionally done my rear strut like above!
But if you wrap with the 3M vinyl you can clearcoat over it!
Just takes several coats to level it out and become smooth!
Has anyone tried that besides me?
I'll post pics in the morning my time
But if you wrap with the 3M vinyl you can clearcoat over it!
Just takes several coats to level it out and become smooth!
Has anyone tried that besides me?
I'll post pics in the morning my time


http://www.metrorestyling.com/?Click=2881
Joined: Feb 2008
Posts: 13,406
Likes: 130
From: MexiCali dodging potholes
^^^
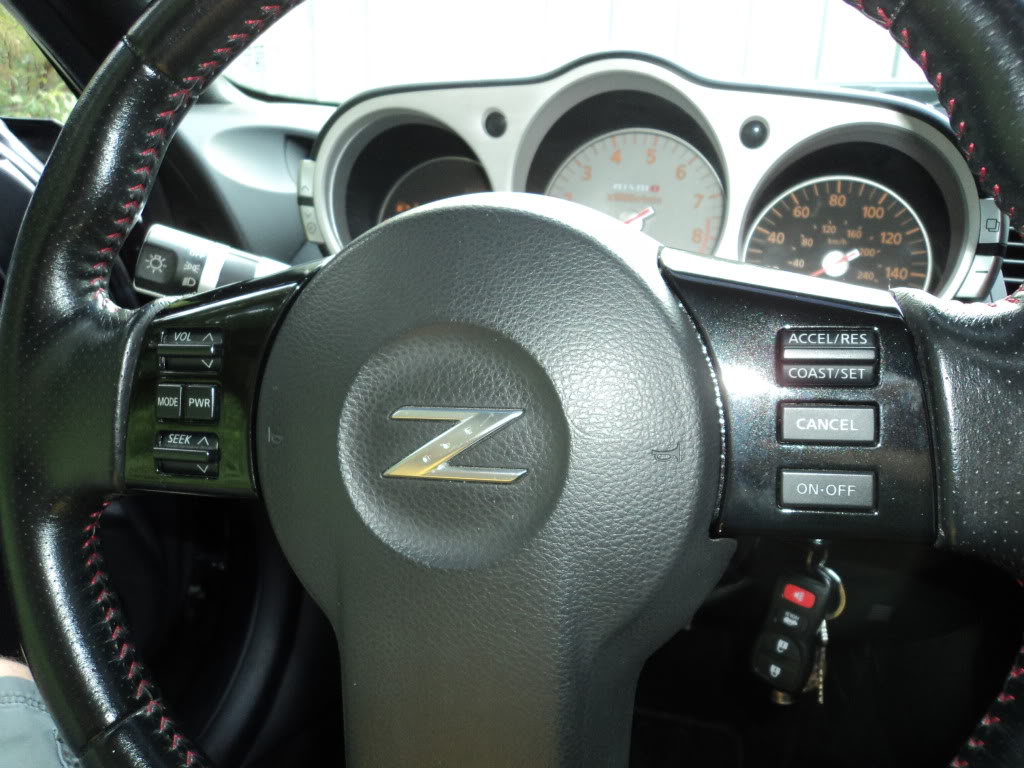
Nice was your z emblem re painted as well?
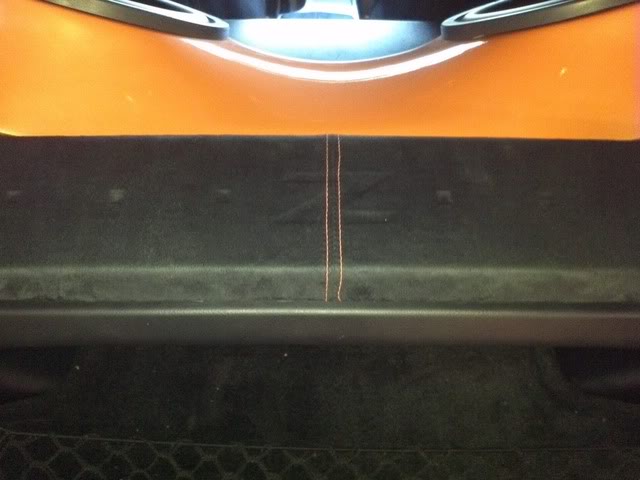
True man, do not attempt this! But the more even coats you place over it the better it gets.
Do not attempt though!
Nice was your z emblem re painted as well?
Do not attempt though!
Last edited by KingBaby; Aug 27, 2011 at 09:55 AM.

Registered User
Joined: Apr 2011
Posts: 292
Likes: 0
From: Snohomish, WA

I paint for a living so its easy for me.
I just strip all my parts down and paint them. I have done all my friends interior panels. Its a simple job if you know what you doing.
I just strip all my parts down and paint them. I have done all my friends interior panels. Its a simple job if you know what you doing.


Registered User
Joined: Dec 2011
Posts: 6
Likes: 0
From: Virginia
I repainted my armrests and they turned out perfect. I had sanded / scraped the part down to original primer and bare plastic, but when I sprayed it with Adhesion Promoter it bubbled up at the edges of the original primer - so I had to remove all of the factory primer before I could proceed. I used "Goof Off" to remove the remaining primer and it did a great job and did not harm the plastic part. If I had it to do again, I would just use the Goof Off liquid at the start and then do a final sand on the bare plastic.
I also did some experiments on plastic with and without the Adhesion Promoter. Without the Adhesion Promoter, the part was still scratched easily. When pprepared with the Duplicolor Adhesion Promoter and the flat black Vinyl paint the part was factory perfect in color and finish.
Thanks to all who went before me and reported their procedure, products and results. Hope the Goof Off works for others too.

Registered User
Joined: Sep 2007
Posts: 11
Likes: 0
From: Virginia Beach, VA


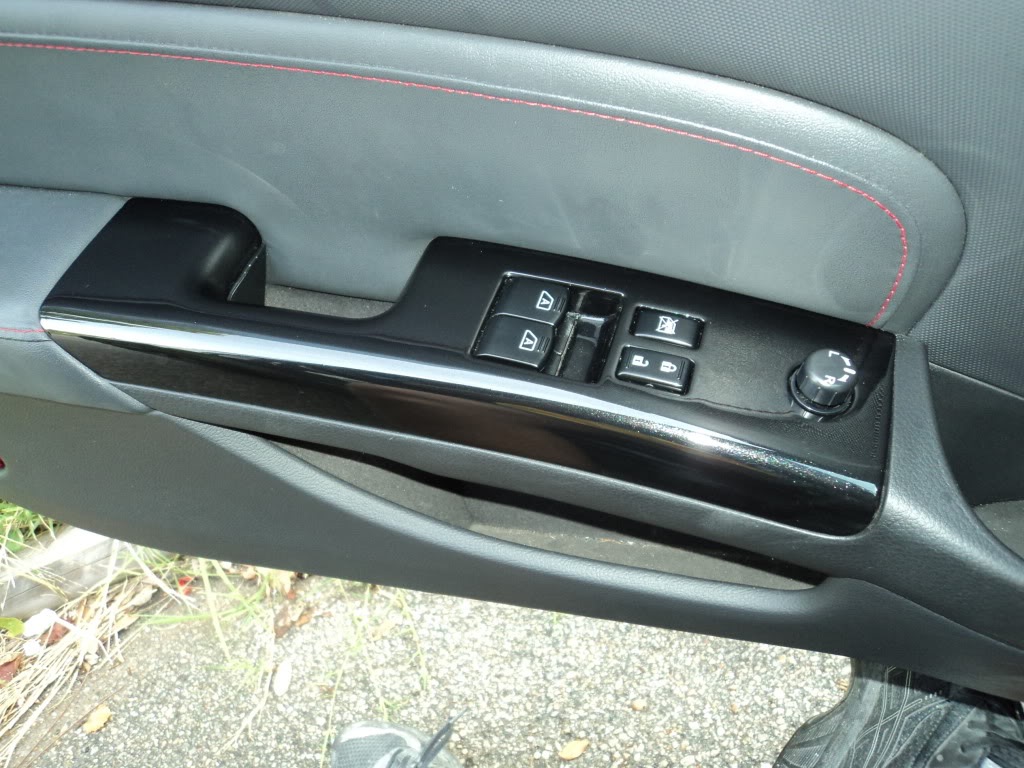
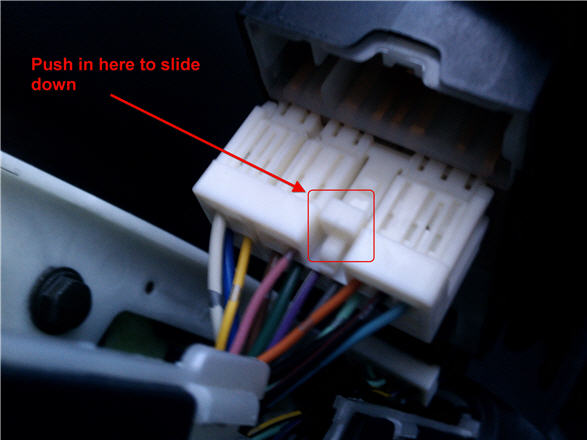
The section in red here is the big piece that holds it all in place. Was a little harder to pry that I thought, but eventually it comes out. Figured more pics couldn't hurt so you can see what you're dealing with
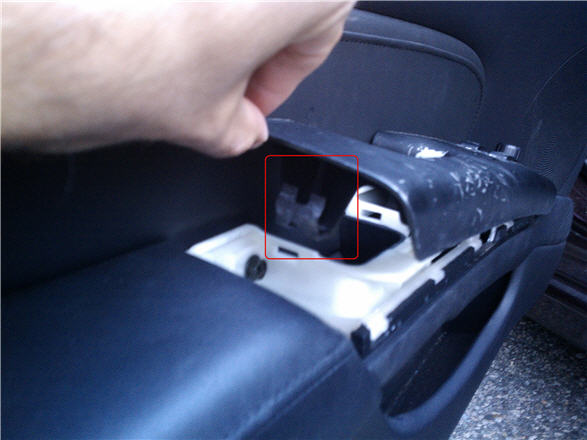
To separate the window/mirror wires press on the small piece in the middle and slide out. I just used my fingernail
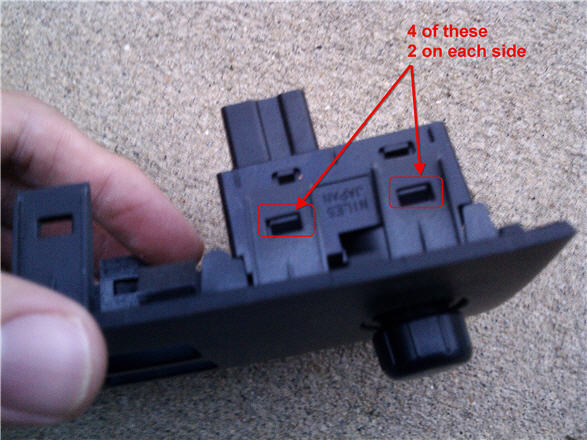
To detach the controls from the casing, there are 4 tabs that hold them in place. Use your tool to pry them just enough to let the control slide out