
Engine Bay Dress Up Gallery


looking for opinions (good or bad)
i plasti dipped the plastics where the battery cover and fluid cover are red. i gave it about 3 hands in about 25 mins so yes its ugly and whatnot but looks good in the pic and it was all to just get an idea of what it would look like. i passed by my friends shop who paints and he liked the way it looked so he told me to buy the cars paint and he'll do them for me (for free) i ended up removing the plasti dip from one of the sides just to get a better comparison of the two.
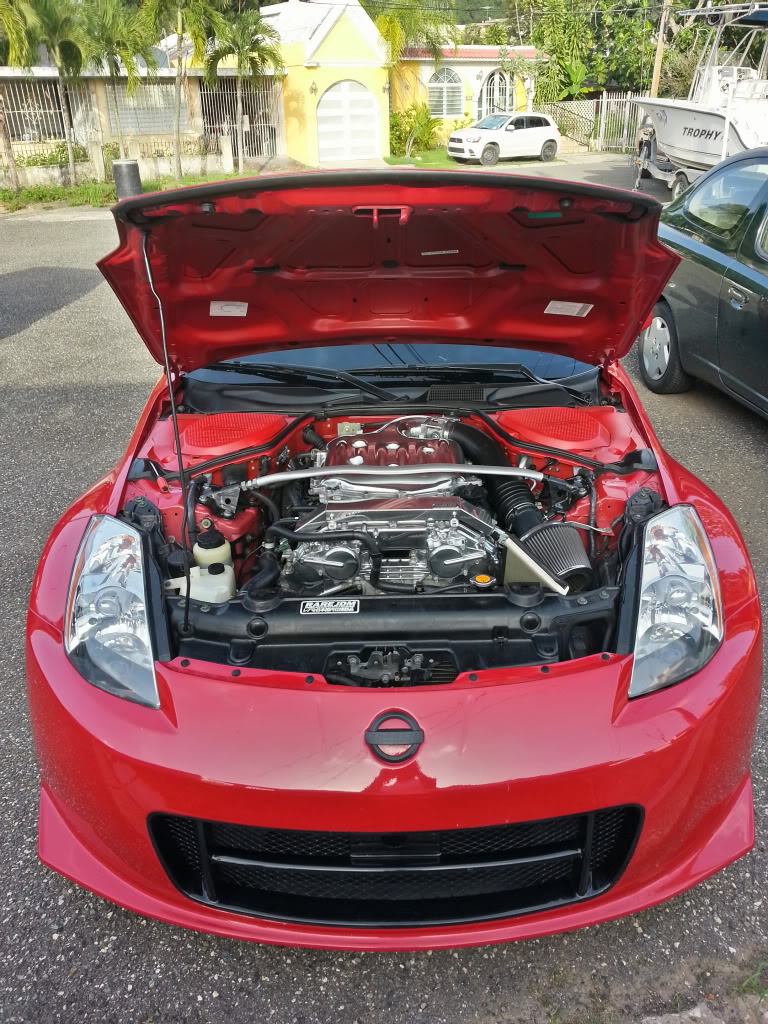
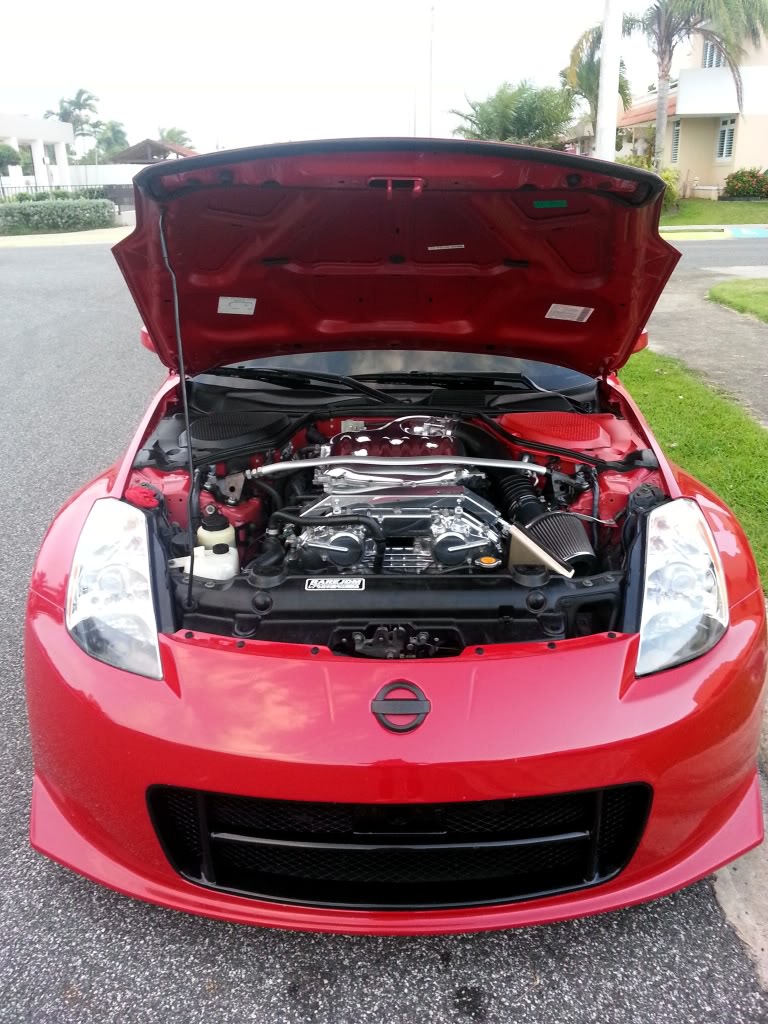
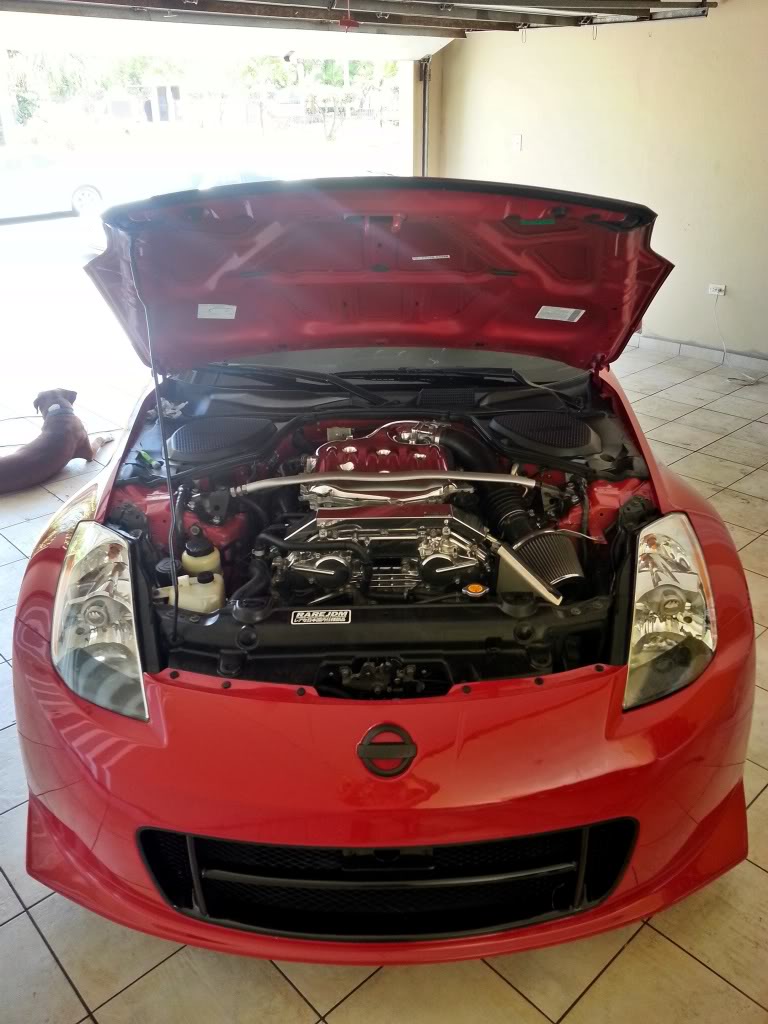
i plasti dipped the plastics where the battery cover and fluid cover are red. i gave it about 3 hands in about 25 mins so yes its ugly and whatnot but looks good in the pic and it was all to just get an idea of what it would look like. i passed by my friends shop who paints and he liked the way it looked so he told me to buy the cars paint and he'll do them for me (for free) i ended up removing the plasti dip from one of the sides just to get a better comparison of the two.


those look like sxexcx reservoirs. yes, to get rid of the windshield reservoir just disconnect the wiring and tubing (you should plug or cap off the lines going to the wipers if you're not gonna remove those entirely). the actual reservoir is a little tougher to get to, but not hard to remove once you get access.
Last edited by - bigc -; Aug 1, 2013 at 12:01 PM.


Registered User
Joined: Sep 2008
Posts: 908
Likes: 28
From: Winnipeg, MB
For the guys that fully tucked the motor harness and got rid of the large group of wires that goes from the battery compartment into the engine bay, where did you run the harness through the firewall instead?
I'm doing a full tuck on mine and have the motor harness separated into 3 runs now. I've got one harness for the lower motor stuff and trans, that one is done already, now I have one for the left side of the motor and one for the right side.
I'm doing a full tuck on mine and have the motor harness separated into 3 runs now. I've got one harness for the lower motor stuff and trans, that one is done already, now I have one for the left side of the motor and one for the right side.

Hate to ask this question, but for the guys with all the polished engine bays, is degreaser safe for those part or do you need to cover it all up if you use degreaser at all?


Anyone else know? It looks awesome.
edit: nvm I found it with some digging.
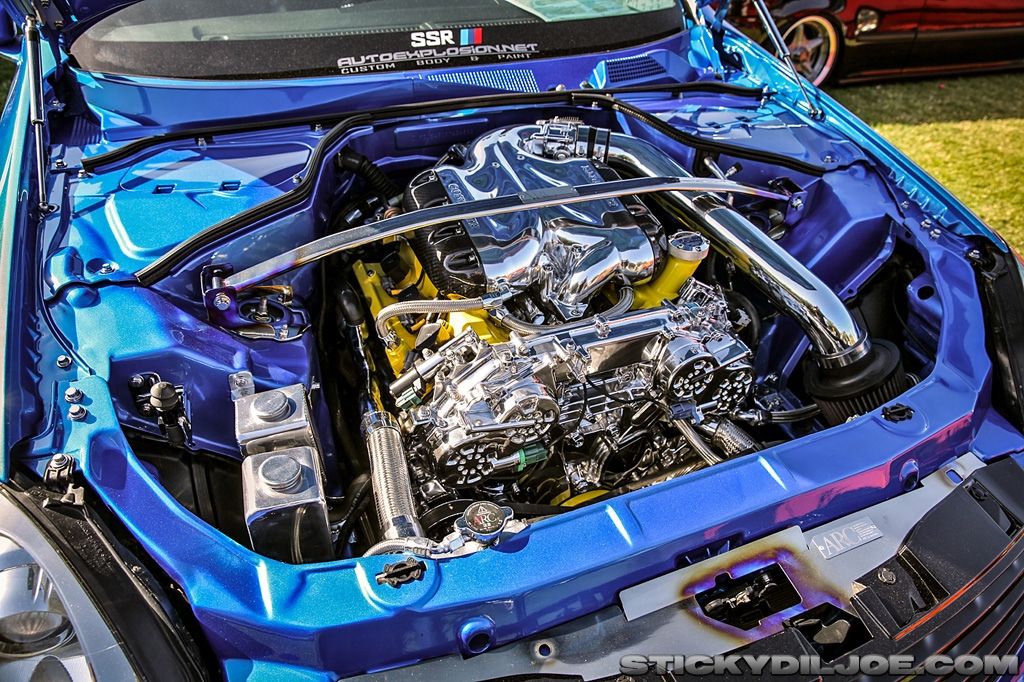
Lambo monterey blue pearl
Last edited by Nismo350z#0310; Jan 14, 2014 at 09:26 AM.

Registered User
Joined: Jan 2012
Posts: 1,286
Likes: 1
From: New Zealand
Work in progress 

K&N intake (needs heat shield), cusco strut brace, rare jdm harness cover, polished plenum. All very dirty
Will be doing a wire tuck shortly and polish the front timing chain cover
K&N intake (needs heat shield), cusco strut brace, rare jdm harness cover, polished plenum. All very dirty
Will be doing a wire tuck shortly and polish the front timing chain cover
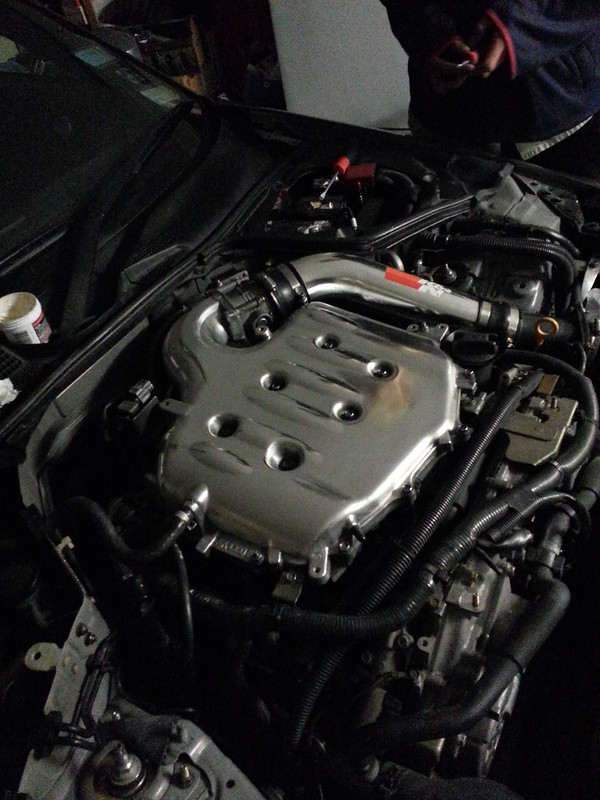
Just got a bunch of stuff installed. Still need to give it a really good clean and there are still some parts on my list, but here she is as she sits today

Added:
Kinetix Velocity Manifold
Berk Short ram intake
Rare JDM Harness Cover
Mishimoto Radiator Hoses
Mishimoto Air Diversion Plate
Greddy Radiator Cap
WeaponR Power Steering Reservoir
WeaponR Coolant Overflow Tank
NRG Hood Dampers
Added:
Kinetix Velocity Manifold
Berk Short ram intake
Rare JDM Harness Cover
Mishimoto Radiator Hoses
Mishimoto Air Diversion Plate
Greddy Radiator Cap
WeaponR Power Steering Reservoir
WeaponR Coolant Overflow Tank
NRG Hood Dampers


Joined: Feb 2008
Posts: 13,406
Likes: 130
From: MexiCali dodging potholes
^^^
hardtoocatch/gixxert
Hey guys once you upload a photo to the website you can take the link and use it in a IMG code

more streamline/lazy

latest pic after wiretuck...cut out some sheet metal and somewhat polished to cover the holes to the battery and brake fluid area..
hardtoocatch/gixxert
Hey guys once you upload a photo to the website you can take the link and use it in a IMG code
more streamline/lazy

latest pic after wiretuck...cut out some sheet metal and somewhat polished to cover the holes to the battery and brake fluid area..
Being serious now, folks don't eliminate that line, they just relocate it to the rear of the plenum or tap vacuum from another source. Don't just get rid of it. Also, there's a check valve in that line that you'll need to retain or replace in your new setup.
Last edited by - bigc -; Jan 20, 2014 at 11:42 PM.


If you have the cosworth plenum then that line is easy to tuck. It gets relocated to under the goose neck part. Drill a hole in the false fireway and route to the brake booster.
Length should not be an issue. When i did mine, i researched the JDM engine compartment and saw that they go direct to the brake booster. The long metal pipe is not used.
Have fun removing the metal pipe.
Length should not be an issue. When i did mine, i researched the JDM engine compartment and saw that they go direct to the brake booster. The long metal pipe is not used.
Have fun removing the metal pipe.
great another project! is there a DIY on this and where is the brake booster located? and im keeping the stock plenum was going to tap and plug the hose barb coming out the plenum
Last edited by hardtoocatch; Jan 21, 2014 at 05:33 PM.