
ChriZTT's Pikes Peak White 350Z Build Thread


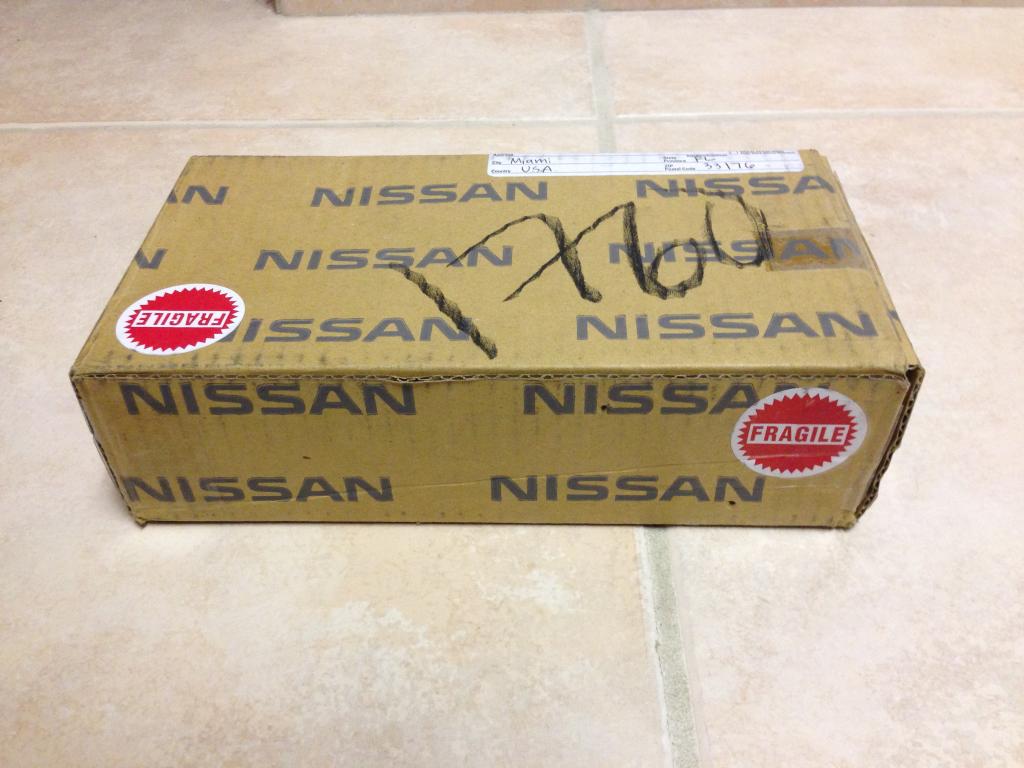
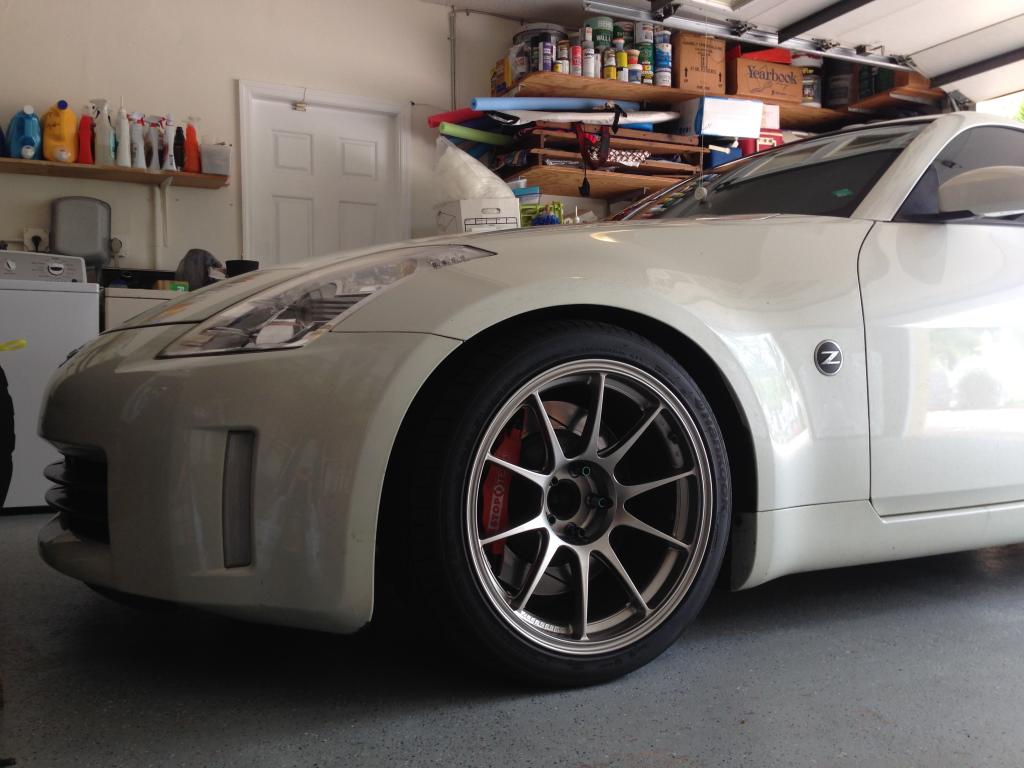
Earlier this week I received a package from a very generous forum member on here. A big shout out to Pyshin! Thanks for the JDM clear front bumper reflectors! I spent about an hour in the garage yesterday and swapped them in. It was a very straight forward process and I'm really happy with the change. The most time consuming parts were jacking up the car, and unbolting the underbody shroud. For those of you wondering or looking at doing this yourself, it is not necessary to remove the bumper. There is plenty of space with the underbody shroud removed and the lower portions of the fender liners undone.


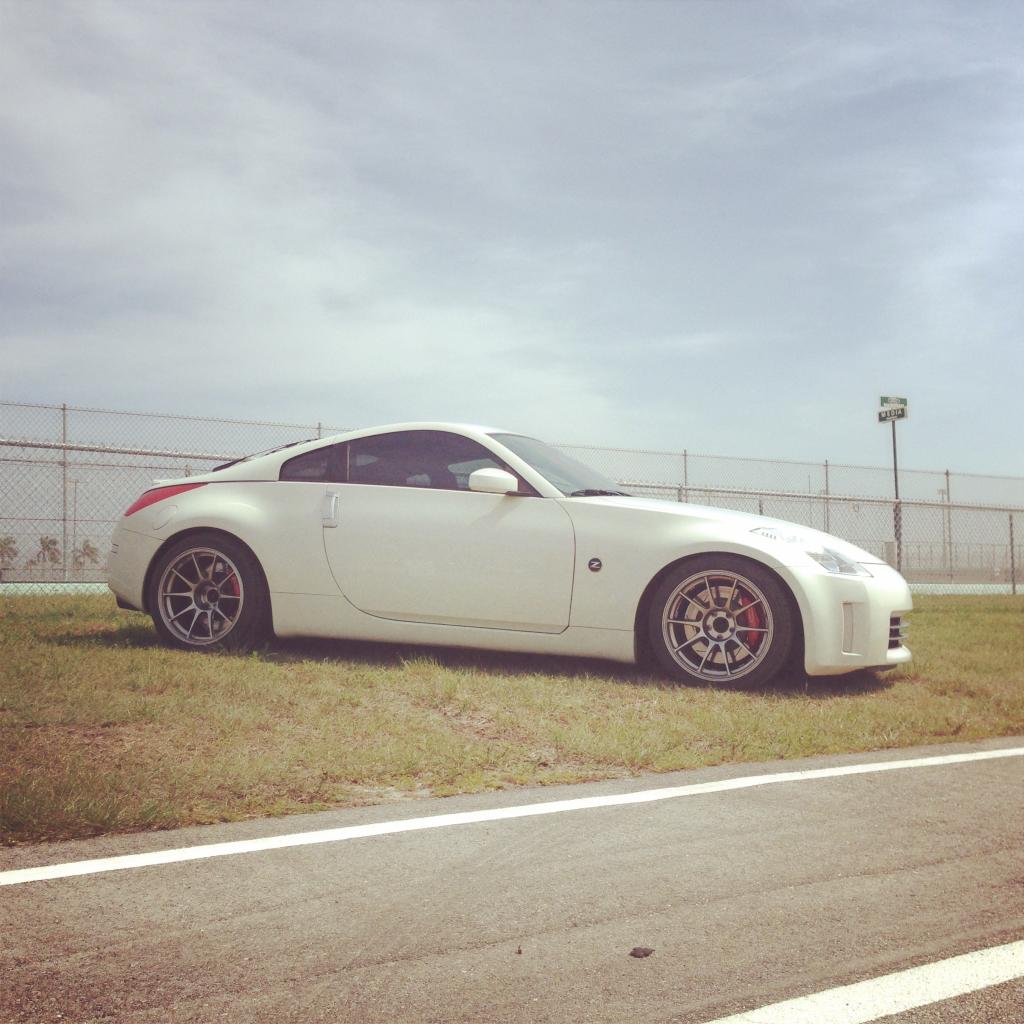
This past Saturday I scoped up a ZSpeed V2 under shroud. Picked it up at Homestead Miami Speedway.
Trackside:
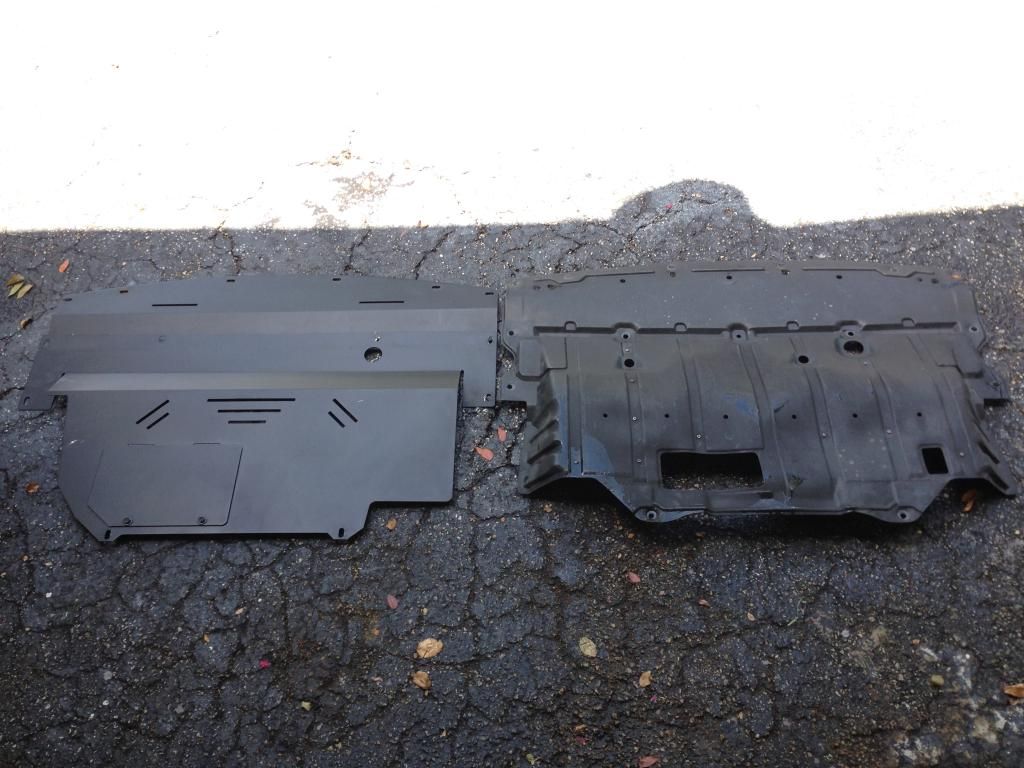
OE vs ZSpeed Comparison:
Installed:
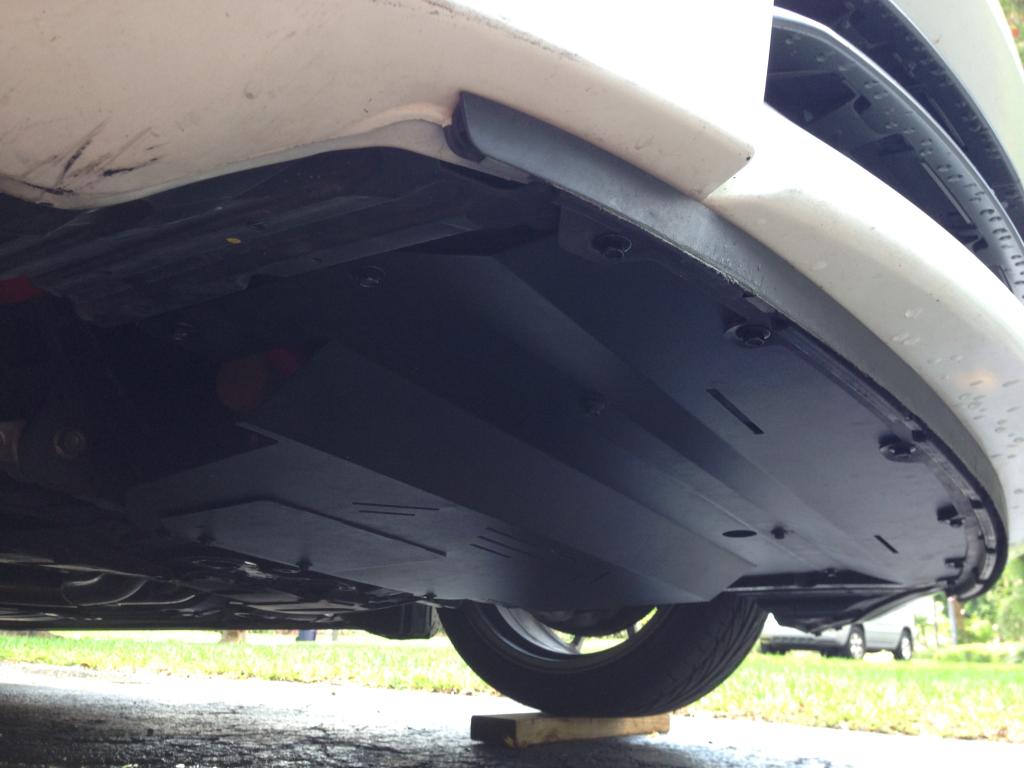
I'll be changing out the engine oil soon, so I'm looking forward to how well the trap door on the under shroud functions. I'll comment on that after I give it a go.
Trackside:

OE vs ZSpeed Comparison:

Installed:

I'll be changing out the engine oil soon, so I'm looking forward to how well the trap door on the under shroud functions. I'll comment on that after I give it a go.
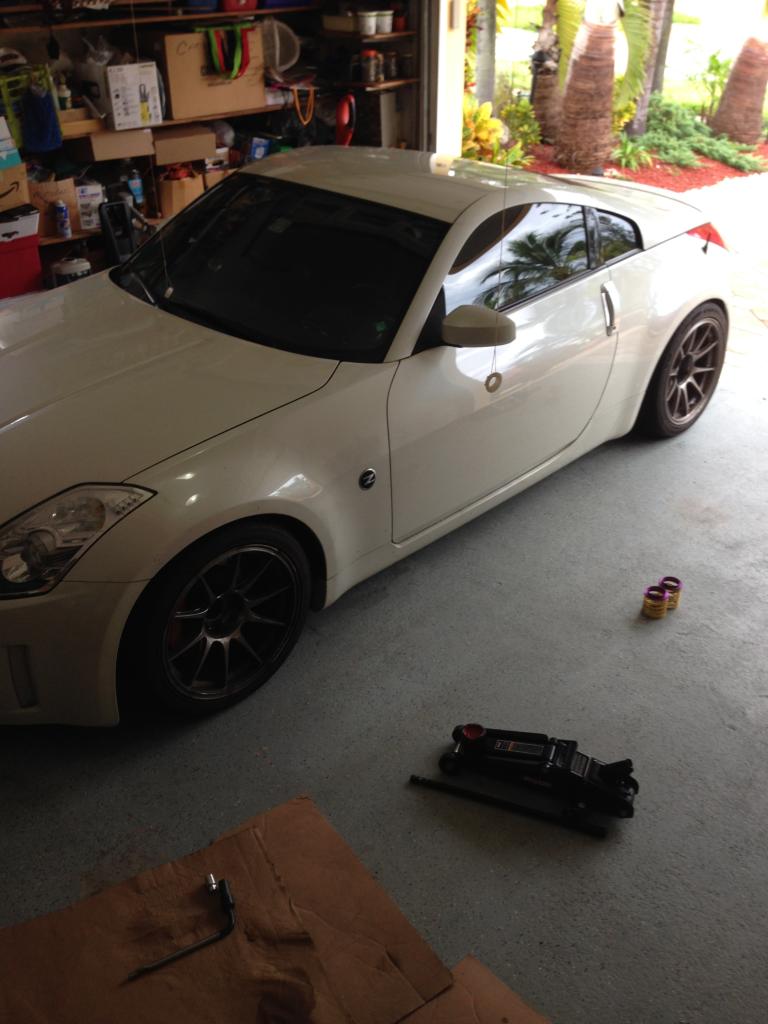
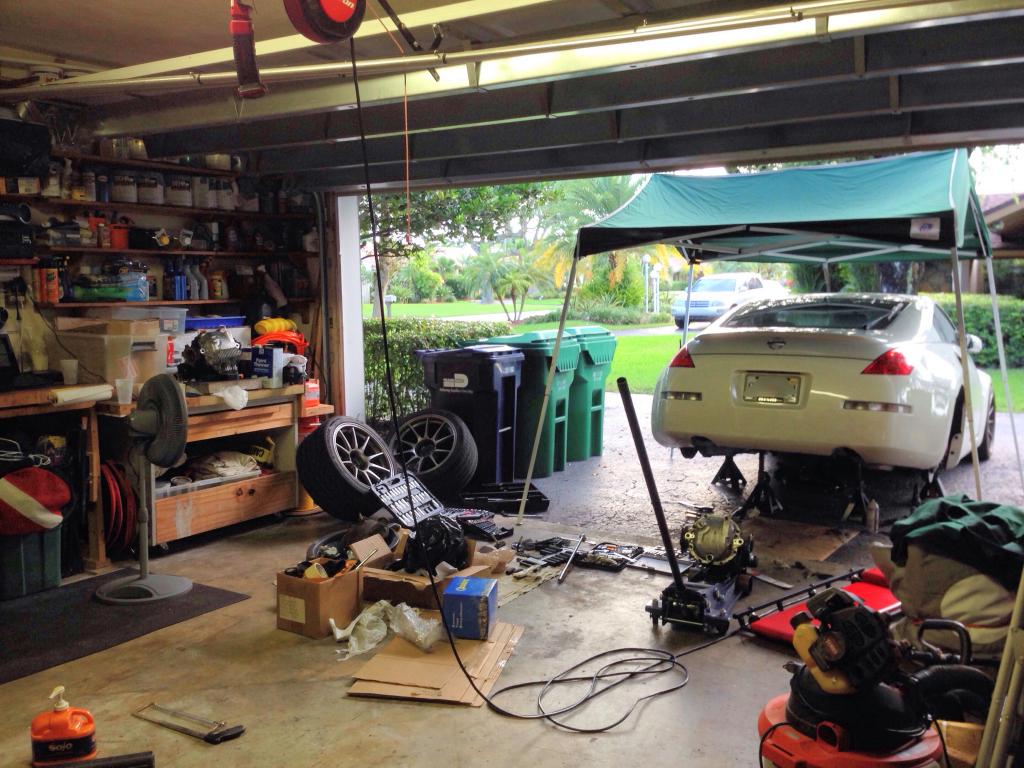
So lots of things have happened since I last posted in this thread. I readjusted my ride height, bought a few things, and broke ground on the next phase of the build!
Adjusting the ride height took a lot of patients, but the end result was worth all the work.
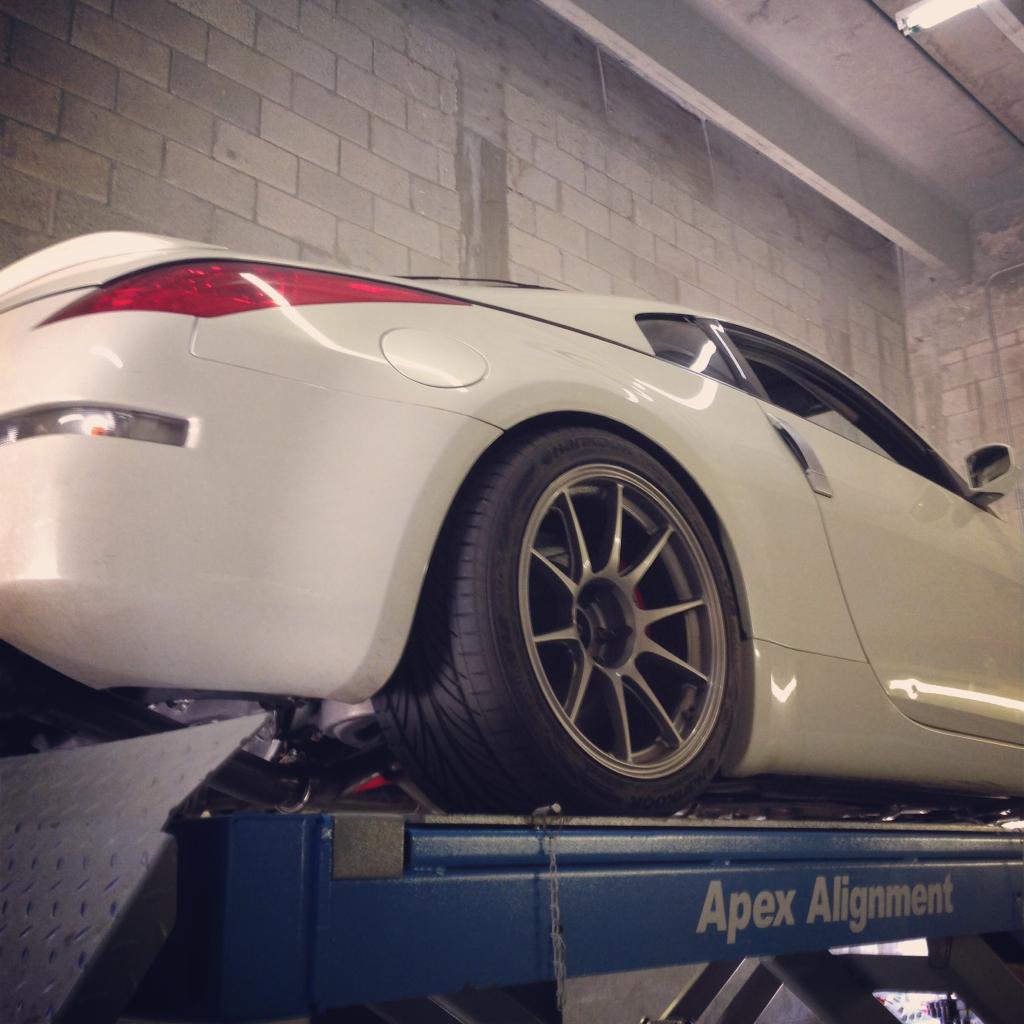
Got a realignment done. The added negative camber in the front mixed with a minor increase in rear toe has really woken up this chassis!
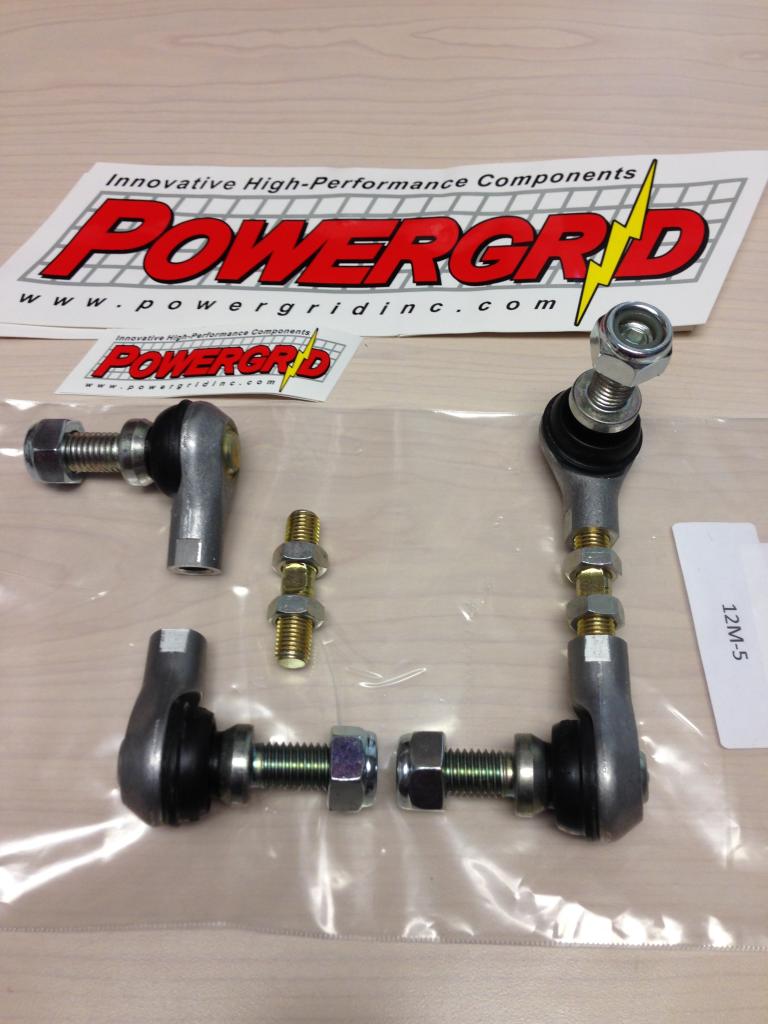
Picked up some PowerGrid front swaybar endlinks and installed them.
Lastly, the next big phase of this build.
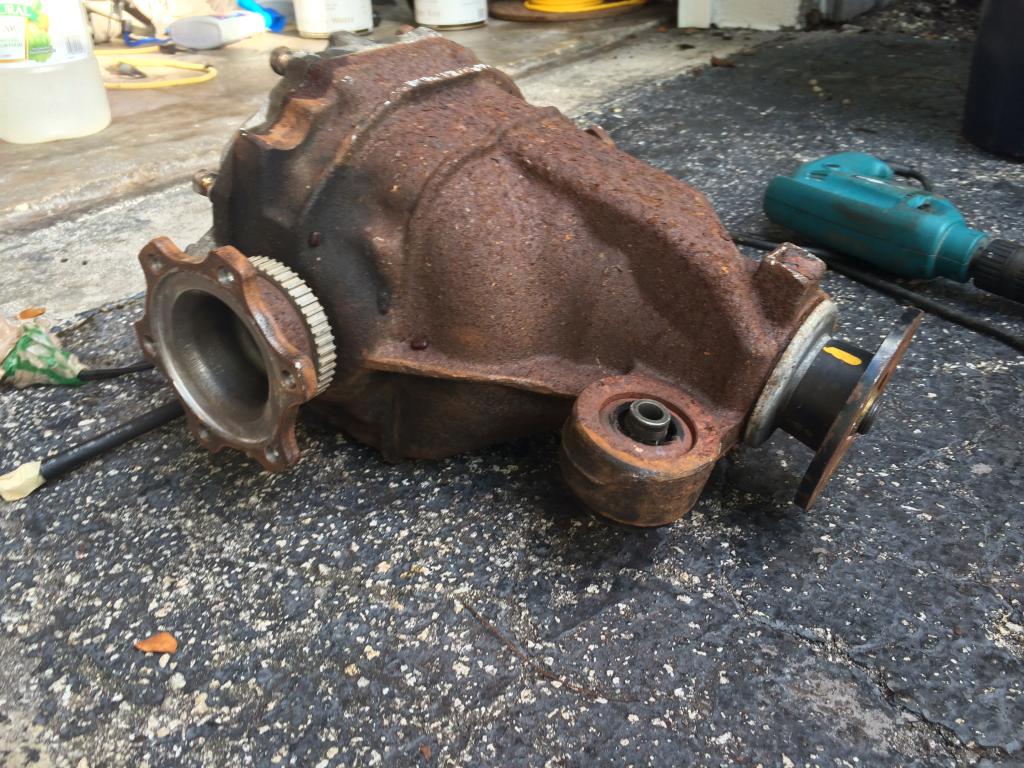
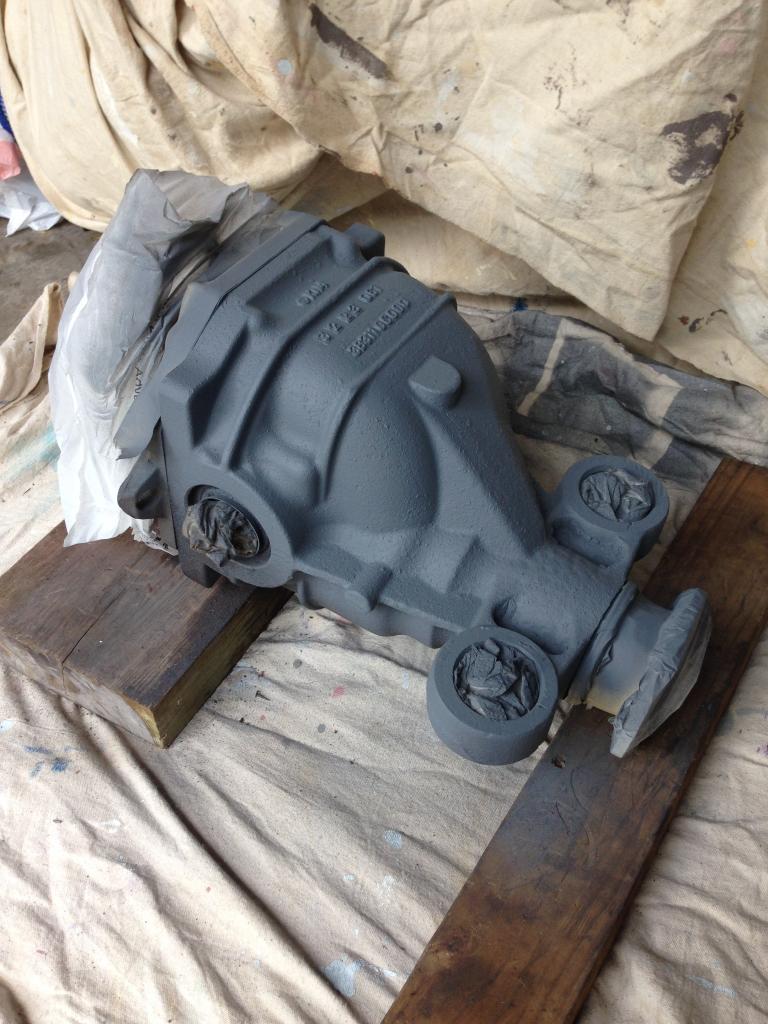
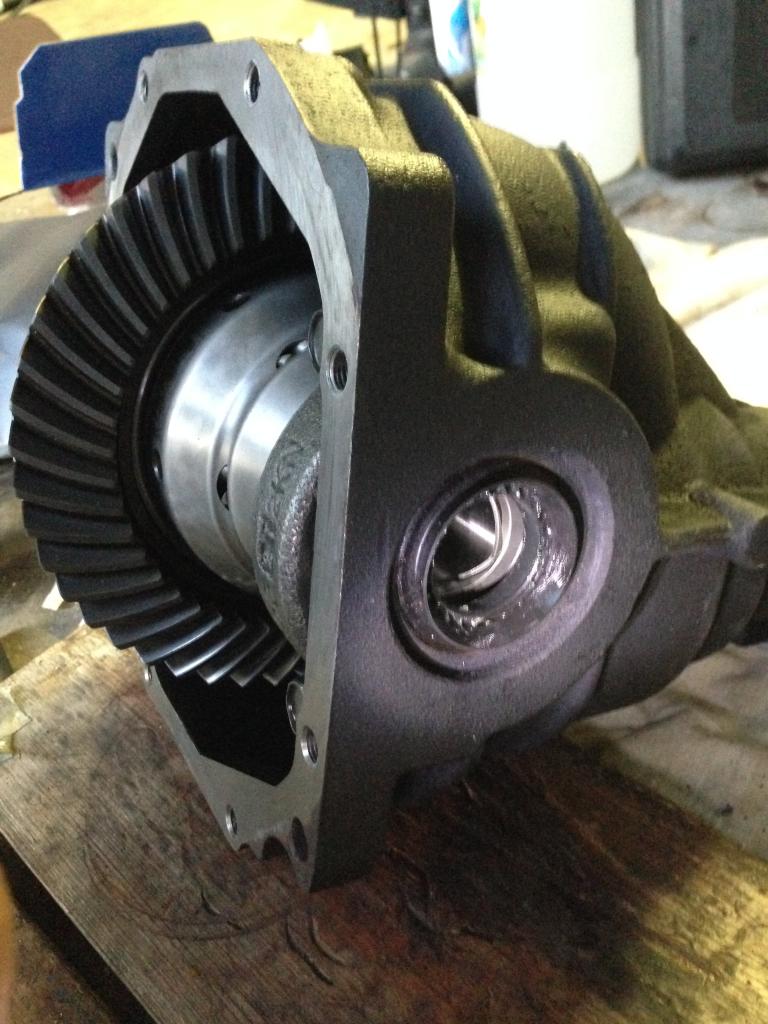
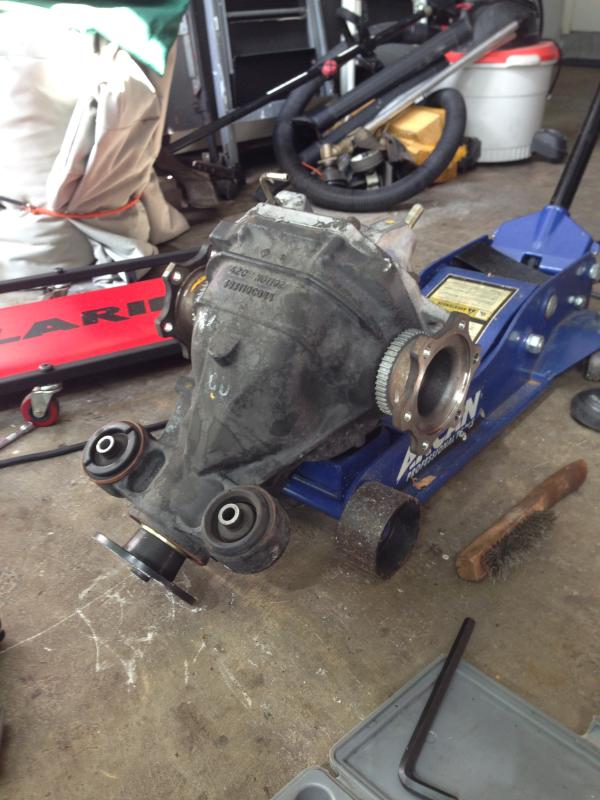
I picked up this open differential locally with the intension of building it up. New seals, bearings, bushings, Quaife LSD ect. Here's how it was looking after the first cleaning.
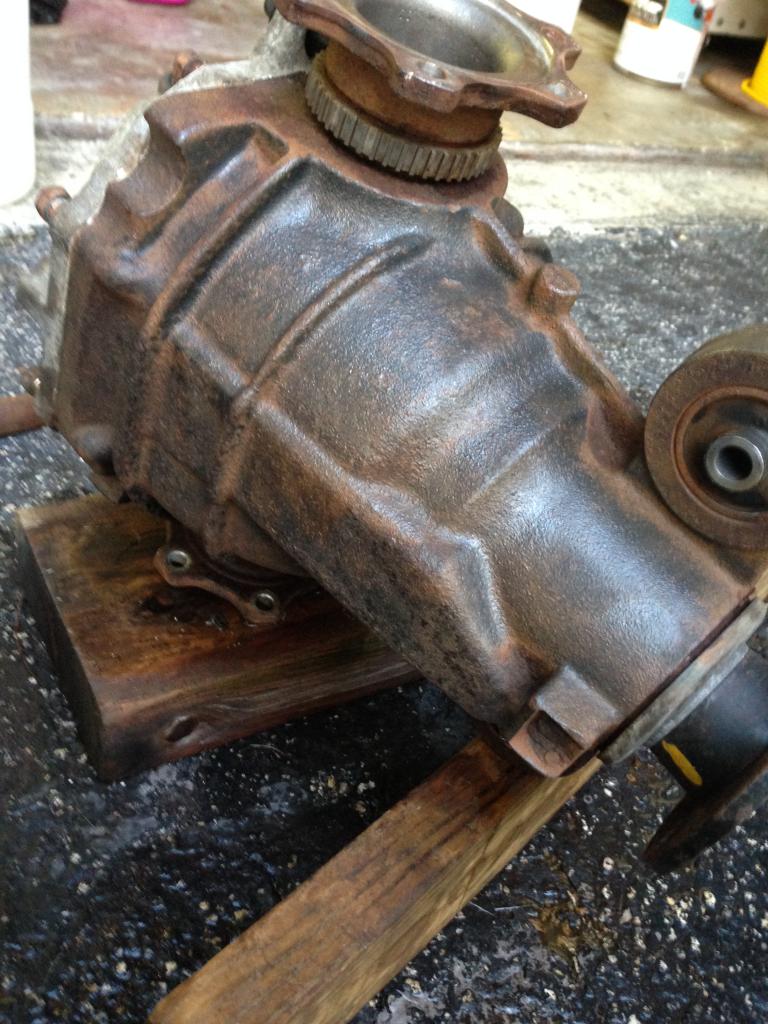
After a bit more elbow grease this is how it currently sits as it awaits for its new parts to arrive.
Adjusting the ride height took a lot of patients, but the end result was worth all the work.

Got a realignment done. The added negative camber in the front mixed with a minor increase in rear toe has really woken up this chassis!

Picked up some PowerGrid front swaybar endlinks and installed them.

Lastly, the next big phase of this build.

I picked up this open differential locally with the intension of building it up. New seals, bearings, bushings, Quaife LSD ect. Here's how it was looking after the first cleaning.

After a bit more elbow grease this is how it currently sits as it awaits for its new parts to arrive.

Last edited by ChriZTT; Aug 31, 2014 at 05:21 PM.


Joined: Jan 2004
Posts: 7,175
Likes: 132
From: Florida

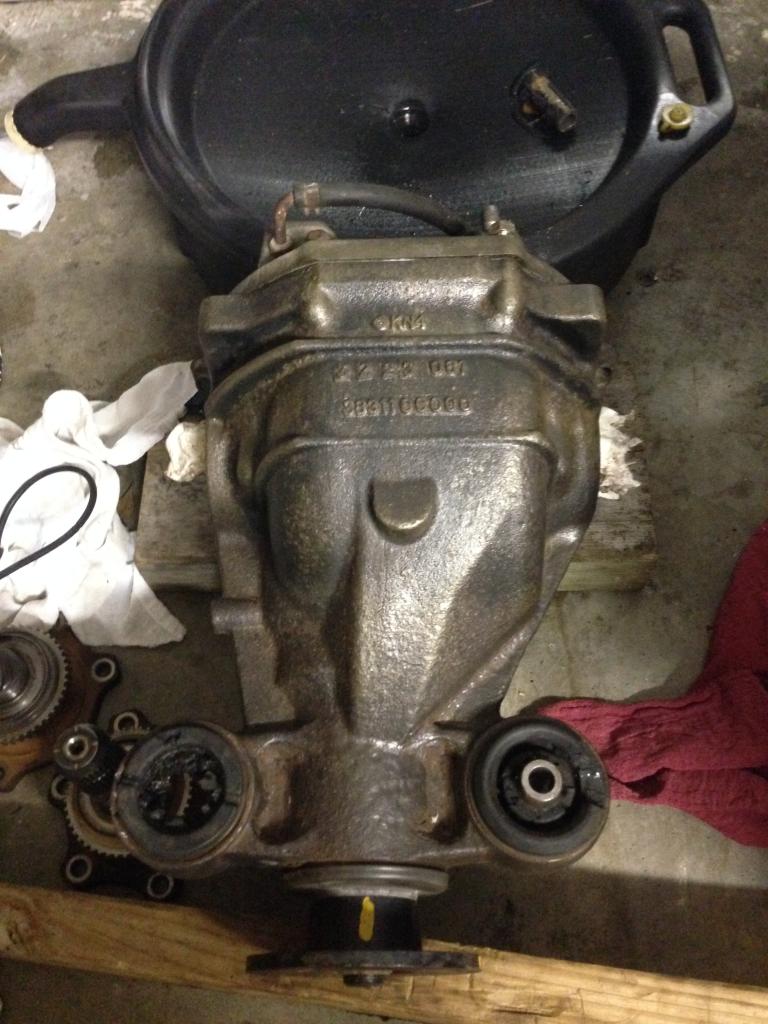
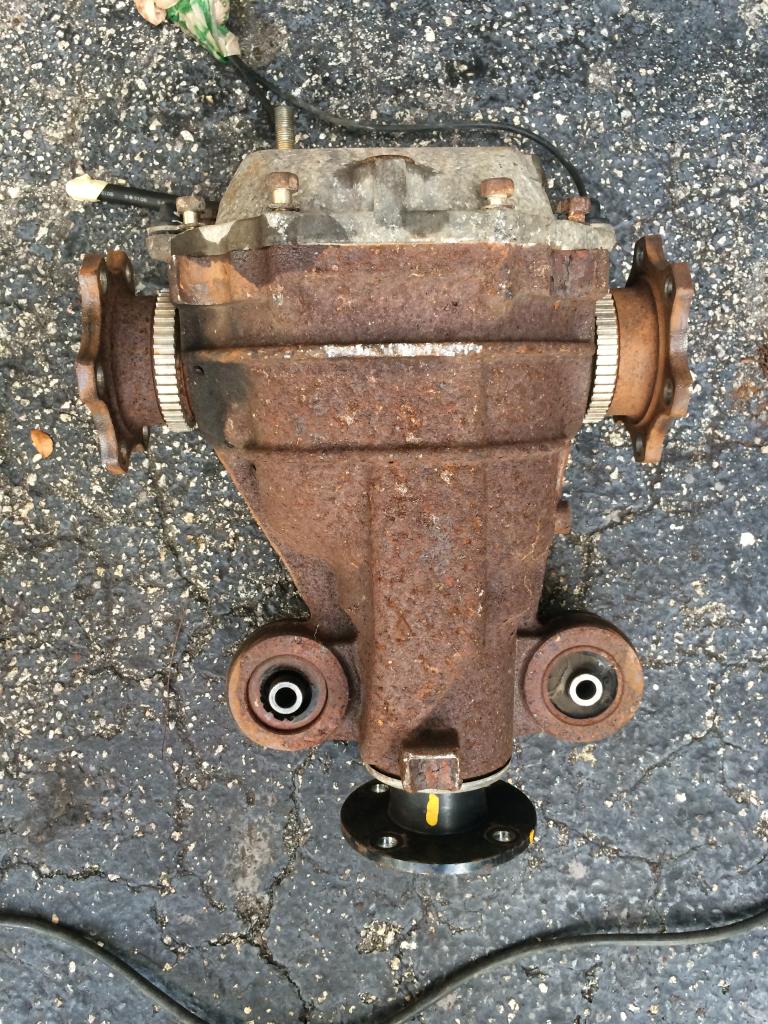
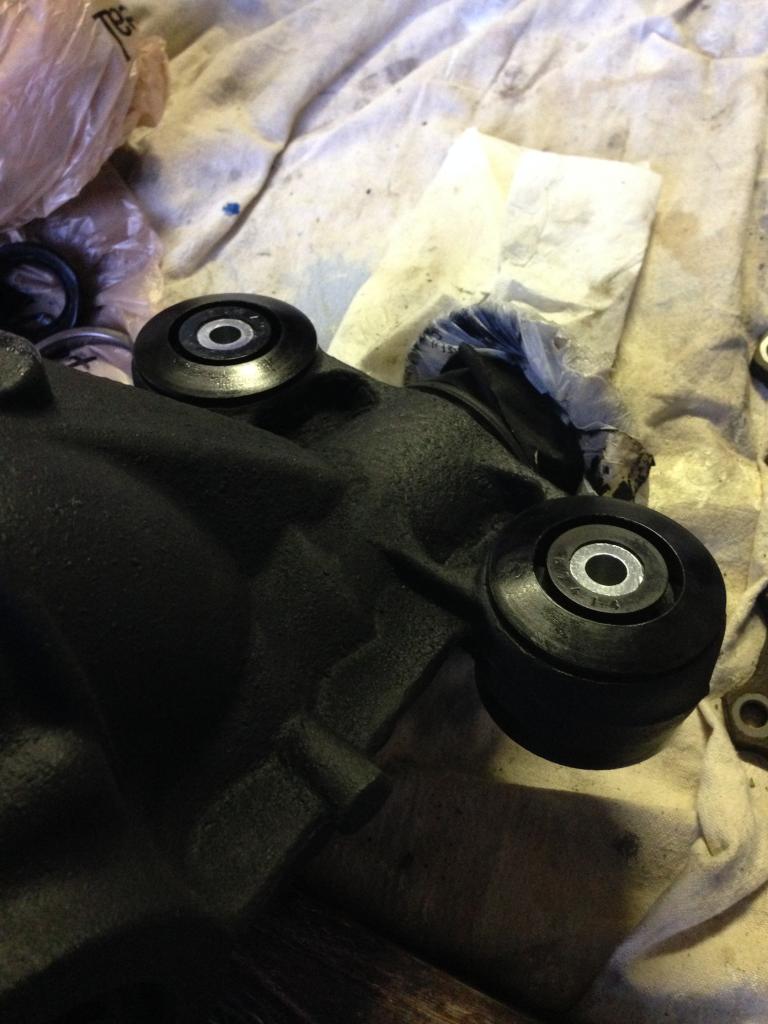
I finally got the bushing off the diff last night and prepped it for paint. I was going to wait to post this, but I'm just too excited! This is only primer, but the change from where I started is crazy!
Before:
Now:
Before:

Now:

Last edited by ChriZTT; Aug 15, 2014 at 10:36 AM.
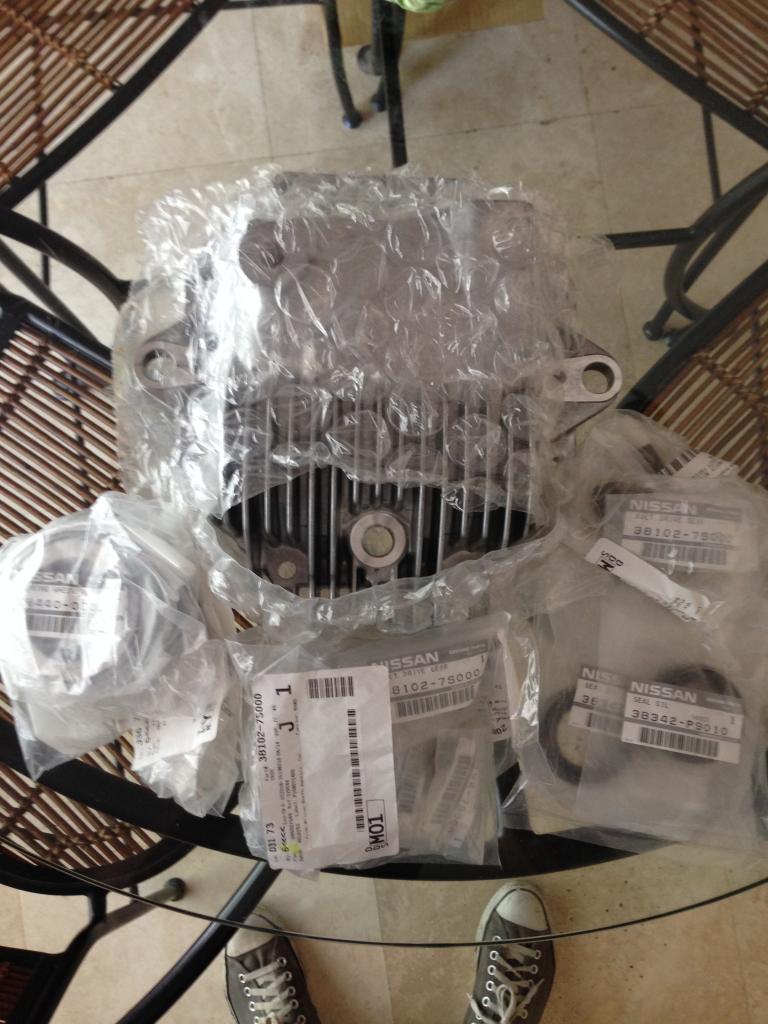
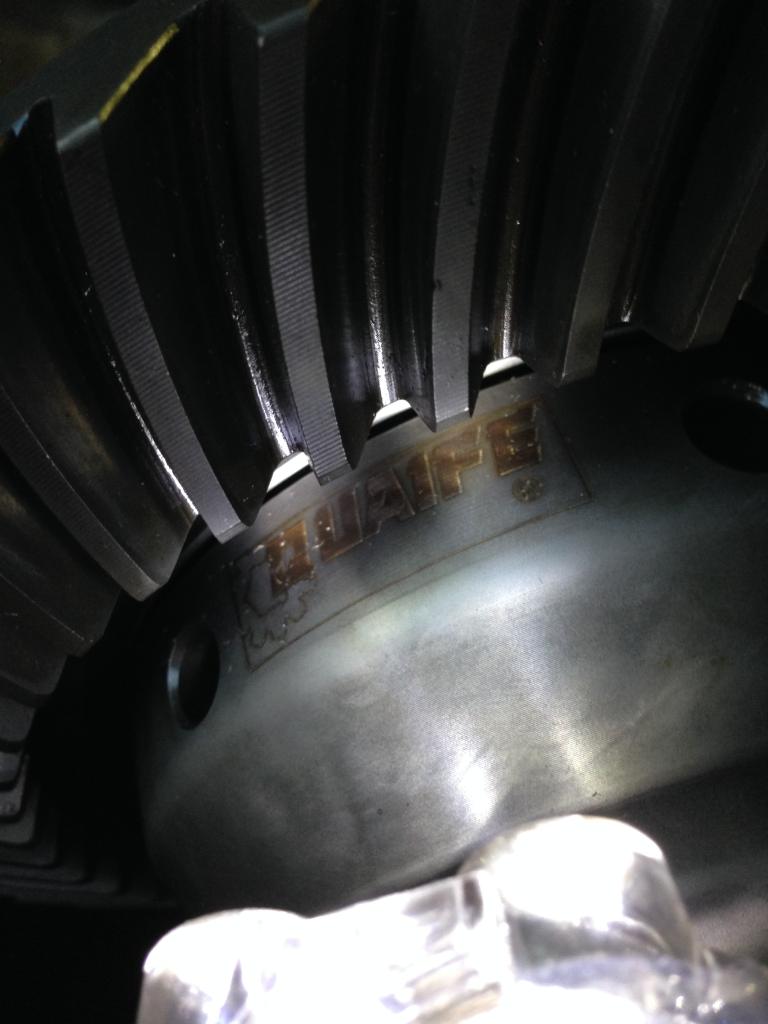
So I finally received the new bearings, oil seals, ring gear bolts, and Nismo diff cover. On Friday I started by removing the ring gear from the open differential. I then used the 10 new ring gear bolts to attach the ring gear to the Quaife LSD. Once the ring gear was installed I had the new differential bearings pressed into the Quaife LSD. I was then able to reassemble the differential by installing the new side oil seals, placing the LSD in the diff housing, and reinstalling the shims. After I torqued everything back to spec I finished by installing the new WhiteLine bushings.
Only thing left to do is measure the backlash to make sure all the tolerances are within spec and then install it. But waiting to completely finish one project before starting another is over rated. So I picked this up .
.


Only thing left to do is measure the backlash to make sure all the tolerances are within spec and then install it. But waiting to completely finish one project before starting another is over rated. So I picked this up
.

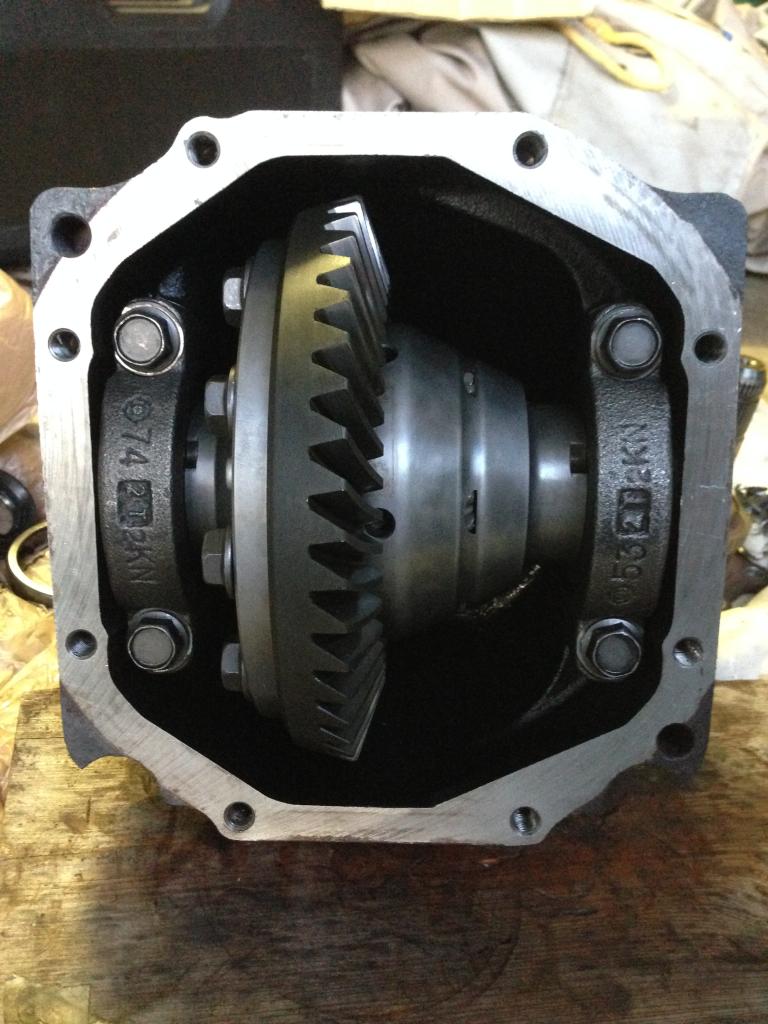
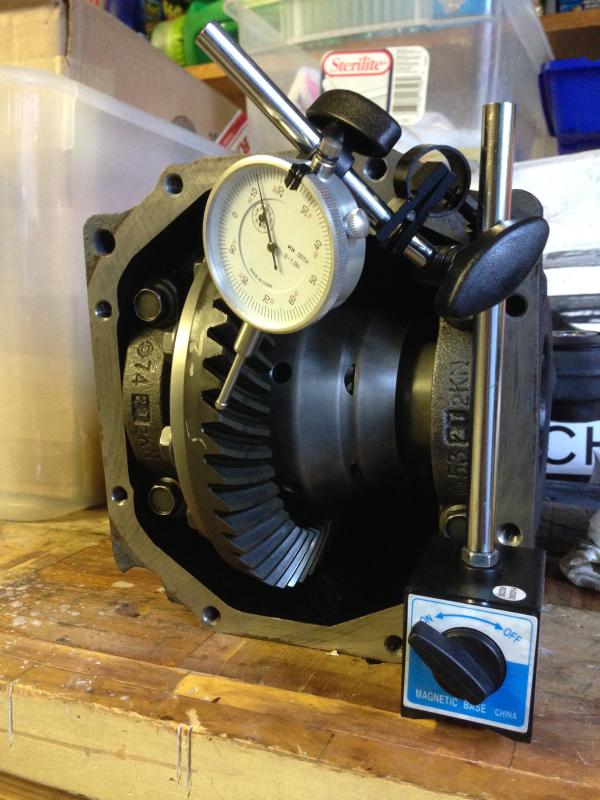
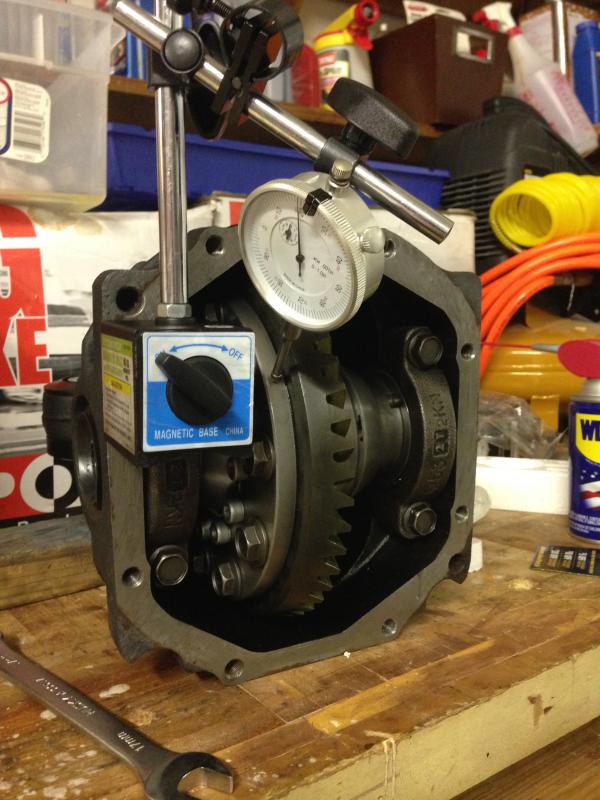
So after giving up on trying to find a shop to properly measure the gear backlash, gear runout, and gear mating patten I decided to do it myself. Took a trip to Harbor Freight and picked up a dial indicator and magnetic stand. Everything was within the specified range so after cleaning off the face of the diff housing I applied the sealant and fitted the new Nismo diff cover to the differential. After letting the sealant cure for about an hour I torqued down all of the cover bolts to spec.
Dial indicator setup to measure the backlash.
Measuring the runout on the ring gear.
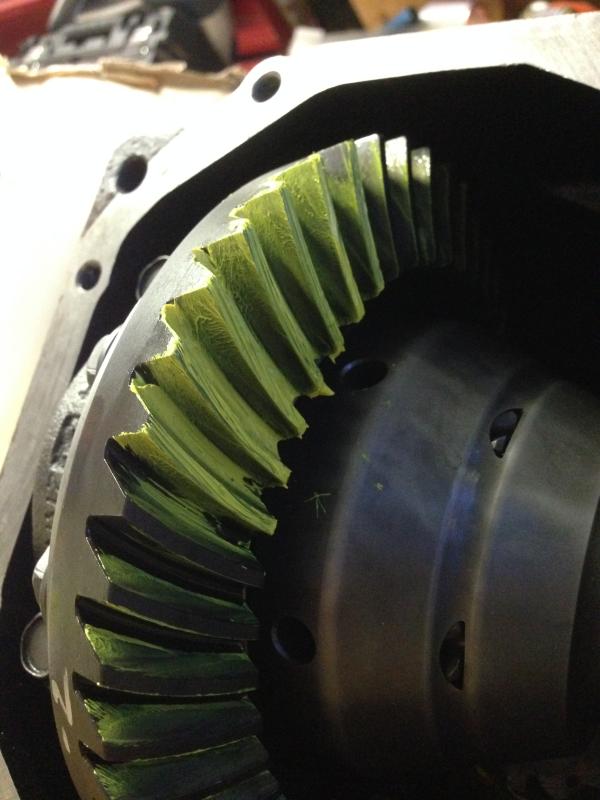
Checking the gear pattern.
Stub axels installed.
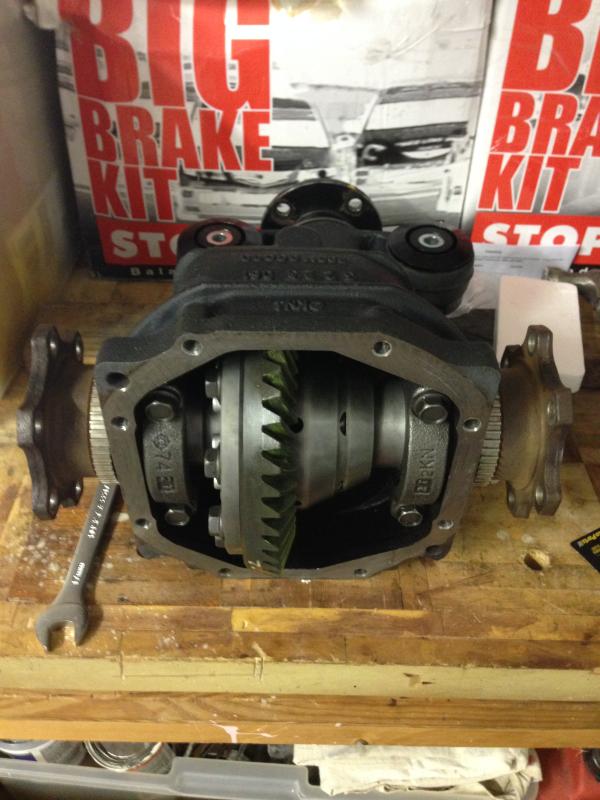
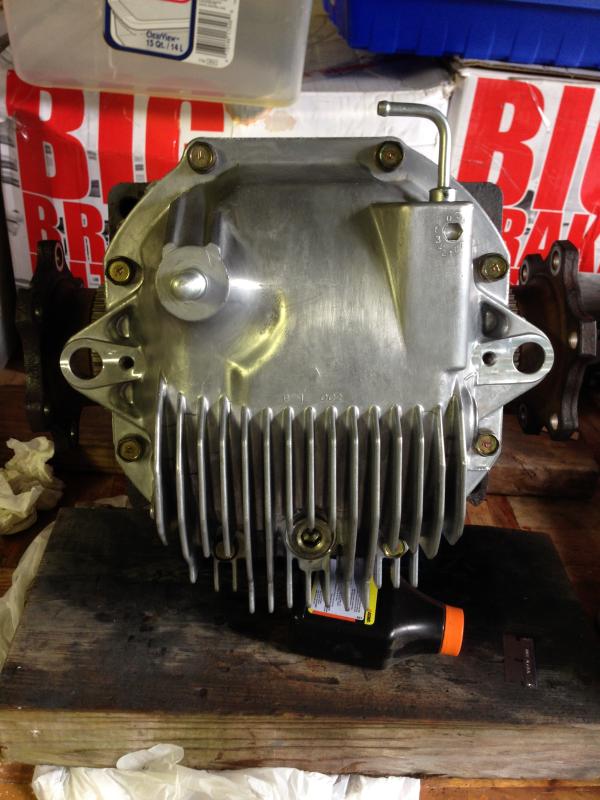
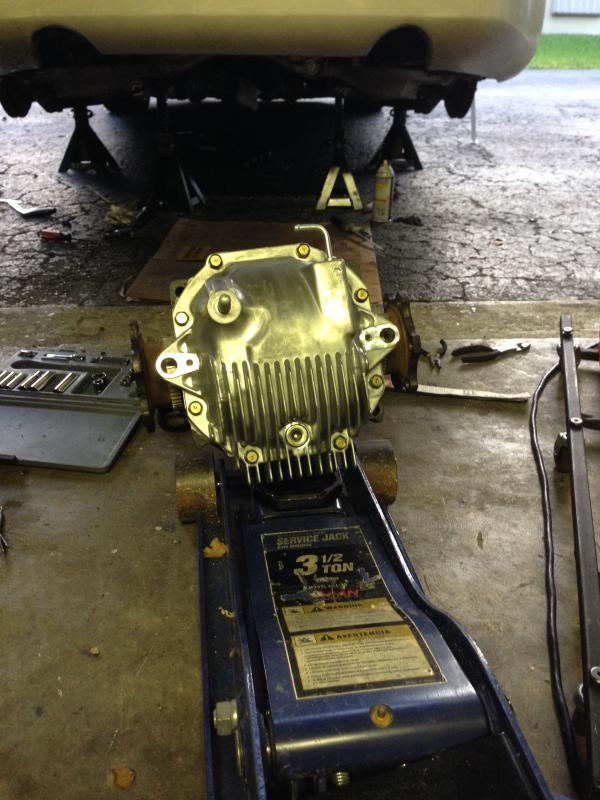
Nismo diff cover installed.
The removal of the stock VLSD and the install of my newly built differential went very smooth. The most time consuming part was cutting out the stock subframe bushing which I replaced with a Whiteline poly bushing.
The workspace.
VLSD removed.
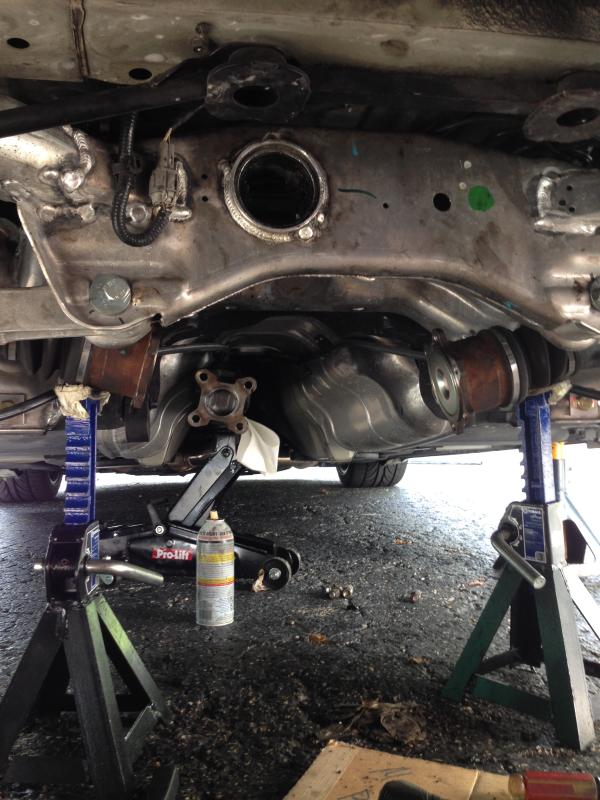
VLSD
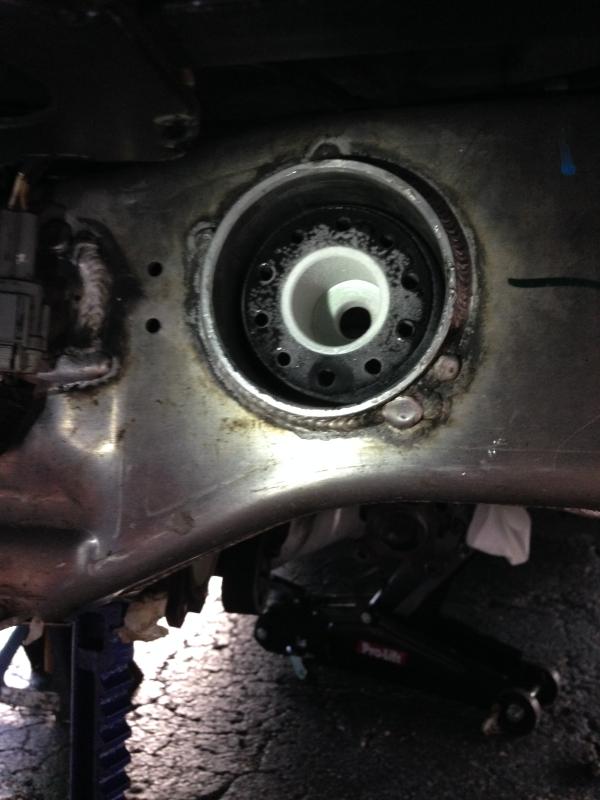
After 3+ hours the OE subframe bushing was OUT!!
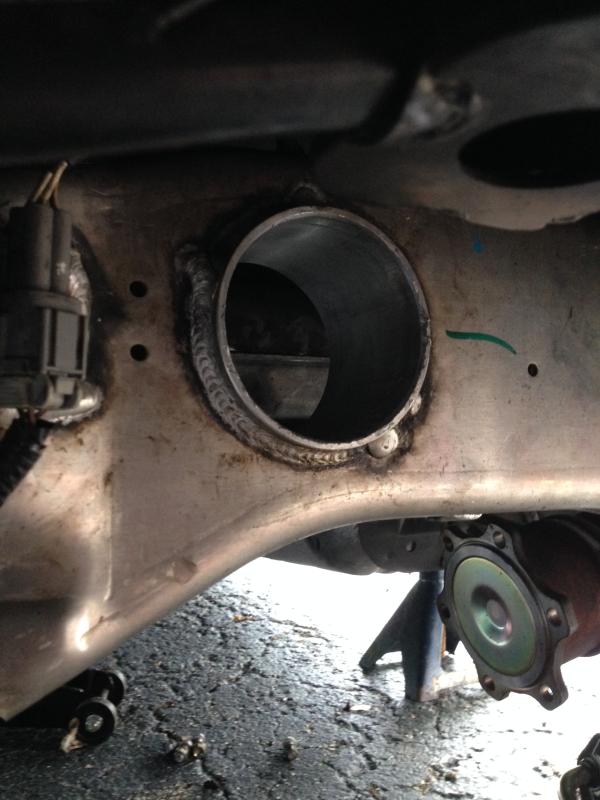
Whiteline Poly bushing installed. It looks frosty beacuse I left it in the frezzer over night. Seems to have worked out nicely because I was able to lightly tap it into place without any issues.
Rolling out the built differential.
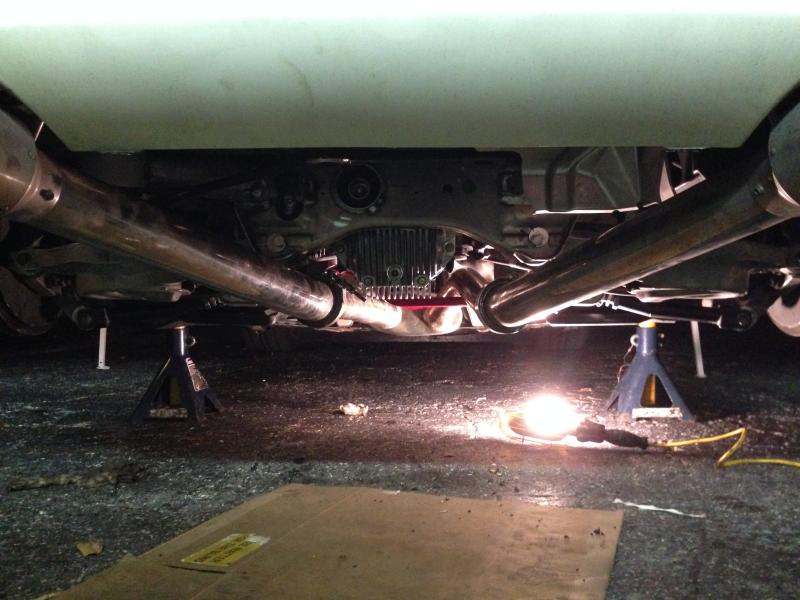
With the new differential in place I bolted everything (driveshaft, axels, swaybar, exhaust ect.) back up. I decided to err on the side of caution and let the sealant on the diff cover cure 100% overnight before filling up the differential with gear oil.
A shot of everything back in place.
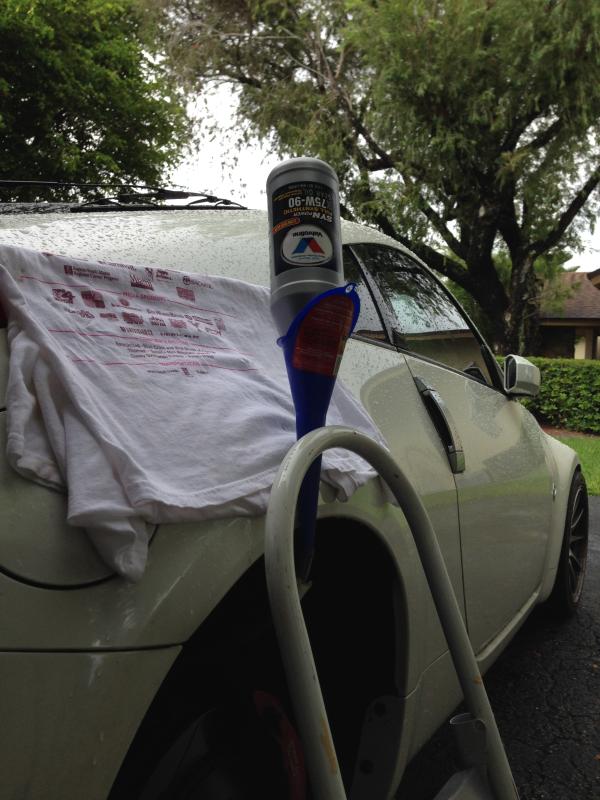
The next morning I fed the beast.
Finishing this LSD build was bitter sweet. There were so many steps / mini projects mixed in that I always had something to look forward to working on. From sanding, prepping and painting the exterior of the diff housing, to replacing the bushings, to installing the Quaife LSD and making sure it was fitted properly to the housing. It was an awesome project! On to the next one i guess!
Dial indicator setup to measure the backlash.

Measuring the runout on the ring gear.

Checking the gear pattern.

Stub axels installed.

Nismo diff cover installed.

The removal of the stock VLSD and the install of my newly built differential went very smooth. The most time consuming part was cutting out the stock subframe bushing which I replaced with a Whiteline poly bushing.
The workspace.

VLSD removed.

VLSD

After 3+ hours the OE subframe bushing was OUT!!

Whiteline Poly bushing installed. It looks frosty beacuse I left it in the frezzer over night. Seems to have worked out nicely because I was able to lightly tap it into place without any issues.

Rolling out the built differential.

With the new differential in place I bolted everything (driveshaft, axels, swaybar, exhaust ect.) back up. I decided to err on the side of caution and let the sealant on the diff cover cure 100% overnight before filling up the differential with gear oil.
A shot of everything back in place.

The next morning I fed the beast.

Finishing this LSD build was bitter sweet. There were so many steps / mini projects mixed in that I always had something to look forward to working on. From sanding, prepping and painting the exterior of the diff housing, to replacing the bushings, to installing the Quaife LSD and making sure it was fitted properly to the housing. It was an awesome project! On to the next one i guess!

New Member


Joined: Nov 2009
Posts: 238
Likes: 57
From: Florida
Nice little write-up man, and grats on the new LSD. I'll be looking to do this swap into my Base eventually, so hopefully I can DIY it. Did you freeze the subframe bushing so it would shrink for easier installation?
Yup, I froze it to shrink it a bit and it I'm pretty positive it made a difference. Doing this yourself might seem daunting, but it's really straight forward. Good luck!
A few things have taken place since my last update. After wrapping up the Quaife LSD diff project I shifted my attention to the Z's interior. I feel like this portion of the build will be one that goes through a series of phases until it is complete.
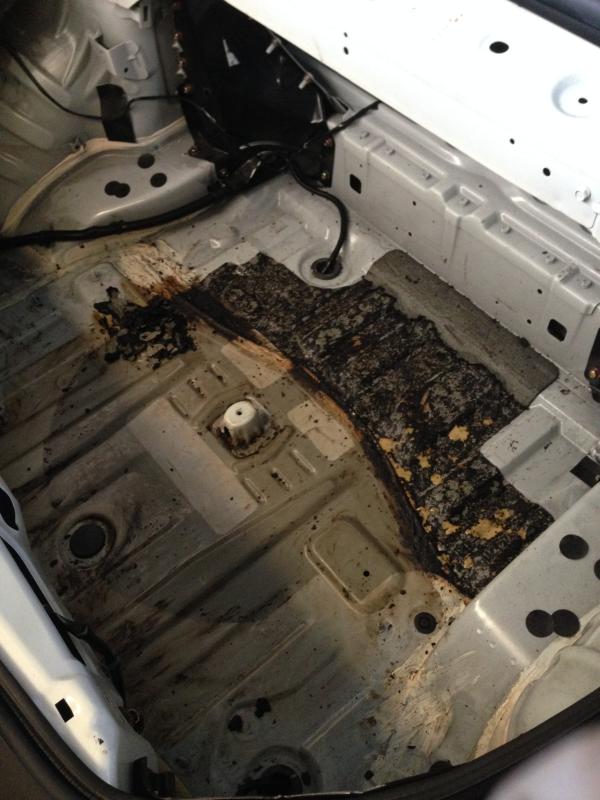
I started by stipping down the trunk area of the plastics and other misc. things. I then took on the very tedious task of removing the sound detonating tar. No dry ice here! I used a falt head screw driver and a hammer to remove the majority of the tar. I cleaned up the remaining residue with bug and tar remover.
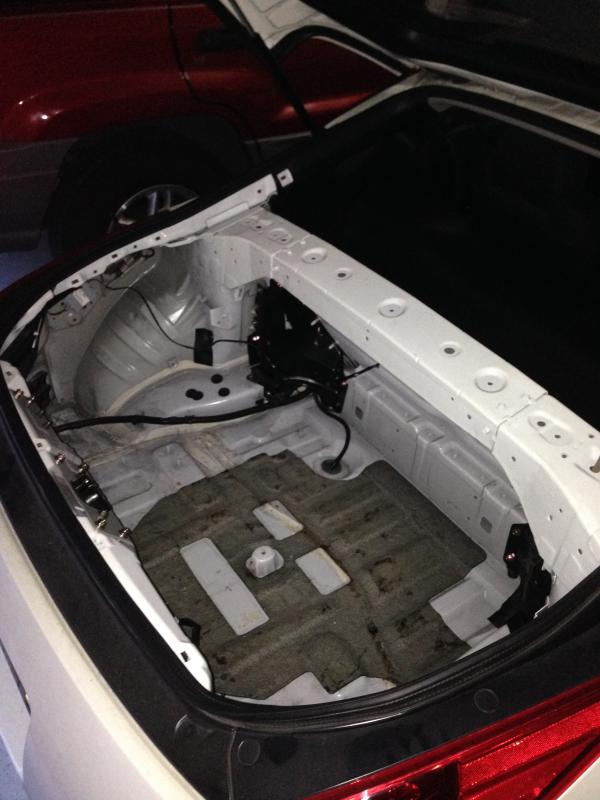
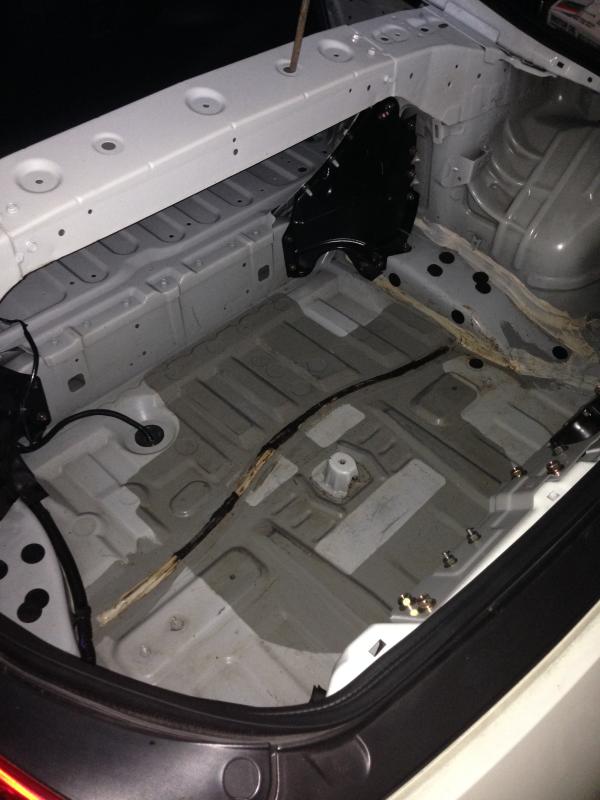
All cleaned up:
Also removed the tar located above the wheel wells just behind the speaker bar:
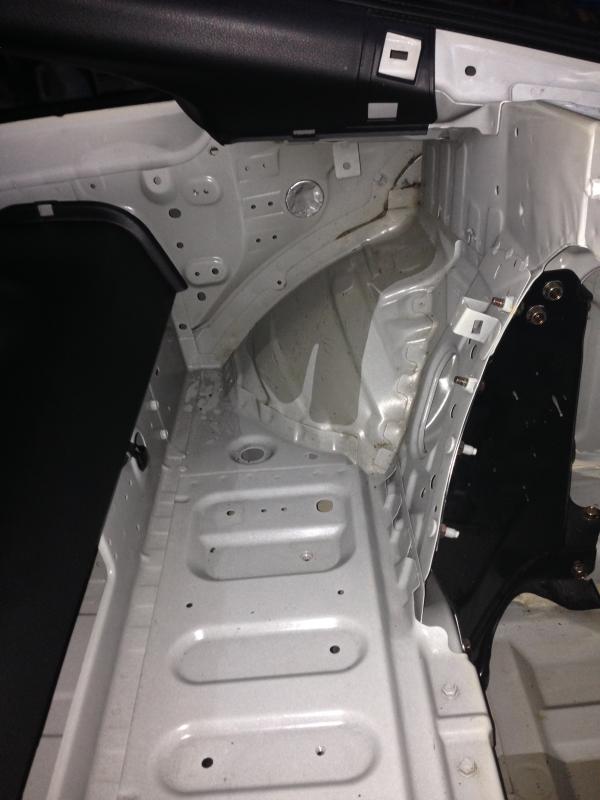
Still have some detail work to do back there, but the plan is to get it prepped for primer and paint. I'm going for a very neat and clean stripped down look.
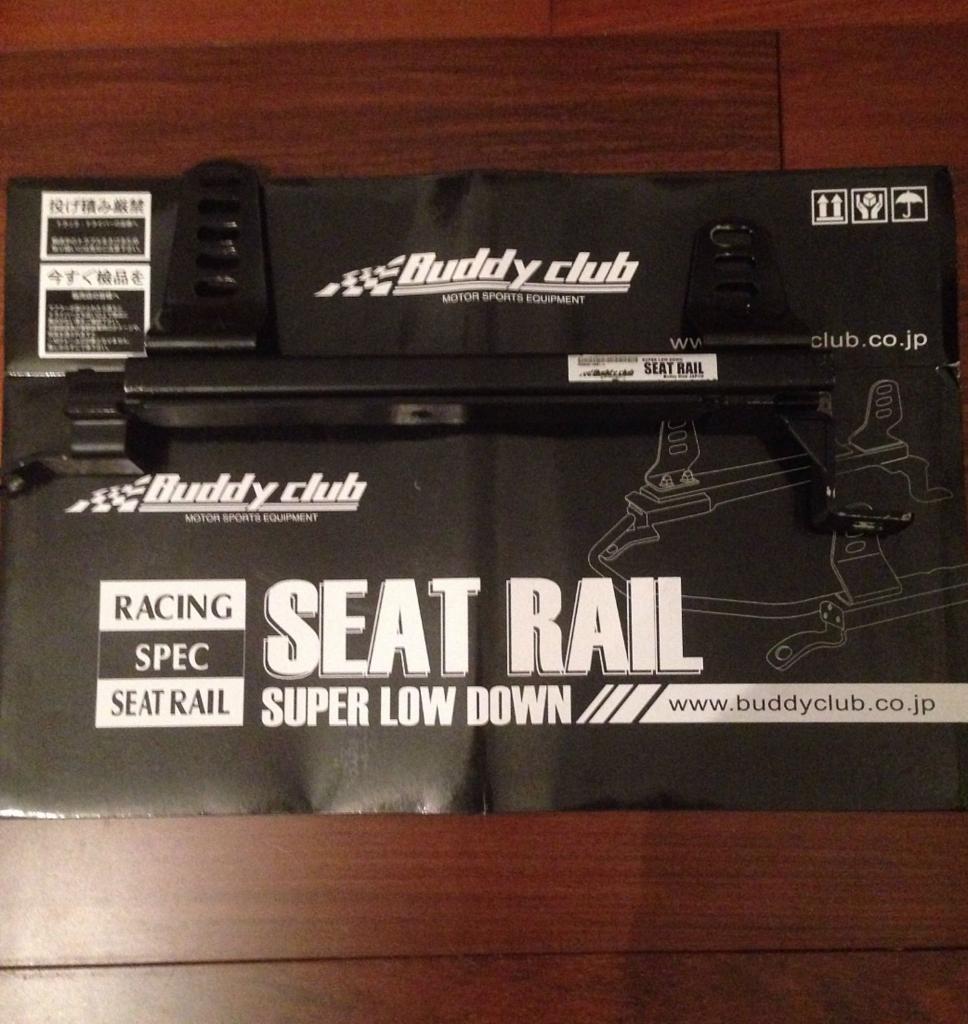
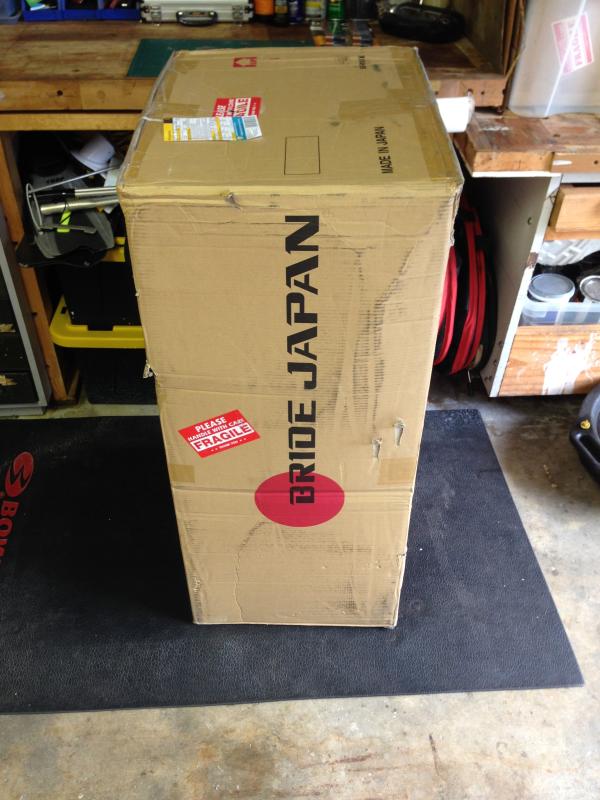
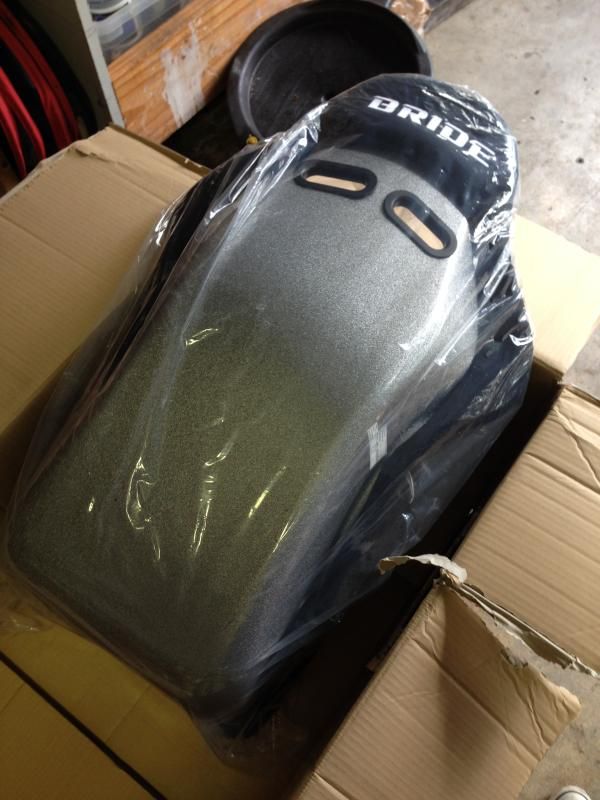
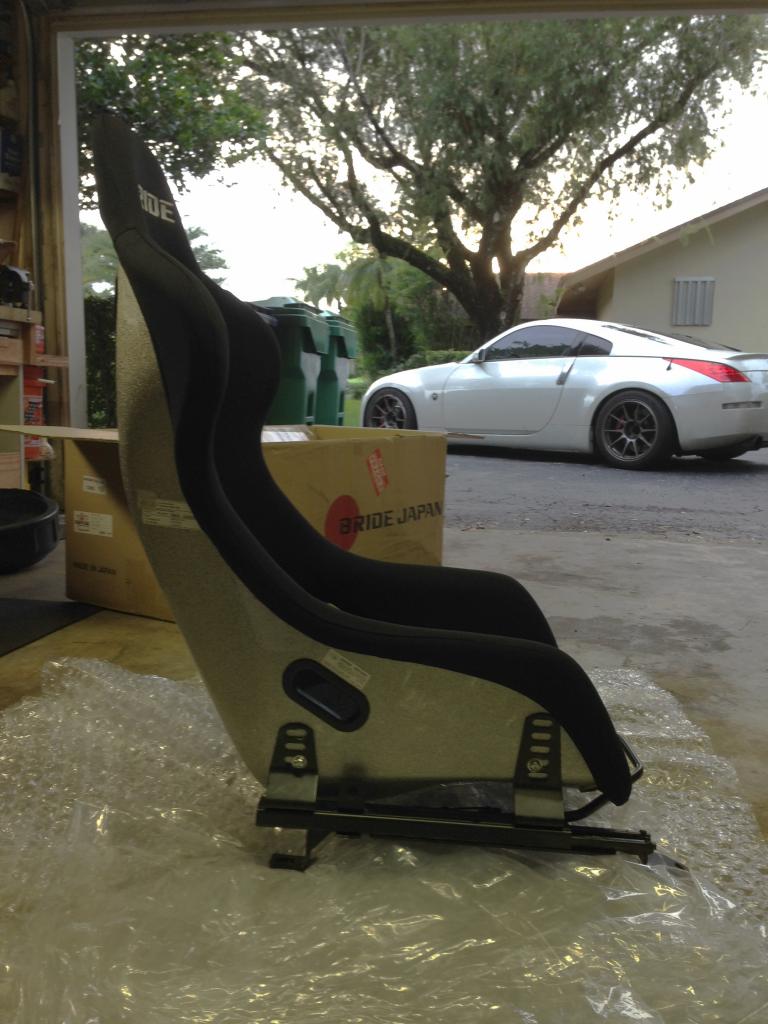
In my last update I posted a picture of my buddyclub seat rails... well I picked up a seat to pair the rails with. I went with an authentic BRIDE Zeta 3 in hyper black. Luckly I only had to wait about a month for it to arrive from Japan.
My Christmas came early this year, no doubt about it!

Prepping the side mounts before installing the rails:

Installing the rails:
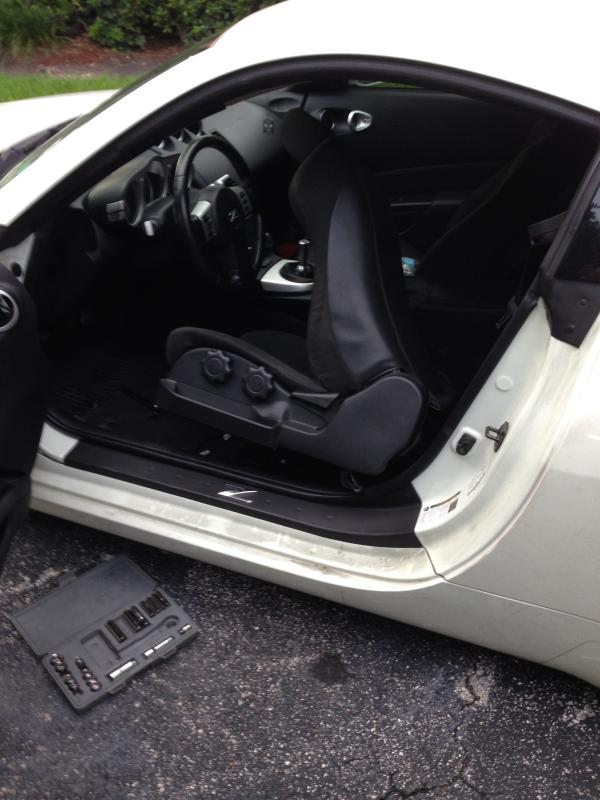
Removing the stock cloth OE seat:
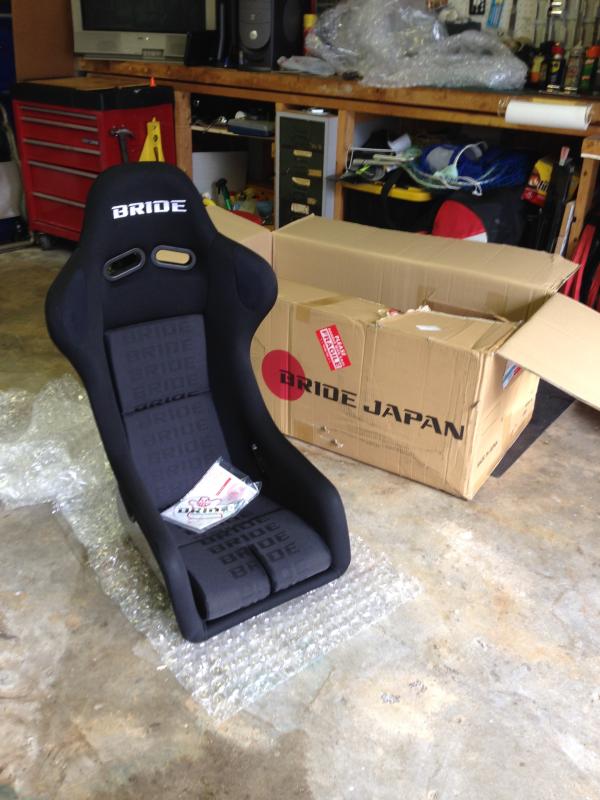
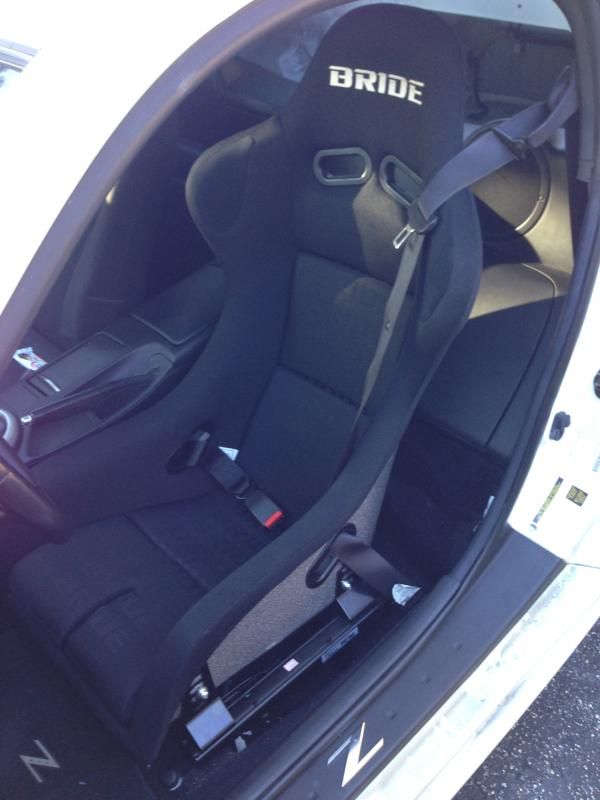
Bolted in the Zeta 3 and set it up with an adjustable seat belt extender in order to properly use the OE three point seat belt with the seat:
A candid photo as I get strapped into the seat:
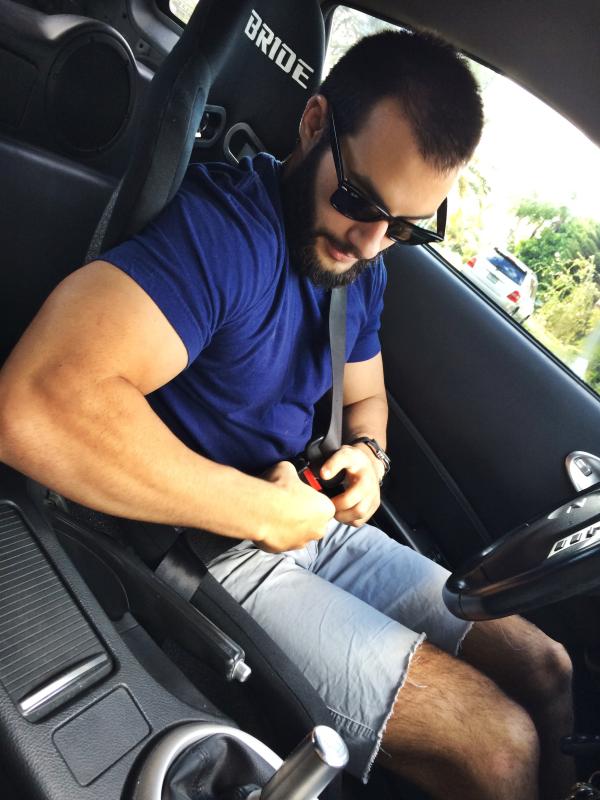
It's been 8 weeks since I put in the seat and I'm very happy with it. For reference I am 5'8", weigh 170lbs, and have a 30 inch waist. Is it comfortable? Yes, its both comfortable and comforting. That said, everyone will have a varying opinion on such a subjective topic (comfort). A fixed back bucket seat is not for everyone, but it sure is for me! Love the support it provides, love the weight savings, and love the look and feel!
I started by stipping down the trunk area of the plastics and other misc. things. I then took on the very tedious task of removing the sound detonating tar. No dry ice here! I used a falt head screw driver and a hammer to remove the majority of the tar. I cleaned up the remaining residue with bug and tar remover.


All cleaned up:

Also removed the tar located above the wheel wells just behind the speaker bar:

Still have some detail work to do back there, but the plan is to get it prepped for primer and paint. I'm going for a very neat and clean stripped down look.
In my last update I posted a picture of my buddyclub seat rails... well I picked up a seat to pair the rails with. I went with an authentic BRIDE Zeta 3 in hyper black. Luckly I only had to wait about a month for it to arrive from Japan.
My Christmas came early this year, no doubt about it!


Prepping the side mounts before installing the rails:

Installing the rails:


Removing the stock cloth OE seat:

Bolted in the Zeta 3 and set it up with an adjustable seat belt extender in order to properly use the OE three point seat belt with the seat:

A candid photo as I get strapped into the seat:

It's been 8 weeks since I put in the seat and I'm very happy with it. For reference I am 5'8", weigh 170lbs, and have a 30 inch waist. Is it comfortable? Yes, its both comfortable and comforting. That said, everyone will have a varying opinion on such a subjective topic (comfort). A fixed back bucket seat is not for everyone, but it sure is for me! Love the support it provides, love the weight savings, and love the look and feel!
