
ChriZTT's Pikes Peak White 350Z Build Thread


So I want to document a few small changes that have taken place since I last updated the thread.
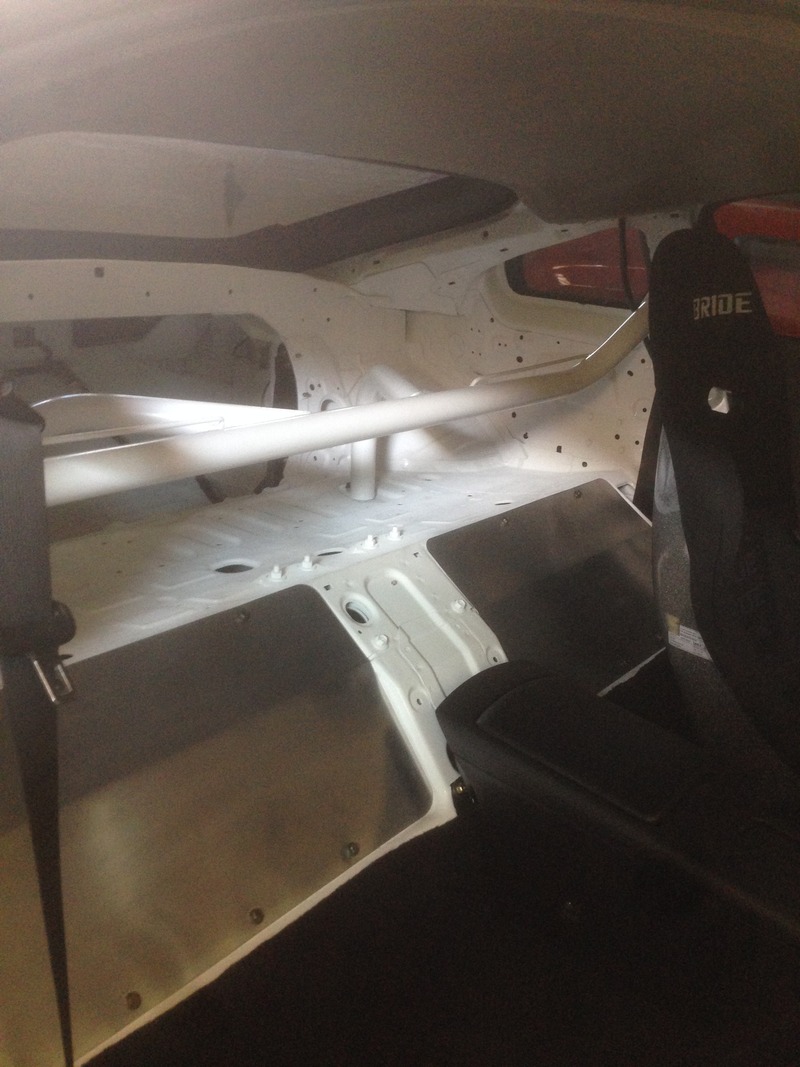
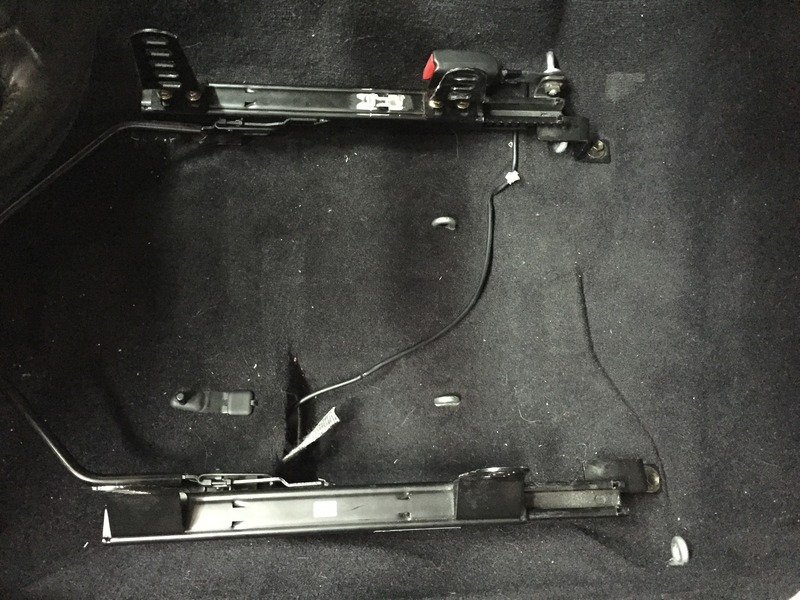
I went ahead and neatly tucked away and secured the exposed wiring harness that was behind the driver's seat.
Before:
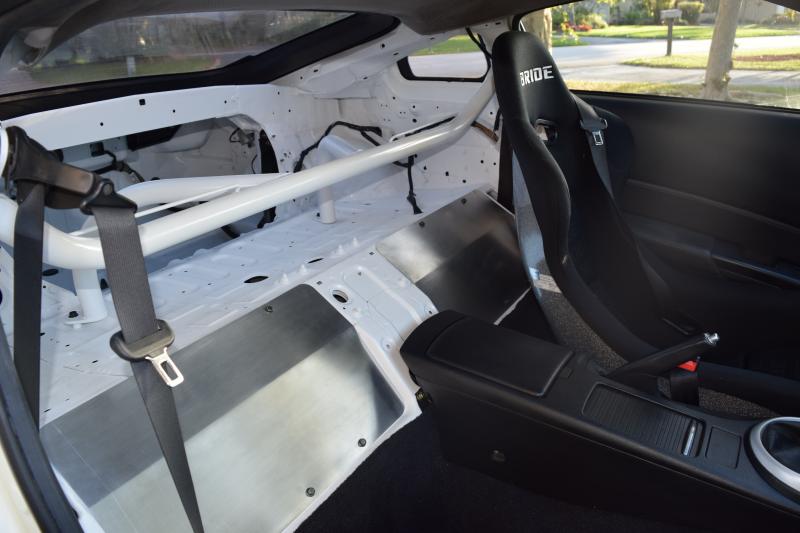
After:
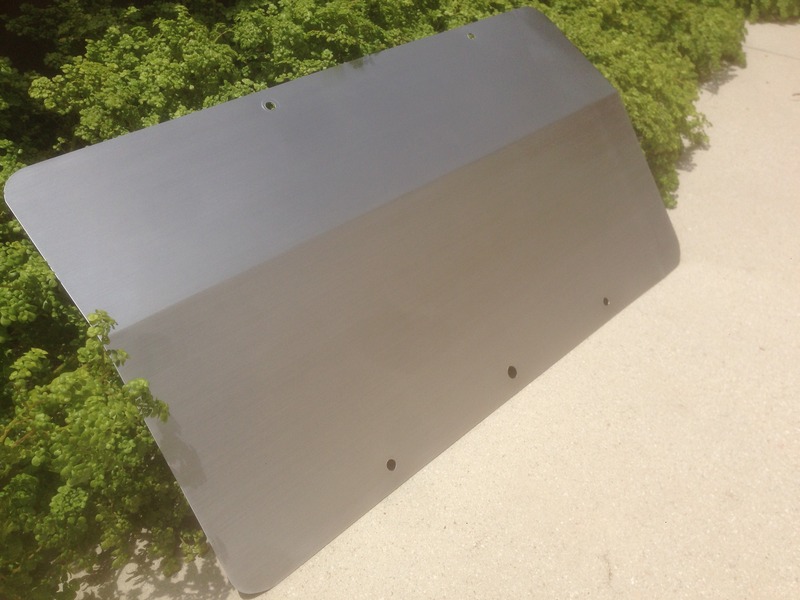
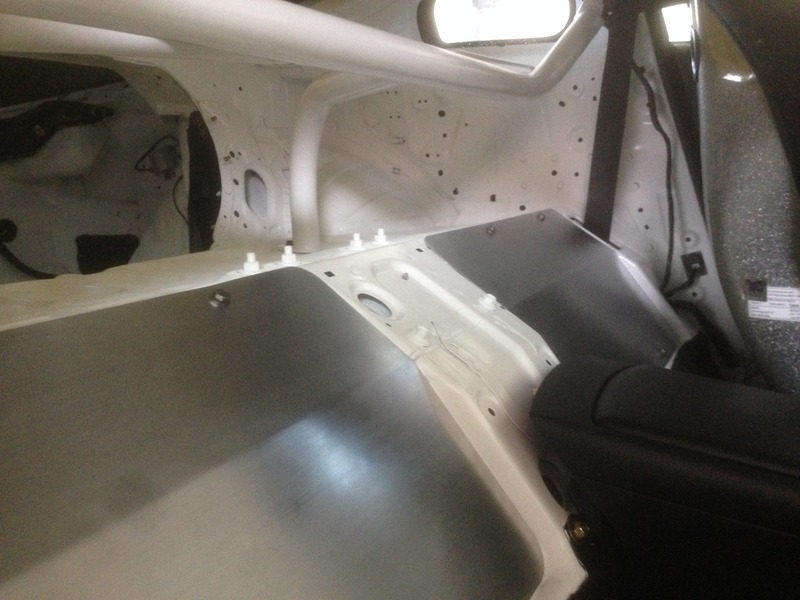
I also did some finishing work on the cubby covers. I was originally going to paint them black, but I've fallen in love with the look of the bare aluminum. So I brush finished them by hand.
Picture does not have the best quality, but I think you can somewhat see the grain in the aluminum.
Next on the short list is the harness and ARP extended wheel studs. Both should make for a fun couple of hours in the garage.
I went ahead and neatly tucked away and secured the exposed wiring harness that was behind the driver's seat.
Before:

After:

I also did some finishing work on the cubby covers. I was originally going to paint them black, but I've fallen in love with the look of the bare aluminum. So I brush finished them by hand.
Picture does not have the best quality, but I think you can somewhat see the grain in the aluminum.


Next on the short list is the harness and ARP extended wheel studs. Both should make for a fun couple of hours in the garage.


My first thought was "Chris is sponsored by ARP?"
You rocking extended wheel studs on the Z? BTW I'm anxiesoulys awaiting for you to post some ZdayZ photos!Thanks Omar!
So this happened last weekend... Looks like the Z is getting a 1JZ!
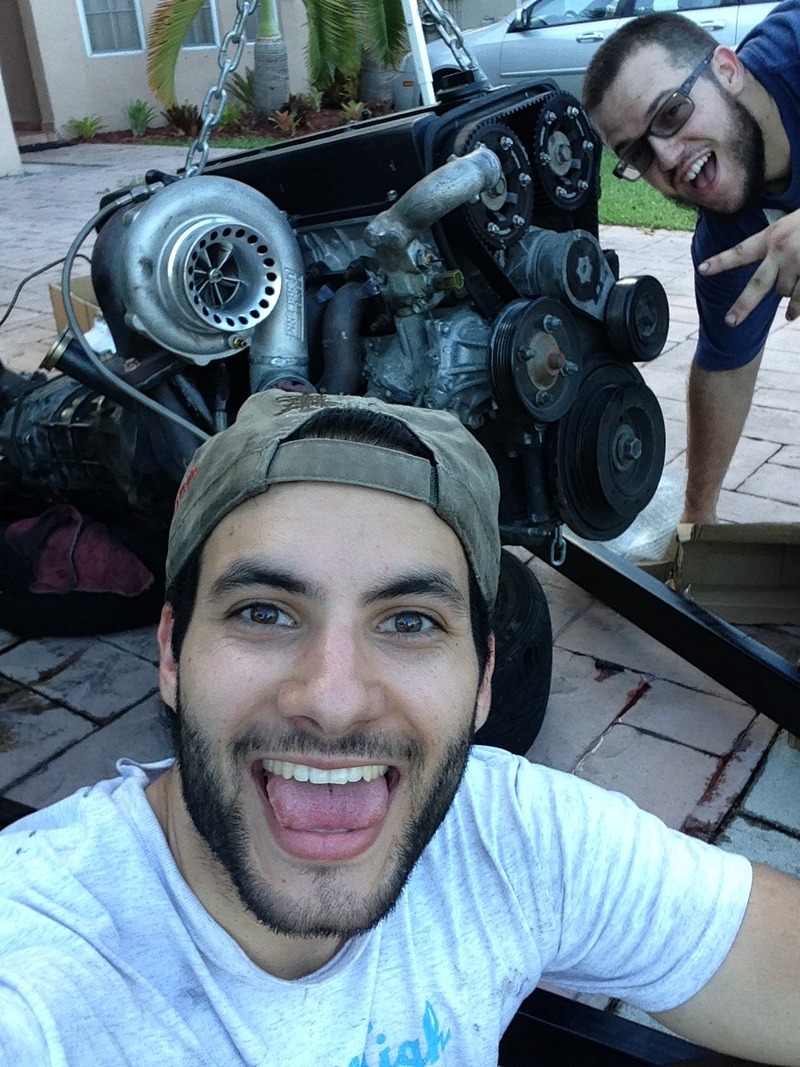
Just kidding This 1JZ belongs to an '88 Supra owned by a buddy of mine. The bottom end is getting overhauled so I helped him pull it out in his driveway. Good times lol.
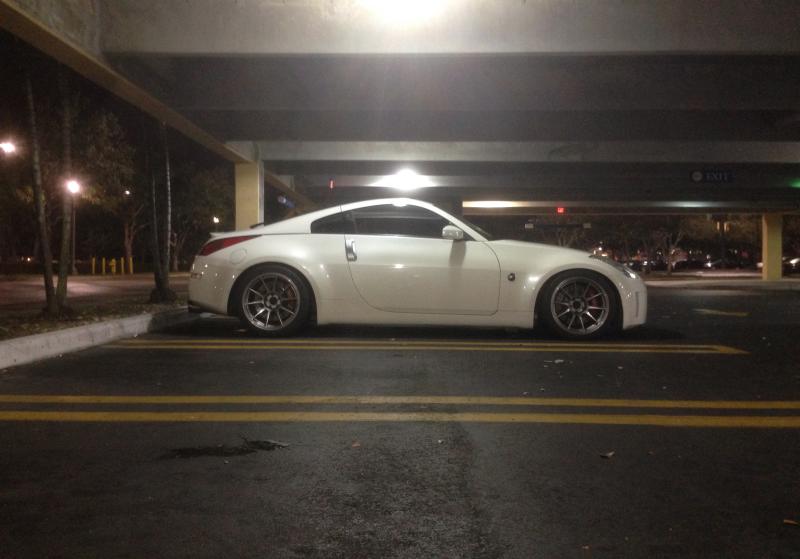
With all the love I've been showing the interior of my car lately I figured I'd post some crappy iphone pictures of the exterior.
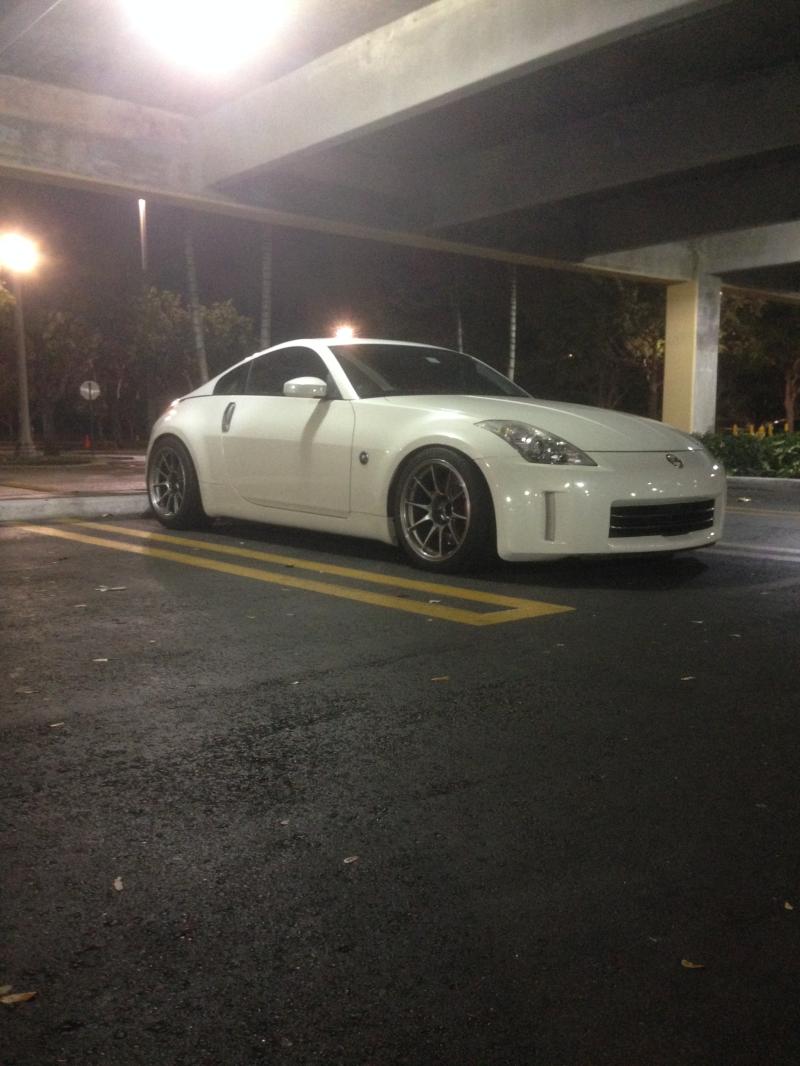

Just kidding
This 1JZ belongs to an '88 Supra owned by a buddy of mine. The bottom end is getting overhauled so I helped him pull it out in his driveway. Good times lol. With all the love I've been showing the interior of my car lately I figured I'd post some crappy iphone pictures of the exterior.


Joined: Jan 2004
Posts: 7,175
Likes: 132
From: Florida
 I can help open the beers etc hahaha Its a fun project.
I didn't take any pics from Zdayz
 Really upset. I was haing clutch issues which put a damper on it. But no excuse.
 I did find I need more room behind my seats
Chris
Damn Chris, sorry to hear about the misfortune at Zdayz. I was looking forward to seeing some pictures. Hopefully you still got to do a bit of driving while you where up there.
This update marks the end of a chapter in my build. I�ve managed to tie up all the ends and I�m happy to say the car is complete (for now, of course).
This past weekend I completed the install of my ARP extended wheel studs on both the front and rear axels, and also installed my Schroth 6 point harness.
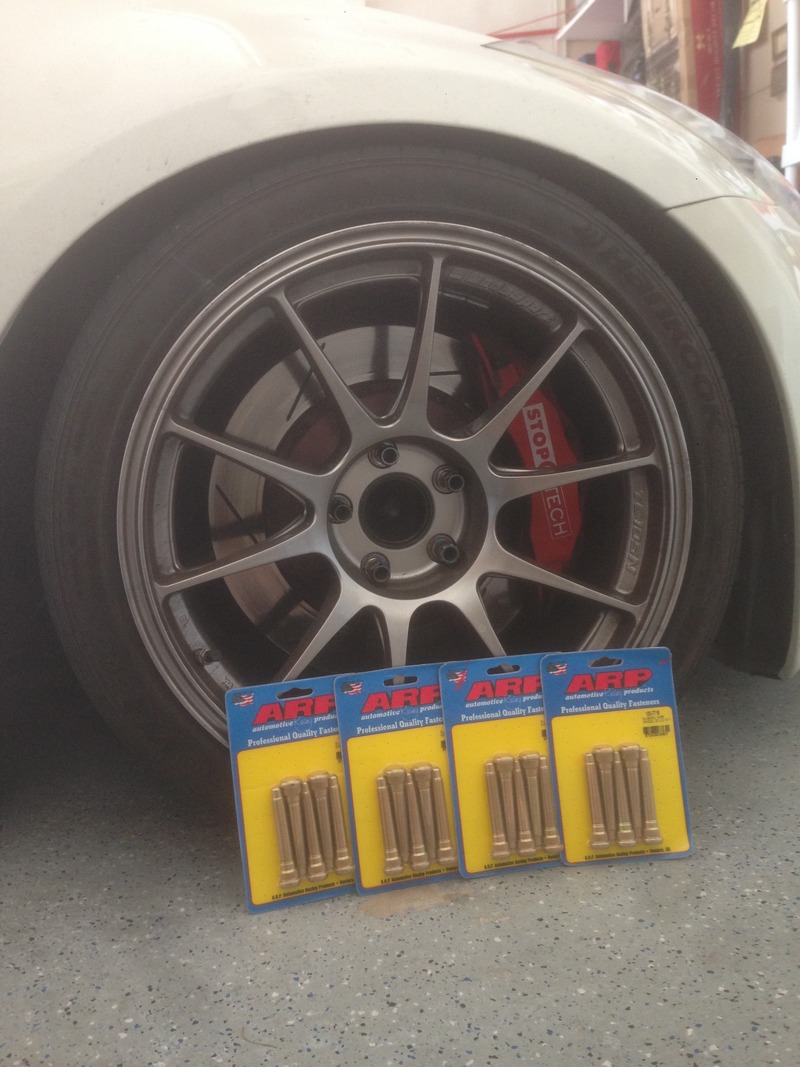
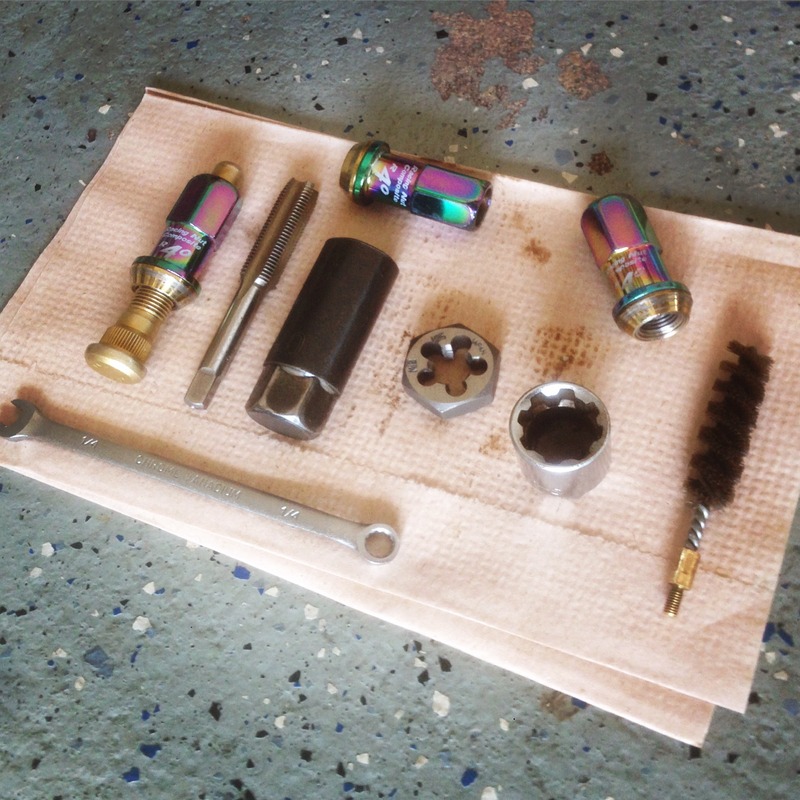
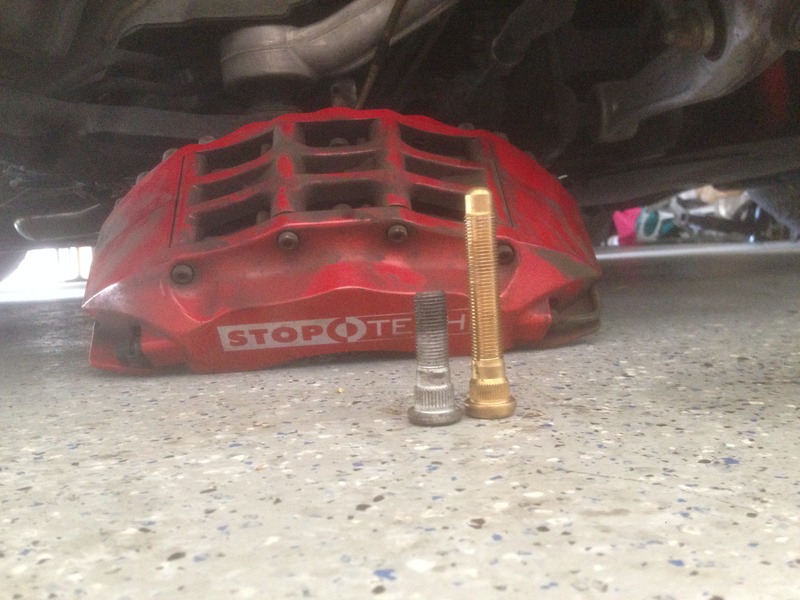
The wheel stud install was simple and straight forward, but as I�ve come to learn over the years of working on cars - Murphy�s Law� In short, I damaged a few threads on the first ARP stud I pulled through the hub. Made a simple correction and had zero issues with the remaining studs. Later (and more importantly), when I went to thread on my lug nuts (which are open-ended R40's) I found that I could not fully thread the R40 lug onto the ARP stud. Why? Because when open-ended lugs that are longer and fully threaded like the R40�s are used with the short OE studs, not all of the threads on the longer lug are being used. These unused threads (on an open ended lug nut) are thus exposed to the elements and over a period of time develop surface rust (aka corrosion). An extended stud will need to use these now corroded threads on the lug in order to completely thread through the lug and fully tighten.
So rather than force the lugs on the new ARP studs I went ahead and order a tap and a die in 12M x 1.25. I used the tap to completely clean out the threads inside of the lugs, and I used the die to fix the threads on that one ARP bolt I slightly hacked up. It worked beautifully!
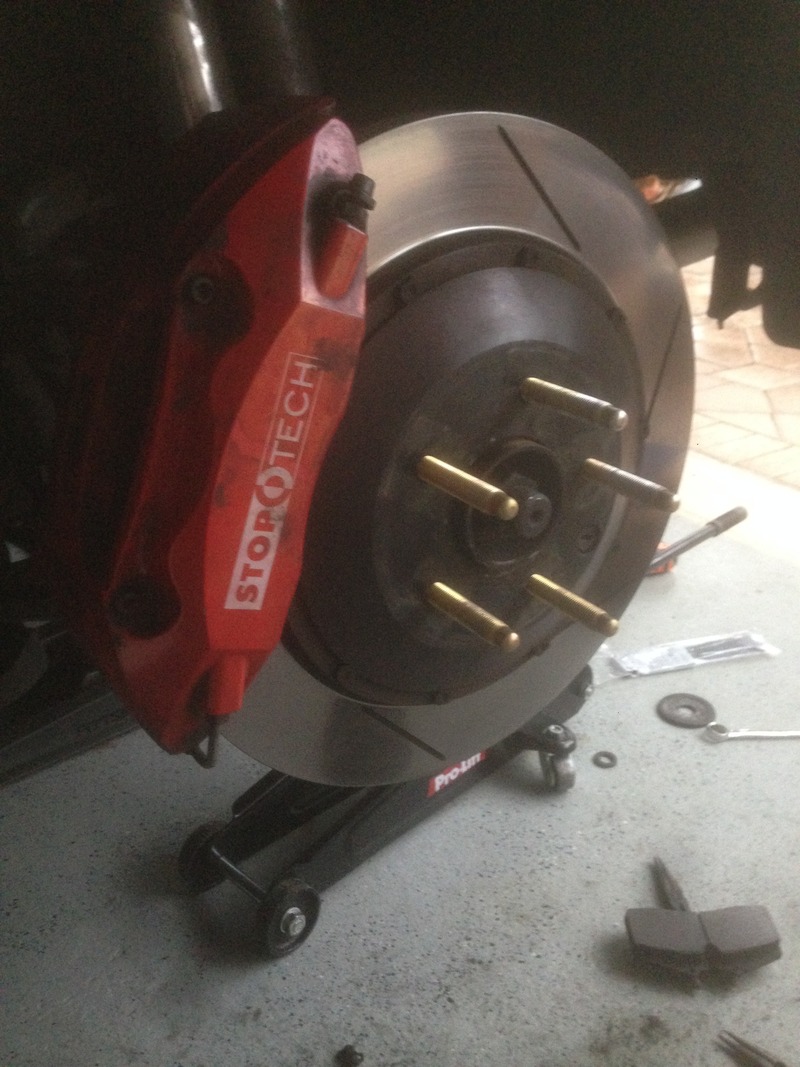
Front axle Before:
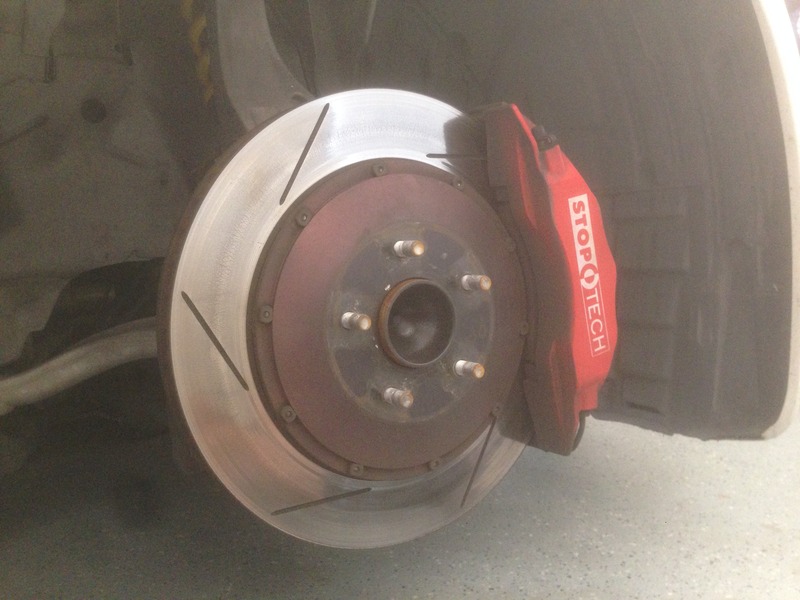
Front axle After:
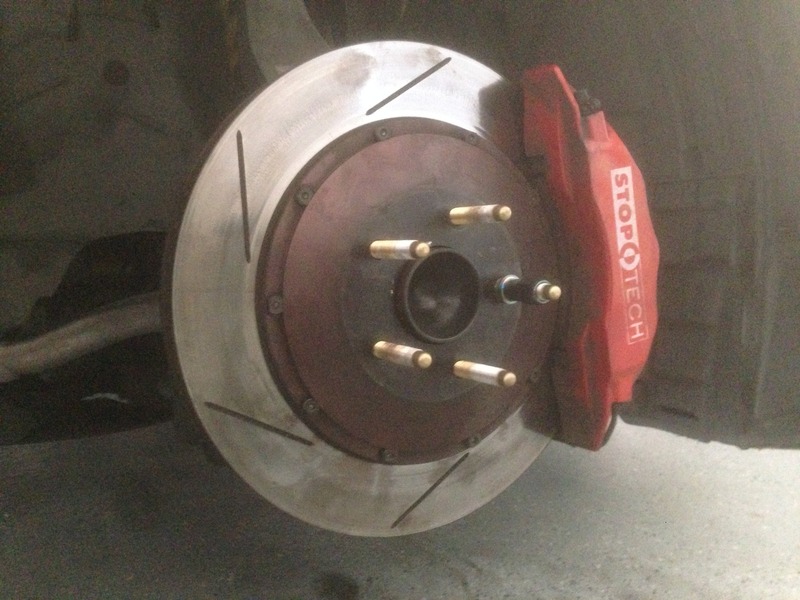
Stud size comparison: OE vs ARP:
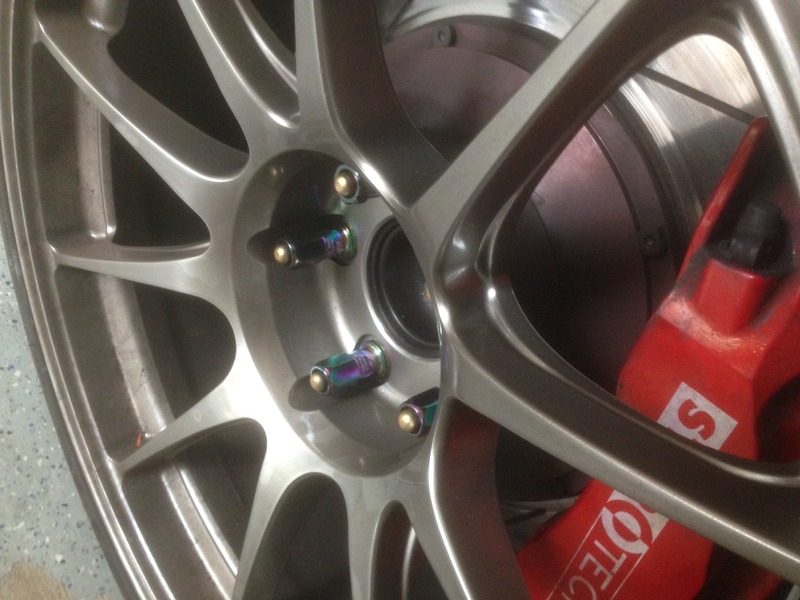
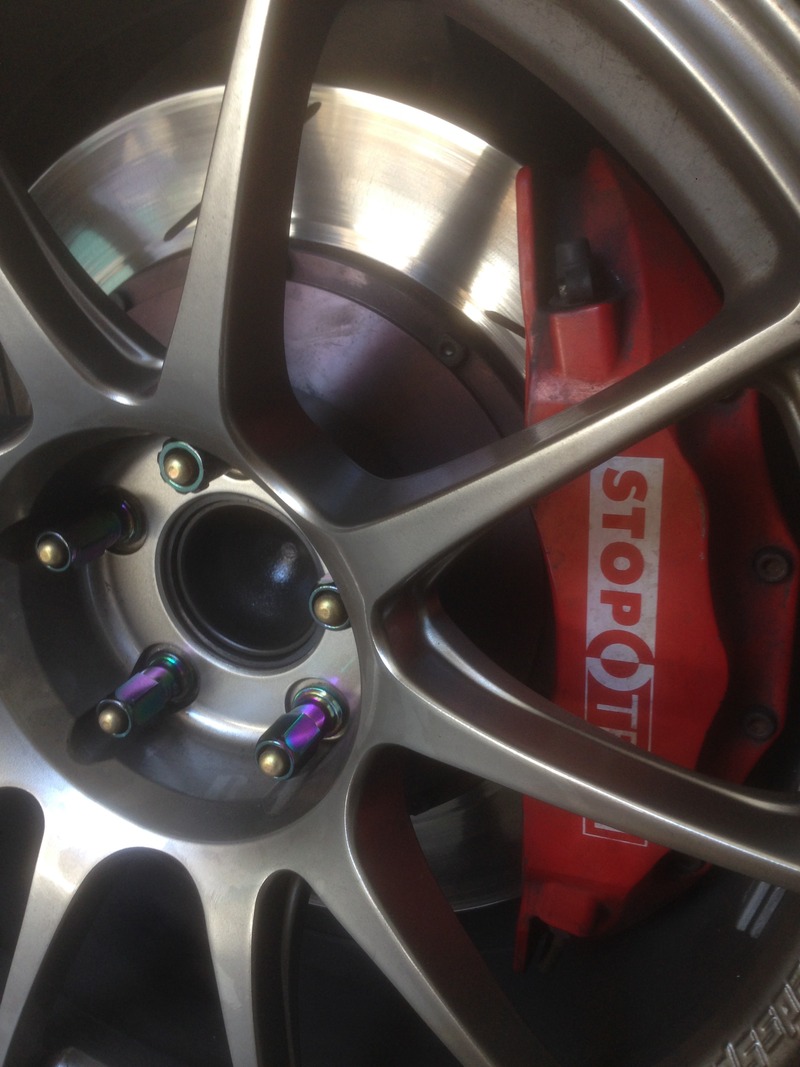
Rear axle After:
All done!
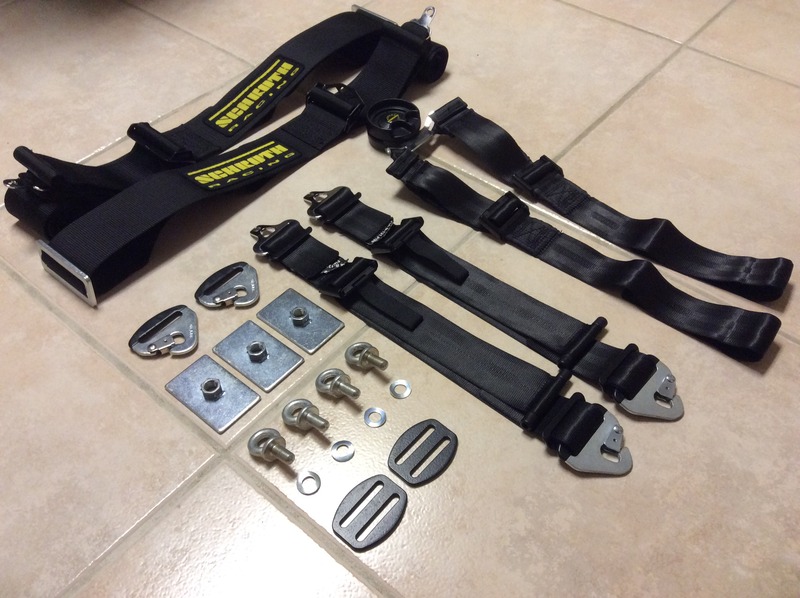
Next up was the harness. After a bit of research the choice was simple. I decided on Schroth Racing and their Profi II-6 model.
Toughest part of the install was figuring out and measuring the anchoring points for the sub belts. One look at the Z�s uneven floorboard and you�ll know why. Measured 100 times and drilled once.
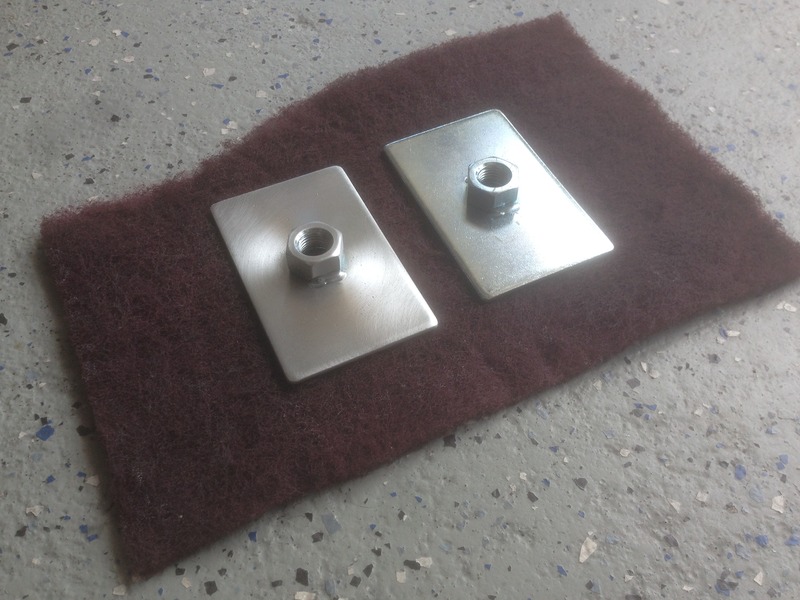
I prepped the backing plates with a scuff pad and then coated then with paint.
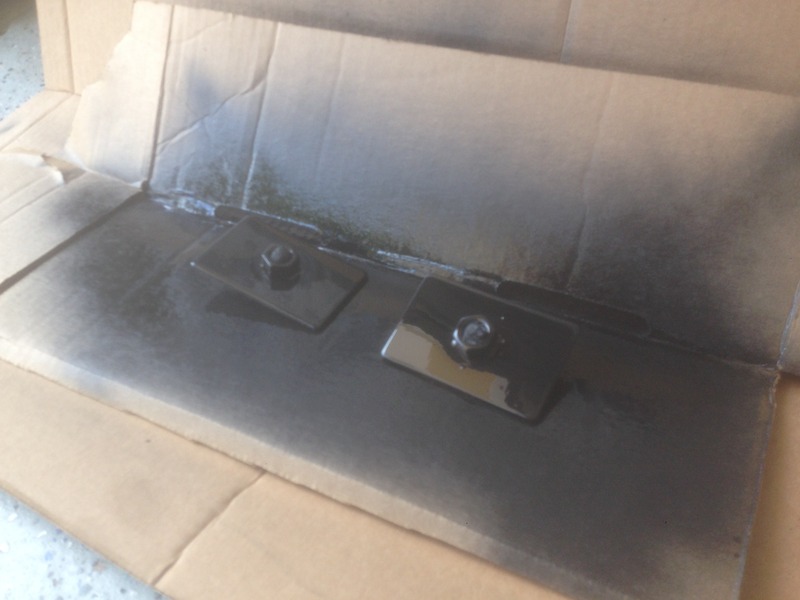
I sealed the backing plate with RTV for added protection and installed them.

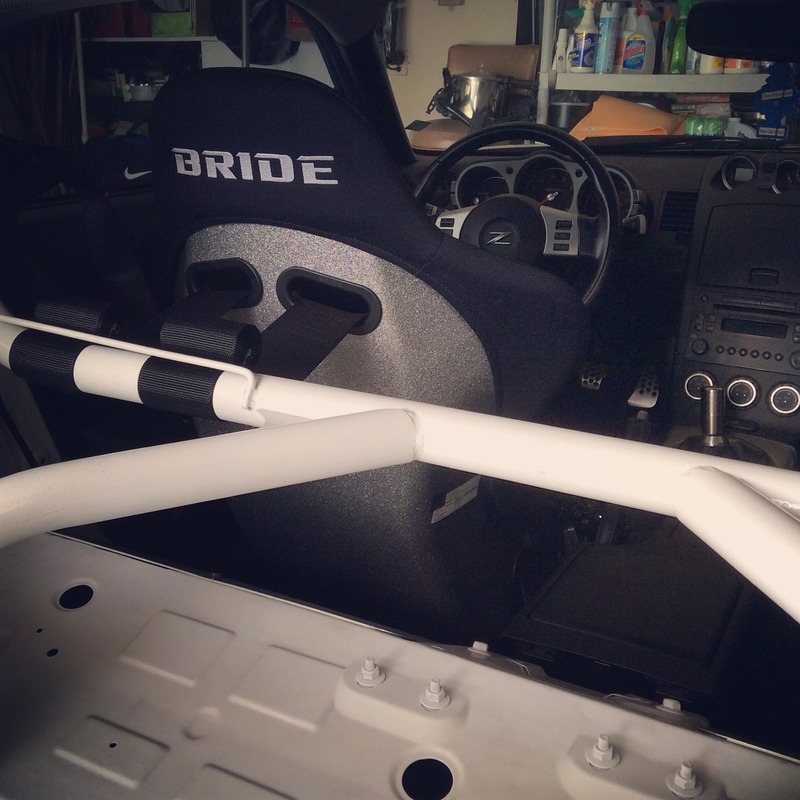
BuddyClub seat bracket installed:
And lastly a small little teaser until I can take some better pictures.
Thanks.
This past weekend I completed the install of my ARP extended wheel studs on both the front and rear axels, and also installed my Schroth 6 point harness.


The wheel stud install was simple and straight forward, but as I�ve come to learn over the years of working on cars - Murphy�s Law� In short, I damaged a few threads on the first ARP stud I pulled through the hub. Made a simple correction and had zero issues with the remaining studs. Later (and more importantly), when I went to thread on my lug nuts (which are open-ended R40's) I found that I could not fully thread the R40 lug onto the ARP stud. Why? Because when open-ended lugs that are longer and fully threaded like the R40�s are used with the short OE studs, not all of the threads on the longer lug are being used. These unused threads (on an open ended lug nut) are thus exposed to the elements and over a period of time develop surface rust (aka corrosion). An extended stud will need to use these now corroded threads on the lug in order to completely thread through the lug and fully tighten.
So rather than force the lugs on the new ARP studs I went ahead and order a tap and a die in 12M x 1.25. I used the tap to completely clean out the threads inside of the lugs, and I used the die to fix the threads on that one ARP bolt I slightly hacked up. It worked beautifully!

Front axle Before:

Front axle After:

Stud size comparison: OE vs ARP:

Rear axle After:

All done!


Next up was the harness. After a bit of research the choice was simple. I decided on Schroth Racing and their Profi II-6 model.
Toughest part of the install was figuring out and measuring the anchoring points for the sub belts. One look at the Z�s uneven floorboard and you�ll know why. Measured 100 times and drilled once.
I prepped the backing plates with a scuff pad and then coated then with paint.


I sealed the backing plate with RTV for added protection and installed them.

BuddyClub seat bracket installed:

And lastly a small little teaser until I can take some better pictures.

Thanks.


Wow, how am I just now coming across this thread. Your build is awesome dude, and love the interior work you did. I was hoping to do something very similar with mine in the future.
Sub'd for future updates!
Sub'd for future updates!