ChriZTT's Pikes Peak White 350Z Build Thread


HA! Thanks for the for the kind words Sparco 
Many thanks meanz. I've enjoyed your build thread. I'm loving the new look of the front end.
Thanks Peter. You did a really nice job on tearing down your interior! I've been going back and forth on whether to keep or remove the rear speaker bar. It's only a matter of time I guess lol.
Many thanks meanz. I've enjoyed your build thread. I'm loving the new look of the front end.
Thanks Peter. You did a really nice job on tearing down your interior! I've been going back and forth on whether to keep or remove the rear speaker bar. It's only a matter of time I guess lol.

Joined: Feb 2008
Posts: 13,406
Likes: 130
From: MexiCali dodging potholes
I think this is the best look, so removing the speaker box alone is prefect. The cubby can be used as storage, as another member did a wirte up to make dual cubbies which is genious...I'd have to look for it, not finding it easily at the moment.
How's the diff holding up?


The diff is running strong. I'm really enjoying it.
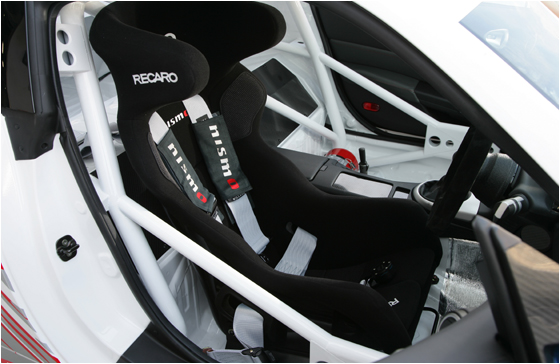
One thing to take note of with the 380RS-C's interior (and probably why it appears so clean looking) is that the majority of it has been shaved. If you look at the area below the quarter panel glass on any stripped down Z the sheet metal is naturally riddled with holes. Same with the rear strut bar. These holes do not appear in photos of the 380RS-C's interior.
Joined: Jan 2004
Posts: 7,175
Likes: 132
From: Florida
 Still nice to drive in though...
I love the square setup. I need to adjust the entire suspension. I have been talking with some racecar drivers(z owners) that track. All know of your alignment shop. The wheels are 18x11 +17 with the 285-35-18. I am looking for a set of rpf1(again) 18x10.5
Chris
Time for an update on the build! I've been in and out of the garage since the end of September working little by little and here is where I'm at.
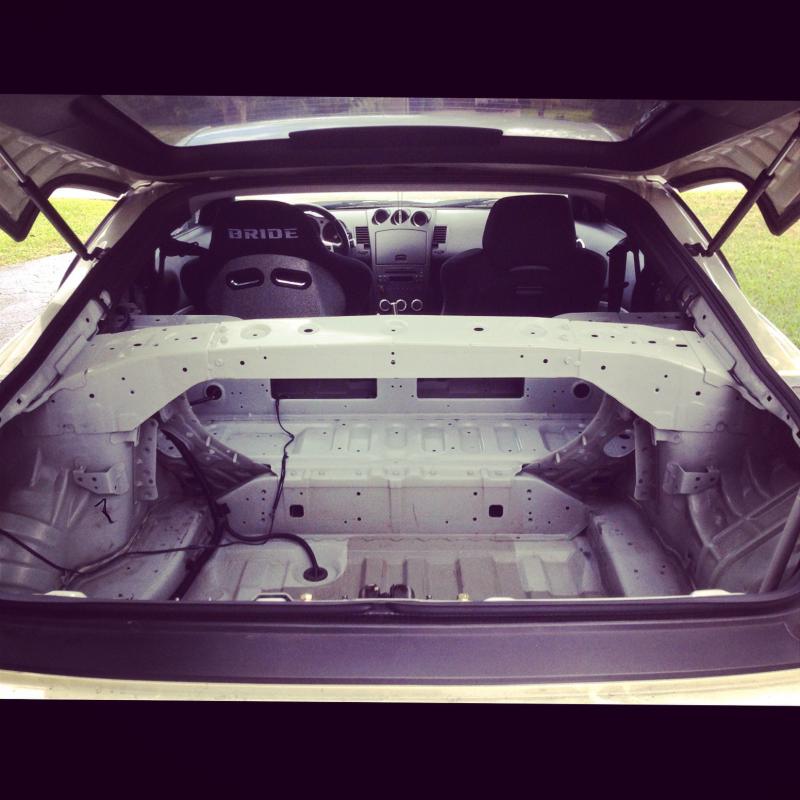
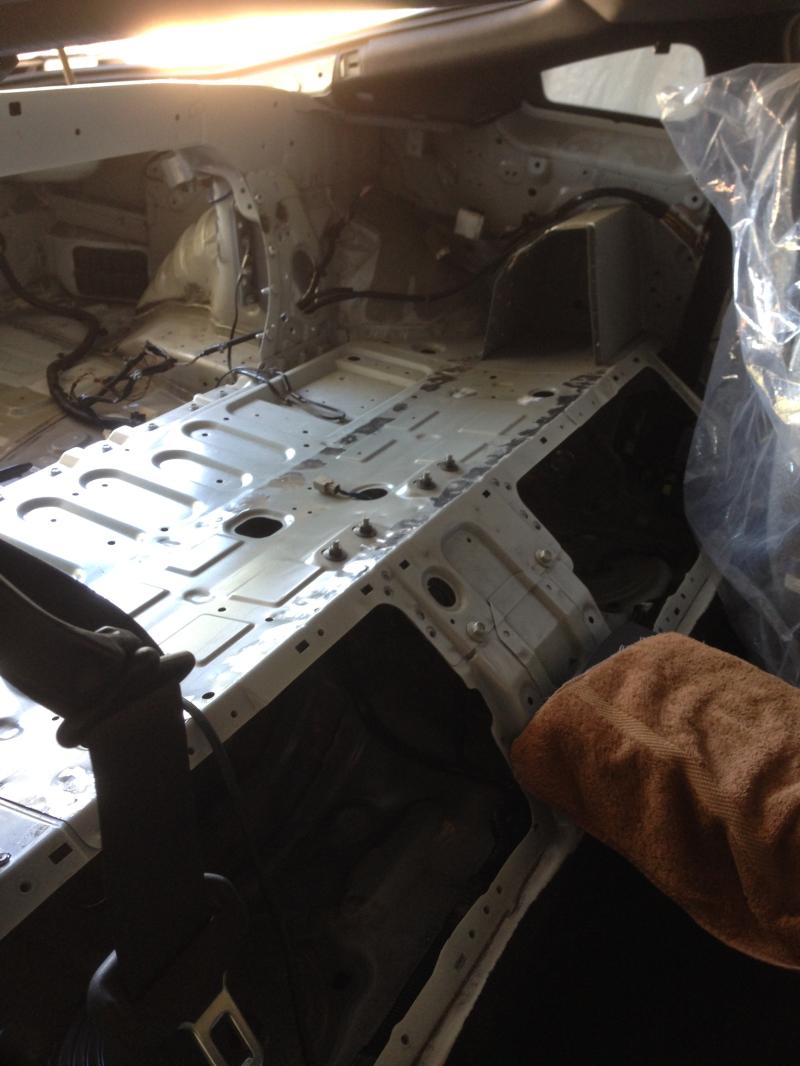
Just to breifly recap all the progress on the interior. I've removed all the plastic trim from the cubbies rearward. I did away with all the sound detenating tar in these areas. Cleaned up all the seam sealant. Removed all the miscellaneous brackets in the trunk, and also neatly cut out the rear speaker bar. Cleaned out all the spot welds with an angle grinder, welded up some holes and used a bit of body filler to make all the metal work flush. I measured, drew up, and cut out my templates for the cubby covers I am going to fab up. Prepped all the metal in the stripped out areas for paint. Layed down some 2K primer and followed that up with a few coats of paint.
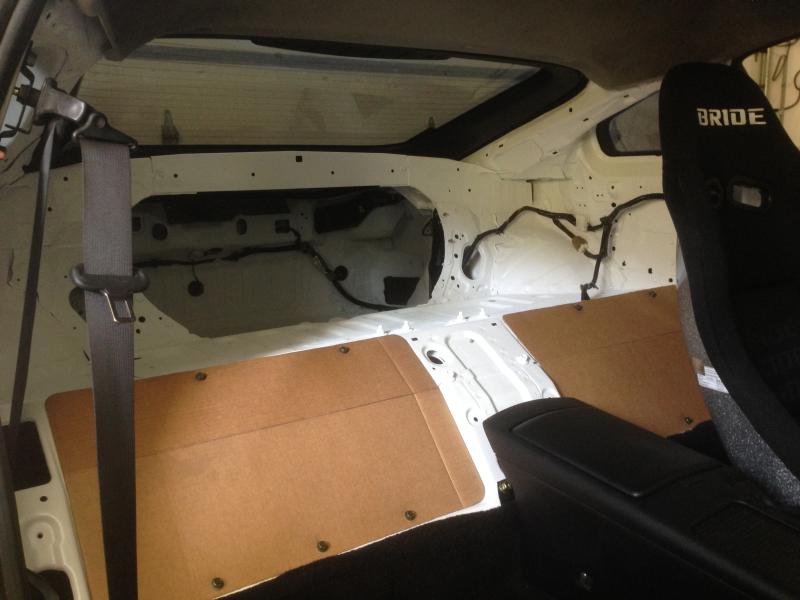
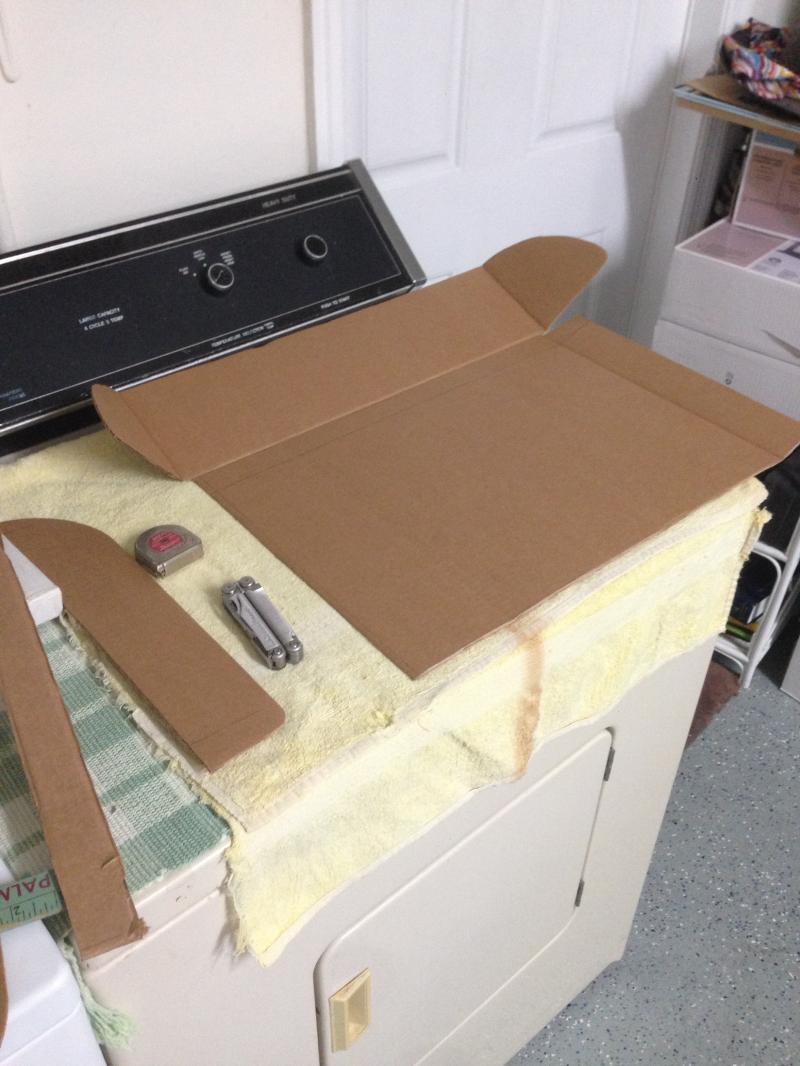
Mocking up the cubby cover templates.
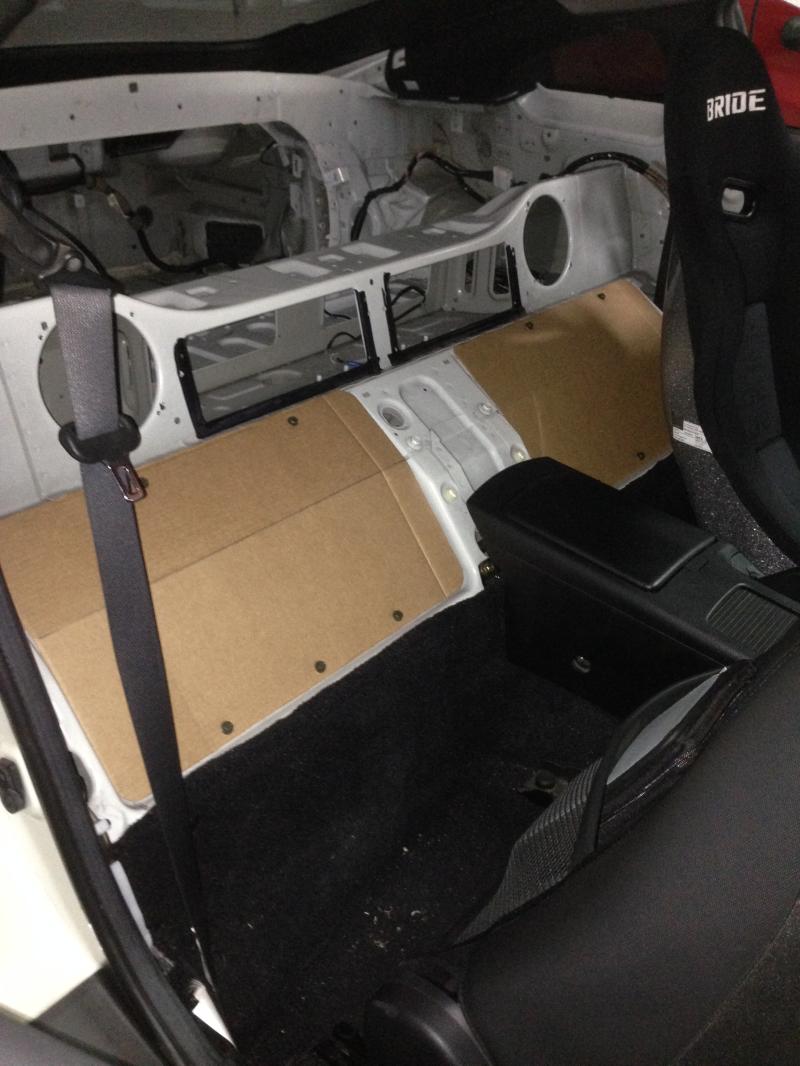
Cardboard-fiber templates installed
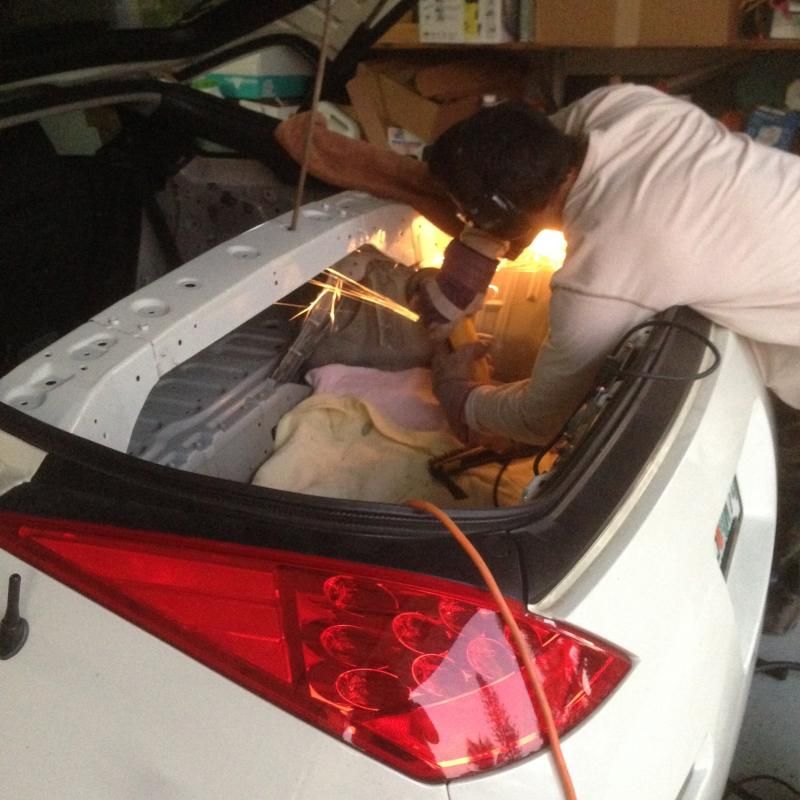
Cutting out the speaker bar.
Doing some welding.
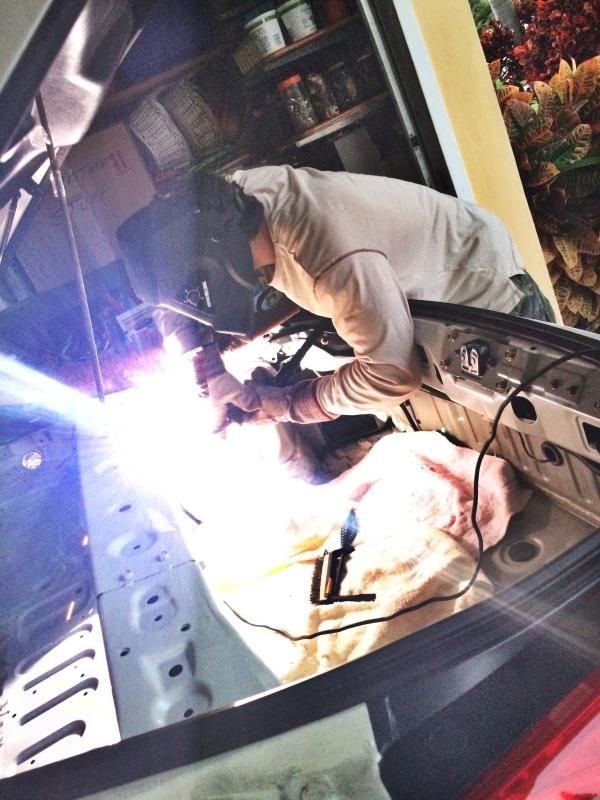
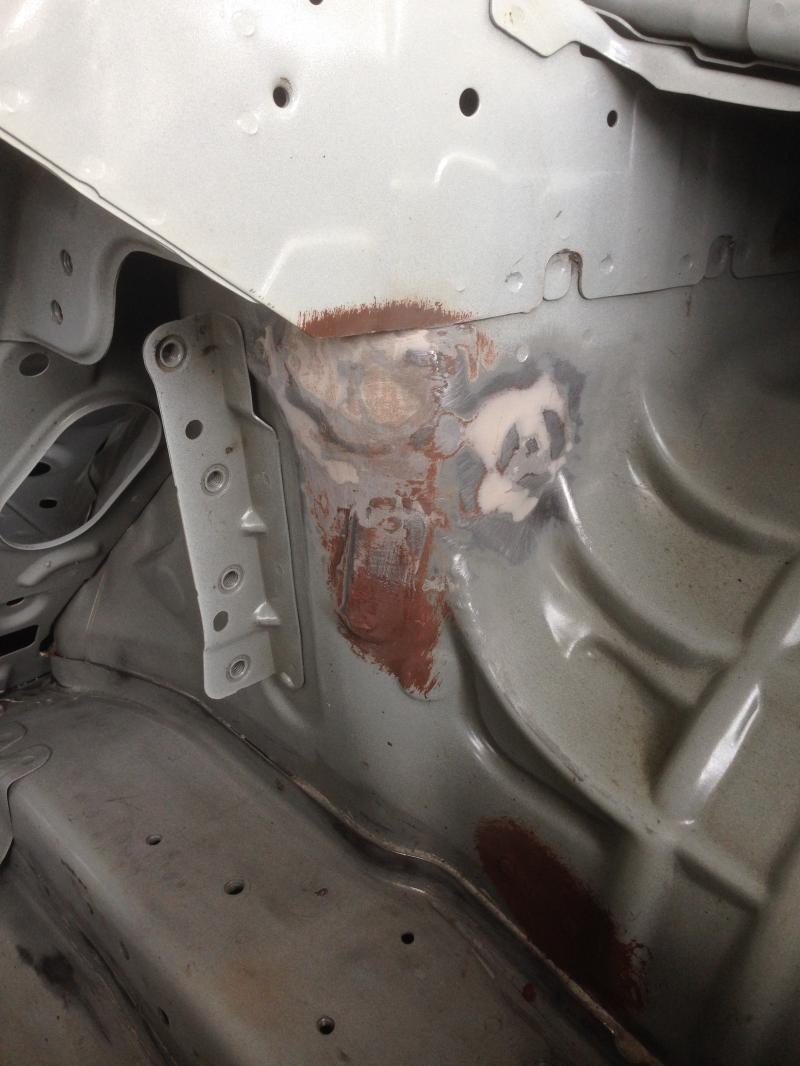
Weld, Grind, Weld, Grind Repeat.
Cleaned up all the spot welds and leveled the surface with body filler.
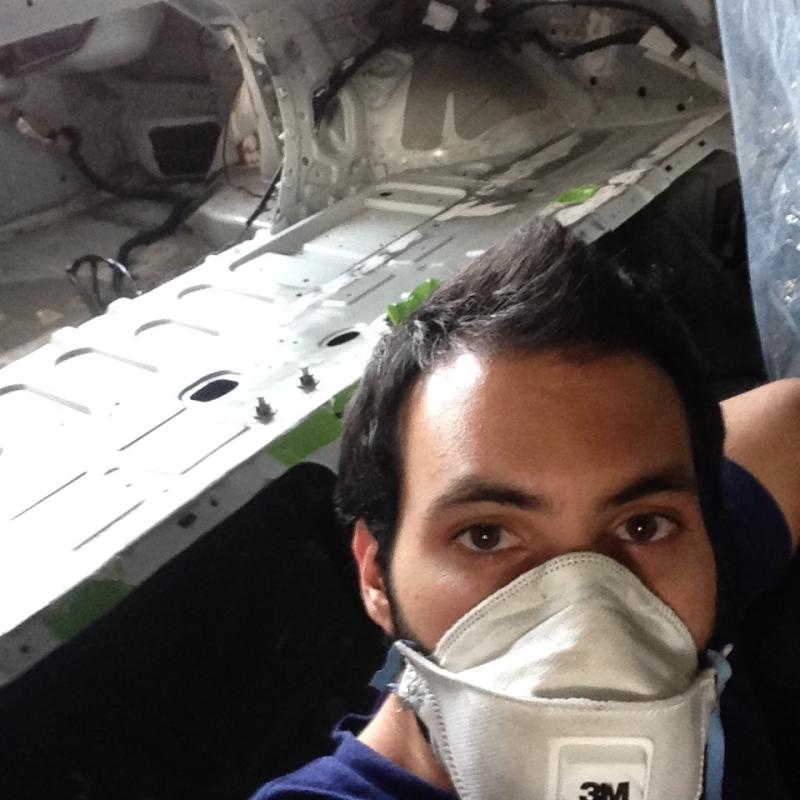
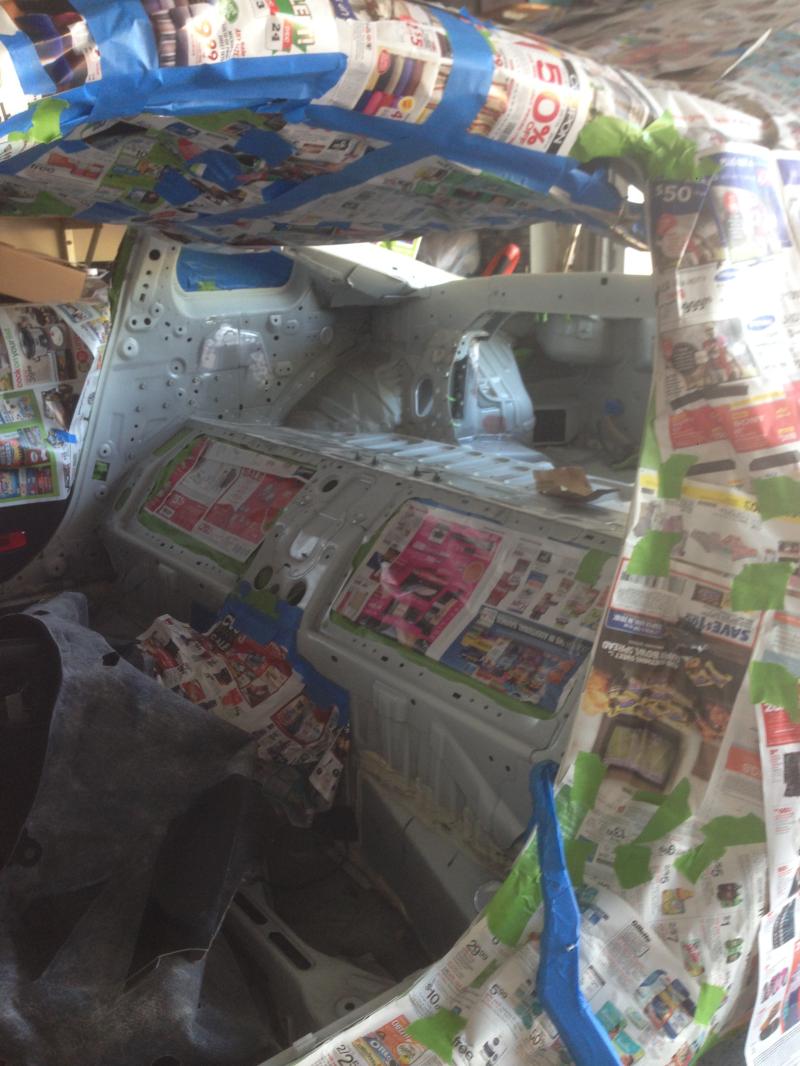
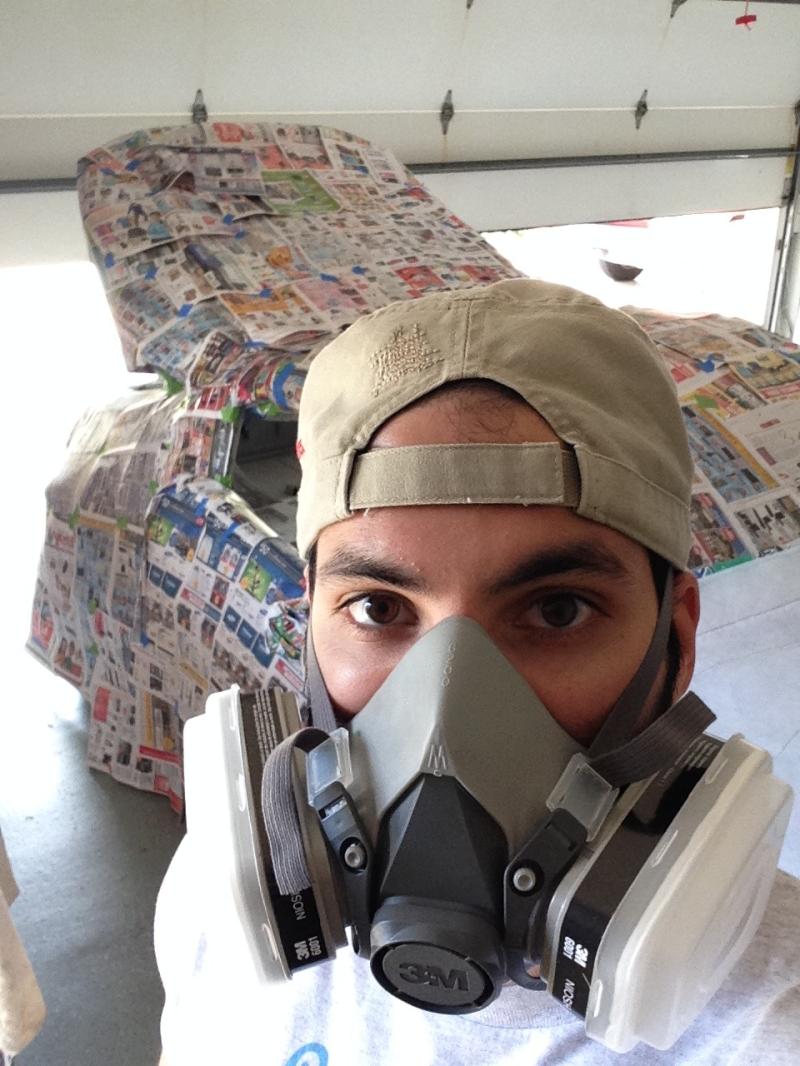
Tendious paint prep = masking everything off
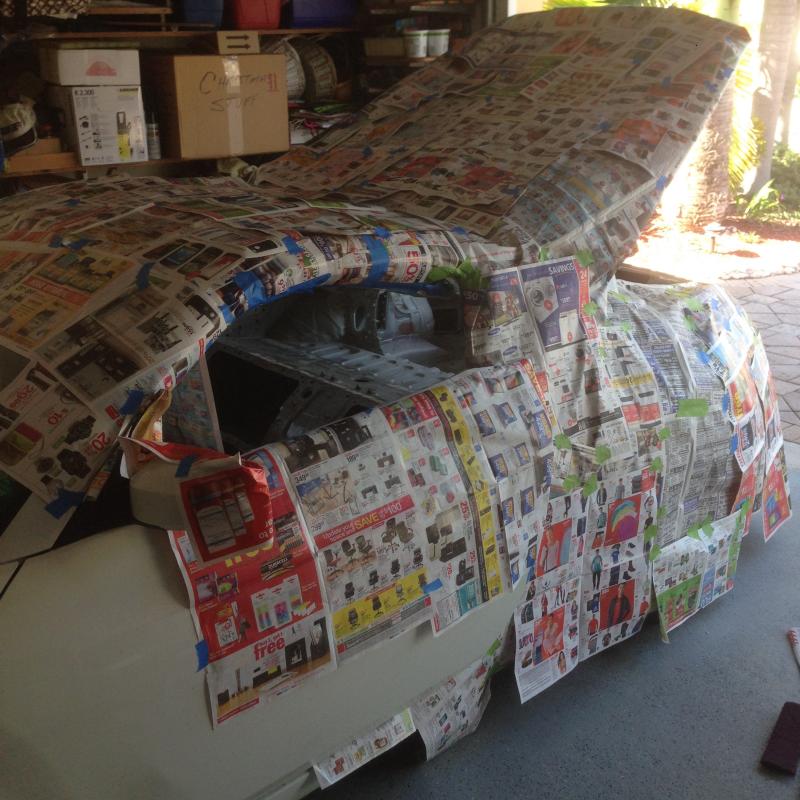
Soooo much news paper!
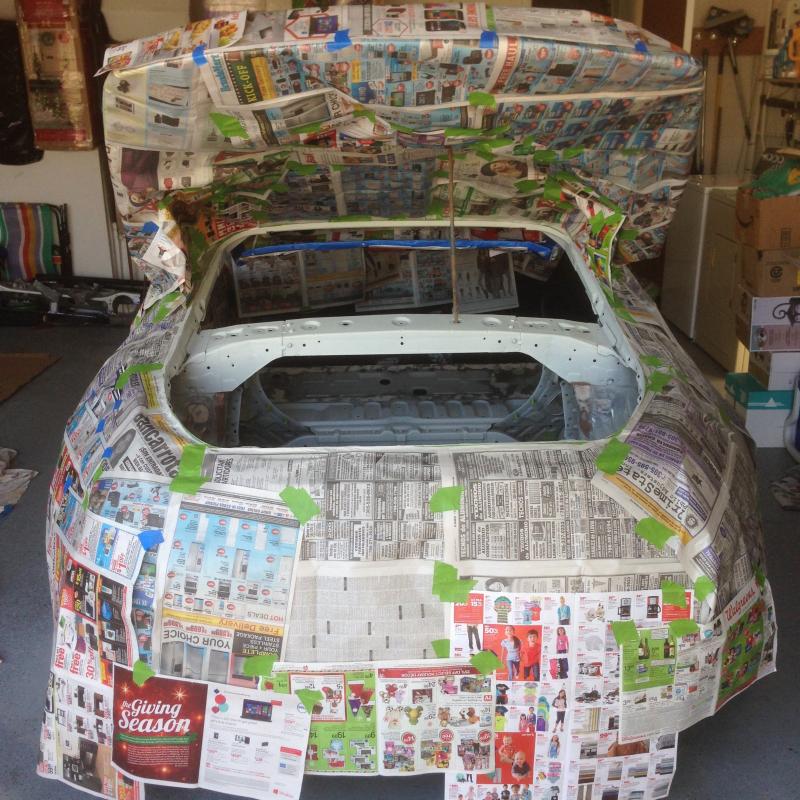
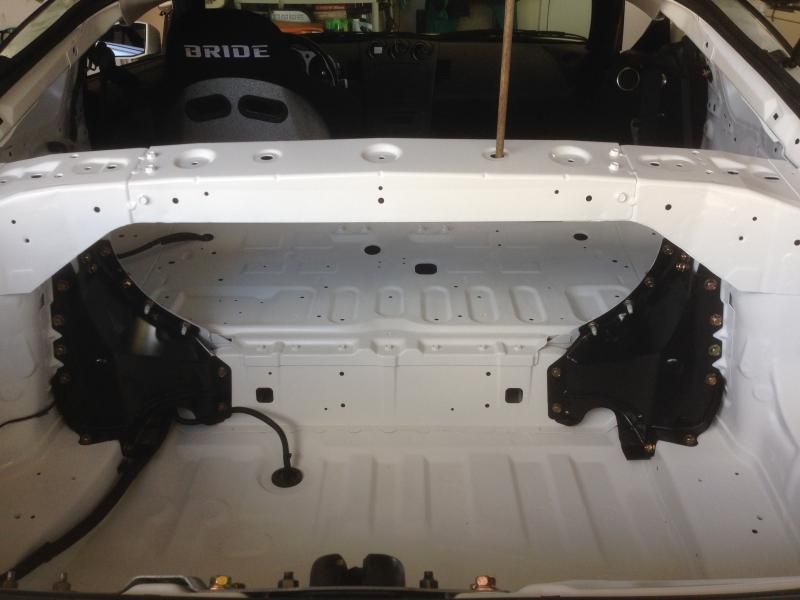
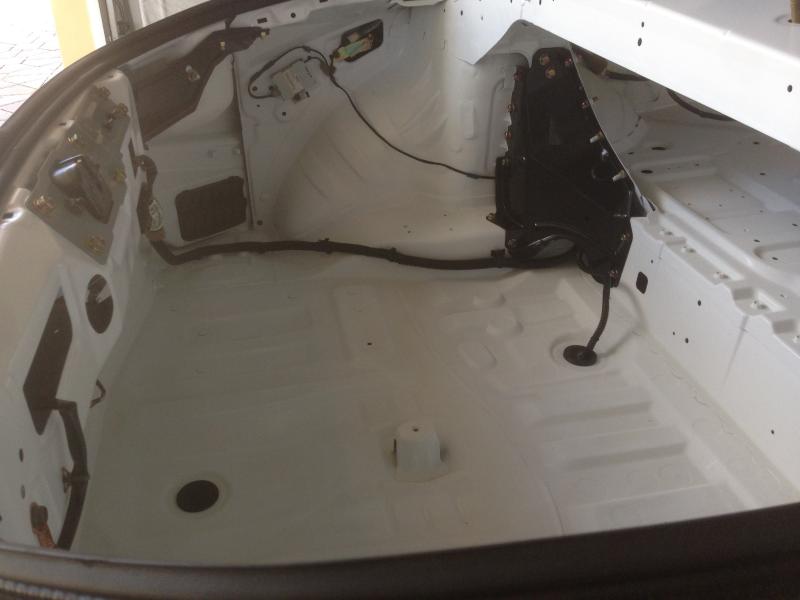
Results after the first few coats:
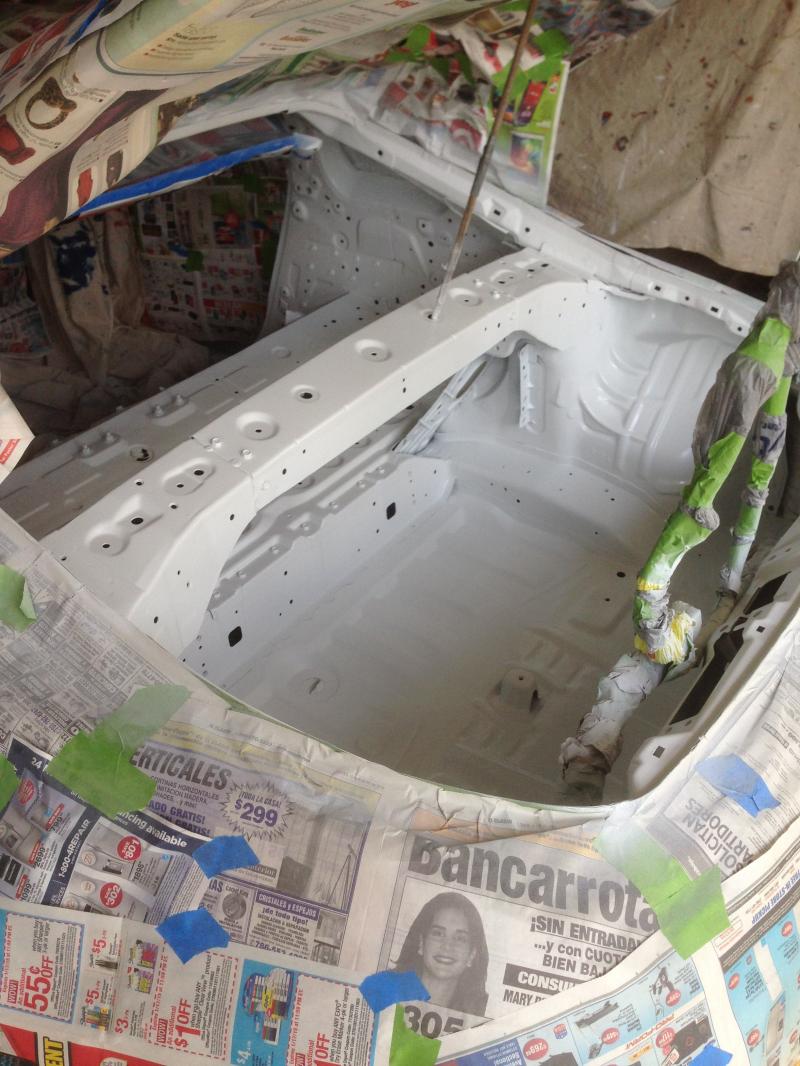
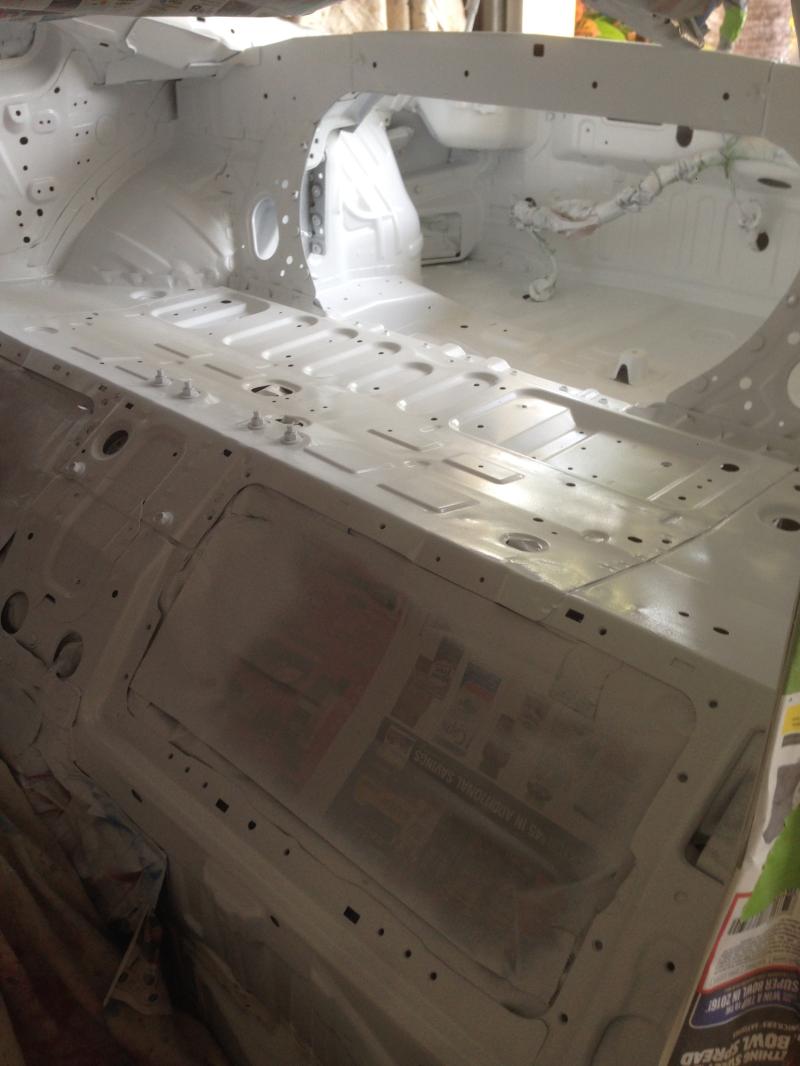
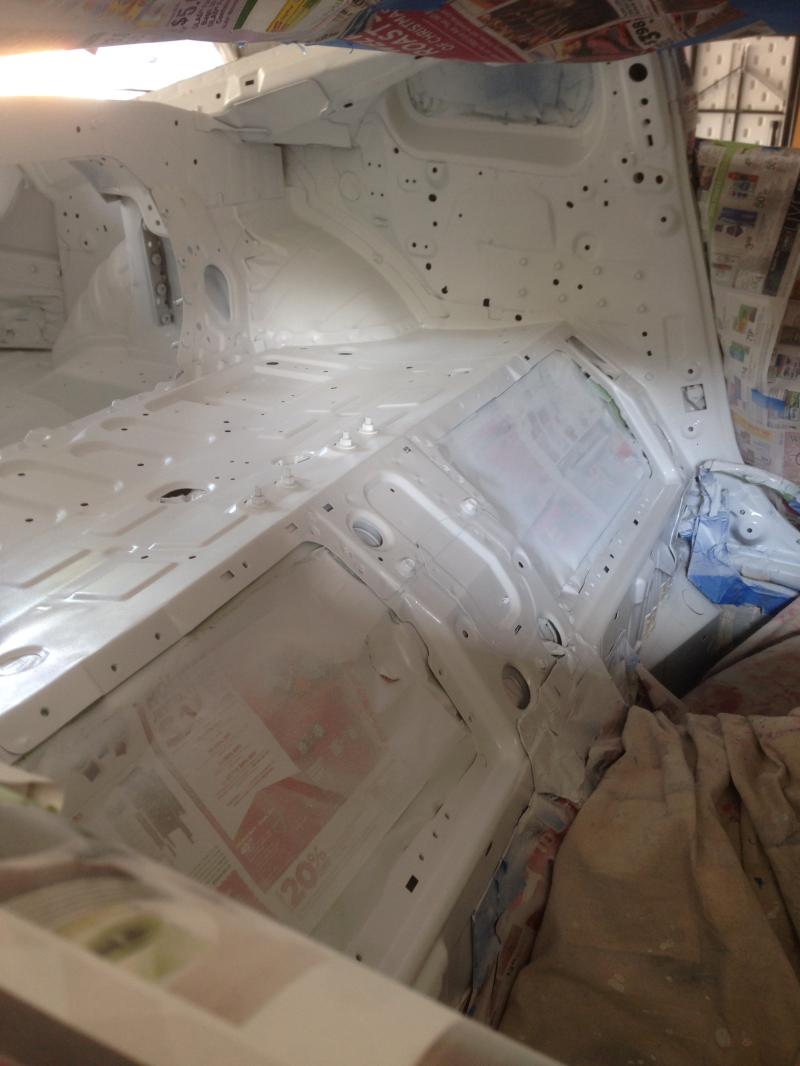
Still plenty to get done, but I'm content with the progress.
Just to breifly recap all the progress on the interior. I've removed all the plastic trim from the cubbies rearward. I did away with all the sound detenating tar in these areas. Cleaned up all the seam sealant. Removed all the miscellaneous brackets in the trunk, and also neatly cut out the rear speaker bar. Cleaned out all the spot welds with an angle grinder, welded up some holes and used a bit of body filler to make all the metal work flush. I measured, drew up, and cut out my templates for the cubby covers I am going to fab up. Prepped all the metal in the stripped out areas for paint. Layed down some 2K primer and followed that up with a few coats of paint.

Mocking up the cubby cover templates.

Cardboard-fiber templates installed

Cutting out the speaker bar.

Doing some welding.

Weld, Grind, Weld, Grind Repeat.

Cleaned up all the spot welds and leveled the surface with body filler.


Tendious paint prep = masking everything off

Soooo much news paper!


Results after the first few coats:


Still plenty to get done, but I'm content with the progress.
Last edited by ChriZTT; Jan 21, 2015 at 07:29 PM.


Thank you! Thank you! Plenty of time and love has gone into this build. Thank you for the appreciation King!
I am going to produce them, but they won't be carbon!


Thanks Kyle! Hopefully you'll get to see it in person one of these days!
Thanks XM 1! I hope your putting some miles on that Z of yours!
Stay tuned
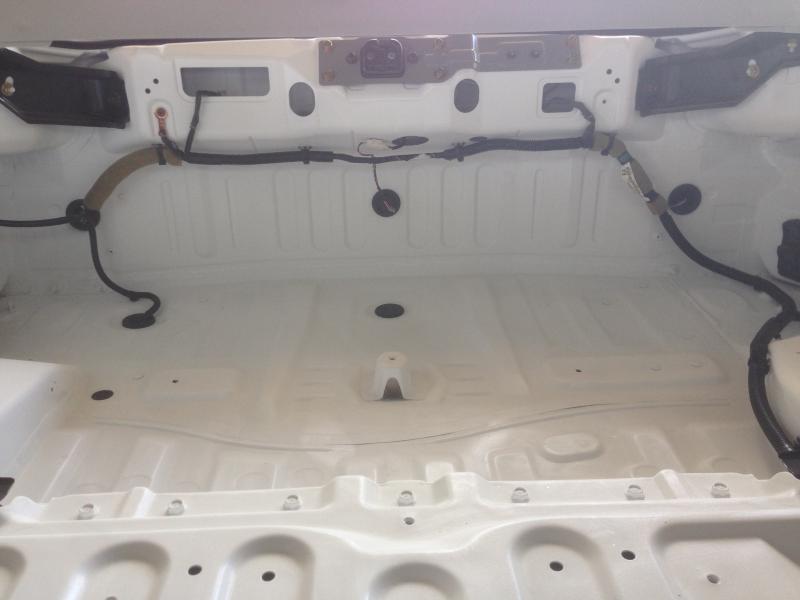
Just a little update to show that the paint is done and everything is wired back up and working. After more than a week of hibernation in the garage she breathes again!