
Interior Scratches - Repair Discussion


New Member
Joined: Aug 2006
Posts: 456
Likes: 0
From: Florida
If theres no imperfections could I just spray paint them? I dont think its an easy thing to do specially the center console with the double-din unit hooked up. Also I noticed that the paint is flat black and I found this nice looking gloss black paint and it says that it doesnt need to be primed or sanded before painting. What do you guys think? Thanks!

The solution I used on my '08 was to strip and repaint the parts with Dupli-Color "Bumper Coating" spray paint. It's the correct color and sheen, and very durable, since it's meant as an exterior paint specifically for plastics. Dupli-Color also makes an "Adhesion Promoter" spray, which is a clear primer for plastics, and I'd highly recommend that as a base coat.
The bumper coating also works well for minor touch-ups on the waterfall and center console.
The bumper coating also works well for minor touch-ups on the waterfall and center console.

If theres no imperfections could I just spray paint them? I dont think its an easy thing to do specially the center console with the double-din unit hooked up. Also I noticed that the paint is flat black and I found this nice looking gloss black paint and it says that it doesnt need to be primed or sanded before painting. What do you guys think? Thanks!
Good Luck


Registered User
Joined: Dec 2007
Posts: 2
Likes: 1
From: Virginia Beach VA
The solution I used on my '08 was to strip and repaint the parts with Dupli-Color "Bumper Coating" spray paint. It's the correct color and sheen, and very durable, since it's meant as an exterior paint specifically for plastics. Dupli-Color also makes an "Adhesion Promoter" spray, which is a clear primer for plastics, and I'd highly recommend that as a base coat.
The bumper coating also works well for minor touch-ups on the waterfall and center console.
The bumper coating also works well for minor touch-ups on the waterfall and center console.
Duplicolor Flexible Bumper Coating FB109 - Dark Charcoal
I'm going to try it on my 07 where I have minor scratches in the gray rubberized paint. I'll use a brush and dab it in the scratches.
If that doesn't work I'll try the Duplicolor Undercoat and/or Vinyl and Fabric Coating.
Will try to post before and after pics.
Thanks!

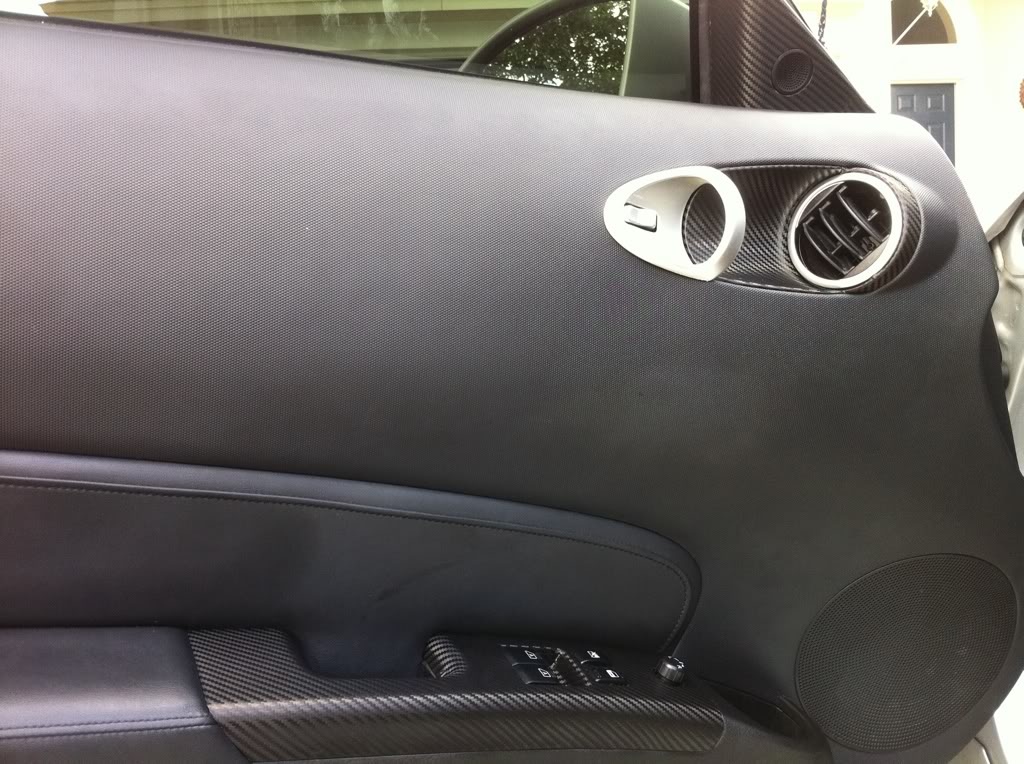
Glad I found this thread b/c I am planning to "refurbish" the interior of my '06 Z this upcoming weekend. However, I'm still trying to decide what paint to use. I would like to keep the color as close to the stock grey as possible. BTW I am referring to the interior door grab panels on both sides. Any suggestions and or pictures welcome.
Thanks.
Thanks.

Registered User
Joined: Mar 2011
Posts: 6
Likes: 0
From: Surrey
I have looked at 58 and 09 plates today and they are scratched.
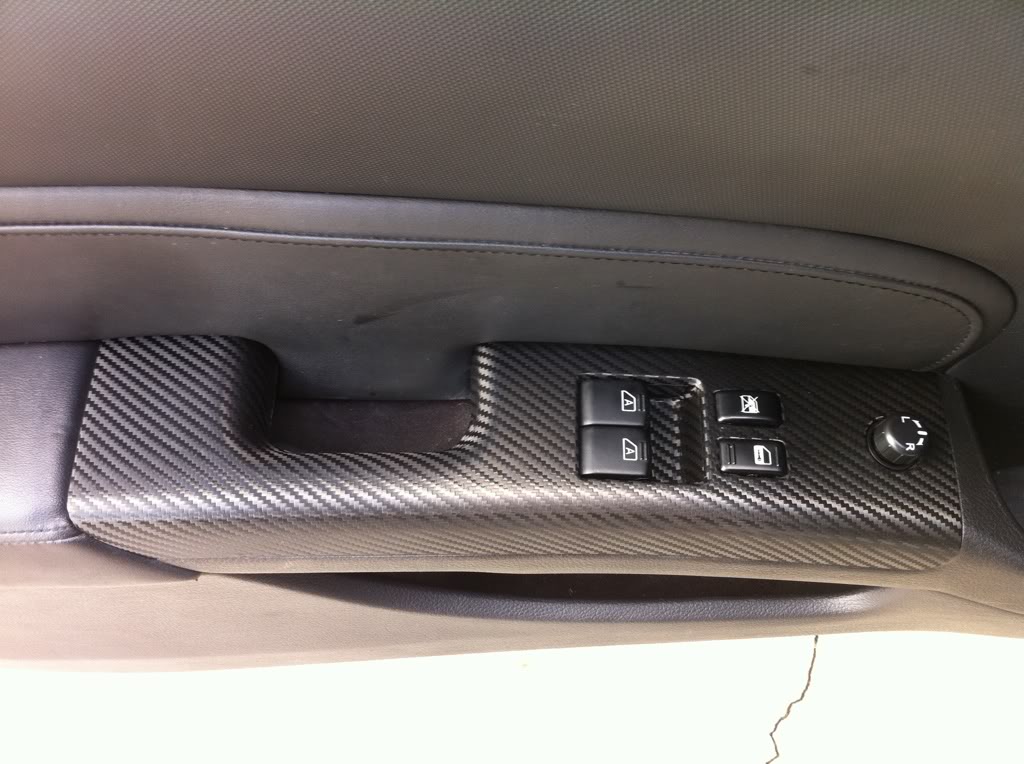
After finally deciding that my 1st Z will be a 0209 registered on a late 58 as I drove it and thought it was ok. Only trouble is once again the marks on the drivers door control panel. I have seen bad ones on my mates girlfriends Boxster and hers is caused by bracelets and rings.
You would have thought that Nissan being aware of the problem as this topic had been going for a few years on other sites that they would have sorted it. On my pathfinder Adventura they have covered all the plastic with a resin. Only the resin scratches worse than the rubber? Wonder what the UK price of a new one from a dealer is?
Peter


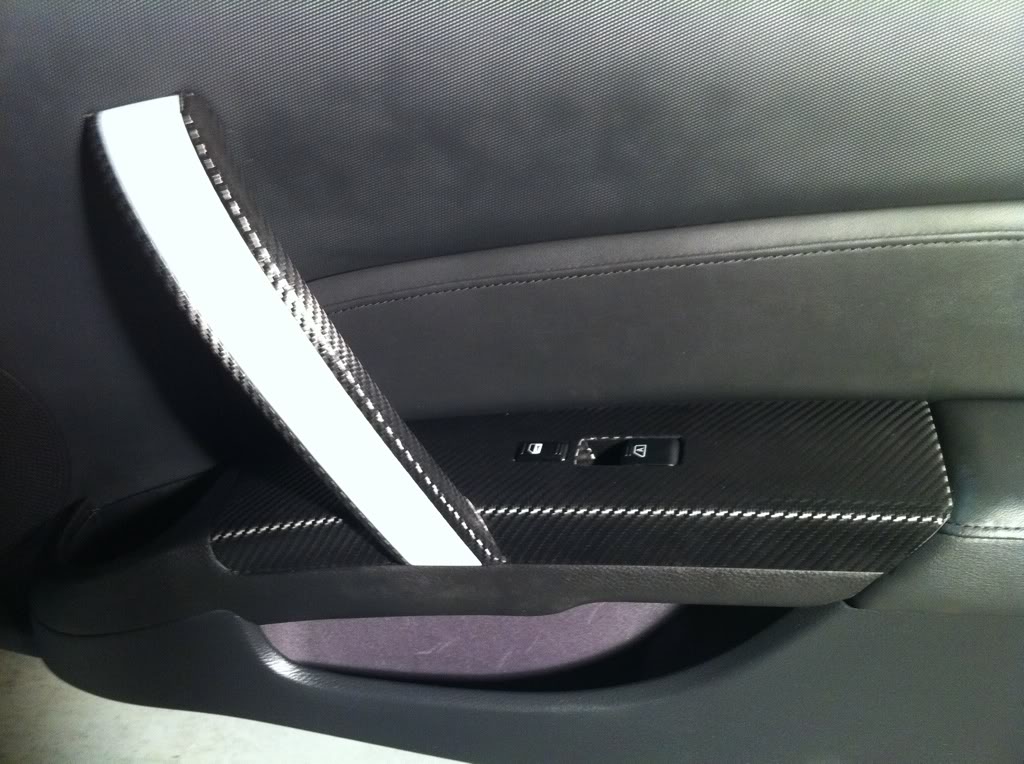
If you'd like to return it to the stock look but have it be more durable then i'd go with painting. I just did mine and it was pretty easy. Only takes a few hours.
Sanding the original rubbery paint was pretty much impossible, so i scraped it all off with a knife instead. Just keep the knife perpendicular to the part so that you don't accidentally cut into it. It should only scrape off the black paint and get you down to the brown primer underneath.
After it's scraped down to primer you can sand the part. I used 800 grit. Make sure sand off any remaining bits of the black paint as well as smooth out any scratches you made with the knife. If you missed a spot with sanding you'll be able to tell once you start painting.
Now wash the part. I just ran it under water in the tub and rubbed hand soap all over it. I then tried it with a towel. Oh.. and be sure to wash your own hands each time before you start painting.. if you leave an oily finger print then the paint wont adhere very well.
I hit it with 2 coats of primer then sanded it down a bit to make sure it was nice and smooth. I waited 10 minutes between the 1st and 2nd coat. Then waited 30 minutes before i sanded it.
Wash the part with soapy water again. Make sure it's dry. Now paint on the black paint. I had a lot of problems with this paint at first. It would look nice when wet but it kept drying splotchy. I eventually learned that if it dries splotchy then just hit that spot with a very light coating.. basically a dusting, and it seems to smooth it out. If you get one spot with too much paint then it is sure to dry with a visible splotch.You only have to wait about 5 minutes to see the splotches.. at which point you can hit it with the light dusting to smooth it out.
I let it dry for about 20 minutes (i had about 5-7 coats of black paint on it due to learning/failing at fixing the splotching). I then did a light sprinkle of clearcoat on it and it gave it a nice little sheen. It was a very thin coat of clear though.
Since i had so much paint on the part i let it dry/cure for a few hours before installing it. That wasn't quite enough time though. When i was pressing in the mirror control i left a slight fingerprint indentation in the part. If i were doing it again i would wait a day or two before installing it.
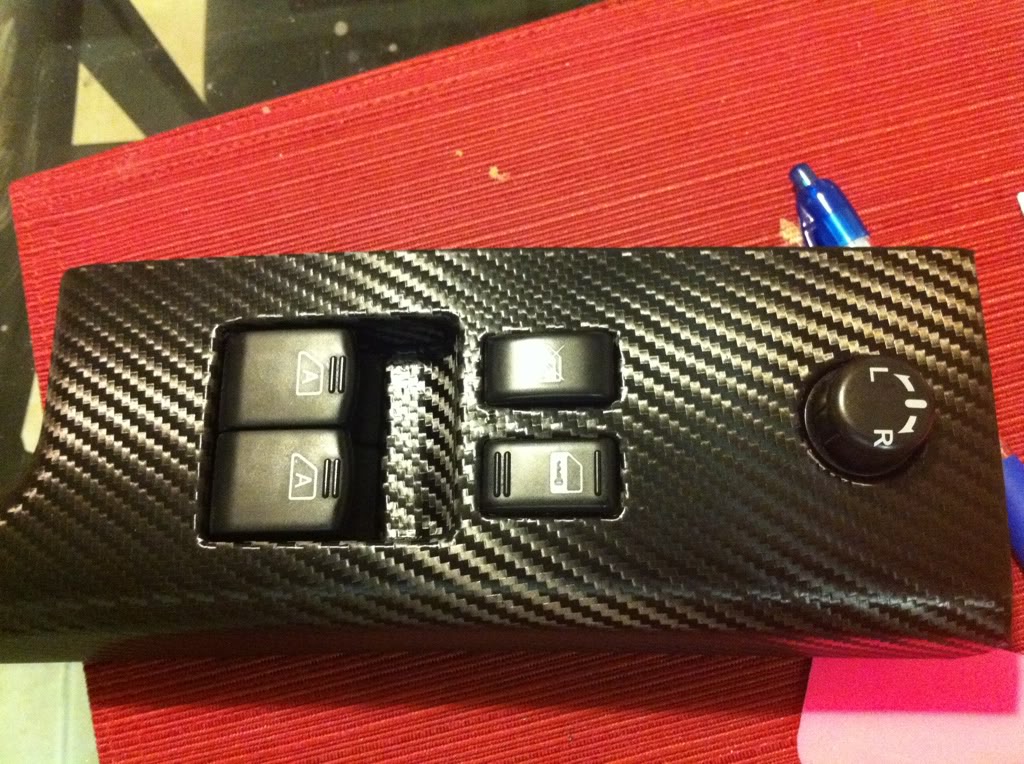
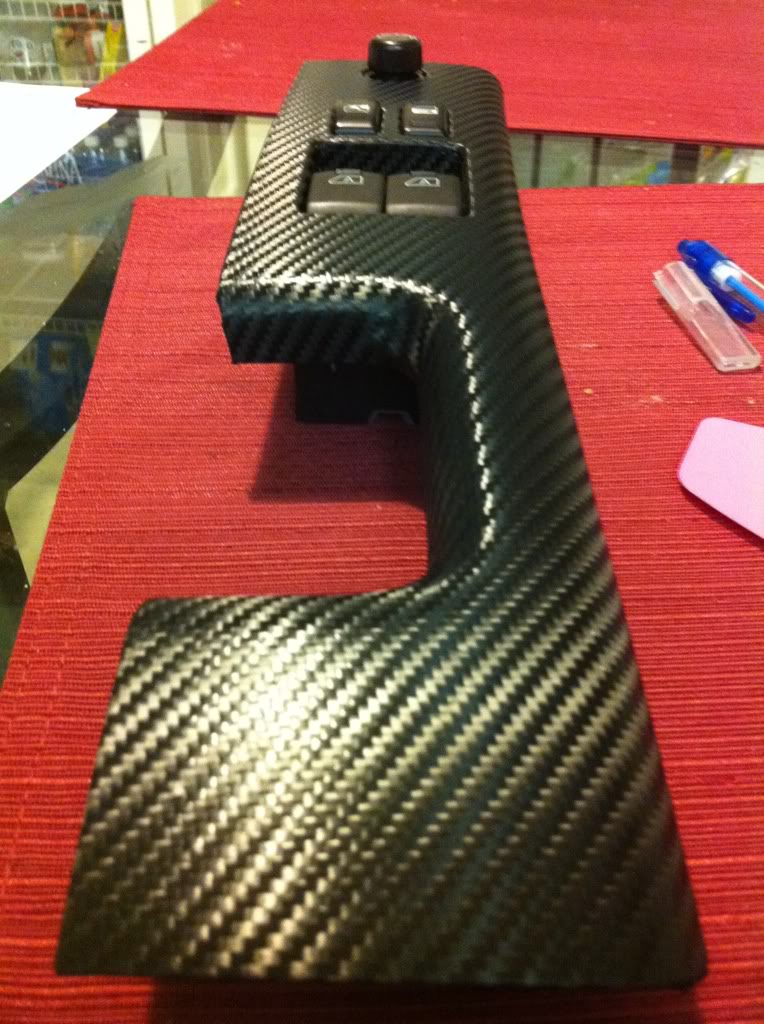
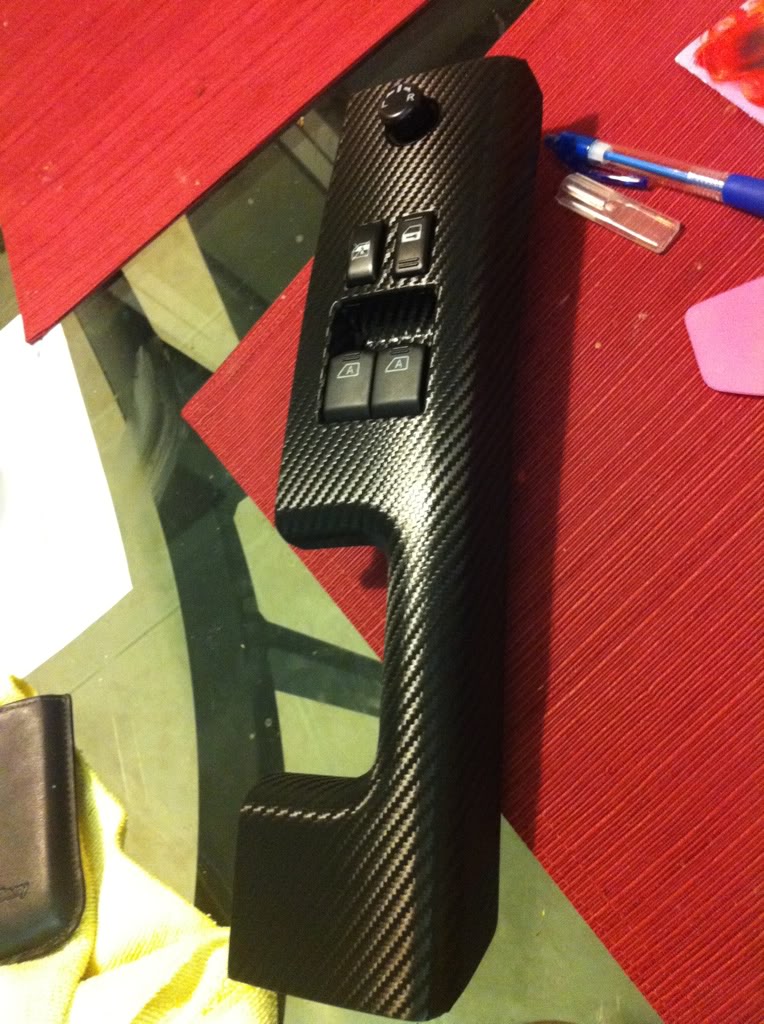
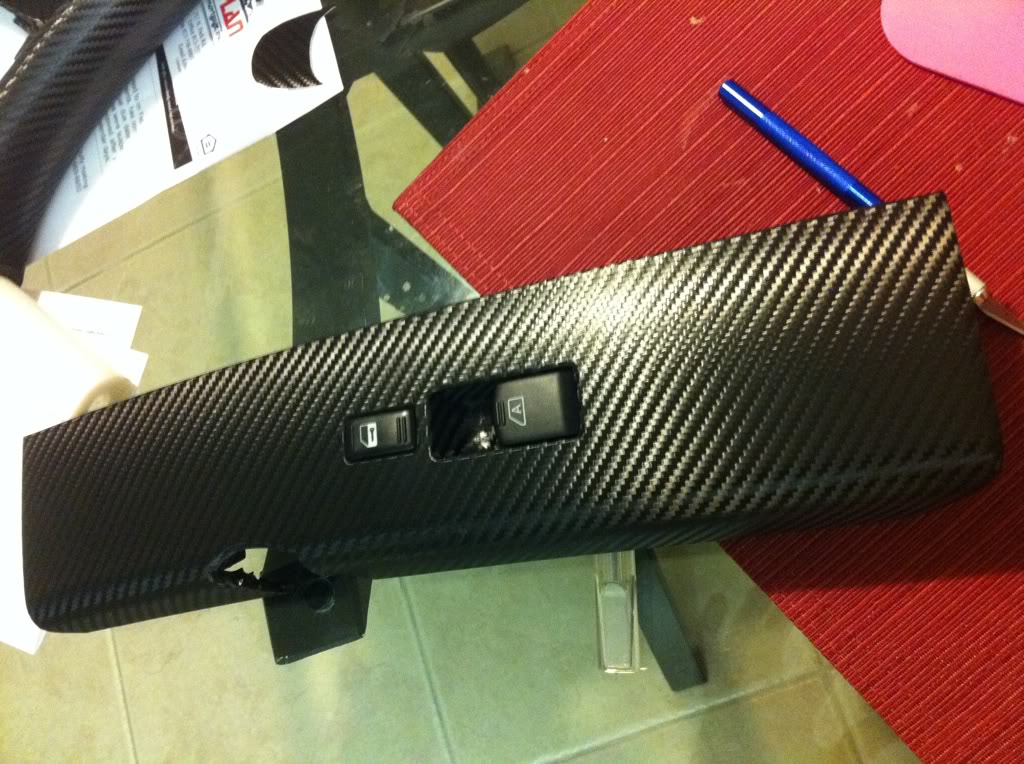
I attached before/during/after pics plus a pic of the 3 cans of paint i used.
here are the UPC codes:
primer = 026916946928
black = 026916399823
clear = 724504013013
Sanding the original rubbery paint was pretty much impossible, so i scraped it all off with a knife instead. Just keep the knife perpendicular to the part so that you don't accidentally cut into it. It should only scrape off the black paint and get you down to the brown primer underneath.
After it's scraped down to primer you can sand the part. I used 800 grit. Make sure sand off any remaining bits of the black paint as well as smooth out any scratches you made with the knife. If you missed a spot with sanding you'll be able to tell once you start painting.
Now wash the part. I just ran it under water in the tub and rubbed hand soap all over it. I then tried it with a towel. Oh.. and be sure to wash your own hands each time before you start painting.. if you leave an oily finger print then the paint wont adhere very well.
I hit it with 2 coats of primer then sanded it down a bit to make sure it was nice and smooth. I waited 10 minutes between the 1st and 2nd coat. Then waited 30 minutes before i sanded it.
Wash the part with soapy water again. Make sure it's dry. Now paint on the black paint. I had a lot of problems with this paint at first. It would look nice when wet but it kept drying splotchy. I eventually learned that if it dries splotchy then just hit that spot with a very light coating.. basically a dusting, and it seems to smooth it out. If you get one spot with too much paint then it is sure to dry with a visible splotch.You only have to wait about 5 minutes to see the splotches.. at which point you can hit it with the light dusting to smooth it out.
I let it dry for about 20 minutes (i had about 5-7 coats of black paint on it due to learning/failing at fixing the splotching). I then did a light sprinkle of clearcoat on it and it gave it a nice little sheen. It was a very thin coat of clear though.
Since i had so much paint on the part i let it dry/cure for a few hours before installing it. That wasn't quite enough time though. When i was pressing in the mirror control i left a slight fingerprint indentation in the part. If i were doing it again i would wait a day or two before installing it.
I attached before/during/after pics plus a pic of the 3 cans of paint i used.
here are the UPC codes:
primer = 026916946928
black = 026916399823
clear = 724504013013


Registered User
Joined: Jun 2011
Posts: 1
Likes: 0
From: Lawrence, KS
Thanks for the advice on this thread. I popped off the horribly scratched stock handle on my '06 Z, stripped it and painted up just like it was described here. Better than new for under $20.00

I might have to give that a try since the previous owner of my car scratched the hell out of it.

Just wanted to put my two cents on this thread for anyone who still might want to fix their panels.
What I did was sand off the black paint and was left with the white primer. I did not know it was primer at first until I sprayed Duplicolor adhesion promoter on it. This caused the primer to puff up in some areas. When I touched it the primer started to peel off.
Afterwards it was really easy to peel off the primer and paint off my other panel. I made some small scuff marks with a rougher sandpaper on my other panel to make sure the promoter can seep under the paint. I was left with bare plastic and it was easy to paint afterwards. I still used the adhesion promoter to paint the panel and it worked out perfectly.

Registered User
Joined: Jun 2011
Posts: 168
Likes: 0
From: NJ
Also, if I want to also repaint my cubby door latch (07) the same way, what is the easiest method of removing it without taking the entire center console out? Are those 4 screws on the backside of the cubby door all that's required to remove, or is there more involved?
Thanks.
Originally Posted by HEYROBI1001
..and does anyone know how to remove the window button/control from the trim so i can soak/wash it?
Originally Posted by Brogan07
Also, if I want to also repaint my cubby door latch (07) the same way, what is the easiest method of removing it without taking the entire center console out? Are those 4 screws on the backside of the cubby door all that's required to remove, or is there more involved?
Here is a walkthrough i made for taking apart and painting the dash on the 06+. You may need it

https://my350z.com/forum/body-interi...by-guages.html