
Assembly of my new Built Short Block

Originally Posted by rrmedicx
Well thank you for correcting me. I appreciate the info. I can't recall where I read it, if it was in a magazine or maybe here, but I was pretty sure it came from the skyline. Either way, its a Nissan development and its much better than the original.
Thanks Adam.
Thanks Adam.
http://www.z1auto.com/prodmore.asp?m...ine&prodid=920
Just finished installing the upgraded waste-gate springs yesterday and boy, or boy, was that a beatch!!!!!!!!
I had to start by removing the framing support bar (below the cross-member) because the waste-gate relocation kit is such a pain in the **** to reach, I thought I could simply push the springs up and into place then secure the waste-gate caps back on.
Well lets not be confused about anything...the 12psi springs are NO JOKE!!! They are strong! I removed the puny 7psi stock waste-gate springs, no problem. Then I went to grab the 12psi springs...what a noticeable difference. The original springs were soft and thin, maybe 1/16 of an inch thick coil and maybe the size of a red bull can of soda. The new springs were about the size of a normal soda can and about 1/8 of an inch thick coil. It took the help of my neighbor to fasten the waste-gate tops back on. I used all of my 6ft 2" and 200lbs of muscle to simply press the waste-gate caps up into place. My arm and shoulder are still shaking from the strain it required to hold the caps up and in place. But its done.
Should have enough miles by the weekend, but not sure if I will have the time to get it tuned for this weekend.
Last edited by rrmedicx; Oct 31, 2007 at 05:15 AM.


Originally Posted by Jason333
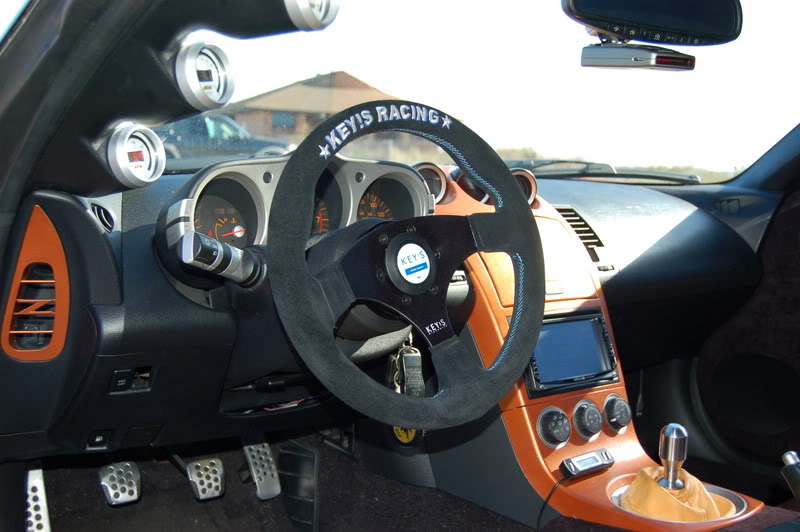
What shift **** is that?
Got the miles I needed. Now I just have to follow up with my tuner in CT and schedule an appointment for a tune. At the very least I will be pushing 12 psi of boost thanks to the upgraded springs I just installed. Ultimately, I would like to have at least 3 maps...1 for 12psi, 14psi, and 16psi.

The moment you all have been waiting for has arrived. Click here to see the results.
https://my350z.com/forum/showthread....97#post4699597
https://my350z.com/forum/showthread....97#post4699597
Yeah, update is I drove the 1000 miles to break it in, brought it to my tuner and had an unfortunate incident and blew the motor.
I shipped the motor back to Texas for inspection/tear down and rebuild.
Once I get it back, I will go back to my tuner and try again.
I will post up a link to the new thread once completed and with results.
Thanks for all of your support.
It has been a hell of a year for me. I am very much looking forward to 2008.

New Member
Joined: Sep 2005
Posts: 62
Likes: 0
From: San Francisco
I would love to do videos of all this. I have a thread similar to this one on g35driver:
http://g35driver.com/forums/showthread.php?t=183421
but nothing nowhere near as complicated.
http://g35driver.com/forums/showthread.php?t=183421
but nothing nowhere near as complicated.
Upgrading from UTEC to ProEFI EMS and will post updates once everything is up and running and tuned. No need for unnecessary drama...Although this forum thrives on it. LOL
Just waiting for my new engine to get sent up from Texas. Unfortunately I am looking at Mid-Feb. '08. Once it arrives, I plan to run NA for about 750 miles.
Then I break things down again and install the Greddy Twins along with the ProEFI, in addition to oil cooling upgrades. Once I get things moving I will give you guys an update.
There will be a happy ending!
Then I break things down again and install the Greddy Twins along with the ProEFI, in addition to oil cooling upgrades. Once I get things moving I will give you guys an update.
There will be a happy ending!
New motor is being shipped Monday 2-11-08 to NYC from Texas. Should be here before the week is up.
Just need my new EMS to get here, but I won't need it for the break in 1000 miles as I will be running off of the stock ECU and stock injectors.
Just need my new EMS to get here, but I won't need it for the break in 1000 miles as I will be running off of the stock ECU and stock injectors.
Well the new engine is in, along with the tranny, drivetrain and exhaust. All that is left is the top of the engine...plenum, injectors, fuel system components & intake. Shouldn't be more than a 1/2 days work and my Z will be alive once again. NA this time, but I haven't driven the car in sooo long. I can't wait.


Originally Posted by rrmedicx
I am very embarrassed to say...it was ugly. I spent enough money going back and forth to AutoZone buying tools which I will most likely only be using once...So I used a flathead screwdriver and found an angle that caught the inside of the bearing and worked it around with WD40 until it spun out just enough that I could barely catch an edge with a pair of pliers enough to yank it out. Very Crude but effective. Lets just say, the bearing that was in there is no longer recognizable.
Moving right along, the new bearing is in and looks great. Next I will attempt to install the flywheel and clutch. I just need to wait for my next day off Sunday.
Moving right along, the new bearing is in and looks great. Next I will attempt to install the flywheel and clutch. I just need to wait for my next day off Sunday.
I have a trick I use to remove the pilot bushing, I find a bolt that just fit's inside it, I then fill the pilot hole with grease, just start the bolt into the hole then tap it in with a light smack and usually it drives it right out.
Originally Posted by fklentz
I have a trick I use to remove the pilot bushing, I find a bolt that just fit's inside it, I then fill the pilot hole with grease, just start the bolt into the hole then tap it in with a light smack and usually it drives it right out.
Best option IMHO. Just FYI.

wow just read the thing....took me like a little over an hour...great write up though.....questions
..where did u learn to do all this yourself?
...what does the throttle body spacer exactly do...?
and the oil pan spacer is just so you can allow more oil for the turbos right? thanks
..where did u learn to do all this yourself?
...what does the throttle body spacer exactly do...?
and the oil pan spacer is just so you can allow more oil for the turbos right? thanks
Originally Posted by Tomek350Z
wow just read the thing....took me like a little over an hour...great write up though.....questions
..where did u learn to do all this yourself?
...what does the throttle body spacer exactly do...?
and the oil pan spacer is just so you can allow more oil for the turbos right? thanks
..where did u learn to do all this yourself?
...what does the throttle body spacer exactly do...?
and the oil pan spacer is just so you can allow more oil for the turbos right? thanks
The throttle body spacer is an AAM product and it provides you with up to 3 additional ports to plug into for vacuum/boost lines. In case you need them for a fuel pressure regulator, or Boost gauge, or UTEC or whatever...
The oil pan spacer is to allow for oil return ports without having to drill into the engine upper oil pan. Thus allowing you to return the car to stock if you like without any major hassle...and the additional 1 quart of oil is added insurance.
Yeah, I'm 99% done on re-assembly. The only thing I am waiting for is a bolt to support the power steering pump. I stripped the original. That bolt should be there Monday for me. Once that goes in, I can complete the install, add fluids and start her up. The anticipation is killing me. But again it is only NA. I would love to dyno the car to get a before and after. I will speak with my tuner to see if that can be arranged. I don't expect high numbers with a low compression motor, but if anything it would make for a nice comparison shot.