
New twist on old oil cooler DIY


I just started attending some track days. From what I researched it's always a good idea to install some sort of oil cooler. A decision had to be made, go with a kit or fabricate my own. Well, premium oil cooler kits come with a premium price tag so I researched all the DIY oil cooler installs and found a good one.
http://www.*********.com/forums/141-...-pictures.html
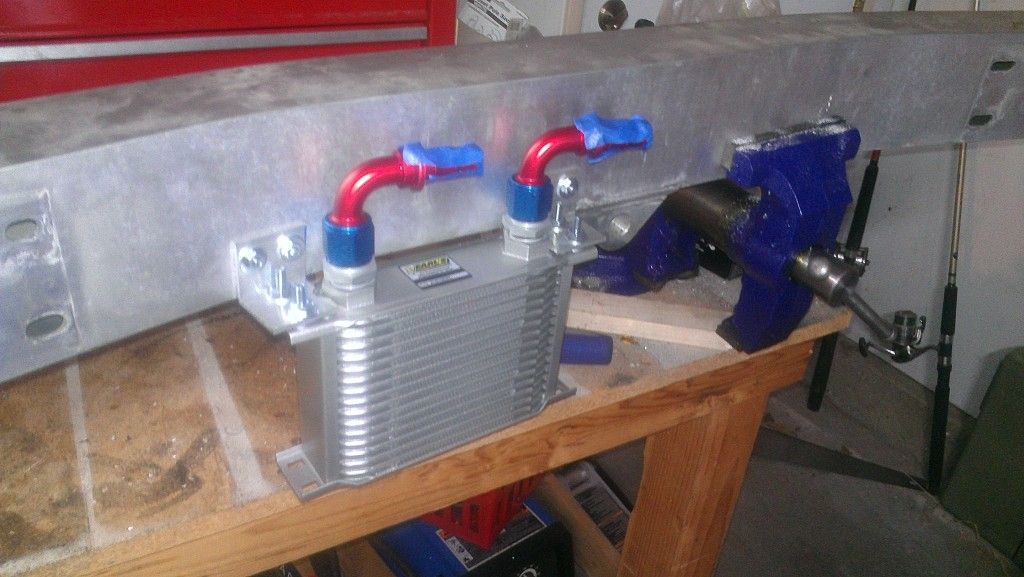
1. Earls 16 Row oil Cooler-#21610ERL
2. Mocal Thermostatically controlled sandwhich plate-#SP1FT
3. 10' of -10an Aeroquip Socketless Hose-#FCV1010
4. -10an to 1/2" fitting x2-#220047 (These are the blue fittings in the Sandwhich plate.)
5. 90 degree -10an socketless fitting x4-FBM1534 (2 on the oil cooler, 2 connected to the fittings on the sandwhich plate)
6. Teflon tape at all connections.
I bought all of this from Summit Racing except for the sandwich plate. I found it at Racer Parts Wholesale.
Mounting the oil cooler upside down wasn't really an option. Probably just me being paranoid but I was worried about the amount of time it would take to prime the cooler before reaching the engine. I know the Mocal sandwich plate diverts oil directly to engine before the thermostat opens up but I still wanted to mount the oil cooler right side up.
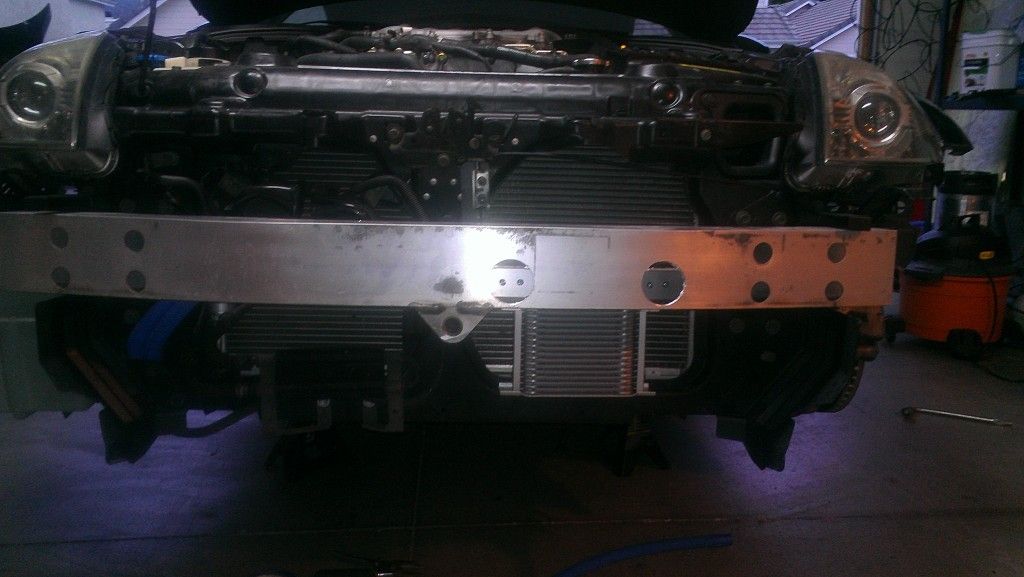
Start by pulling the entire front of the car apart. Then I decided on mounting the oil cooler right next to the tow bolt hole on the aluminum bumper (driver side). In order to mount the oil cooler right side up I had to pick a spot on the back of the bumper. This was going to present a little issue with bolting the oil cooler mount to the bumper. I needed a way to access the nuts/bolts from inside the bumper.
After tracing the edges of the oil cooler onto the bumper I guestimated where some access holes needed to be and busted out the drill and hole saw bit. These are my large access holes.
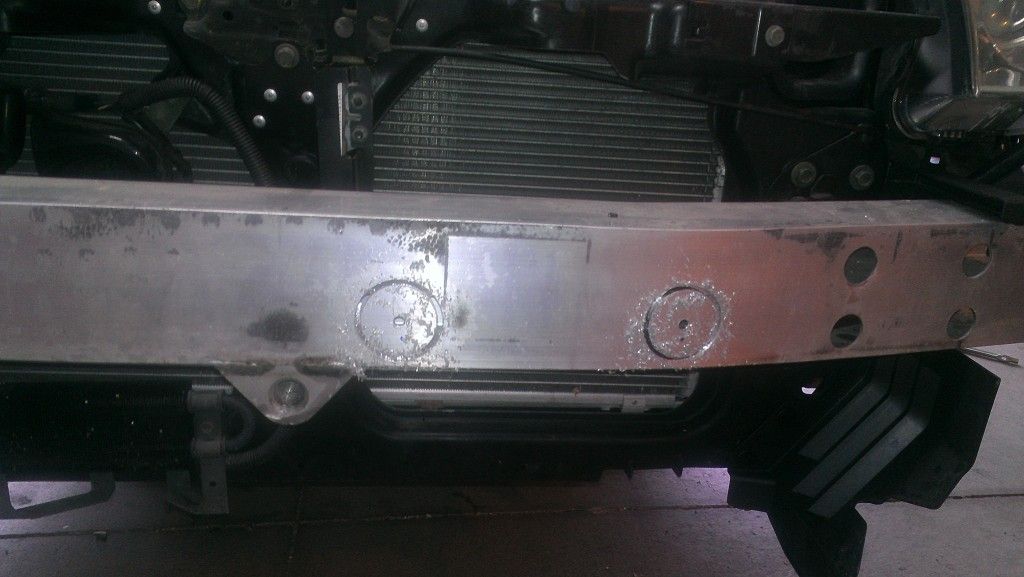
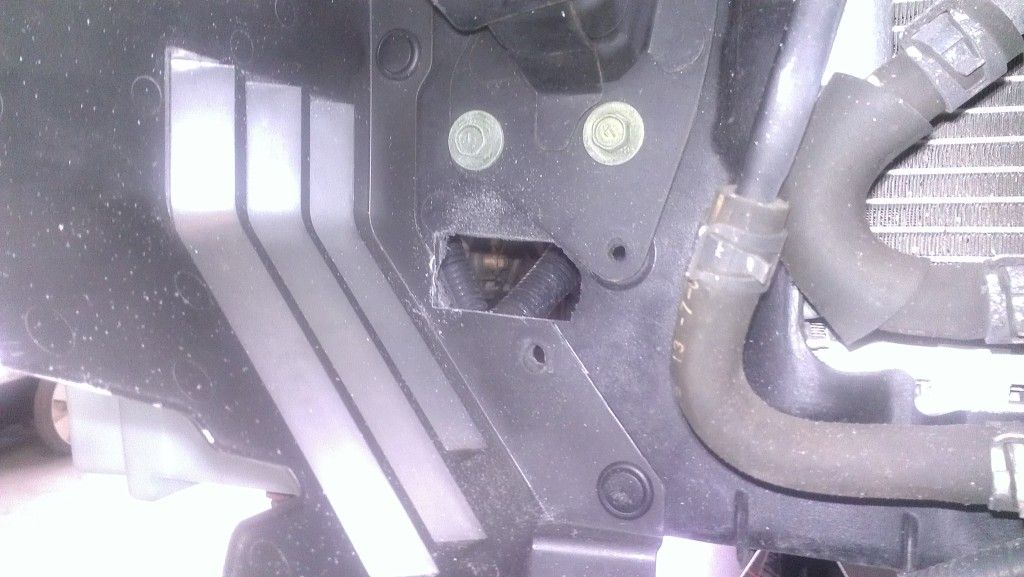
Then I needed a hole large enough to route the hoses from the front of car to the filter and sandwich plate under the engine. There was a pre-existing hole that I expanded using a rat tailed file and standard file.
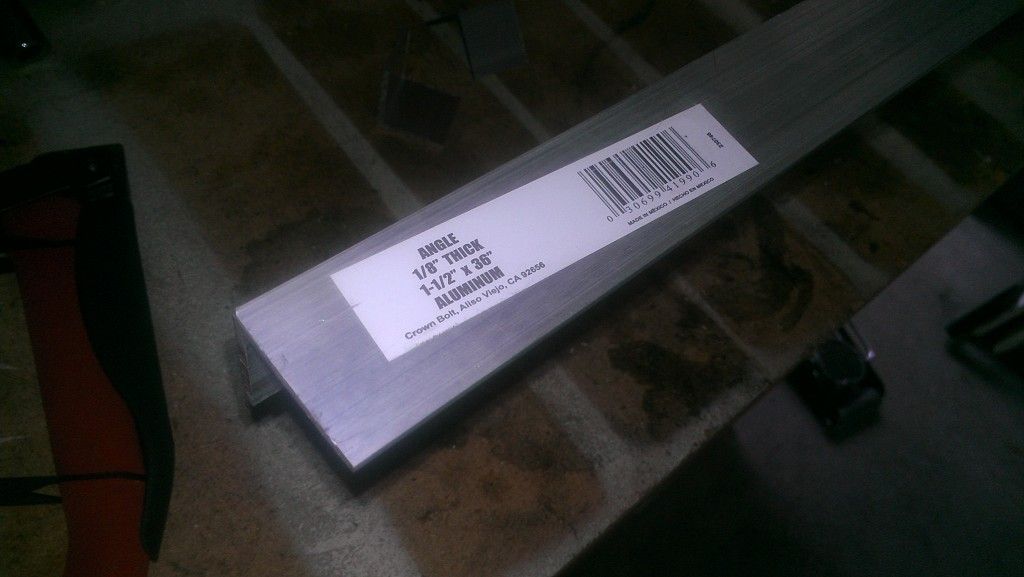
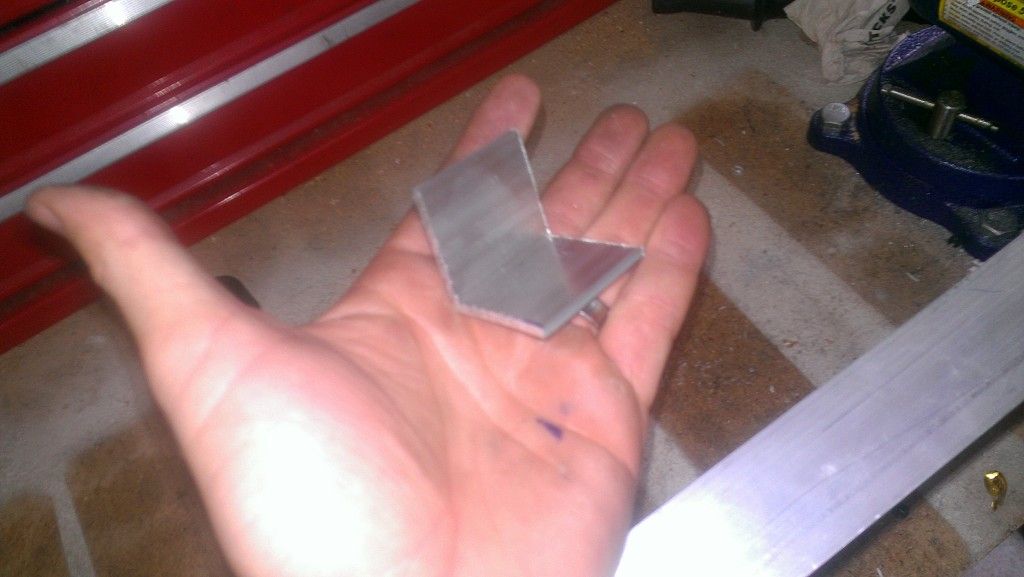
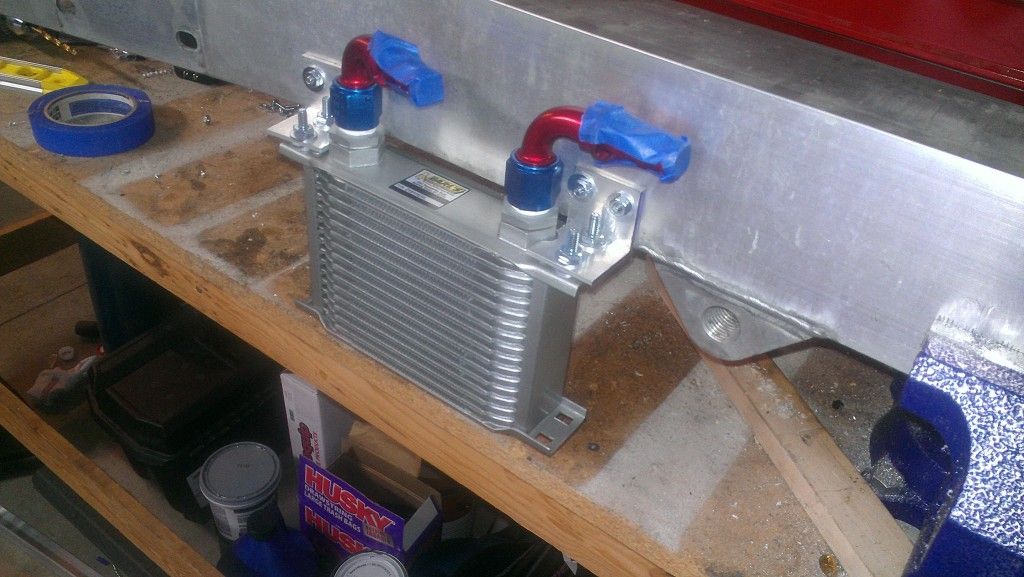
Time to make some brackets. I picked up a piece of 1/8th inch angled aluminum from the Home Depot and cut it into 1.5 inch wide pieces.
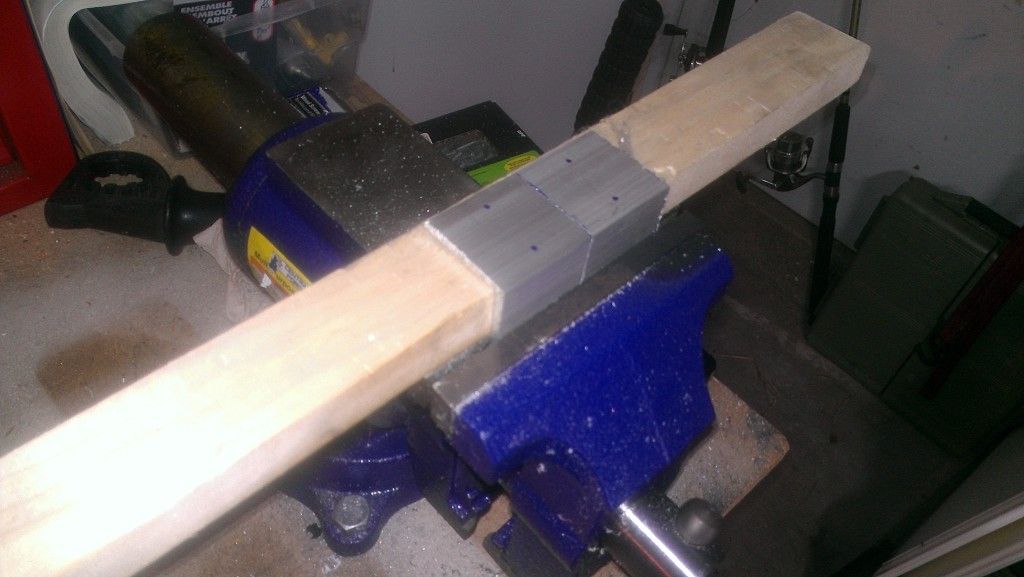
After the brackets were clamped into the vise I proceeded drill some bolt holes

Removed the aluminum bumper

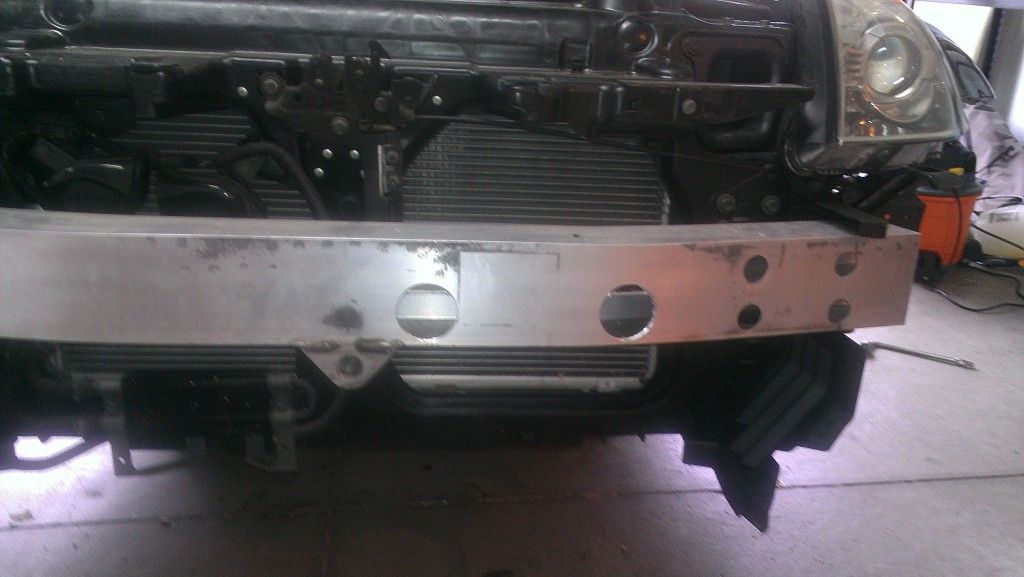
After bolting the brackets to the oil cooler i was able to trace and drill holes into the back side of the bumper. This is what it looks like from the back.

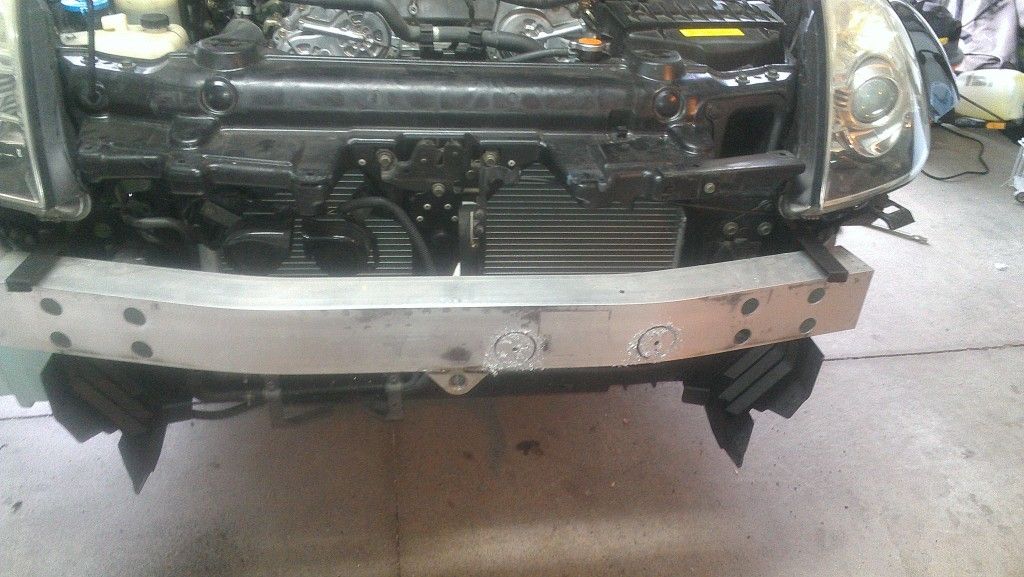
I did use Teflon Tape on the threads. Here is the bumper back on the car. Check out those access holes!
I didn't take a picture but I mocked up the hoses after temporarily putting the bumper back on the car. I had the pull the bumper off the car again so that I could have some room to push the hoses onto the fittings. Even with the barbs on the fitting covered with motor oil they were still a PITA to push on.
Did I use hose clamps = Yes
Did I need to = probably not
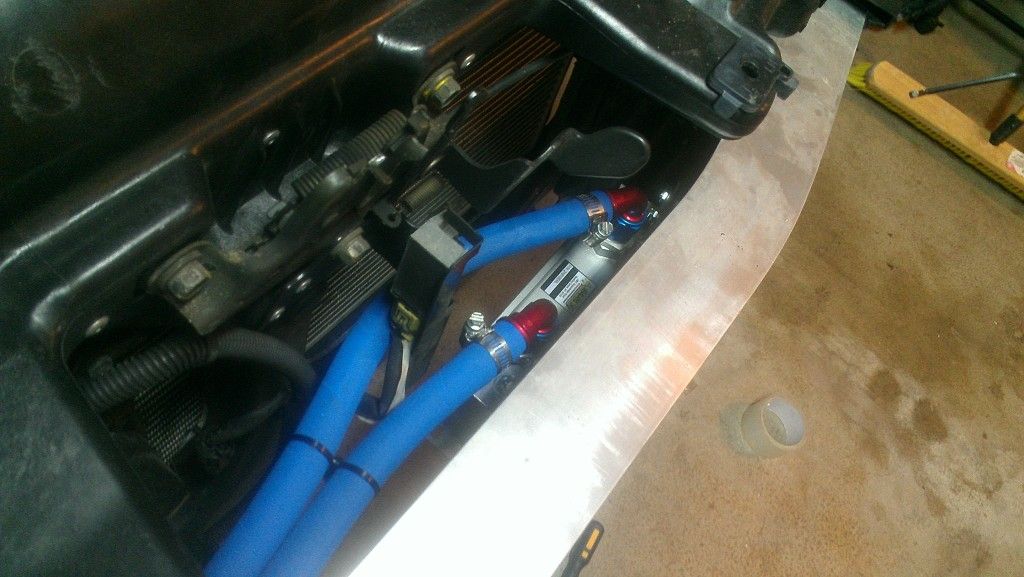
K, after getting the hoses attached it was time to re-install the bumper for last time. It was also time to tidy things up with zip ties.
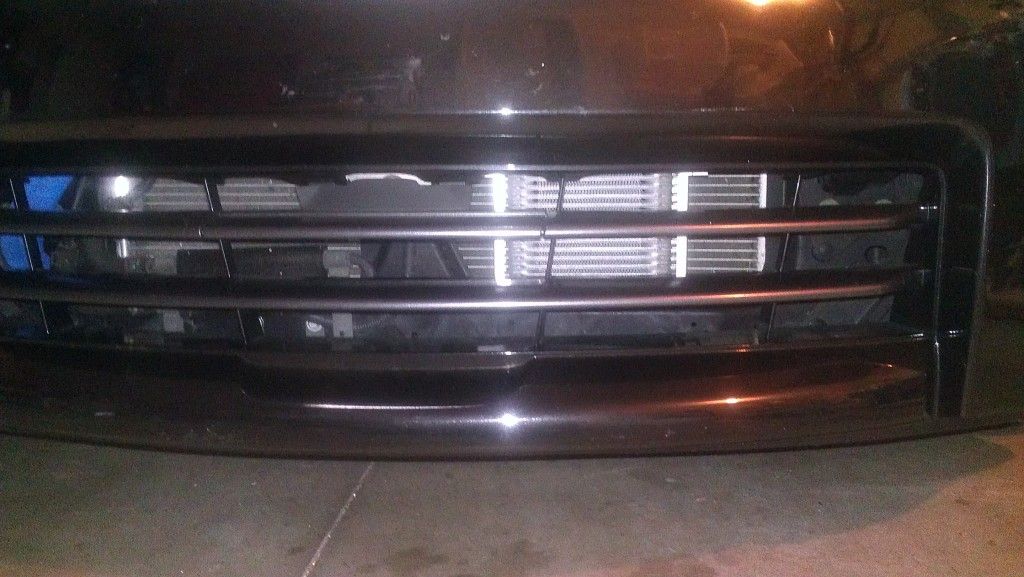
Then I put it back together.


http://www.*********.com/forums/141-...-pictures.html
1. Earls 16 Row oil Cooler-#21610ERL
2. Mocal Thermostatically controlled sandwhich plate-#SP1FT
3. 10' of -10an Aeroquip Socketless Hose-#FCV1010
4. -10an to 1/2" fitting x2-#220047 (These are the blue fittings in the Sandwhich plate.)
5. 90 degree -10an socketless fitting x4-FBM1534 (2 on the oil cooler, 2 connected to the fittings on the sandwhich plate)
6. Teflon tape at all connections.
I bought all of this from Summit Racing except for the sandwich plate. I found it at Racer Parts Wholesale.
Mounting the oil cooler upside down wasn't really an option. Probably just me being paranoid but I was worried about the amount of time it would take to prime the cooler before reaching the engine. I know the Mocal sandwich plate diverts oil directly to engine before the thermostat opens up but I still wanted to mount the oil cooler right side up.
Start by pulling the entire front of the car apart. Then I decided on mounting the oil cooler right next to the tow bolt hole on the aluminum bumper (driver side). In order to mount the oil cooler right side up I had to pick a spot on the back of the bumper. This was going to present a little issue with bolting the oil cooler mount to the bumper. I needed a way to access the nuts/bolts from inside the bumper.
After tracing the edges of the oil cooler onto the bumper I guestimated where some access holes needed to be and busted out the drill and hole saw bit. These are my large access holes.
Then I needed a hole large enough to route the hoses from the front of car to the filter and sandwich plate under the engine. There was a pre-existing hole that I expanded using a rat tailed file and standard file.
Time to make some brackets. I picked up a piece of 1/8th inch angled aluminum from the Home Depot and cut it into 1.5 inch wide pieces.
After the brackets were clamped into the vise I proceeded drill some bolt holes
Removed the aluminum bumper
After bolting the brackets to the oil cooler i was able to trace and drill holes into the back side of the bumper. This is what it looks like from the back.
I did use Teflon Tape on the threads. Here is the bumper back on the car. Check out those access holes!
I didn't take a picture but I mocked up the hoses after temporarily putting the bumper back on the car. I had the pull the bumper off the car again so that I could have some room to push the hoses onto the fittings. Even with the barbs on the fitting covered with motor oil they were still a PITA to push on.
Did I use hose clamps = Yes
Did I need to = probably not
K, after getting the hoses attached it was time to re-install the bumper for last time. It was also time to tidy things up with zip ties.
Then I put it back together.


What would have been cool is if you ran the oil lines inside the crash bar, protecting them.
One suggestion vs cutting such larges holes in the crash bar....drill and tap or rivet nut.
Well done!
I use hose clamps as well.
One suggestion vs cutting such larges holes in the crash bar....drill and tap or rivet nut.
Well done!
I use hose clamps as well.
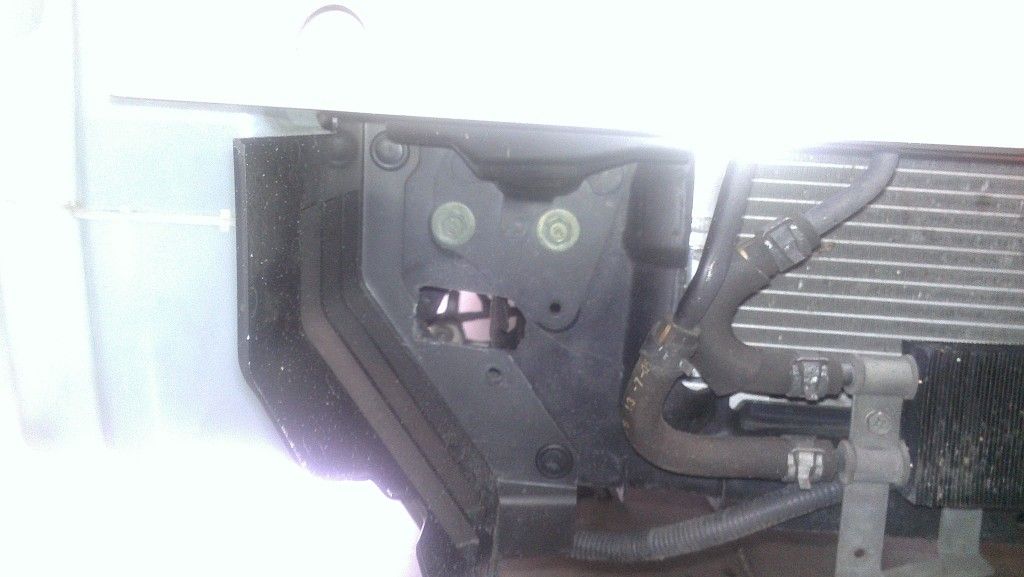
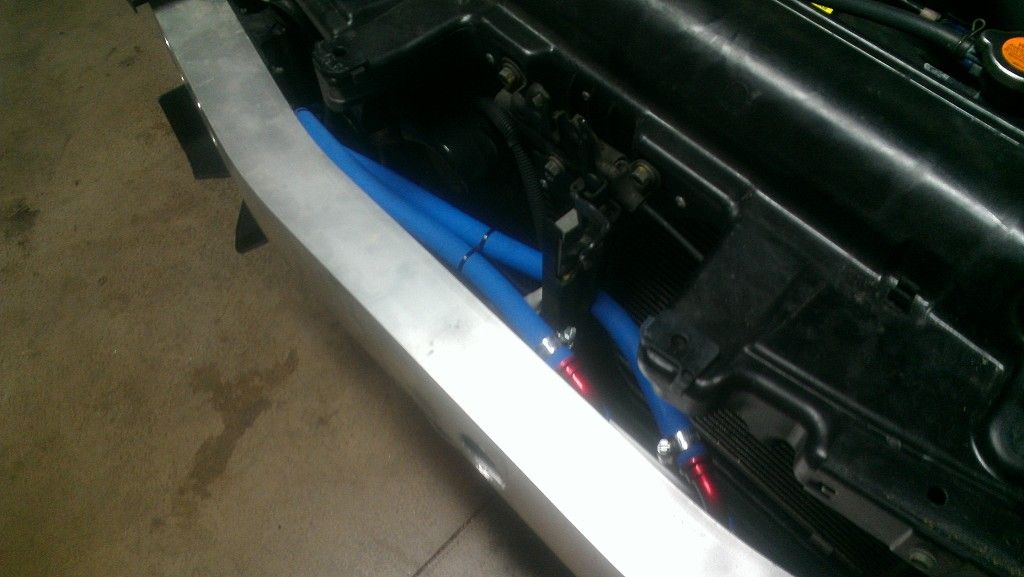
Also, I had to put an oil temp sensor in mine which worked out great by spacing my hoses apart from eachother. (pic is old!, lines are covered in wire sheath to make them less visible/black)

Its the purple part on the right. Its meant for a pressure gauge for nitrous but works great.
Its the purple part on the right. Its meant for a pressure gauge for nitrous but works great.


Trending Topics

Registered User
Joined: Jun 2012
Posts: 477
Likes: 0
From: San Antonio, TX
Yup, that's an important note. In fact, you can *cause* a leak in an -AN fitting by using teflon tape. The flare has a much better seal on its own. Otherwise, great idea. I might look into it if I go F/I.
Observations:
Well it's been well over two months since installing the oil cooler. I've noticed a couple things.
1) when I check the oil it's still clear. typically I could expect the oil to darken considerable by this time. Seem like the darkening of the oil is somewhat related to the oil temps.
2) my oil consumption has gone down a little, remember this is an 06. typically I need to add about 1qt a month. it's now been over two months and I've only added 1qt.
Those of you with oil coolers, have you seen similar trends?


Thread
Thread Starter
Forum
Replies
Last Post