
Nismo Diff Home Install + pics


I did this install over Labor Day weekend a while back. I posted the following progress updates throughout the install on our local CO club site, thought I may as well share some of the knowledge here as well.
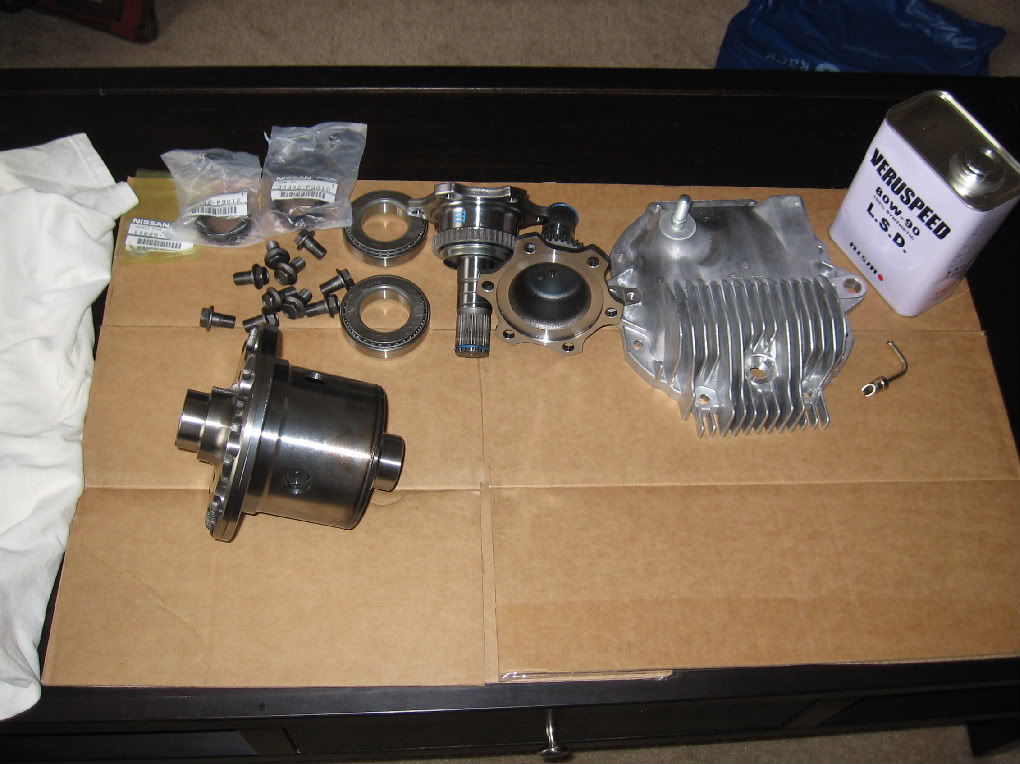
New parts unboxed. 1.5-2 way LSD, side bearings, axle stubs, side oil seals, gear bolts, drain and fill plug gaskets, Nismo finned diff cover, breather valve, and a can of Veruspeed diff oil:
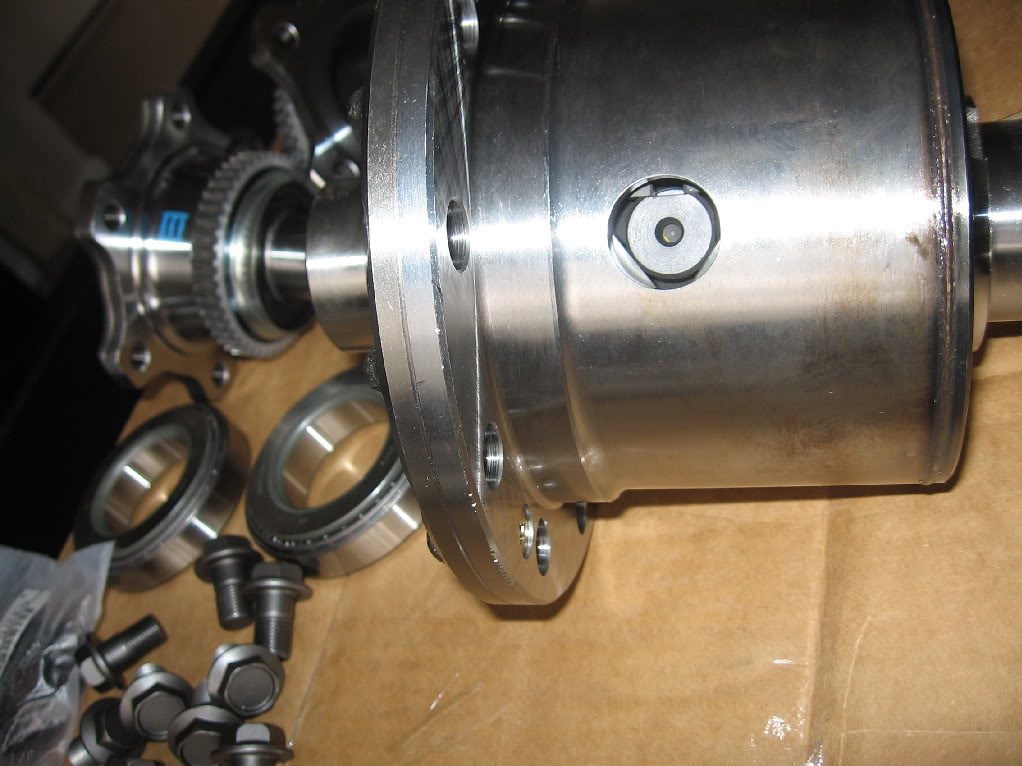
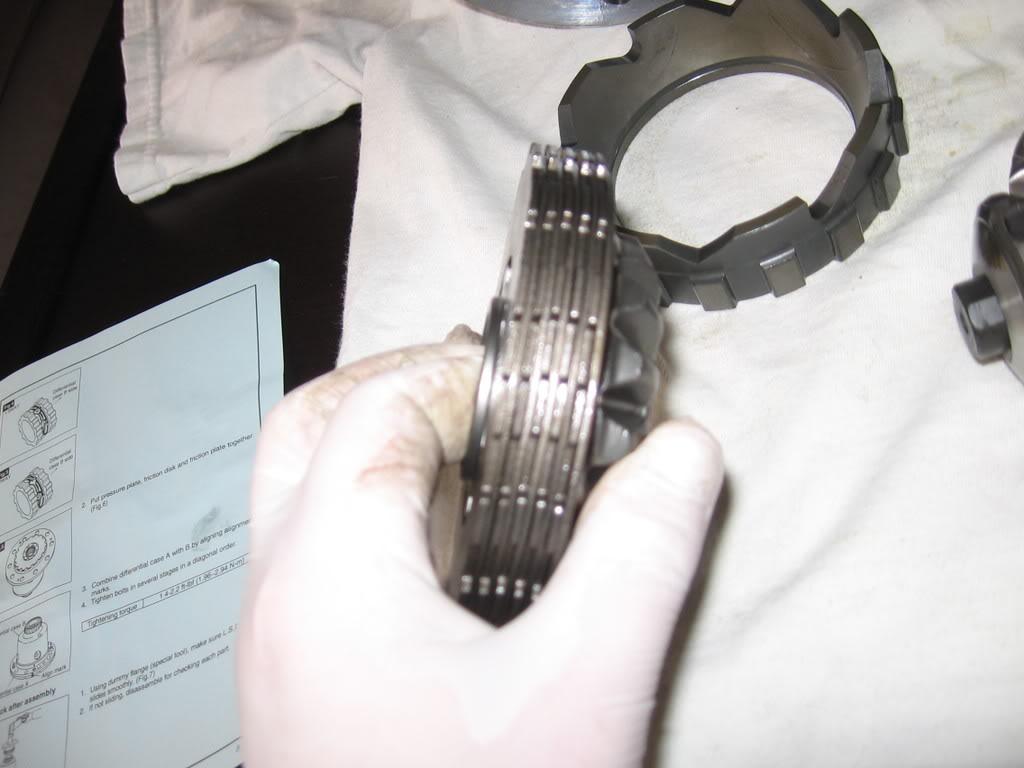
Nismo LSD comes set to 1.5 way:
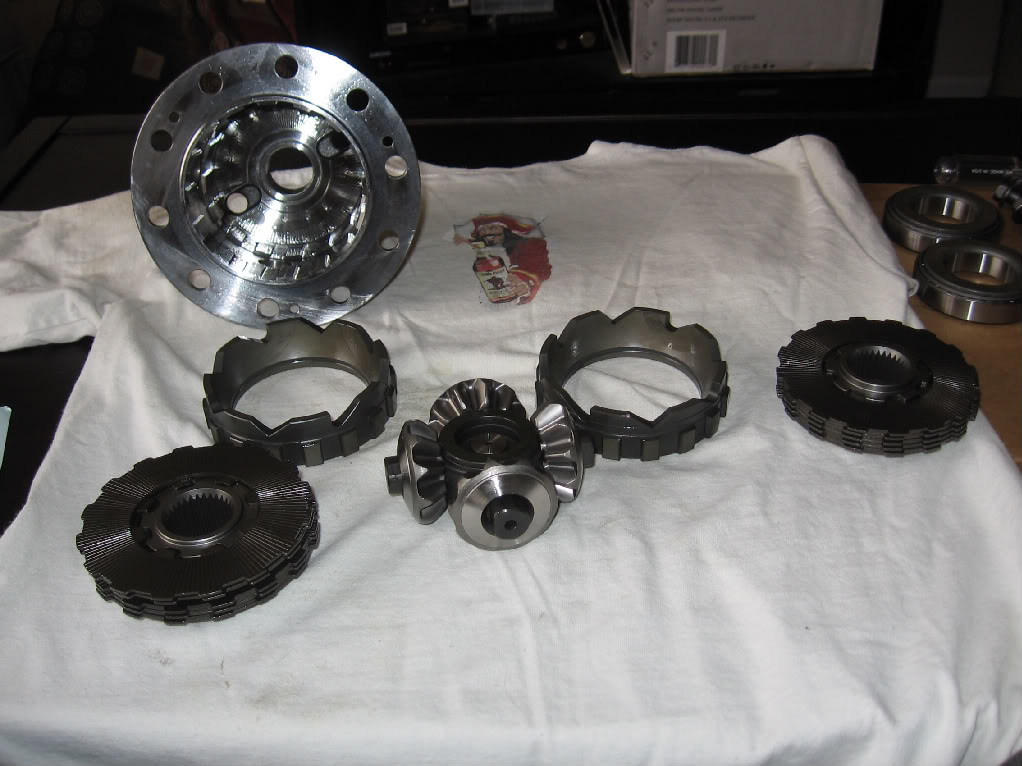
Take that ***** apart (only requires a large phillips head screwdriver):
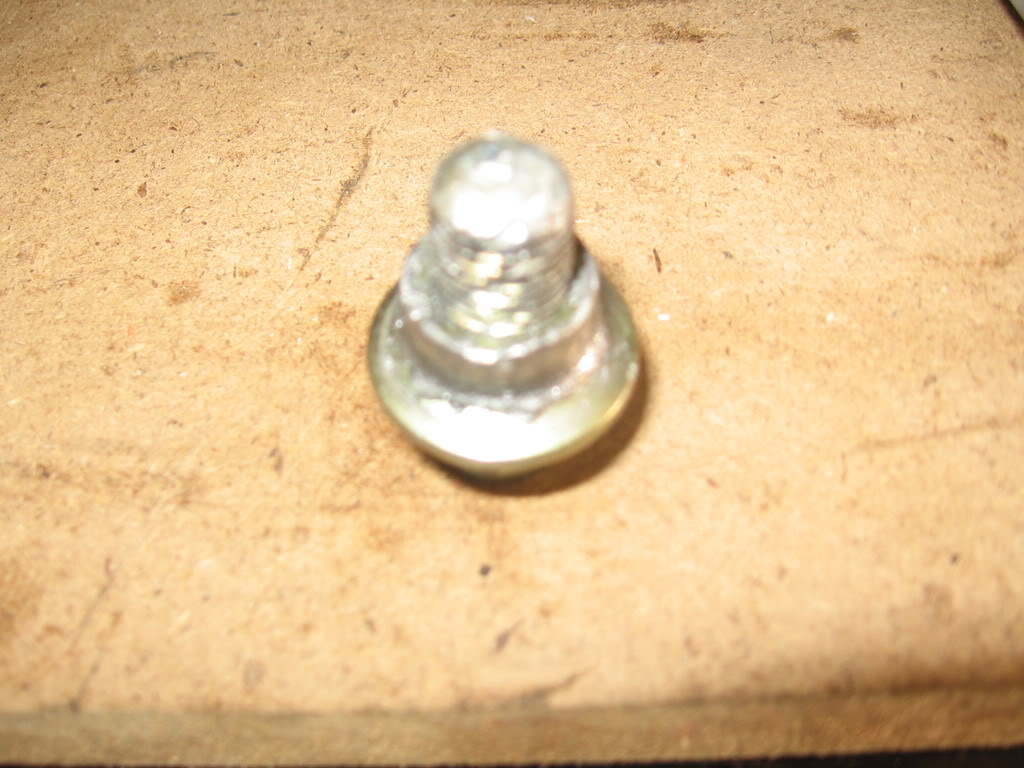
This bolt can be set 3 different ways for ~60%, ~80%, or ~100% initial torque. It preloads/spreads the disks depending on which way you turn it. This is different from lock %. Like a Cusco RS, you can restack the plates to change the lock %. Check the Cusco install DIY's for exact plate stack -> lock % settings. It comes set to 100%, I left it at 100%.
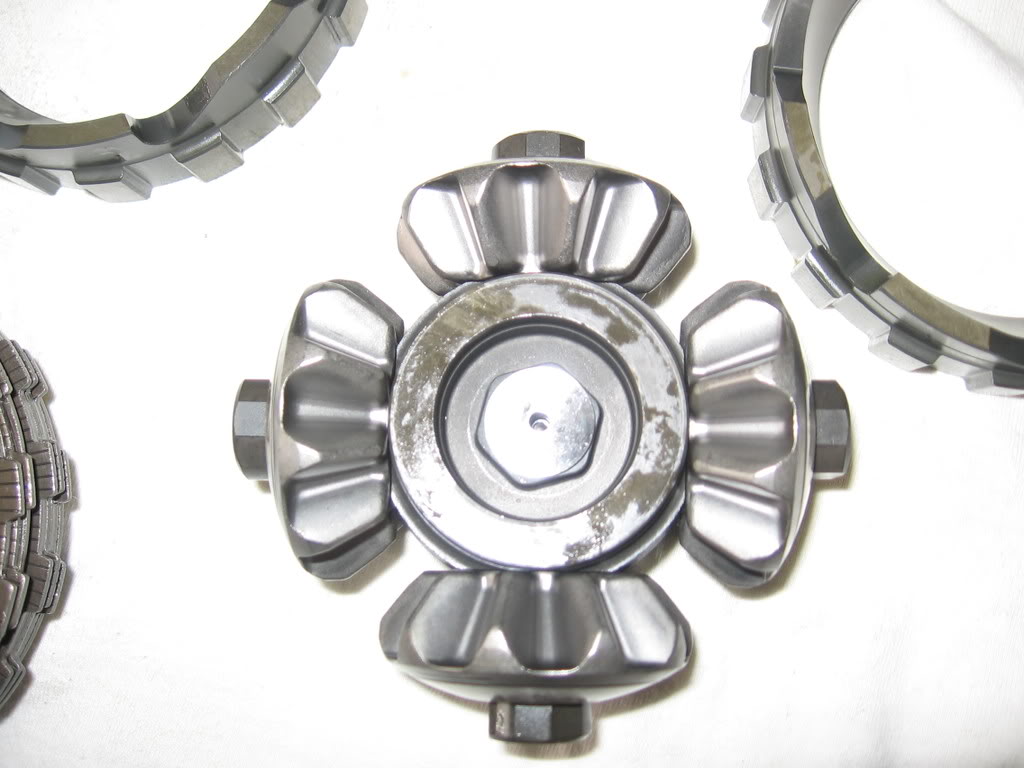
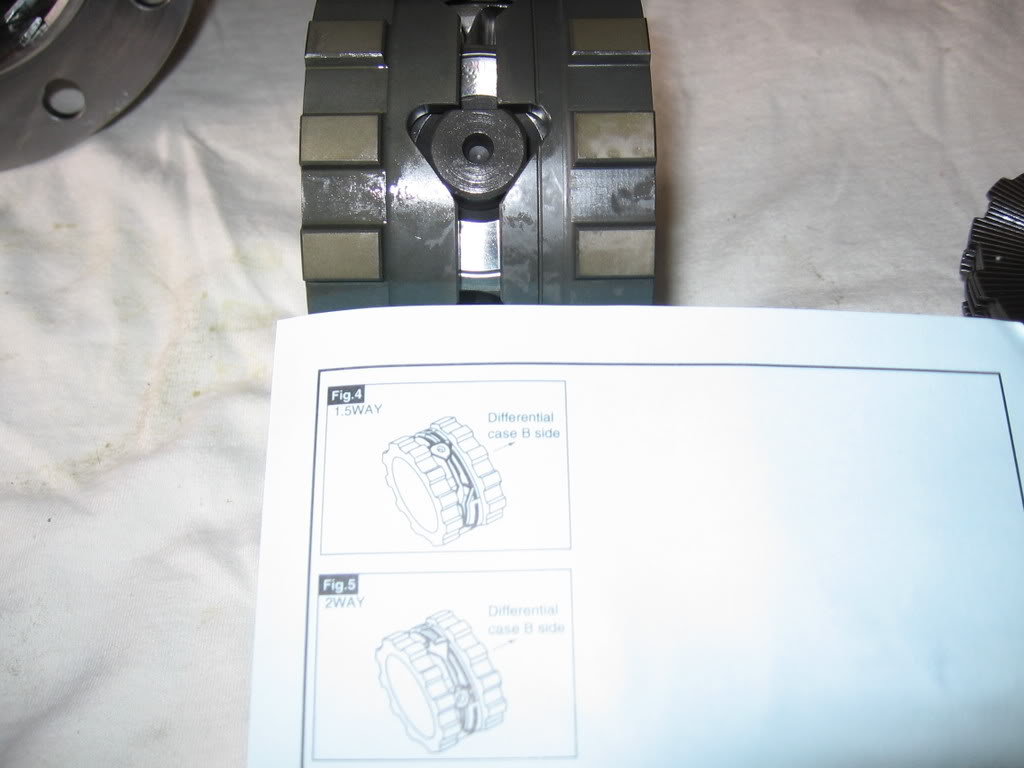
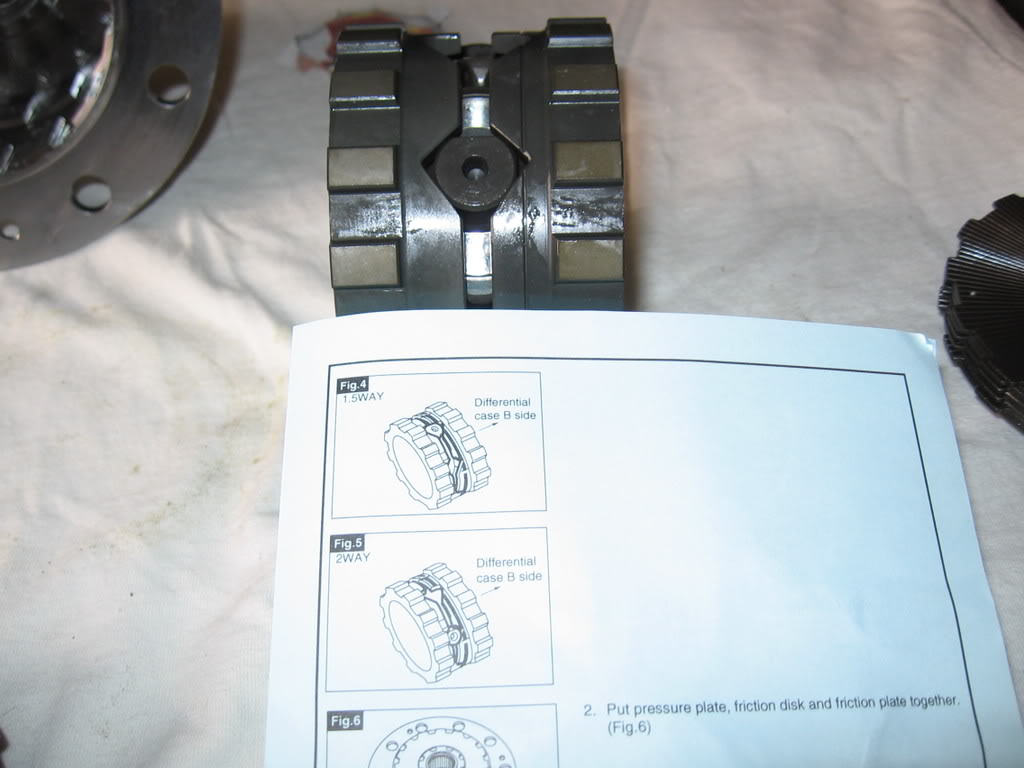
Set it to 2 way for lock on accel and decel (pretty much for drift use only... 1.5 way recommended for autox or track):
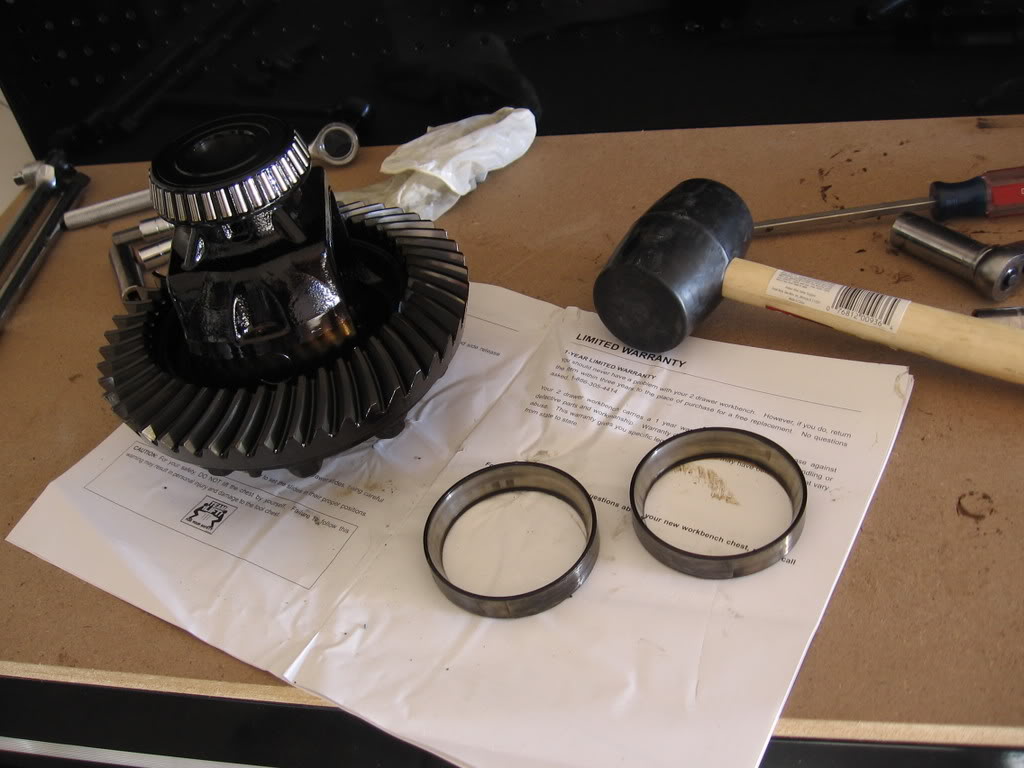
Take the diff to 4 wheel parts and performance and have them press the side bearings on while I eat lunch:
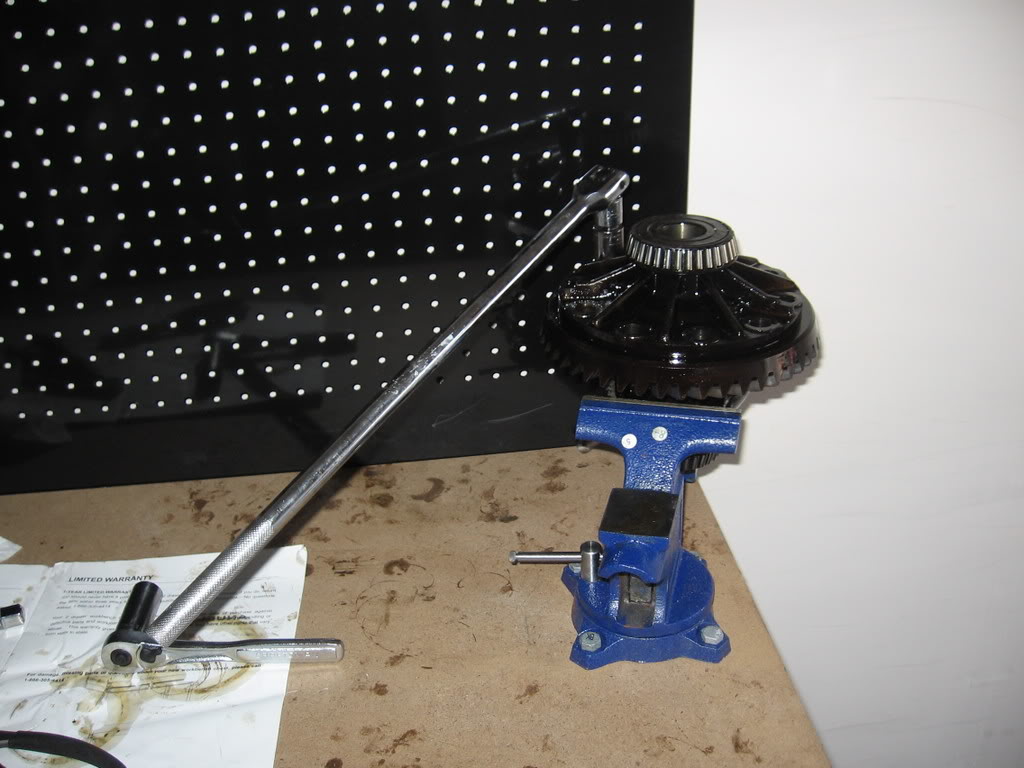
I picked up a full non-vlsd pumpkin from a local shop and put all the new guts in it. Using 10mm allen wrench socket, pop the filler and drain bolts off and drain diff. Use breaker bar to get the bolts off the diff and a rubber mallet and extension bar to pop the cover off:
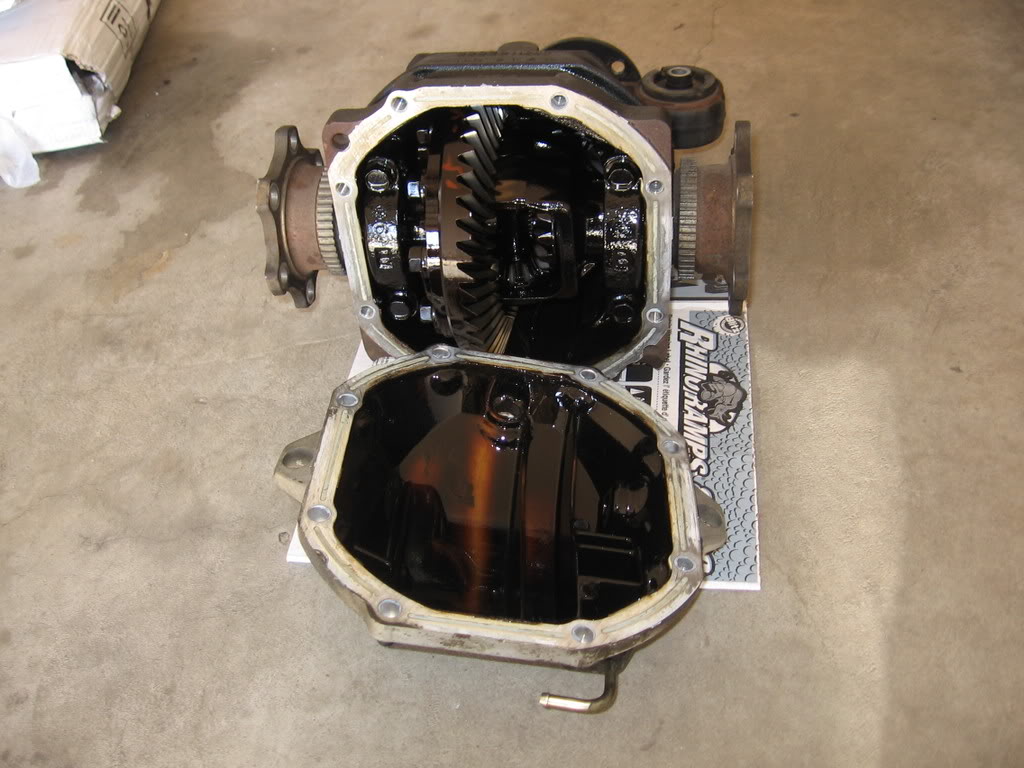
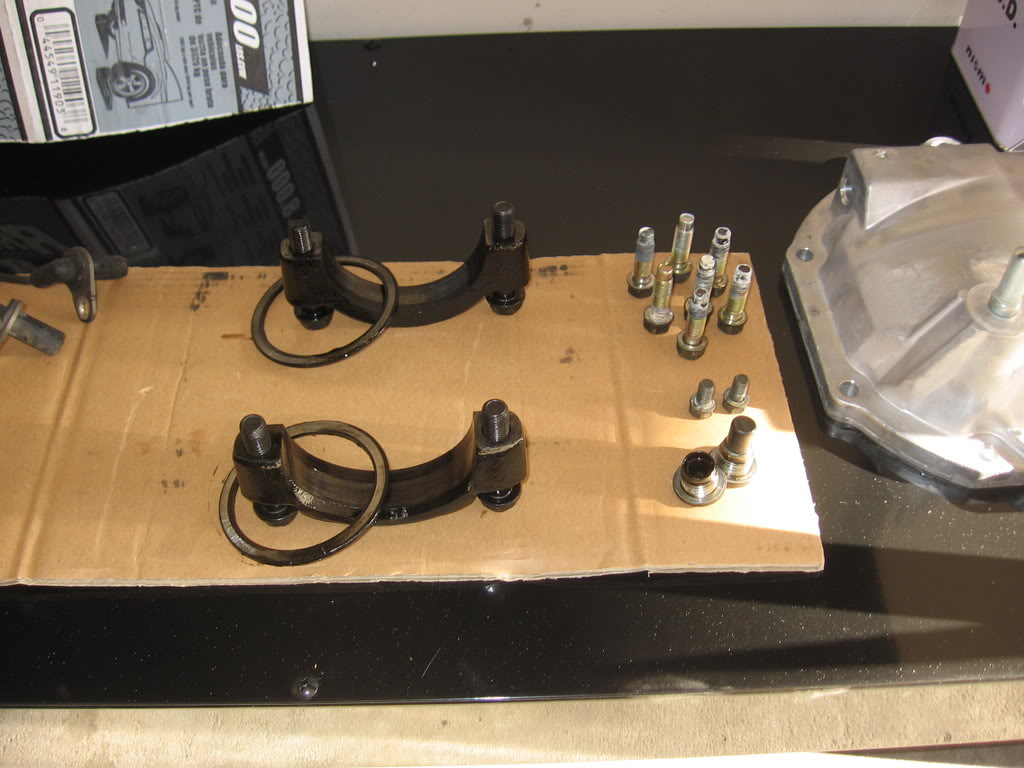
Ok, hands were too dirty to take pictures in between steps here... Pop stub axles off with extension and rubber mallet. Use breaker bar to remove bolts holding the bearings to the base unit. Use rubber mallet and a wedge to pop the base diff out. Keep the original hardware organized:
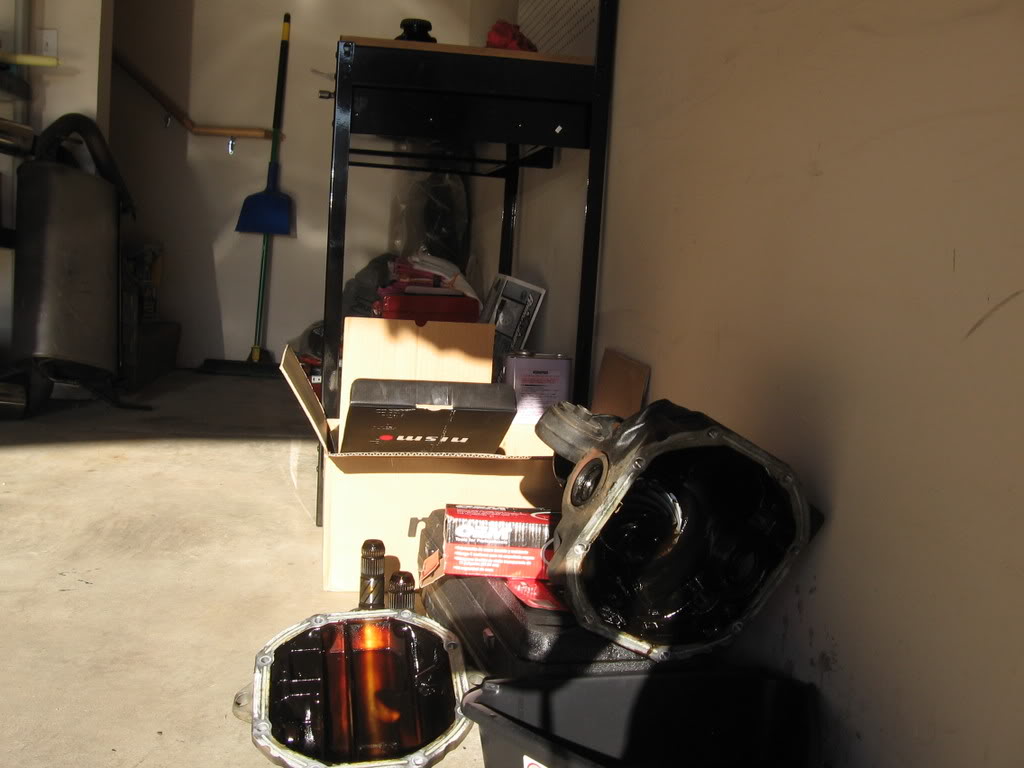
Current state of things - diff draining remaining fluids, will be cleaned up tomorrow for the new parts going in:
Todays updates:
Use breaker bar to bust the gear bolts off the old diff. *Warning* This is a major pain in the *** without air tools. I literally broke the top of my workbench off of the base using my entire body to rip on these bolts. Eventually got 'em all off though. Instructions say the bolts are not reusable, but they look as clean as the new ones that came with the Nismo. Of course, since I have the option, I used the new ones.
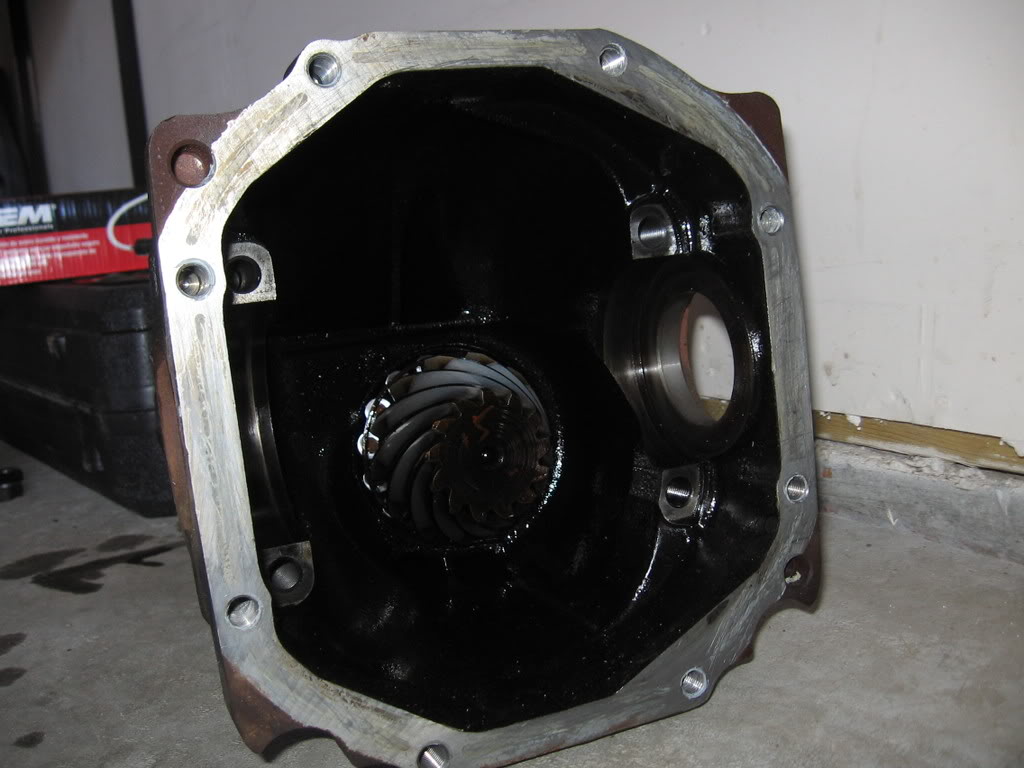
Diff case cleaned up, old muddy fluids removed. Side oil bearings popped out.
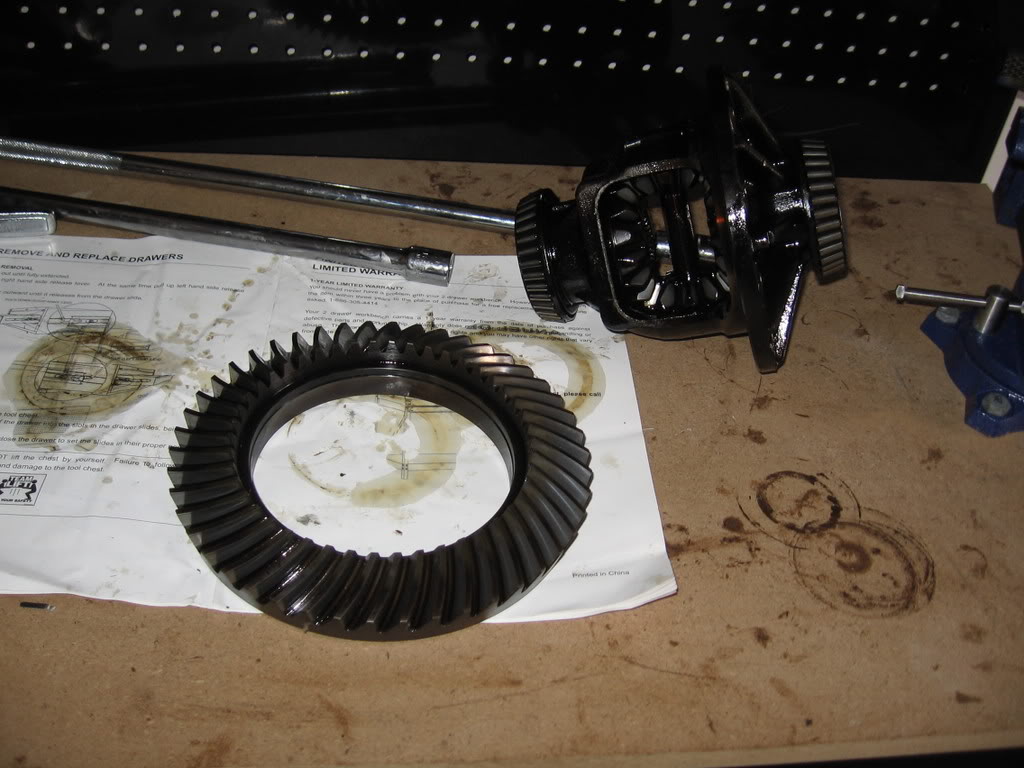
Ring gear degreased and threadlocker removed from internal threads. New ring gear bolts go in with some red locktite. *Again* Major pain in the *** with hand tools and a tabletop vice but doable. Instructions say 65-71ft-lb torque per bolt, then to go around every bolt and turn 31-36 degrees further.
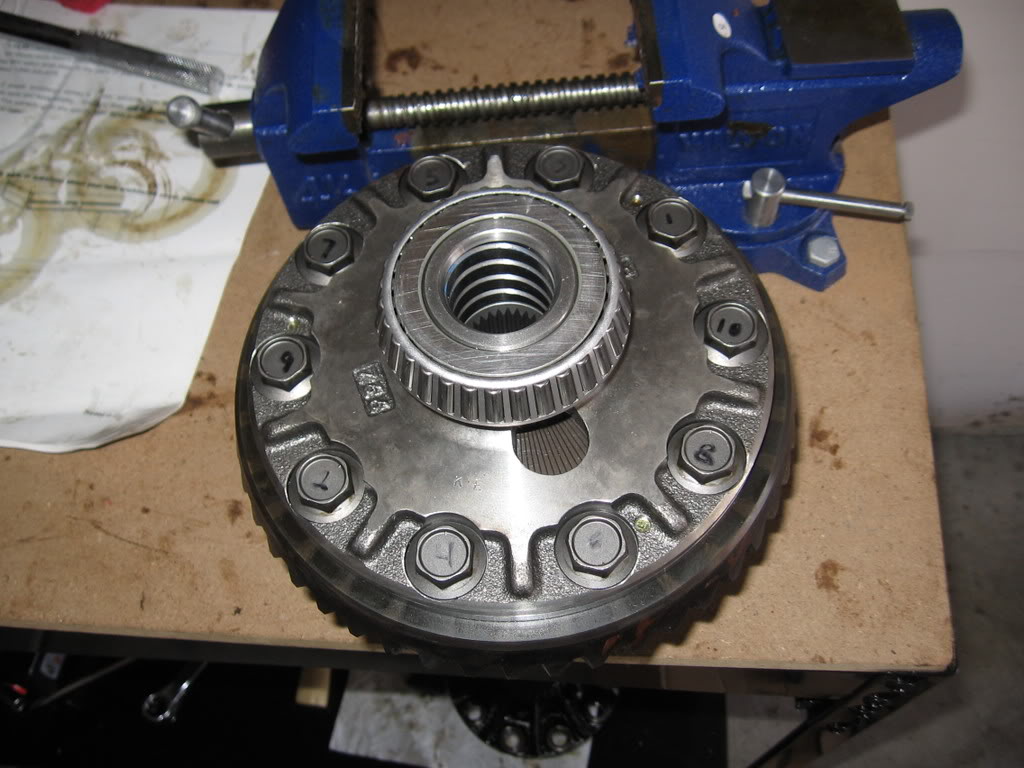
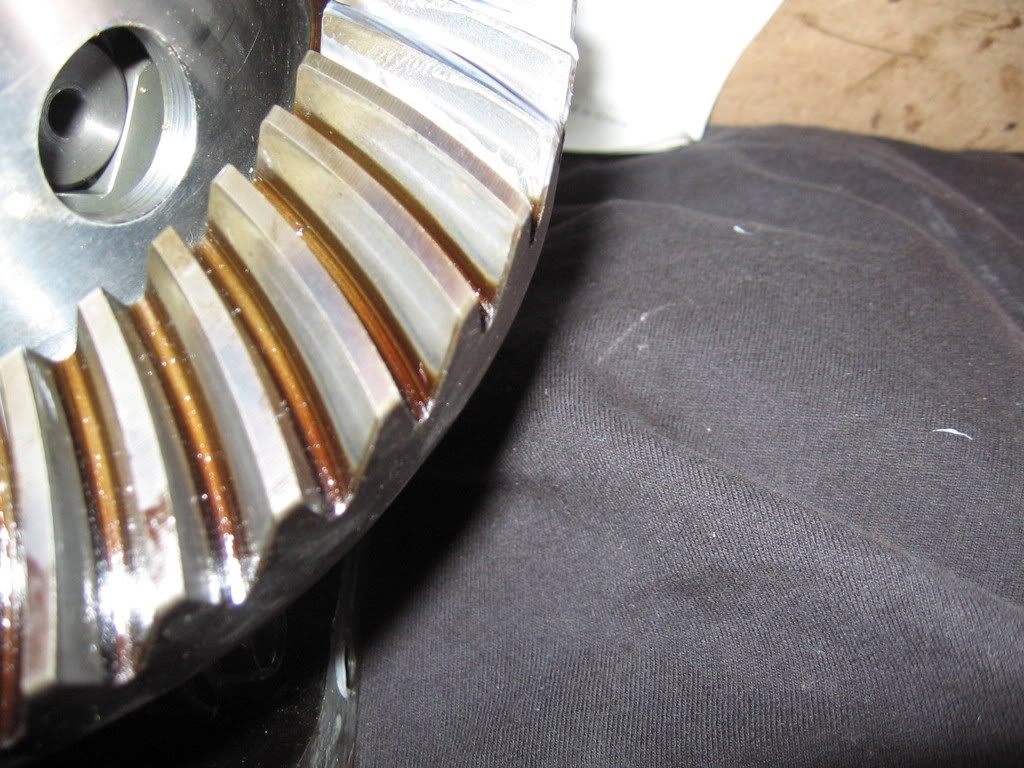
Mount diff with bearing casings and shims back in the diff case. Applied a small layer of whiteout to the surface and back of a few gears and spin it around to make sure the teeth are biting in the center.
Tap the new side oil seals in.

to be continued...
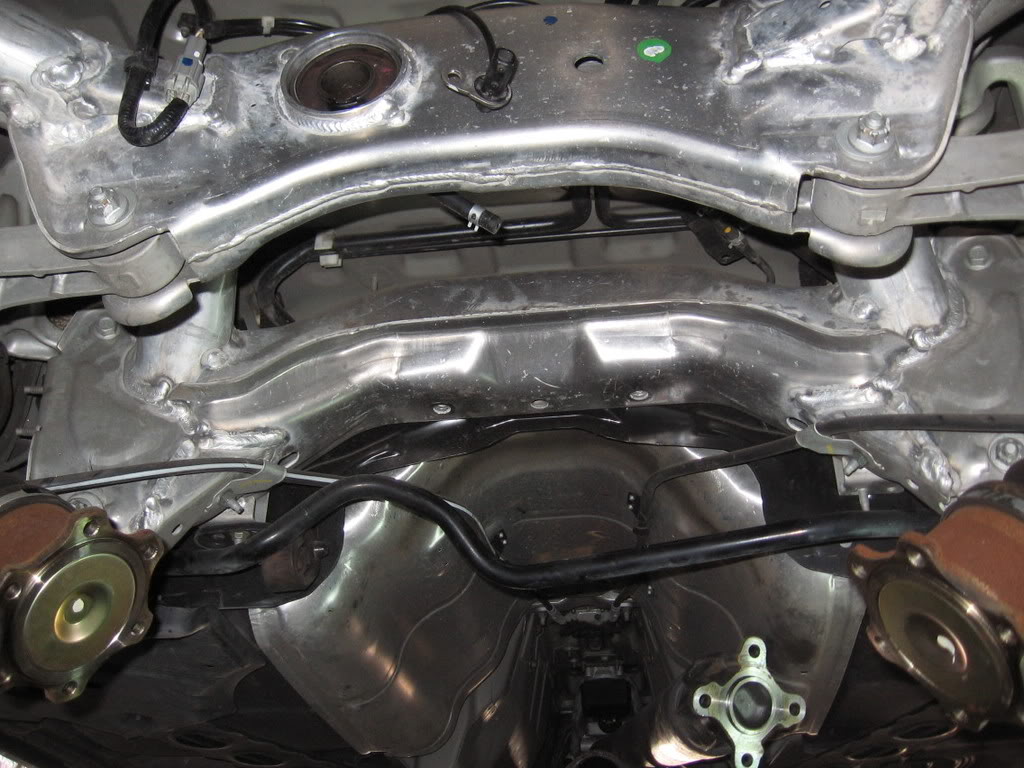
3 bolts to go to remove the stock diff and the rear nut holding the diff to the frame stripped. F)(#@JNSLKJRD)(U@#N!)JFDLKJ...
I sprayed som PB Blaster on it and I'm going to the hardware store to find some sort of socket to get it out.
Good thing I have tomorrow off too.
Damn, the PB Blaster did nothing.
This thing is all stripped to **** now. The reverse threaded sockets I bought aren't deep enough to hit the nut. Running out of options. I may have to get the hack saw out and just cut the diff free.
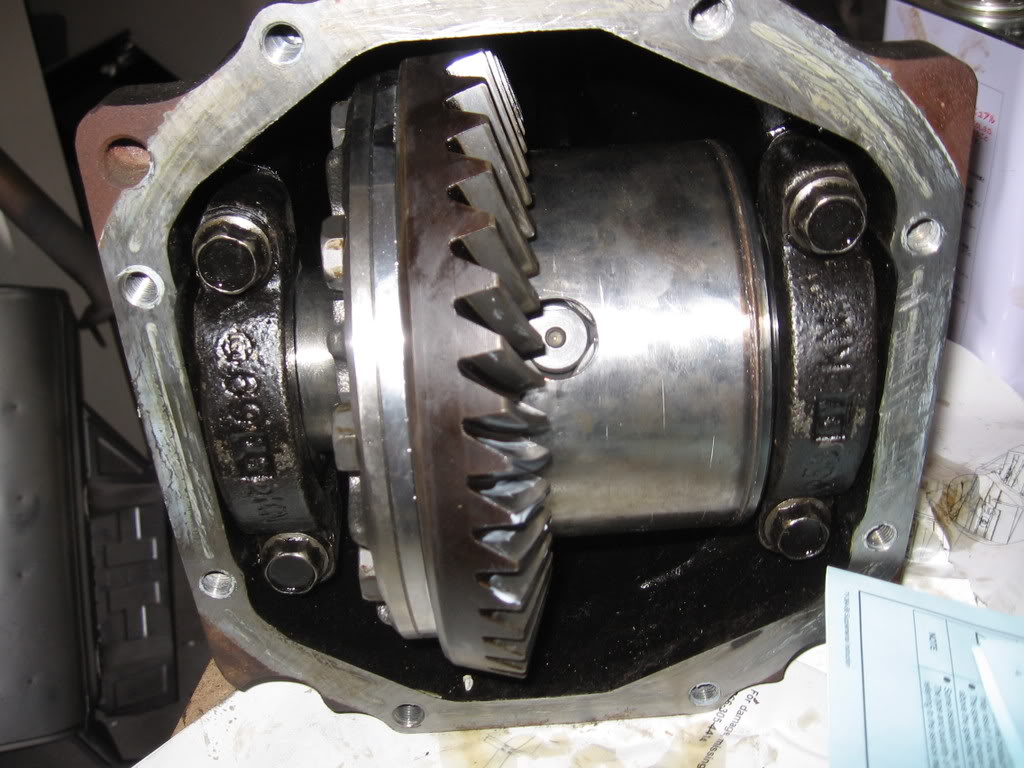
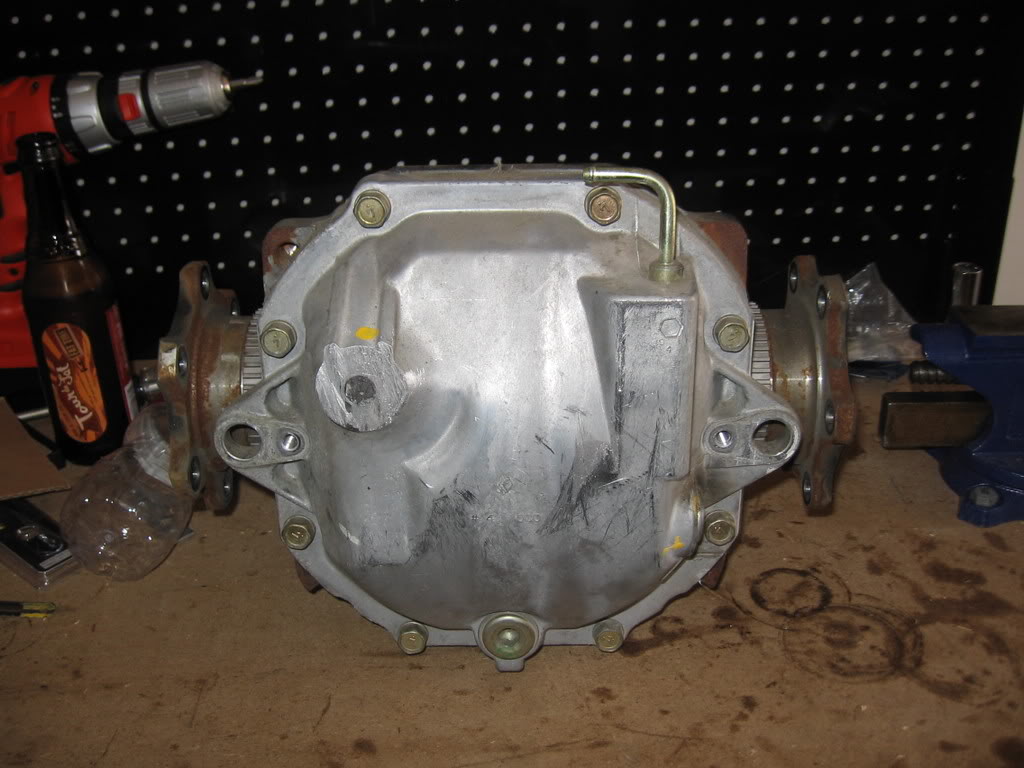
Installation complete!!!
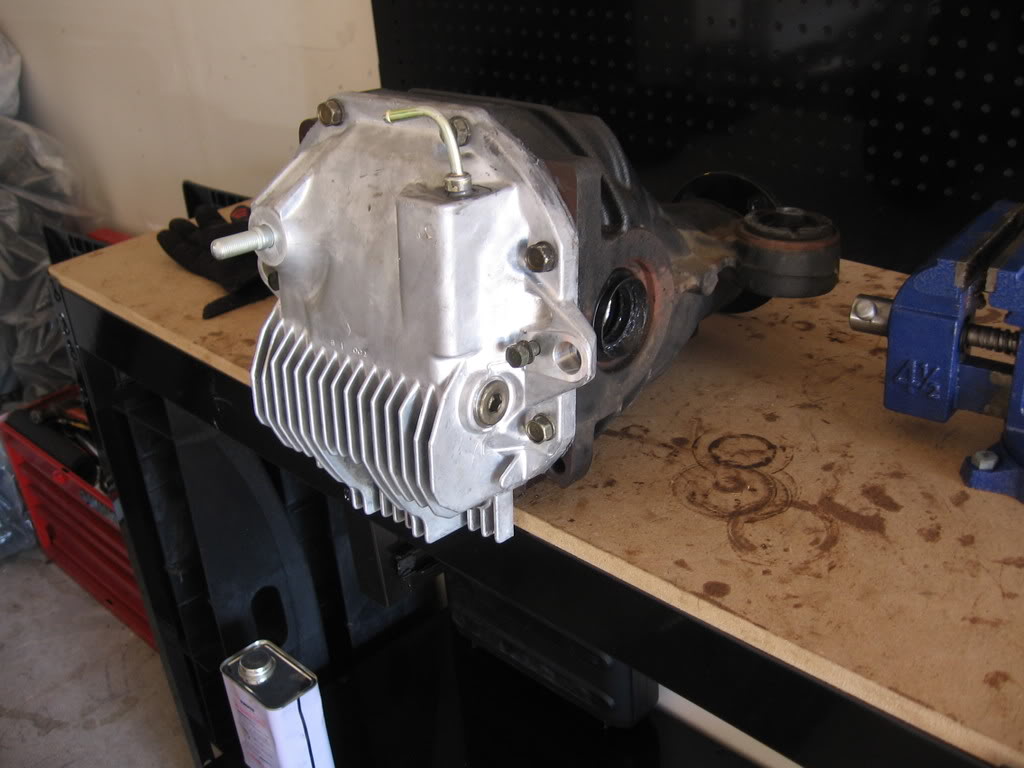
Assembled Diff. Nismo sucks for not pressing the breather hose on the cover before boxing and shipping it. I could not find a part ANYWHERE to press that thing in. Ended up sanding all edges down and sealing it about 3/4 of the way in.
Ended up taking the hacksaw to that retarded bolt. Took me about 10 hours and 2 saw blades due to the location of the damn thing (only about an inch and a half of bite).
Once that bolt was out, the diff came right on out.
Stub axles go in, Veruspeed fluid goes in, everything sealed up and ready for install. New diff goes in. New nut and washer replace the stripped one.
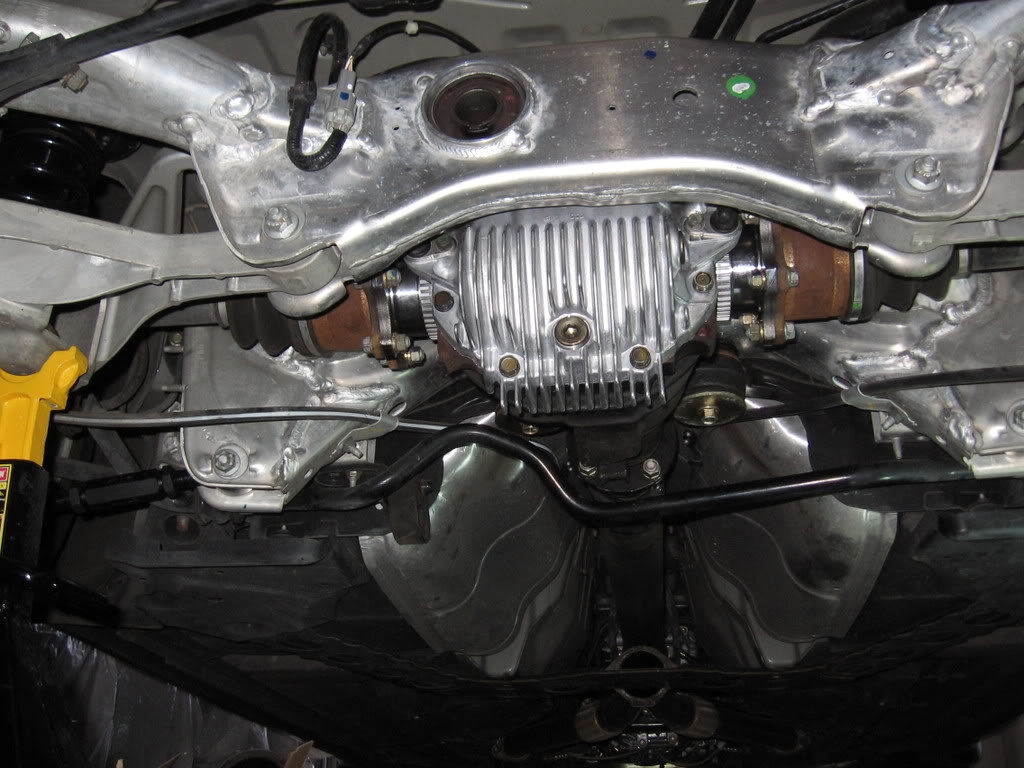
Install new diff.
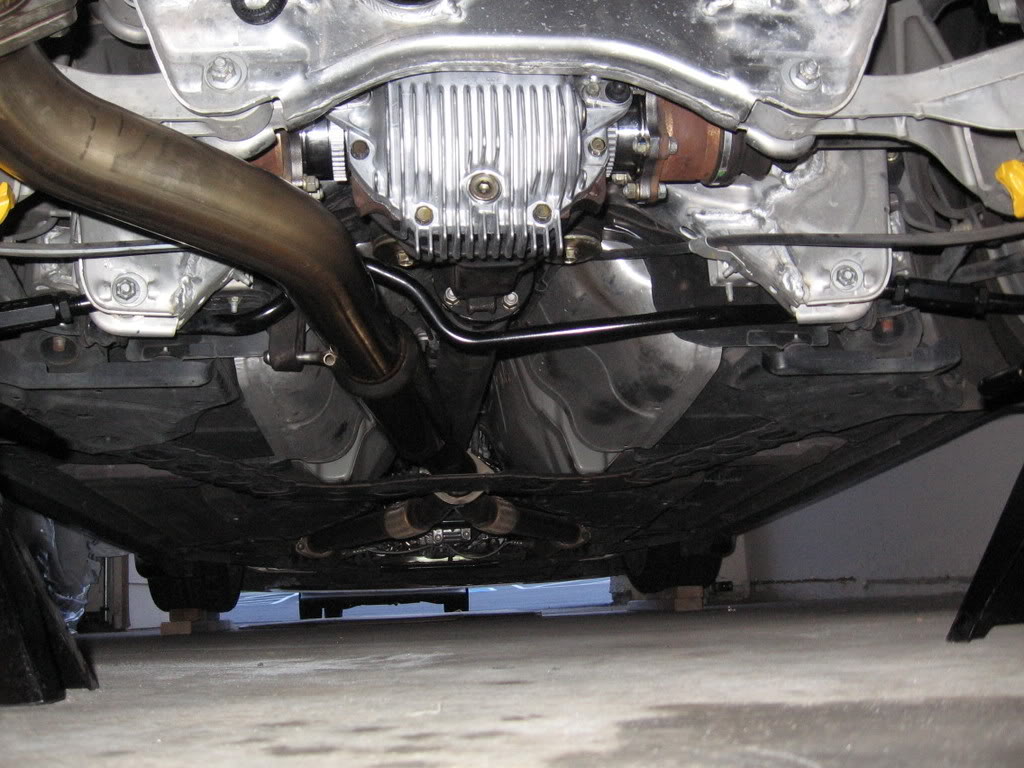
Took it across the street and did figure 8's in the parking for about 15 minutes. I can definitely feel this thing working. It scrubs and hops at low speed on tight corners. The Veruspeed oil should be pretty well shaken around in there. I'm letting it sit overnight to make sure the cover is fully sealed and will do a 2nd torquing of the axle, driveshaft, and mounting bolts tomorrow evening.
The instructions say I need to do 180 miles @ under 40mph to fully break the clutch plates in before attempting any "swift manuvers." People weren't kidding when they said this thing was a bit loud and would make your car sound like its broken at parking lot speeds.
January update - Motul 90 PA fluid in now, quieted things down a bit in the back. Now I've got to address my clicking rear axles (TSB) and a clicking clutch cable.
New parts unboxed. 1.5-2 way LSD, side bearings, axle stubs, side oil seals, gear bolts, drain and fill plug gaskets, Nismo finned diff cover, breather valve, and a can of Veruspeed diff oil:
Nismo LSD comes set to 1.5 way:
Take that ***** apart (only requires a large phillips head screwdriver):
This bolt can be set 3 different ways for ~60%, ~80%, or ~100% initial torque. It preloads/spreads the disks depending on which way you turn it. This is different from lock %. Like a Cusco RS, you can restack the plates to change the lock %. Check the Cusco install DIY's for exact plate stack -> lock % settings. It comes set to 100%, I left it at 100%.
Set it to 2 way for lock on accel and decel (pretty much for drift use only... 1.5 way recommended for autox or track):
Take the diff to 4 wheel parts and performance and have them press the side bearings on while I eat lunch:
I picked up a full non-vlsd pumpkin from a local shop and put all the new guts in it. Using 10mm allen wrench socket, pop the filler and drain bolts off and drain diff. Use breaker bar to get the bolts off the diff and a rubber mallet and extension bar to pop the cover off:
Ok, hands were too dirty to take pictures in between steps here... Pop stub axles off with extension and rubber mallet. Use breaker bar to remove bolts holding the bearings to the base unit. Use rubber mallet and a wedge to pop the base diff out. Keep the original hardware organized:
Current state of things - diff draining remaining fluids, will be cleaned up tomorrow for the new parts going in:
Todays updates:
Use breaker bar to bust the gear bolts off the old diff. *Warning* This is a major pain in the *** without air tools. I literally broke the top of my workbench off of the base using my entire body to rip on these bolts. Eventually got 'em all off though. Instructions say the bolts are not reusable, but they look as clean as the new ones that came with the Nismo. Of course, since I have the option, I used the new ones.
Diff case cleaned up, old muddy fluids removed. Side oil bearings popped out.
Ring gear degreased and threadlocker removed from internal threads. New ring gear bolts go in with some red locktite. *Again* Major pain in the *** with hand tools and a tabletop vice but doable. Instructions say 65-71ft-lb torque per bolt, then to go around every bolt and turn 31-36 degrees further.
Mount diff with bearing casings and shims back in the diff case. Applied a small layer of whiteout to the surface and back of a few gears and spin it around to make sure the teeth are biting in the center.
Tap the new side oil seals in.
to be continued...
3 bolts to go to remove the stock diff and the rear nut holding the diff to the frame stripped. F)(#@JNSLKJRD)(U@#N!)JFDLKJ...
I sprayed som PB Blaster on it and I'm going to the hardware store to find some sort of socket to get it out.
Good thing I have tomorrow off too.
Damn, the PB Blaster did nothing.
This thing is all stripped to **** now. The reverse threaded sockets I bought aren't deep enough to hit the nut. Running out of options. I may have to get the hack saw out and just cut the diff free.
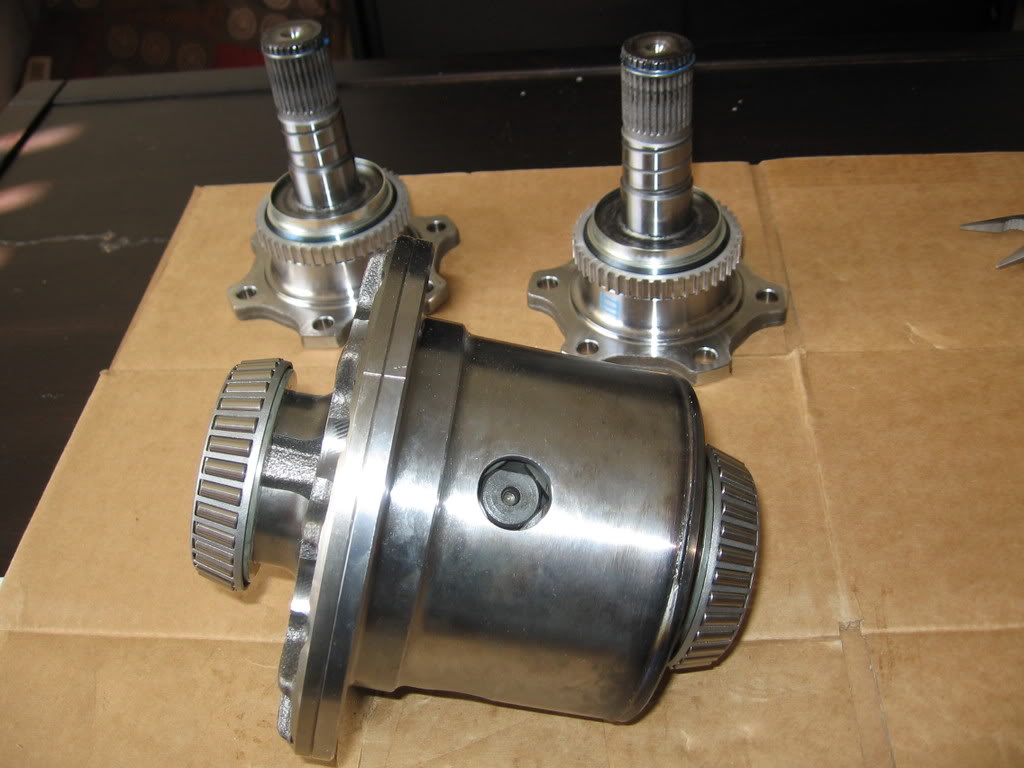
Installation complete!!!
Assembled Diff. Nismo sucks for not pressing the breather hose on the cover before boxing and shipping it. I could not find a part ANYWHERE to press that thing in. Ended up sanding all edges down and sealing it about 3/4 of the way in.
Ended up taking the hacksaw to that retarded bolt. Took me about 10 hours and 2 saw blades due to the location of the damn thing (only about an inch and a half of bite).
Once that bolt was out, the diff came right on out.
Stub axles go in, Veruspeed fluid goes in, everything sealed up and ready for install. New diff goes in. New nut and washer replace the stripped one.
Install new diff.
Took it across the street and did figure 8's in the parking for about 15 minutes. I can definitely feel this thing working. It scrubs and hops at low speed on tight corners. The Veruspeed oil should be pretty well shaken around in there. I'm letting it sit overnight to make sure the cover is fully sealed and will do a 2nd torquing of the axle, driveshaft, and mounting bolts tomorrow evening.
The instructions say I need to do 180 miles @ under 40mph to fully break the clutch plates in before attempting any "swift manuvers." People weren't kidding when they said this thing was a bit loud and would make your car sound like its broken at parking lot speeds.
January update - Motul 90 PA fluid in now, quieted things down a bit in the back. Now I've got to address my clicking rear axles (TSB) and a clicking clutch cable.
Last edited by Citrus; May 20, 2009 at 11:59 AM.

Thanks. I'm not a mechanic by trade at all. I spent a year on a T1 road race team when I was living in Portland. 3-4 nights a week taking cars apart and putting them back together is good experience for anyone interested in modding their personal car.


Trending Topics


Finally someone with a decent write up, I'll be doing my Cusco at some point and I'll document along the way. All my instructions are in Japanese.
Good job!
You don't have the part numbers by any chance for the 2 seals and bearings do you?
Good job!
You don't have the part numbers by any chance for the 2 seals and bearings do you?
Last edited by RandomHer0; Jan 27, 2009 at 03:54 AM.

jealous...I wanted the Nismo too..but cant find it anywhere..
I will keep an eye out for this install as well. take pics cause I will probably be doing this soon as well.
I will keep an eye out for this install as well. take pics cause I will probably be doing this soon as well.

I'm not quite sure what you are referring to as "diff bushes" here. Pretty much all the parts, seals, bearings, bushings, etc. needed for an install (without changing gear ratios) is included in the Nismo kit.

Very nice! I had the same problem putting the breather tube on the nismo finner cover. It helps to have a second set of hands. I had my friend gently vice-grip it and hold it steady while I used a flat head screw driver to tap the sides of the breather tube. It took a good 10 minutes of pure patience but it eventually went in. Hardest part is keeping it straight while you tap it in.