When you click on links to various merchants on this site and make a purchase, this can result in this site earning a commission. Affiliate programs and affiliations include, but are not limited to, the eBay Partner Network.
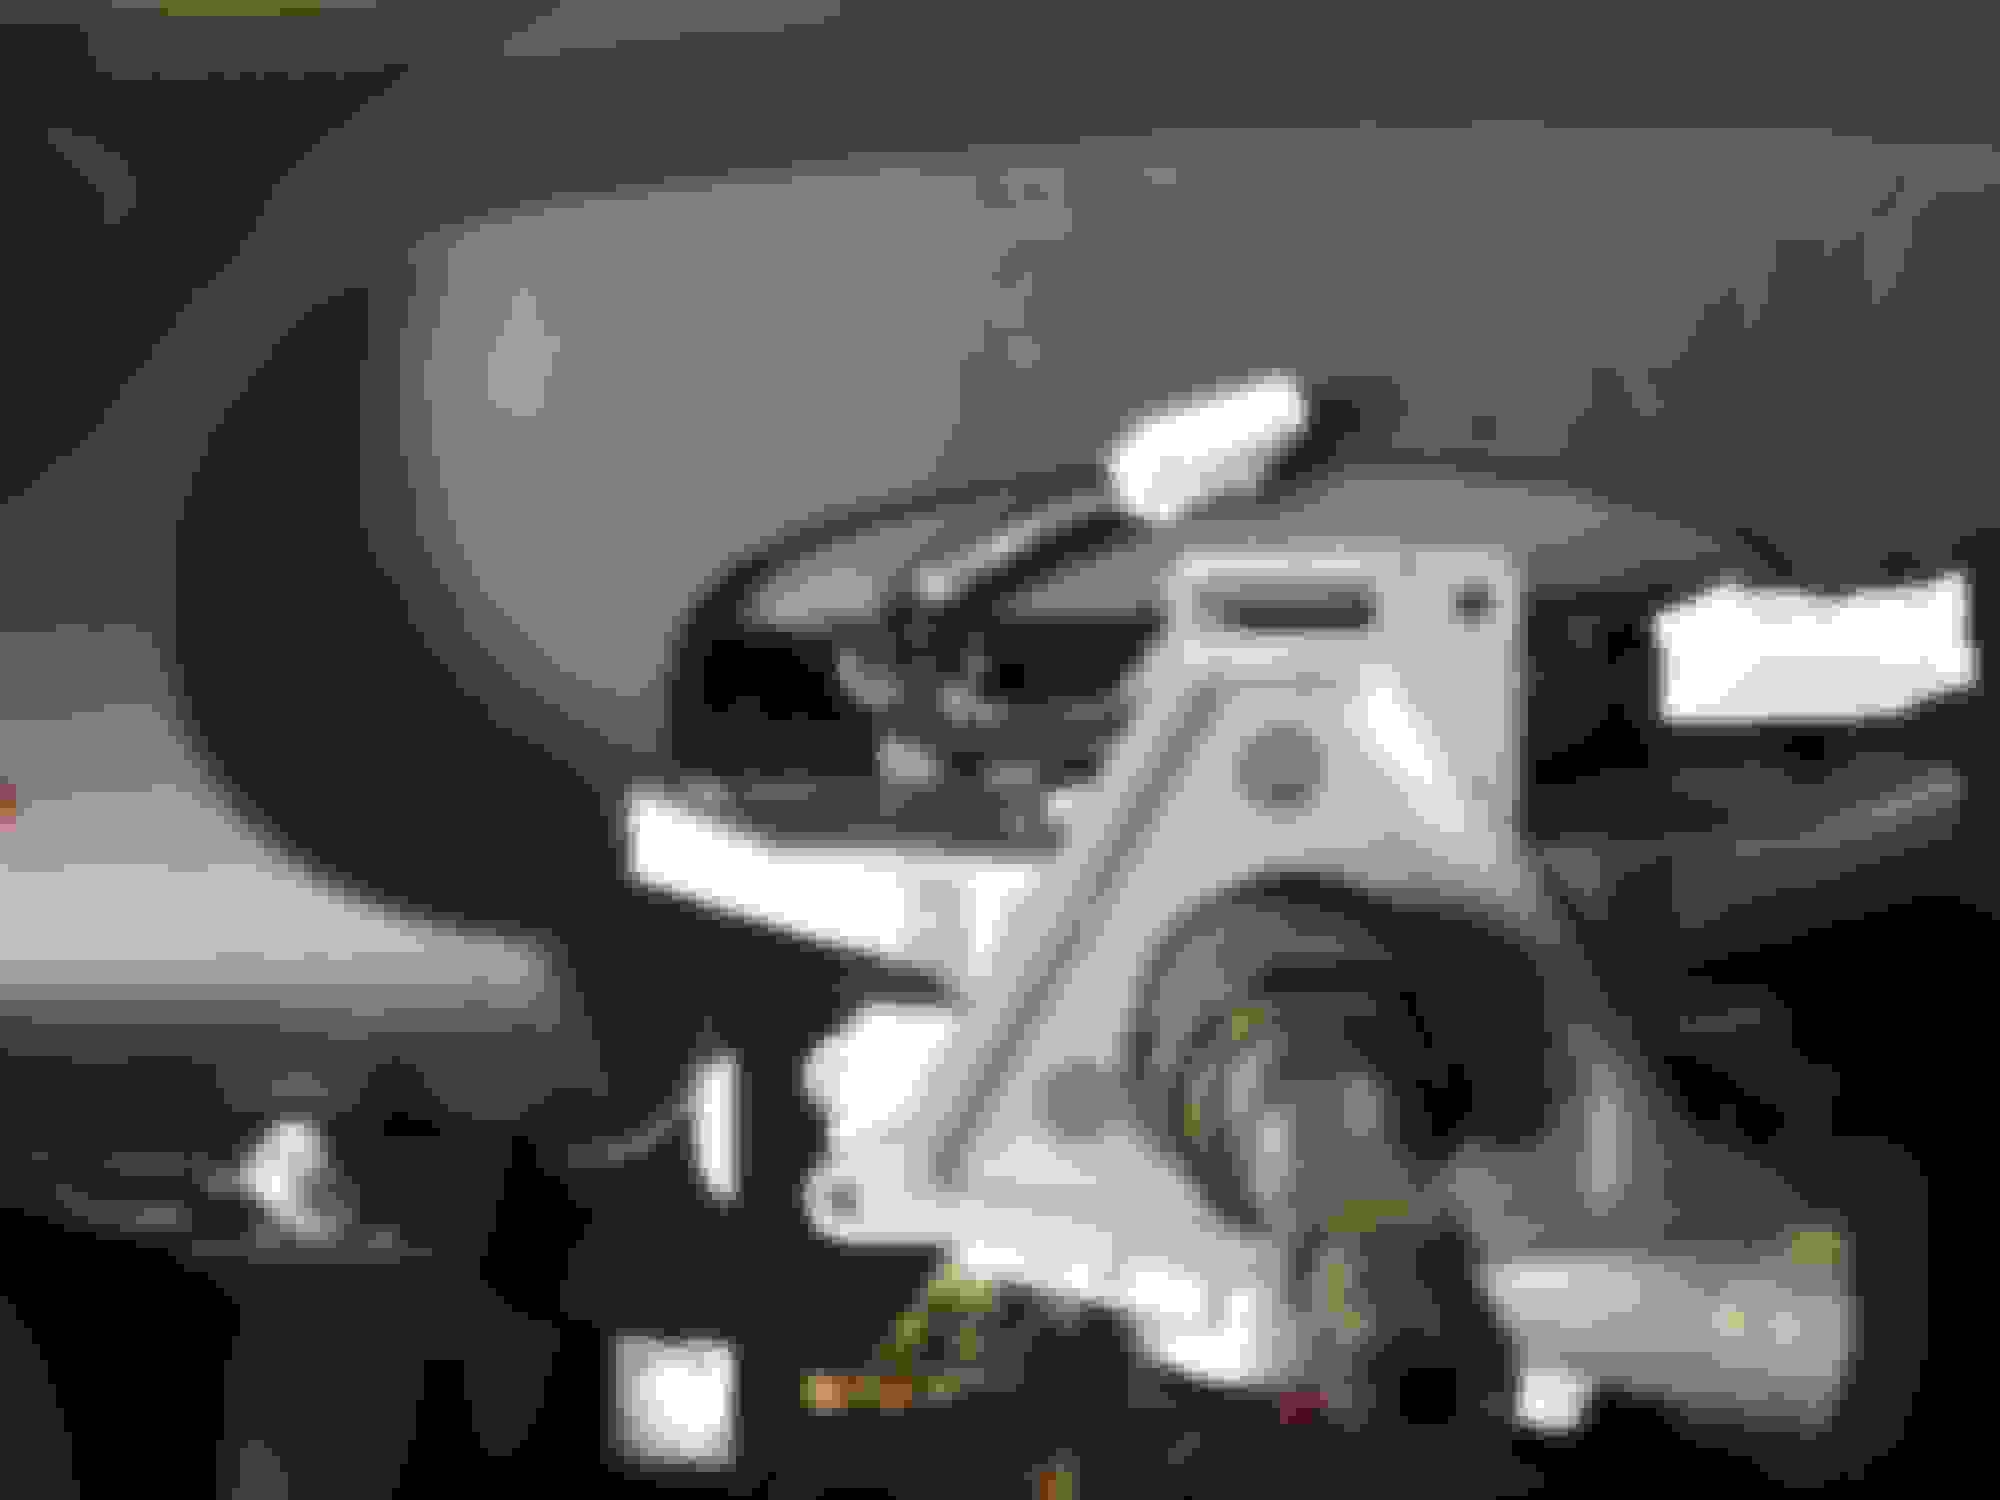
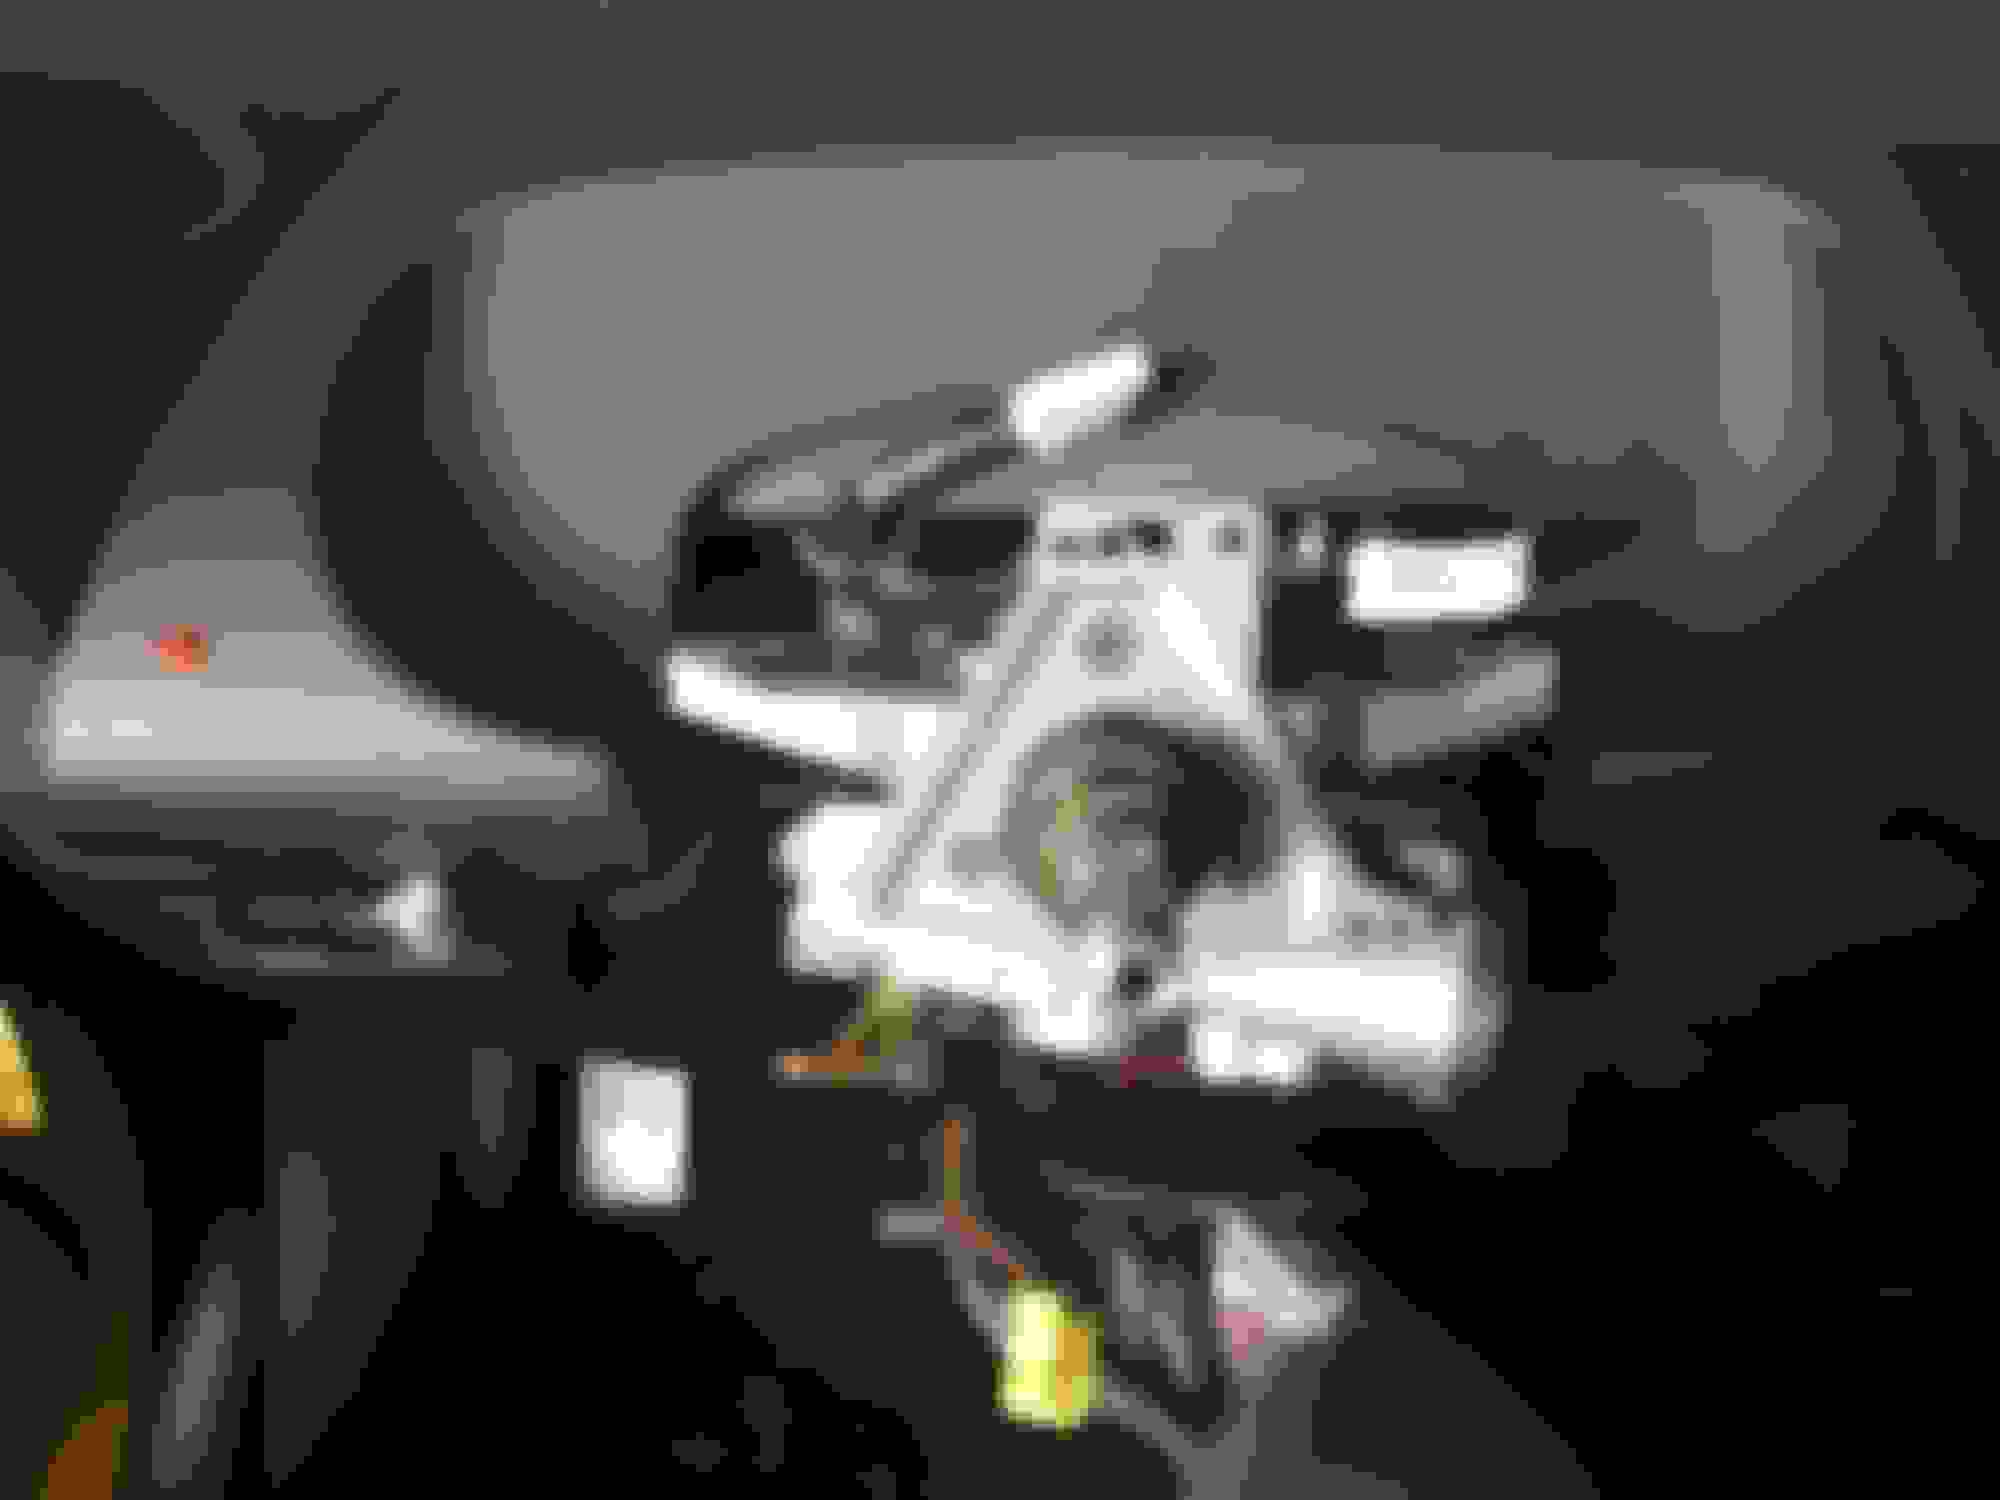
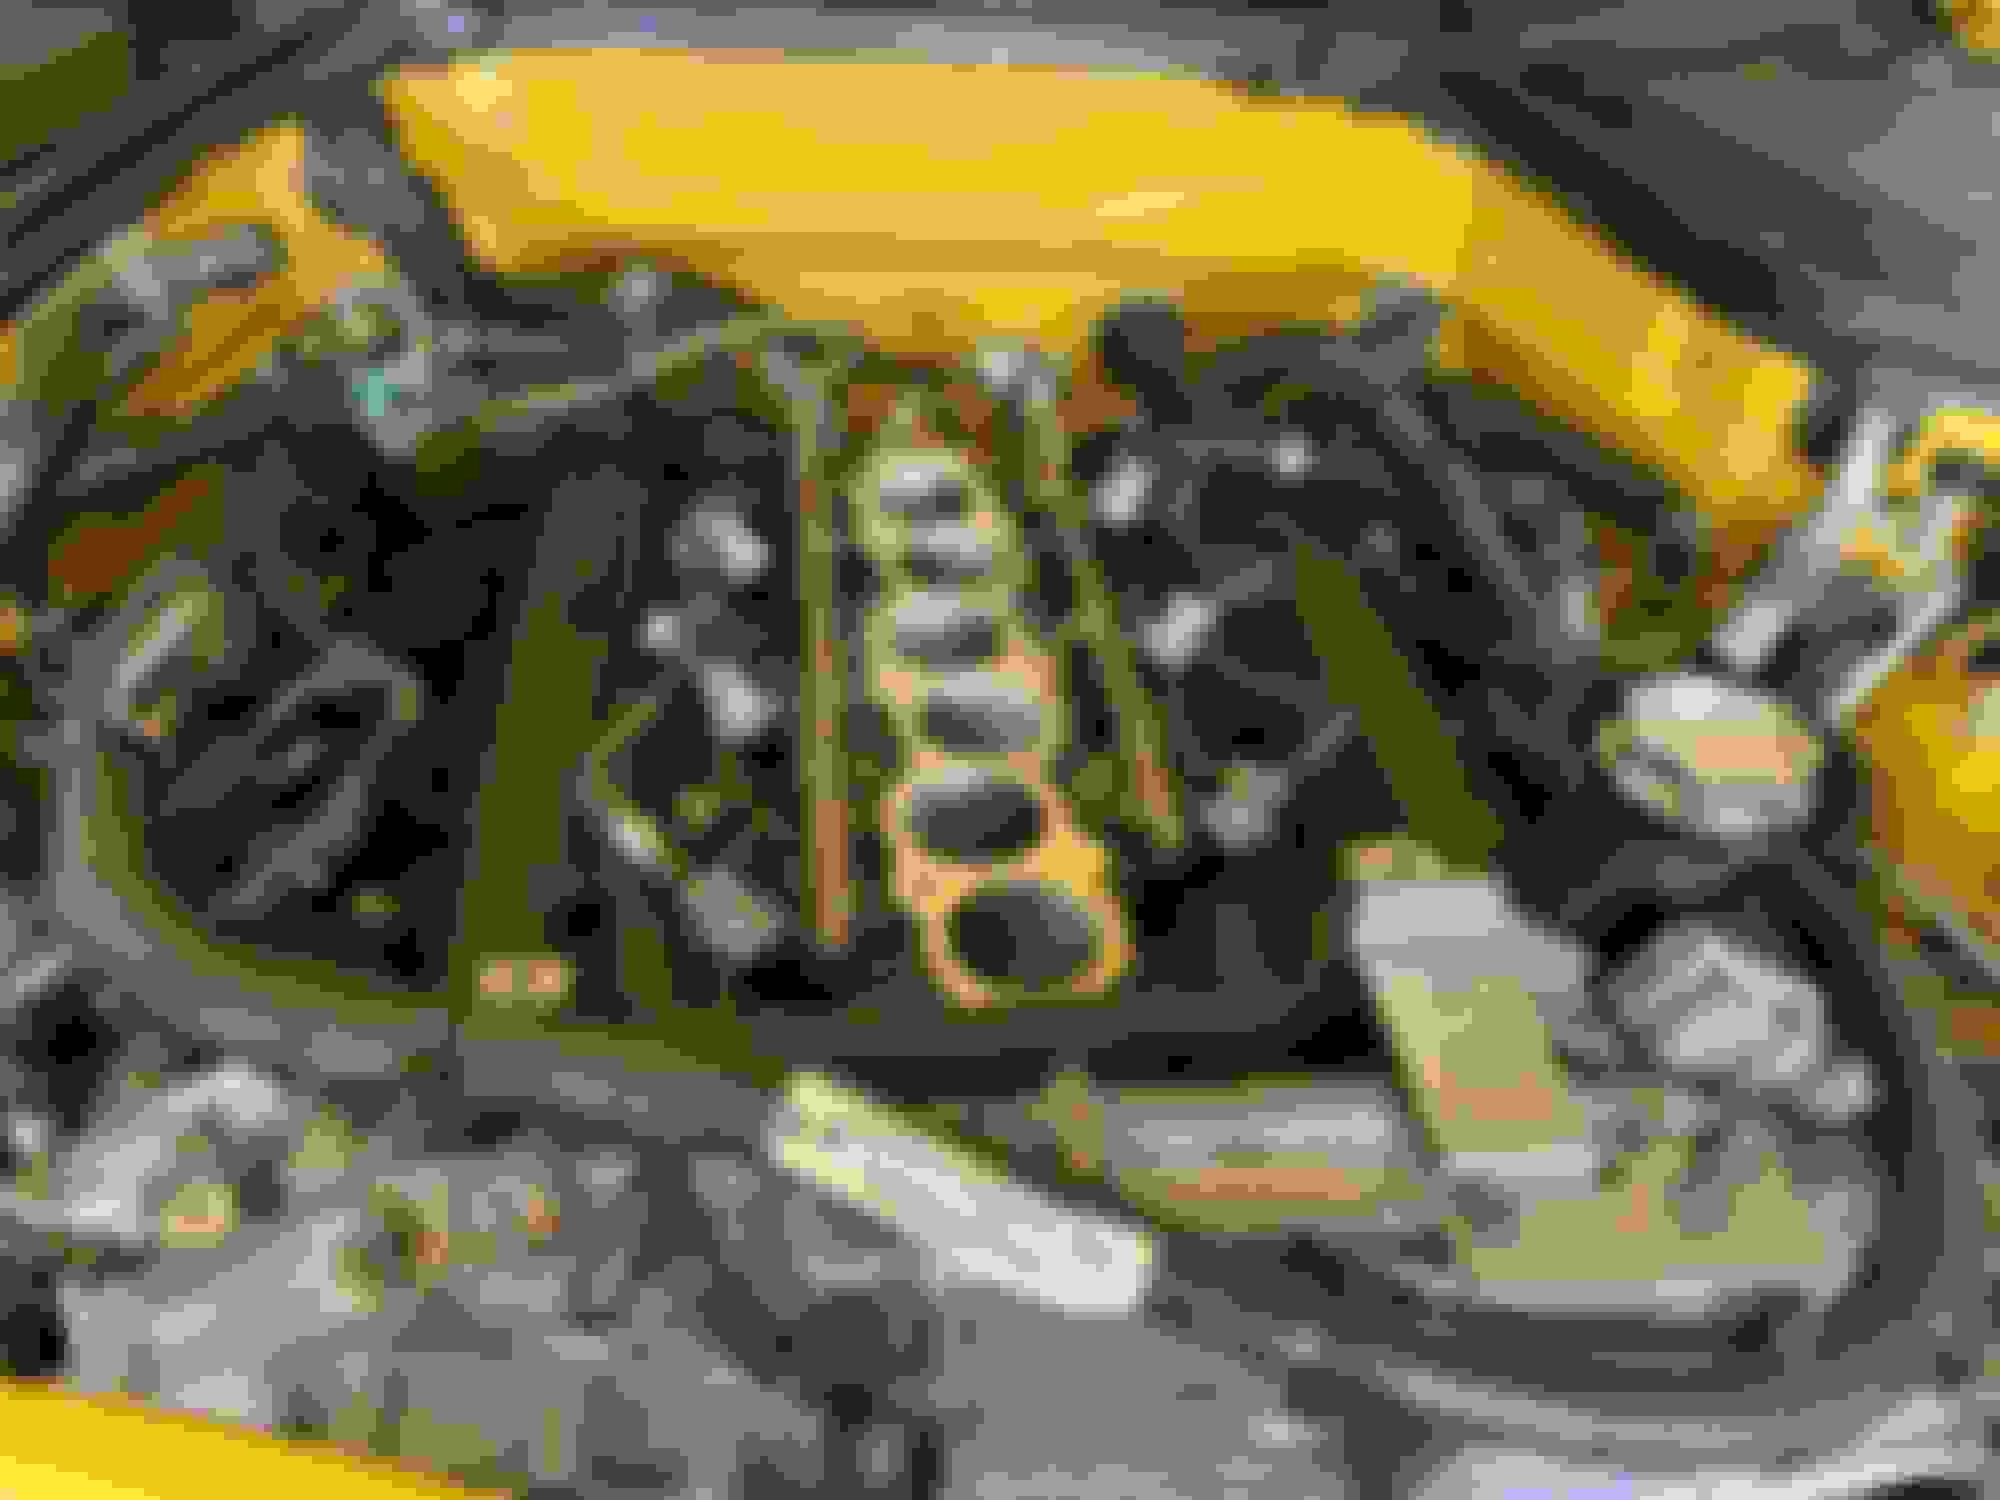
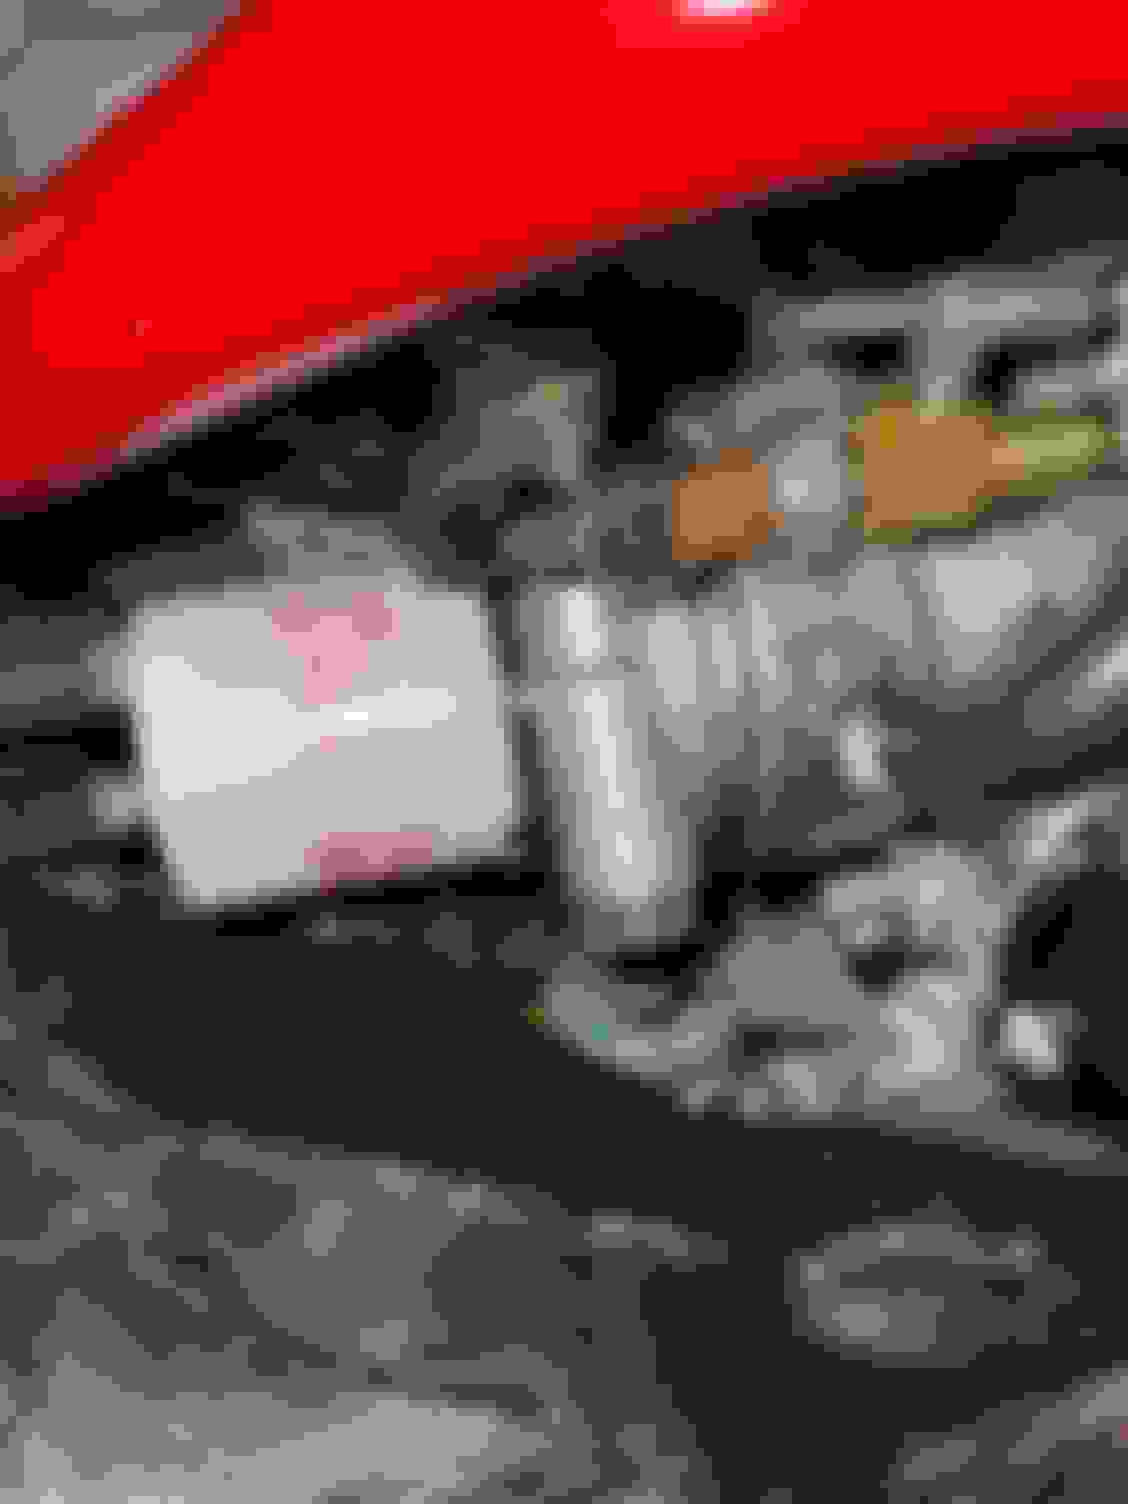
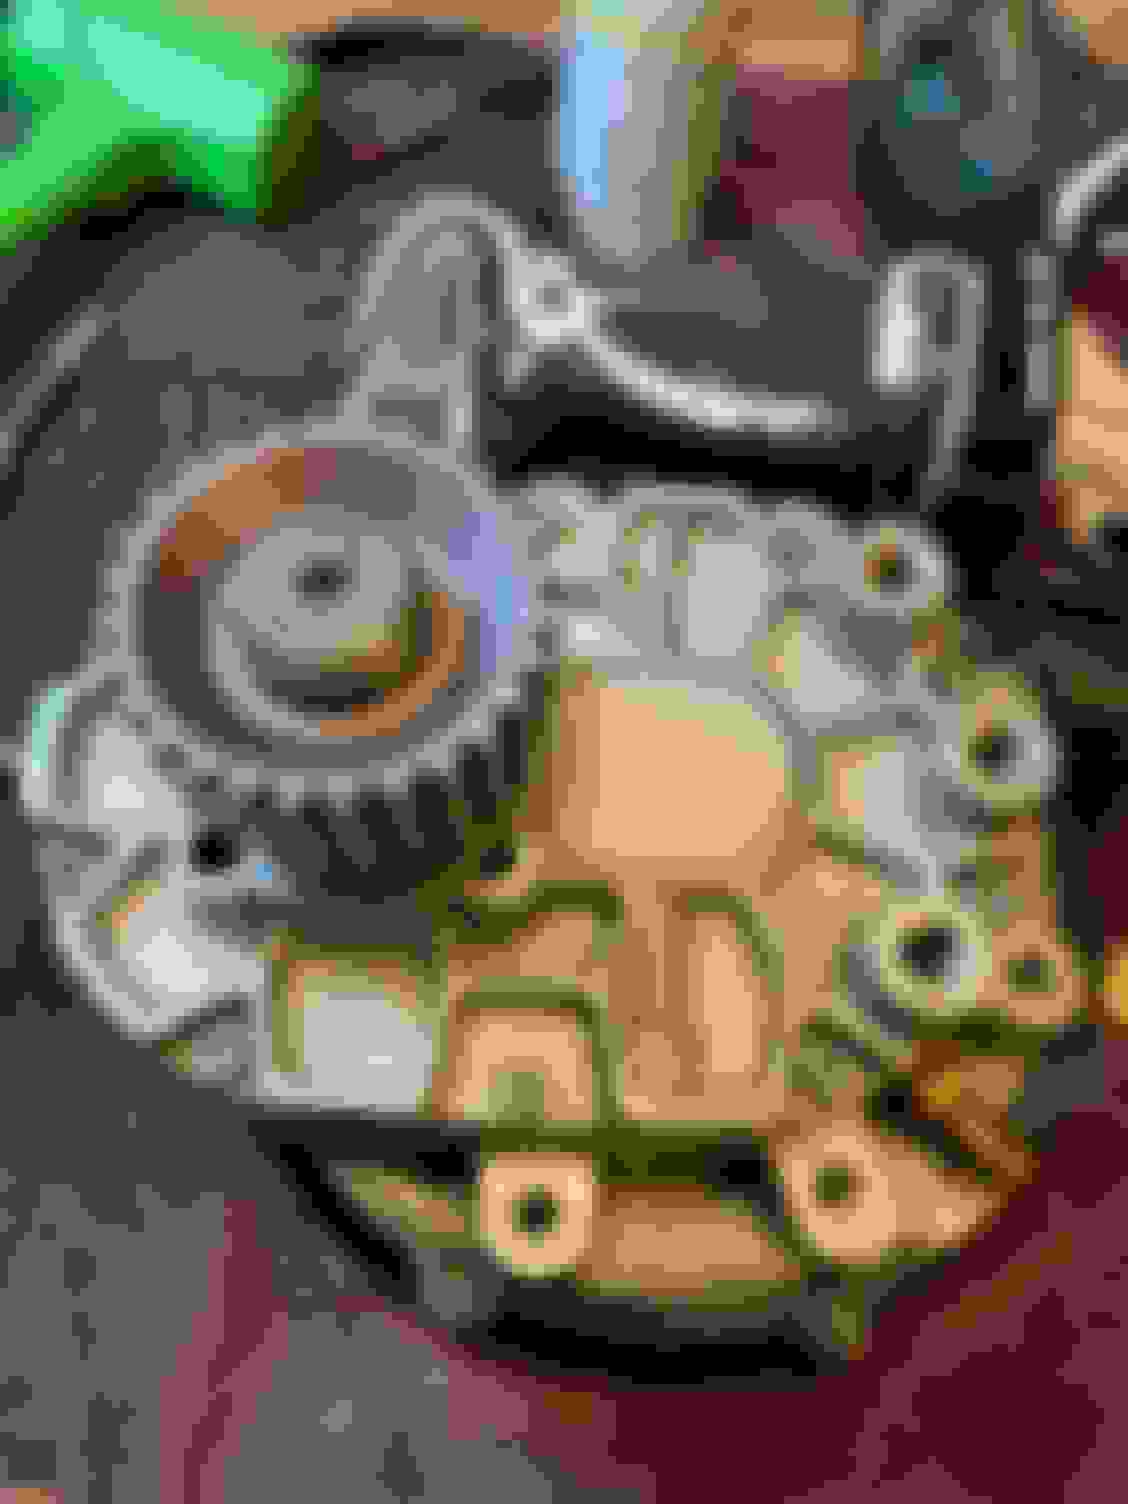
Got the new Clockspring(Nissan calls it something else, spiral cable) in and I installed it. The airbag light is out again! This time the fix should last as I paid for a Nissan OEM clockspring rather than a cheapy. Lesson learned. So...anyone know what this lost brown plug is for in the picture? Was just there when I went in and I think it was that way the first time I did the replacement, just curious what it is? Maybe just part of the harness for radio controls on the steering wheel on models with the option? Or something left over from the old Bose system? Who knows? Well the cruise light is coming on, but not setting still. I know that a rubber stopper broke (old plastic) because I saw it on the floorboard a few weeks back. After some research I believe that is my problem. The cruise thinks the brakes are being pressed because of that missing rubber piece and thus the cruise does not set. I tried to get in there, but I am too big to fit. Got my son signed up to crawl in there in the next day or two to replace the rubber stopper and that should fix the cruise. Pretty interesting that the clutch rubber stopper failed about 2 months ago. Pretty darn close failure rate on the break. The plastic gets brittle and breaks.
Last edited by Jim Stephens; 11-09-2020 at 04:29 AM.
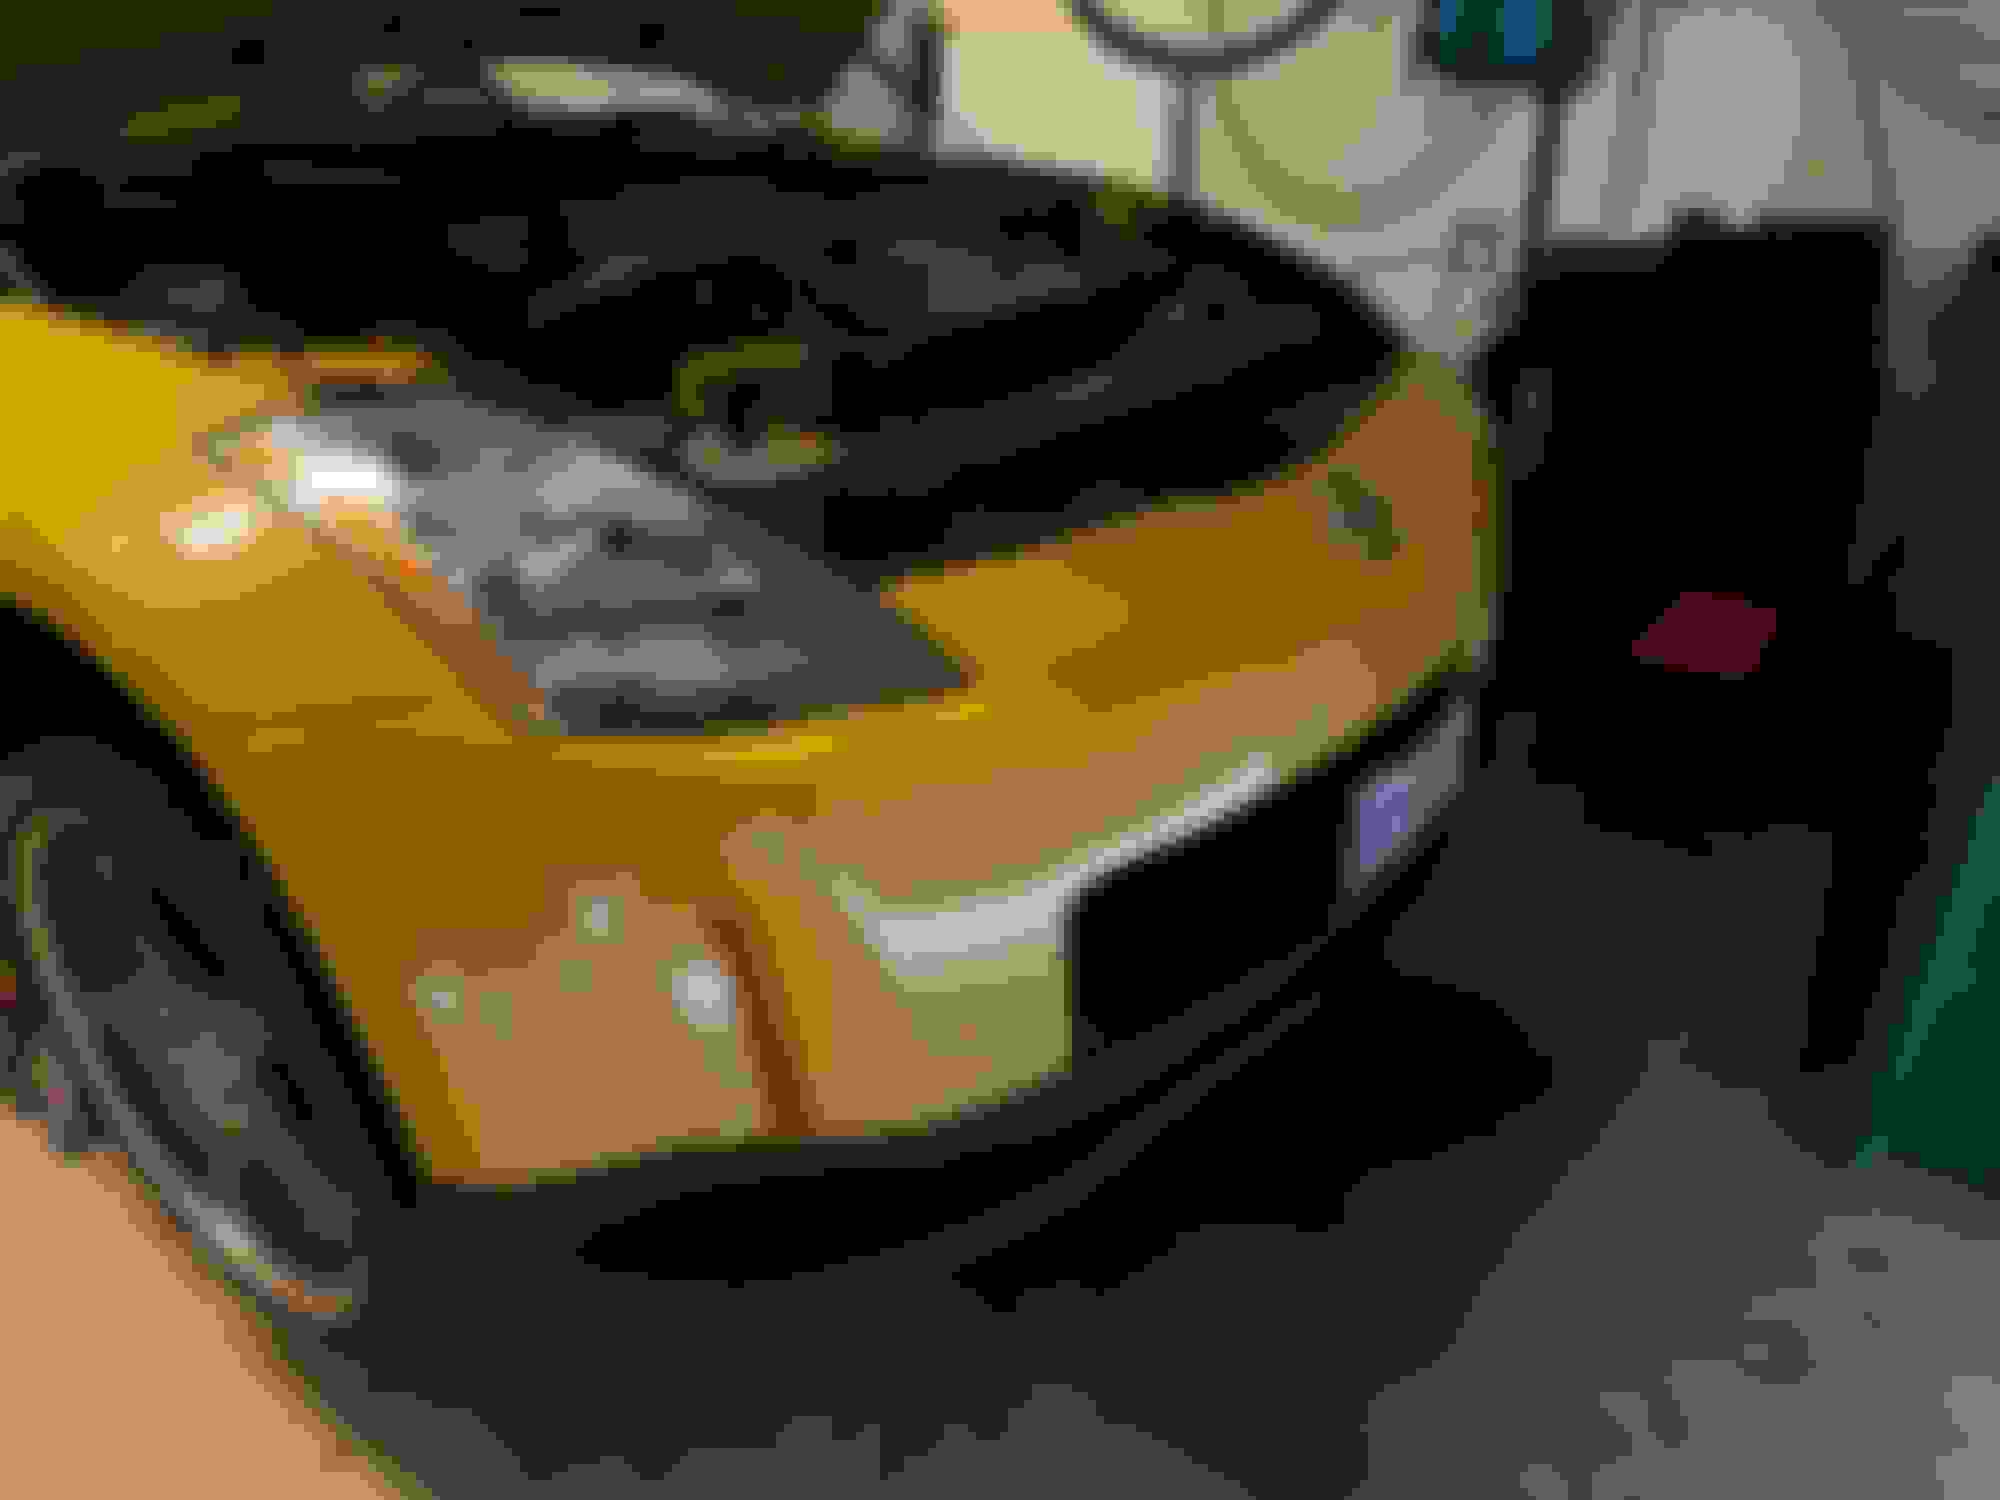
So begins �the project�. Just put the car up on the jacks, pulled the splash guard off and took off the carbon fiber and retainer clips for the front bumper. Just getting the work area set up. Going slow after work with the little day light left. My son is off next week. He and I will be installing the new radiator, oil cooler, and oil pan extender. Will need to drain the fluids.
Last edited by Jim Stephens; 11-16-2020 at 03:19 PM.
Hey, anything else I should be thinking of replacing/upgrading while I am going into everything with this? Everything is OEM with 54k miles on it. Doing a lot of hose replacement just because it is cheap and I am draining all the fluids and the hoses are very old.
Hey, anything else I should be thinking of replacing/upgrading while I am going into everything with this? Everything is OEM with 54k miles on it. Doing a lot of hose replacement just because it is cheap and I am draining all the fluids and the hoses are very old.
Harmonic balancer?
Make sure you put a little blue loctite on the oil filter sandwich plate thread in piece.
Not too much that you don't have covered that I can think of.
Belts, maybe also deleting the idler pulley if you're into that. You could also preemptively change the thermostat, now would be the best time with all the fluid out. Spark plugs, if those haven't been changed.
Got the radiator pulled. First question. Do I have the wrong radiator? It has two small 1/4” connections at the bottom I do not need? I think those are for a car equipped with an automatic transmission? Yet the z1 ad specifically states this radiator does not have a/t cooling? I have a feeling I can just not hook anything up to them and it will be fine.
Called Z1 and got the answer today.
Those two connectors are used if you have an automatic transmission and you just leave them alone and do not use them if you have a manual. The original version of the radiator did not support an automatic, so the bottom of the Ad (in blue print) states you will need a separate transmission cooler. The black print portion of the Ad states it does support an Automatic. The guy said the original radiator did not, but they made a design change and now it does. He will notify their web people to delete the blue text at the bottom as it is incorrect. Hmmm. So, if there is a transmission cooler built into this radiator, I have a manual, I could theoretically use that cooler for something else that is built in. Interesting.
Last edited by Jim Stephens; 11-23-2020 at 07:09 AM.
Also contemplating how I go at this. Got a really great space to work with with the radiator and fans out. I can at least get the belts removed and maybe go ahead and get the vortech bracket mounted and belts installed before I put in the radiator and fan shroud.
Will replace the second accessory belt while I am in there.
Pretty good morning working on the car. I got the belts off, took off the intake and plenum, Installed Cold Spark plugs, and installed 750cc fuel injectors and have it all torqued back down. Good stopping point. Tomorrow I am going to install a bunch of Z1 water and vacuum hoses, put back on the Plenum up to the throttle body. I will use new gaskets and torque it all down. I might then also put on the new A/C belt if it comes in and put in the new radiator. The injectors were a new thing for me. Really very straightforward to install those. Took a few moments to visuallize how the clips hold on the injector, but otherwise it went smoothly. Tomorrow I might click the key a 1/2 click to turn on the fuel pump and check the injectors for leaks before I put it all back together. Not sure if I can do that with so much of the car unplugged? The intake has a piece of cardboard taped over it for now.
Last edited by Jim Stephens; 11-29-2020 at 04:03 AM.
Made great progress today. Got everything re-installed. Then replaced a bunch of hoses with Z1 hoses. Got the radiator installed. This CSF quality is great! Everything fit perfectly. Contemplating putting in the radiator fans now or later. I think I need to get that in there before I put in the supercharger as it is pretty awkward to get in there. Hate to give up all the space I have to work on the belts but have to do it at some point. Probably will drain the oil tomorrow or Friday and start with the Oil Cooler install and the oil pan extension.
Last edited by Jim Stephens; 11-25-2020 at 10:21 AM.
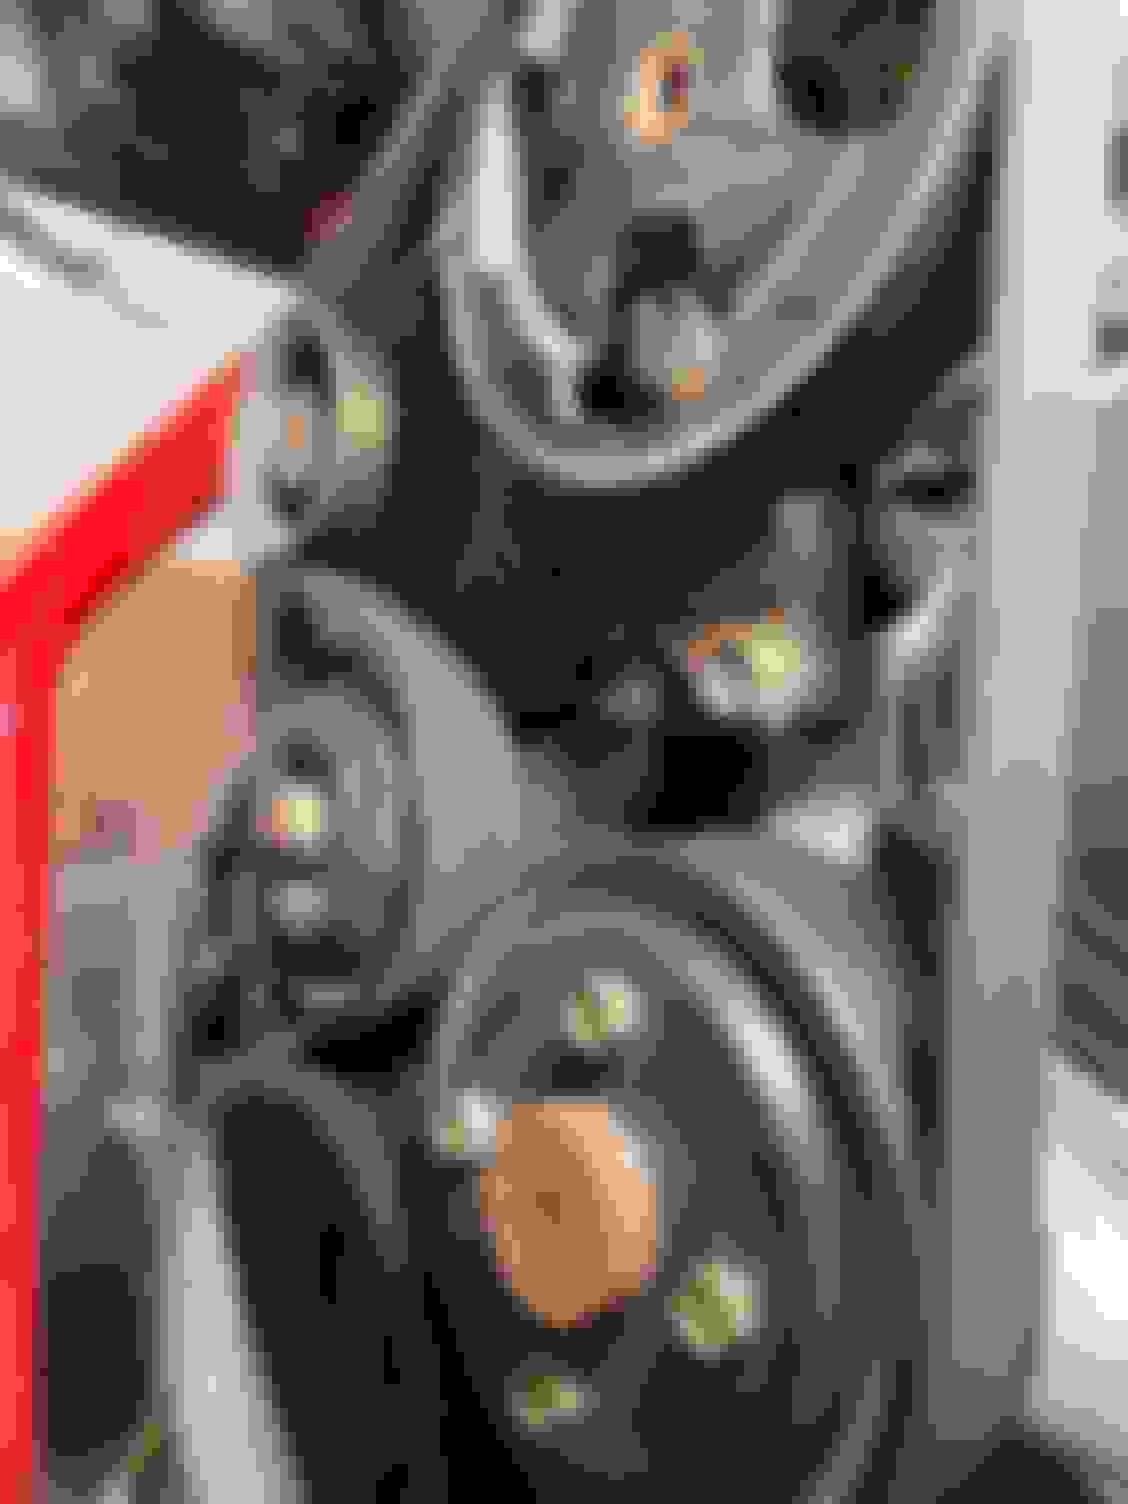
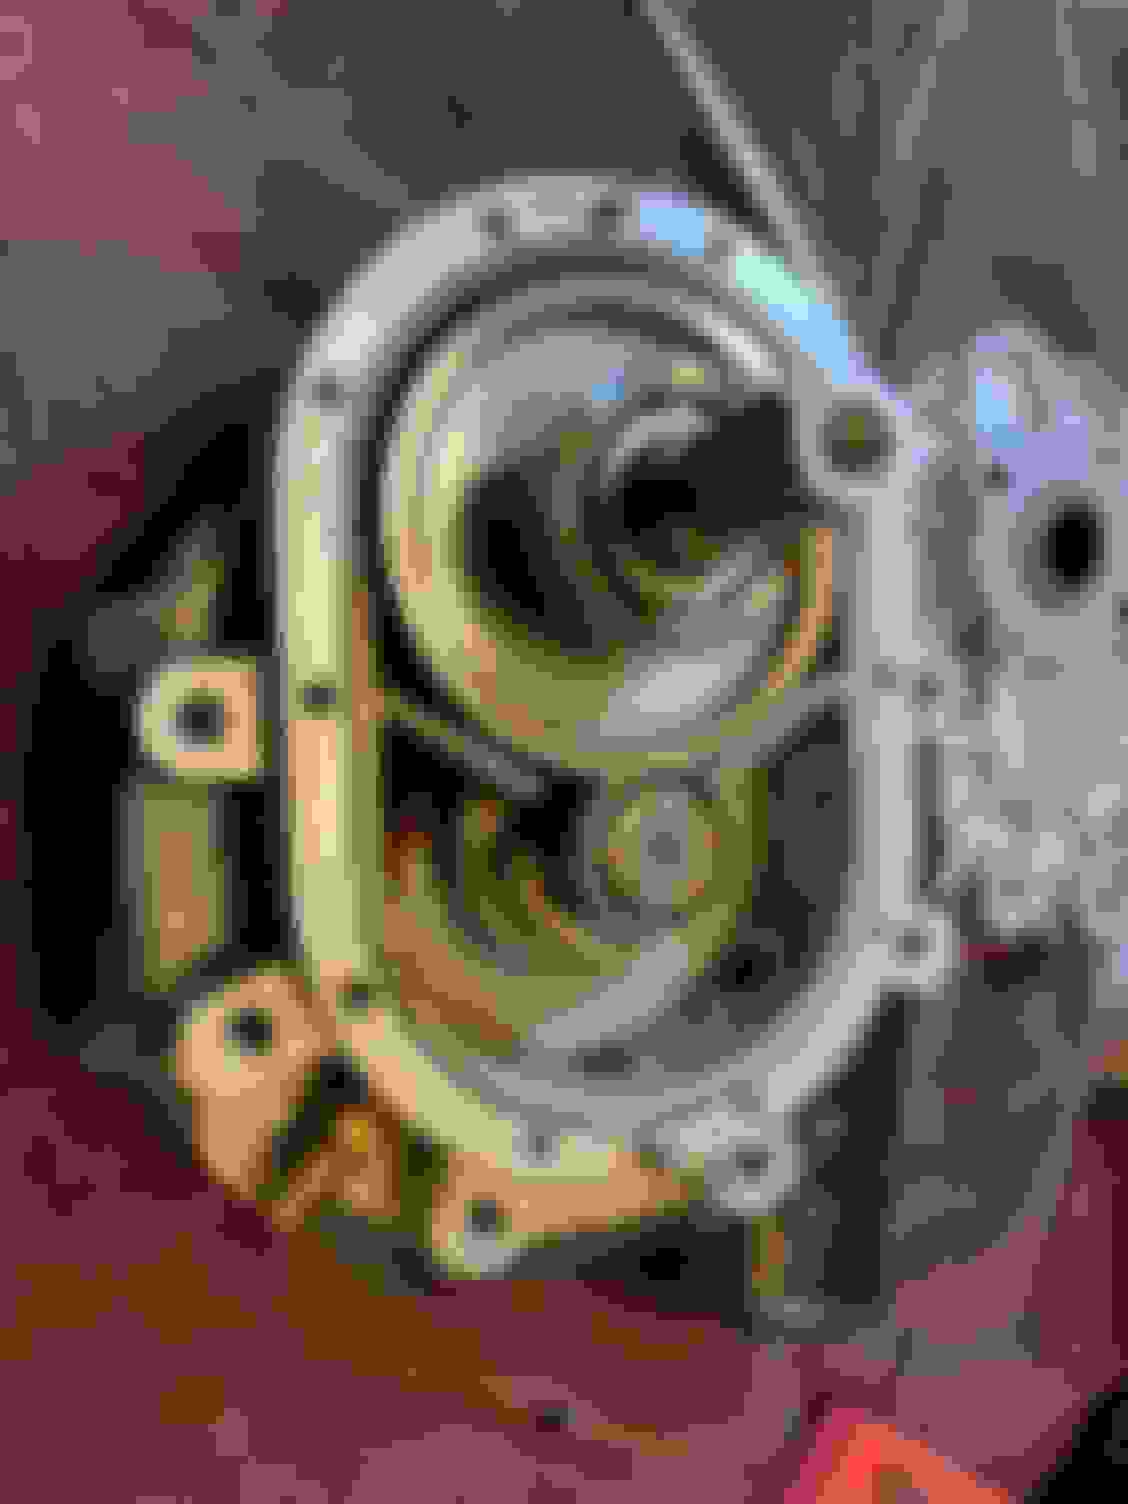
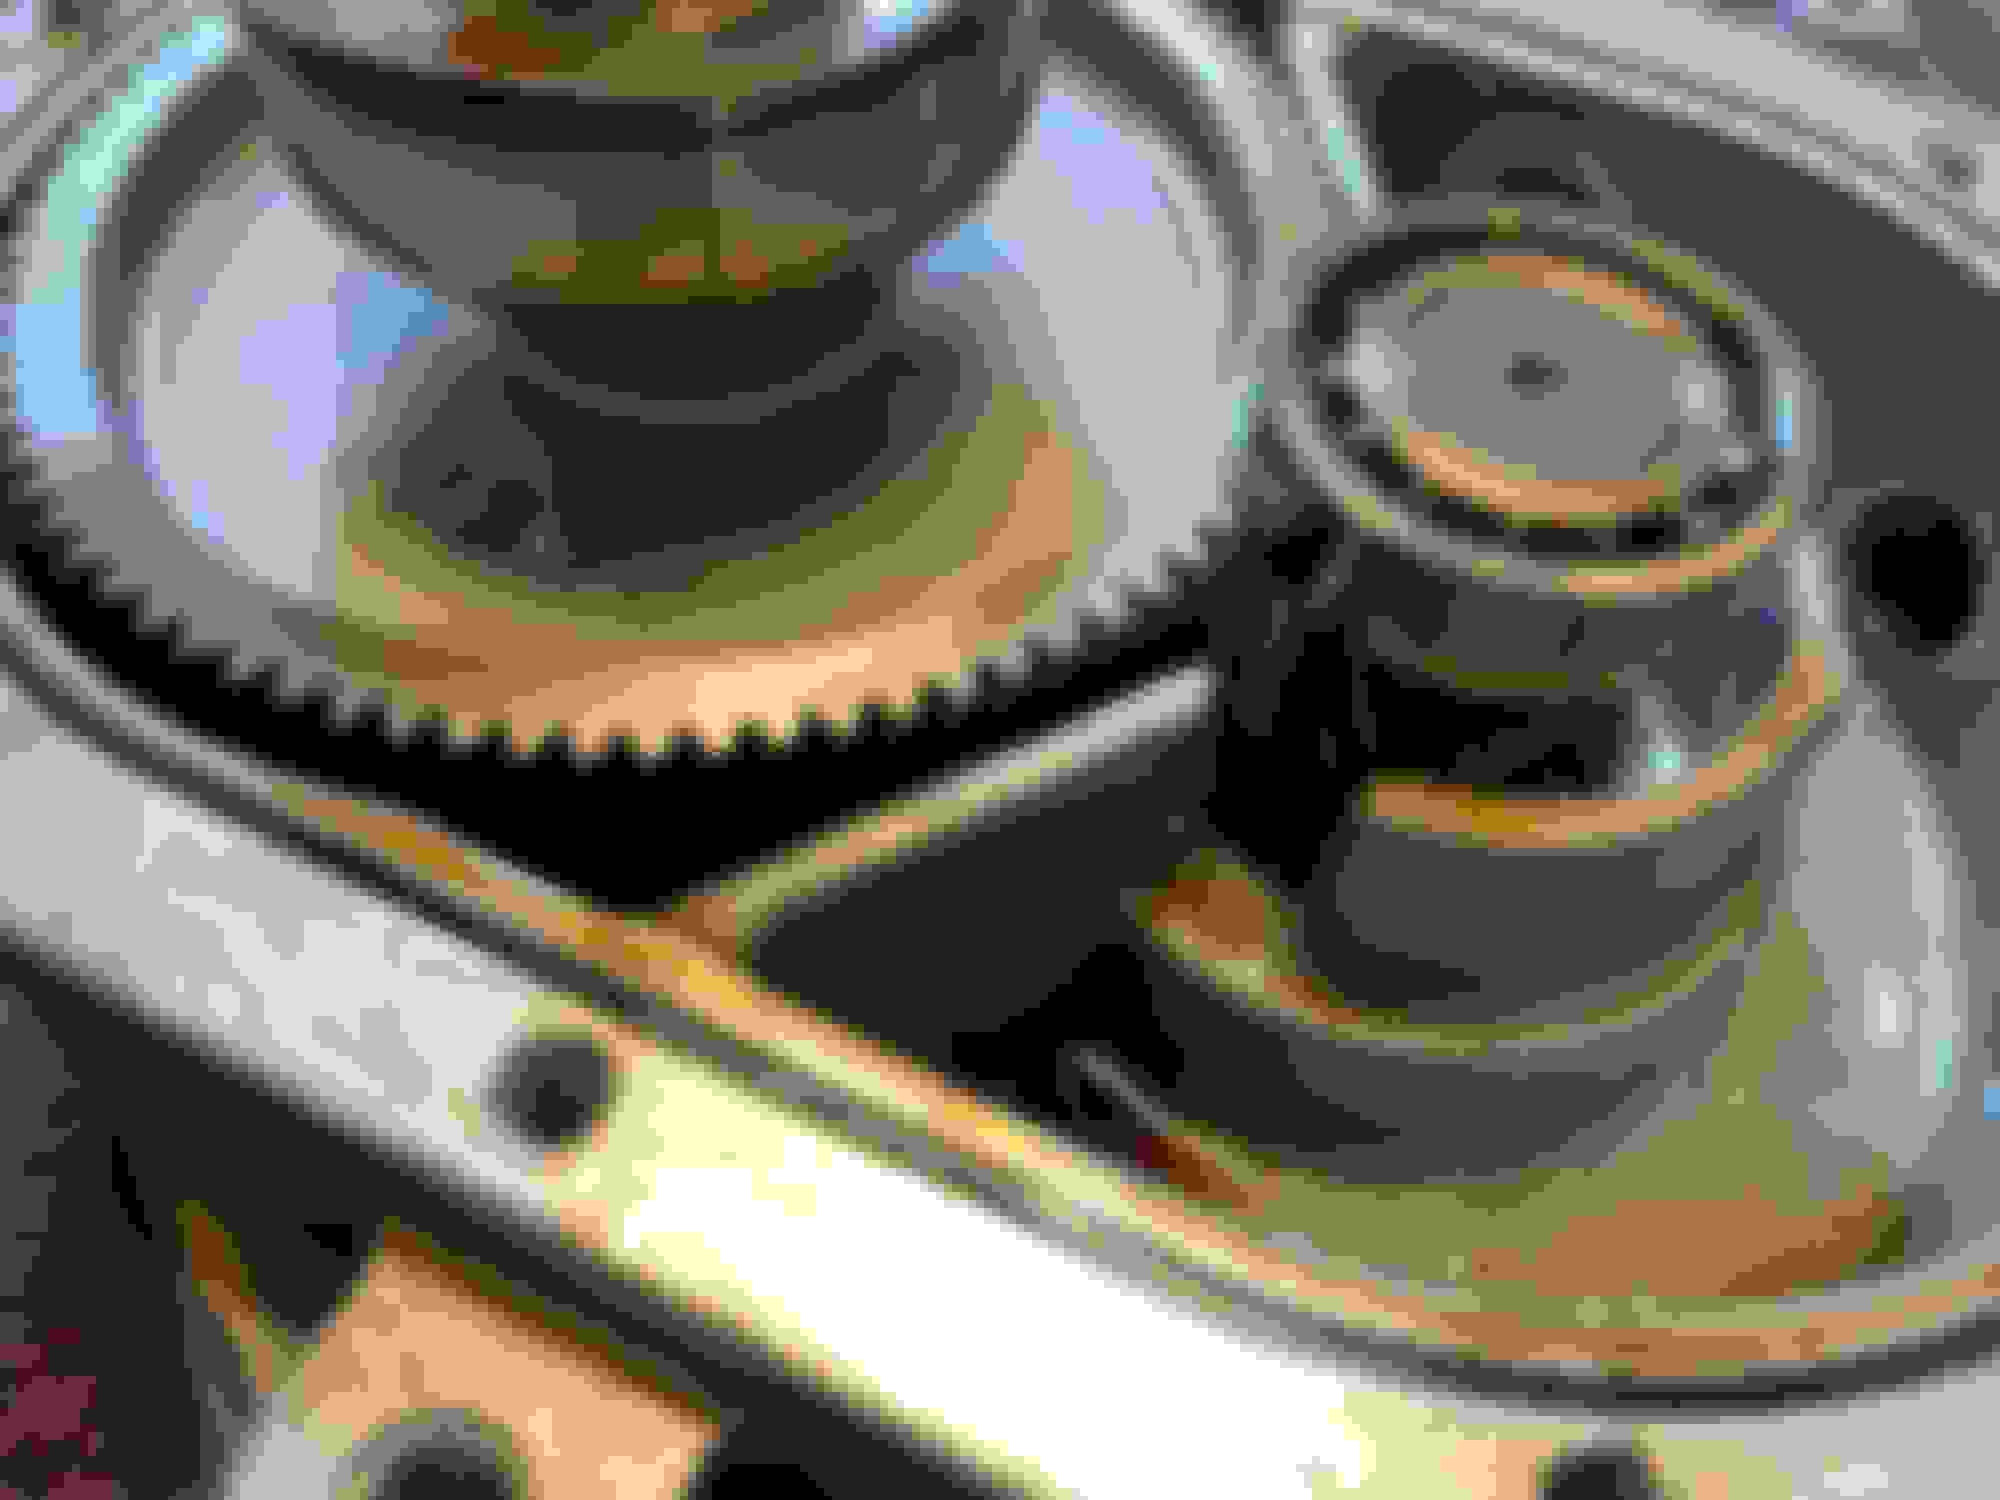
Been updating a Vortech thread when I need to get help with the install, but thought i would post here a bit as well just to keep it all together for reference. 34 row Setrab Oil Filter installed. Barely fits in there, had to grind off two small tabs on the bottom to get the bracket down low enough to clear the fittings on top. Ignore that mangled fitting, some learning curve on dealing with how to install those compression bolt taps. Tap'd it out and it is all good. Shh. You will never ever see it again with the oil cooler mounted. If I had to do it again, I would have purchased one size smaller oil cooler.
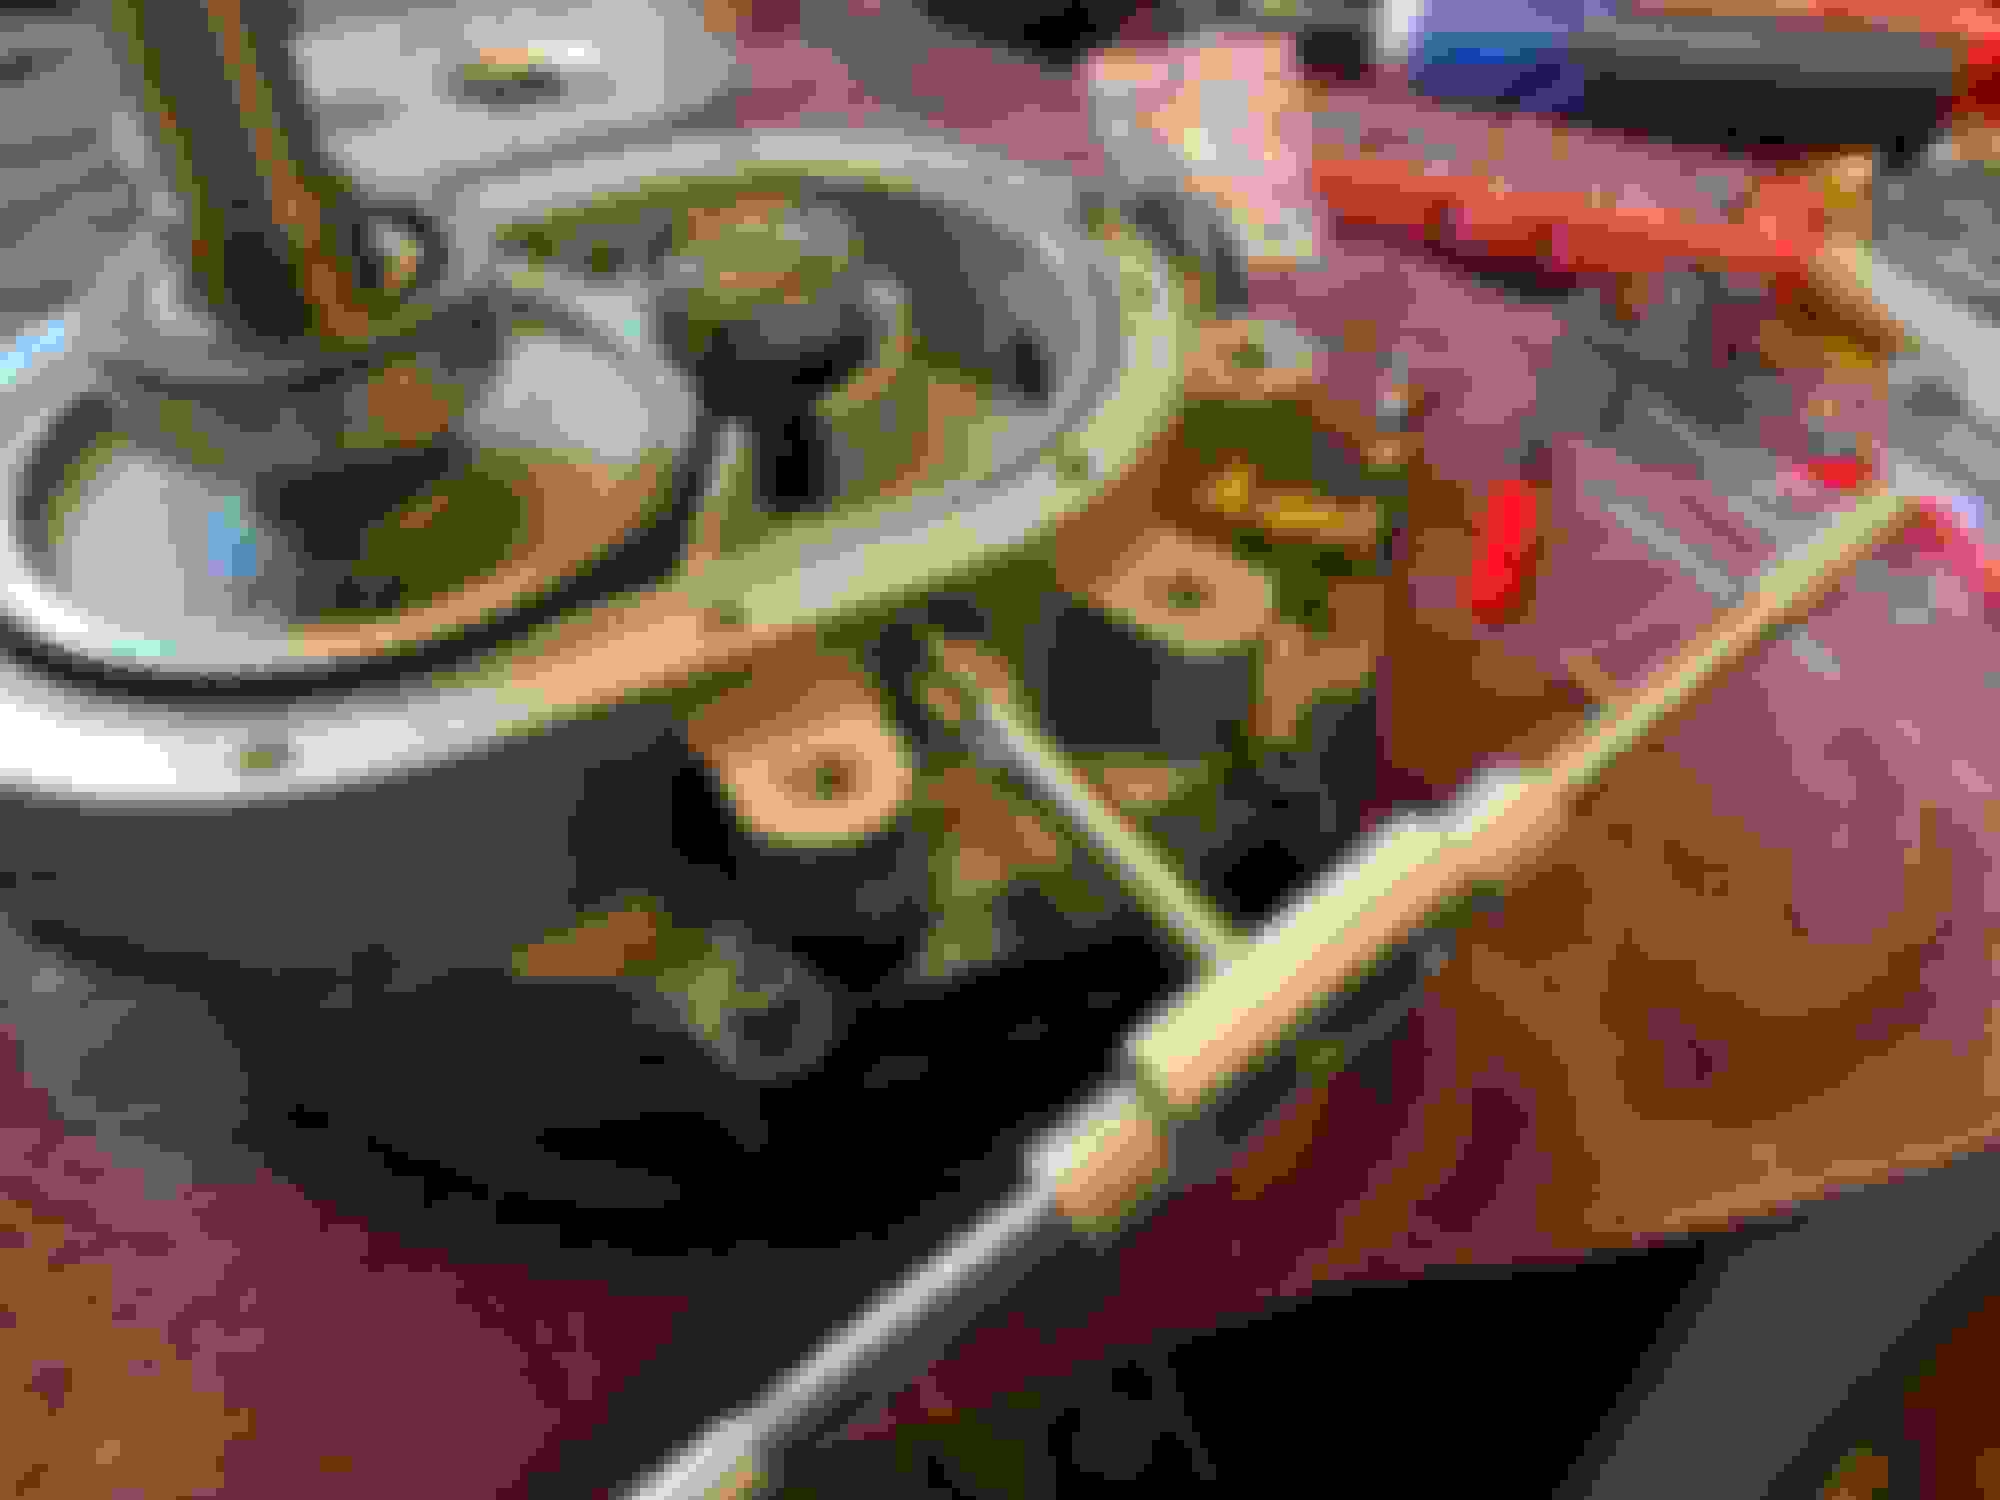
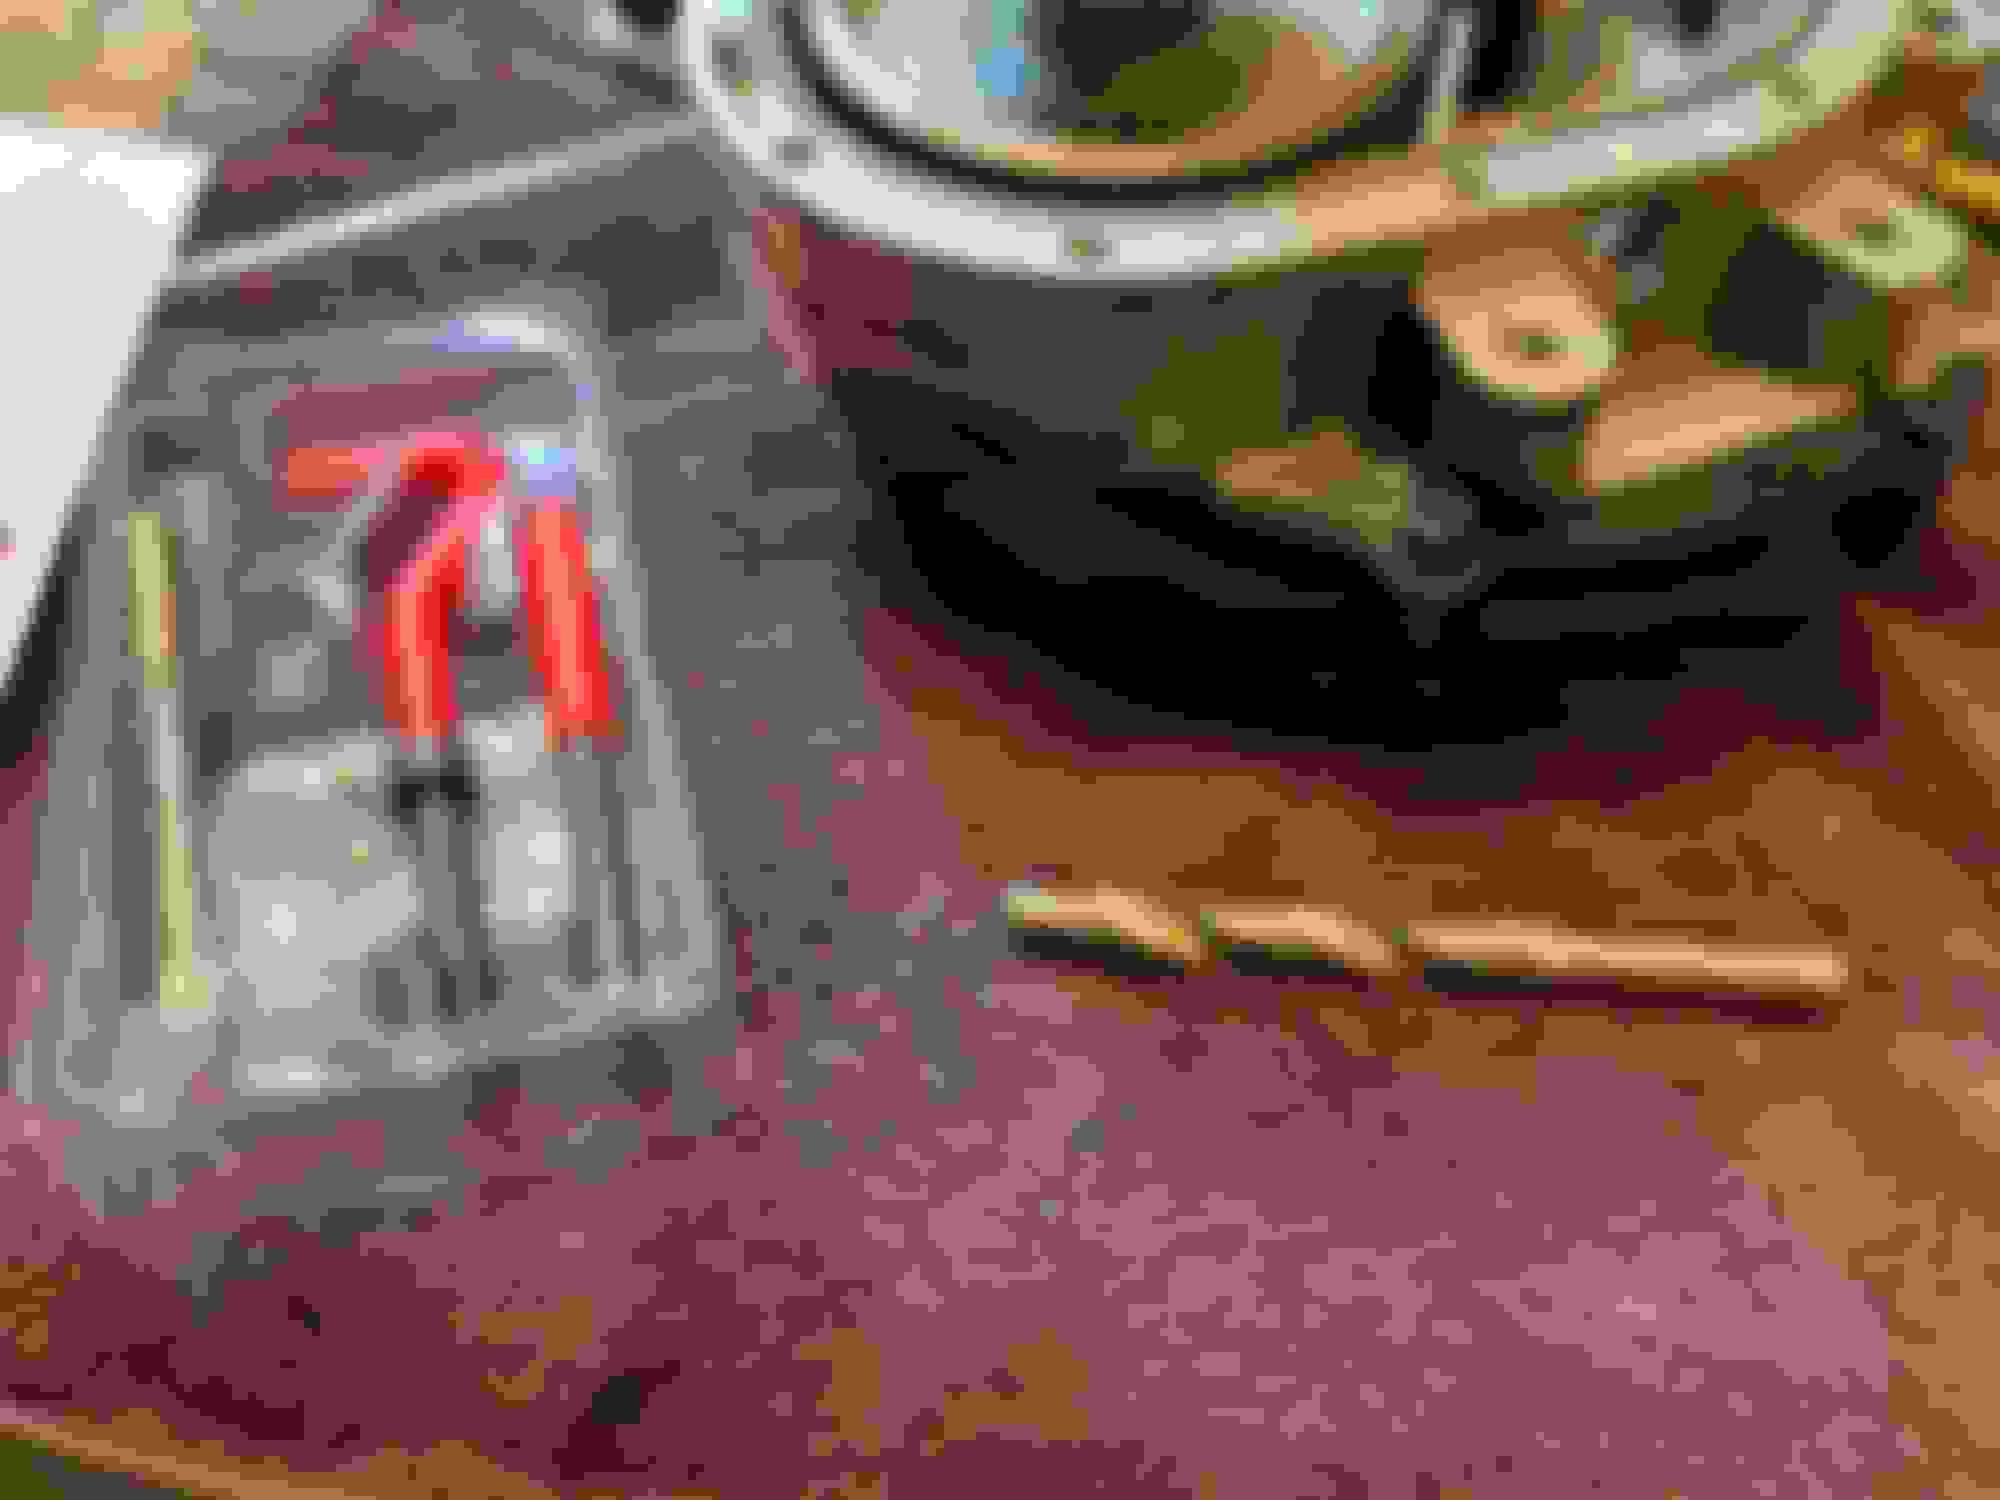
The oil filter is just on there just not tightened down yet. I need a shallow wall socket to torque down that oil sandwich plate. Strangely enough, I spent way too much time trying to get the adapter that goes inside the oil sandwich plate to thread on to the original filter fitting. Just hard getting it perfectly squared up to thread on with those huge AN fittings fighting me just a little. "T" and "L" fittings in place for the oil feed line to the Supercharger. No, I did not go to the hardware store and create all those fittings, that was part of the Vortech kit.
All I can think is look at all these new failure points for oil leaks. LOL. They are: Sandwich plate, A/N Fittings, Oil Feed fittings, oil pan extender, Setrab unit. Yeah, if nothing leaks on the first try it will be a miracle. LOL. Today, I am getting the fans re-installed and then starting on installing the piping and the supercharger(finally) itself. I have a few things to work out still with the intercooler, piping. Need to go through and just recheck all the work that has been done. Lot's of new stuff on the car.
Last edited by Jim Stephens; 11-29-2020 at 03:57 AM.
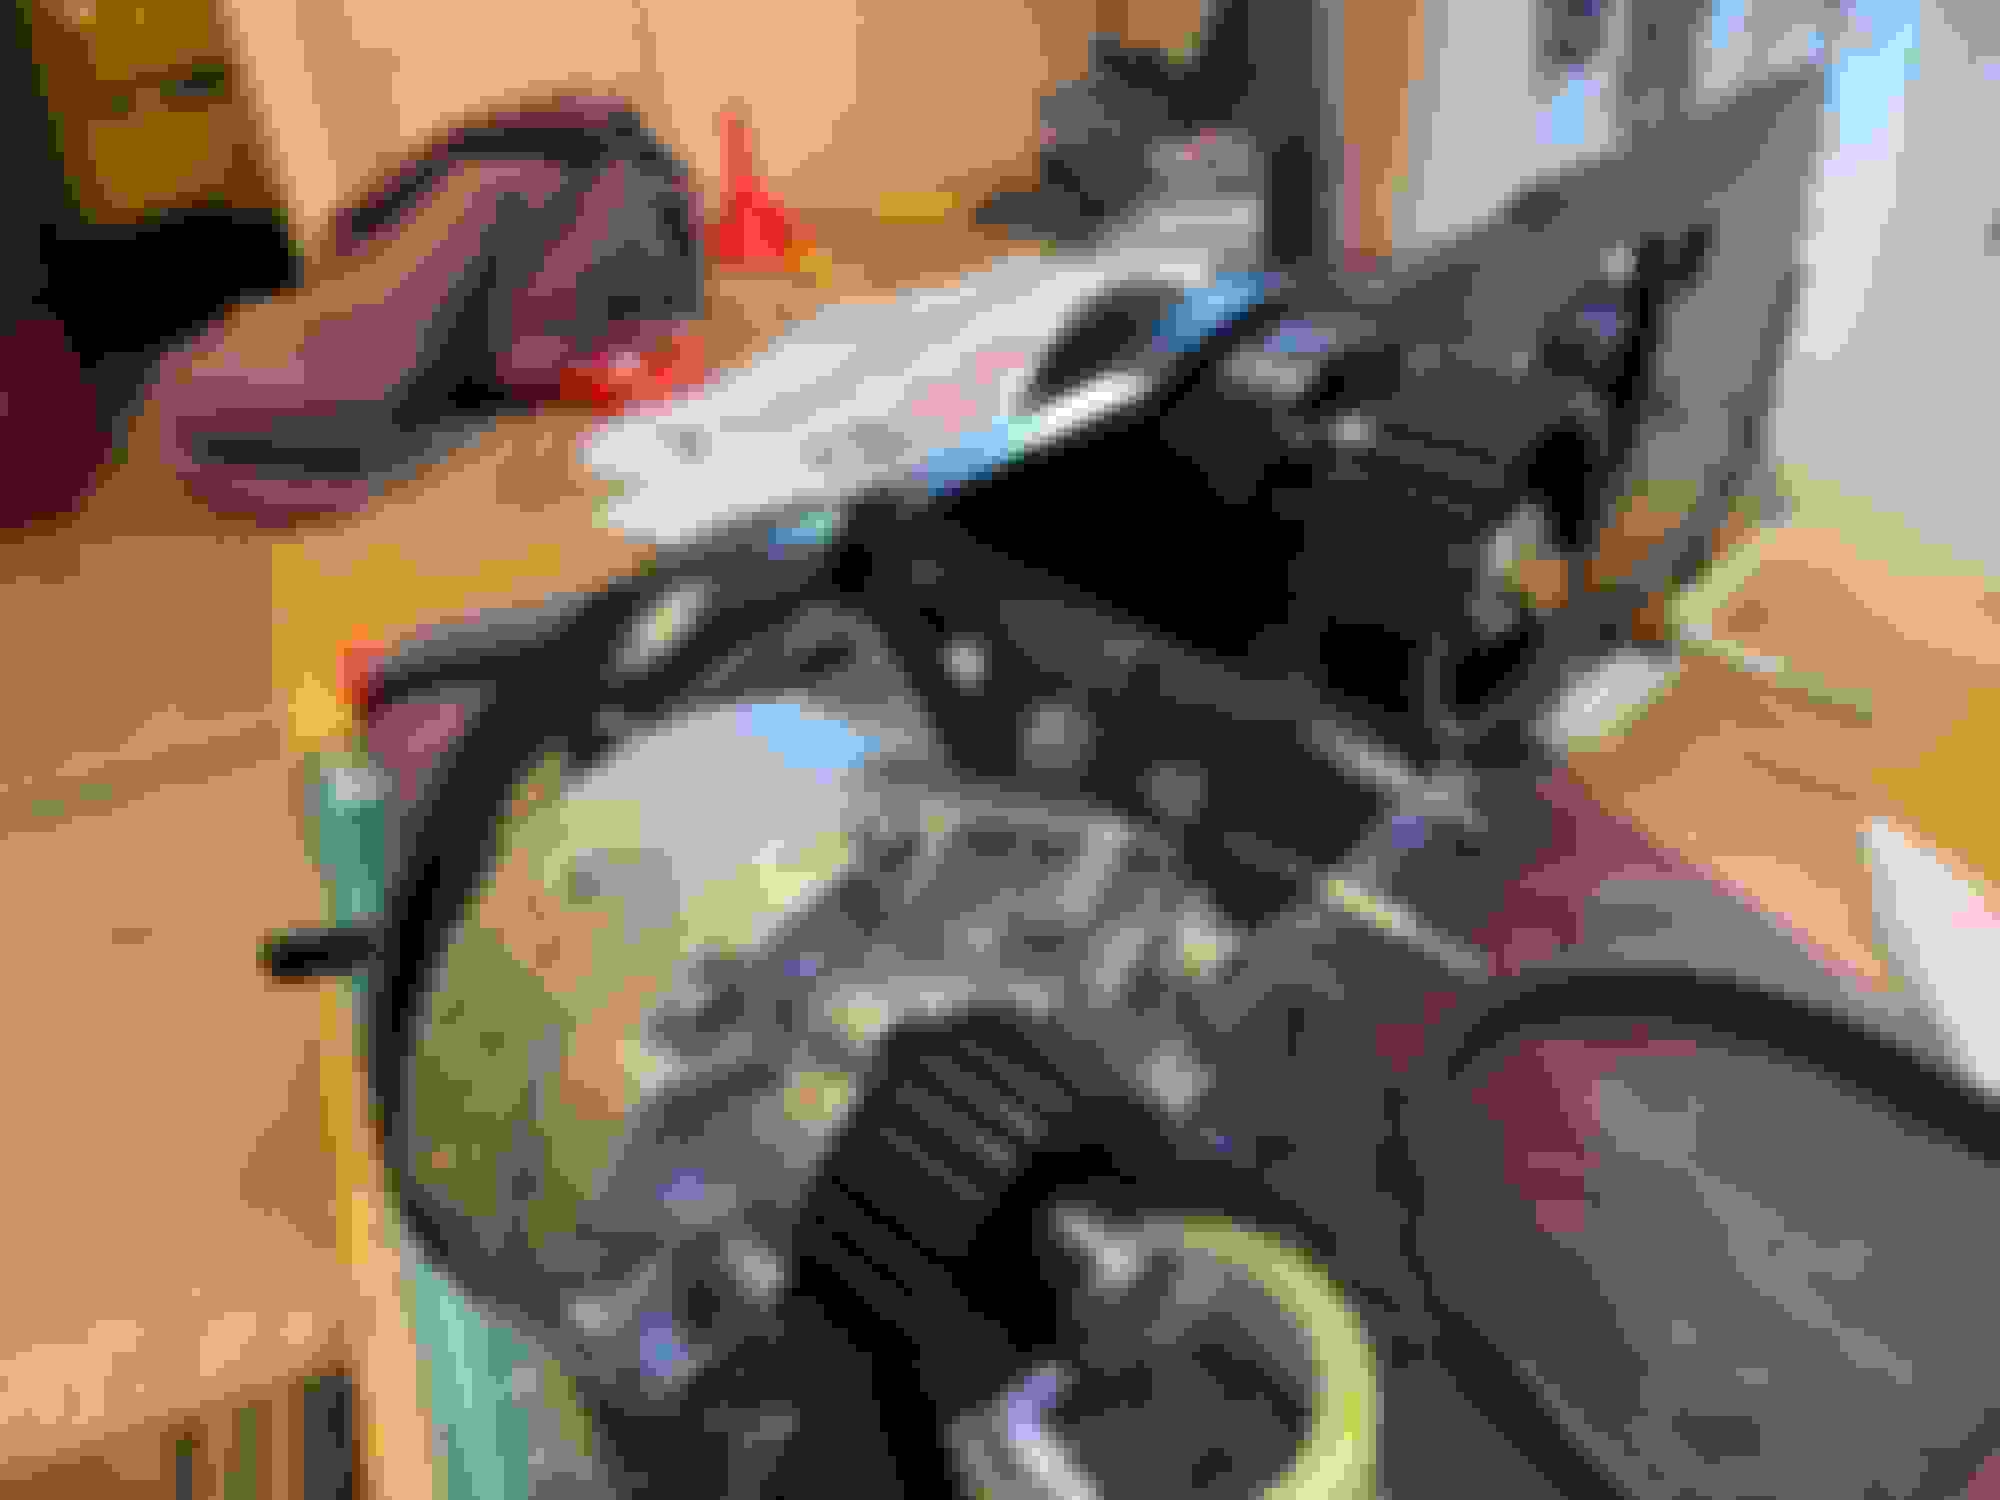
This is redundant to the Vortech thread, just keeping it all in one place for documentation here. I had to reroute the big A/C line to the right of the intake pipe to ensure I did not have a rubber high pressure hose right up against a pulley! This issue is NOT documented in the Vortech install guide by the way. I see a lot of installs that look fine because they have removed the A/C lines. Lucky for them.
Before, See that nice rubber line right up against the pulley!
The trick is to move that big aluminum line coming off to the condenser to the right by bending with your hands carefully. This is before I bent it. By the way, see how that aluminum, then rubber hose runs right where the pipe needs to be!
Just another pic of the problem hose in question..
Here it is after I bent it to the right which enabled me to route the rubber hose to the other side of the intake pipe. No more rubber hose hanging out next to a pulley. By the way, I was warned by another guy to provide some type of insulation around the small high pressure line where it may be up against something rubbing. He has turbo's and over time it wore a pin hole in the aluminum line.
Last edited by Jim Stephens; 11-29-2020 at 04:06 AM.
Well, hit a snag. Stripped the threads on the oil cooler line into the supercharger. Long story short I decided to just buy a new v3 supercharger. Did that on Monday. Figured while I was waiting I would attempt to repair the one I have so I could sell it. It went well. Drilled out the hole, tap�d it out a size larger and inserted new threads. I could not just tap it and clean up the threads. First time I have done something like this. Also checked out the condition of the gears and bearings. Looks really good! Well, today I called z1 as they have not shipped the new one yet. Going to talk to them tomorrow again. I got a feeling there is a problem getting it. If they tell me there is a wait I will cancel the order and just install this one. Enjoyed fixing the old one successfully.
Last edited by Jim Stephens; 12-10-2020 at 04:56 PM.
That definitely looks clean and in great condition. Either way, I'm looking forward to reading about the install and what the car will feel like once you're finished.
Spoke to Z1 today and they are not able to complete the Vortech order I made Monday, so I am cancelling it and going with the one I have. He actually asked me if I would be interested in selling the one i have to a friend of his who has been waiting for weeks to get the V3 Vortech! I told him I would if he could get me a V3 in 4 days. Shortages everywhere.
So I am putting it in tomorrow. I am a bit concerned about it leaking oil because I did not have a new o ring for the two sides of the charger. Figure I will take a chance with it. If it does leak I will order the oring and replace it. Calculated risk. I am super confident on the mechanicals inside this thing now that I have seen them. Also got a new COG gear in today and it installed it. I heated up the gear with a Map Gas Torch and it slid on no problem.
Cleaned the area and tools to get a fresh start on it tomorrow. My son will be helping me get this installed.
On the driver side you will see the 30 degree rubber pipe extension to allow of the extra 2" of room I needed for the inter-cooler pushing out to make room for that oil cooler. Will need to most likely figure out something a little different for the passenger side, but waiting to get the supercharger mounted and check that out. Found a great website that sells nothing but this rubber tubing for supercharging and claims you can do the whole car with it. Looks to be very high quality.
I should of asked, but I bought a basic inter-cooler that is the same dimensions as the one that came with the kit. Is this going to be an issue for me? I am willing to consider something different if you can explain why it is better, but thought I would go with it and then if there is an issue replace it.
My neighbor came by a few days ago to check on the progress and stated it was a shame no one was going to see the oil cooler and the inter-cooler. LOL. Trying to keep that OEM look on the exterior and hide away that the car is supercharged a bit.
Last edited by Jim Stephens; 12-12-2020 at 03:59 AM.
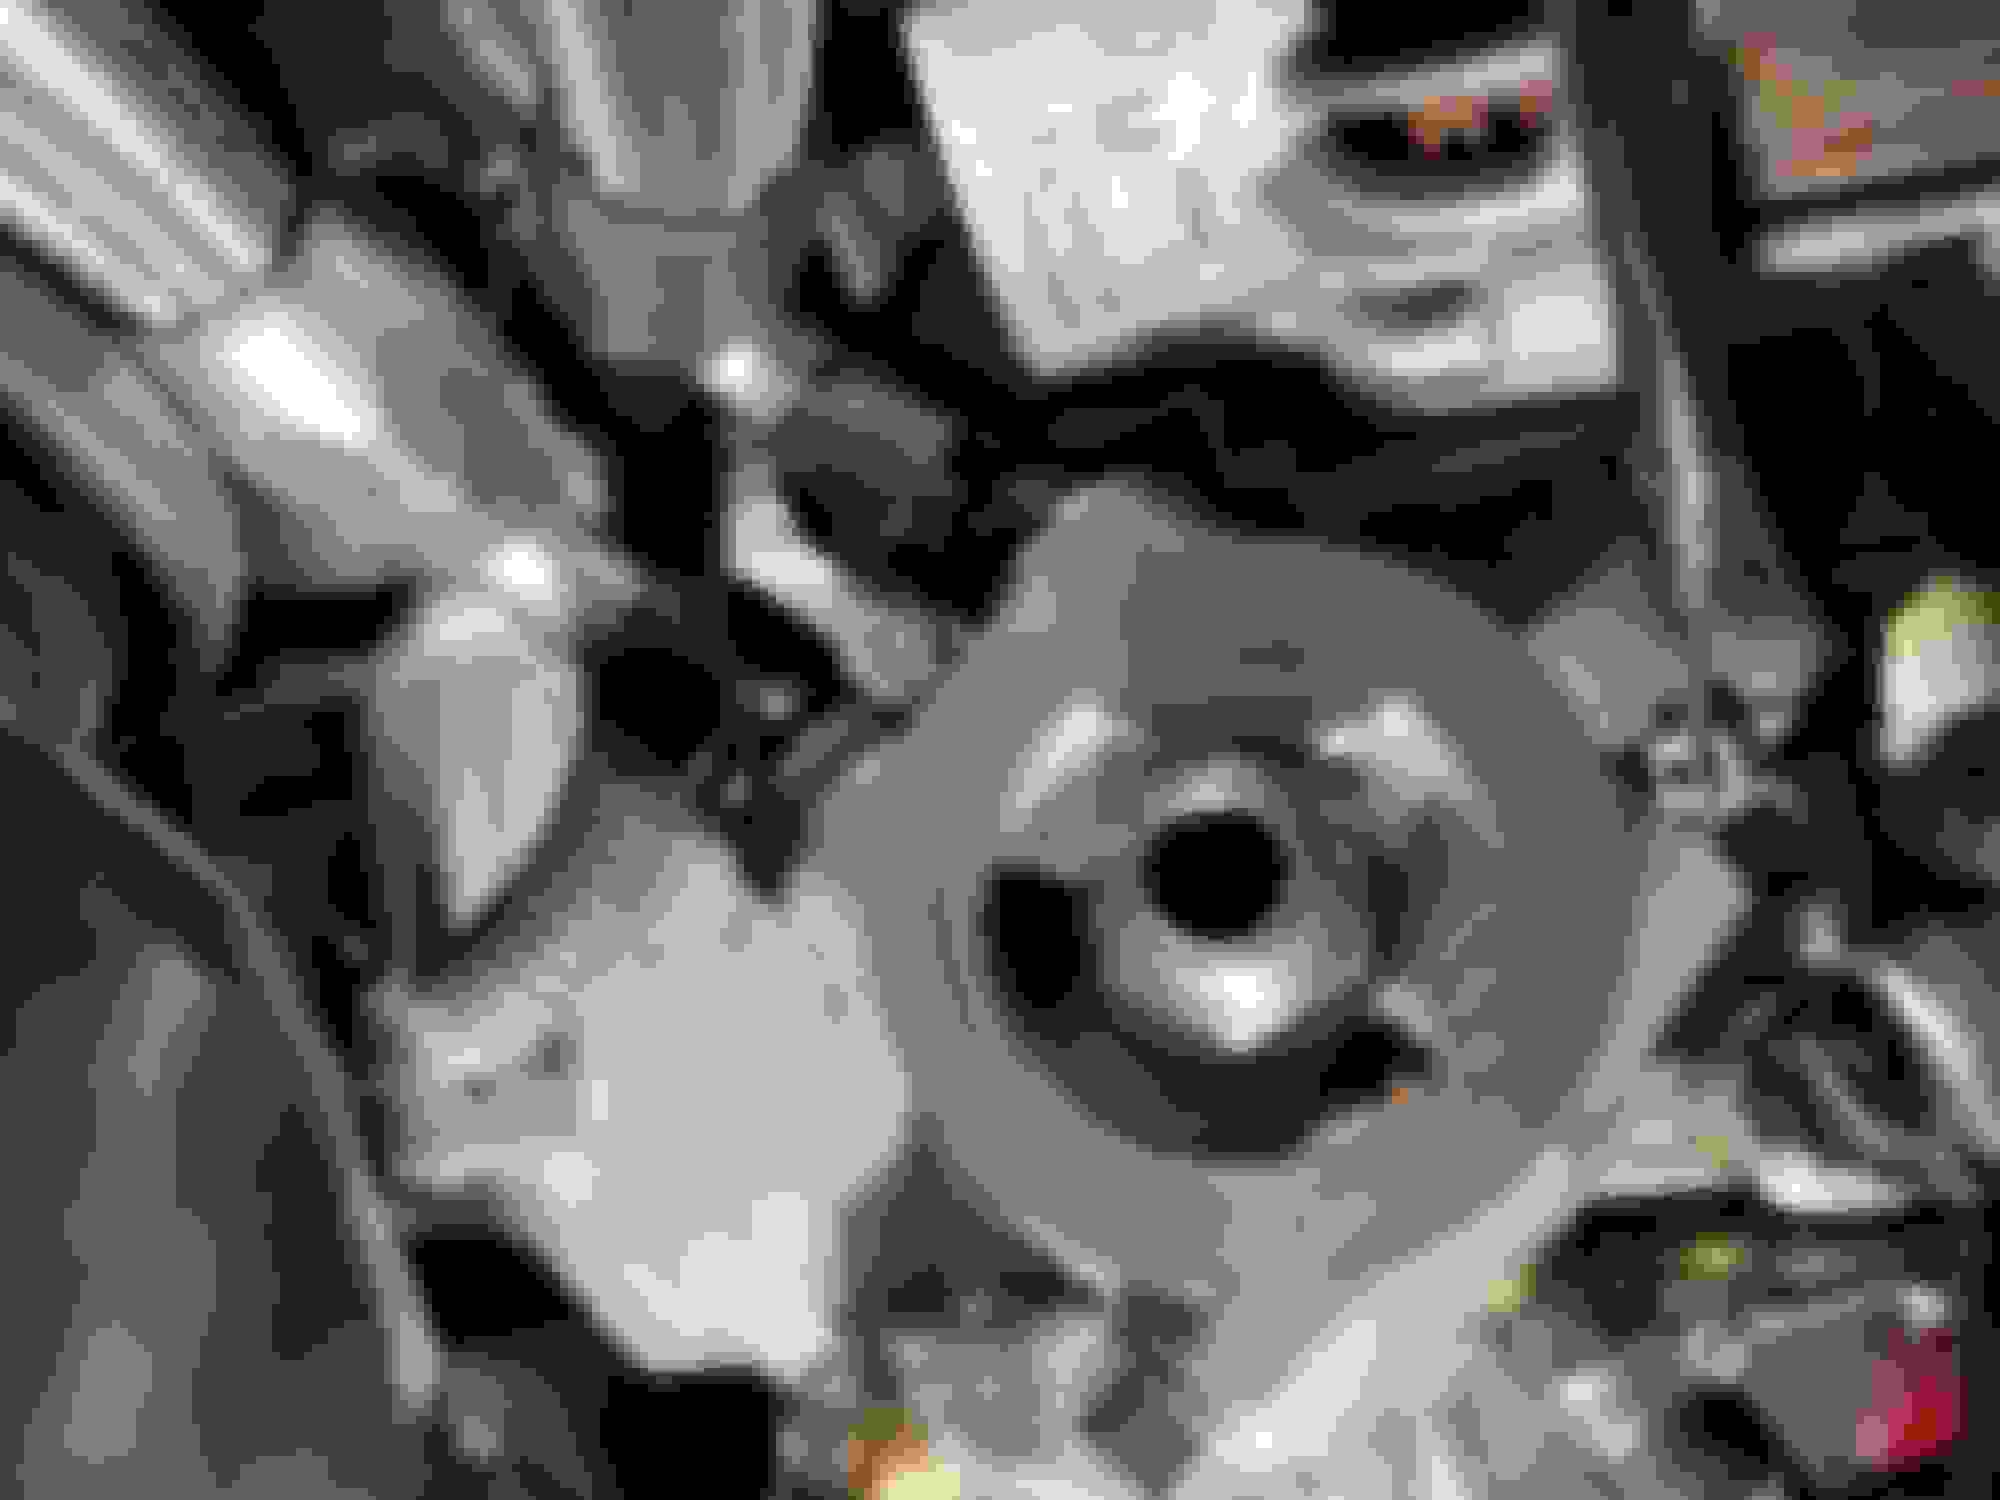
By the way, for your entertainment, this simple little nut has become my nemesis. I cannot get a tool that allows me to crank down on this nut. Tried a 6 point then a 12 point socket. The nut does not have enough clearance around it. Maybe try a open end wrench or box( end which I do not have in that size) next? Hit it with my purse? Simple things stump me. I just keep buying different tools trying to get at it. lol
By the way, see those friggin' AN fittings above. Let's pray they do not leak when I fire it up because they are impossible to get a wrench on. I torqued them down before I installed it with the plate with the nut that is driving me crazy. All I see all over the place is all the new "pieces" and did I get enough torque on it to ensure it does not leak? With none to little experience it's hard to gauge whether all these new gaskets, joints and seals are going to all work until I fire it up and pressurize it. I am telling myself, well, go in with an expectation that I will have an issue at least some where where I need to re-do something I did to get it sealed up right. Chuckle. Let's see..in my head I come up with about 10 new "failure points" where I have installed some new fitting for the oil related piping.
Last edited by Jim Stephens; 12-12-2020 at 04:28 AM.

 11-08-2020, 06:39 PM