
the "bmccann101s car gets a new look/ watch me suffer bodywork hell" thread

Thread Starter


Joined: Aug 2006
Posts: 8,321
Likes: 467
From: Scottsdale/coyote drophouse
Yeah the blower itself is pocket change indeed.. This Gen v lt support system stuff in unreal expensive unfortunately.. Using an lt4 direct injection hi pressure fuel system.. Dry sump lines and hoses and cans.. Heat exchangers and expansion tanks etc.. I'll easily be at an additional 10k just on engine side of things.. Let alone many more racks for everything that bolts to the outside of it on the car 🤣🤣
Oh well. Here we go. Is what it is, no turning back now.. 🤘
Oh well. Here we go. Is what it is, no turning back now.. 🤘

Thread Starter
Joined: Aug 2006
Posts: 8,321
Likes: 467
From: Scottsdale/coyote drophouse
not sure tbh... i guess there is a bolt difference near the top of the bell housing if i use a stock t56 magnum, so it would require a quick-time steel bellhousing w the multiple hole options.. if the 7 speed can work without too much added expense and hassle, id certainly like to try it. otherwise the plan is just a t56 mag. The torque tube deal worries me though. doesnt seem very intuitive for installation, and would likely need a ton of mods etc.

Are you doing drop in pistons with the lt1 while you have the engine out? With the inconsistency of the ring gaps from being tight to extremely tight might be good to do now rather than having another potential blown motor. I bought a new 2017 camaro 1ss back in 2017 when I blew up my turbo 350z. Did full bolt on but was little scared to boost because of everything I heard about the ring gaps. Traded it in for a 2020 camaro 1ss 1le a couple weeks ago and decided to just take the risk and supercharge this one on e85 with the largest pulley I can find for now and lt4 fueling. Later cam, drop in piston and rods then big power.
Thread Starter
Joined: Aug 2006
Posts: 8,321
Likes: 467
From: Scottsdale/coyote drophouse
I thought about it, but I'm just not at that stage where it will matter just yet. I have plenty more to deal w before it's time to put this engine in unfortunately 
Some updates however...
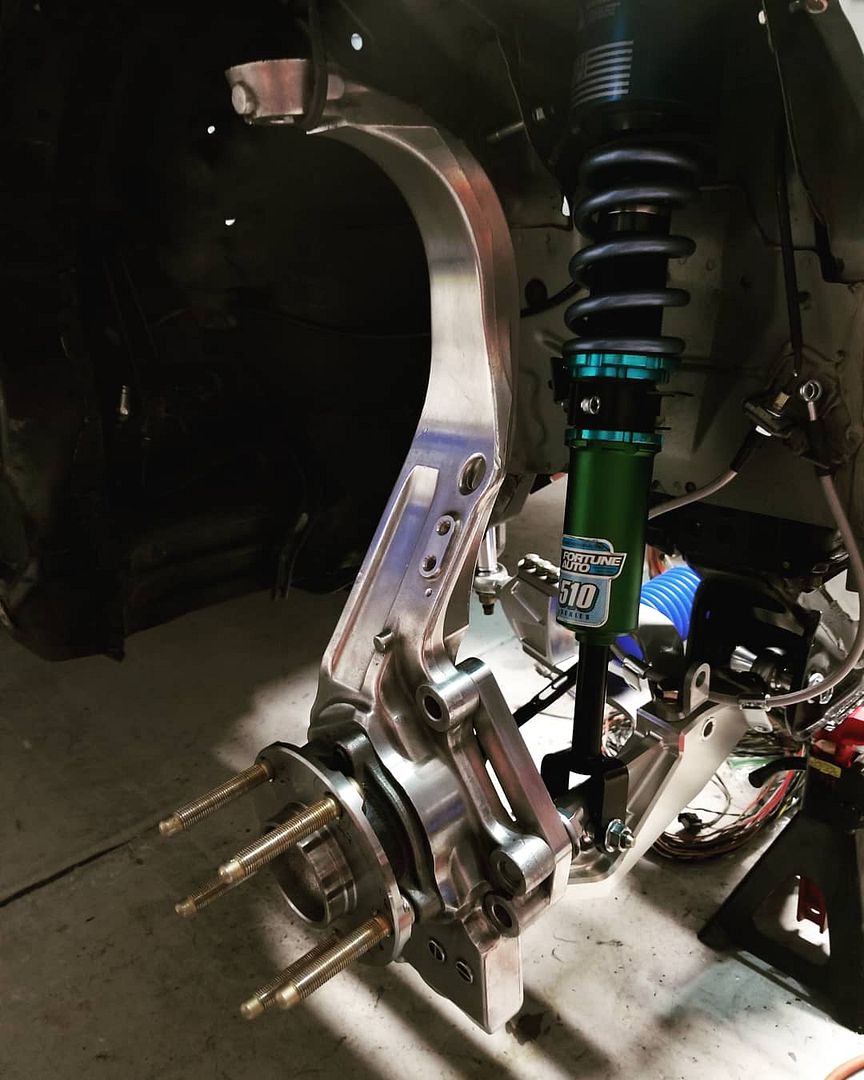
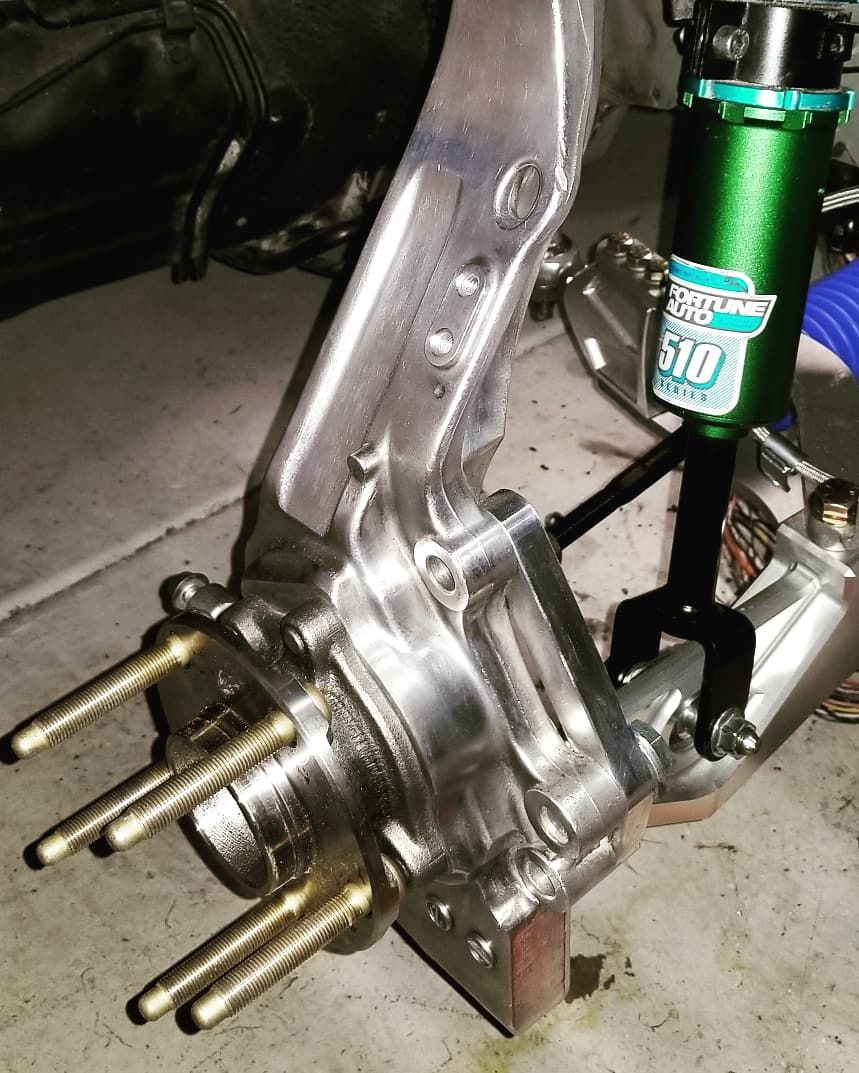
Fdf lower arms are installed:
.jpg)
.jpg)
.jpg)
Gktech longer outter tie rods from an s14 were picked up, along w Voodoo13 bump steer correcting outer rod ends
.jpg)
New Timken bearing hubs, bearing dust caps and arp studs installed..
.jpg)
Discontinued, bought a set of dry carbon brake ducts from my buddy as well.. These are sick af.
.jpg)
.jpg)
.jpg)
Some updates however...
Fdf lower arms are installed:
Gktech longer outter tie rods from an s14 were picked up, along w Voodoo13 bump steer correcting outer rod ends
New Timken bearing hubs, bearing dust caps and arp studs installed..
Discontinued, bought a set of dry carbon brake ducts from my buddy as well.. These are sick af.
Last edited by bmccann101; Sep 28, 2020 at 04:22 PM.

Thread Starter
Joined: Aug 2006
Posts: 8,321
Likes: 467
From: Scottsdale/coyote drophouse
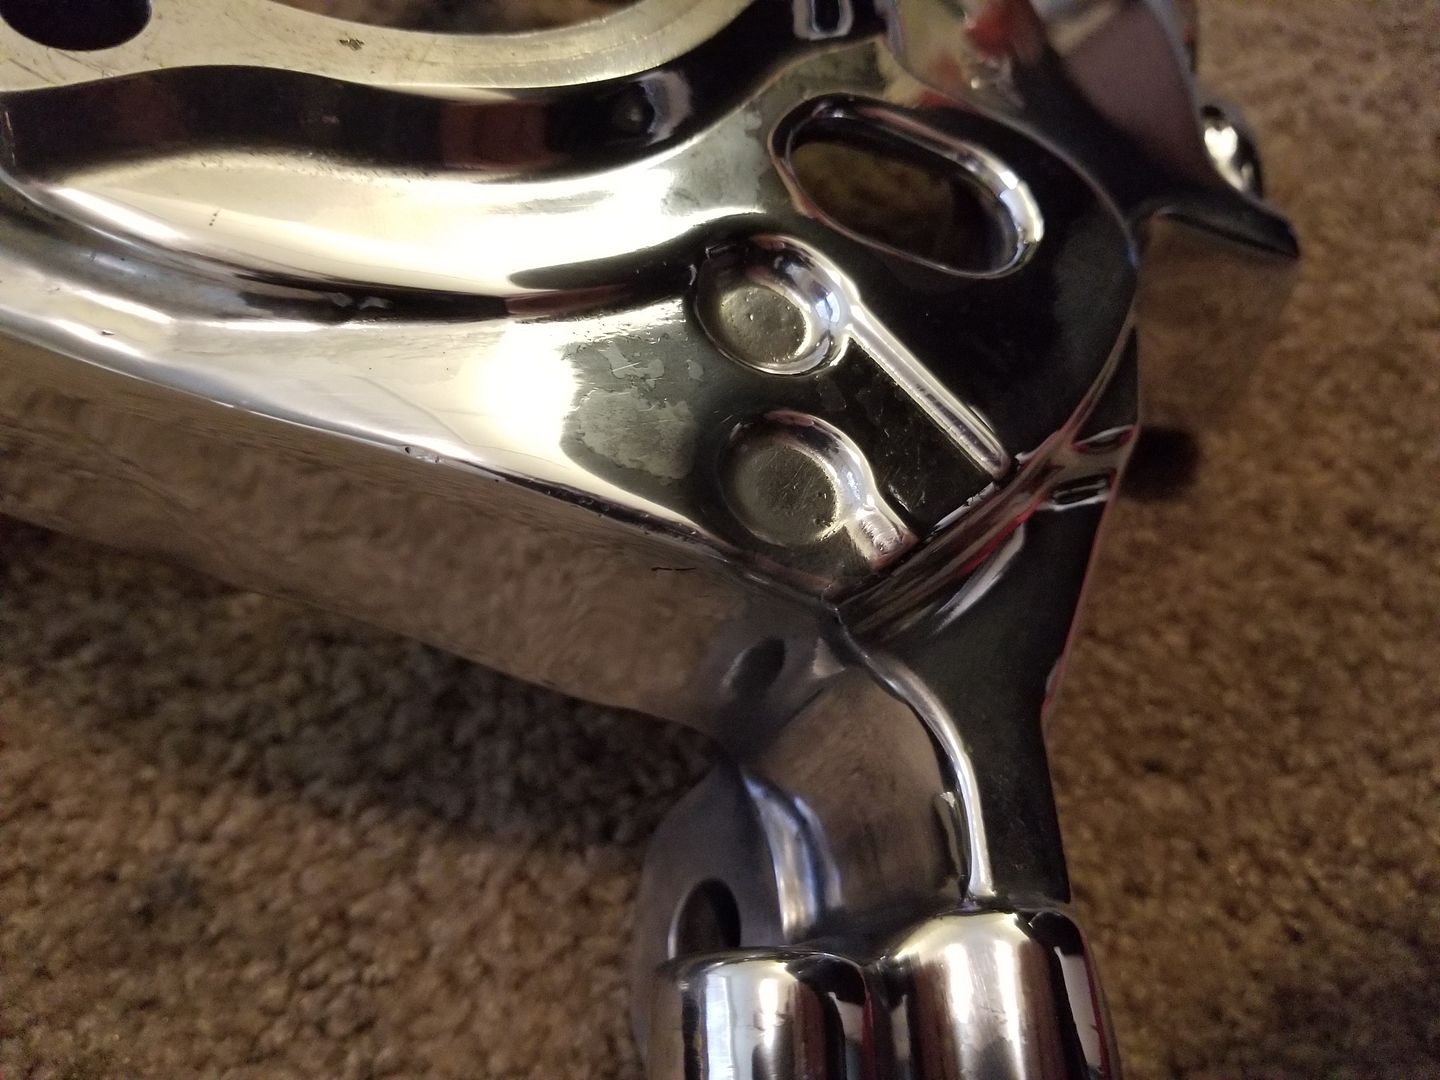
(before n after)
Kind of sitting around w nothing to do.. Decided it may knock the dark stains off my steering knuckles more easily... Yeah that went full steam ahead lol..
So yeah now they're unprotected and will just have to come off and have an actual polish done and clear powder coat or a paint color.. Idk yet.. Whatever is cheap and looks good
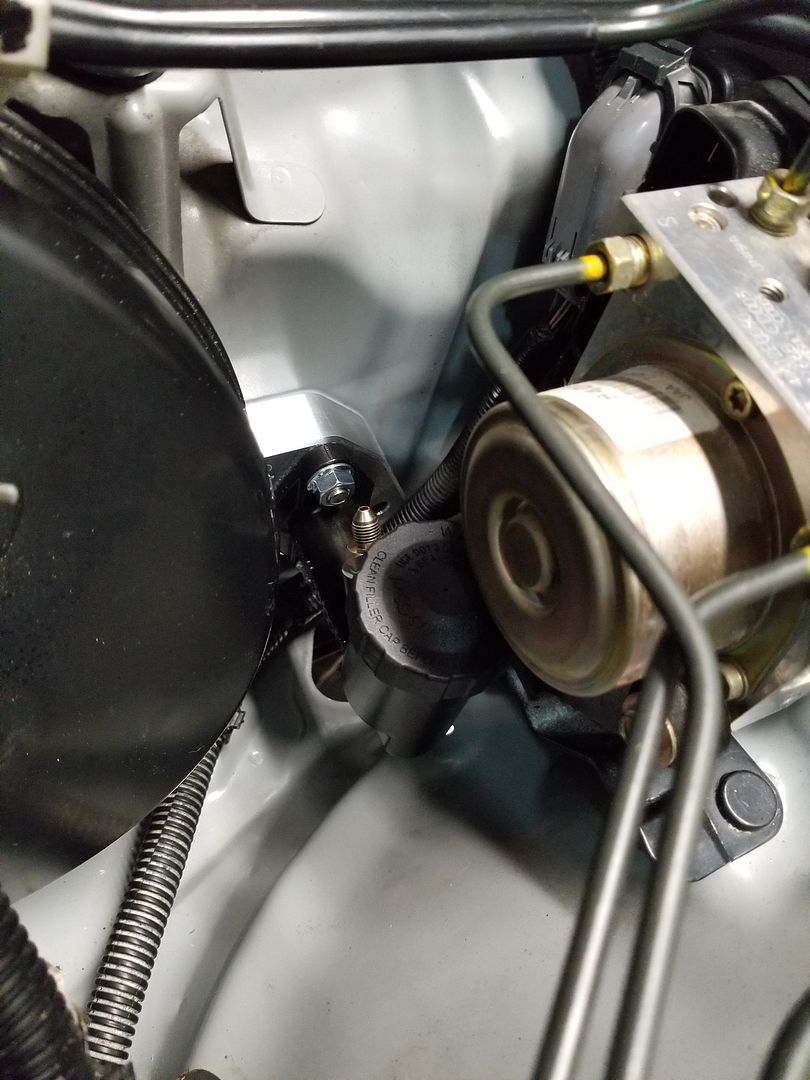
Got my wildwood master cylinder for the t56 magnum trans installed. Part made by Fueled Racing. ..
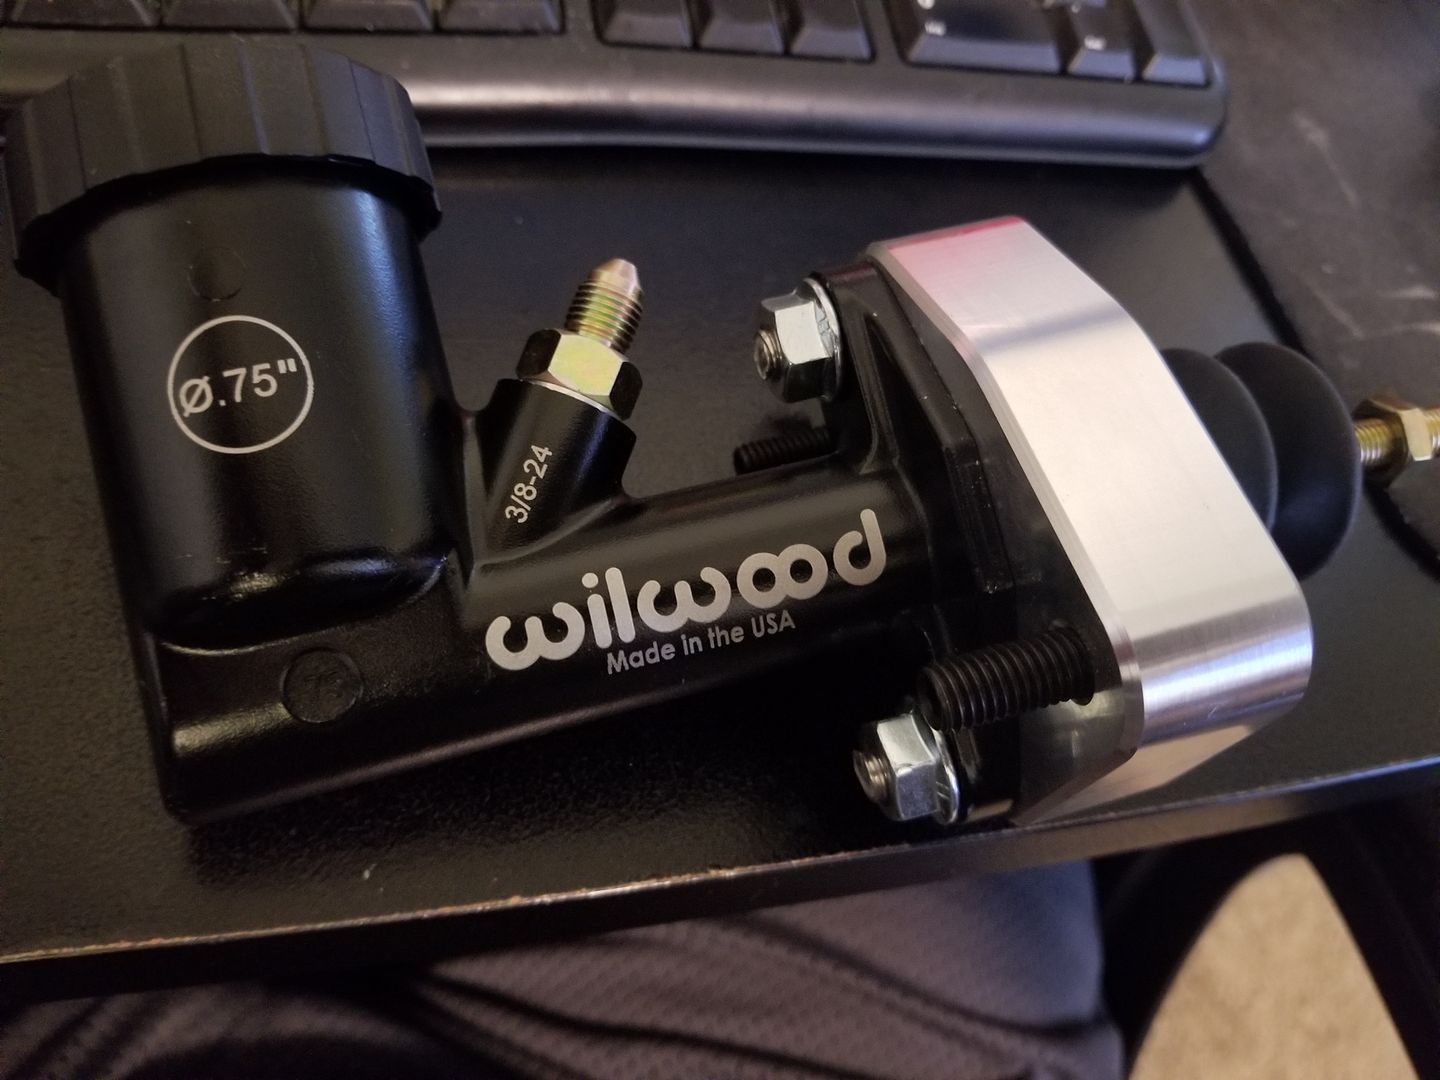
Snug fit is understating...
So long update story short.. Lent myself some funds.. Will be moving fwd quickly now on this swap.
Last edited by bmccann101; Nov 10, 2020 at 11:03 AM.
Thread Starter
Joined: Aug 2006
Posts: 8,321
Likes: 467
From: Scottsdale/coyote drophouse
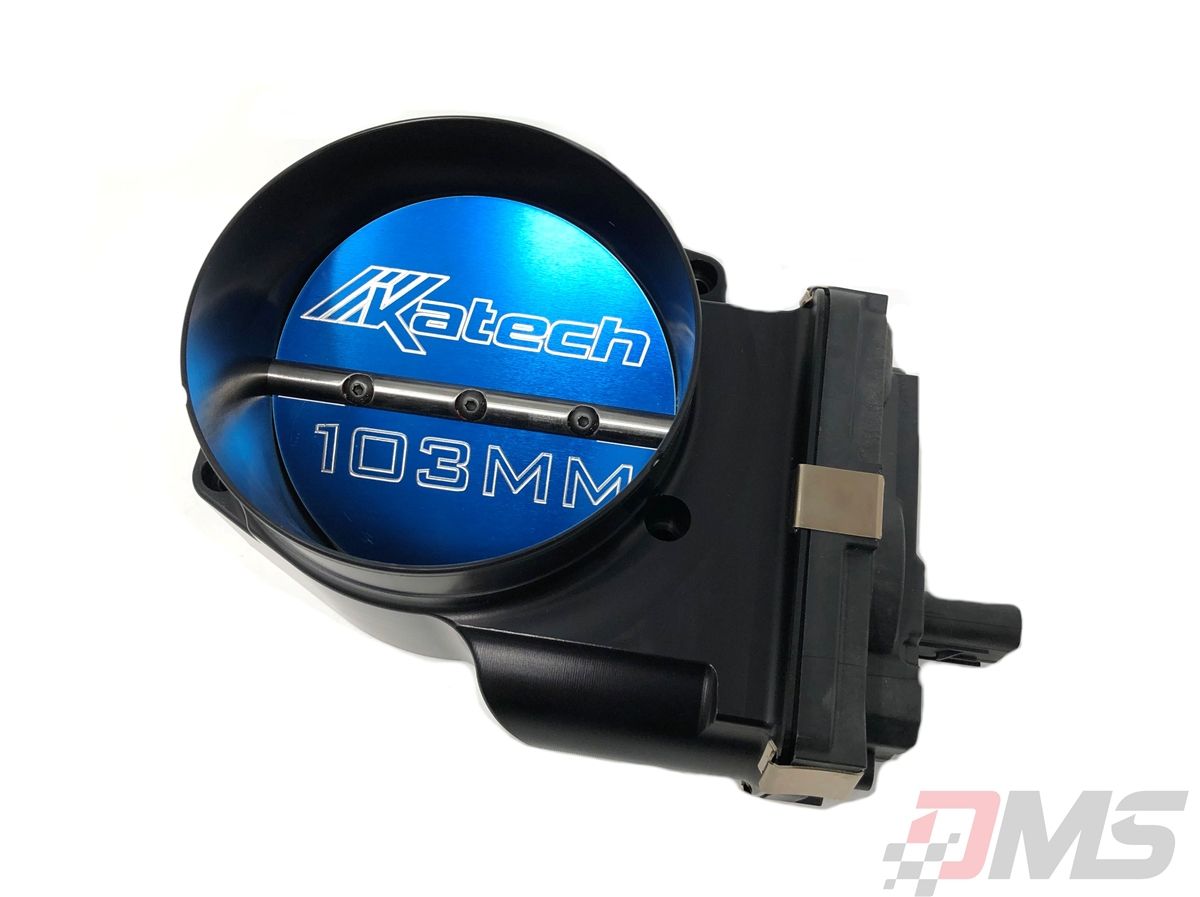
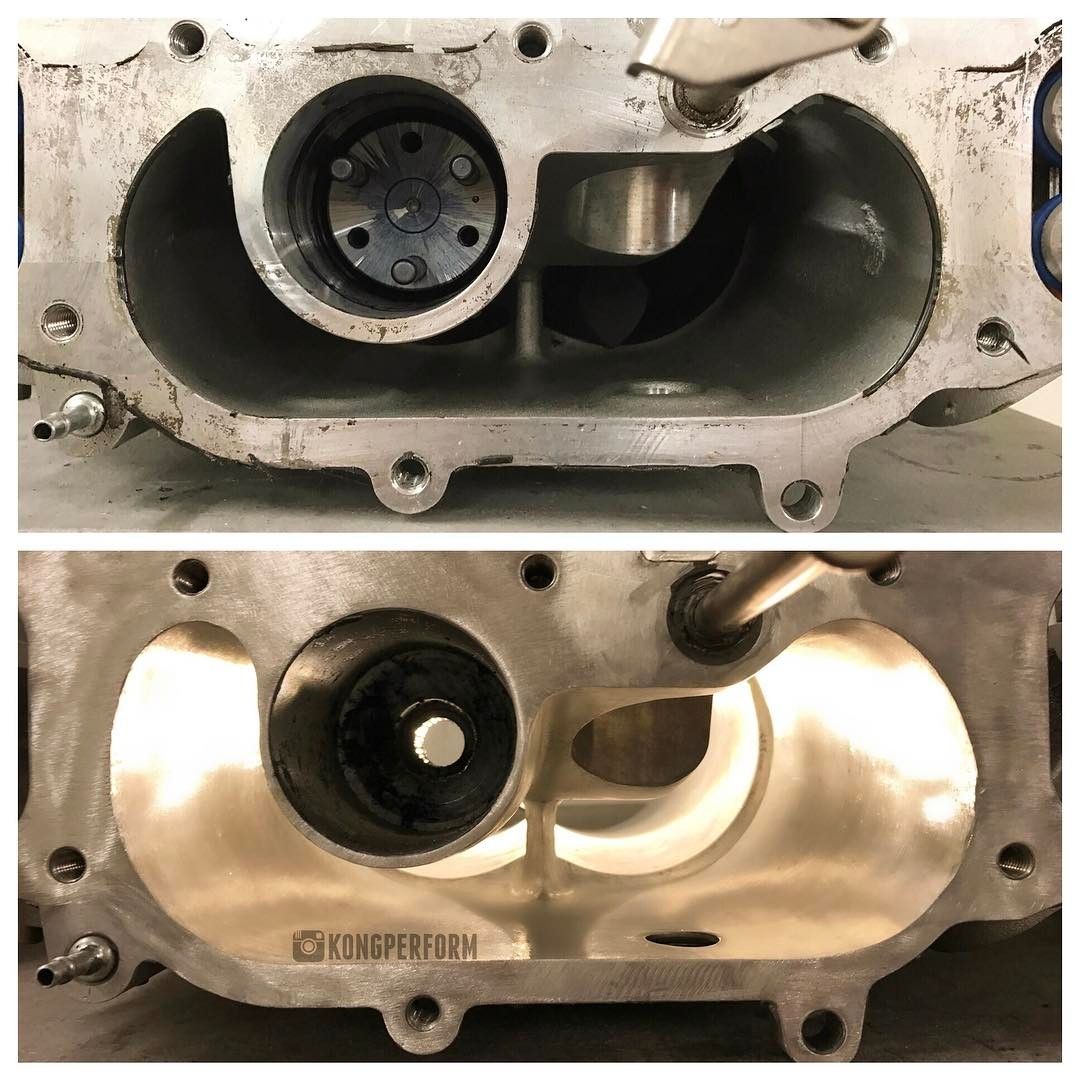
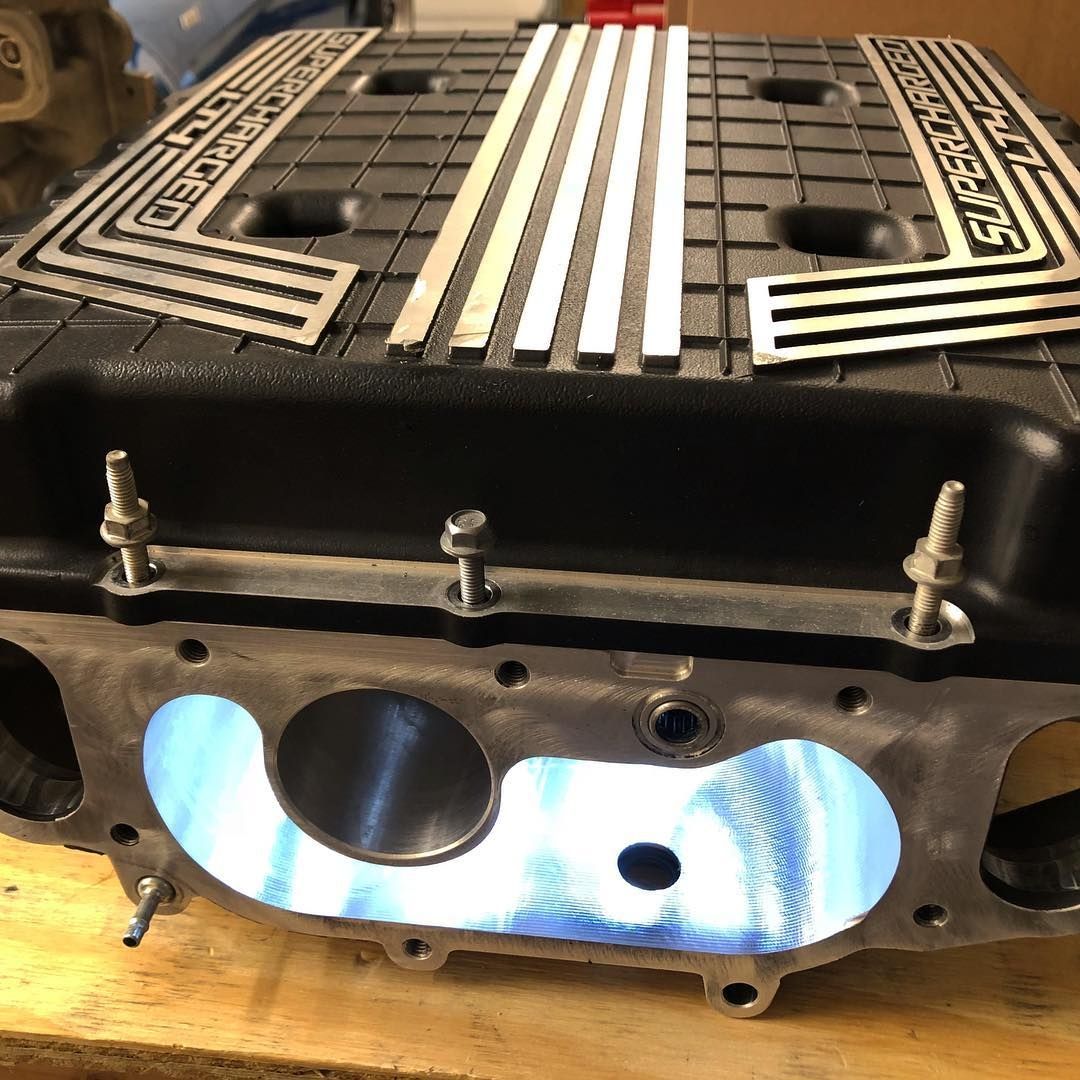
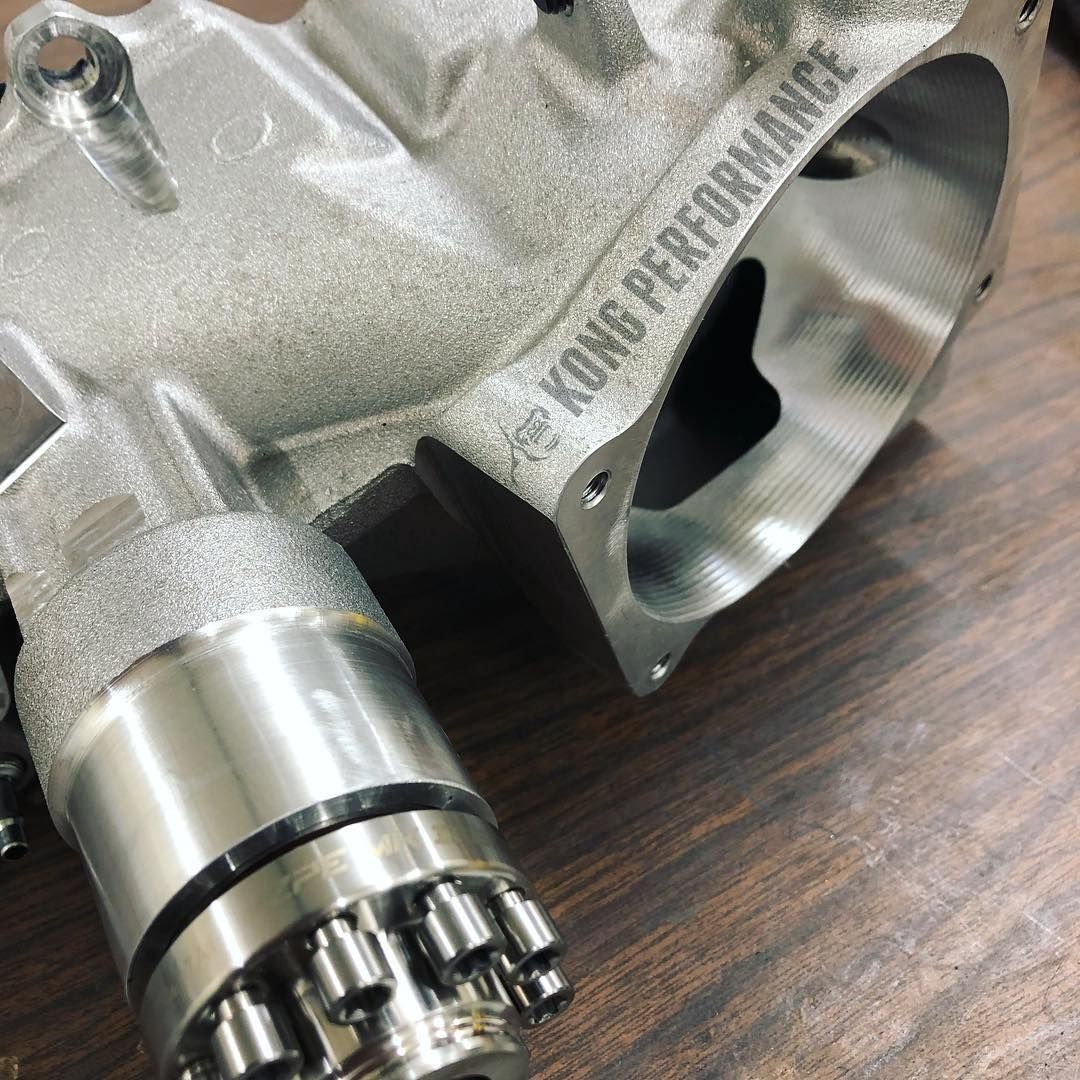
While Cordes Racing performance has my engine work moving along (big cam, dod delete, chromoly lifters, trunion upgrade, dual valve springs etc)... We are sending the blower out to Kong performance to fully port and polish it fully. And also to match up with a larger 103mm katech tb.
Also had the front arms fully polished.. Sending them off for clear powder coat after Thanksgiving.. Maybe add a silver color to them prior, Idk.
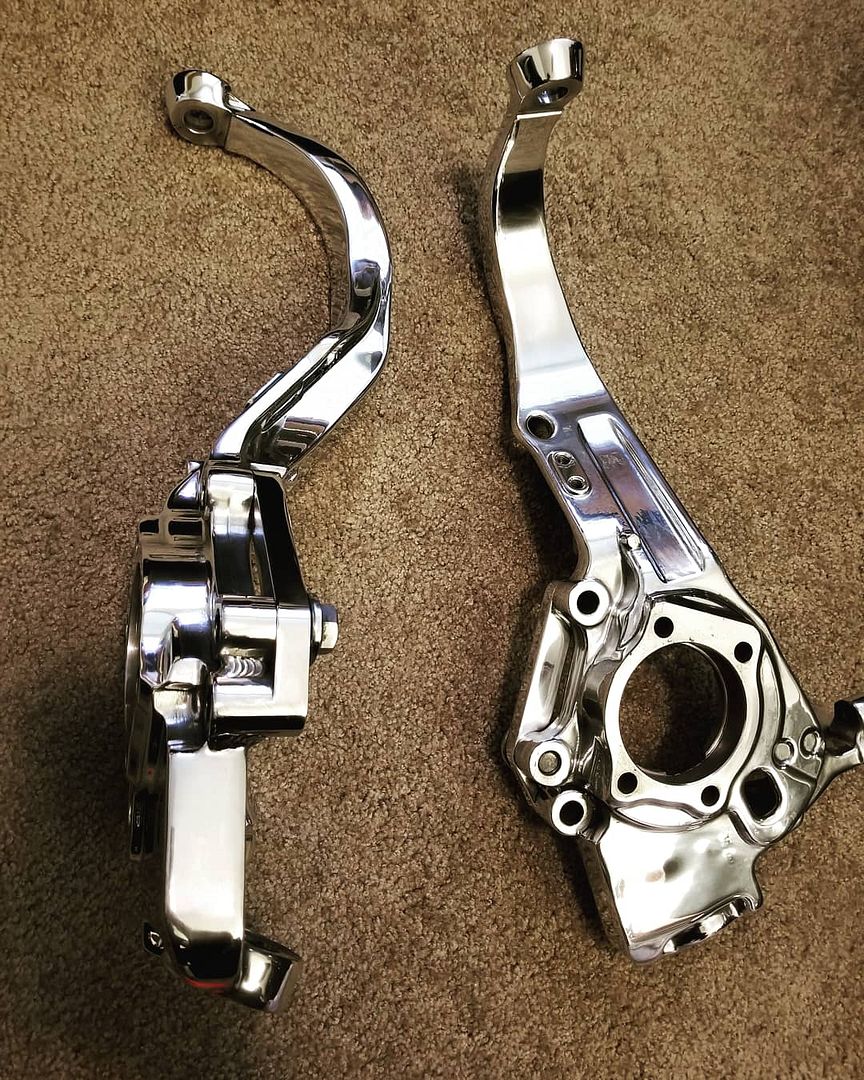
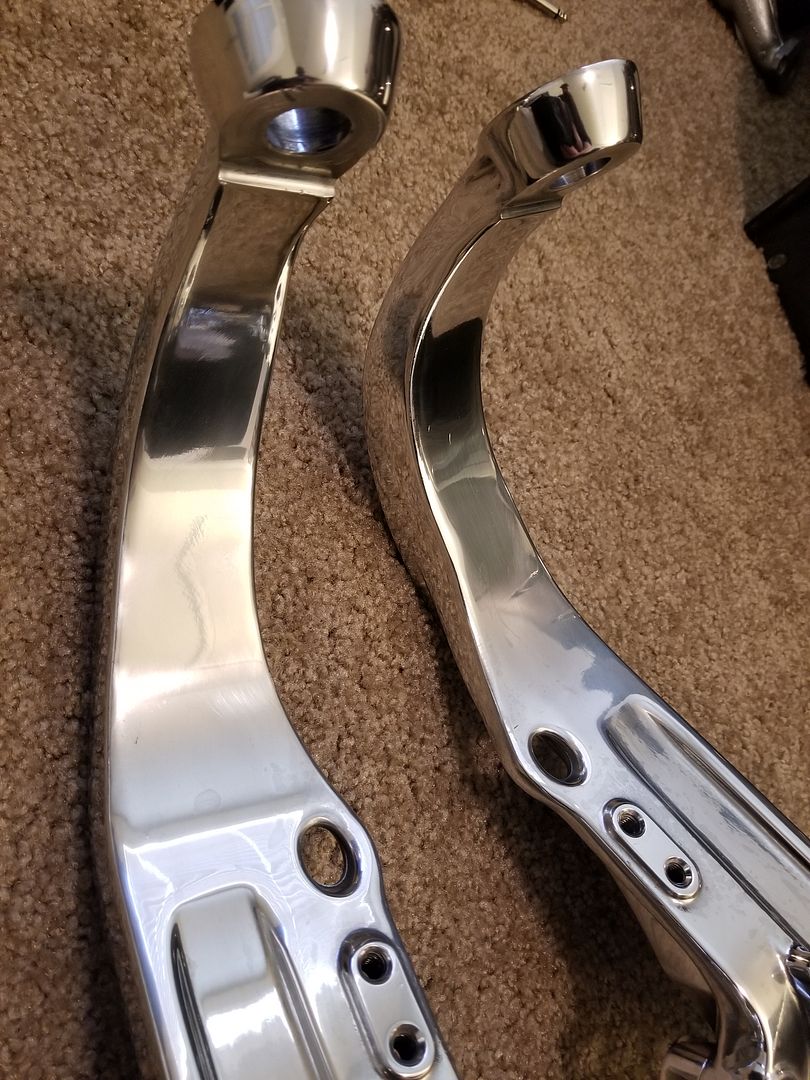
Also had the front arms fully polished.. Sending them off for clear powder coat after Thanksgiving.. Maybe add a silver color to them prior, Idk.
Thread Starter
Joined: Aug 2006
Posts: 8,321
Likes: 467
From: Scottsdale/coyote drophouse
More parts rolling in as I sit waiting on engine work and engine mounts..
Peterson 3 gallon dry sump oil tank should be delivered tomorrow.

And a simple cxracing 5 gallon water/ice tank for the supercharger .. Will be trunk mounted of course

Peterson 3 gallon dry sump oil tank should be delivered tomorrow.
And a simple cxracing 5 gallon water/ice tank for the supercharger .. Will be trunk mounted of course
Last edited by bmccann101; Dec 14, 2020 at 05:38 PM.
Thread Starter
Joined: Aug 2006
Posts: 8,321
Likes: 467
From: Scottsdale/coyote drophouse
Yal have NO idea..
The oil pan doesn't fit in the car.
No one makes an oil pan.
Were having to CNC down the stock pan and build out own front sumped dry sump pan..
The steering rack fittings interfere w the pan
No one in the swap industry who make similar pans is willing to assist in giving me any measurements...
It's been real fkn fun guys, lemme tell ya.
It's been a real solid "thanks for the purchase but gfy" scenario lol..
Thread Starter
Joined: Aug 2006
Posts: 8,321
Likes: 467
From: Scottsdale/coyote drophouse
man, sorry to hear you are running into this, but unfortunately this sort of challenge comes with exploring uncharted waters. What about rebuilding the support brace / oem engine cradle, perhaps move the steering rack down a bit while at it and then just use SPL tie rod endlinks to adjust for the rack drop?
I'm. Watching the FDF fab rack relocation kit video now to get similar ideas.. Sucks.. It's so close..
Thread Starter
Joined: Aug 2006
Posts: 8,321
Likes: 467
From: Scottsdale/coyote drophouse
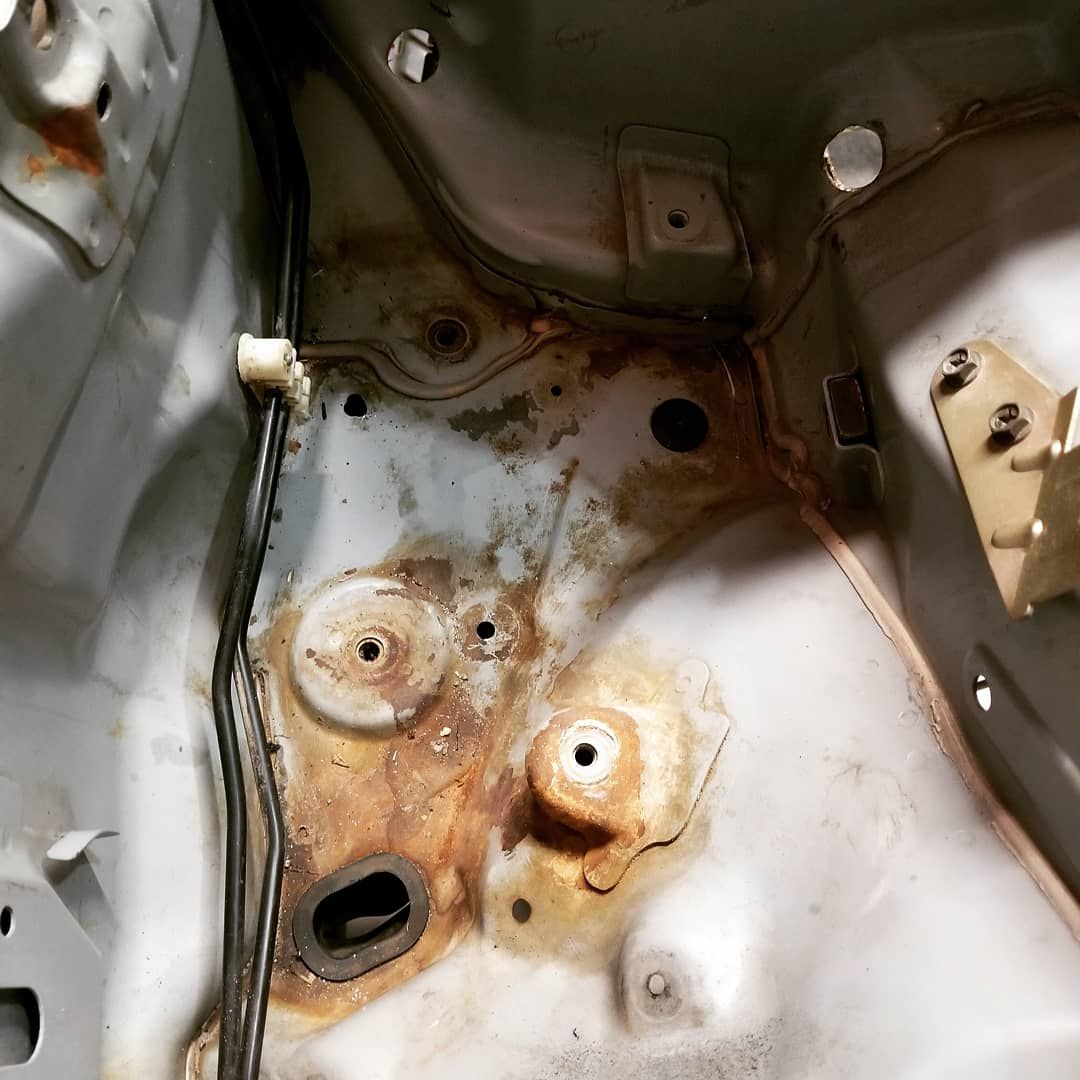
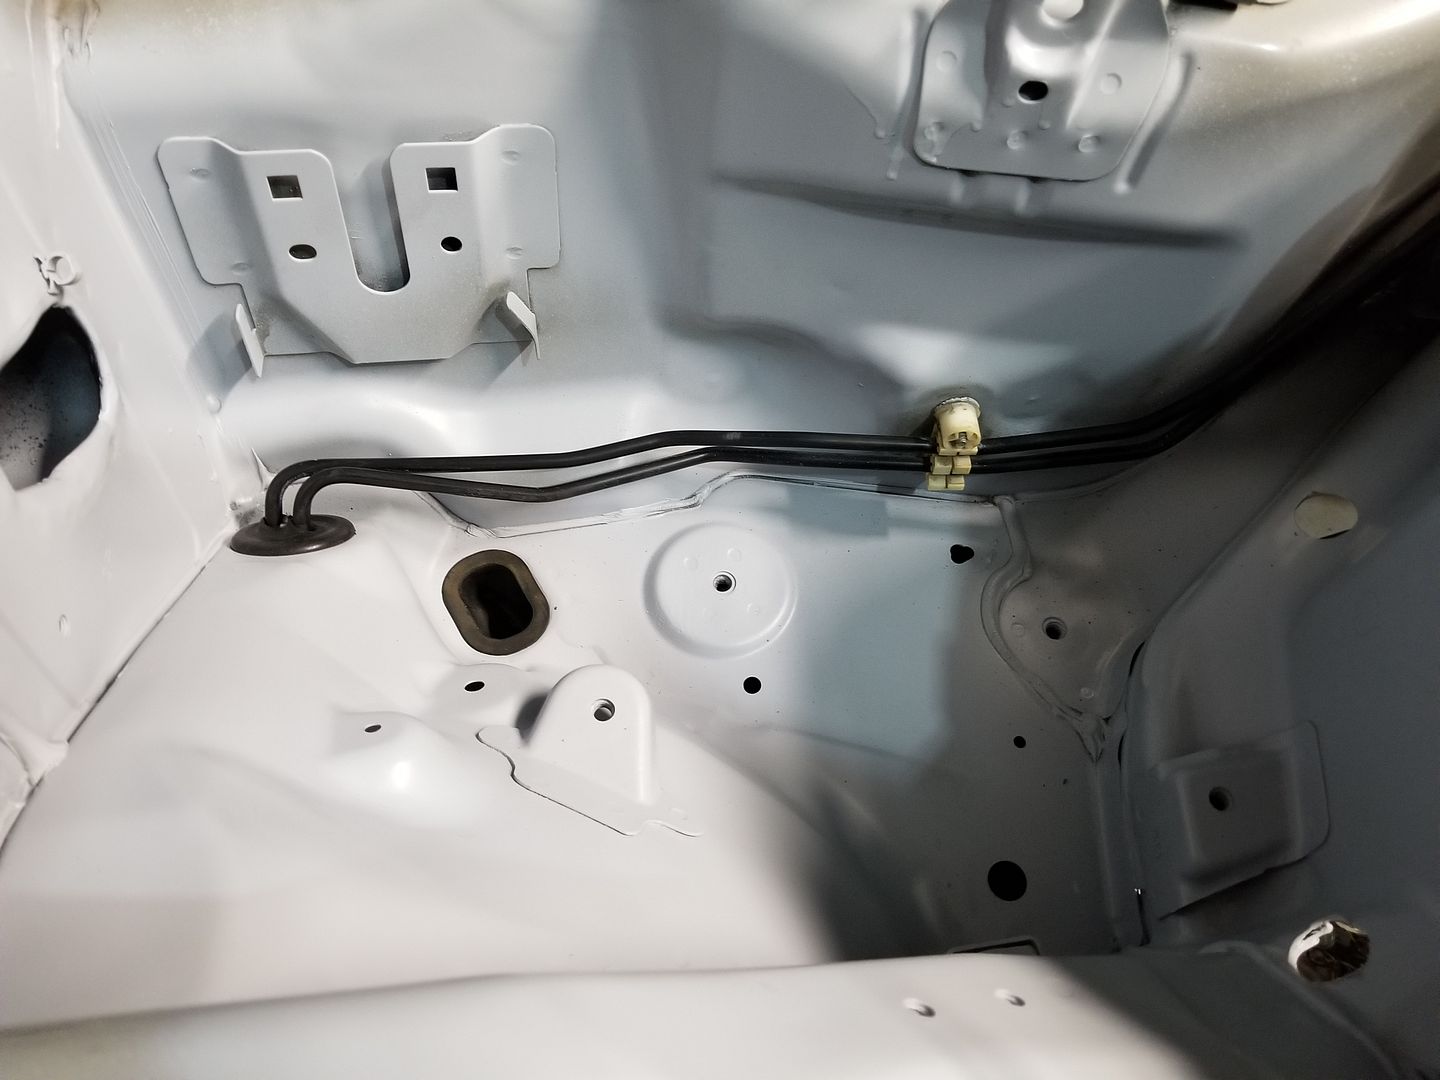
Still here cooking along folks..
Photobucket has decided to be absolute trash, regardless of my 99 dollar annual payment to keep these thread links alive.. Smmfh.
Had to take the steering rack apart, cut the center fitting off and reweld it to stick out rear of the rack, all for clearance. Lol
Replaced the rack lines w braided soft lines
FDF is nearly done w my wider upper arms.. Voodoo kind of sht the bed on my custom deal and had to refund me.
Josiah is also sending me lengthened compression arms that allow full use of the standard 2nd ball joint, a la grip style vs the single ball joint drift arm that let's you clear a sideways wheel in the arch, which I'll never need
The ENTIRE interior was removed includs
ing the dash, and should be back from upholstery in a few weeks. Black alcantara on everything, red French seam across the top edge of the door panel and into the dash, red French seam on the 06 door panel insert as well. No diamonds or silly sht.. Just McLaren style Alcantara coverage, floor to roof.
Had the oem seat belts rewebbed with ferrari red material.
A new oil pan is being made by hand by a friend, we CNCd down the stock pan in order to fit, adding our own tubing and pick up tubes internally out to 16 and 12 AN dry sump fittings.
The entire engine bay has been scuffed for paint, waiting until the install is all done before adding the SEM be coat gray paint.. Had to force myself to do a half shave by sanding everything.. No choice now. Lol
Both angled sections of the false firewall have been removed, leaving all the oem plastic covers etc.
I installed a Radium engineering fuel hanger surge tank behind the driver seat.
I now have a factory non return fuel basket w a dw300c lift pump, sending fuel to the fhst and dual walboro 450 pumps and 8an fuel line.
Non return, integrated fpr. Very cool.
FDF rear diff brace for Z1 diff cover incorporates a jack point, and I have FDF 6061 ALUMINUM Front subframe brace and the rear w brace by FDF.
The oem Front bcm harness is stripped and all wires and connectors are hand washed and cleaned.
Oem Engine harness has been broken down and will be removing the unnecessary wires somewhat soon.
I just spent 4 days in the hospital and almost died from diverticulitis ( sweet, this is new) but I am NOT quitting this build, period end of story.
Last edited by bmccann101; Mar 30, 2021 at 05:28 PM.

